Results 81 to 92 of 92
-
05-07-2013 #81

 Registered User
- Join Date
- Mar 2011
- Location
- Buffalo NY
- Posts
- 259

Cool stuff, nice work!
Dave "Big Nasty" B
-
05-08-2013 #82
Registered User
- Join Date
- Apr 2006
- Location
- MD
- Posts
- 232
Thanks guys

-
05-20-2013 #83
Registered User
- Join Date
- Apr 2006
- Location
- MD
- Posts
- 232
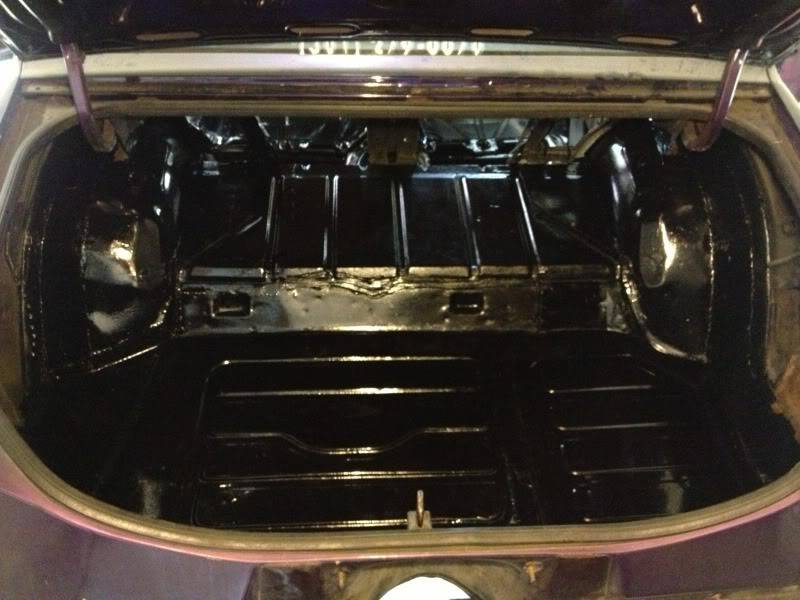
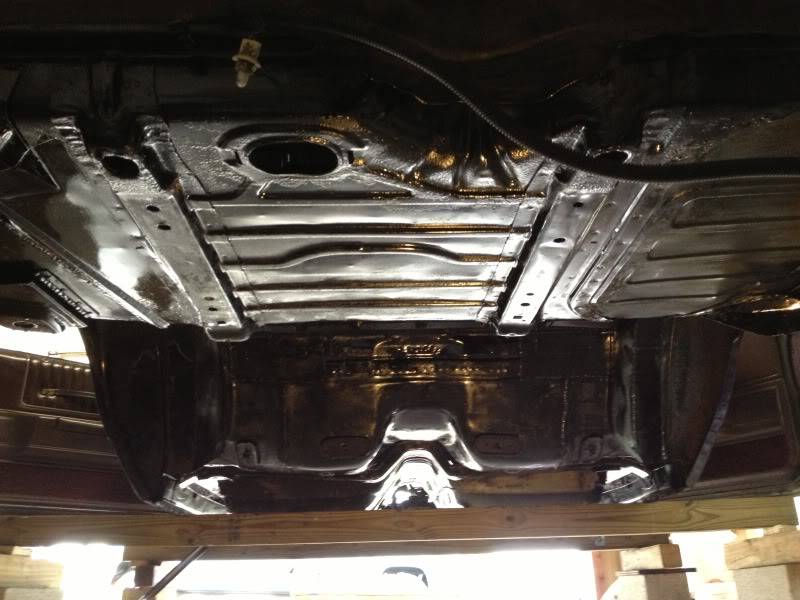
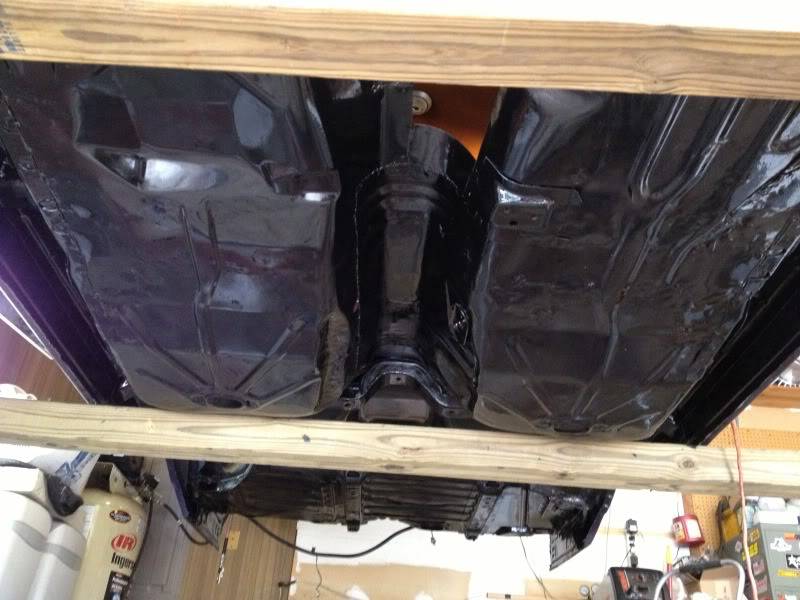
First coat of POR15 applied to the floors.
-
05-20-2013 #84
Registered User
- Join Date
- Sep 2011
- Location
- Lawler, IA
- Posts
- 569
Looks good

-
08-01-2013 #85
New to Pro-Touring
- Join Date
- Aug 2013
- Posts
- 1
Hi guys, I joined this site...just to follow this build! I too have a Monte Carlo SS and will be doing this, this coming winter.
Any new updates? It's been a couple months...come on, you need to throw us a bone! Awesome work, by the way. Can't wait to see the end-results!
-
09-03-2013 #86
Registered User
- Join Date
- Sep 2013
- Location
- Cypress, Tx
- Posts
- 1
Hey man, I joined this site today after I googled Monte Carlo SS. I actually have a pic of your car downloaded on my computer because it is sweet!. I am looking for a SS myself. I have always wanted one. Just a few years ago I found my IROC-Z I always wanted. I just got it painted a year ago and family first, then the car, but I wanted to say you have done a great job on your ride. It is good to see cars kept alive rather then spending thousands on some new car. Take care man and will be looking for more on that sweet ride.
09-20-2013 #87
Registered User
- Join Date
- Sep 2013
- Posts
- 1
Any updates?
07-22-2014 #88
Registered User
- Join Date
- Apr 2006
- Location
- MD
- Posts
- 232
I'm way behind on this thread...
=======
5/31/13
I guess technically im body dropped now lol.
The body went back on, but not without a fight. What I wouldnt do for a lift an ld a set of those roller skate things. The hardest part was dropping it back down, everything lined up no problem.
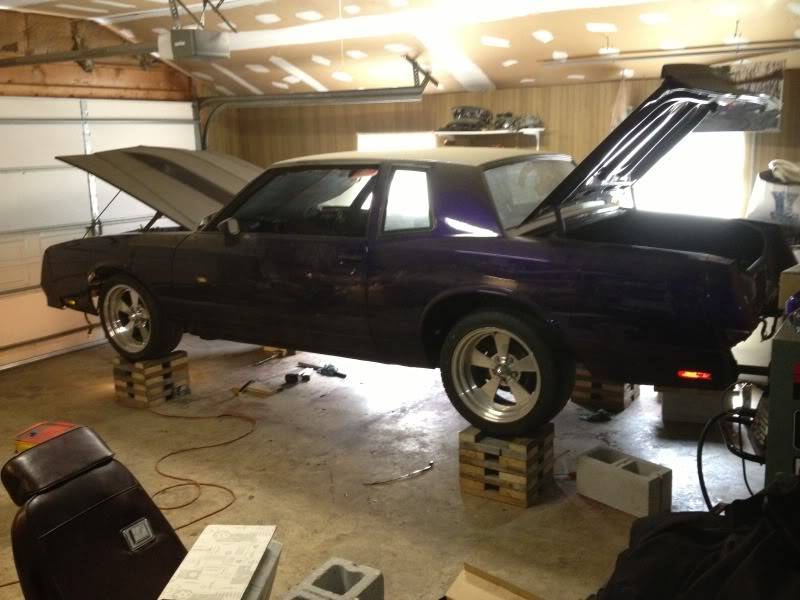
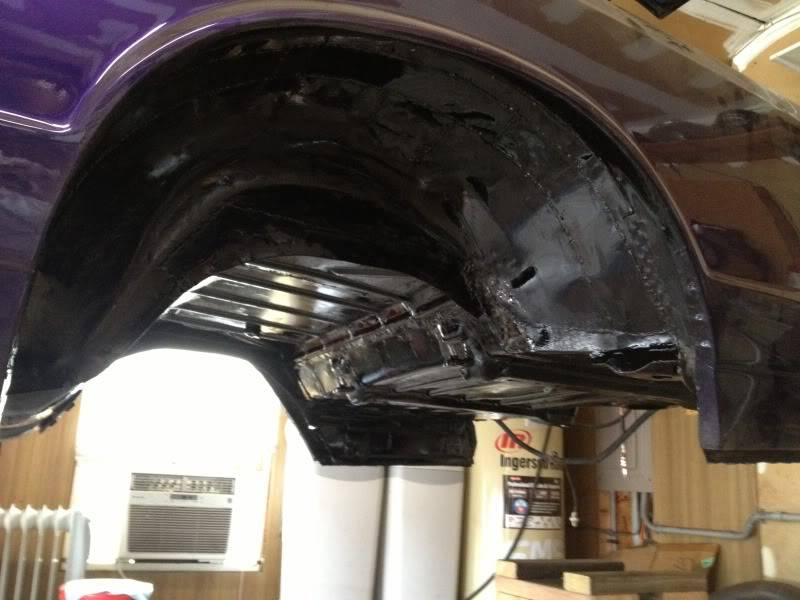
Heres the extra room from the minitub. Ill modify a different frame while I drive the car.
======
6/24/13
She's back on the road!
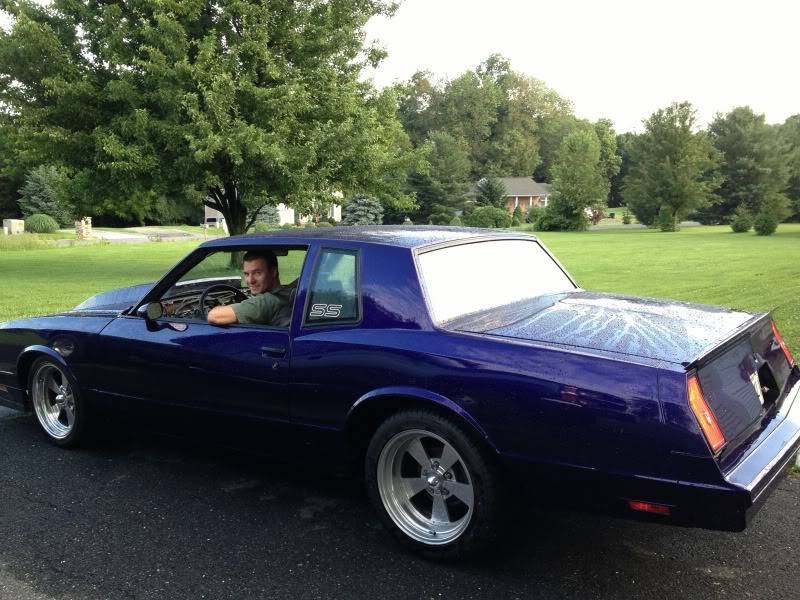
Drove it in to work a few times. I'm almost positive that the floor is touching the transmission, so that will take some doing to fix. Other than that, no real issues to speak of.
Feels so good to drive it again!!! :D
======
7/12/13
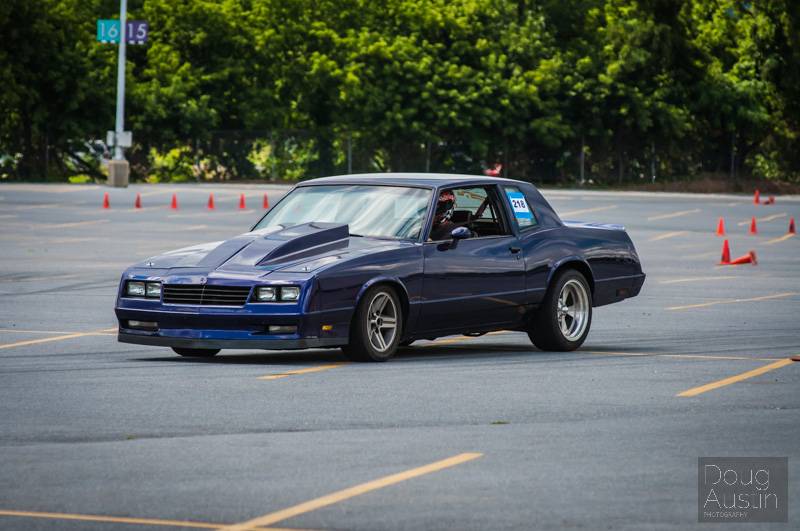
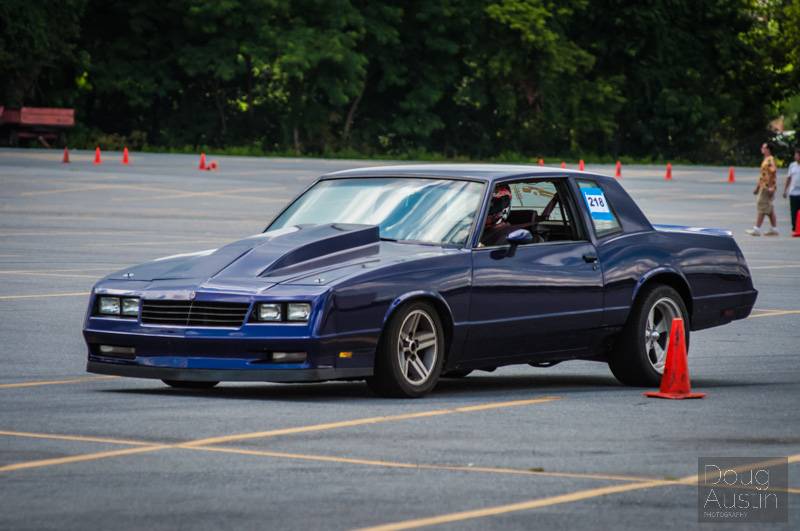
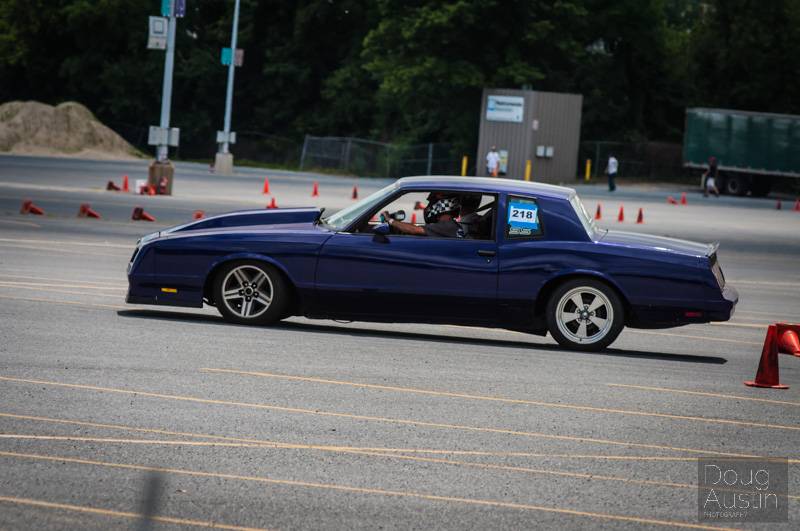
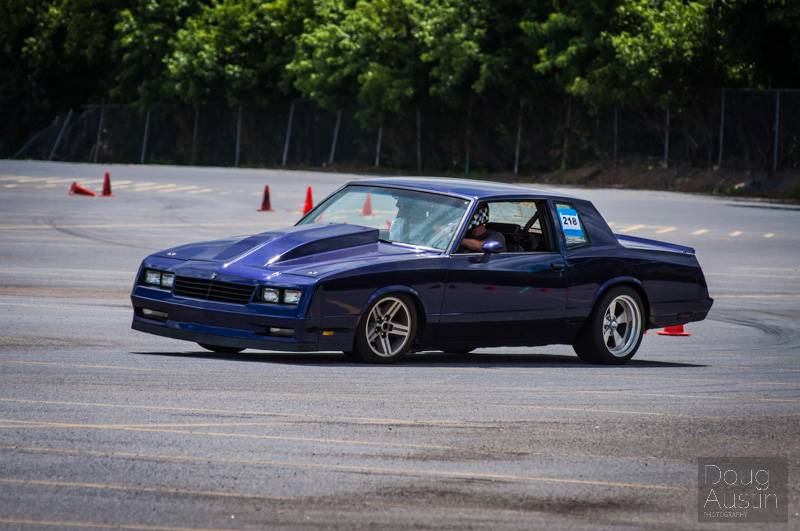
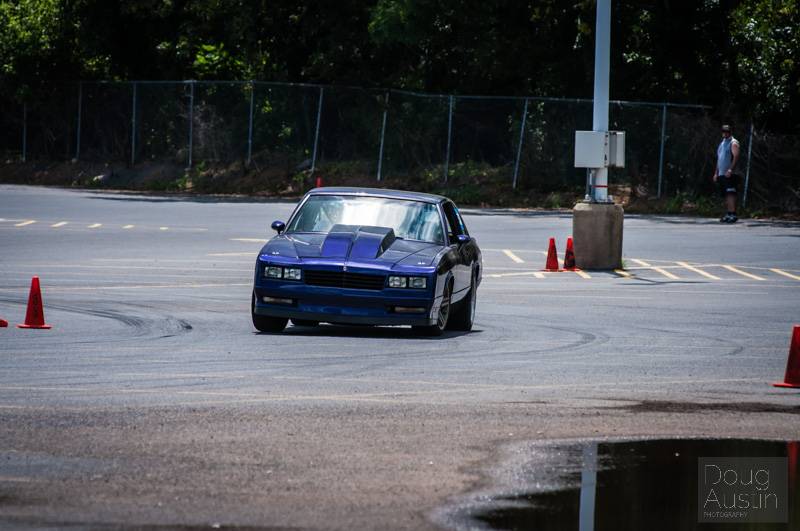
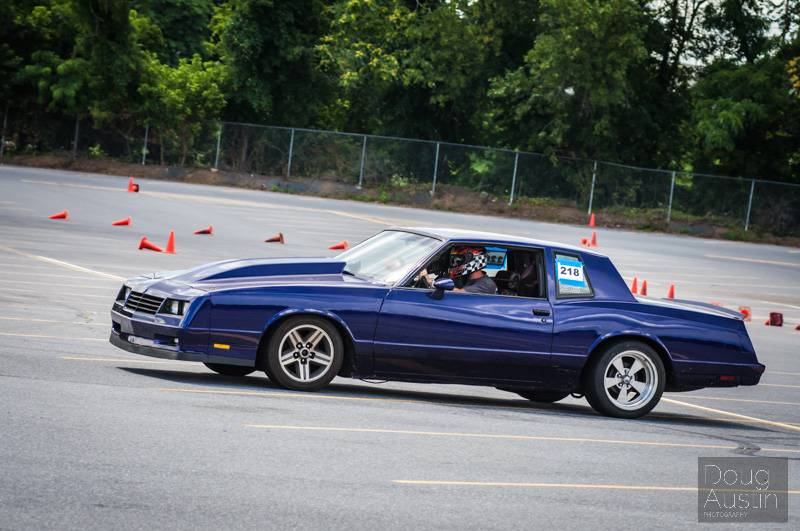
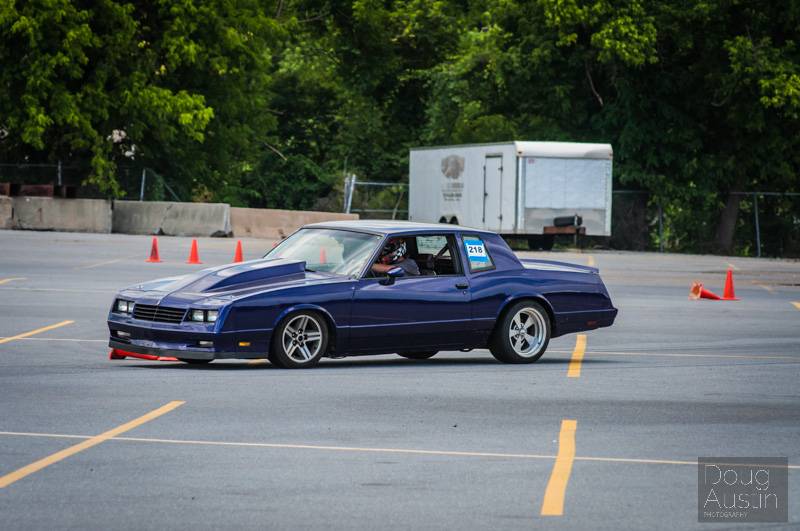

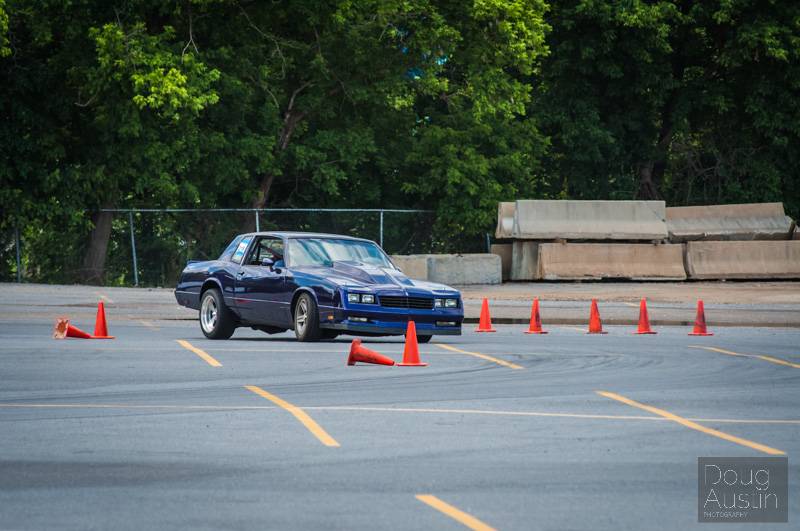
Thanks to Doug Austin at www.dougaustinphoto.com for the great pictures! If you eer race a susquehannah region race, check him out.
http://www.youtube.com/watch?v=M8RLoOeivi0
http://www.youtube.com/watch?v=LQNWSBVdQ70
As you can see... the springs are WAYYYY too soft. Even with the Helwig bar up front (thanks Doug!), it still rolls like a farm truck. I'll switch to some stiffer springs, and I really need to get the front geometry under control... more about that in a bit.
07-22-2014 #89
Registered User
- Join Date
- Apr 2006
- Location
- MD
- Posts
- 232
12/1/13
I purchased this from a local circle track racer.
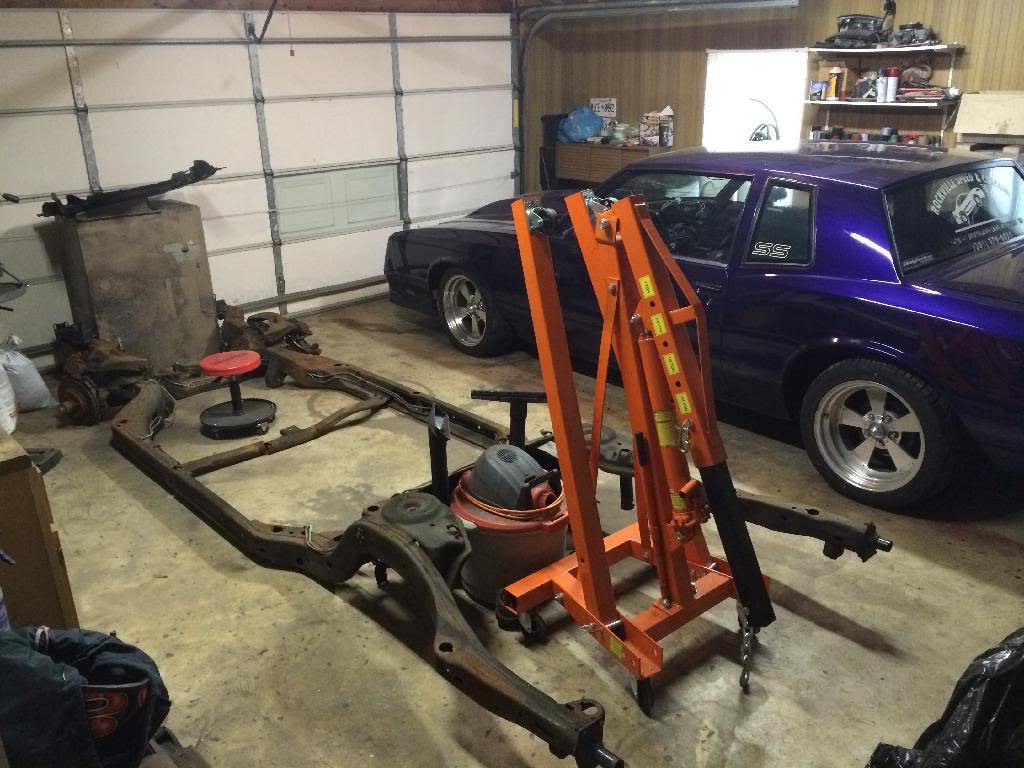
This will get the modifications for the rear mini-tub, 3-link converison, and the front suspension/steering geometry revisions. It will also get some torsoinal stiffness modifications and maybe try to add some room for front tire clearance.
I got this for a clutch pedal kit and some cash.
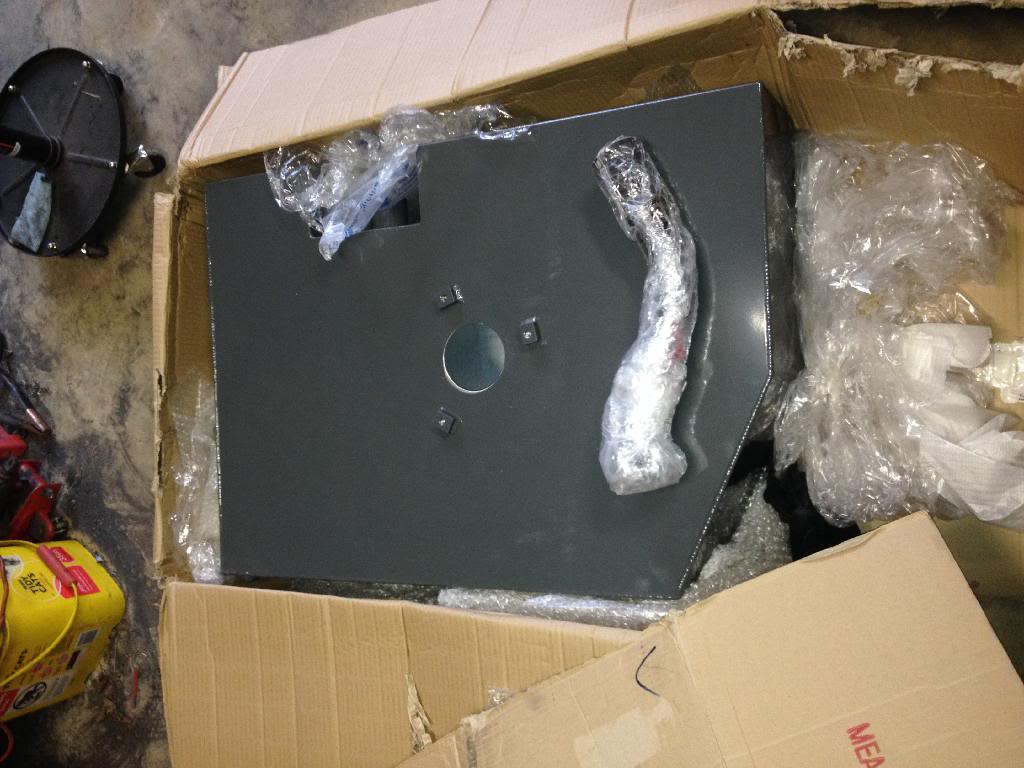
Baffled for injection
=====
5/24/14
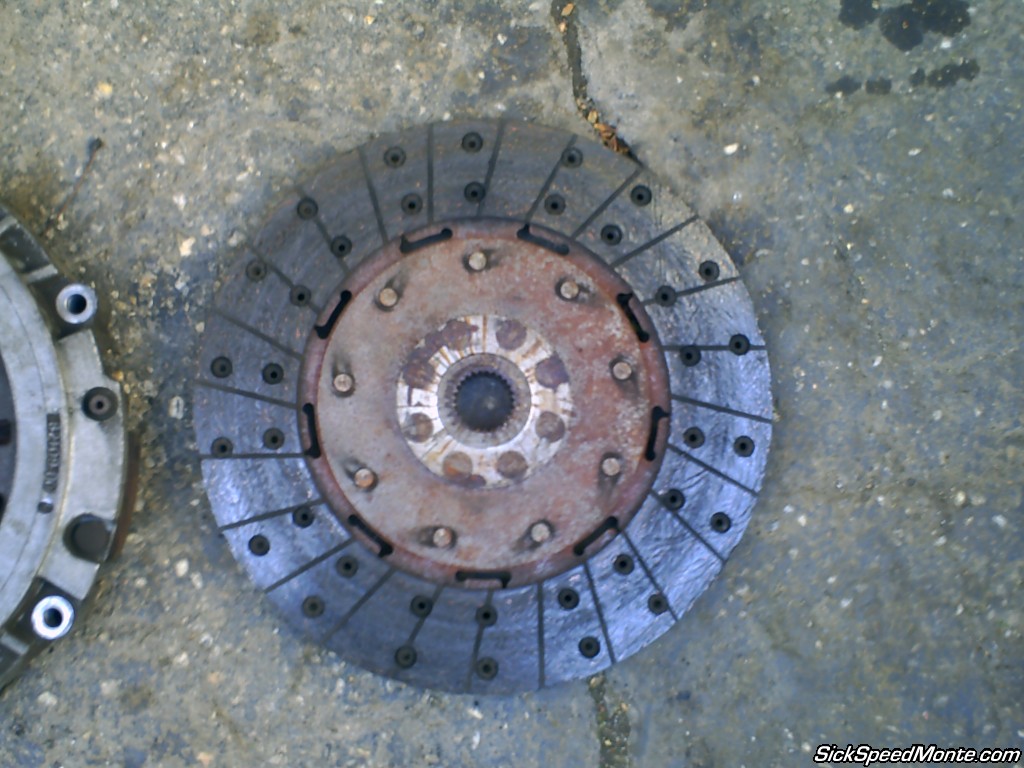
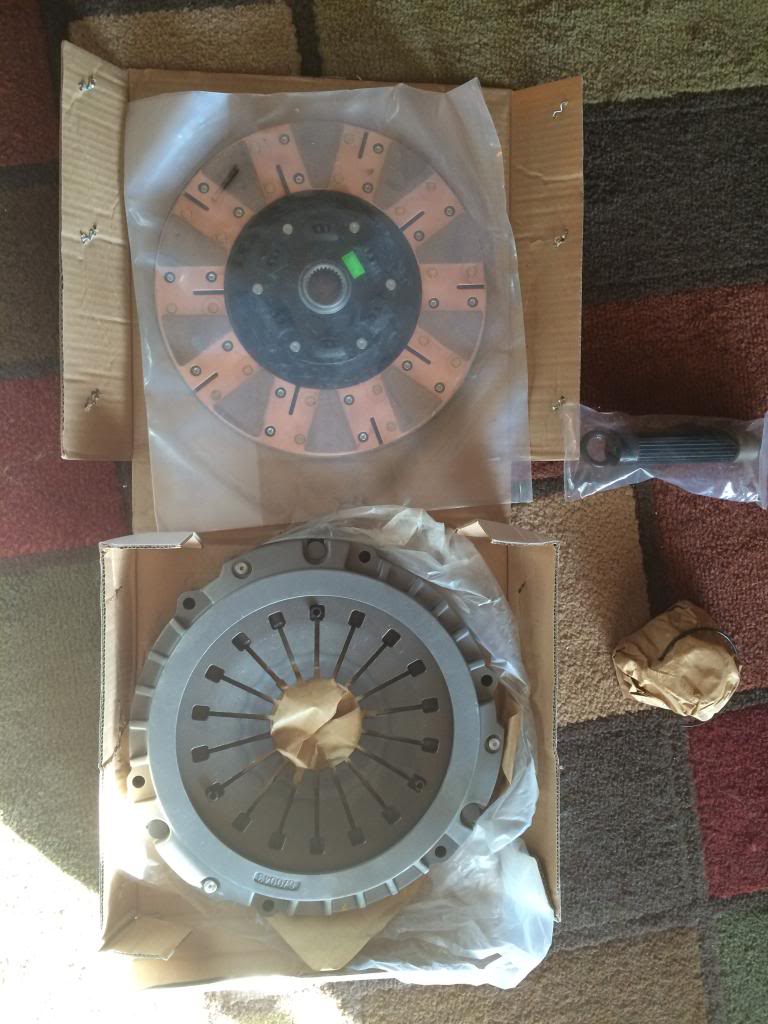
So I finally ordered a clutch to fix the chatter in the ZF. The stock Corvette clutch does not have a sprung hub because the flywheel is a dual mass (2 peice) flywheel. I couldn't use that flywheel because it's for a 1 piece rear main and I have a 2 piece. So I have a 1-piece flywheel with a non-sprung hub clutch disc. It's noisy. Luckily, there are clutches that remedy this because the dual mass flywheel turned out to be no so great for the Vette guys anyway.
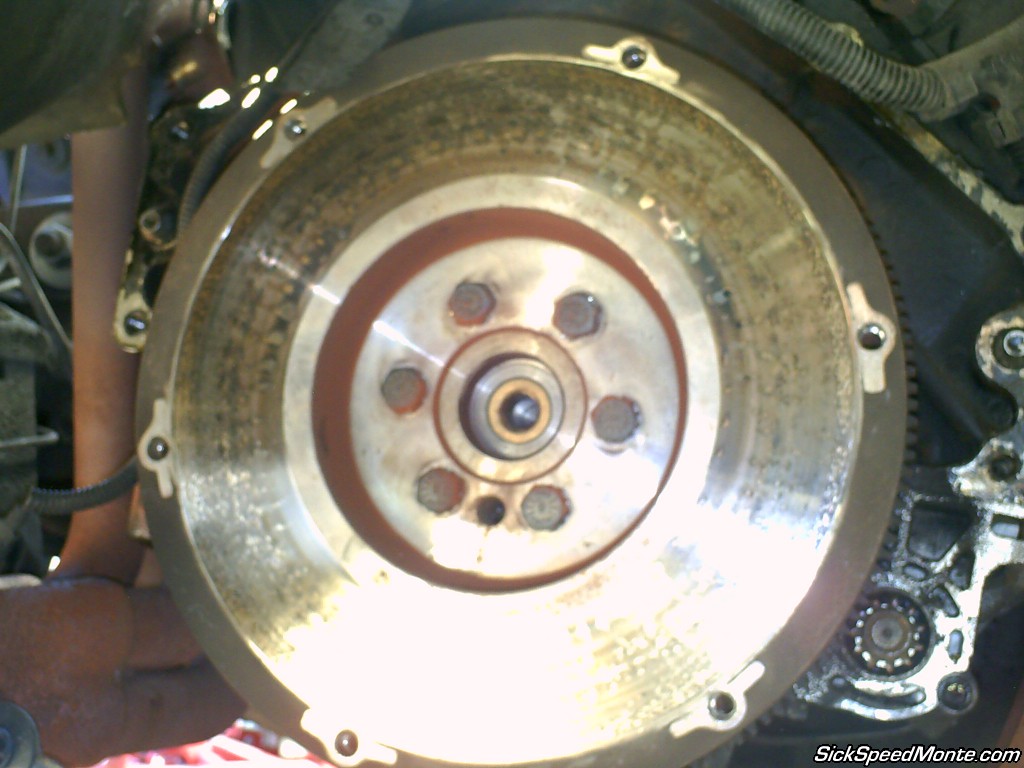
The old disc: (This and the flywheel pic below are from the blue tag swap a couple years ago.)
The one that arrived this morning If you look closely, you can see the springs going around the center hub. This is a dual-friction clutch, so it's ceramic on one side and metallic on the other. The guy at Carolina Clutch said it should be able to handle the power I plan on making and still be streetable.
I have a three day weekend. I plan to build a couple more clutch kits tomorrow and then Monday pull the trans out. I need to take the flywheel down to Baltimore to get balanced. I have a high RPM vibration and I have replaced the harmonic damper twice to no avail. I wonder if this flywheel might have been on an externally balanced motor before mine... so I was going to take it to get balanced next week. I don't see any holes or counterweights in the picture... I'll have a closer look when I pull it out. I don't know what else could be causing the vibrations whether the clutch is depressed or not.
=======
6/16/14
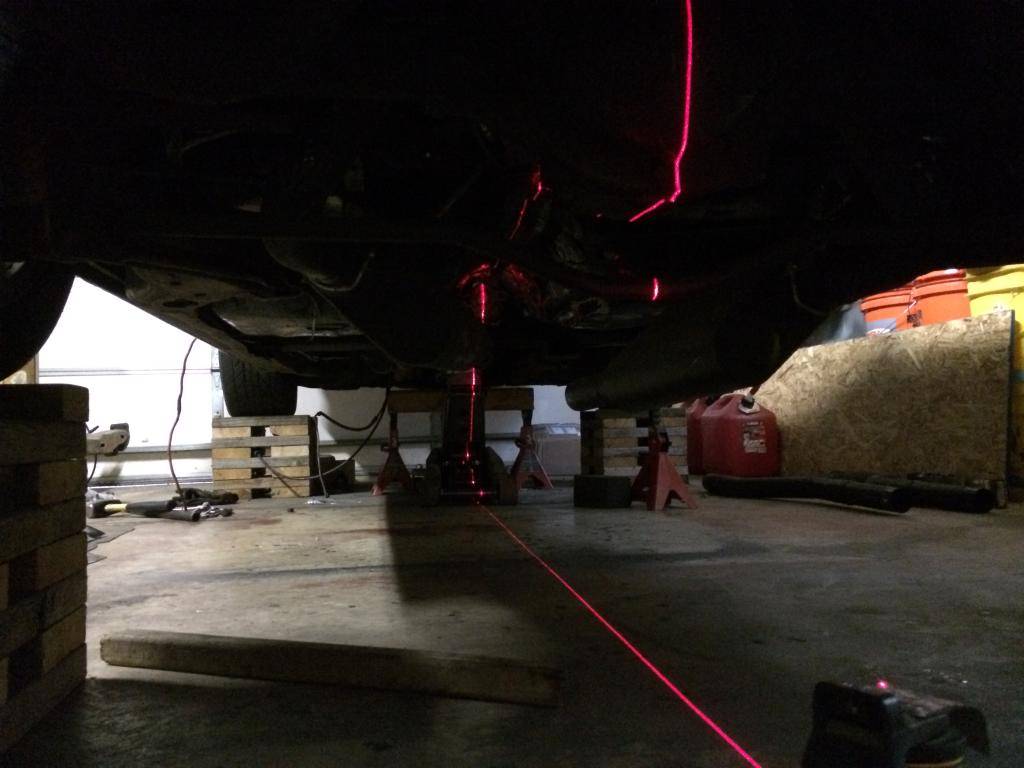
Lining up the drivetrain with a laser level.
And I built a new tunnel panel so that the trans clears.
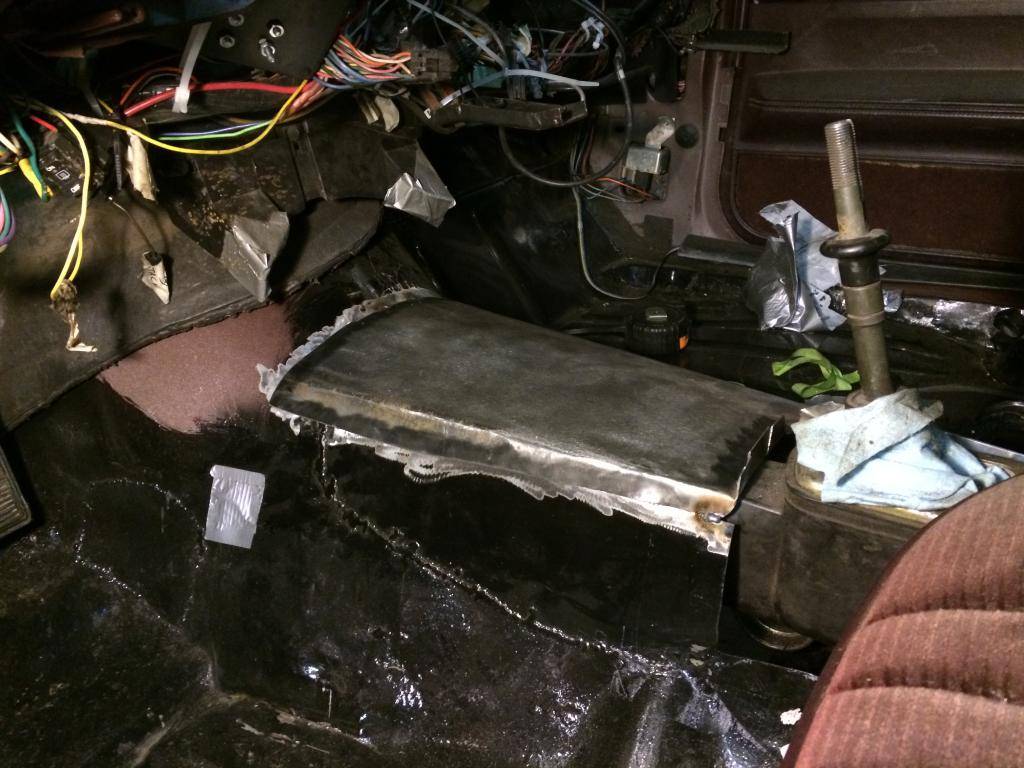
The flywheel was surfaced and balanced. I installed it and the clutch, cut up my old "master fabricated" crossmember and welded it back together so that it actually can be removed from the vehicle, and painted that and the floor. The trans can go back in now and then the test drive!
=======
6/23/14
The new clutch is amazing. It makes such a difference, I don't know why I didn't do this sooner. The "grinding" sound (it was actually just gear chatter on the gears that weren't engaged by the dogs) is almost completely gone. The chatter that remains is at a much lower RPM. It's low enough that you shouldn't be lugging the engine down that far anyway. The sprung hub lowered the system's stiffness and therefore lowered the resonant frequency to an RPM below the useable range.
It shifts smoother, it doesn't buck nearly as bad when you are creeping along, and because the trans isn't touching the floor anymore, it's about half as noisy in the car now. You can now hold a conversation instead of wearing ear plugs. The crossmember can now be removed from the car MUCH easier since I re-did it, and the trans sits a bit higher in relation to the frame so it's no longer the lowest point. I had to remove my driveshaft loop though because the yoke would hit it on big bumps due to the trans mount compliance. I need lower the tail of the trans a bit I guess, but I'm enjoying driving it for now.
=======
7/7/14
Well she was smoking out the left exhaust and I had found some water in the pipe when I took it apart for the trans work... so I figured I blew a head gasket when it overheated (my stupid fault... forgot to turn the fans on.) So I got a head gasket kit and pulled the head, but I don't see anything obvious. The steel rings around each cylinder seem to be fine. There was a bit of dissintigration around the water jacket area of the gasket, but if it's not making it into the cylinder, I don't see how that would have caused the problem. The intake gasket was pushed off b/w 1&3, but that shouldn't cause it to smoke... I guess I'll see if it still smokes when I put it all back together. I just need to find a good way to chase the threads in the block. I read that you shouldn't use a cutting die.
07-22-2014 #90
Registered User
- Join Date
- Apr 2006
- Location
- MD
- Posts
- 232
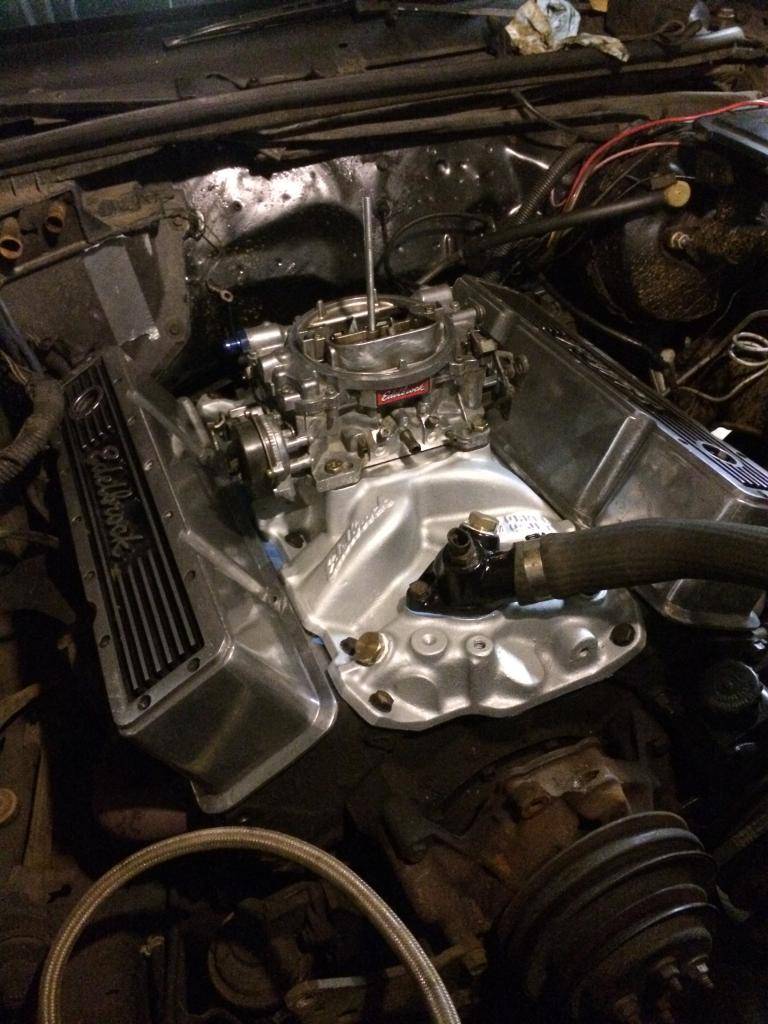
7/9/14
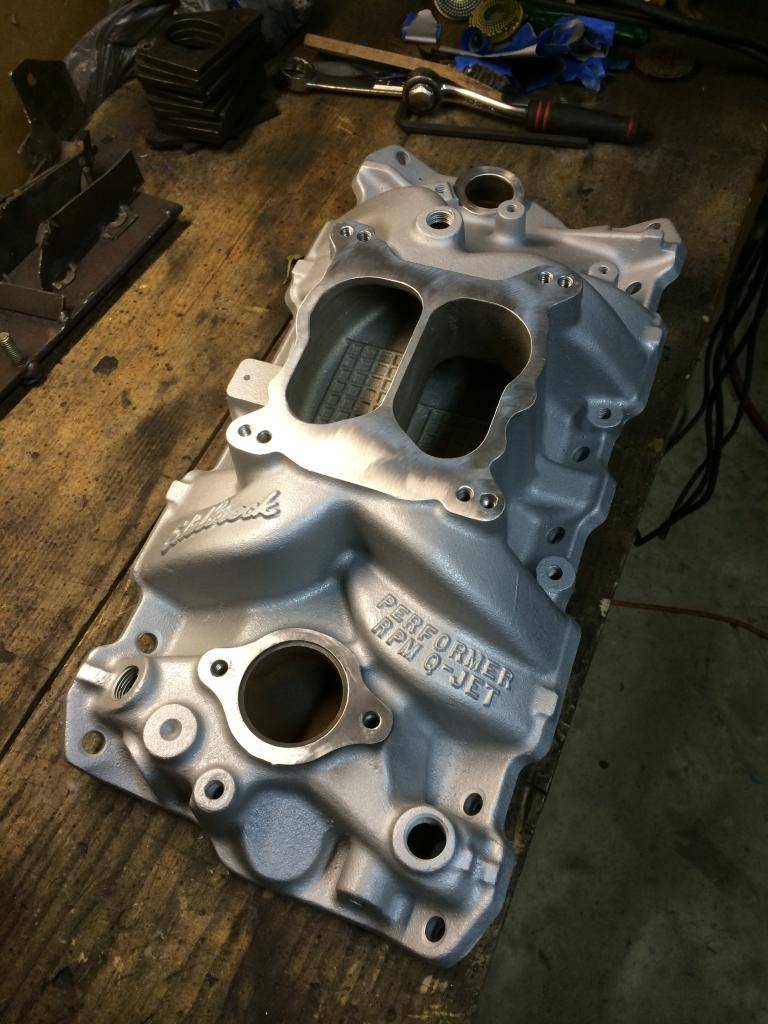
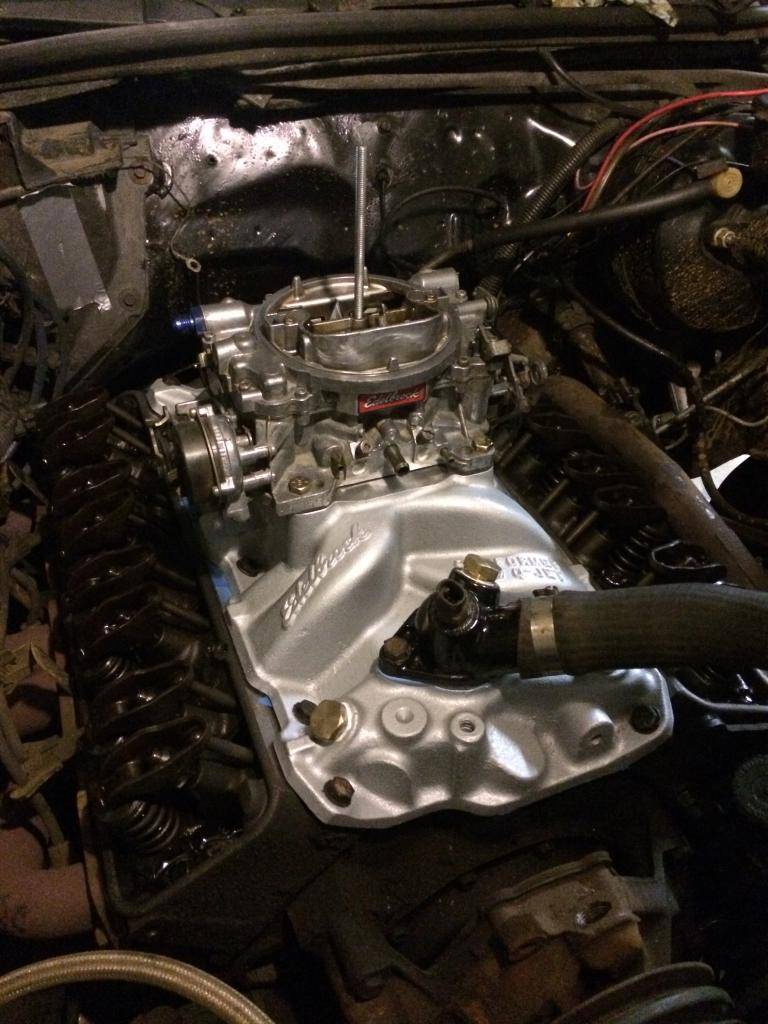
I painted the intake with high temp aluminum and the thermostat housing with high temp black and clear and cleaned up the carb and the alternator. I got the head on and torqued and the intake, carb, 'stat housing, header, and power steering pump installed. It was midnight by then and I had to call it. Next will be the distributor, button up the exhaust at the collector, new plugs, re-paint my air filter housing with a new filter, change the oil and add coolant. I'll probably pull the water pump and paint that too.
=======
7/18/14
I looked into sound and heat insulation and was floored by the prices... $300 shipped for all of the decent brands to do it "right". I kept digging around and found someone recommended this stuff...
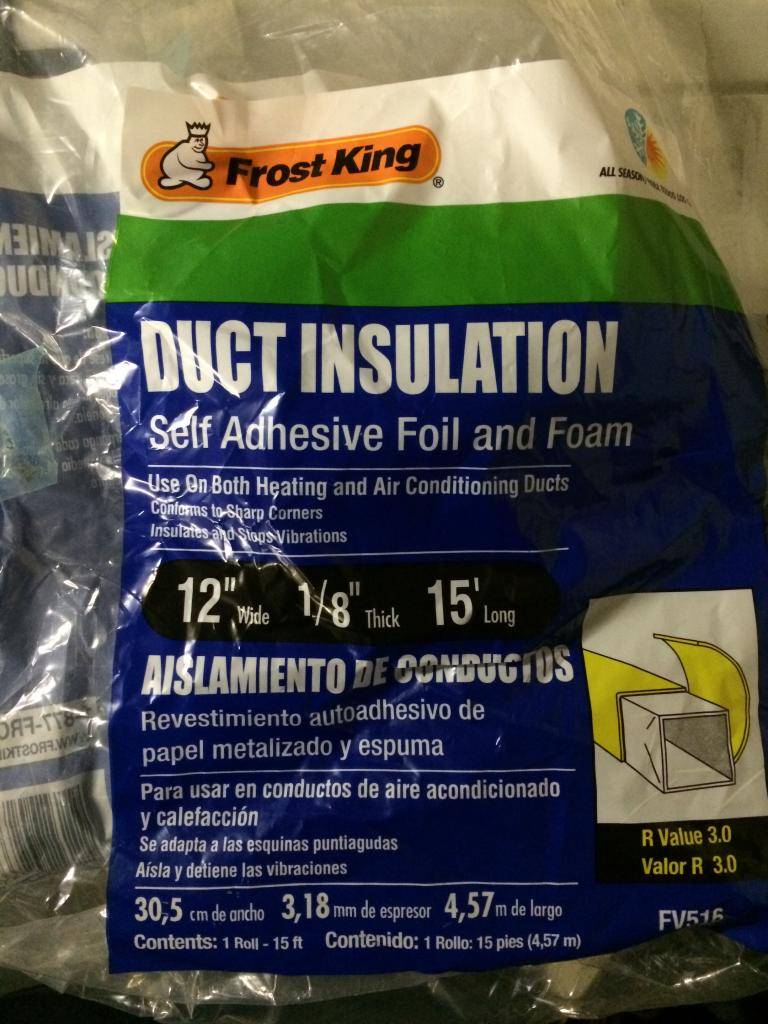
$35 for 40 square feet which is enough to do the floor and trunk. Its a closed-cell foam with foil, adhesive-backed.
I can actually tell a difference in the noise. It cut down the exhaust drone at a certain RPM and i can hear new exhaust leaks lol. I guess I cant really tell if the heat was cut down, but the insulation feels cooler than the adjacent sheet metal and I was chilly the whole way to work today. It has an R value of 3, which is impressive for 1/8" material IMO.
I also have some sound insulation from a local body supply store. It looks like bubble wrap with foil on either side. I need some spray adhesive to put that down. Then I'll put down the new jute and carpet.
=======
7/21/14
I had another good weekend on the car! I drove it to work a couple of times this week, so I had amassed a list of annoying things that I wanted to fix. Back up into the air the car went on my wooden stands.
-I greased the trunk latch with some white lithium grease to stop the squeek.
-I dropped the driver's side header to fix one spot on the floor where the colllector touched. Re-painted with POR
-Fixed an exhaust leak at the #7 header primary when I put it back on.
-Re-torqued the intake bolts. I had a little oil near the #5 runner that I think might have been coming through the bolt??
-I put a rubber boot on the clutch master cylinder pushrod to seal it from the engine bay. My master cylinder relocation bracket offsets the master from the firewall, leaving a path for air to get in.
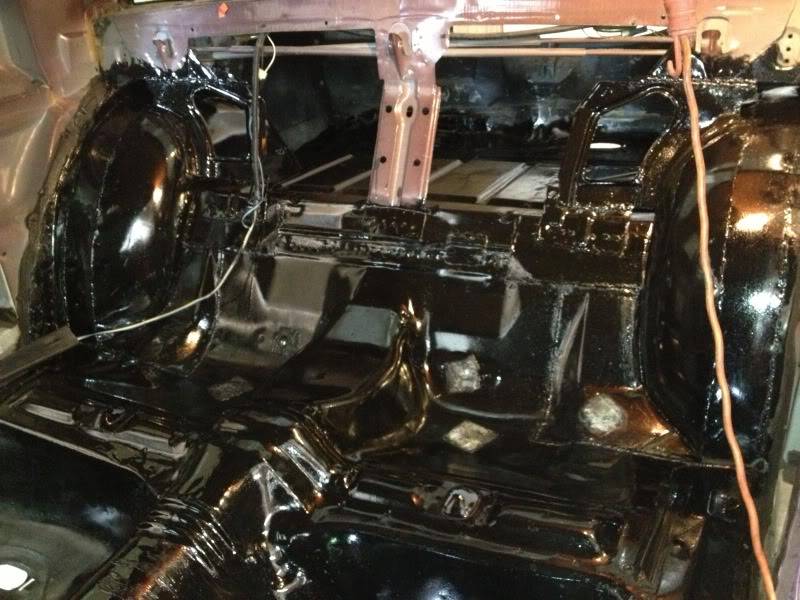
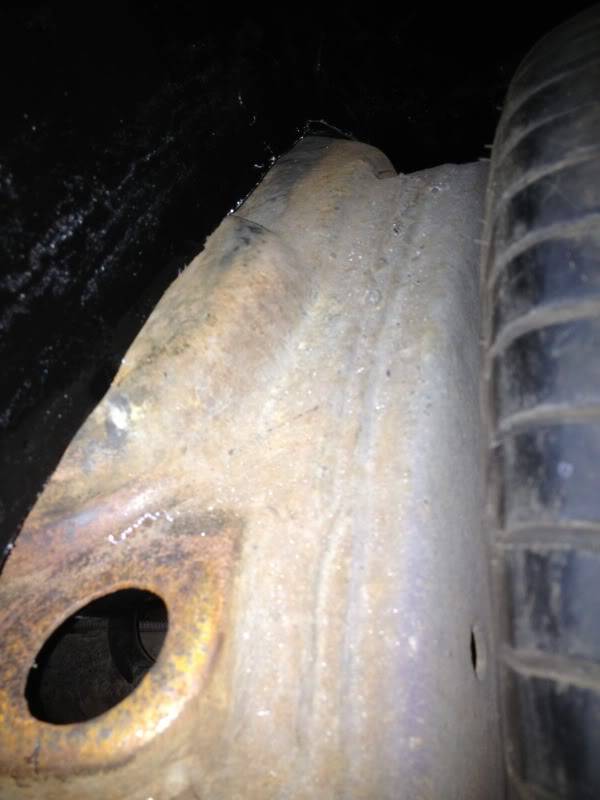
-POR15'd a small surface rust spot on the inside of the quarter that I had been putting off.
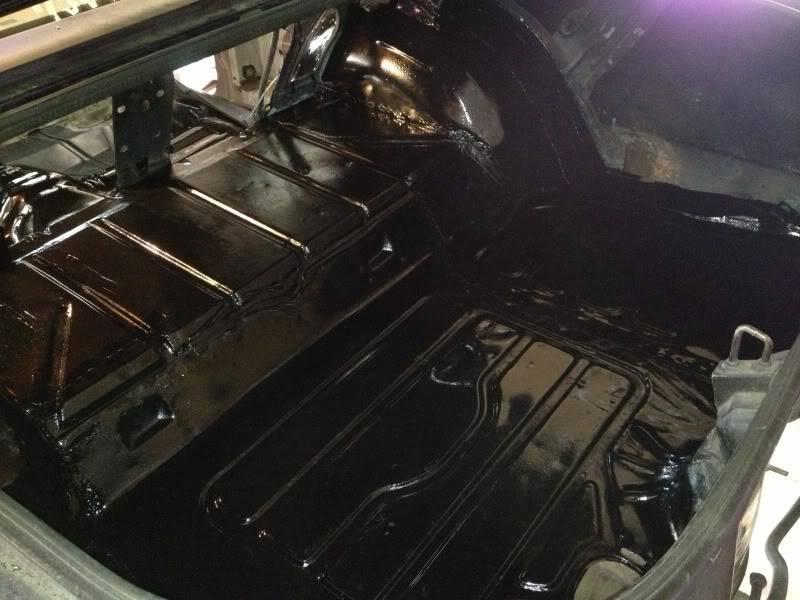
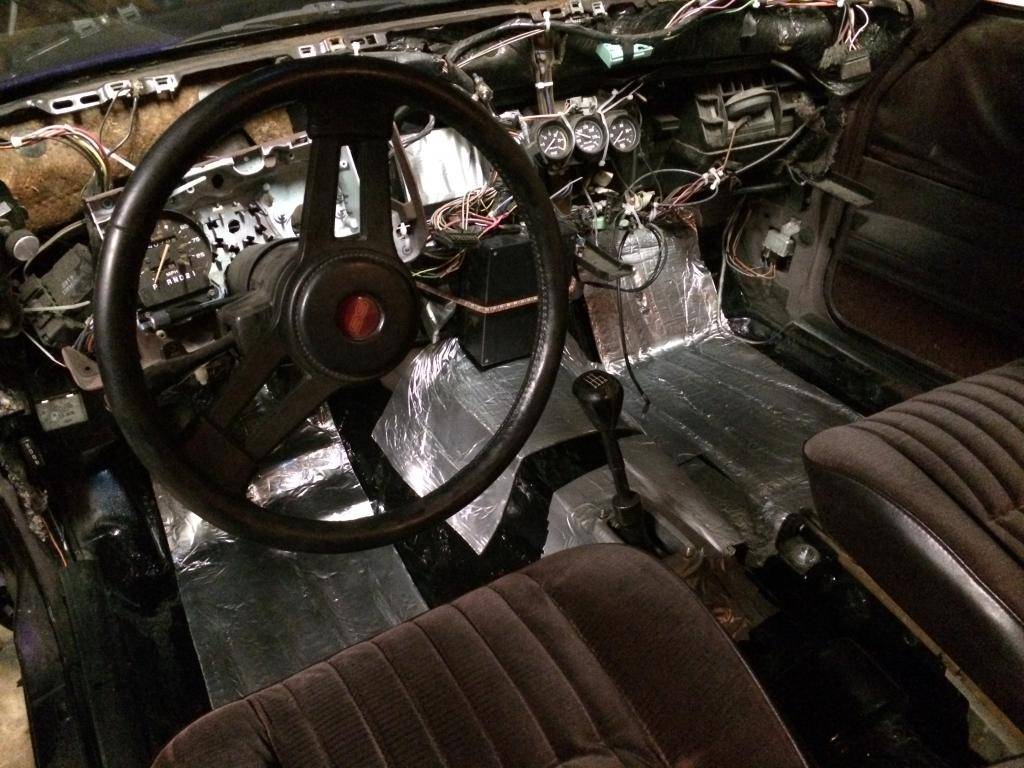
-Finished seam sealing the inside of the car and trunk. Installed the big oblong drain plugs in the rear floors and trunk and seam sealed those.
-Added some more heat insulation.
-Made a template up for a shifter surround that will allow me to mount a lower rubber shifter boot. Once I make and install that, the inside of the car will be completely sealed from the outside, other than the factory HVAC system.
-Learned how to adjust the choke (thanks youtube!) and got it set. It was WAY too tight before, making the throttle feel like it was hung up when you got into the secondaries.
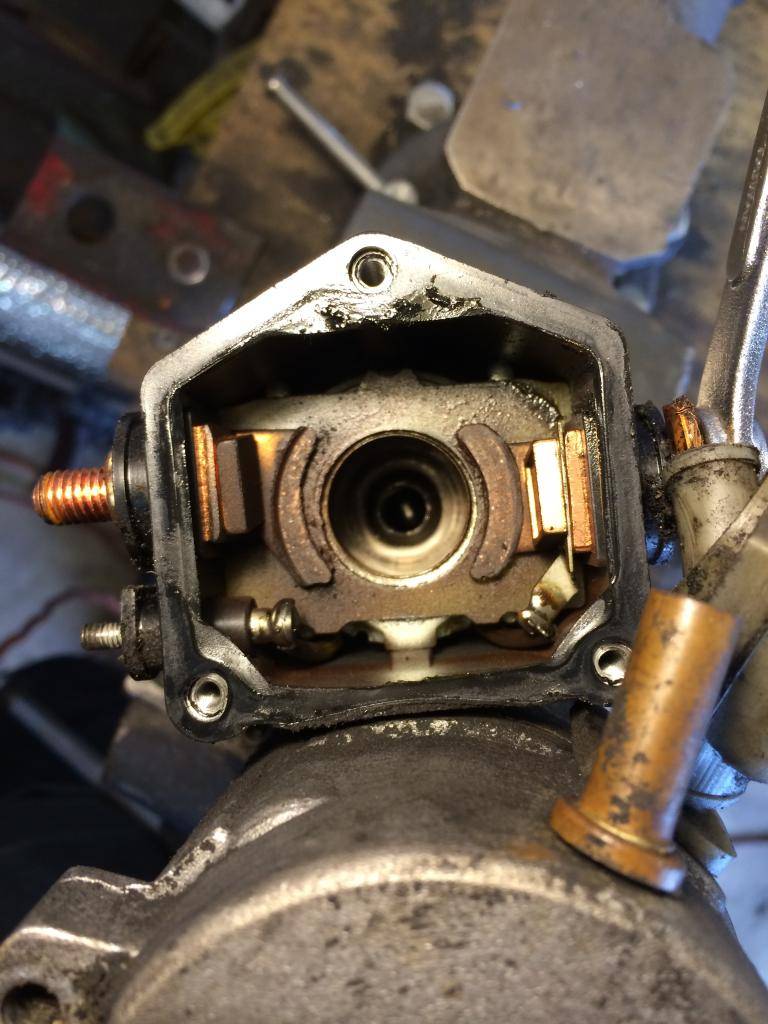
-Removed, disassembled, cleaned, reassembled, and reinstalled the starter with a heat shield that I bent up and painted with the high-temp aluminum paint. I think that might have fixed my hot-start issue but I'm not 100% sure. I took it for a 15-20 minute drive, let it heat soak for about a minute, and it fired right back up.
-Put some RTV on my plug wire holders where the plastic holder slips over the metal bracket on the valve cover bolt.
-Fixed an alignment issue with the power steering pump that would flip the V-belt inside out and then throw it. I put a straight edge on the crank and the PS pulley and found that it was not straight. The bracket that went from the front of the block to the front header bolt needed to be moved forward at the header side to straighten it out.
I have some sound insulation to install, then the jute and carpeting. The car is getting more and more comfortable to drive, and I'm really wanting to drive it every time the weather is nice. It's really nice getting back to basics with this car and being able to really enjoy it. Once I can work out the handling and steering shortcomings, you won't be able to keep me out of this thing.
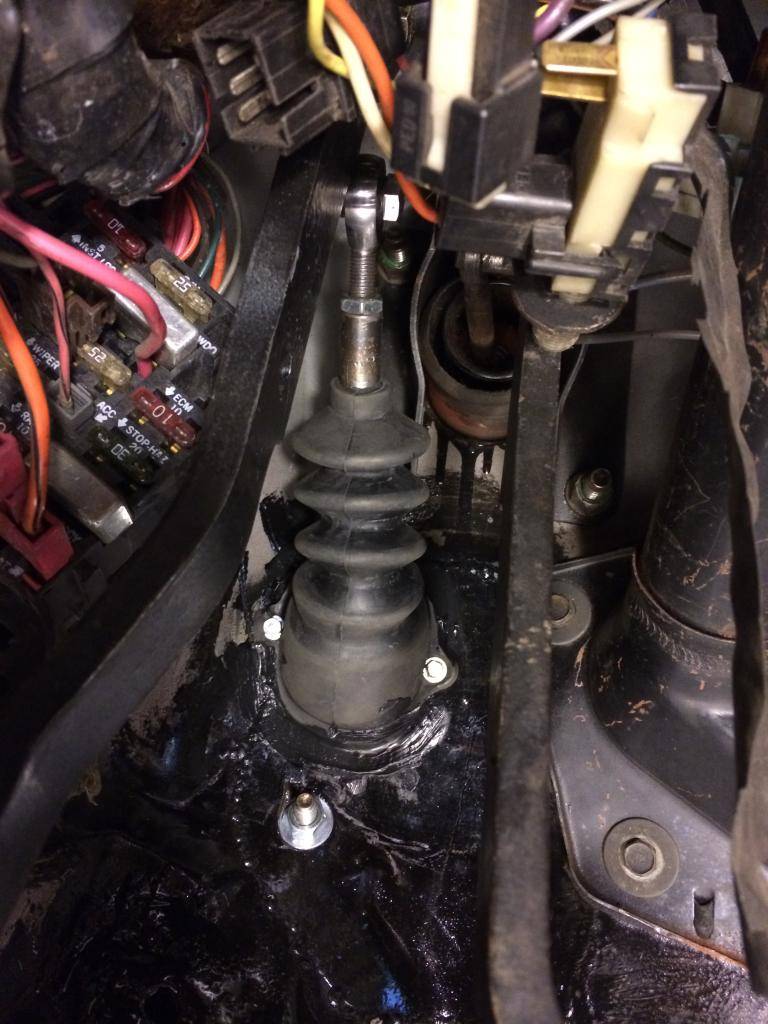
(There's a hose clamp on the top now.)
(And I relized after posting this picture that the cotter pin is missing from the brake pushrod EEEK!)
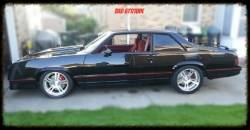
07-22-2014 #91 Registered User
- Join Date
- Aug 2012
- Location
- Peoria, AZ
- Posts
- 1,758
Excellent work Bernie!!! Keep it up.... Get that thing daily driveable and you'll have even more fun with it.
Lance
1985 Monte Carlo SS Street Car
10-04-2015 #92
Registered User
- Join Date
- Nov 2012
- Posts
- 19
Any updates? I just got my Dads' 84 Monte Carlo LS, looking for as much info as I can get. You car looks great so far. Any new pics of the interior? I too feel the stock look dated. I really feel like it's the worst thing about the cars look. If I can change the dash look, I'd be a lot happier.


 Reply With Quote