Results 61 to 80 of 92
-
07-27-2012 #61
 Registered User
- Join Date
- Sep 2011
- Location
- Lawler, IA
- Posts
- 569

Looking good.
-
07-30-2012 #62 Registered User
- Join Date
- Mar 2009
- Location
- San Antonio, TX
- Posts
- 1,632
Nice progress Bernie! I'm taking notes, so please keep the pics rolling.
 Dave
Dave
84 Monte SS - just a few bolt-ons
07-30-2012 #63 Registered User
- Join Date
- Mar 2009
- Location
- overseas
- Posts
- 3,434
looks great so far!

 Kevin S. (overseas in Germany)
1963 Chevrolet Impala 2d ht Coupe
www.CruznArt.com
CRUZN - Automotive Artworks
09-13-2012 #64
Registered User
- Join Date
- Apr 2006
- Location
- MD
- Posts
- 232
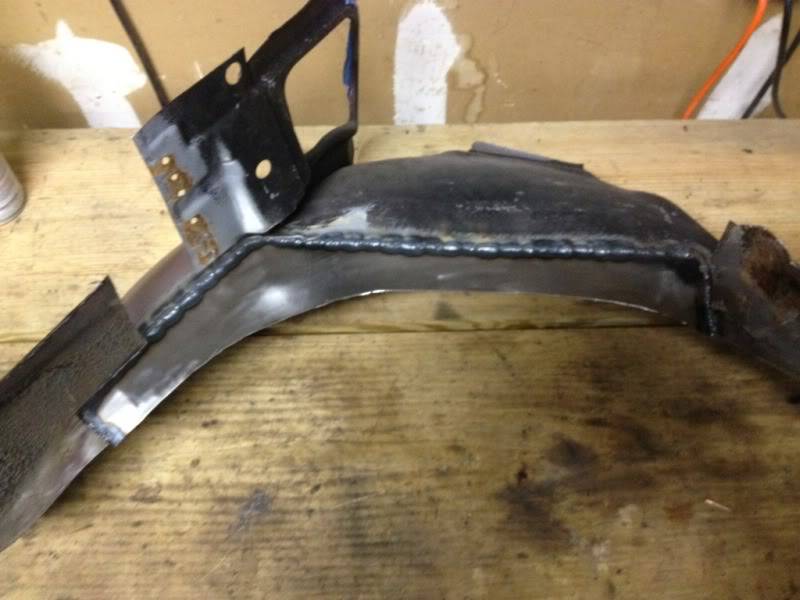
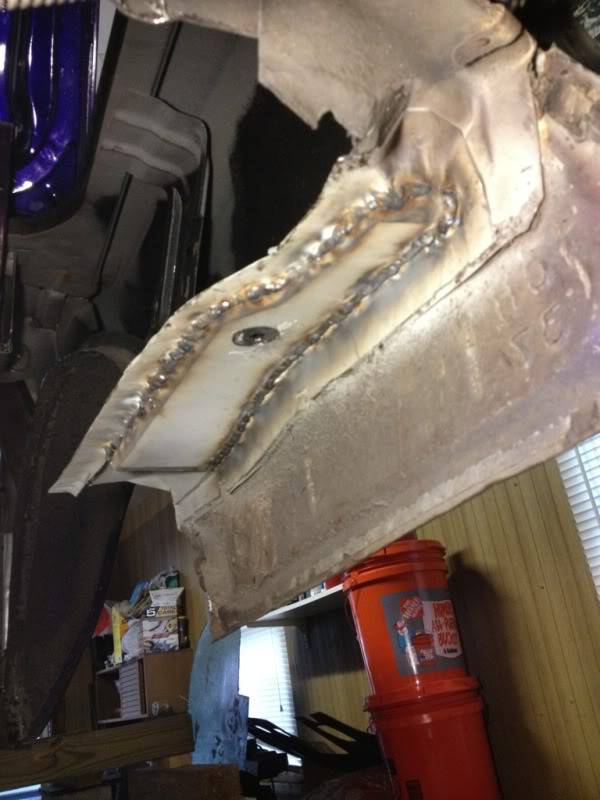
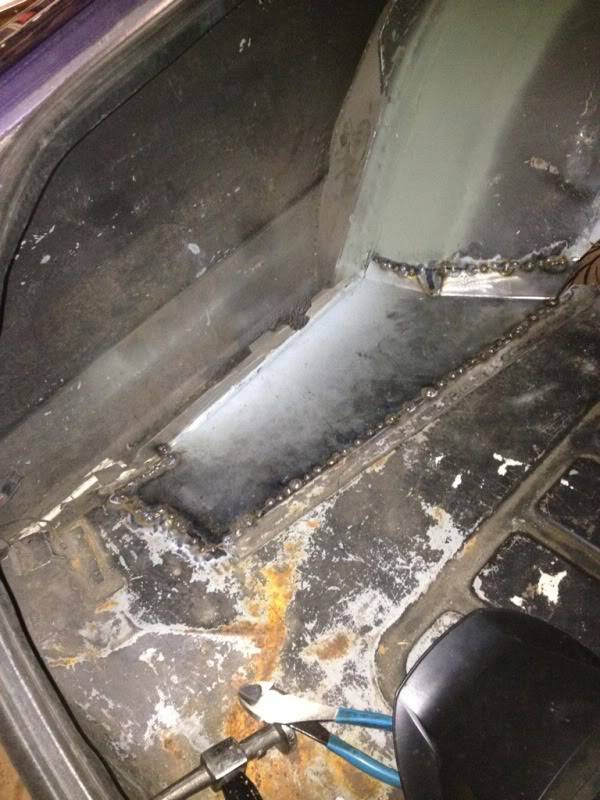
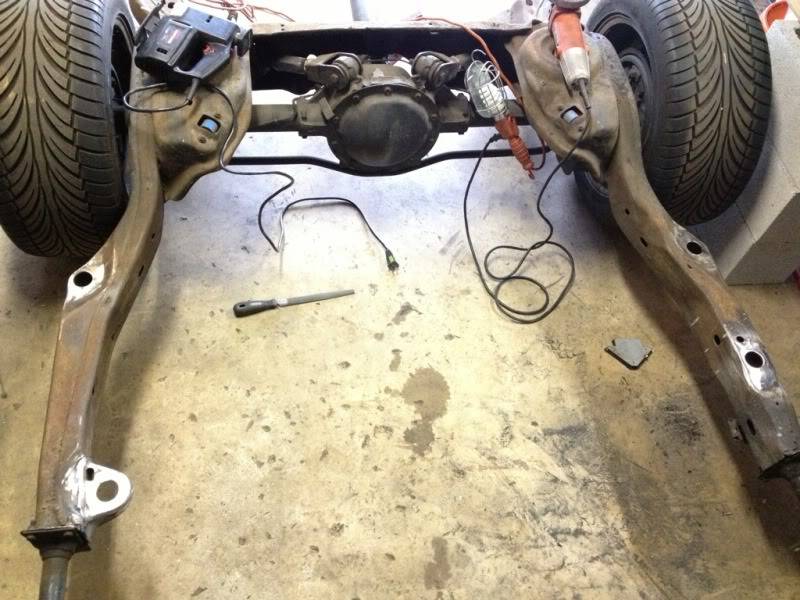
Been working on the other side as well as finishing up the rust repair on the driver's side.
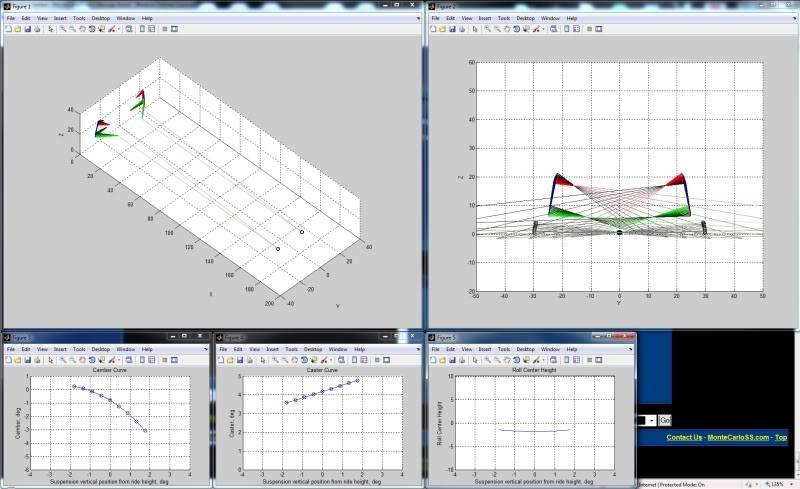
And because I'm a giant nerd, I created a matlab script that simulates a double wishbone suspension. You put in the hard points and the arm dimensions, and it gives you the camber curve, caster curve, and roll center locations throughout the travel range. I also added the tie rod to calculate bump steer, and plan to work on some code to optimize the tie-rod mounting locations and length.
01-11-2013 #65
Registered User
- Join Date
- Apr 2006
- Location
- MD
- Posts
- 232
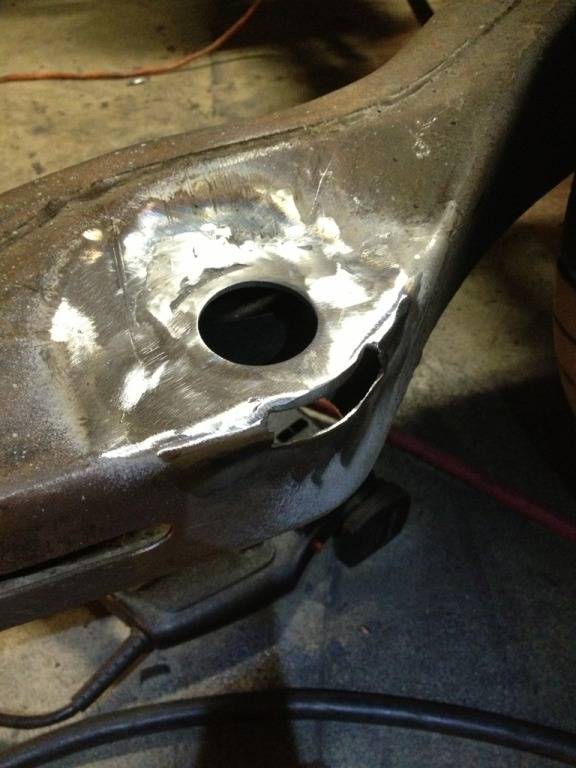
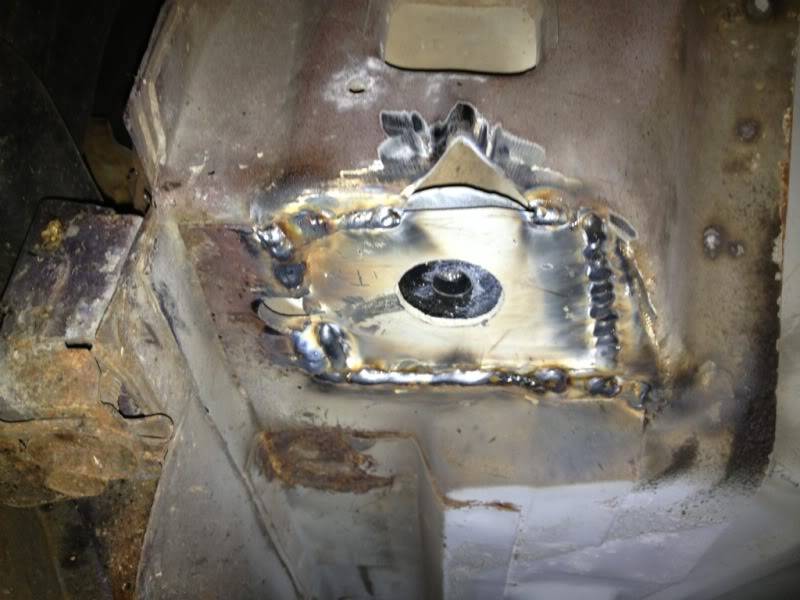
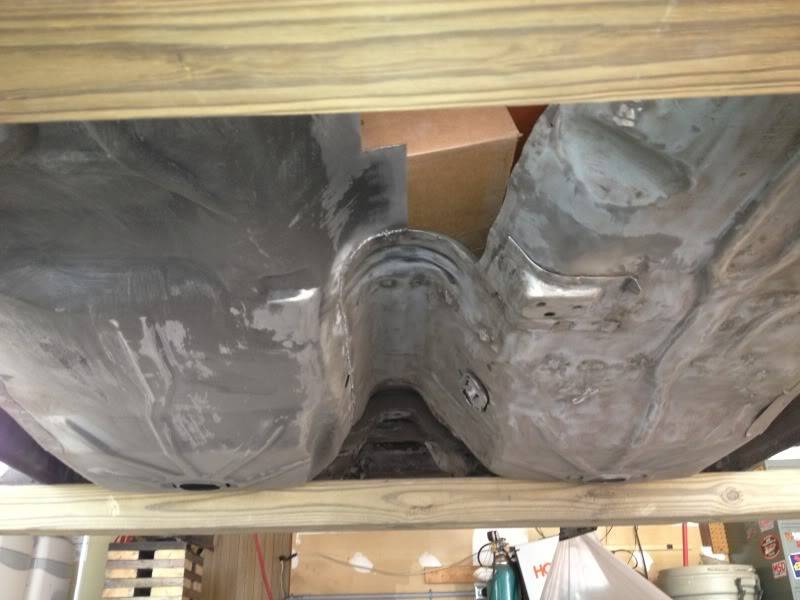
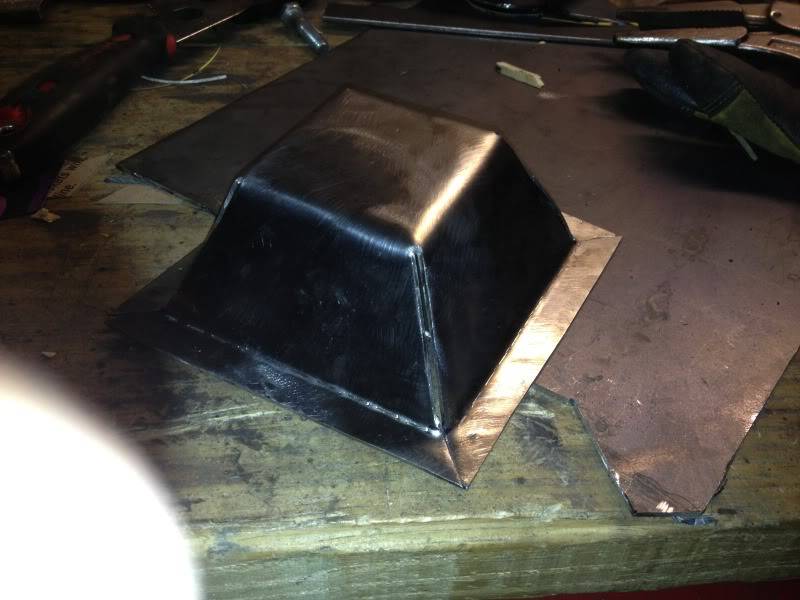
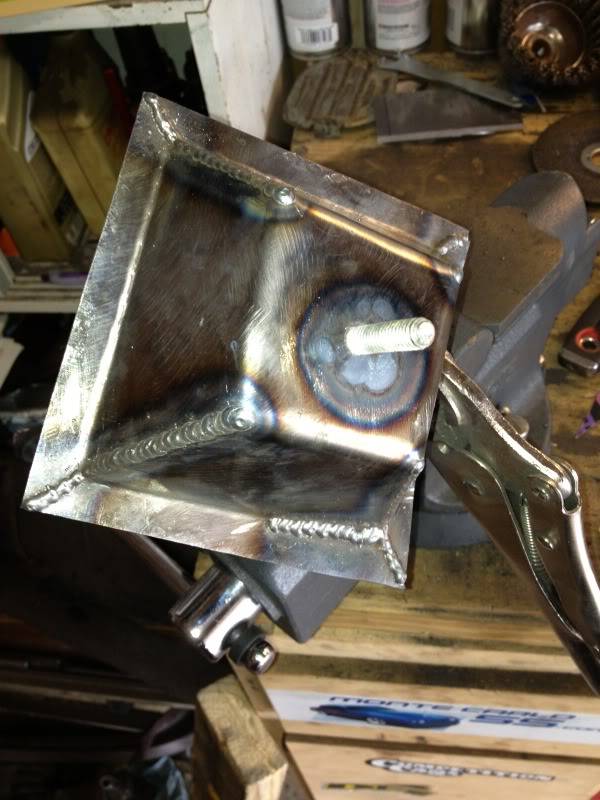
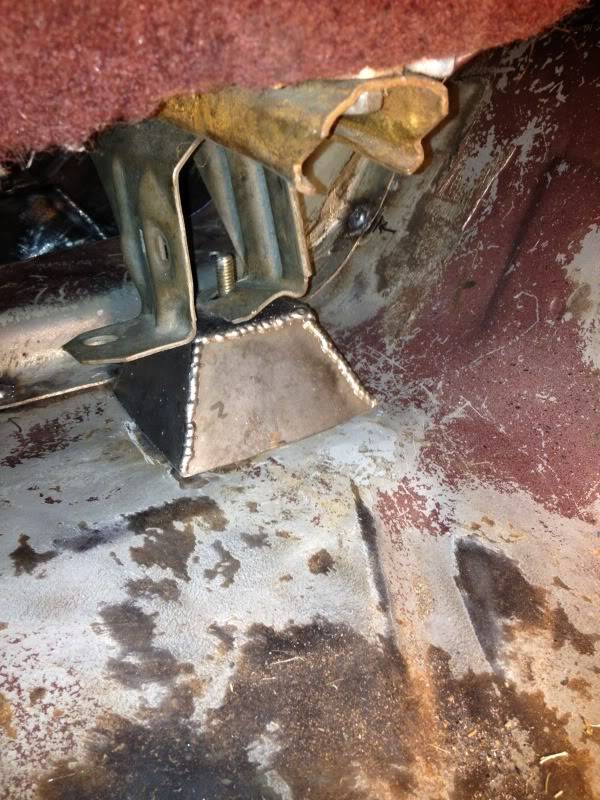
Had to cap off the #6 body mounts because of the new shape of the wheel well.

All welded up
Capped off the other body mount too
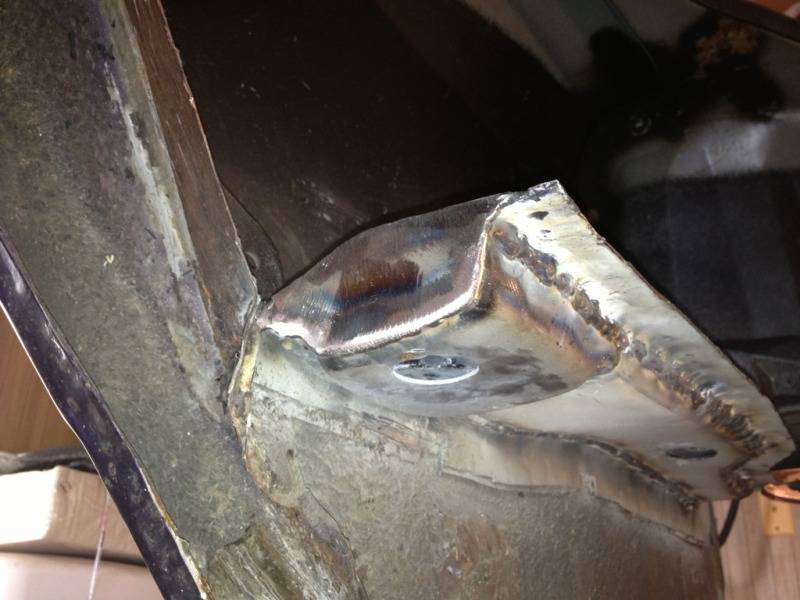
This panel was rusty on both sides, so I had to replace this side too.

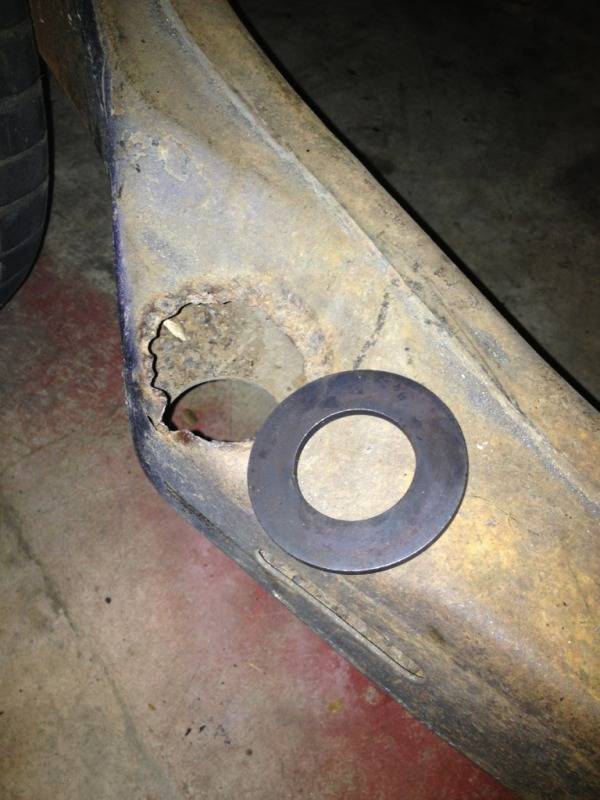
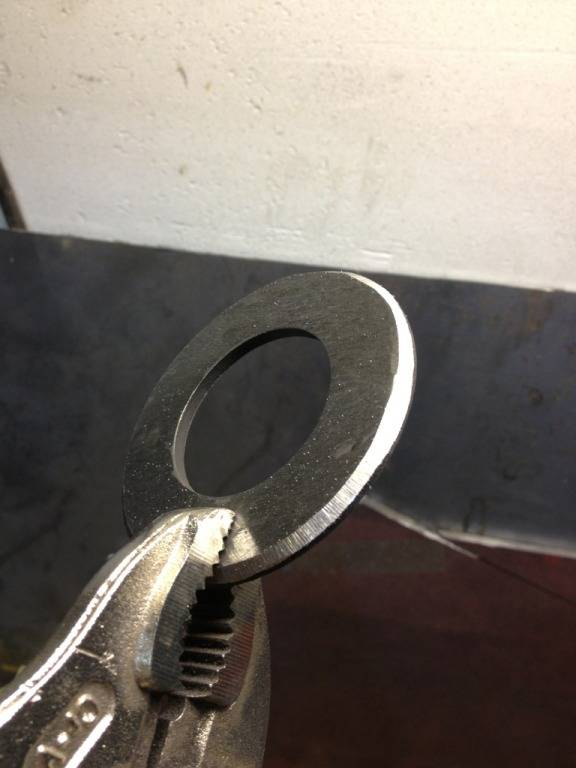
Here is the washer size that I ordered from Fastenal. These guys are expensive (~$50 for 16)... I wish I would have asked the price before I ordered more than I needed.
01-11-2013 #66
Registered User
- Join Date
- Sep 2011
- Location
- Lawler, IA
- Posts
- 569
Great work. Glad to see an update.

01-12-2013 #67 Registered User
- Join Date
- Jul 2006
- Location
- Michigan
- Posts
- 123
Great project! I love the color of your car. Keep that hood too. Looks great on it.
01-17-2013 #68
Registered User
- Join Date
- Apr 2006
- Location
- MD
- Posts
- 232
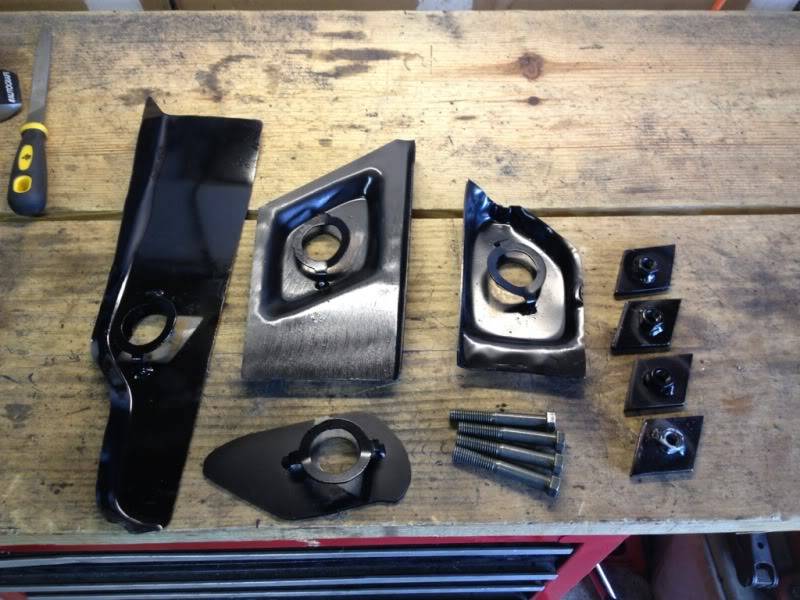
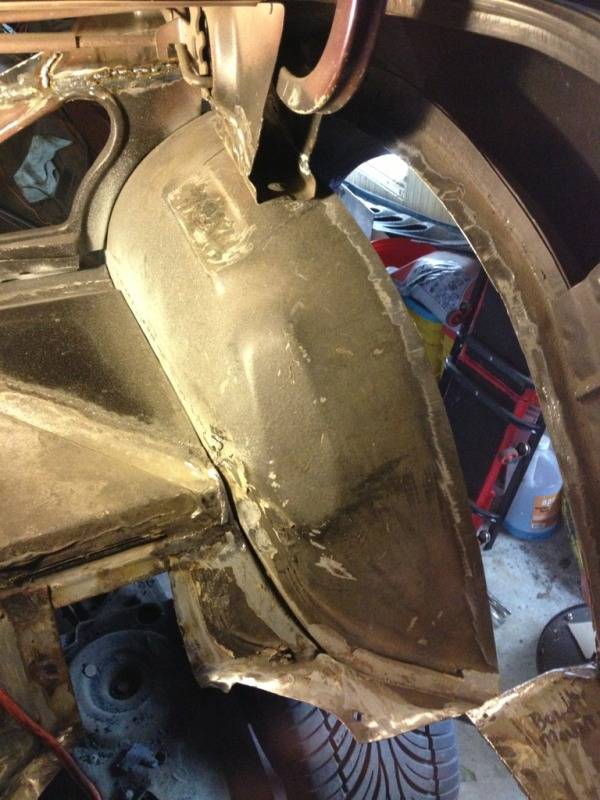
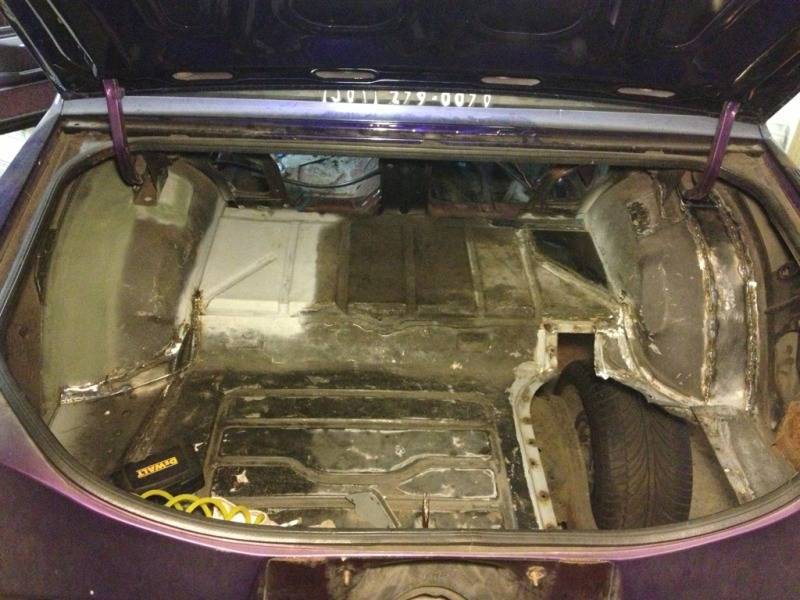
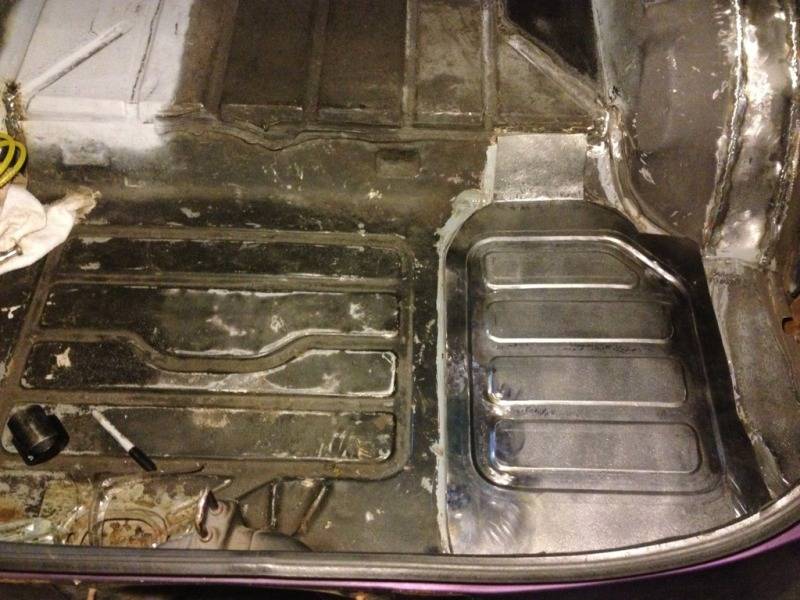
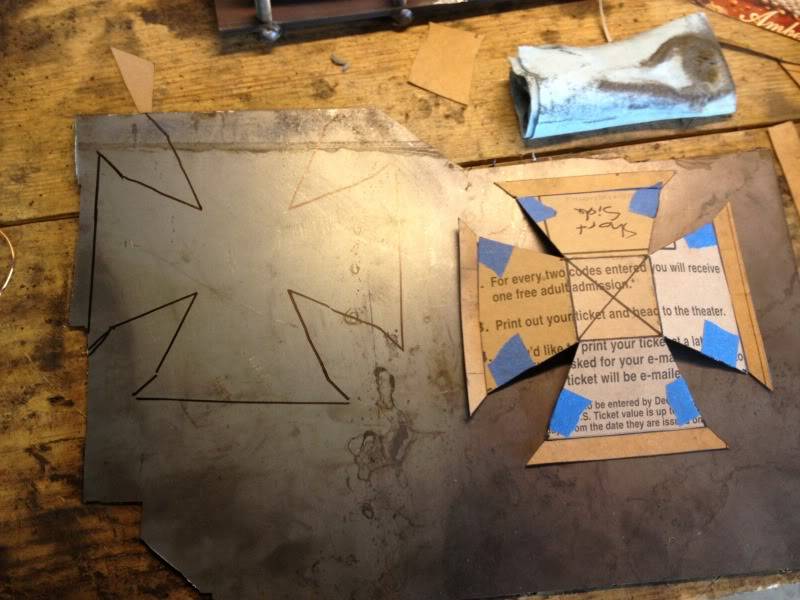
Here is the spare tire block off panel that I built.
03-15-2013 #69
Registered User
- Join Date
- Apr 2006
- Location
- MD
- Posts
- 232
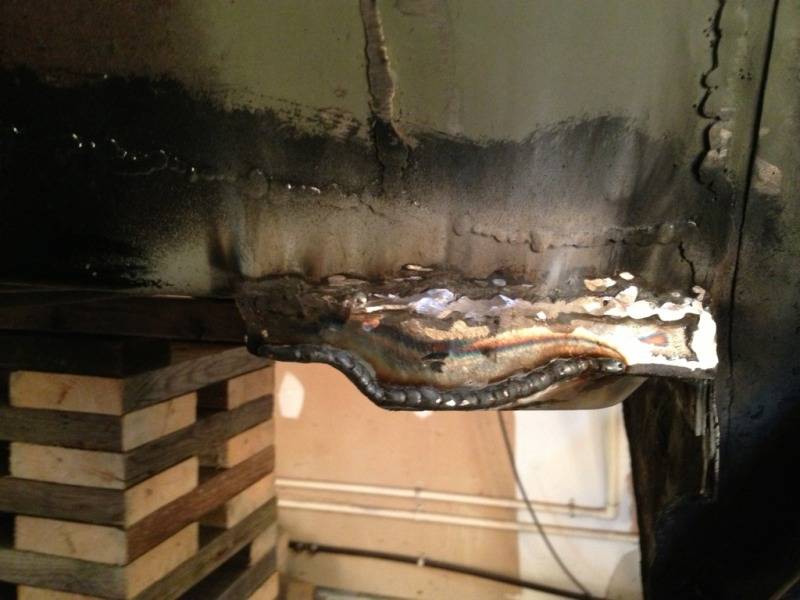
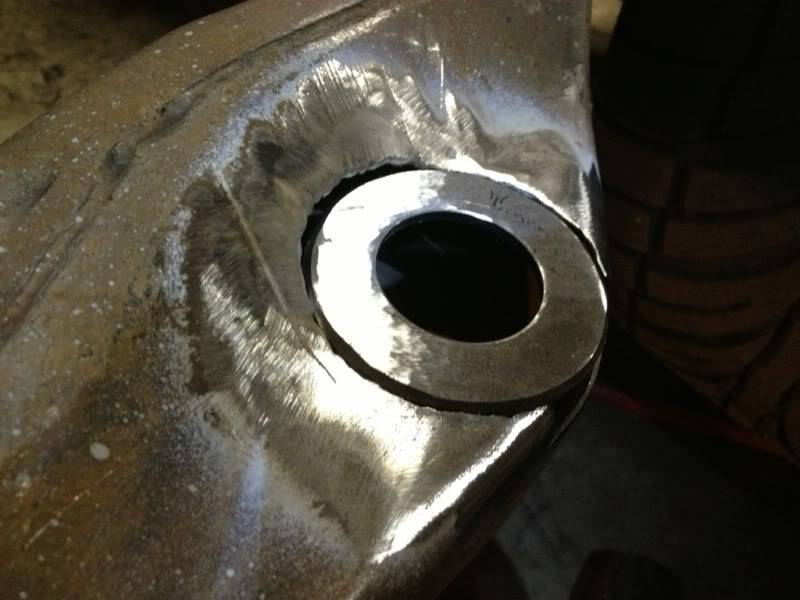
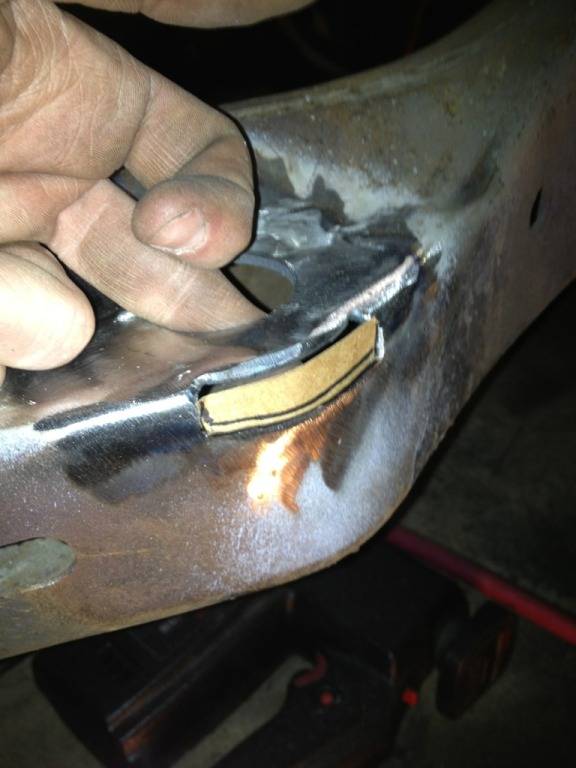
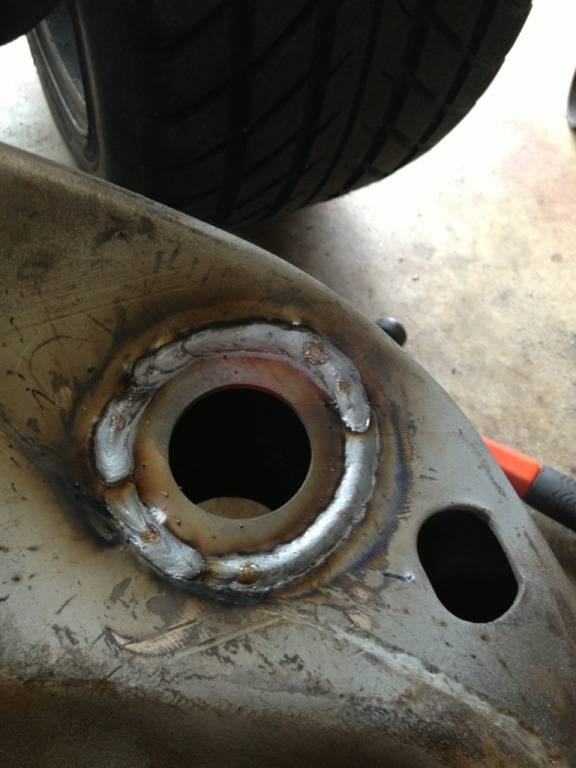
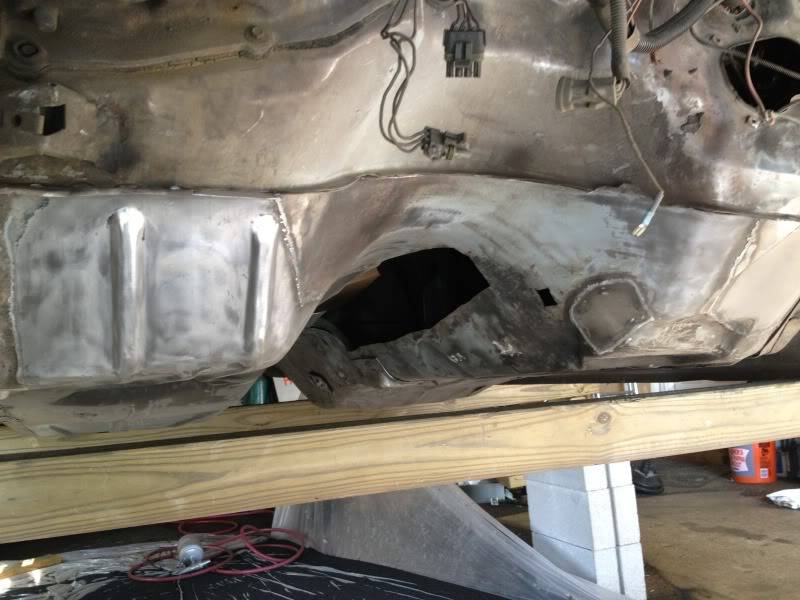
Moved on to frame repair. I got the frame lined up under the body with a location hole at the #2 mount on the driver's side, and then I used an original body mount/frame hole that were both in good shape and un-repaired towards the rear of the frame. Then I used a plumb bob to locate where to weld washers in the frame at the rusted out spots.
#6 on the passenger side
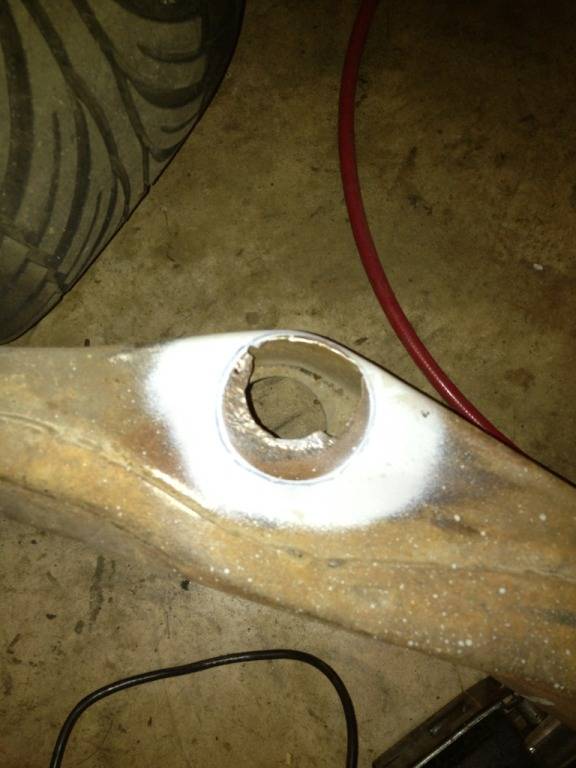
I used a jig saw with a metal blade to make radial cuts first. This was done because the jig saw cannot turn tightly enough without knocking them out one section at a time.
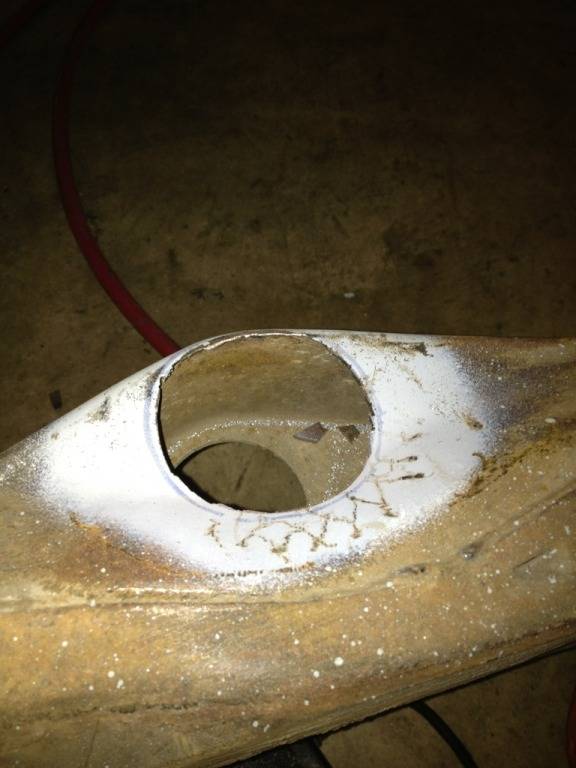
There was a very thin spot on the side of the frame rail as well.
So I cut it out.
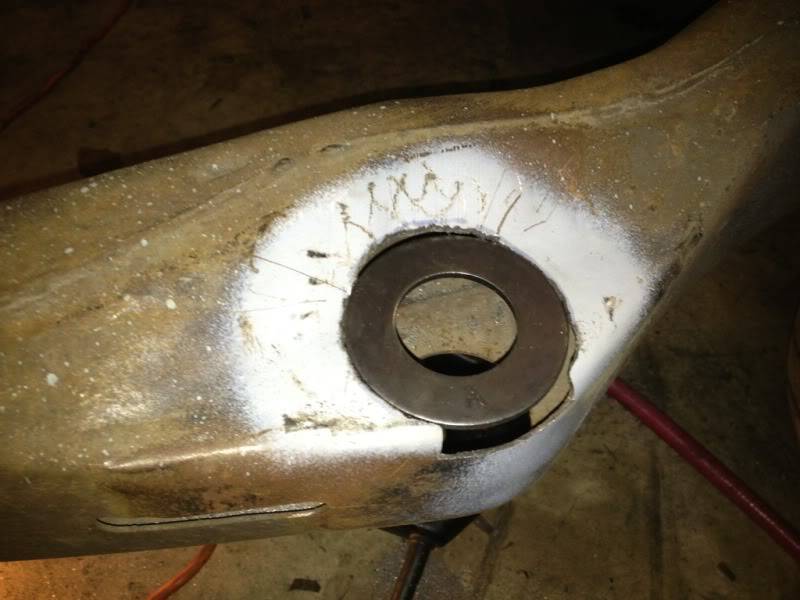
The hole was filed until the washer fit.
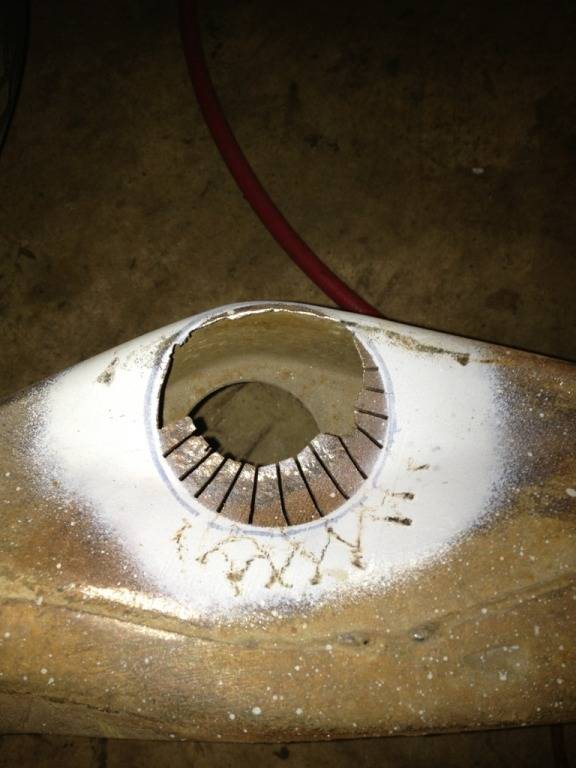
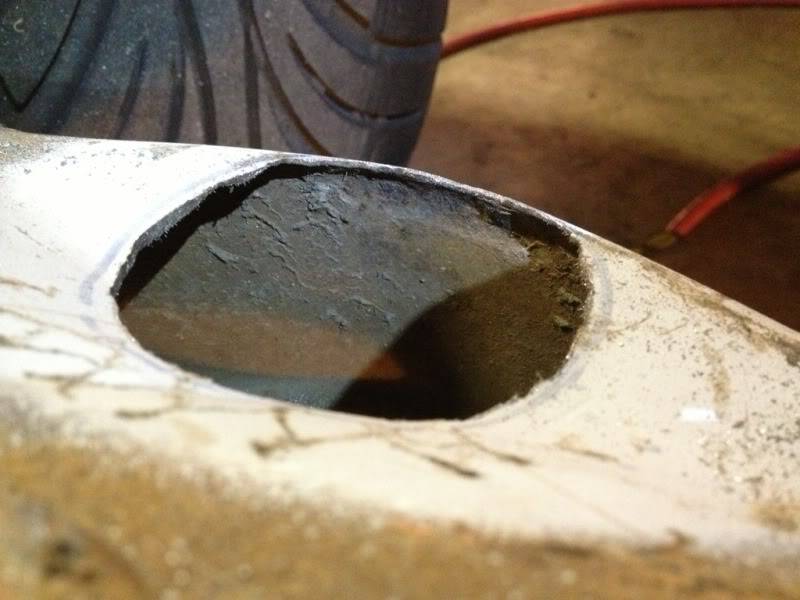
I then used the bench grinder with a coarse wheel to chamfer the edges to promote weld penetration. I used a medium wheel to knock the coating off.
The frame was prepped with a flapper wheel. Here you can see that there is a bit of an angle where the frame jogs upward around the hole for the washer. If I had thought of it, I would have not chamfered the washer around this area to close up that gap some.
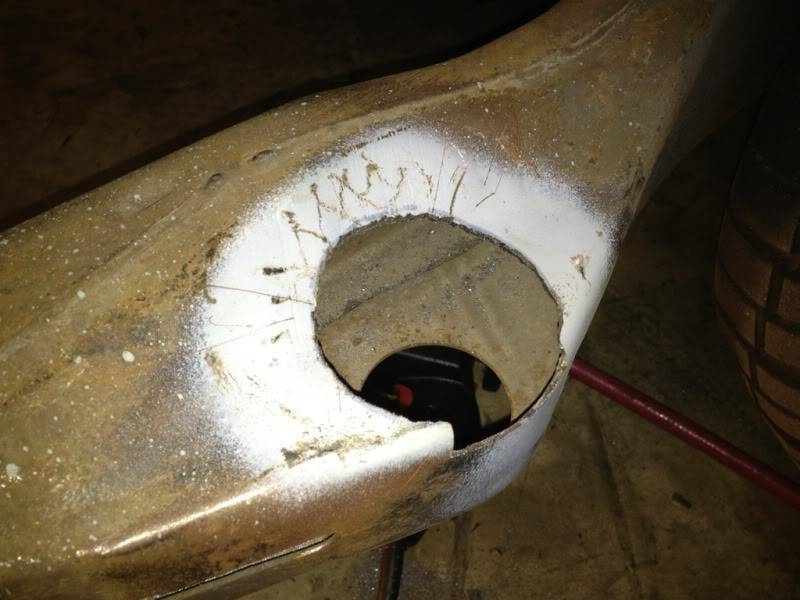
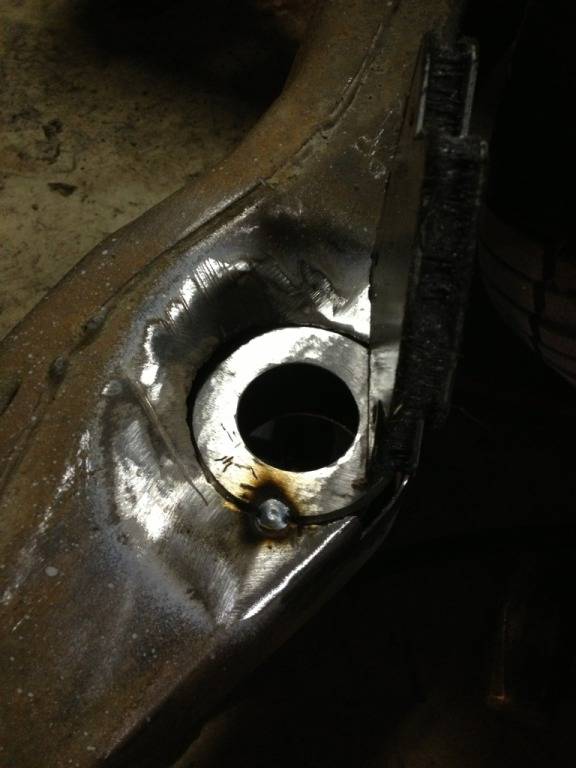
Held with a magnet and tacked in place.
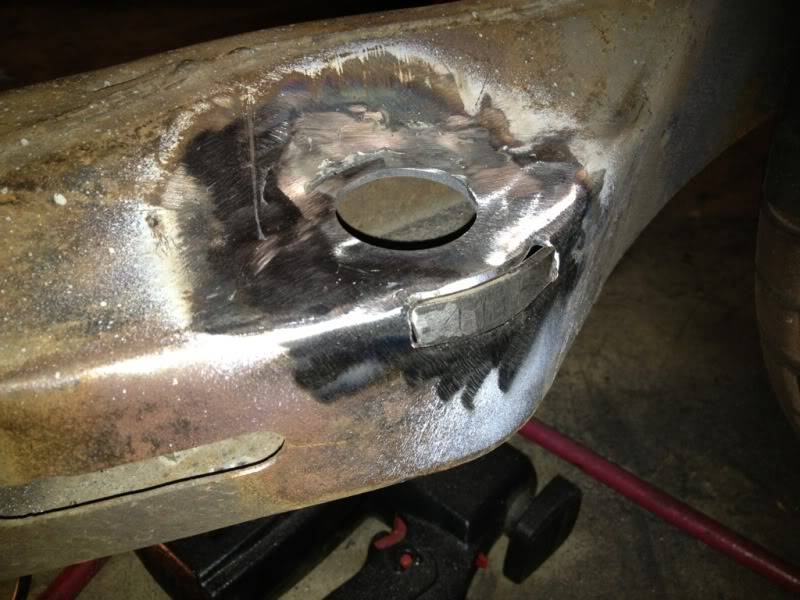
Fully welded. Not the prettiest weld in the world... unfortunately there's no easy way to clean the inside of the frame rail, and so the weld gets contaminated. I did one pass to burn off any impurities, and a second pass to get rid of any pores in the weld. This seemed to work pretty well, as there were no pores while grinding the welds down. The angled part of the frame was welded to the washer by making a few passes on just the washer to build it up before welding it to the frame material.
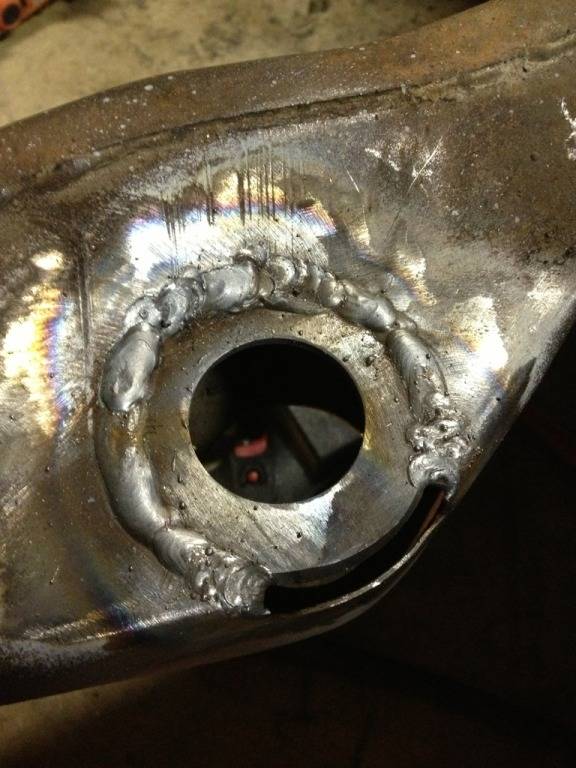
Then I dressed the weld.
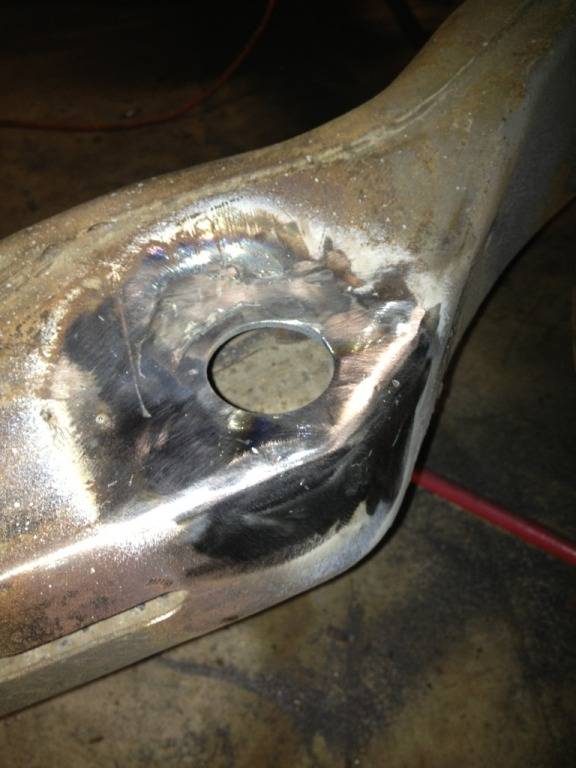
Now to fill in where the thin spot was cut out. First I made a template.
Then I cut the pattern out of a piece of 1/8" bar stock that I had laying around.

Tacked in and then I used a hammer to shape it a little closer.
All finished!
03-15-2013 #70 Registered User
- Join Date
- May 2012
- Location
- Iowa
- Posts
- 91
Really cool project. I like this body style. Good luck and can't to see it done.
03-15-2013 #71 Registered User
- Join Date
- Mar 2010
- Location
- Okinawa, Japan
- Posts
- 305
Looking good. Man am I glad I didn't have to deal with rust on the frame...
81 Regal, impersonating a Grand National with a 488 Olds
Build thread: https://www.pro-touring.com/showthre...ith-a-488-Olds
03-15-2013 #72
 Registered User
- Join Date
- Sep 2009
- Posts
- 2,711
Great work on the rust repair!!

1955 Nomad project LC9, 4L80e, C5 brakes, Vision wheels
1968 Camaro 6.2 w/ LSA, TR6060-Magnum hybrid and etc SOLD
1976 T/A LS1 6 Speed, and etc. SOLD
Follow me on Instagram: ryeguy2006a
04-10-2013 #73
Registered User
- Join Date
- Mar 2009
- Location
- overseas
- Posts
- 3,434
good work so far Bernie!
Kevin S. (overseas in Germany)
1963 Chevrolet Impala 2d ht Coupe
www.CruznArt.com
CRUZN - Automotive Artworks
04-10-2013 #74 Registered User
- Join Date
- Aug 2011
- Location
- North Platte,NE
- Posts
- 876
The chamfer on the washer has the bonus of more penetration for welding because of the slight "fillet" it provides.
04-10-2013 #75
Registered User
- Join Date
- May 2012
- Posts
- 6
Seeing all of this makes me jealous - I really need to learn to weld!
04-22-2013 #76
Registered User
- Join Date
- Apr 2006
- Location
- MD
- Posts
- 232
Thanks guys,
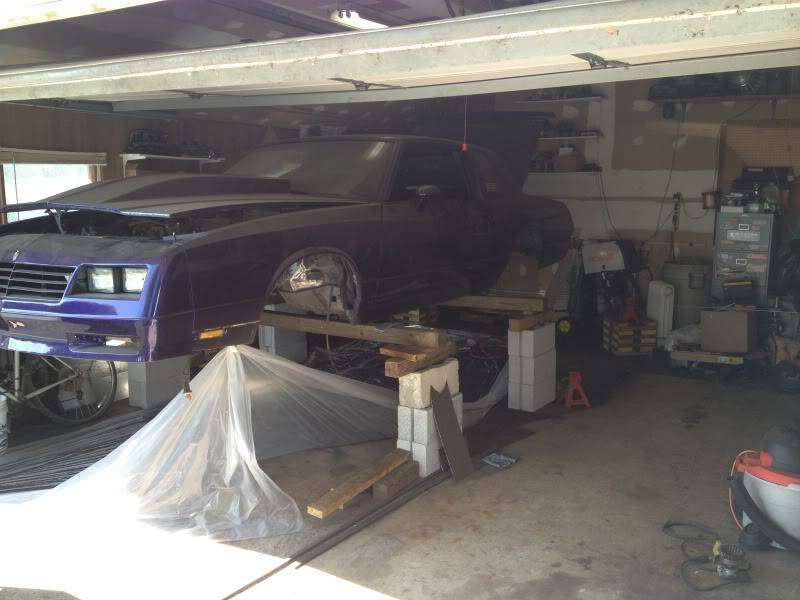
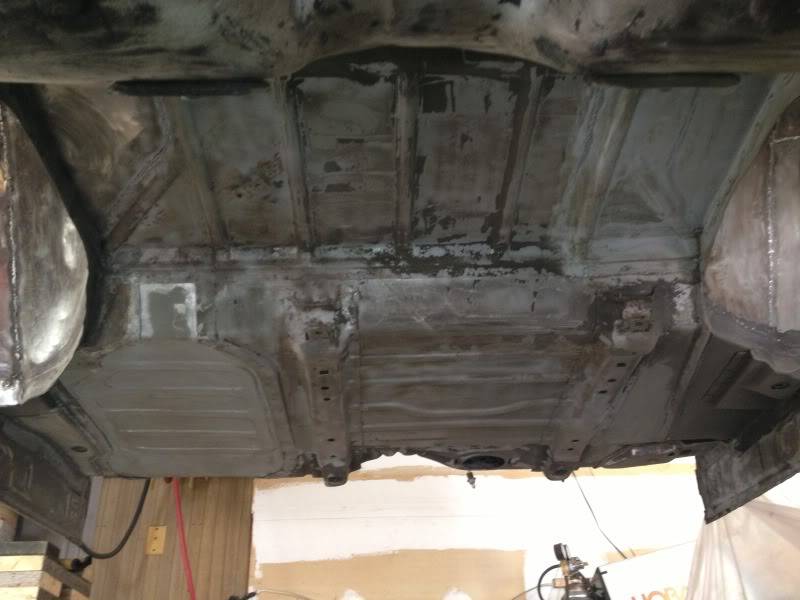
The frame holes are all fixed up. I'm just going to wire wheel the frame and prime/rattle can it and put the car back together for the season. I'll get another frame to mess with so I can still drive the car in the mean time.
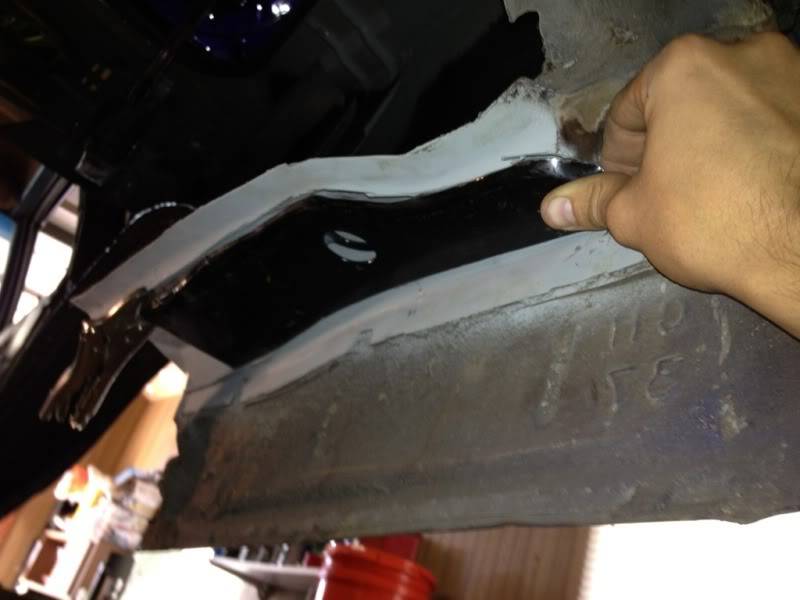
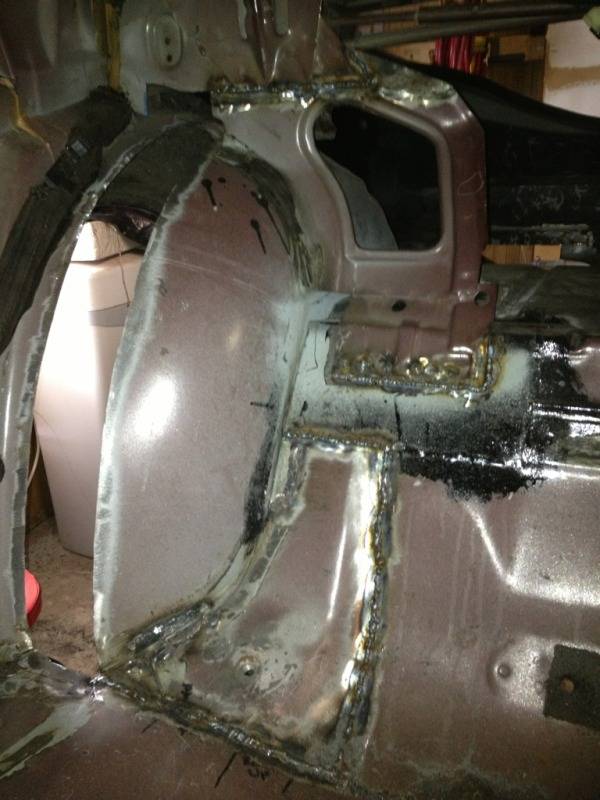
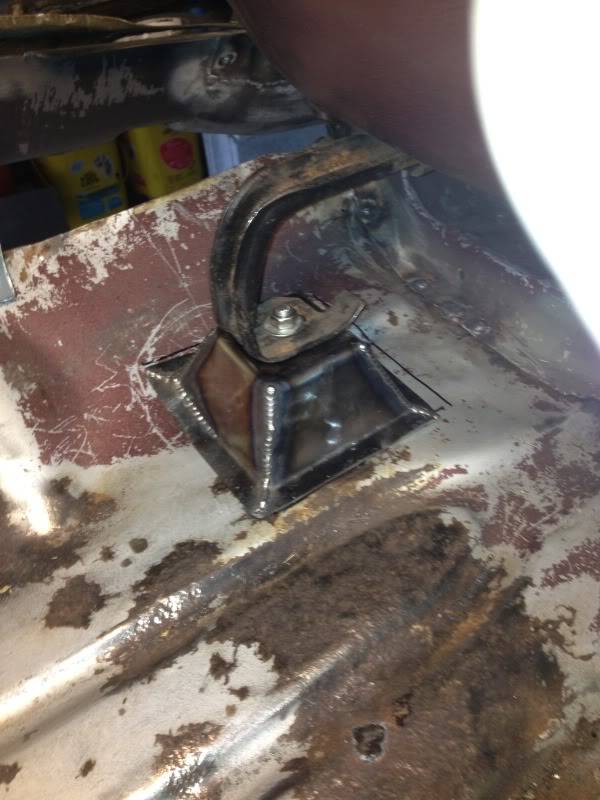
The body mounts on the body side are done too. Here is a shot before I dressed the weld and welded a piece on that little triangle...

Last frame hole welded up. 7 out of 14 total had to be repaired.
04-22-2013 #77
Registered User
- Join Date
- Mar 2009
- Location
- overseas
- Posts
- 3,434
good work!
Kevin S. (overseas in Germany)
1963 Chevrolet Impala 2d ht Coupe
www.CruznArt.com
CRUZN - Automotive Artworks
05-06-2013 #78
Registered User
- Join Date
- Apr 2006
- Location
- MD
- Posts
- 232
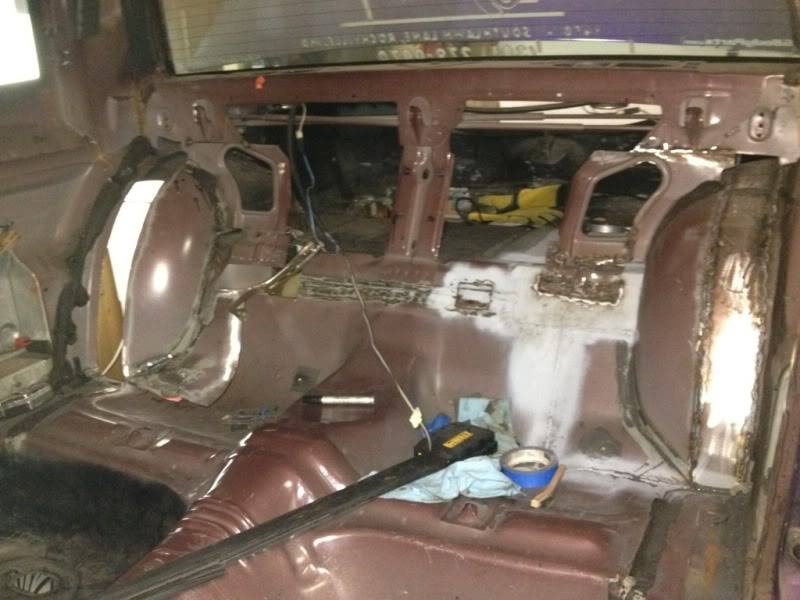
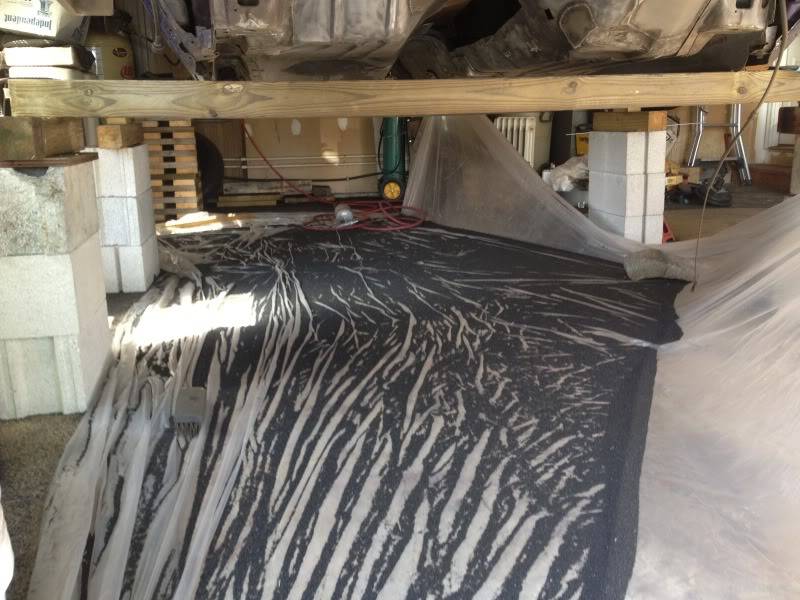
What a miserable two days lol. Tried aircraft stripper on the underside which didnt work very well. It pulled up paint in a few spots but it didnt do anything on the majority. So I figured if that wont get it off, the paint can stay there, its done its job for the last 28 years and its still putting up a fight soi t can stay. Then I broke out my $30 hand held syphon sandblaster and went through almost an entire big bad of black beauty fine abraisive. The main target areas were the driver's rocker area where the frame goes and the #4 body mount area. There was a little scale in these areas but nothing rotted out. I also tried to hit the entire underside to give the POR15 something to bite. I will be using their Marine Clean, Prep and Ready, and then black chassis coat.
I also got a new brake line from the prop to the diff bent up and flared and new fuel supply/return lines bent up.
I started on the inner mounts for the bucket seats last night. 14ga is harder to bend that I was expecting... I think I'll just make the other 3 in pieces and weld them together.
05-07-2013 #79
Registered User
- Join Date
- Apr 2006
- Location
- MD
- Posts
- 232
Started on the inner bucket seat mounts. This car was a bench seat car originally.
This 14ga was too thick to bend easily, so I just welded the rear mount of out flat sections and saved some time.
05-07-2013 #80 Registered User
- Join Date
- Dec 2008
- Location
- Detroit
- Posts
- 2,585
Nice work over there. Love to see guys being creative with solutions
Big dreams, small pockets....
Chris--
'72 Cutlass S LSA/T56 Magnum
Bowler Performance, Rushforth Wheels, ATS, Holley EFI, KORE3, Ridetech
Project Motor City Madness

 Reply With Quote