

Results 1 to 20 of 20
Thread: Project Overtime: 79 Malibu 2.0
-
04-03-2015 #1

 Registered User
- Join Date
- Dec 2011
- Location
- Crestview, FL
- Posts
- 22

Project Overtime: 79 Malibu 2.0
Hello all, I've been a member on here for quite some time now and i've enjoyed watching all the amazing builds on this site. I've decided to finally make my own build thread and deemed the name Project Overtime to be the most appropriate title due to all the overtime money i've poured into this project lately. I get to work overtime quite often so i'm finally starting to make some headway on the car. Here's the story of my Malibu.
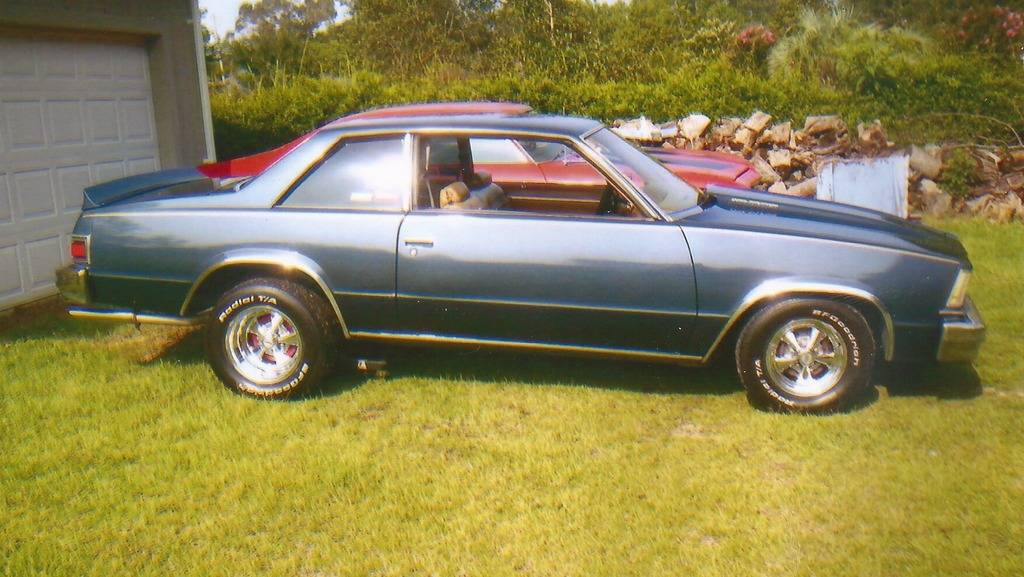
This is a pic of the car back in 2004 when my dad and I first finished restoring it. We bought it in 2000 for $800 with the stock 305/th350 and no rust. We swapped in a GMPP crate 350/290hp, TCI Streetfighter transmission, Dynomax headers, true dual exhaust, completely redid the interior, good mark cowl hood, and Cragar s/s wheels - 14x6 up front and 15x10 out back. Not bad for a teenager's first car in high school.
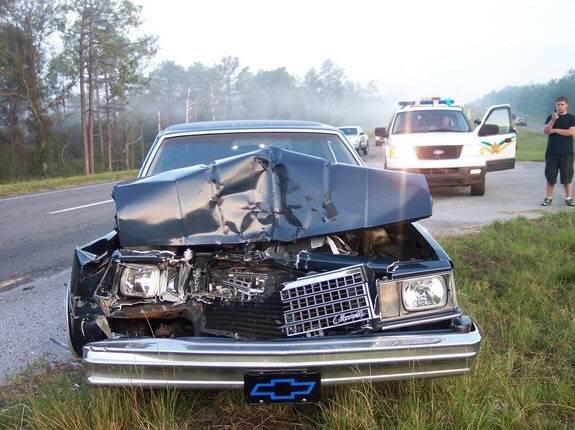
Got into in accident back in October of 2005, I rearended a pick-up truck trying to stop hard and my brakes locked up. Luckily there was no frame damage so we were able to get another front end from an 80 Malibu at a local junkyard.
I let the car sit for an extensive period of time from 2007 to about 2011 due to being in school for 4 nights a week and working a full-time job. I also bought an 89 Iroc-Z that stole most of the attention away from the Malibu for awhile. The paint has faded quite a bit, I started getting a few rust spots behind the rear window and the tires were severely dry rotted. I've finally made time to bring this car back to life despite going back to school for a degree and still working a full-time job, so here goes Malibu 2.0.
-
04-03-2015 #2
Registered User
- Join Date
- Dec 2011
- Location
- Crestview, FL
- Posts
- 22
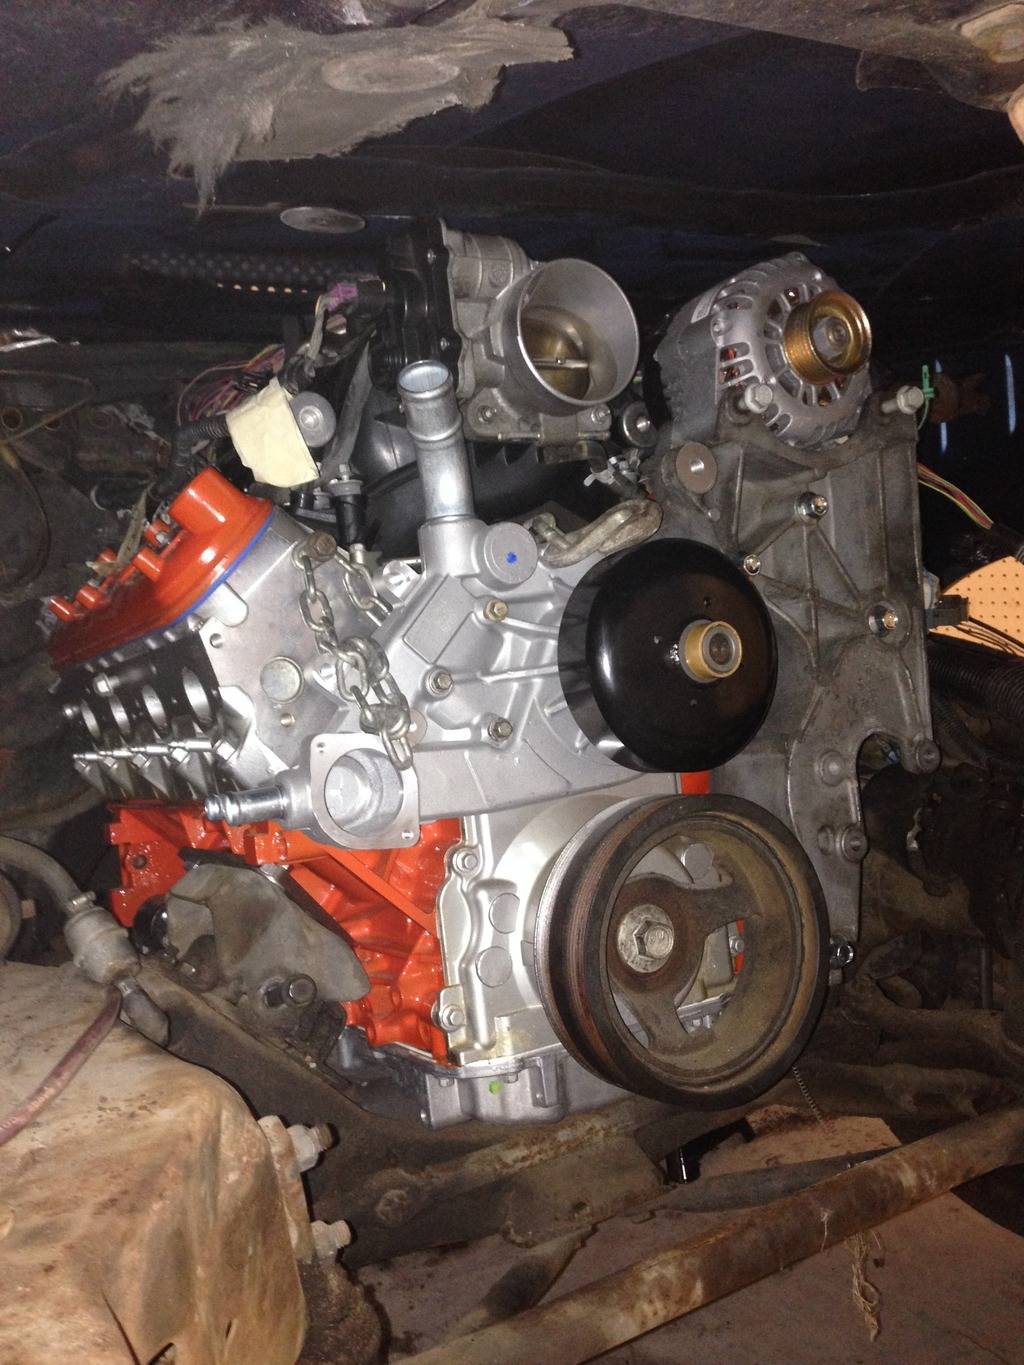
I've started tearing it down in the garage, taking the front end off to remove the GMPP 350 and th350 to make room for a 5.3 and 4L60E. I want to be able to drive this car a lot more so i've made gas mileage a top priority with this build.
The old engine and transmission are finally out, now it's time to do some scrubbing, get the engine bay cleaned up, and test fit the 5.3.
the Transdapt 4595 1" setback plates with SBC clamshells, had to grind the hump on the back side of the clamshells in order to get the long bolts in.
Test fitting the 5.3
04-03-2015 #3
Registered User
- Join Date
- Dec 2011
- Location
- Crestview, FL
- Posts
- 22
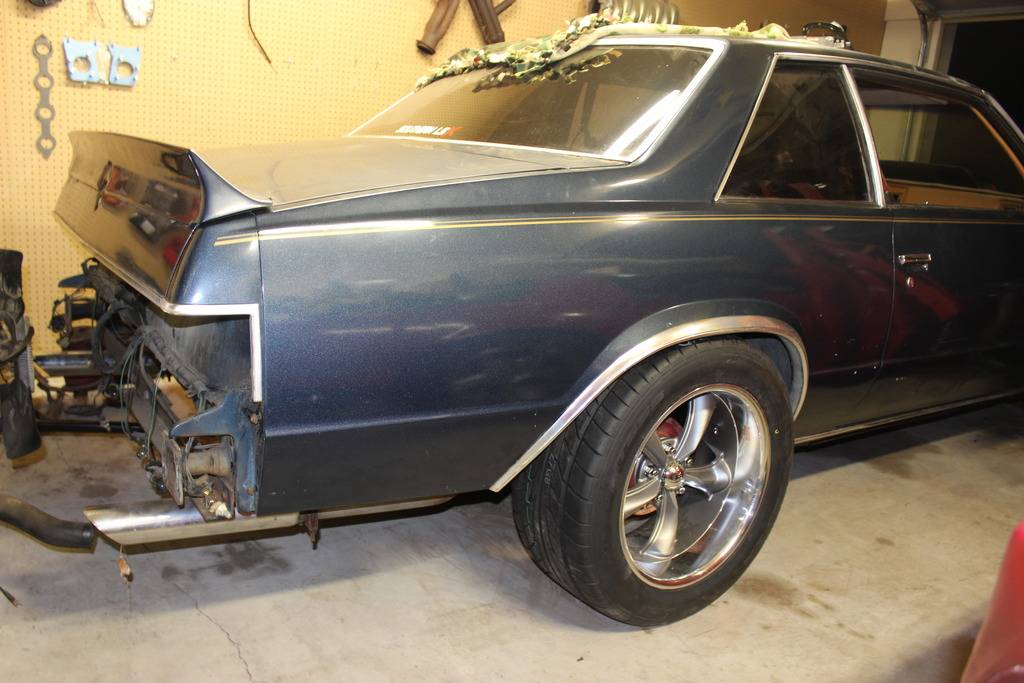
The valve cover was just barely hitting the a/c box so I decided to notch the box with fiberglass and covered it with heat reflective tape. I painted the engine bay with SEM trim black, while painting the front half of the frame with POR15.
Now the engine is in for good now.
New Energy Suspension body mount bushings
The body sitting on 4x4's to replace the bushings, bolts, and paint the rest of the frame with POR15. Got extremely lucky as all the body bolts came out without breaking, but a few looked as if they were getting close.
04-03-2015 #4
Registered User
- Join Date
- Dec 2011
- Location
- Crestview, FL
- Posts
- 22
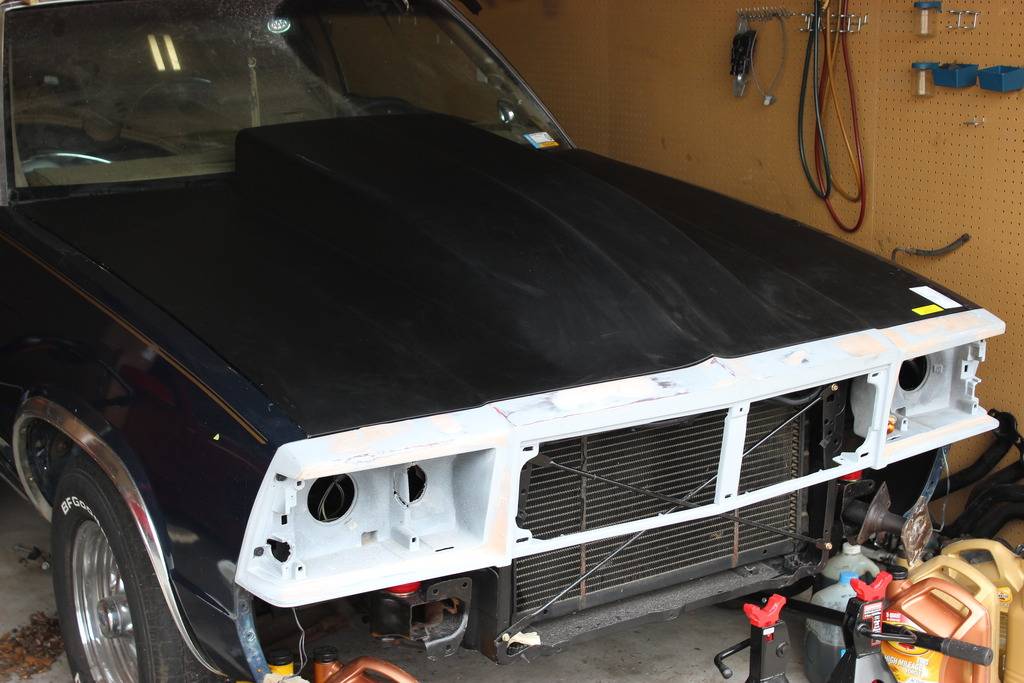
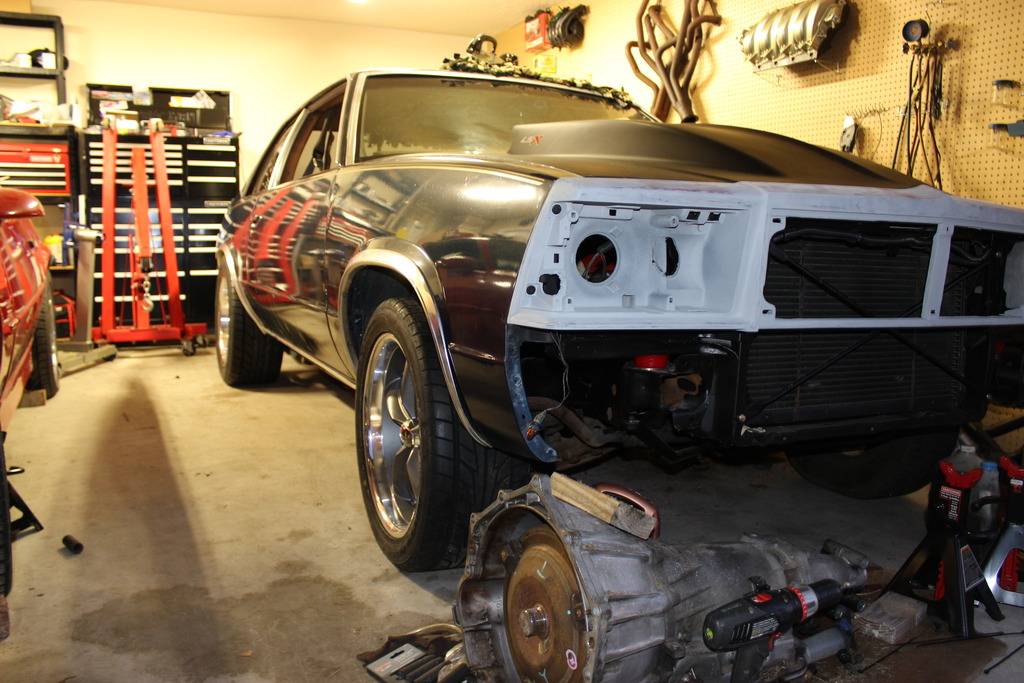
Core support painted and mounted back in, also added the F41 radiator core support braces and the F41 fender to core support braces.
Found a guy locally on Craigslist that agreed to trade me his 79 header panel for my 80 header panel. Not a huge difference but wanted the original 79 panel back on the car.
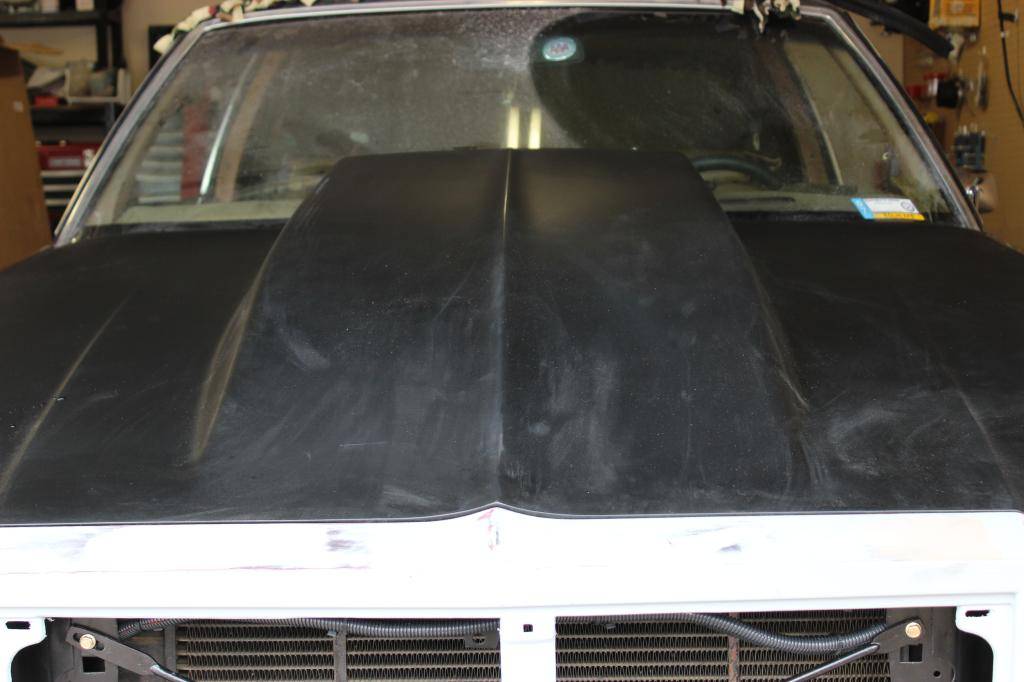
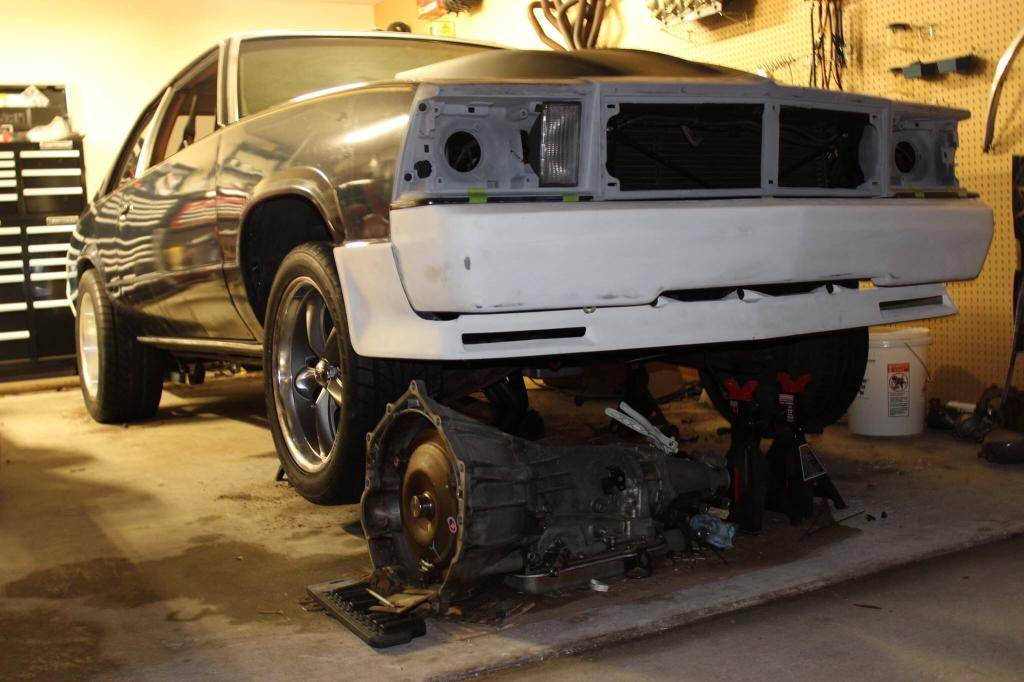
Bolted the Goodmark cowl hood back on and found out that it was hitting the DBW throttle body

04-03-2015 #5
Registered User
- Join Date
- Dec 2011
- Location
- Crestview, FL
- Posts
- 22
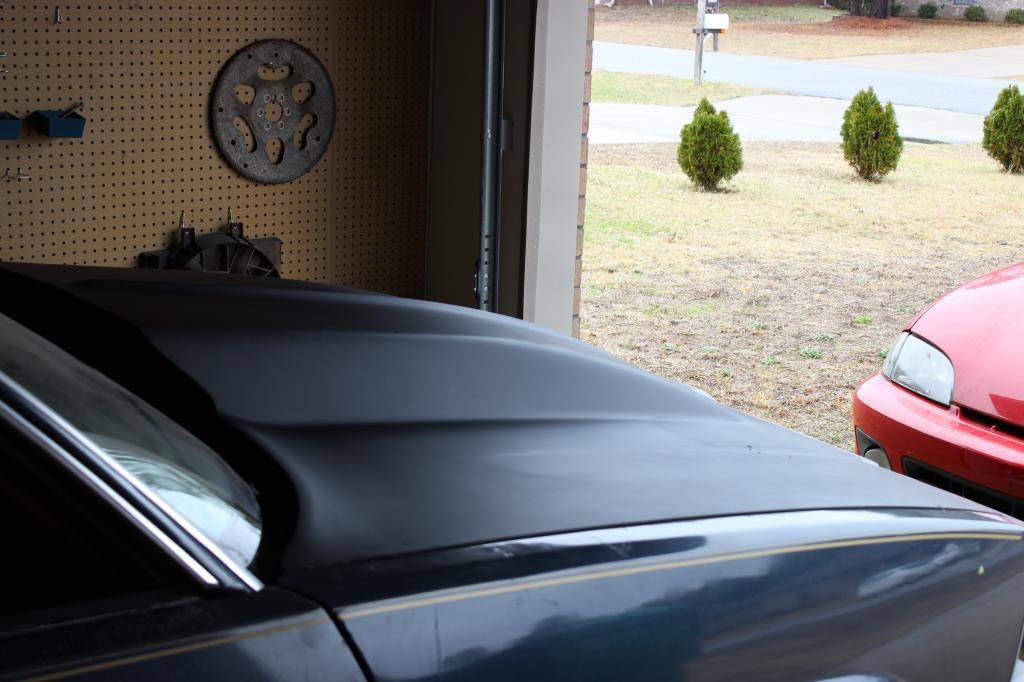
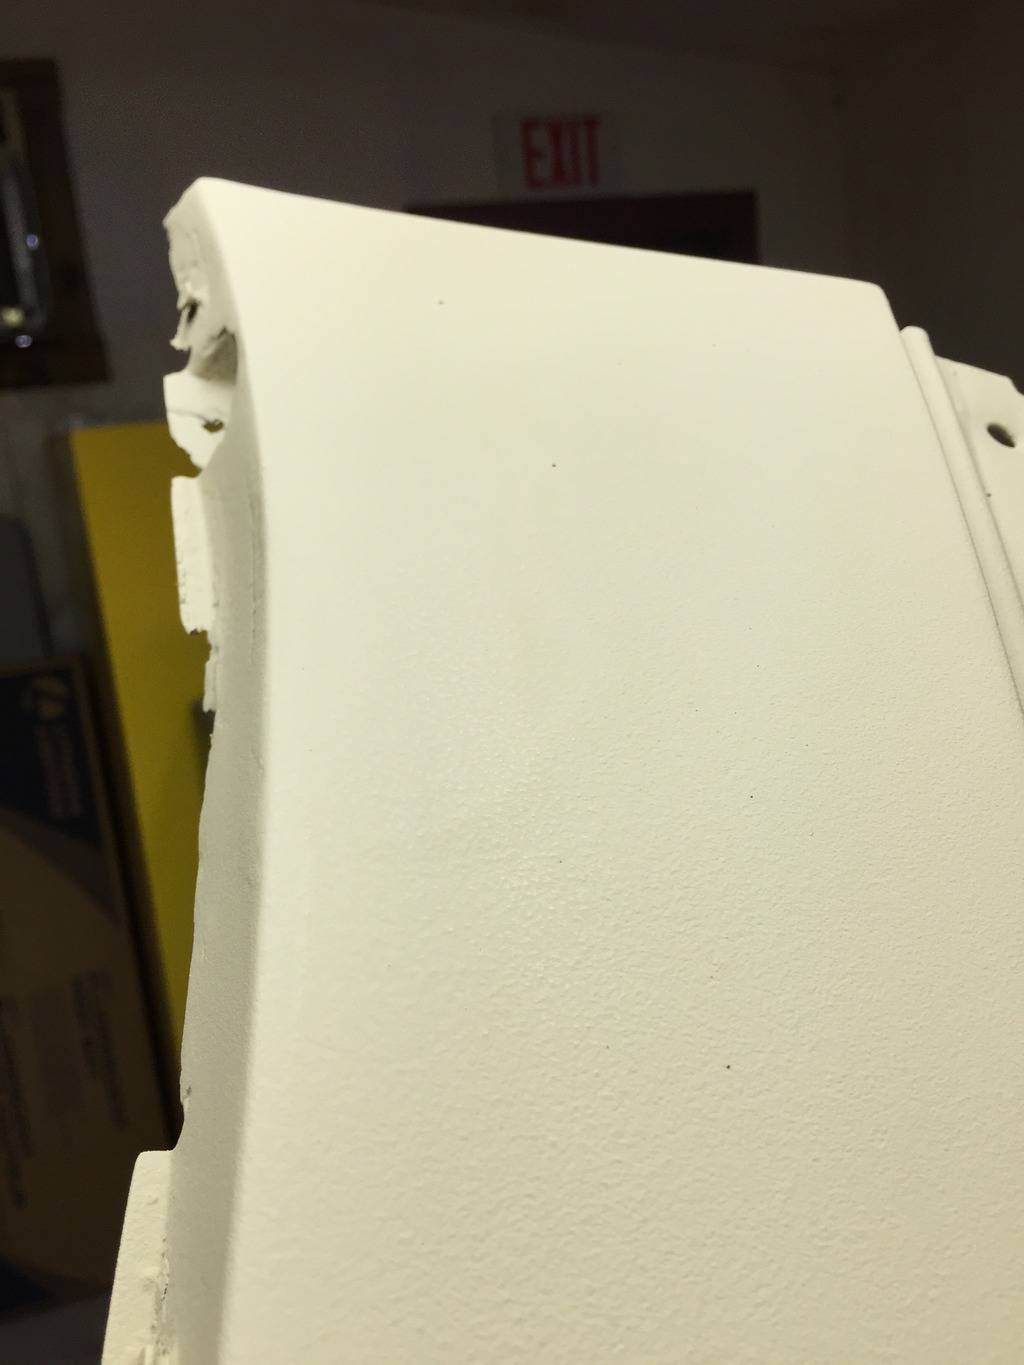
It gave me an excuse to sell the hood on Craigslist for $300 and buy a Glasstek 4" fiberglass cowl hood. Love the style of this hood and the fitment was near perfect.
04-03-2015 #6
Registered User
- Join Date
- Dec 2011
- Location
- Crestview, FL
- Posts
- 22
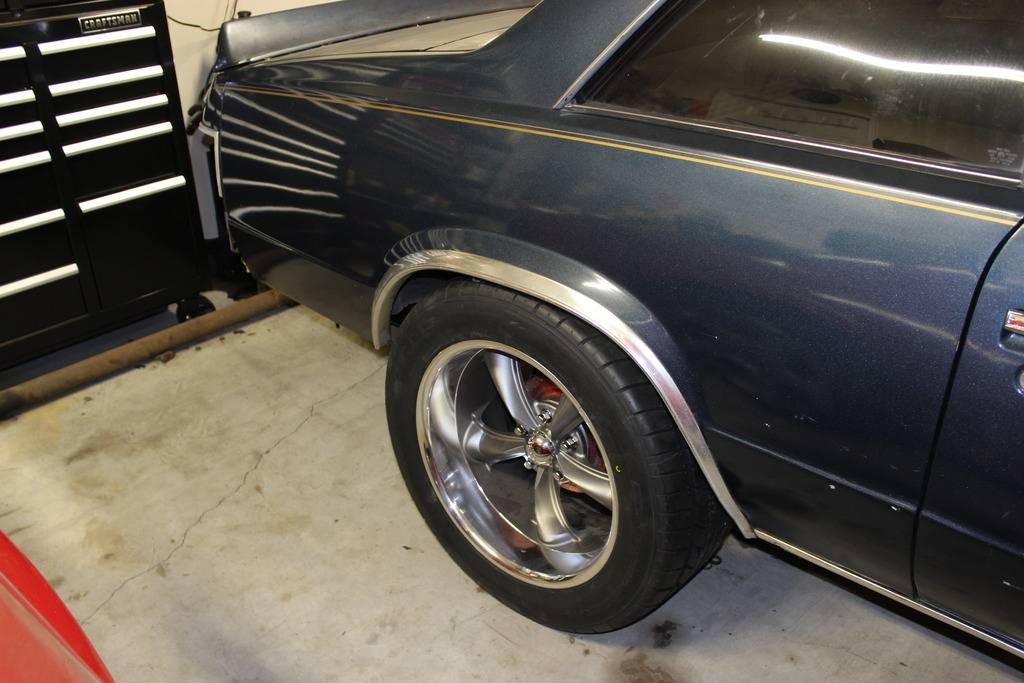
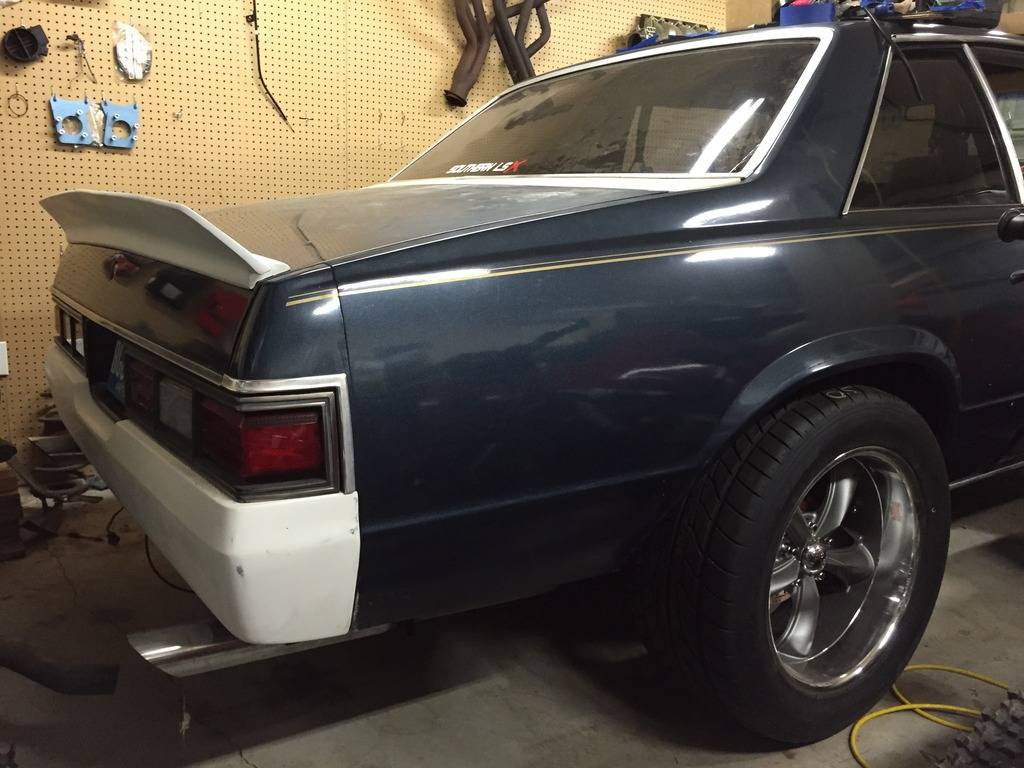
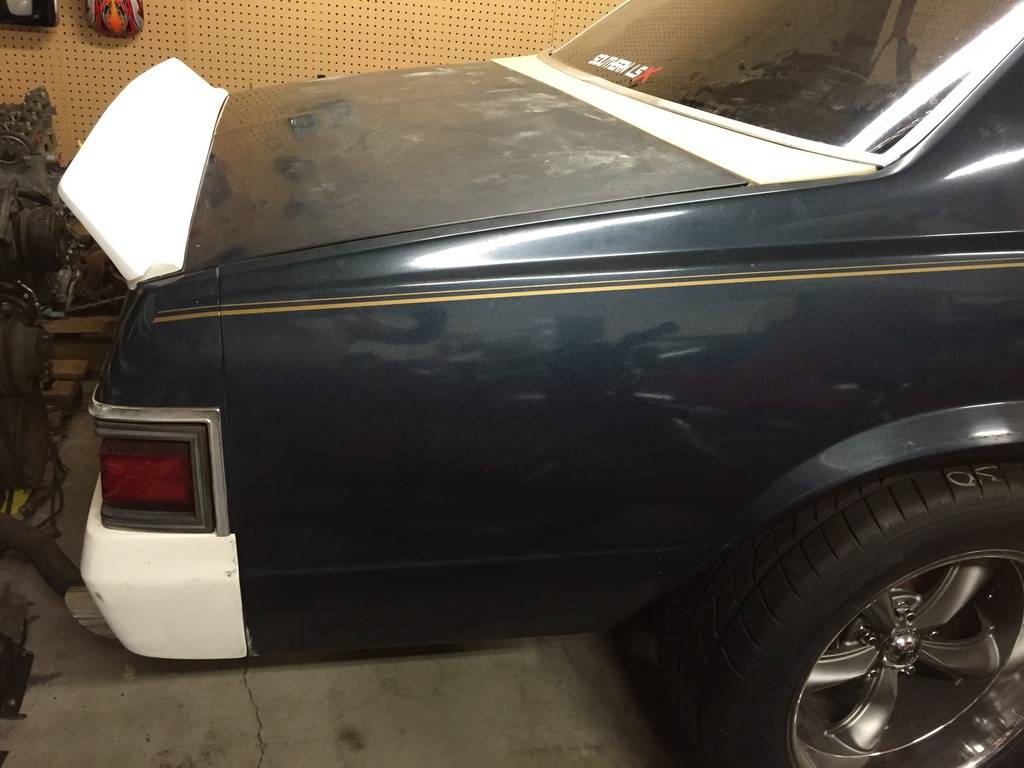
Just bought some Boss 338's in 18x8 for the fronts and 18x9.5's for the rear

Mated them with 245/45 and 295/45 Nitto 555r's
04-03-2015 #7
Registered User
- Join Date
- Dec 2011
- Location
- Crestview, FL
- Posts
- 22
Smooth front and rear fiberglass bumpers, along with a fiberglass air dam
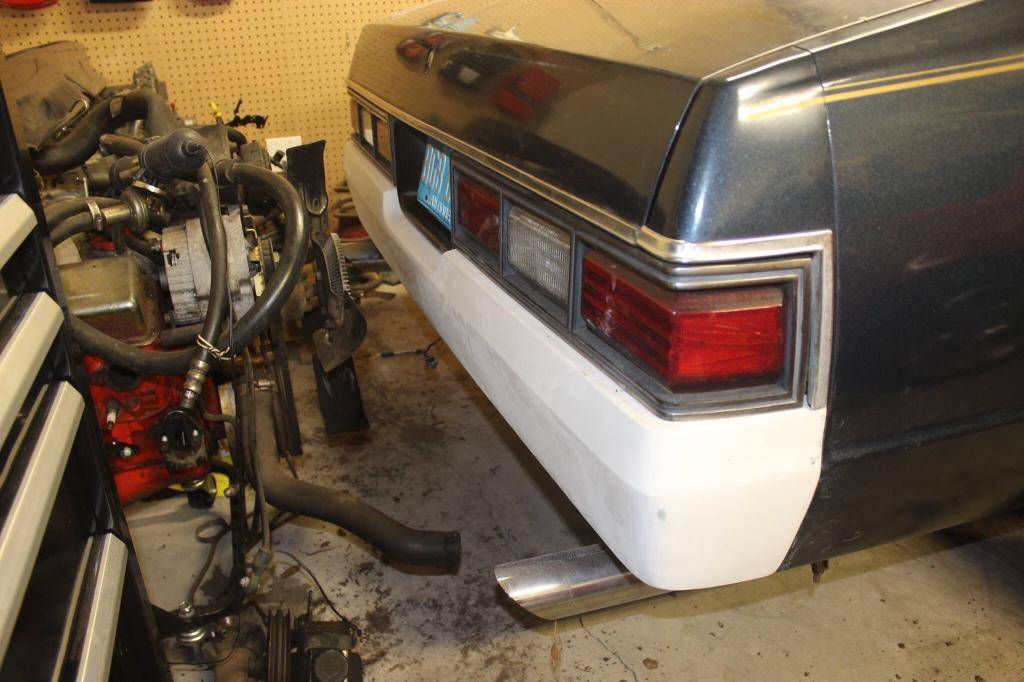
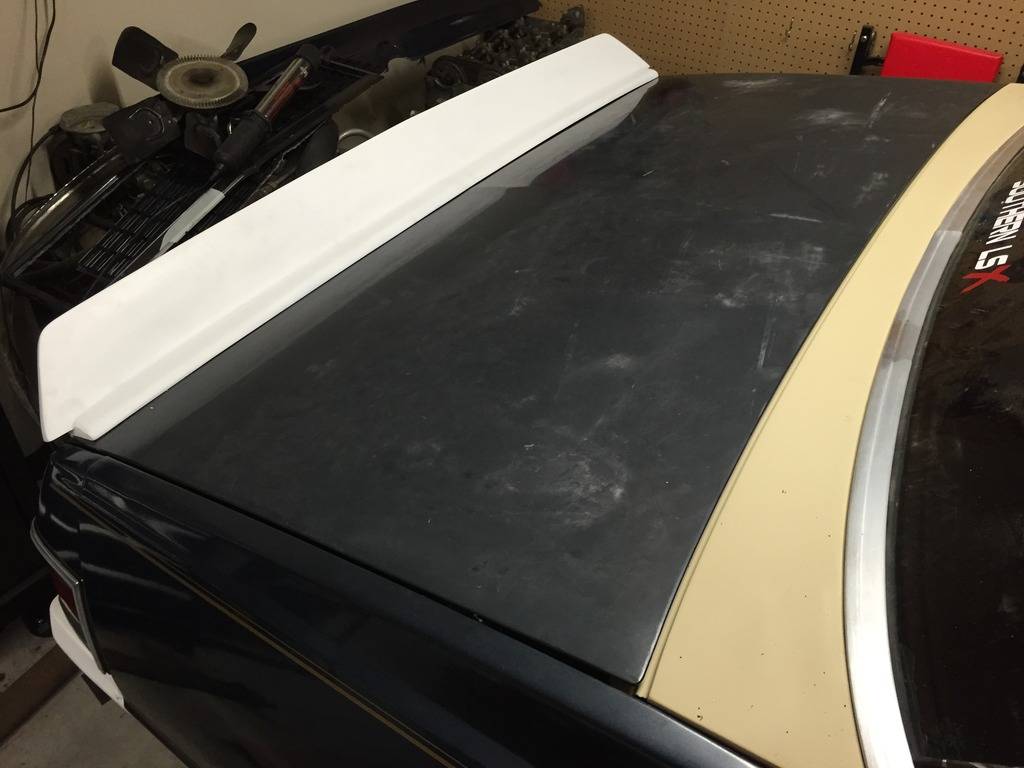
Here is the new spoiler I bought, it's supposed to be similar to the Monte Carlo spoiler but taller. I originally put an M-80 Malibu spoiler on the car back in the day but I really like the look of this one better.
04-03-2015 #8
Registered User
- Join Date
- Dec 2011
- Location
- Crestview, FL
- Posts
- 22
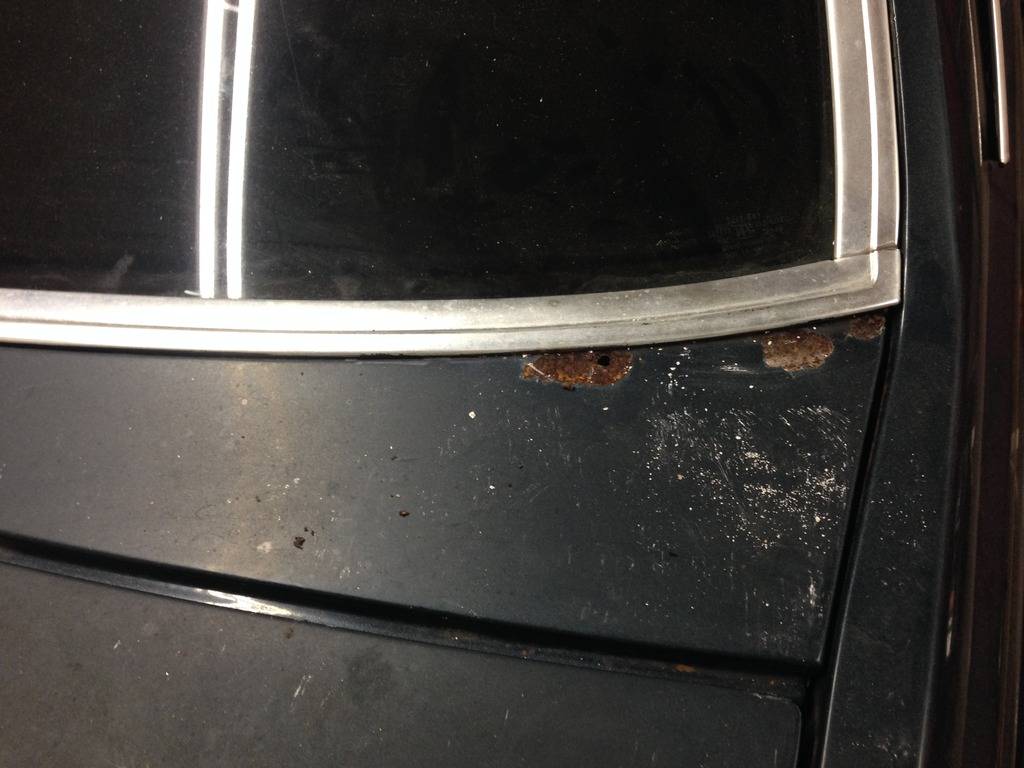
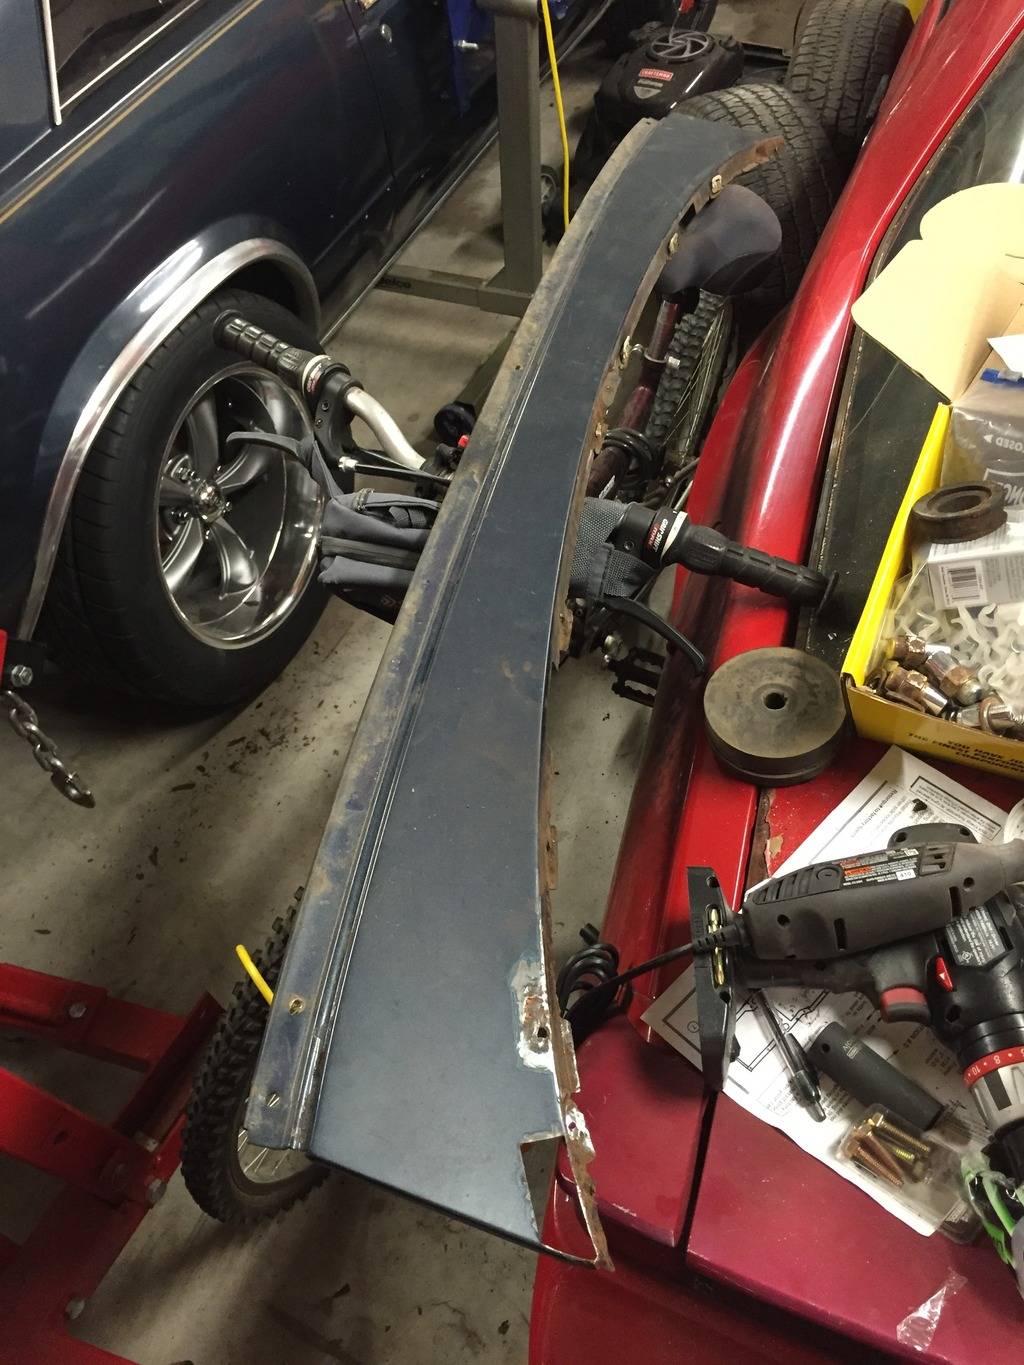
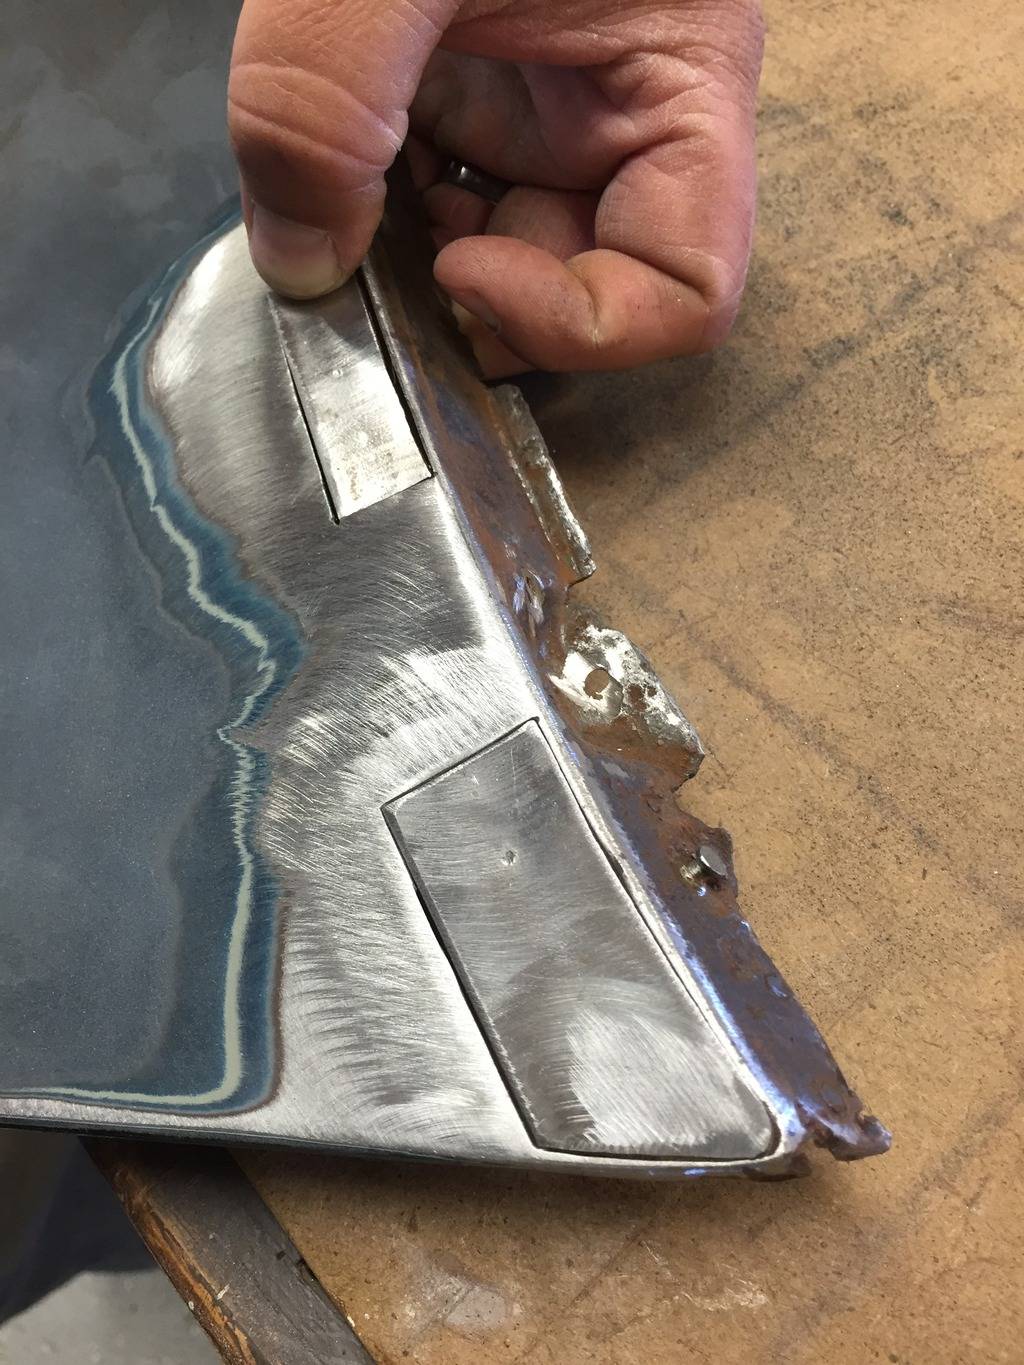
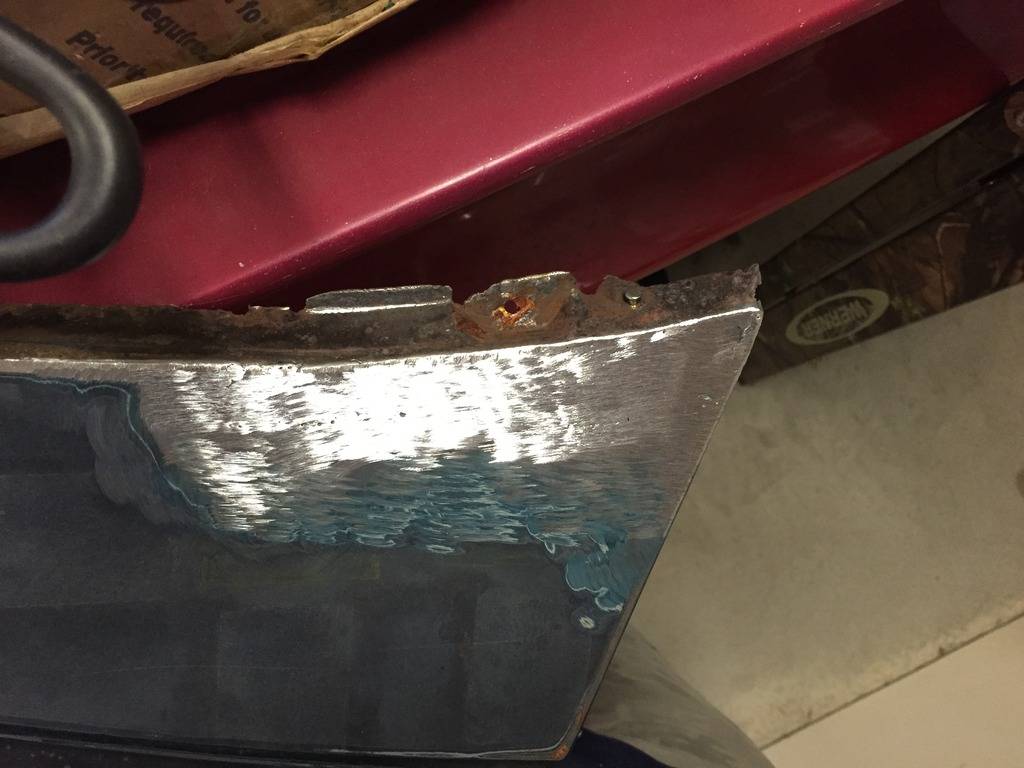
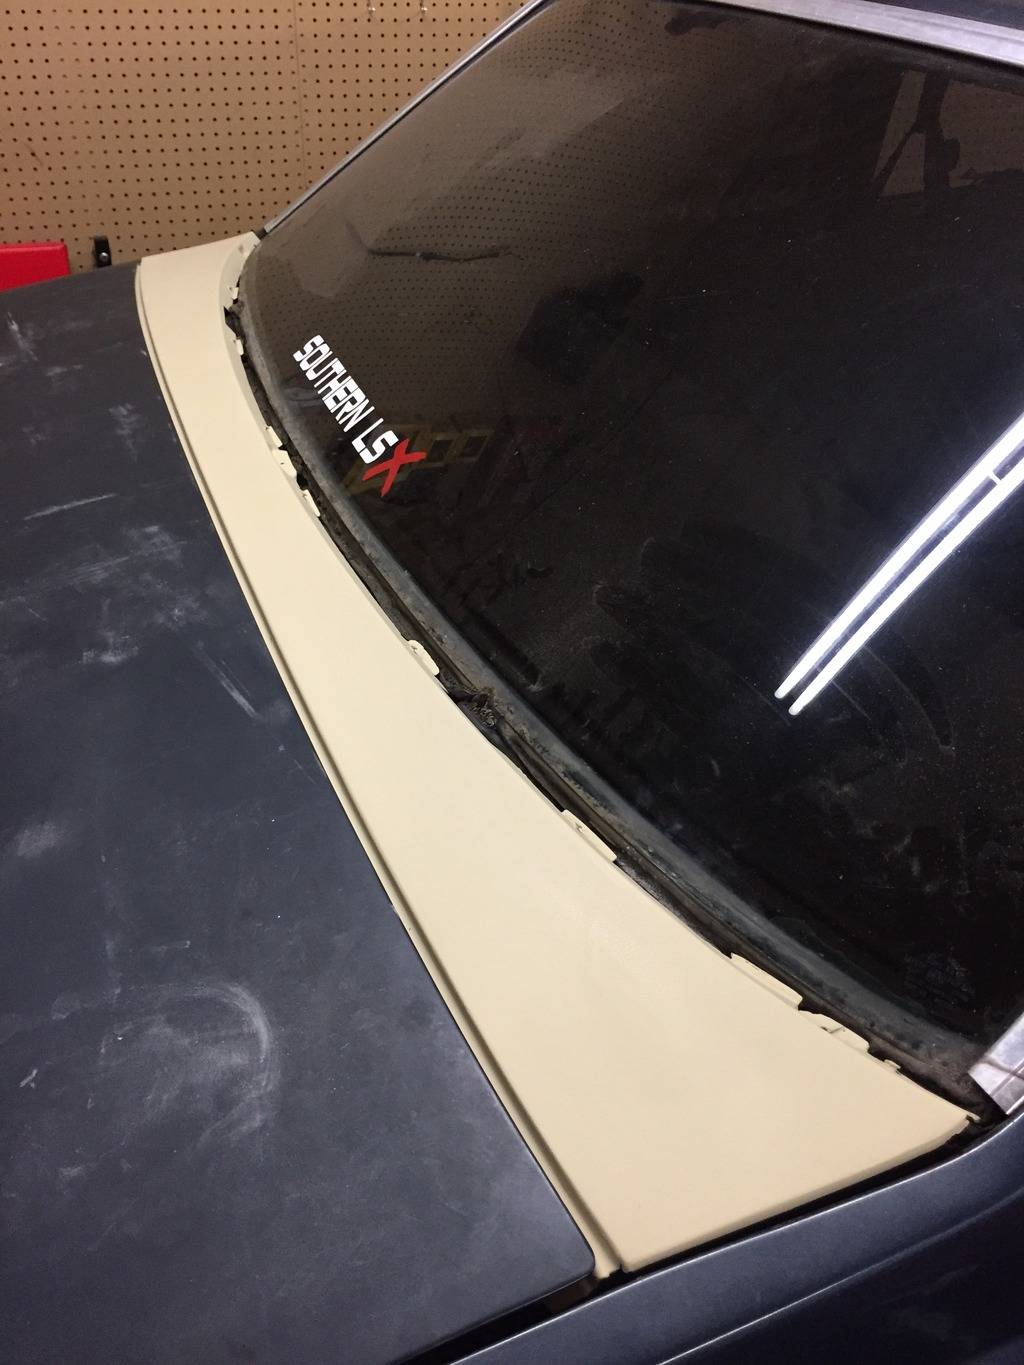
I ended up fixing the rust holes behind the rear window myself, I cut the old pieces out and cut new ones. Then I had a buddy of mine weld them in, ground it down, skim coated it with Bondo, and sprayed it with Evercoat Featherfill G2 Polyester high build primer.

04-03-2015 #9
Registered User
- Join Date
- Dec 2011
- Location
- Crestview, FL
- Posts
- 22
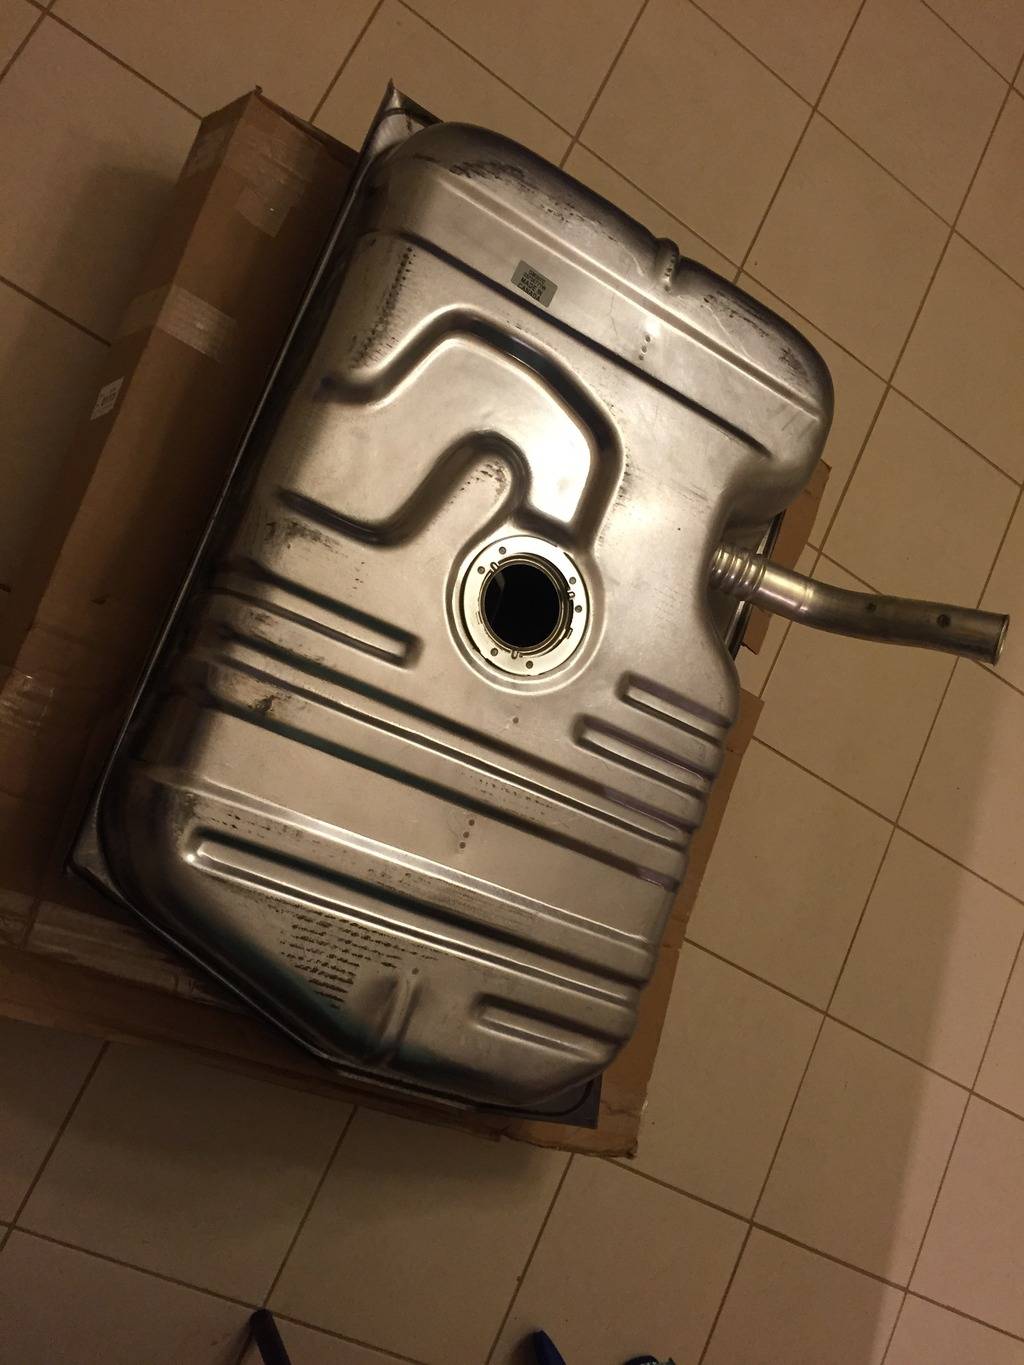
Now that i've posted all things i've done to the car up to the point of what it looks like right now, I can explain my plans for the car. I'm using a 5.3 from a 2000 Silverado and a 4L60E from an 01 Z28 Camaro; I plan to drive this car quite a bit once it's done so I'm definitely keeping fuel injection. I'm looking at going with a TSP 224r cam and i've just purchased a 3200 stall converter from FTI to compliment the cam. The car still has the original rear end with 2:73 gears so I definitely need to make a change there, either with an 8.5 or a 9, along with some suspensions upgrades. I'm getting pretty close to being able to start the car up, just need to finish some wiring up, and purchase the pcm, cam, GN fuel tank, and sending unit. I'll be updating periodically when I've got time to install new parts and such.
04-04-2015 #10 Registered User
- Join Date
- Feb 2012
- Location
- Central NY
- Posts
- 240
Awesome job so far! I'm partial to Malibu's, I've had 3, including my current one for the last 20 years. Keep the updates coming!
04-05-2015 #11 Registered User
- Join Date
- Oct 2012
- Location
- Kennewick, WA
- Posts
- 259
Have you looked at doing the 8.8 Mustang rear? There was an article not too long ago about using one since the G-body 8.5 is nearly impossible to find and it's way less expensive than a 9".
http://www.hotrod.com/how-to/paint-b...o-a-gm-g-body/
04-05-2015 #12
Registered User
- Join Date
- Dec 2011
- Location
- Crestview, FL
- Posts
- 22
Thank you, I've never really considered the 8.8, i've seen it done but wasn't sure what all was involved. Thanks for sharing that article, I'll definitely look into it!
04-22-2015 #13
Registered User
- Join Date
- Dec 2011
- Location
- Pensacola, Florida
- Posts
- 42
I see you are over here on Pro-Touring also, the car is lookin good. I wish I had gone with the LS engine instead of my BBC but oh well I'm there now. I look forward to seeing your progress. Maybe by the time you get yours going again mine will be also be operational and we can meet up sometime and go for a ride!
06-25-2015 #14
Registered User
- Join Date
- Dec 2011
- Location
- Crestview, FL
- Posts
- 22
Thanks man, I also joined the Maliburacing.com Facebook page and saw your post in there a few weeks back, looks like we're both at the same point in our builds and hopefully it won't be long! Progress has been pretty slow but i'm getting closer to starting this thing up. Just bought my Grand National fuel tank and Racetronix 340LPH pump/sending unit, i'm also going to be using the vette filter/regulator for my swap. Now I've just got to save up for all those expensive AN fittings and hose! Originally Posted by malibulvr


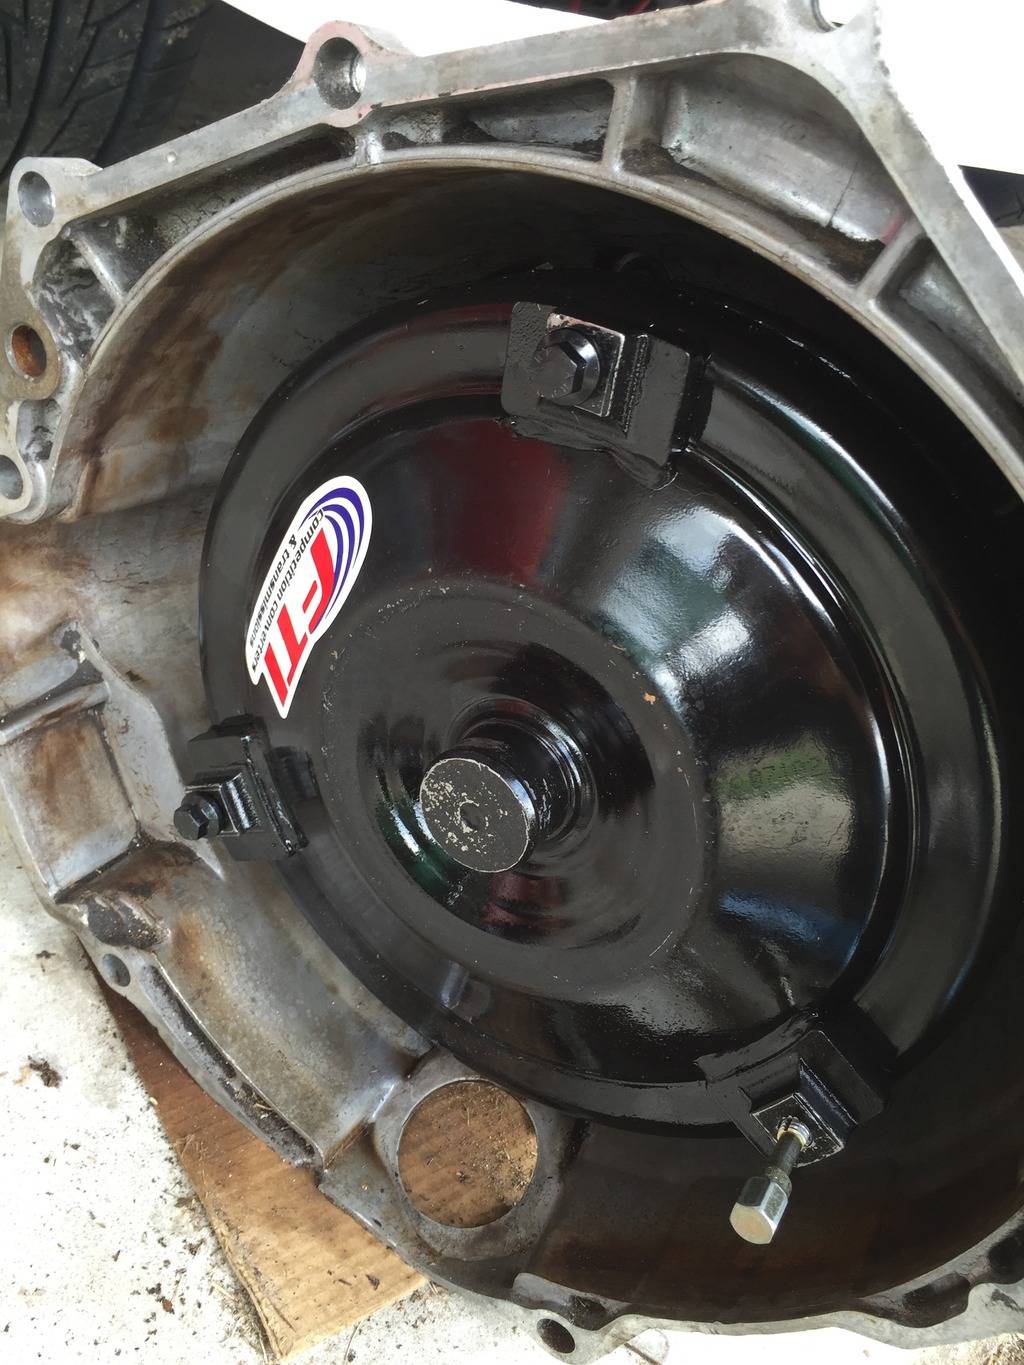
Got to install my FTI 3200 stall converter a few weekends ago along with the transmission, everything surprisingly went pretty smoothly. My Jegs double hump 4L60E crossmember will need a little work in order for it to fit but no big deal.
Also recently picked up a set of Cutlass bucket seats so I can get rid of my split bench and make room for a center console.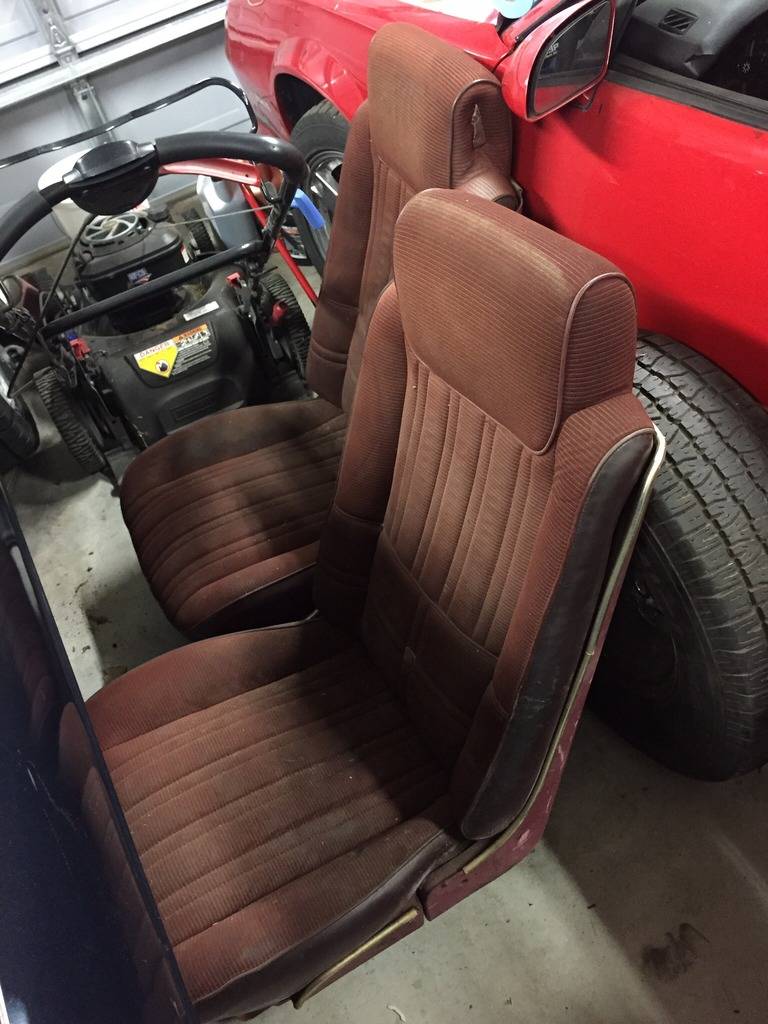
Looks like i'll have plenty more opportunities to work overtime so i'll be ordering more parts soon. For now I've got a ton of parts in the garage ready to go on the car, just need to find the time to do it in between school and working 7 days a week. Luckily we won't be working 4th of July weekend so I should be able to make some progress and post updates.
08-06-2015 #15
Registered User
- Join Date
- Apr 2015
- Posts
- 1

Any build updates? It's looking good so far.
Is it necessary to go to a GN fuel tank? Would the Racetronix 340LPH pump/sending unit not fit into a stock Malibu tank? I have an 80 Malibu LS build in progress and am debating going with a factory tank vs a fuel cell.
Thanks
08-08-2015 #16
Registered User
- Join Date
- Dec 2011
- Location
- Crestview, FL
- Posts
- 22
Not much to update, bought a PCM from PSI conversions and my fuel line to run up to the engine bay. The racetronix sender will fit the factory malibu tank but since this was a non-efi car before, the factory tank doesn't have the baffles and stuff to make the in-tank pump work efficiently. Seen a few people run a carb tank with an in-tank pump and have fuel starvation issues going around corners and such.
08-09-2015 #17
Registered User
- Join Date
- Feb 2012
- Location
- Central NY
- Posts
- 240
use a tank from a Buick GN, they were FI and have some internal baffling and sump.
10-30-2015 #18
Registered User
- Join Date
- Dec 2011
- Location
- Crestview, FL
- Posts
- 22
Not too much to report as far as updates go... been doing little things here and there that don't cost much money, getting tight around this time of year with Christmas coming up. Got to run my -6 AN fuel line today, ran it along the driver's side frame rail along with my racetronix fuel pump hotwire kit; also mounted my Tru-Cool 24,000 GVW stacked plate trans cooler.
Been working on my breadbox that attaches to the console I got from a feller from Pensacola I met on Maliburacing.com. I was a little broken up but with some aluminum and epoxy it should be ready and sturdy enough to bolt back onto the console.
And since I am using a Volvo 2 speed fan relay, I had to cut and bend up a bracket so I can mount it to the inside of the driver's side fender.
11-01-2015 #19
Registered User
- Join Date
- Dec 2011
- Location
- Crestview, FL
- Posts
- 22
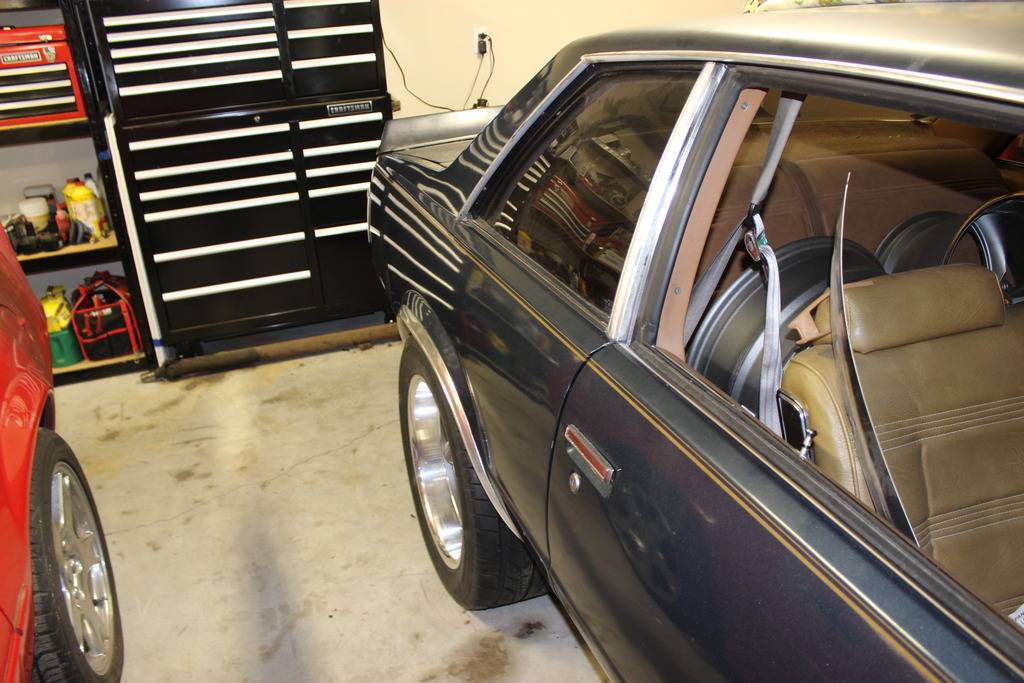
Got my buckets mounted in the car yesterday, I plan on staying with the original camel colored interior so I will eventually get these recovered... love these compared to my split bench I had.
05-27-2016 #20
Registered User
- Join Date
- Dec 2011
- Location
- Crestview, FL
- Posts
- 22
Been a while since i've updated this thread, and been a while since i've worked on the car. Got some work done on it last weekend and was able to start it for the first time! Found out my brand new fuel pump went bad as it kept blowing the 20 amp fuse when I tried to fire it up. I've blurred out the name of the pump manufacturer until the company makes it right, therefore I will refrain from badmouthing said company until then. I went ahead and bought a 255lph Walbro to throw in there and so far so good.


 Reply With Quote


