

Results 21 to 40 of 130
Thread: Popping my PT Cherry
-
05-16-2011 #21

 Registered User
- Join Date
- Feb 2010
- Location
- Central NJ
- Posts
- 792
Project is coming along nicely!!! Keep at it!!!!
-SeanMy 1973 Chevelle "Bad Buzz" build: https://www.pro-touring.com/showthre...velle-PT-Build
-
05-16-2011 #22 Registered User
- Join Date
- Mar 2009
- Location
- overseas
- Posts
- 3,434

oh yeah looks great so far!
 Kevin S. (overseas in Germany)
1963 Chevrolet Impala 2d ht Coupe
www.CruznArt.com
CRUZN - Automotive Artworks
05-16-2011 #23 Registered User
- Join Date
- Oct 2006
- Location
- McKinney, TX
- Posts
- 899
After getting the new frame on, I started playing with the panel alignment and noticed that the inner wheel wells just didnt look right. To be honest, they looked more awkward than a horse walking around in a glue factory. The wells were very narrow, relative to the frame so you could see the ground between them. I wanted the wells to fit the frame.
I started simple, cutting out the old and trying to widen them:
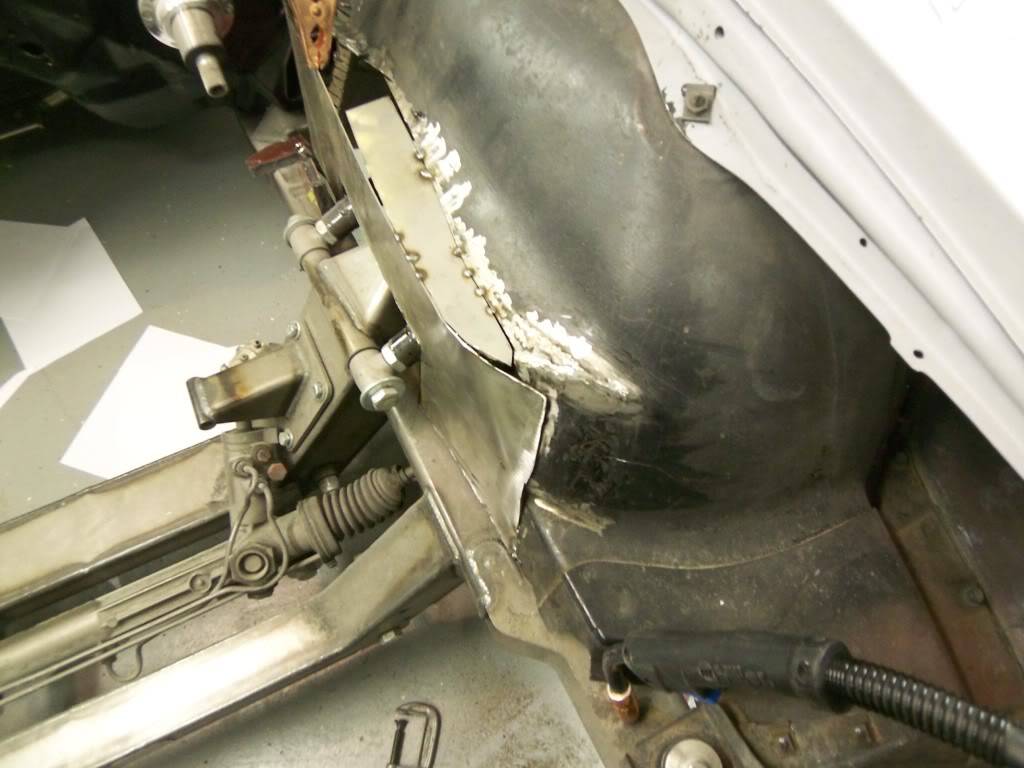
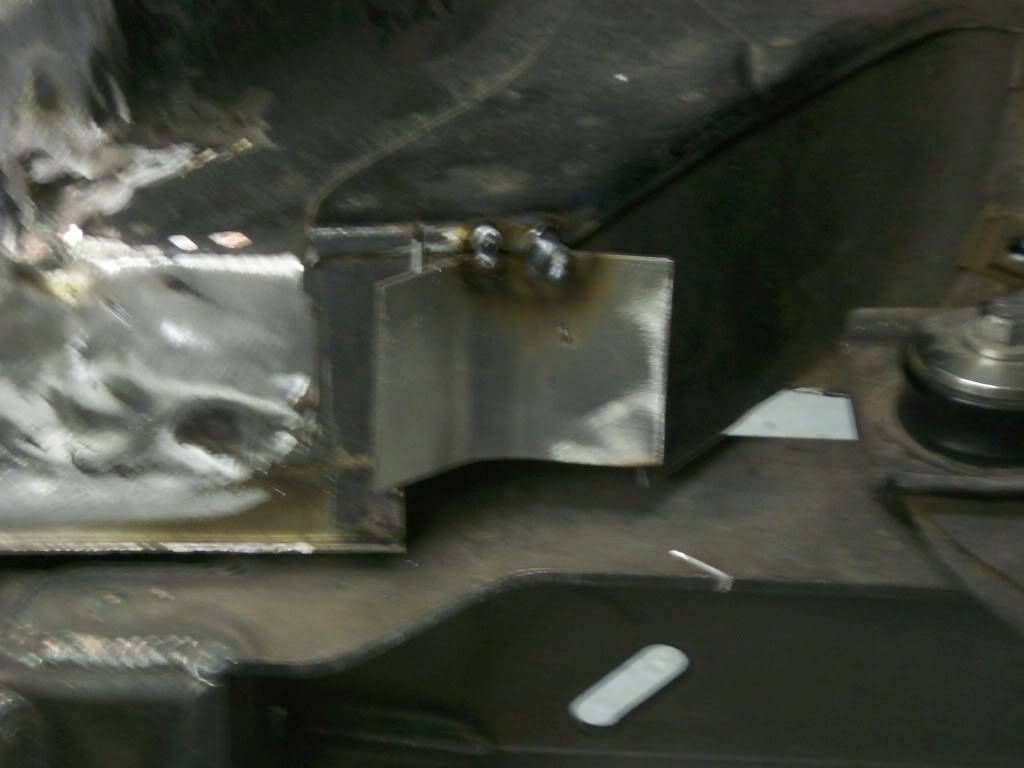
The problem was with the lower supports where it mounts to the firewall. I wanted to keep them for rigidity, but they presented a problem with the well modification:
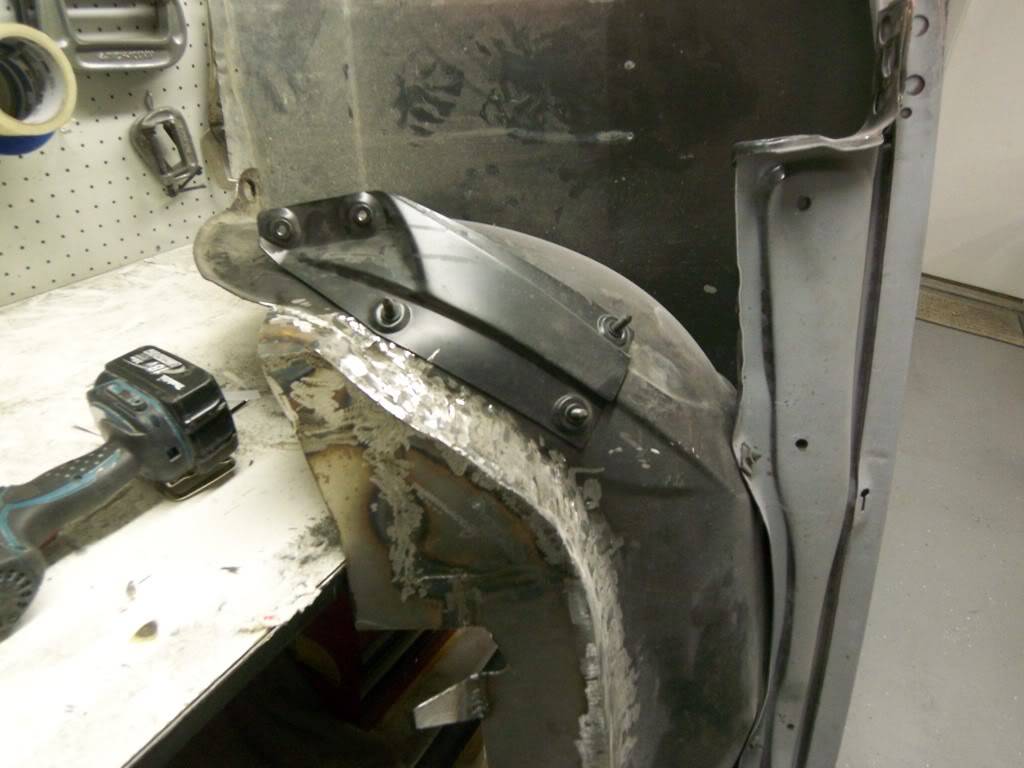
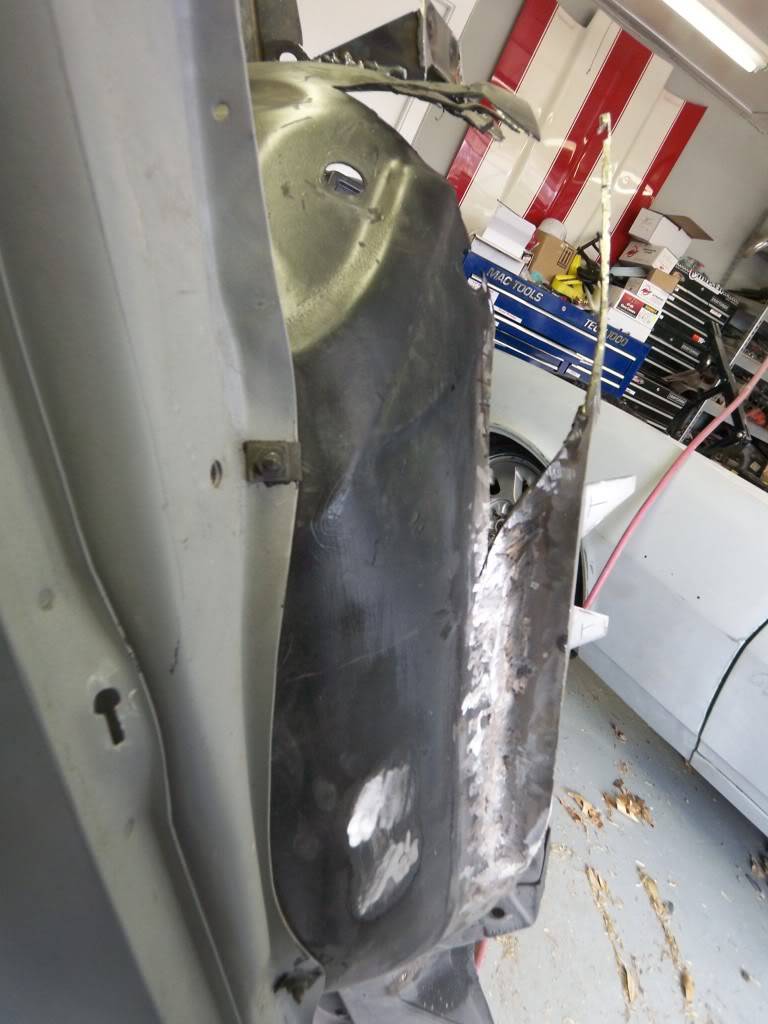
After getting done with the drivers side and putting it on the car, I thought it looked kind of stupid...so, on to try # 2. I know that there is a good looking design somewhere in there just aching to get out.
The thing I didn't like was the back end near the firewall where it just fades down, and the actual benefit of a narrower frame is completely lost. I thought about it and came up with a new way to keep the brackets while minimizing the realestate they take:
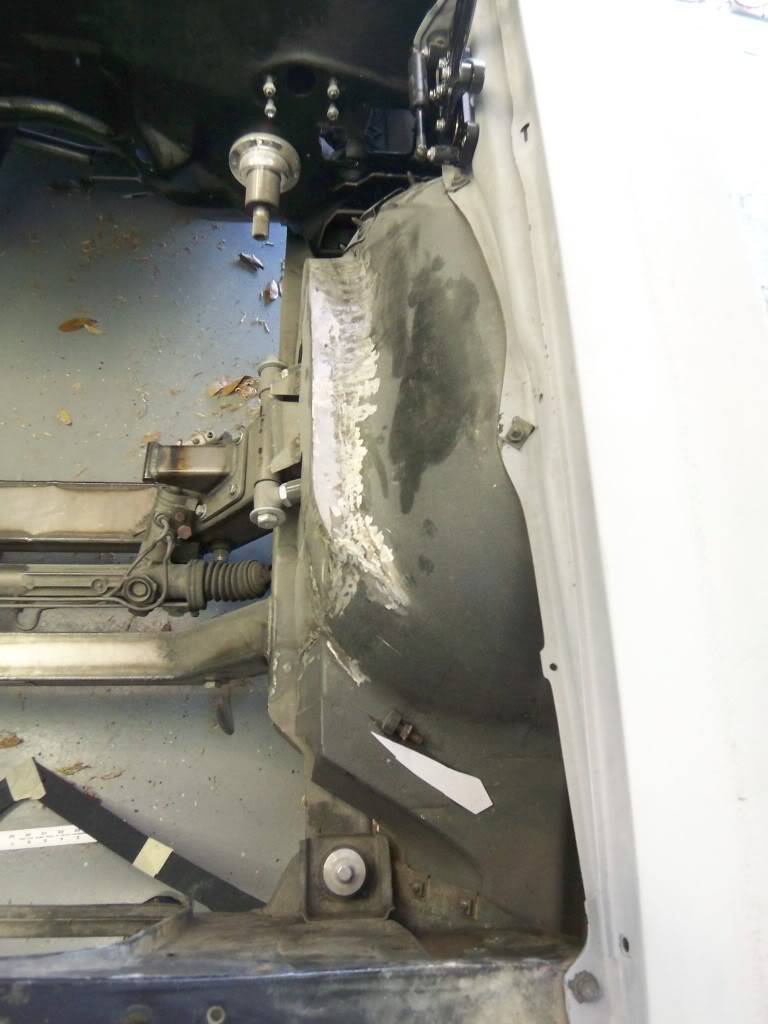
This game me room to bring the expansion back further:
Here is the end result (passenger side):
Still a little bulky, and Im not really liking the table-top look to it. Take three:
By tapering the back end a little more dramatically, it looked a little less bulky and more fitting to the car (imo).
**I know Im flipping drivers side/passenger side in a bunch of these shots, but I was trying to post the best possible shots to describe what I was talking about***
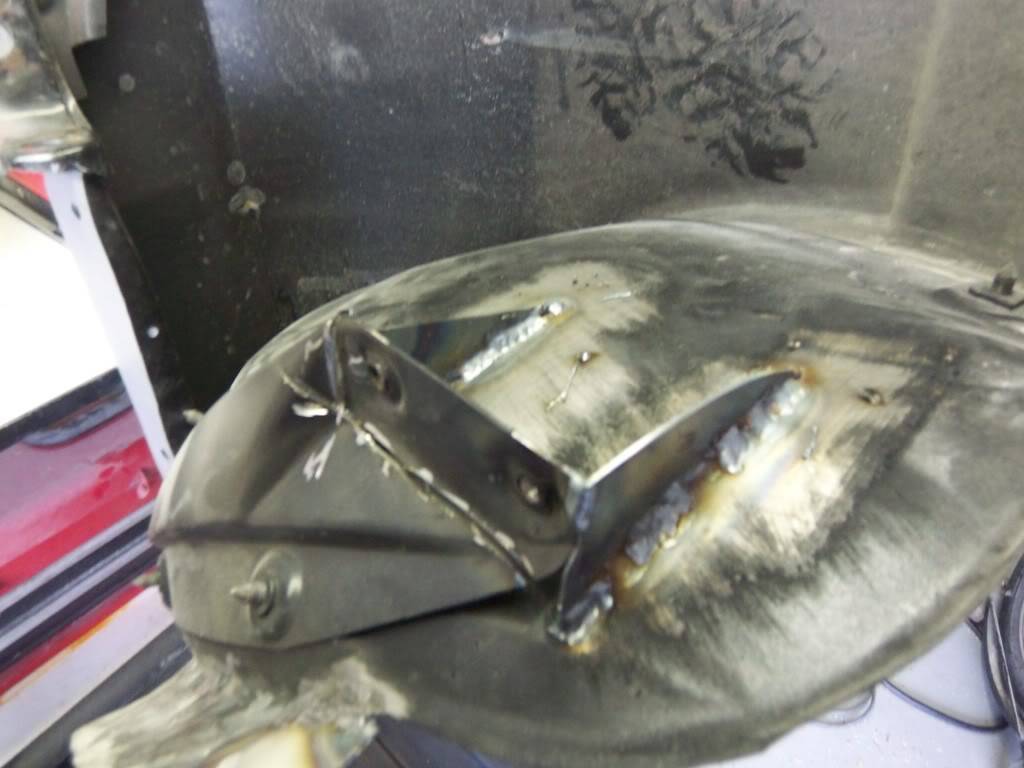
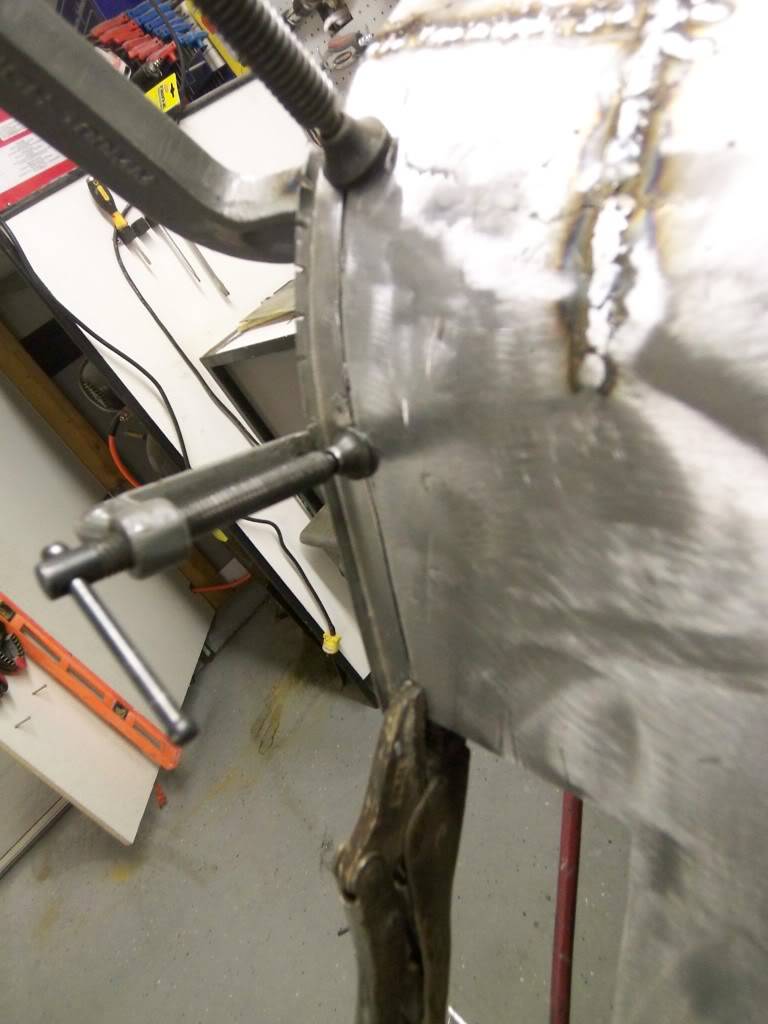
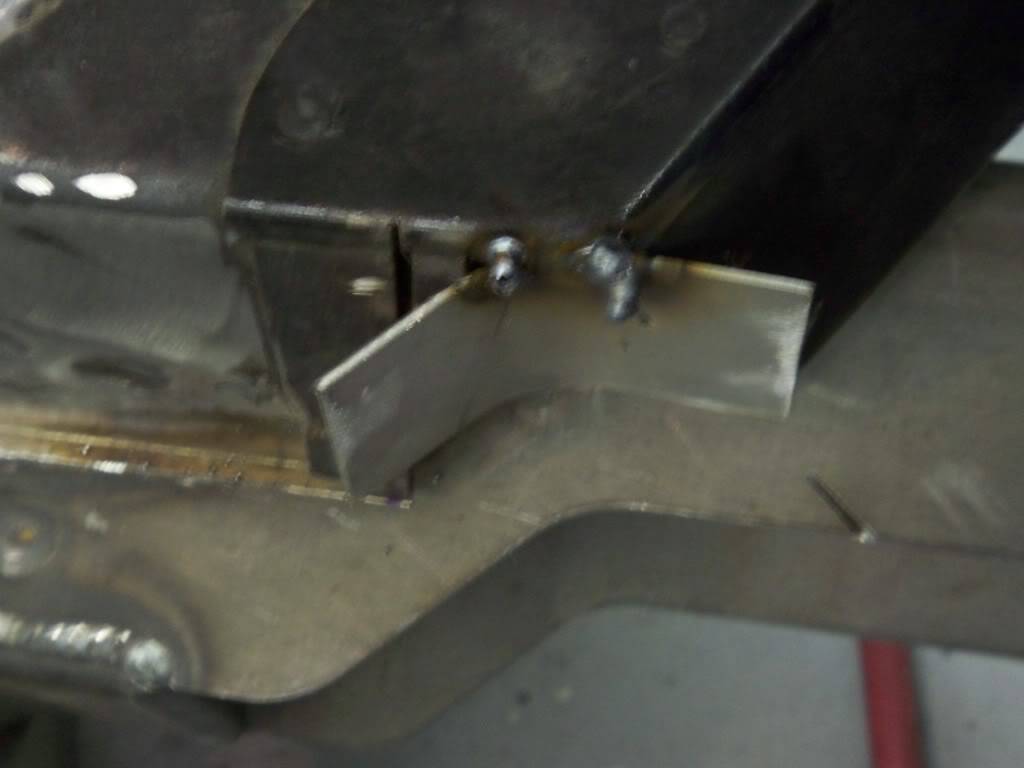
The next delema was adding rigidity. A simple bend at the end would do, but Ive never really added a crease to formed metal.
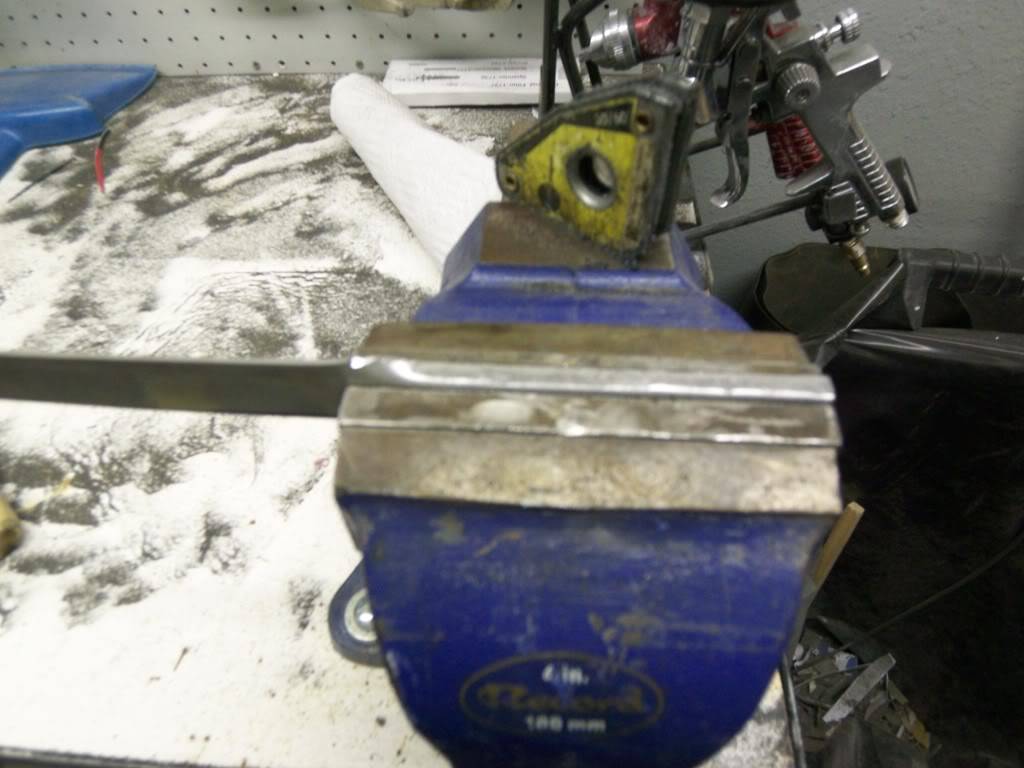
My solution?
Take a strip of 16 gauge steel and with the brute force of a vice and hammer, make a bend! I'm sure a metal brake would have been better, but I don't have one and I have no room in my garage for more big tools :(
After giving it a beating, I made relief cuts to help shape it. I clamped it in, drew a line, cut it off and then weld in the bend!
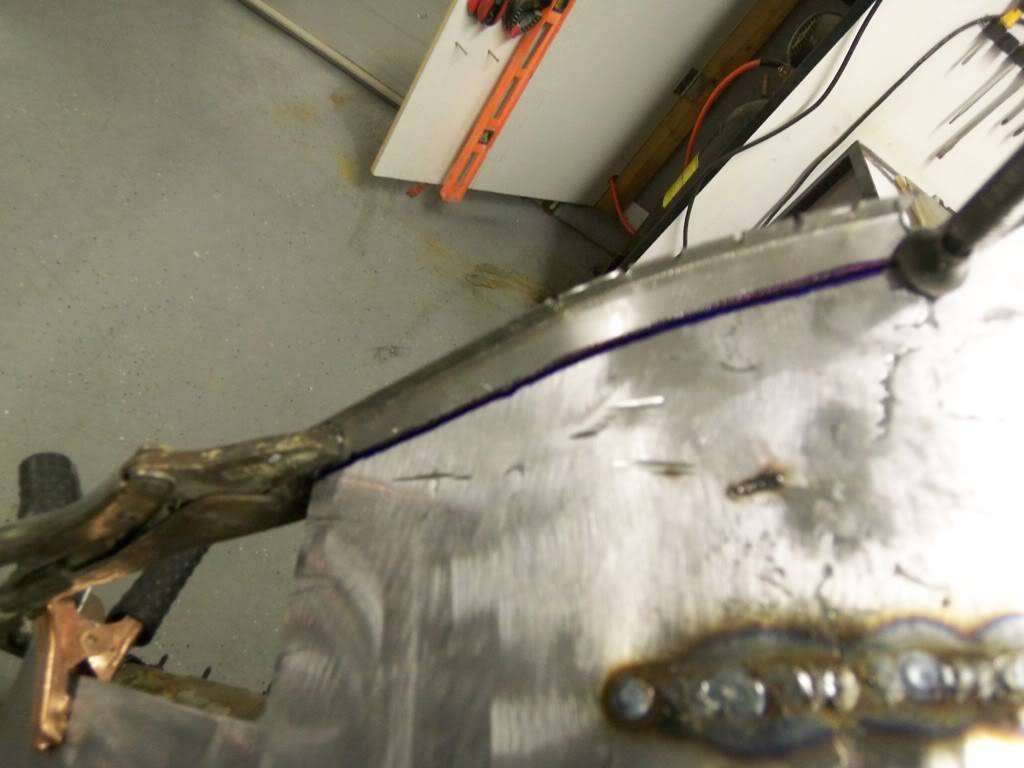
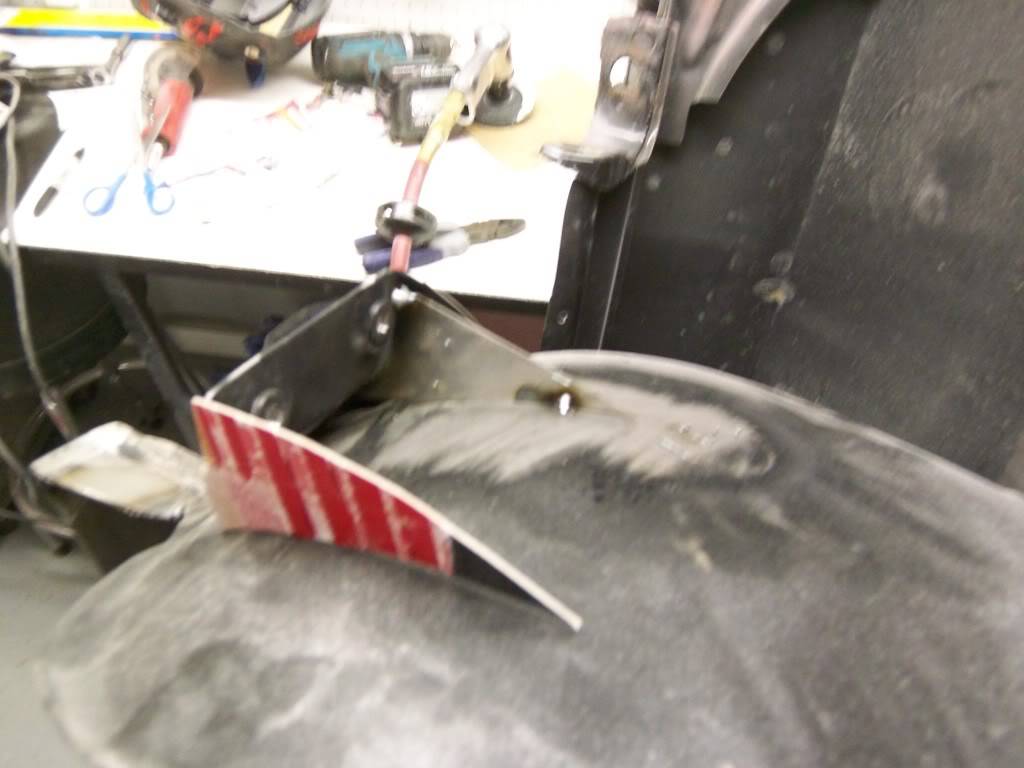
I wanted to get creative around the upper arms, and while it was tricky, it was doable.
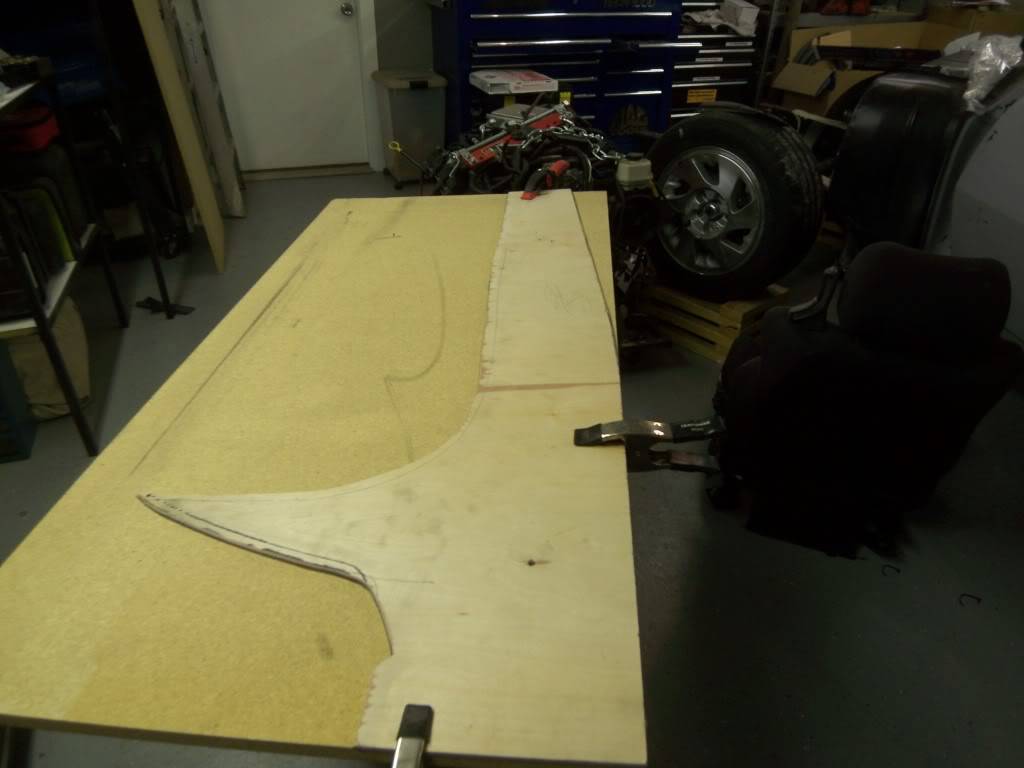
Making a template:
I made some relief cuts and matched the template (using sheet metal screws to plywood). Add in triangular scraps and weld it solid.
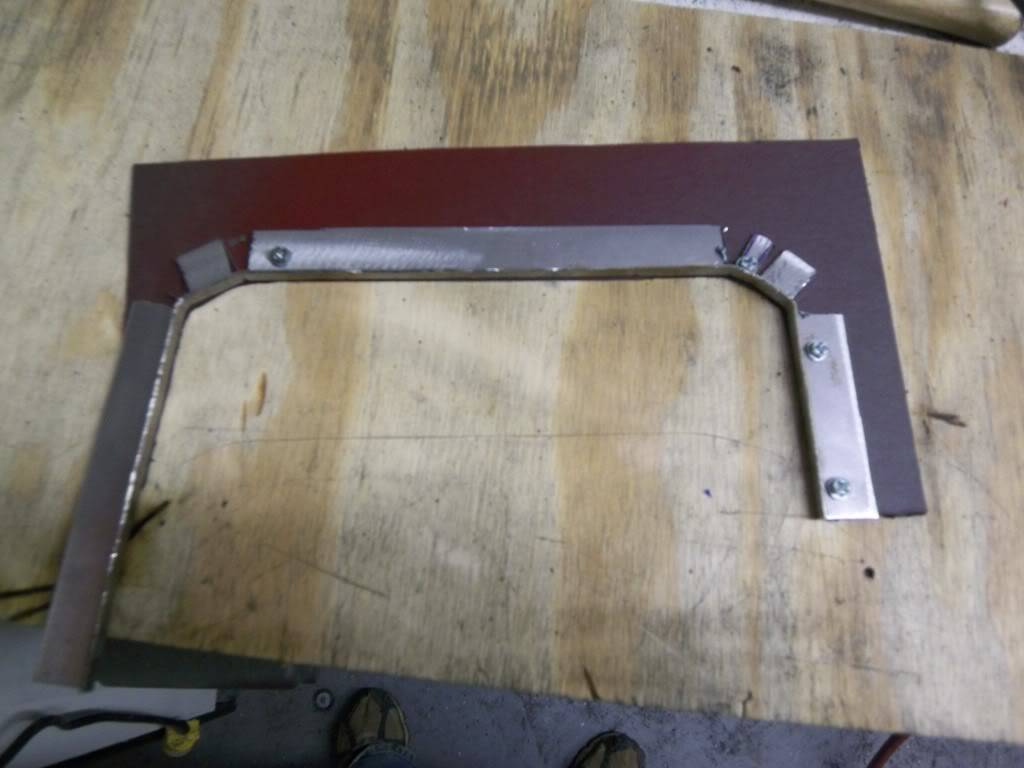
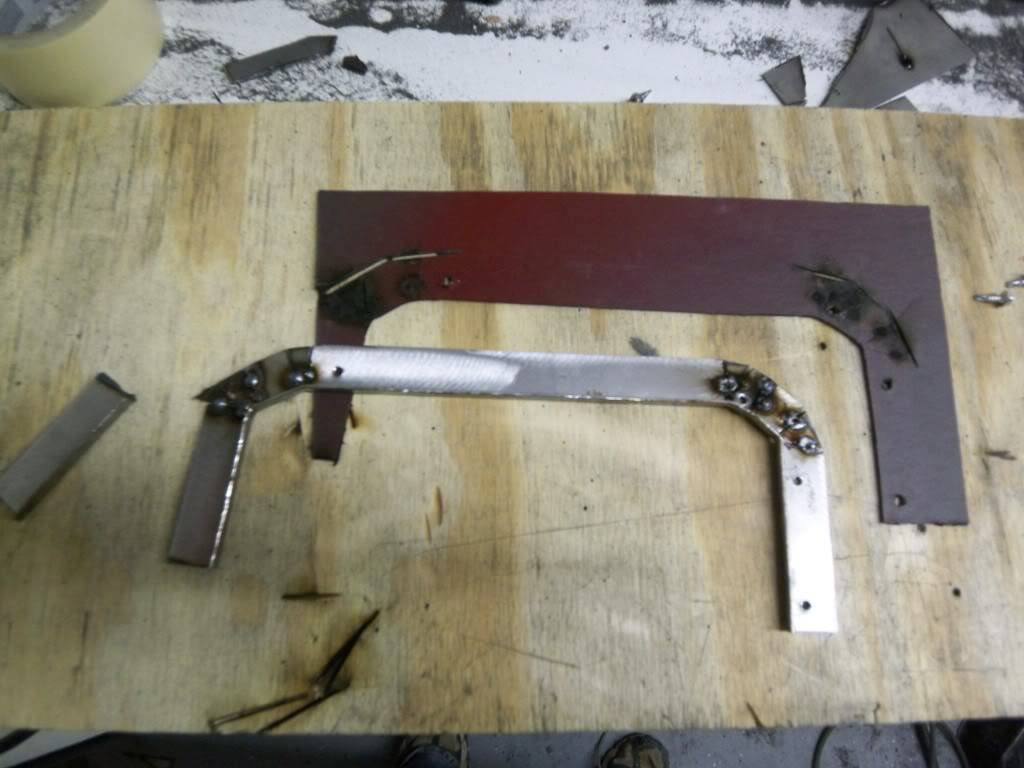
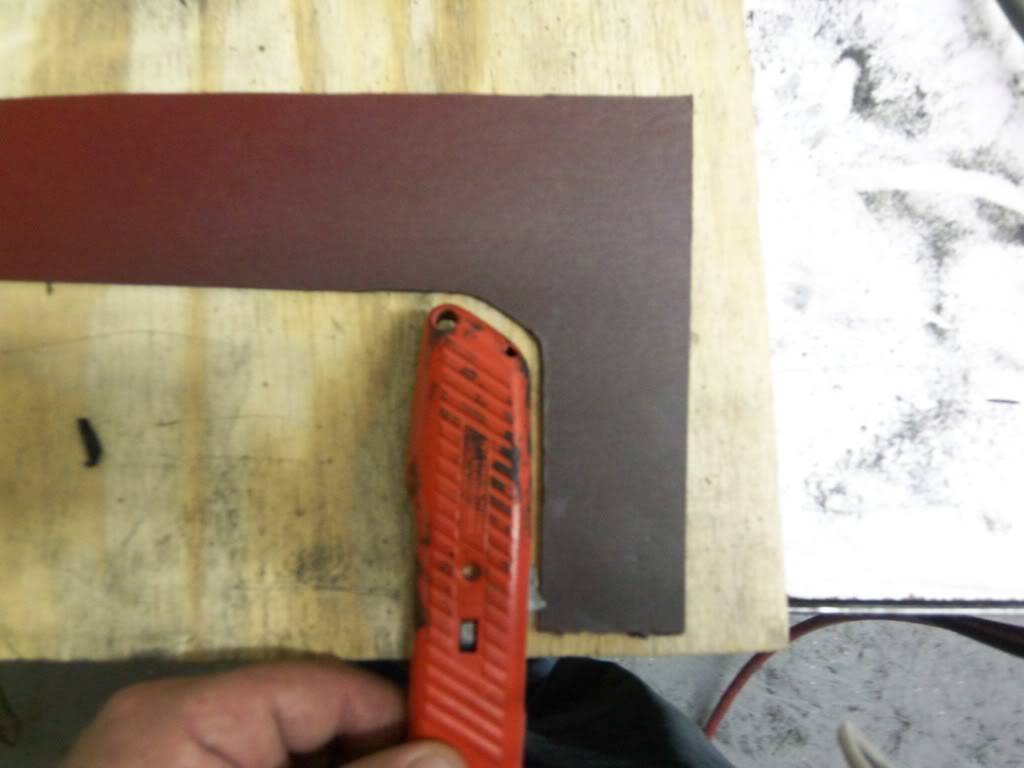
My inspiration for the shape? My trusty box cutter
I know it looks like I am leaving no room for suspension travel, but the shocks that are on the vehicle right now are 2 inches shorter than what will be there, so the top of the tire is literally rubbing the top of the wheel well. If the arms go any further than this opening, there are bigger problems than the opening! Lol

 Confucius says, "Choose a job you love, and you will never have to work a day in your life"
My build Beast
05-16-2011 #24
Registered User
- Join Date
- Oct 2006
- Location
- McKinney, TX
- Posts
- 899
Well, I took tons of pics on the wells, so I have to take two posts to finish it up!
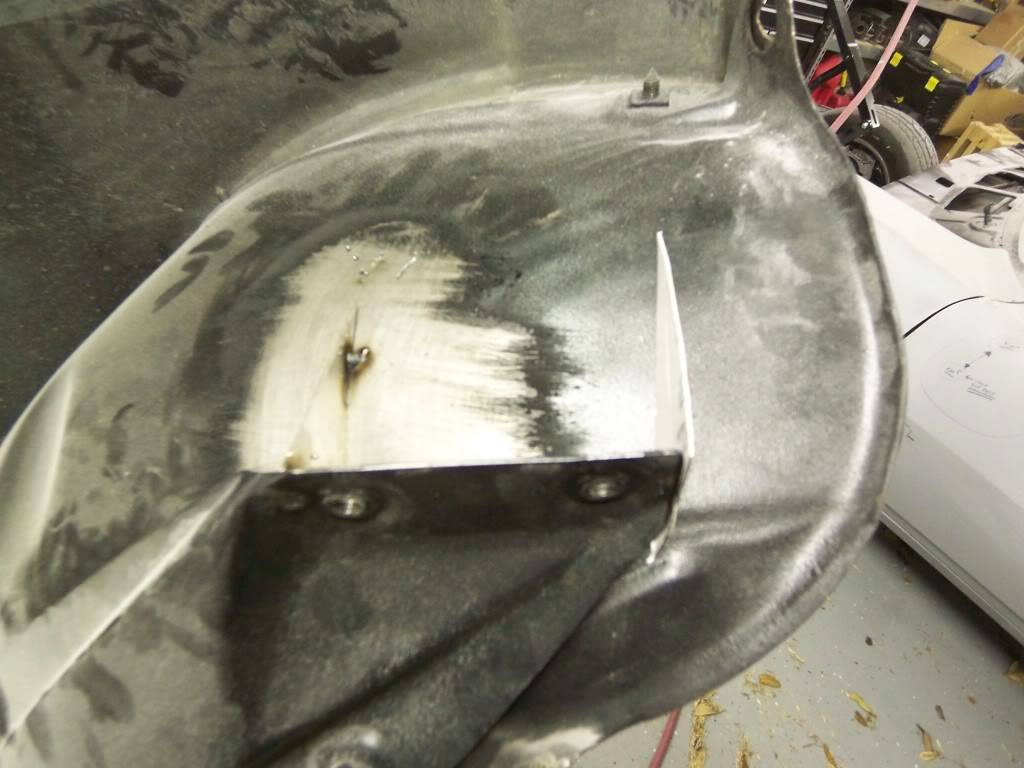
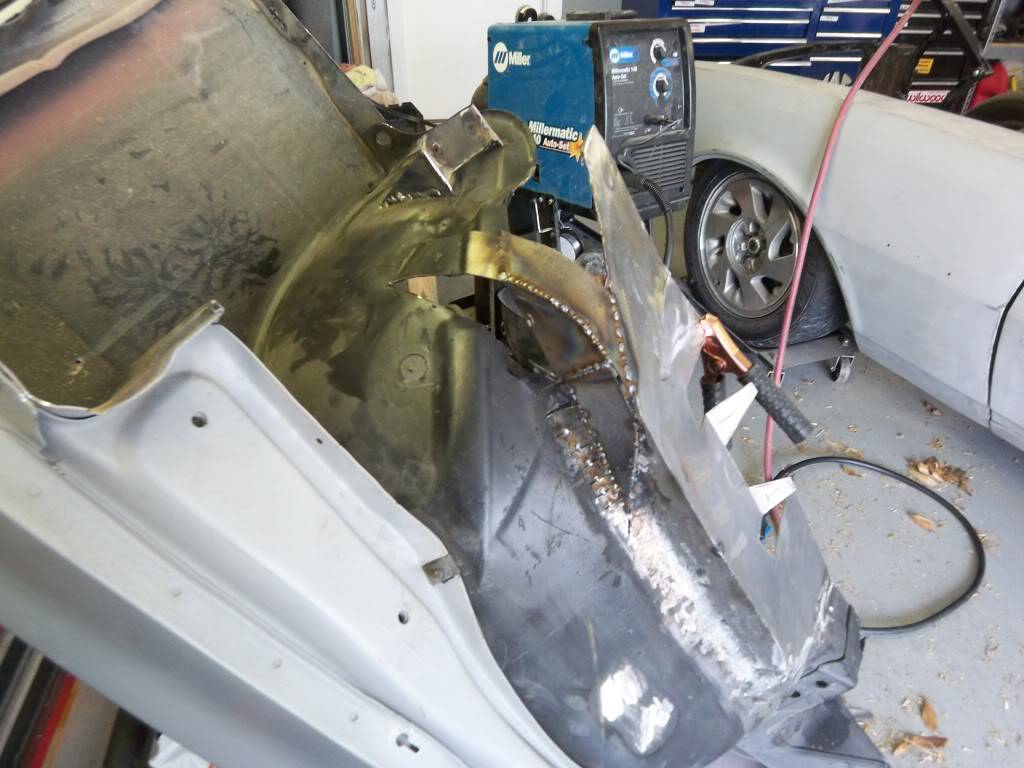
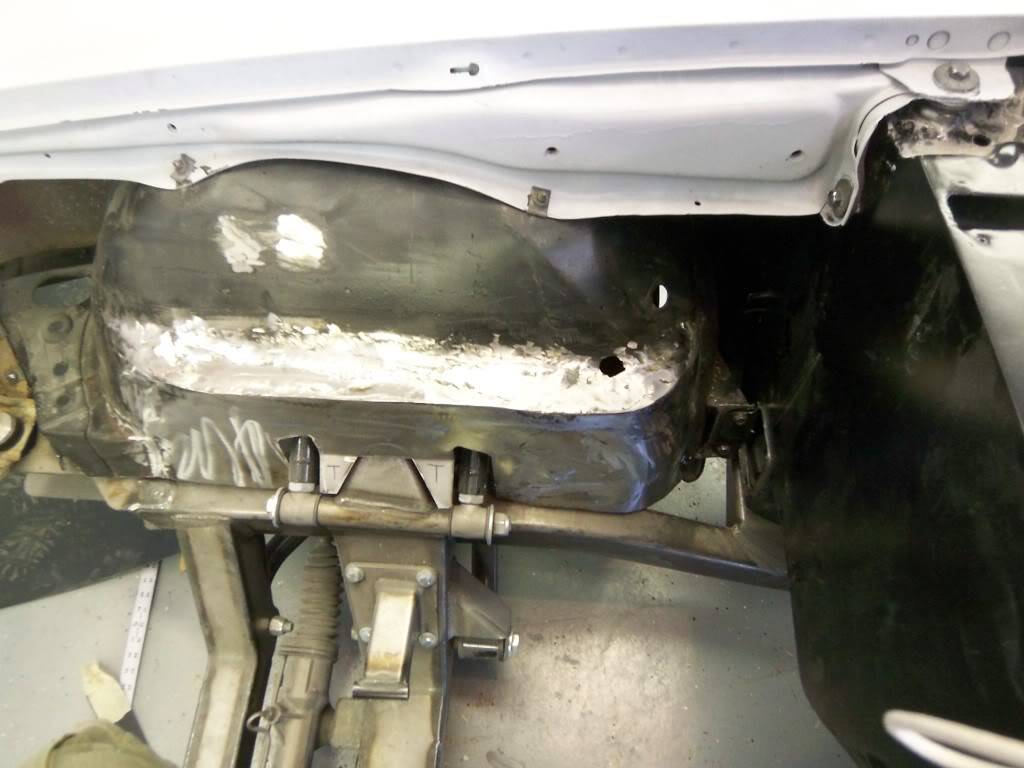
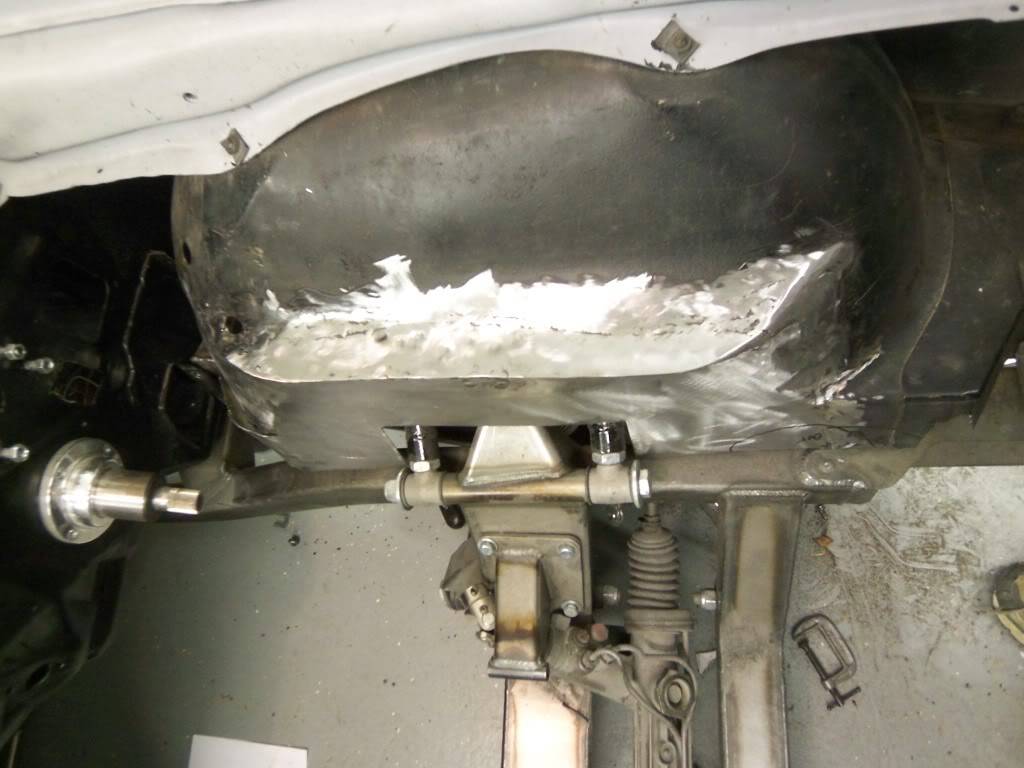
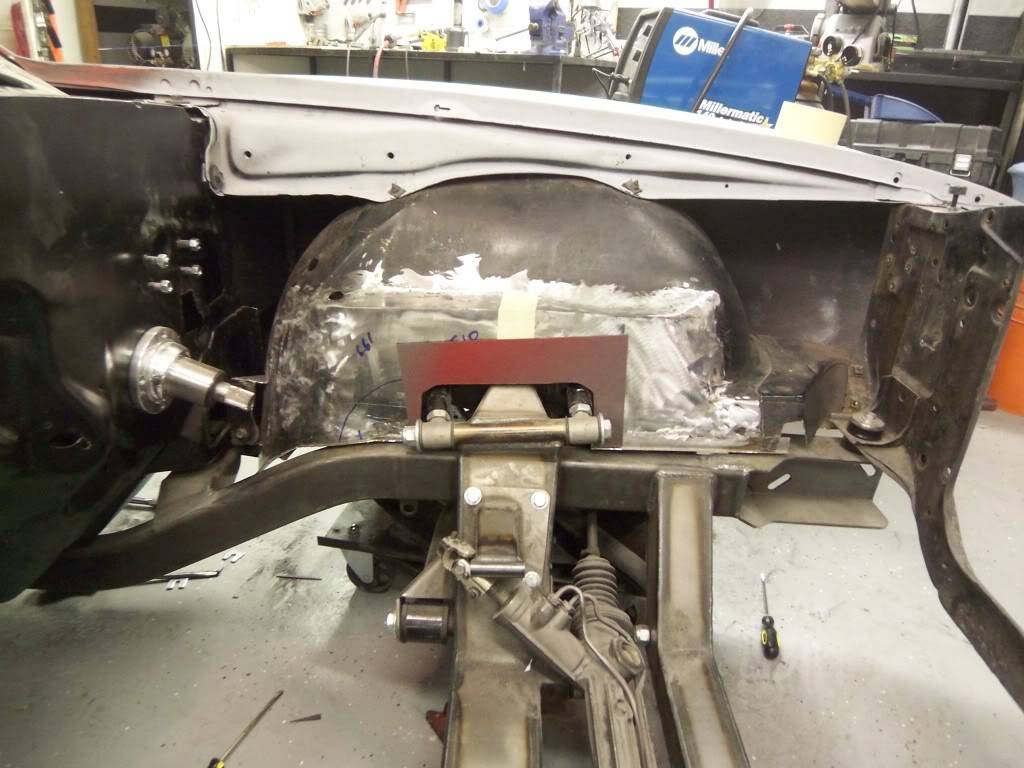
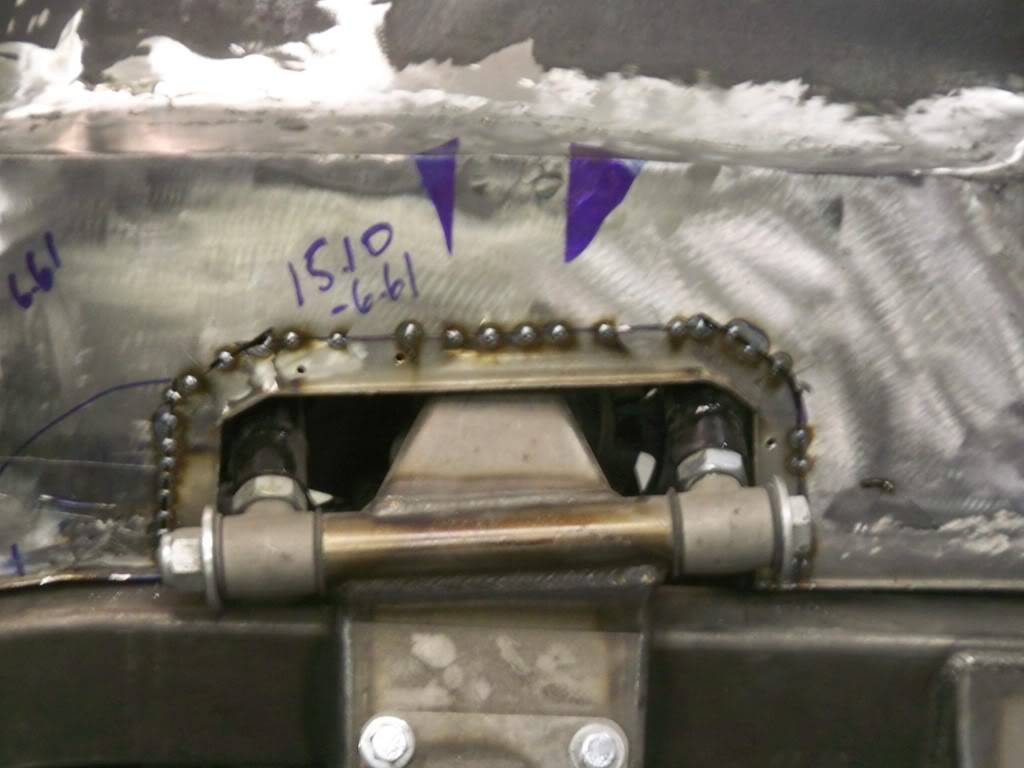
I wanted the front portion to follow the contour of the sub, so I started cutting away:
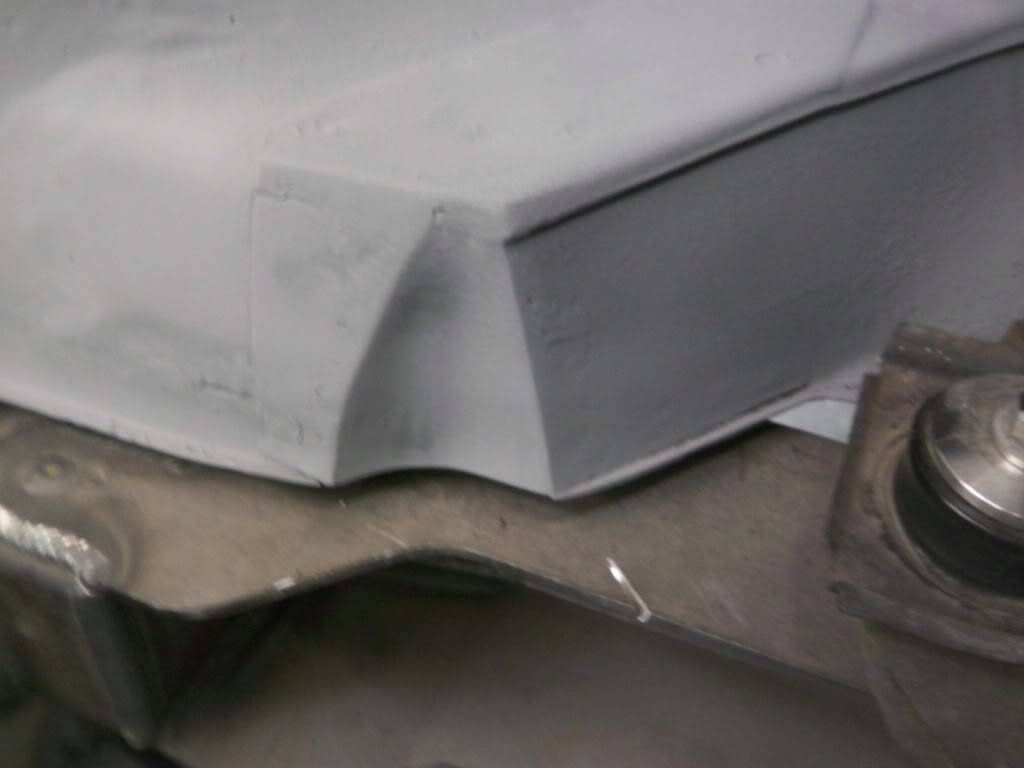
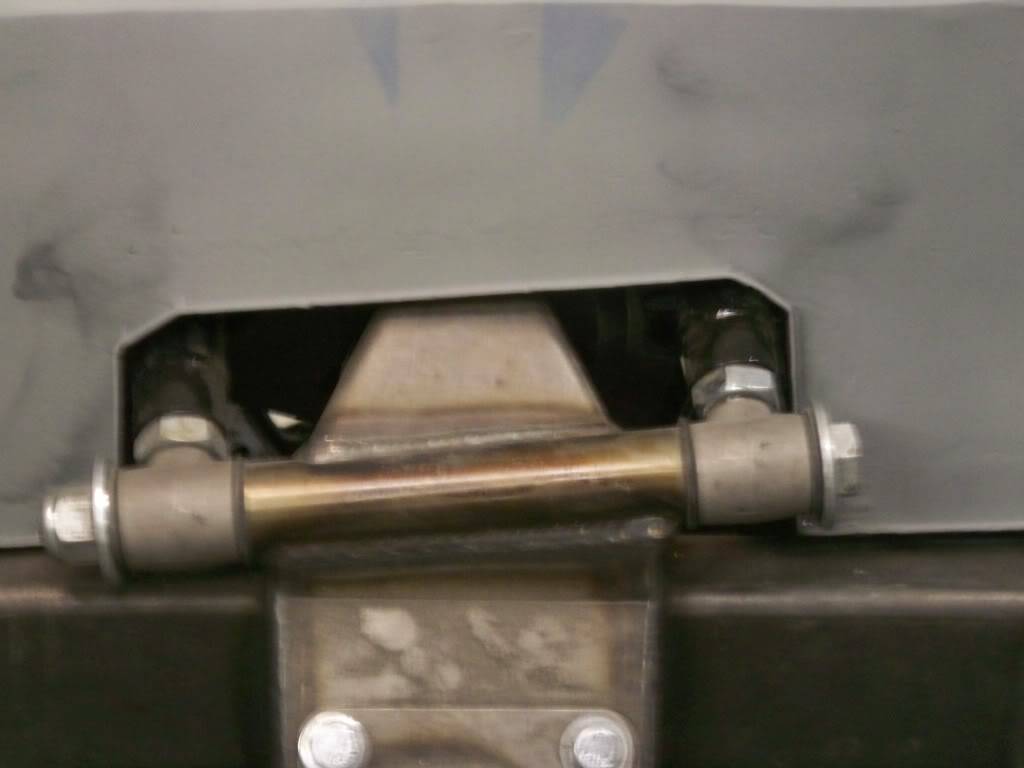
Here is the rough-in finish. I need to cut out some and weld in better patches (like I said it was built almost entirely with small pieces of metal. I wanted to see what it would look like so I rattle canned the driver’s side with some cheap primer. I ran out so the passenger side is in a “hammered” rustoleum!
still a few rough areas to work out, but the overall idea is there.Confucius says, "Choose a job you love, and you will never have to work a day in your life"
My build Beast
05-17-2011 #25 Registered User
- Join Date
- Apr 2010
- Location
- Sunny Flordida
- Posts
- 345
Thanks much for the info! Wells look trick. Too bad so much work ncause I bet you could sell those to anyone buying that sub frame. When I do mine, I'm gonna have to pay somebody to do what you did as I've never welded anything. Thanks for keeping us updated. Your kind of build (very hands on) is what spurs me into attack mode on mine!

[/URL]
05-17-2011 #26
Registered User
- Join Date
- Mar 2009
- Location
- overseas
- Posts
- 3,434
wow nice fab work! looks great
Kevin S. (overseas in Germany)
1963 Chevrolet Impala 2d ht Coupe
www.CruznArt.com
CRUZN - Automotive Artworks
05-17-2011 #27 Registered User
- Join Date
- Apr 2004
- Location
- Cedar Rapids, IA
- Posts
- 999
Love the fab work.
Some times I'm fast sometimes I'm half-fast
05-17-2011 #28
Registered User
- Join Date
- Oct 2006
- Location
- McKinney, TX
- Posts
- 899
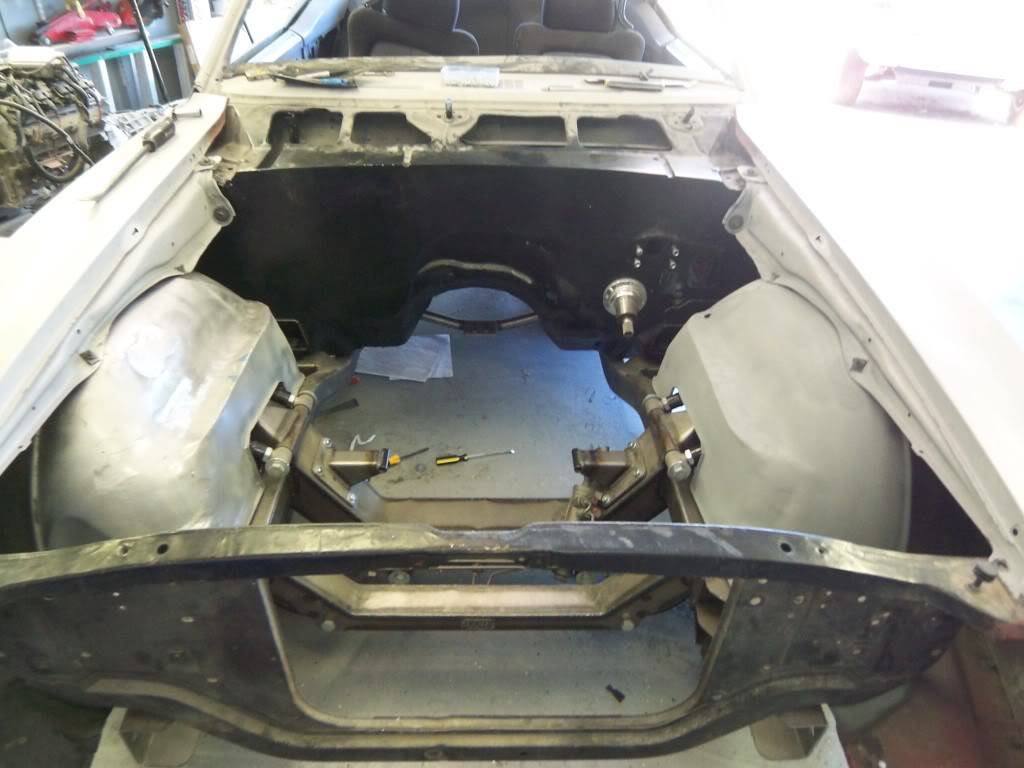
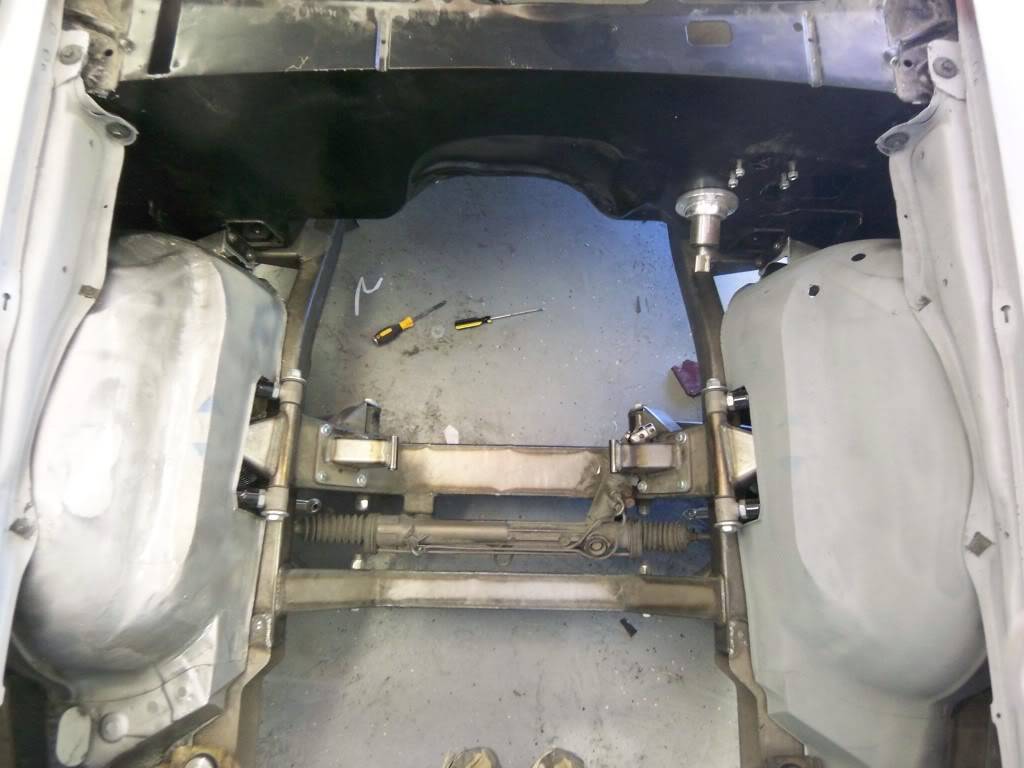
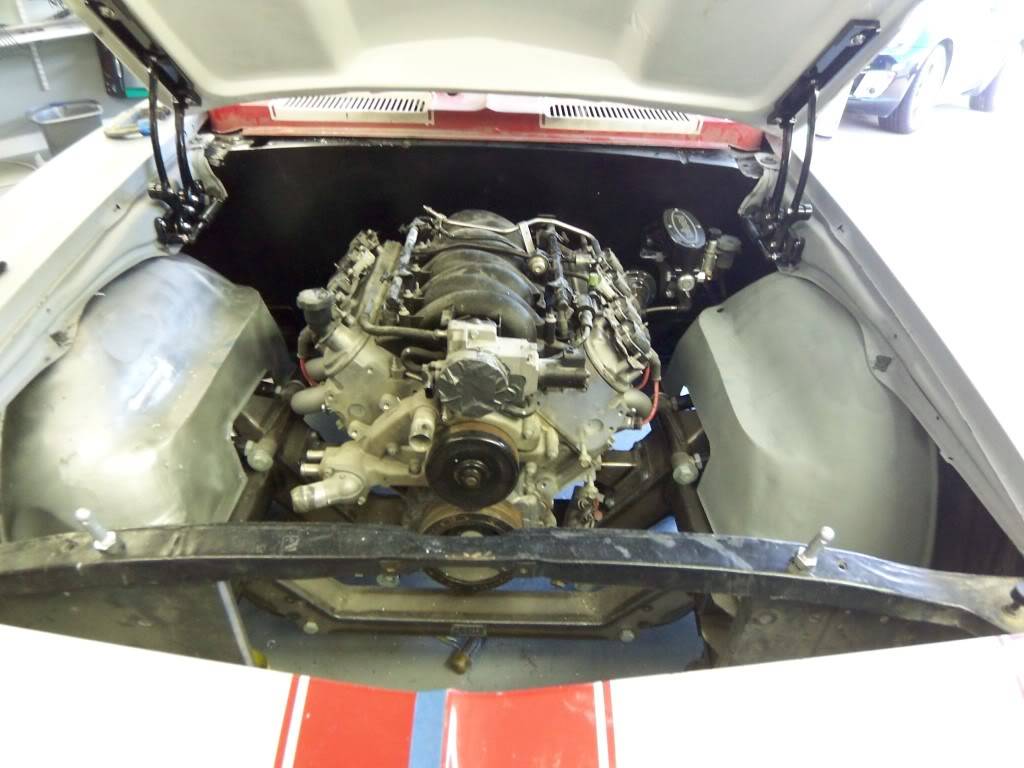
The last update (wheel wells) was work that was done in April. We are now catching up to where the project sits today This was as of 4 days ago:
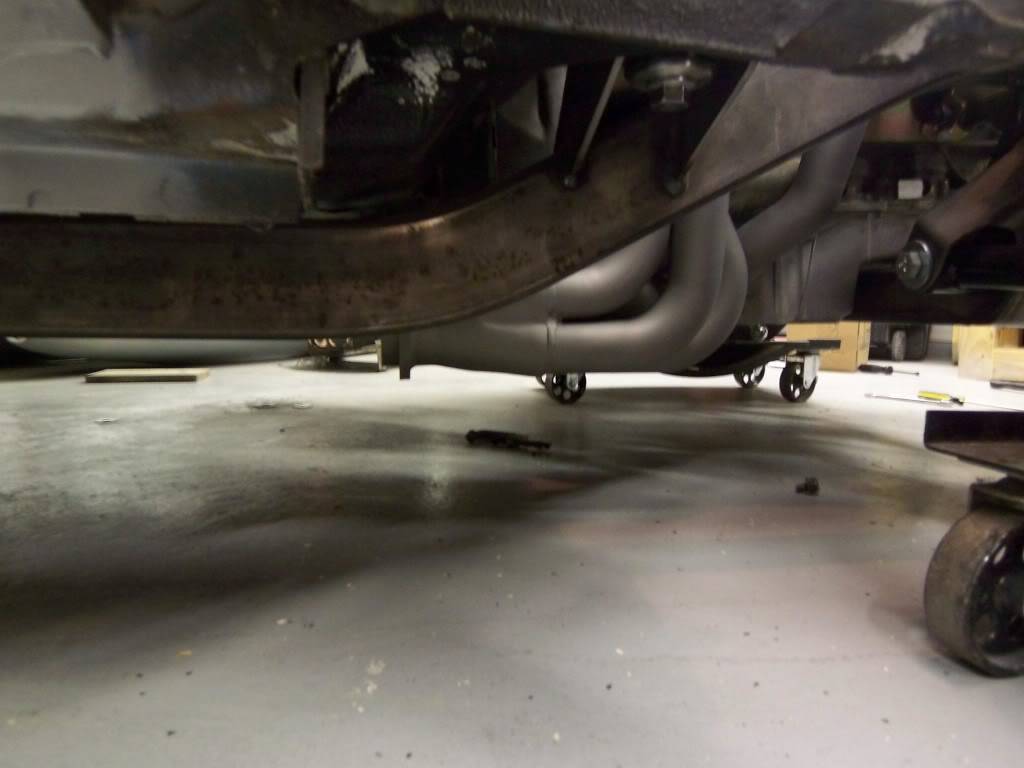
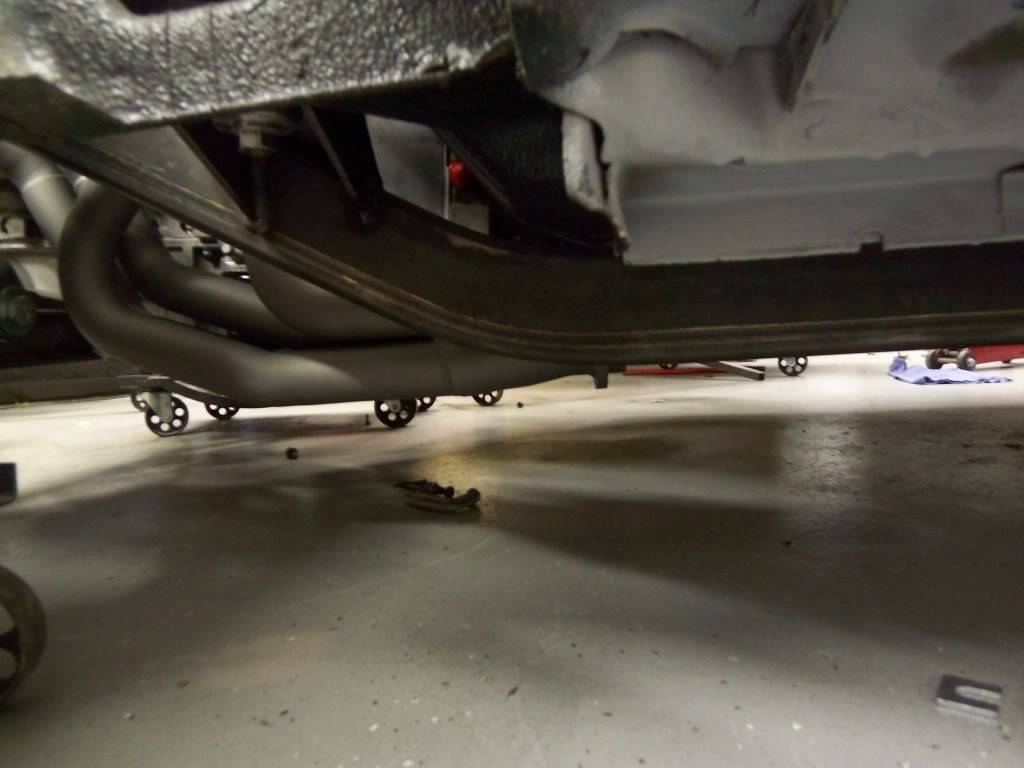
I finally got a day off to play around so I decided to do some initial mock-up. Engine mounted in (Trans mount needs some work, but it is sitting in as it will be) Headers installed to check ground clearance
Master/Clutch/Clutch res/ prop valve assembly fits nice and tightI was concerned that the wells might create some interference
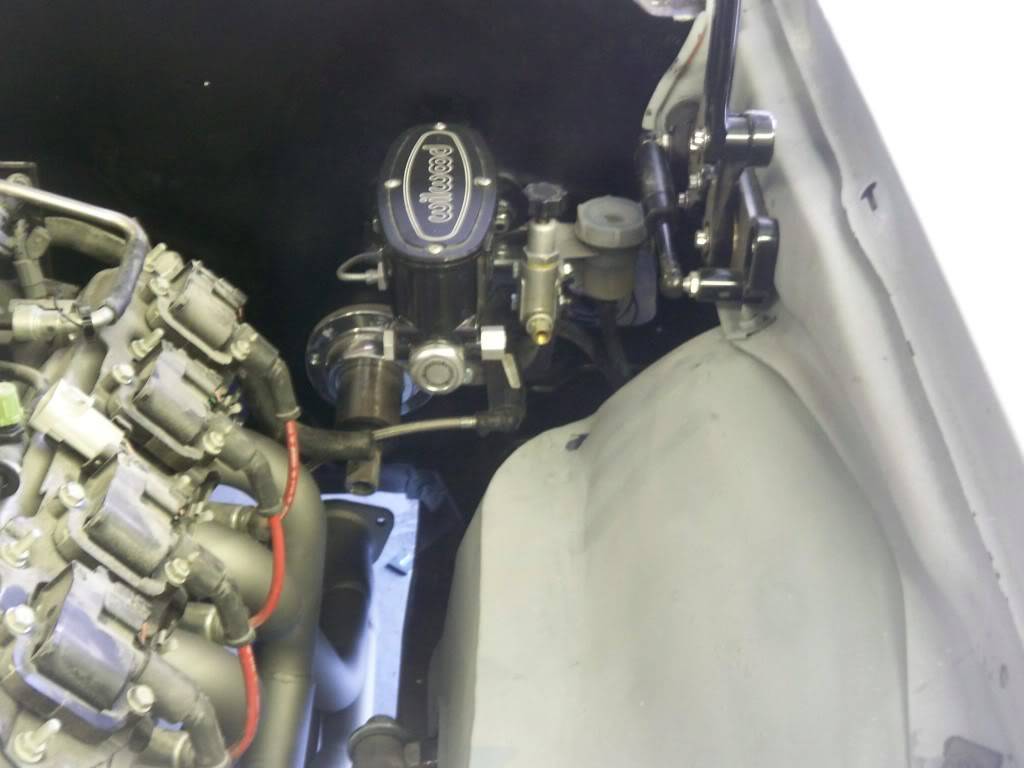
Everything seems to be fitting fine. I need to put the steering linkage in but Im waiting until I fix the R&P. It rubs on the engine mount during turning so I either need to readjust the mounting points to give it more of an angle or I need to grind down the opening below the engine mount.
Ill probably end up adjusting the R&P mounts because I definitely dont want to weaken the engine mounts.
Now that I know where the engine is going to sit I can start working on my handlebars.
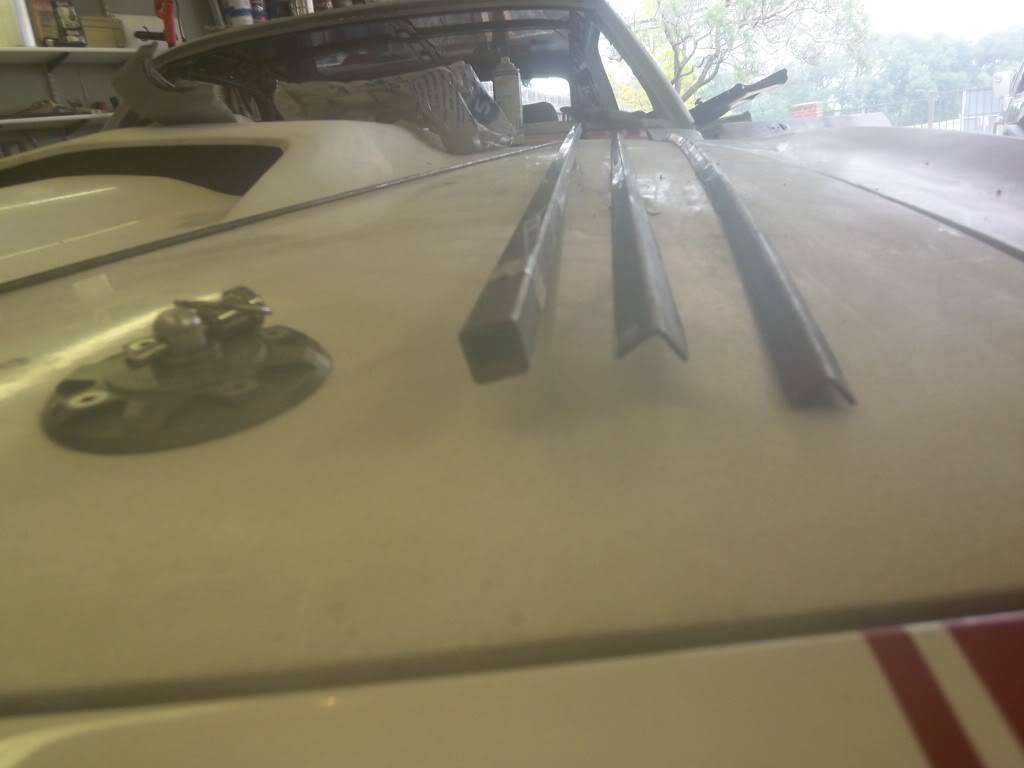
After the engine and trans test fit, I started working on getting the hood on and putting in my hoodpins in.
God I missed this view! This is the first time Ive had the pleasure of sitting in the driver's seat and looking down the long hood.
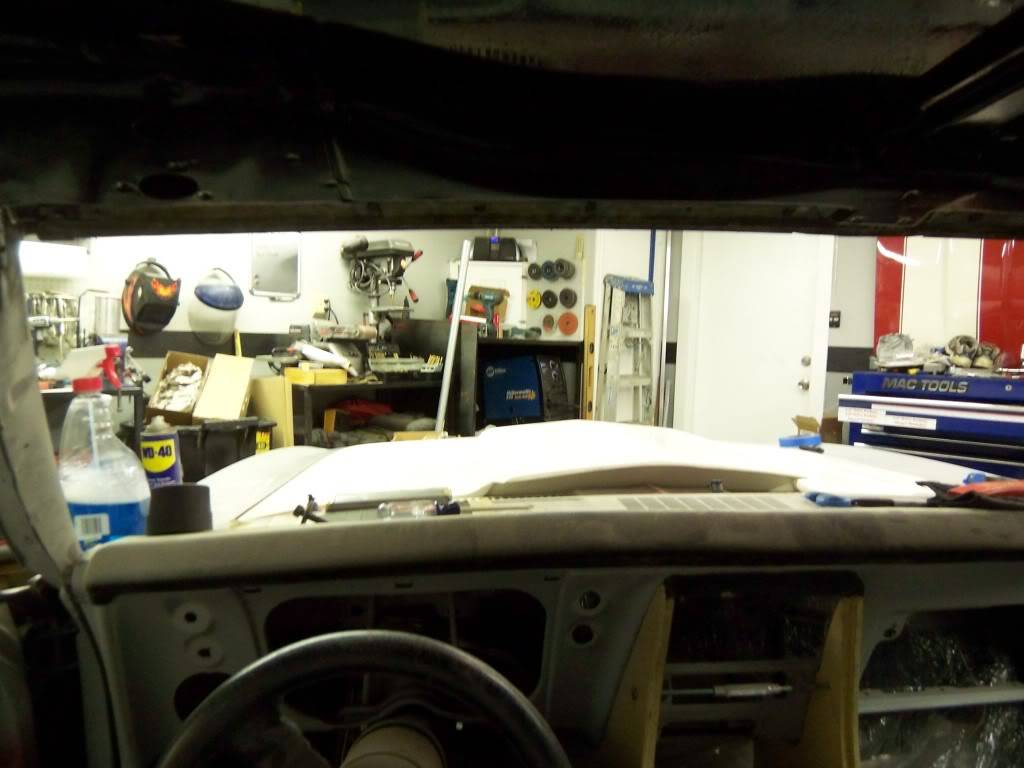
Well, last update for a few days at least. I will hopefully have the final mock up on the center console done this weekend, but time-wise that could be tough. We shall see...Confucius says, "Choose a job you love, and you will never have to work a day in your life"
My build Beast
05-17-2011 #29
Registered User
- Join Date
- Dec 2010
- Posts
- 709
I am truly amazed by your story about Heidt's. While I have no present need for their stuff, I would definitely consider it in the future, after reading your post. Thanks for testifying to their willingness to own up to what happened!
05-18-2011 #30
Registered User
- Join Date
- Apr 2010
- Location
- Sunny Flordida
- Posts
- 345
Looks like (in the last shot) you are going to build a custom peice from your center dash down to a console? I'm very interested to see what you're going to do there. Will that come down and meet a late model console? Inner fenders look great with everything in plce now!
[/URL]
05-18-2011 #31
Registered User
- Join Date
- Oct 2006
- Location
- McKinney, TX
- Posts
- 899
I am working on the console right now. It is going to be a waterfall that will join the dash and a center console. I have this idea in my head and have gone through several drafts getting closer and closer each time. I think I have it figured out, but won't really have anything to show off until this weekend (HOPEFULLY).
It will make more sense when you see it, but it will take the initial ridge-out of the stock dash and blend into a waterfall.Confucius says, "Choose a job you love, and you will never have to work a day in your life"
My build Beast
05-20-2011 #32
Registered User
- Join Date
- Oct 2006
- Location
- McKinney, TX
- Posts
- 899
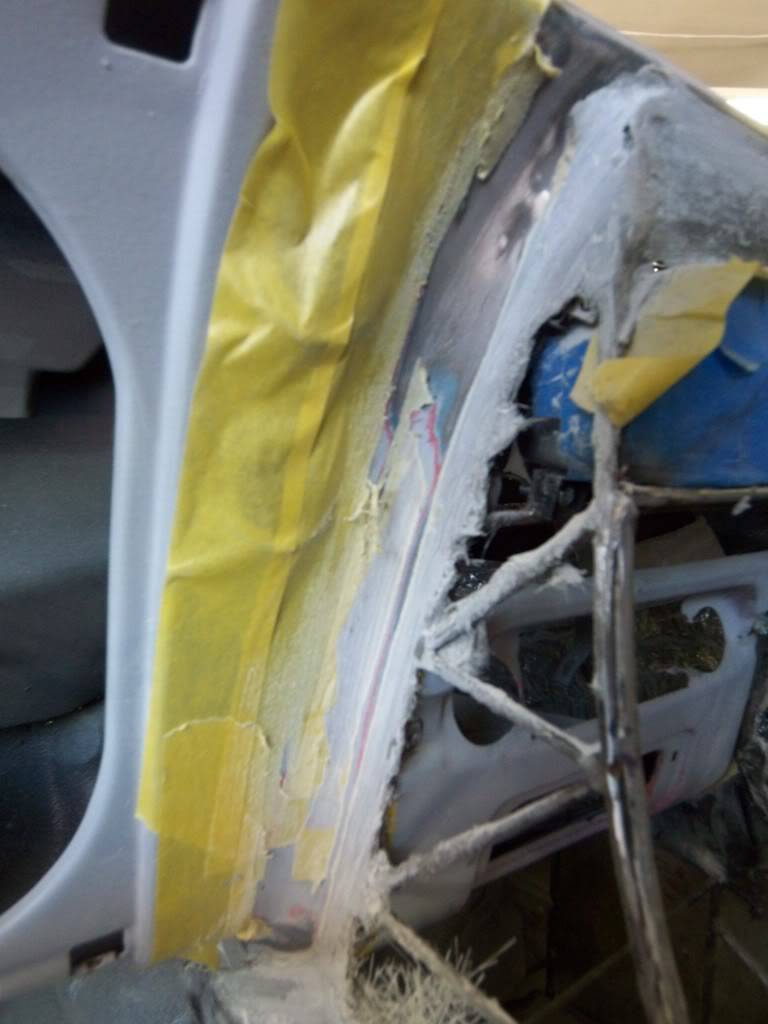
In an effort to post any progress made since I now have only 1 or 2 days a week to work on it. Here is the console as of the end of today, and the progress (or lack there of) leading to it.
As of about 45 minutes ago:
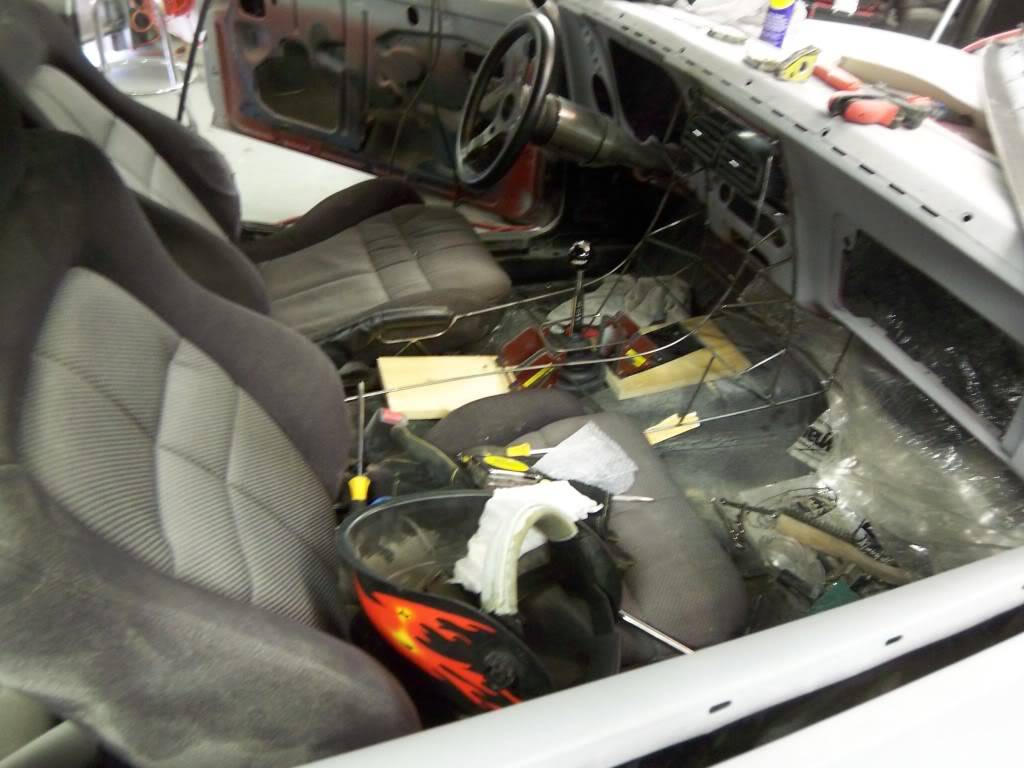
This all started with an atttempt to make a waterfall with 1/4" plywood, but I figured out that when I tried to mount it solid the wood would crumble and splinter.

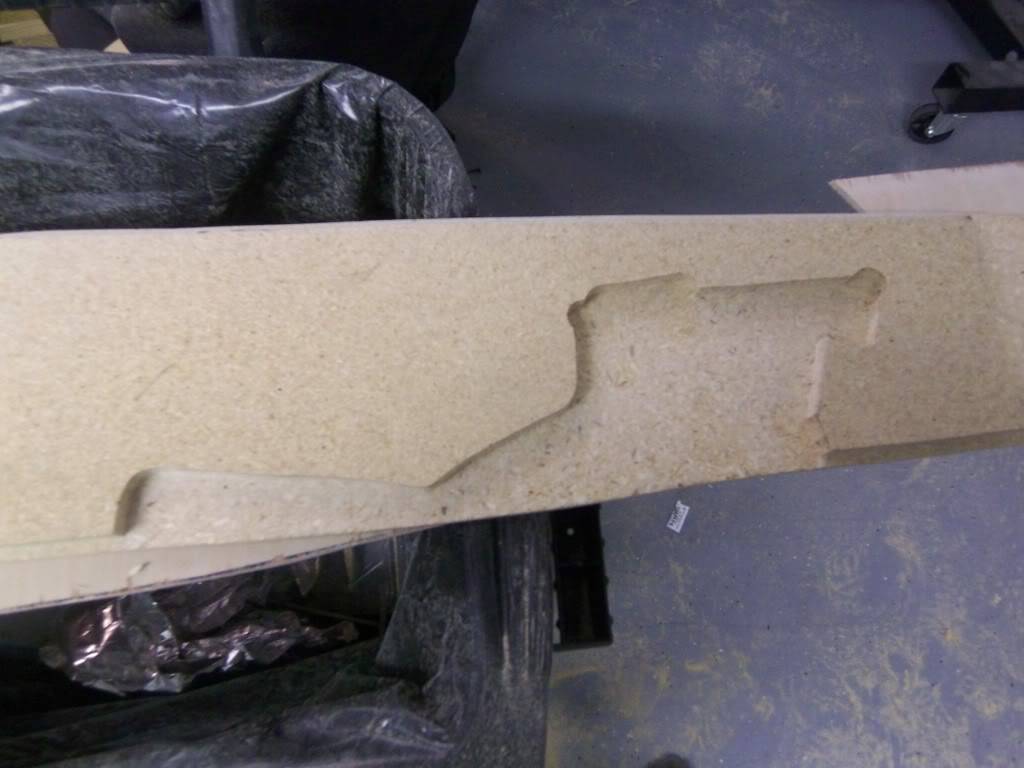
So, I stepped it up to 3/4" particle board:
This had the same crumbling problem, and it was lacking any flexibility to form it to the curves of the stock dash and sharp tapered angles that I needed. I walked away from it for a few months because I was at my wits end. Another problem was the E-brake. The ebrake and front seats are out of a 90's 3000GT, and the width of the ebrake mounts were interfering with the thickness of the particle board. Routing out the shape was the only way to make it fit. Looking back now it makes me laugh, but at that time I thought I was a damn genius.
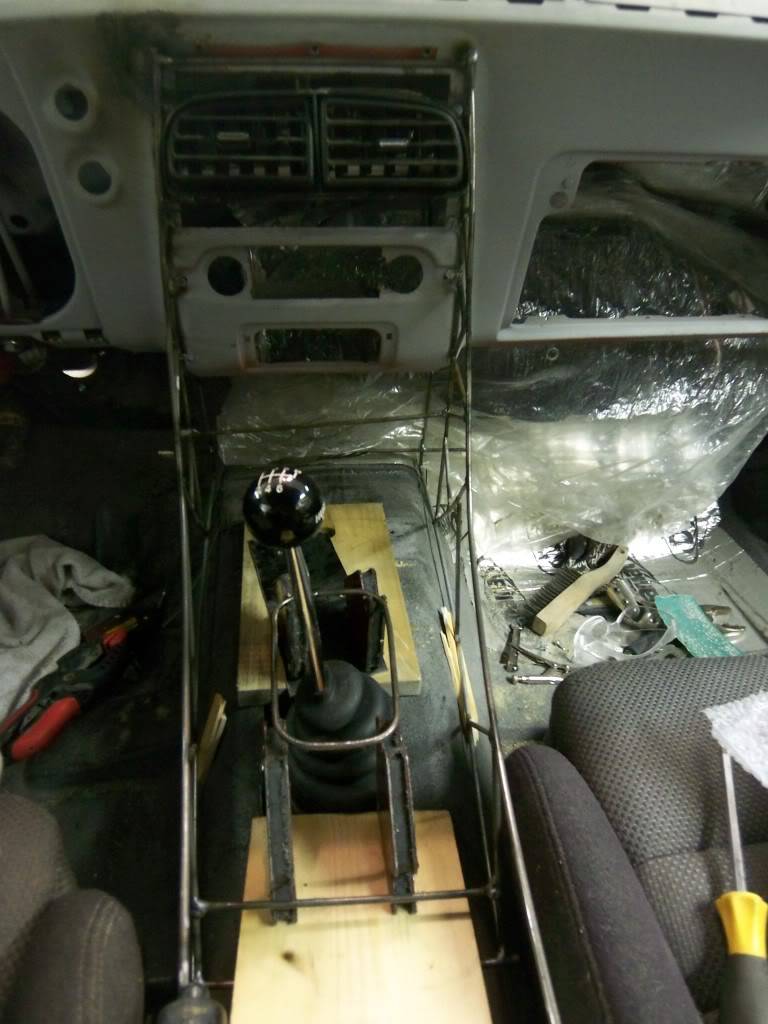
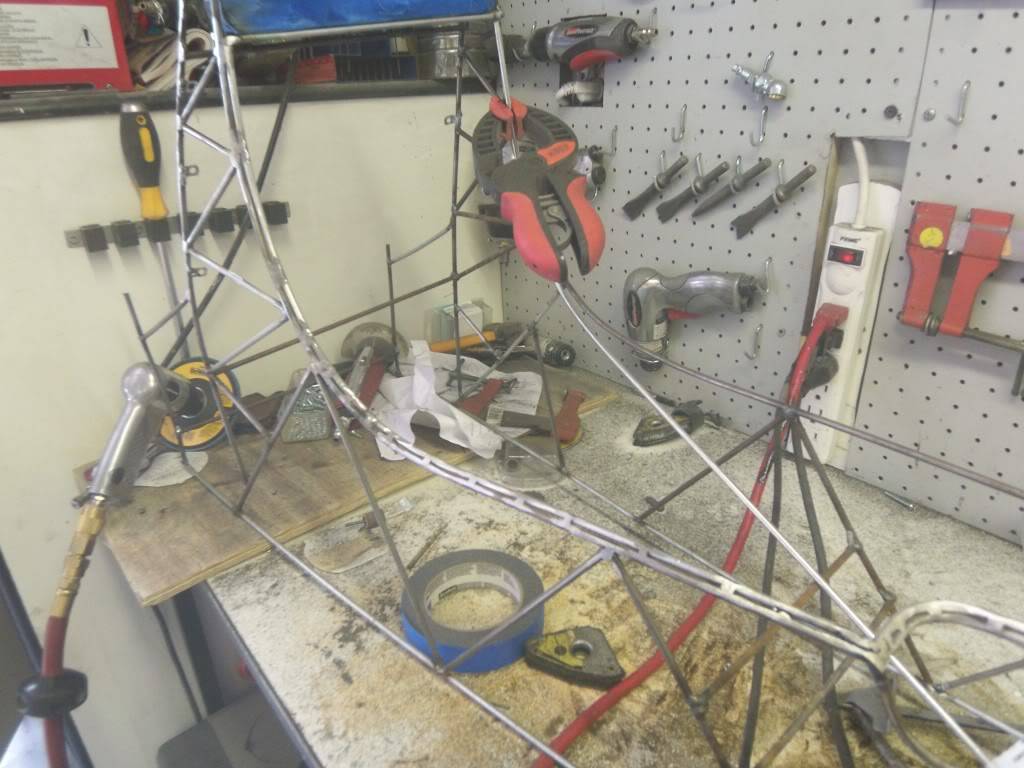
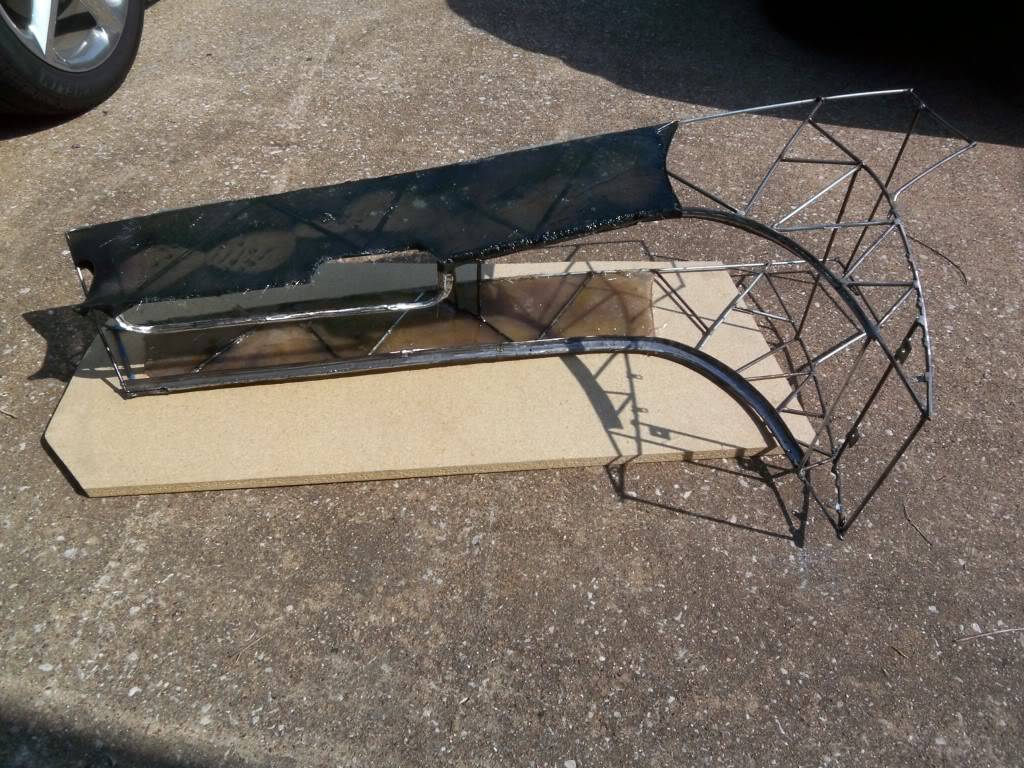
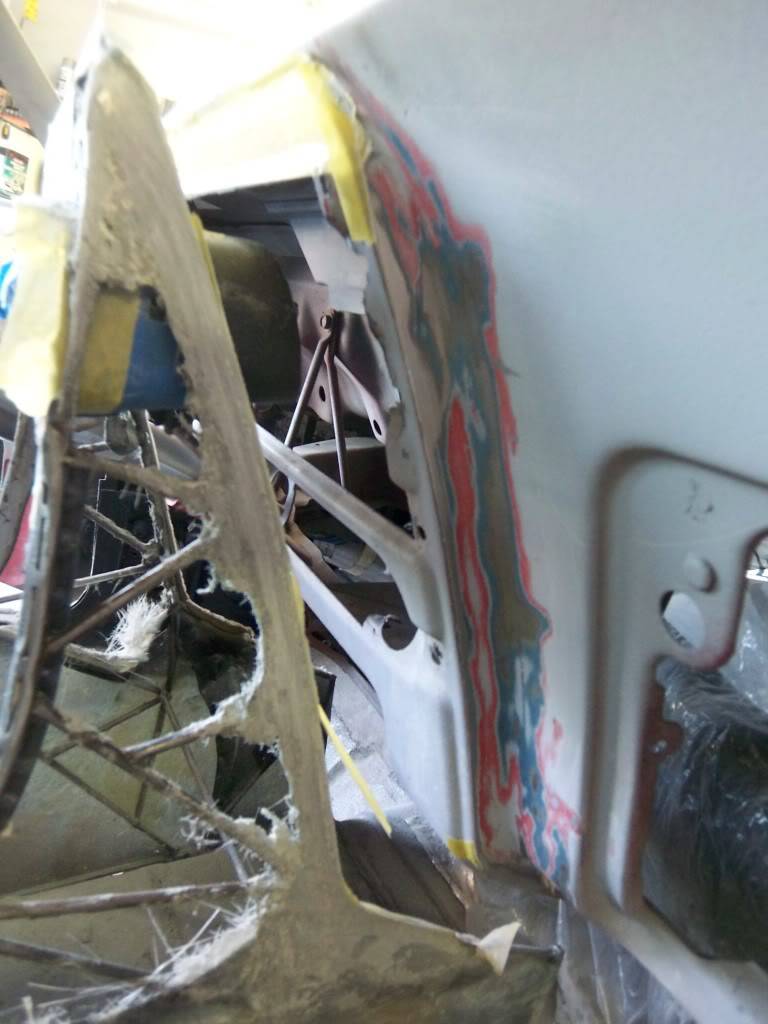
The other day I noticed when I was bending my brake lines that they were pretty stout, but still had some flexibility...I ran to Lowes and picked up 1/4" steel rod and went to town.
Shaping them after the wooden ones was easier said than done, but ultimately worked out:
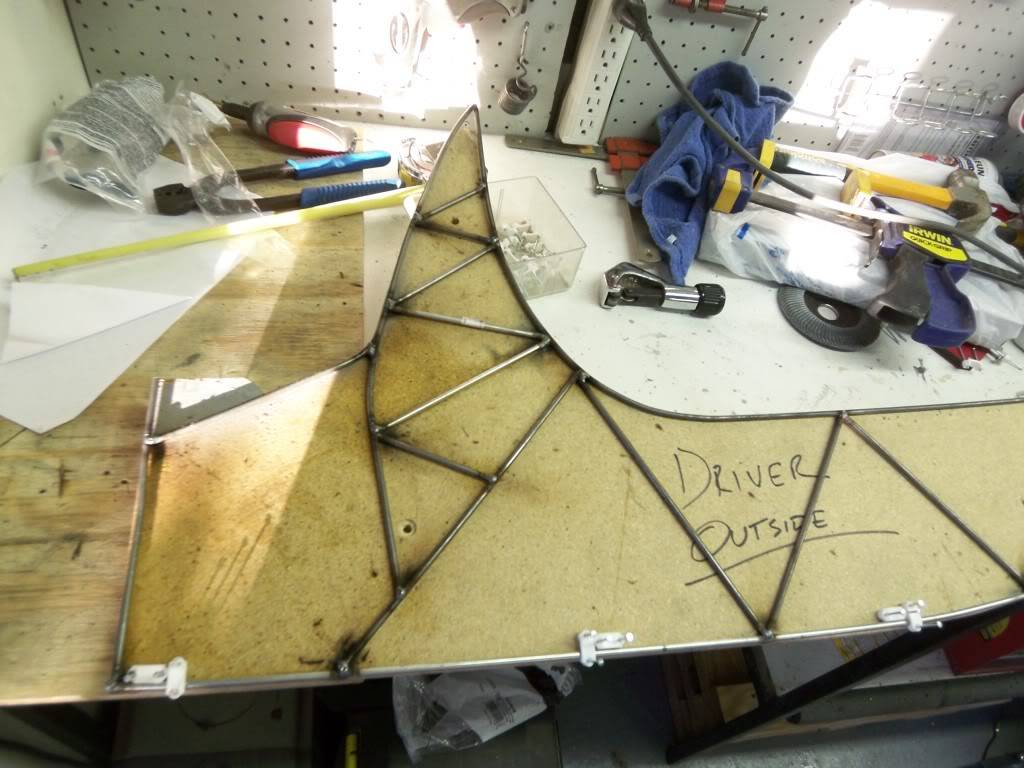
I used nail-in wire holders to lock the outsides in place and then tacked in supports.
After trying unsuccessfully to reuse them, I went and got some of these:
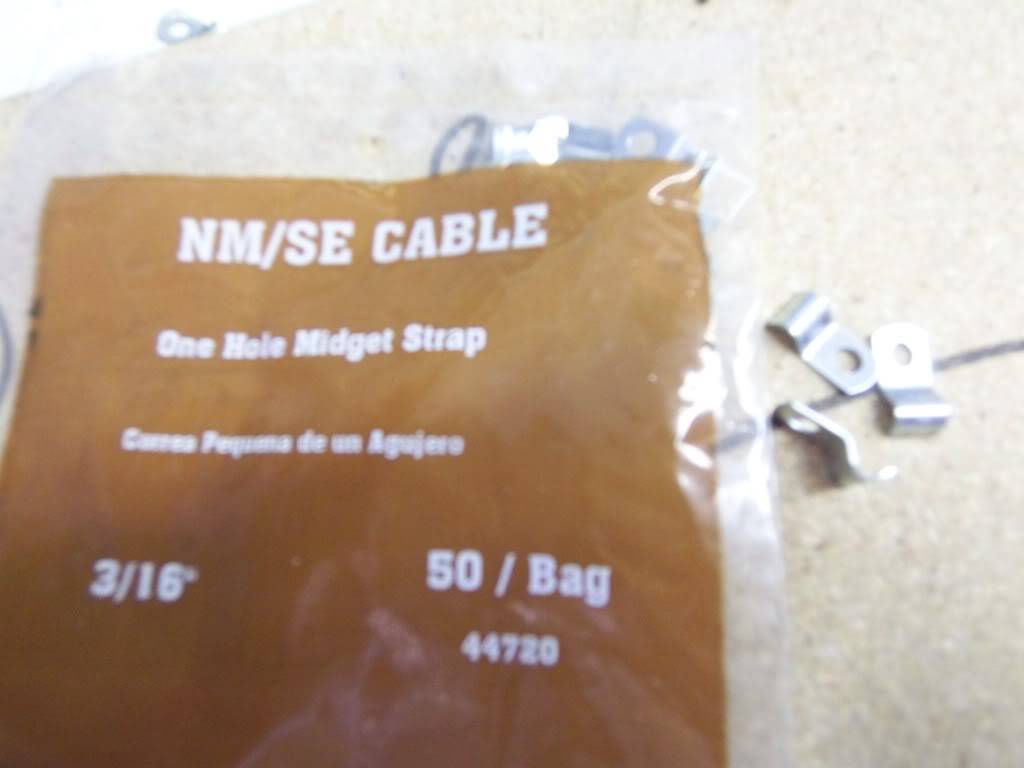
and the result was night and day!
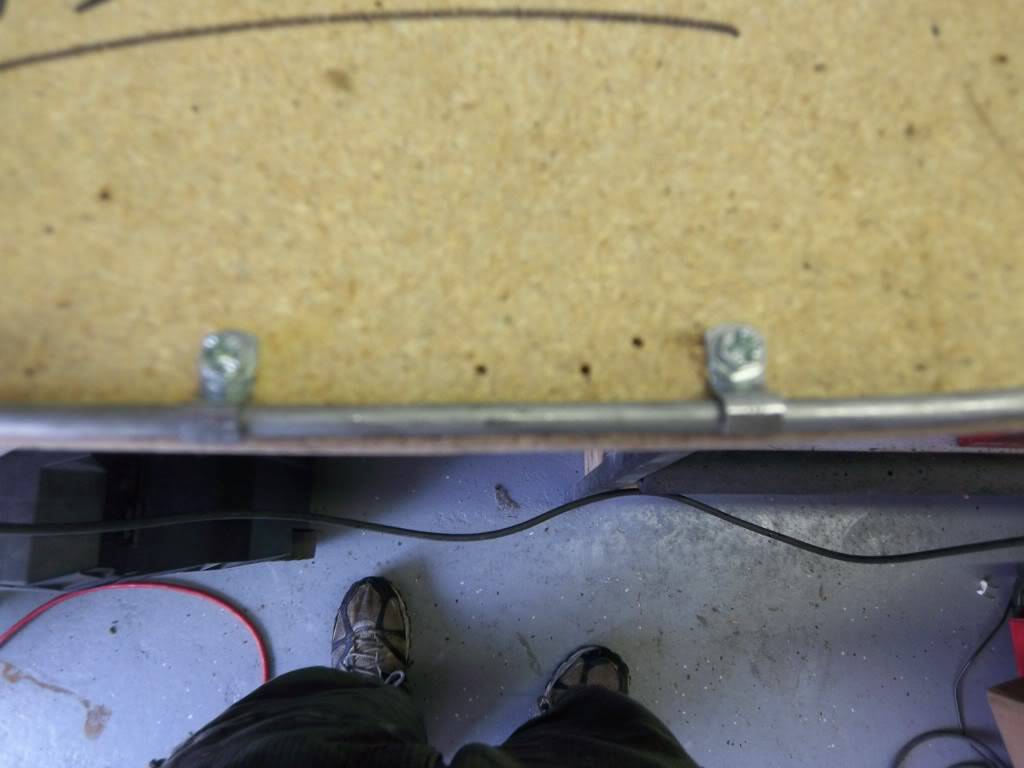
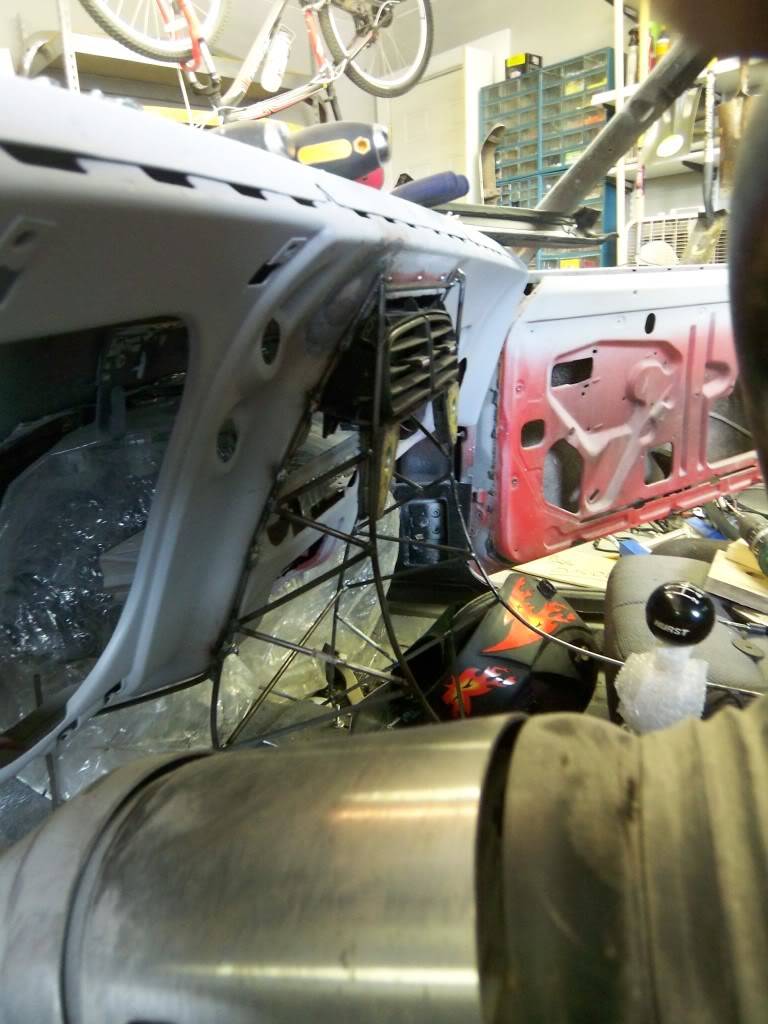
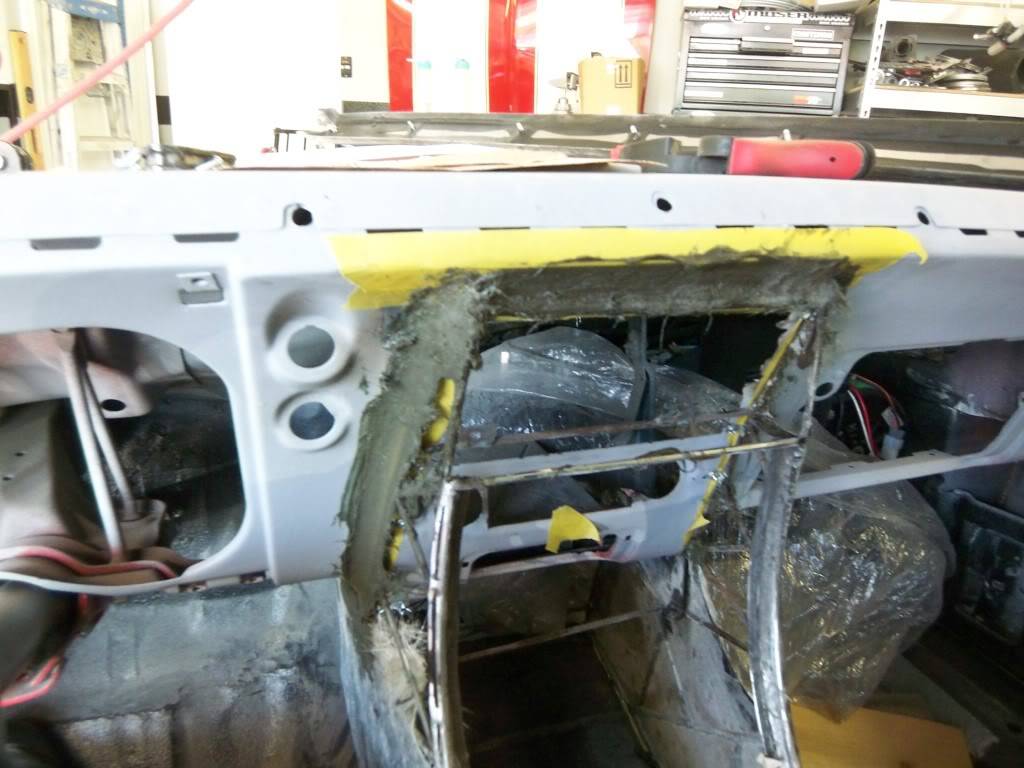
I even used them to help secure it to the dash. I welded them to the frames and used bolts to secure it. Here you can see the new vs. old.
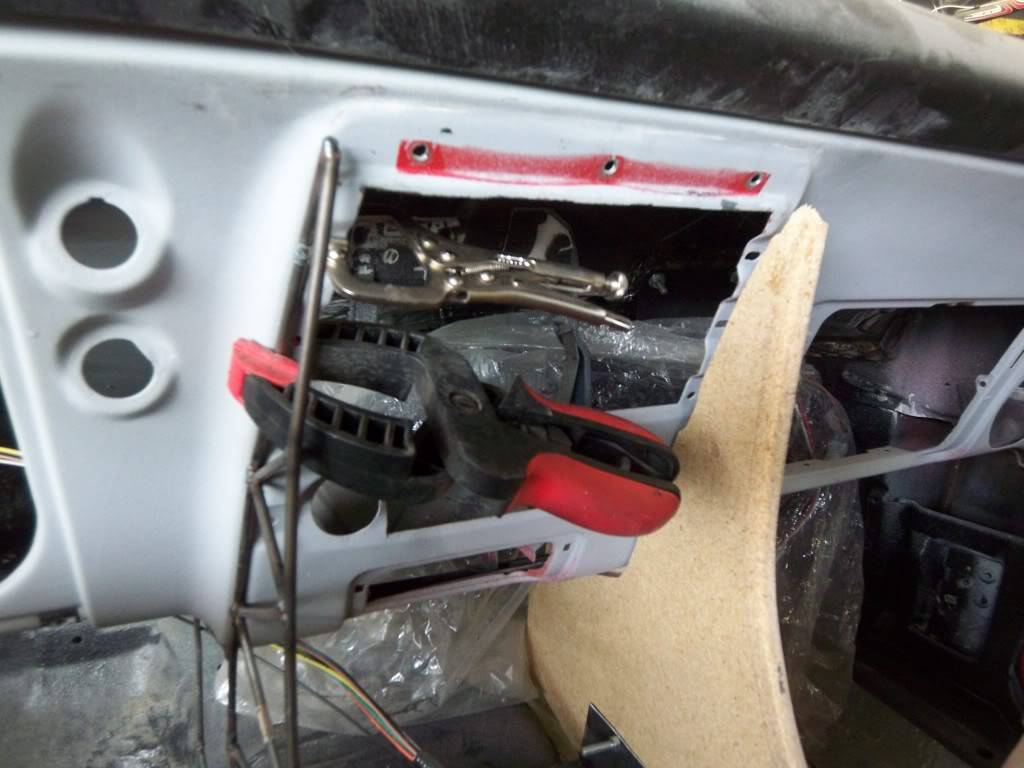
I plan on using fiberglass and wrapping the steel skeleton. I got a center vent out of a Saturn at the junkyard that I thought was very evenly split and balanced on both sides, and more importantly, was just the right width!
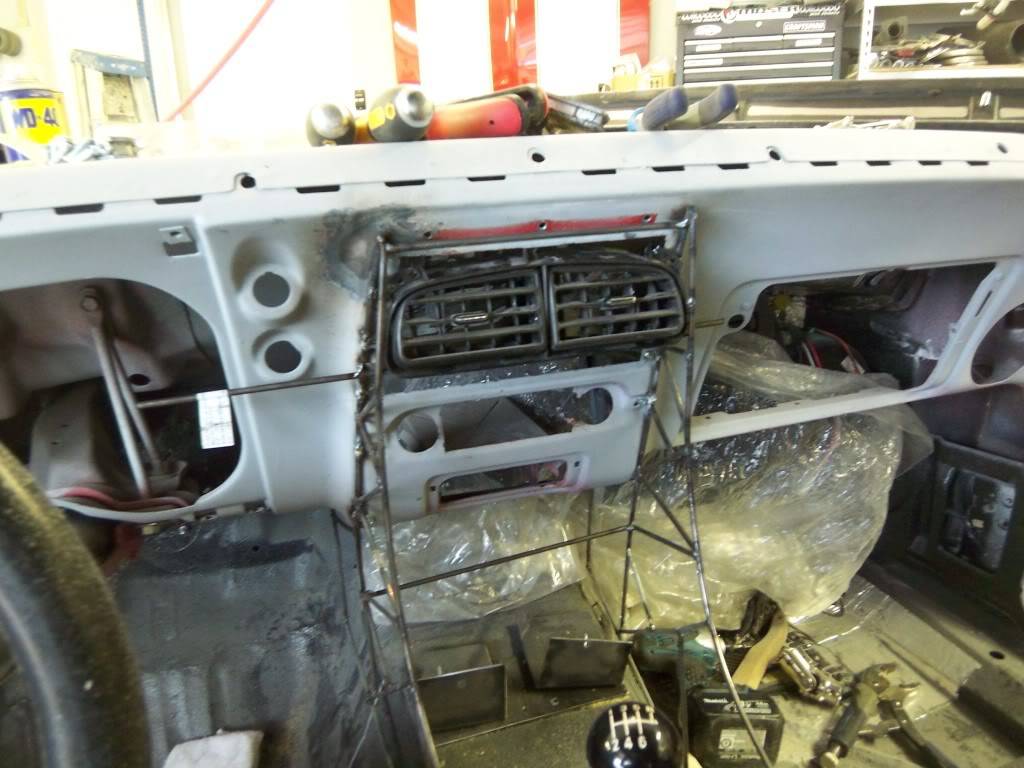
I was working on the center bezel for the shift boot when I had to call it for the day
Here it is, hopefully Sunday I'll have more done
Confucius says, "Choose a job you love, and you will never have to work a day in your life"
My build Beast
05-27-2011 #33
Registered User
- Join Date
- Oct 2006
- Location
- McKinney, TX
- Posts
- 899
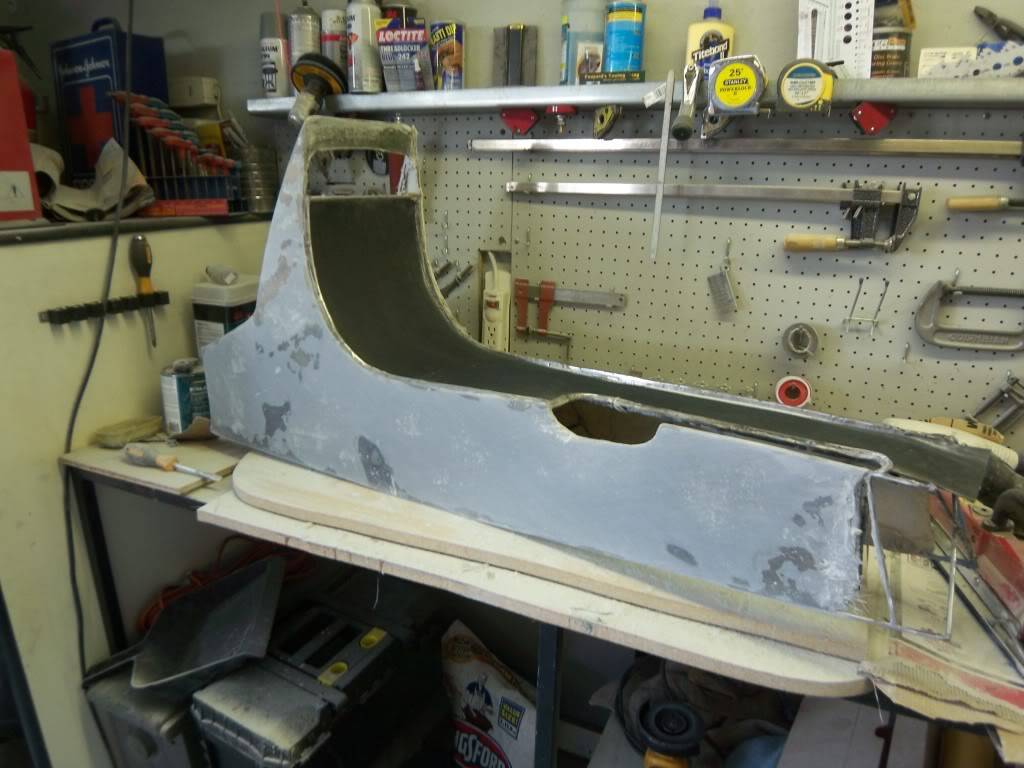
Unfortunately time is in very limited supply, but I did manage to get a full 10 hours today to experiment and try a few things out with the console
Here is what I started with this morning
I needed to make an "L" channel on the inside so I got some ittybitty square tubing and cut it in half at the corners (much more challenging than it sounds!)
You'll see in some other pictures that the top is set to angle upwards in, and then the channel is on the inside. I'm going to set the top in a little lower than the sides
Best way I can think of to explain it is if you were to do a cutaway it would look like this:
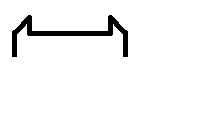
After stealing some panty-hose from my wife, I layed down the initial fiberglass matt and took down the rough humps. You can see the channel on the one side, but the inward angles are just not visible in pictures. When it is is primer it will be pretty apparent though.
I'm trying to figure out the best way to "mate" it to the dash. I want it as a seperate piece, but have a very small joint. I tried Duraglass:
And sanded the crap out of it until the excess was gone. I used the factory definition of the stock center piece to shape it to the console.
All appeared well when I seperated it for the first time, but the duraglass is just too flexible and soft to be as thin as it needs to be so I'll probably end up using regular fiberglass and resin.
I decided to scrap the joints and get at least one side done so I could see what I have been working on for the past two weeks. I needed to see what it looked like! The top is just a set in piece of paperboard and the opening at the top is for the center AC vent.
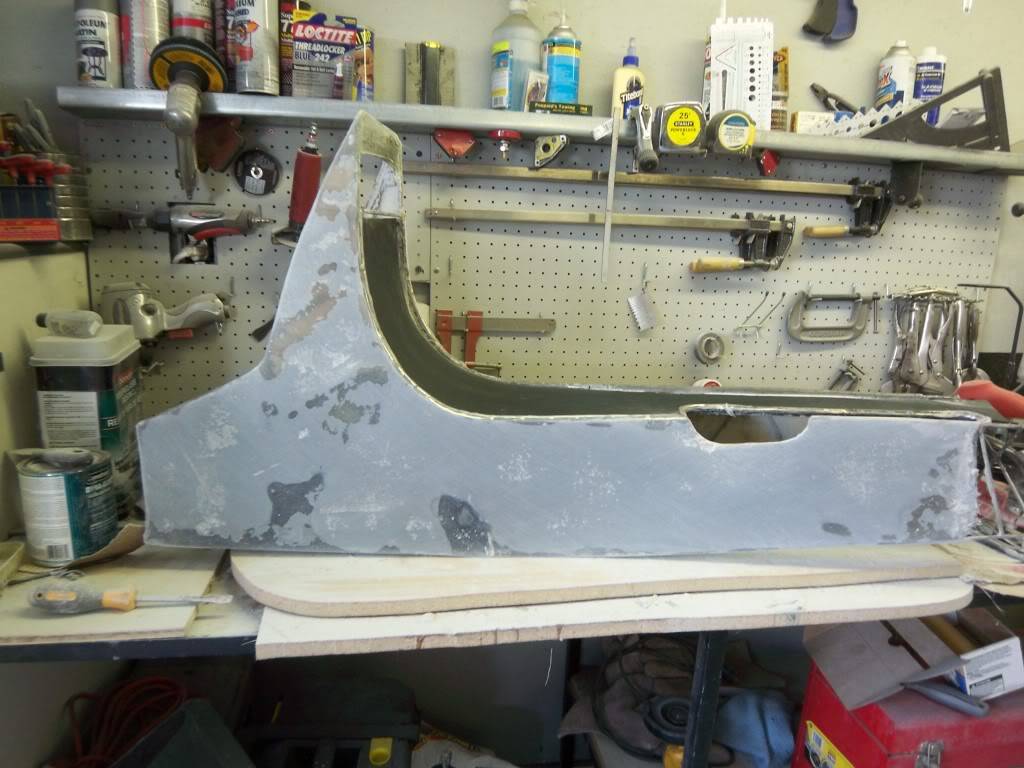
These are the rough-in shots. I'll hopefully have the finished product by next Friday...still a long way to go. I think I have about 30 hours in this edition of the console, probably 60 in the console as a whole in its various forms!Confucius says, "Choose a job you love, and you will never have to work a day in your life"
My build Beast
05-27-2011 #34
Registered User
- Join Date
- Mar 2009
- Location
- overseas
- Posts
- 3,434
wow good fab work! console will look great!
Kevin S. (overseas in Germany)
1963 Chevrolet Impala 2d ht Coupe
www.CruznArt.com
CRUZN - Automotive Artworks
05-30-2011 #35 Registered User
- Join Date
- Dec 2006
- Location
- SF Bay Area
- Posts
- 456
Looking good! So, the sides of the console - are they fiberglass? What are you going to create the top of the console out of?
chunger
'68 Ranchero 500
'70 Cougar XR-7 Convertible
'98 Mustang GT Convertible
05-30-2011 #36
Registered User
- Join Date
- Apr 2010
- Location
- Sunny Flordida
- Posts
- 345
Dang! That should look really good when done. I like how you are going to have it contoured to the dash. Looks like it will be strong enough to take a leaning on without caving in or anything with that frame you built for it. Just make sure you make 2 cause I'm gonna need one!!!

[/URL]
05-31-2011 #37
Registered User
- Join Date
- Oct 2006
- Location
- McKinney, TX
- Posts
- 899
The sides are layered with a fiberglass matt and then smoothed out with dyna-glass. The top is going to be a piece of sheet steel--I think. I purposly made the channel deeper than it needed to be in case I wanted to do something thicker. Part of me wants to see what a piece of clear plexi-glass with the inside painted would look like.
Confucius says, "Choose a job you love, and you will never have to work a day in your life"
My build Beast
06-01-2011 #38
Registered User
- Join Date
- Apr 2010
- Location
- Sunny Flordida
- Posts
- 345
What will your interior color be? Have you looked at the hydro printing? They can "print" on the backside of the plexi and color or image whatever you want (a picture, skulls, ANYTHING). It's the process they used to "print" the $100 bills on the "money" bike American Choppers did. Not sure of the cost, or if it would be of interest to you, but just an idea.
[/URL]
06-01-2011 #39
Registered User
- Join Date
- Oct 2006
- Location
- McKinney, TX
- Posts
- 899
The sides of the console, dash and door tops will all be the same red I ultimately choose for the color of the car. The seats, dashpad and the center console's top inlay will be black.
It looks really good in my head...red car, red trim with a black stripe outisde and inside.Confucius says, "Choose a job you love, and you will never have to work a day in your life"
My build Beast
06-02-2011 #40
Registered User
- Join Date
- Apr 2010
- Location
- Sunny Flordida
- Posts
- 345
Sounds like the reverse of the Marquez car's interior. I'm really thinking about going with their interior, layed out exactly like theirs is, but I don't think they make a console. That's one of the reasons I'm so interested in your console build!
[/URL]

 Reply With Quote


