

Results 1 to 20 of 49
-
03-27-2011 #1

 Registered User
- Join Date
- Jun 2008
- Location
- Sarasota, FL
- Posts
- 52
Project : "Quemador de Neumaticos" - 67 camaro, ls1, magnacharger
I been reading the updates on this forum for awhile now. I guess I've been more of a 'taker' of info and haven't given so much. Part of this is because I see so many great projects done with a high level of planning. I think to myself that there is little I can post that would entertain, info, etc. Well, I think I'm over that now. So here's my first real project update. I chose a Spanish name for the project in honor of my Chilean wife who has supported me in this project from the beginning.
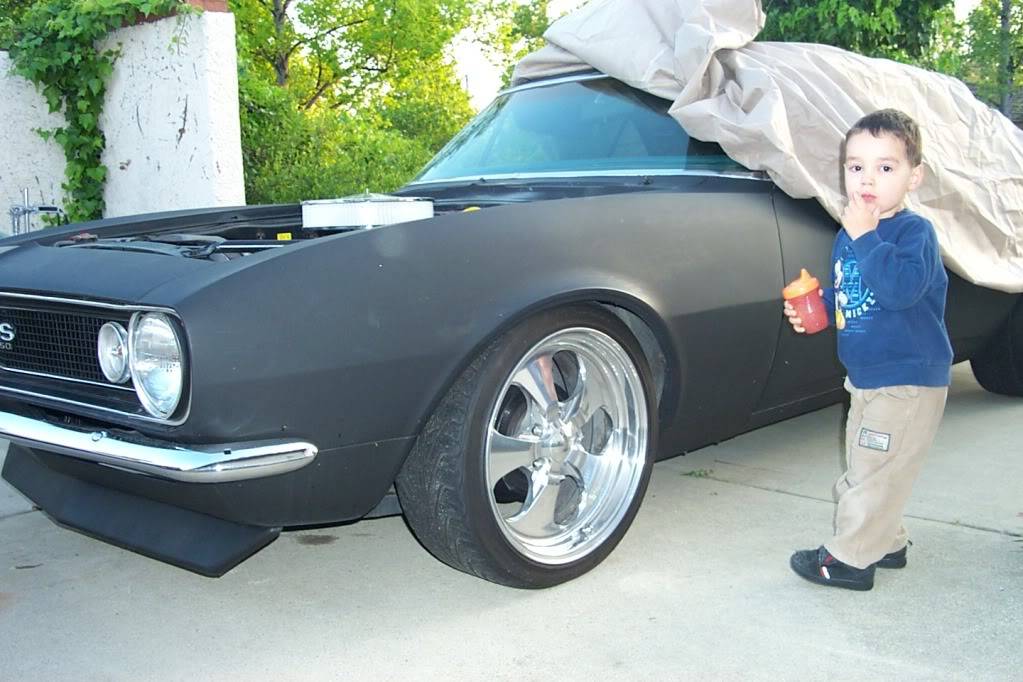
The project is a 67 camaro. Started off with a basic running vehicle that I purchased for more than it was really worth. The previous owner did a fantastic job of hiding stuff with Bondo. I didn't know enough to look for some of the tell-tail signs. After putzing around with it for a few months, I figured I would go ahead and do a frame-off resto. I thought, "two years max and it'll be back on the road". Here was are 5 years later, and I think I might be able to start the motor during the summer.
Basics of the project:
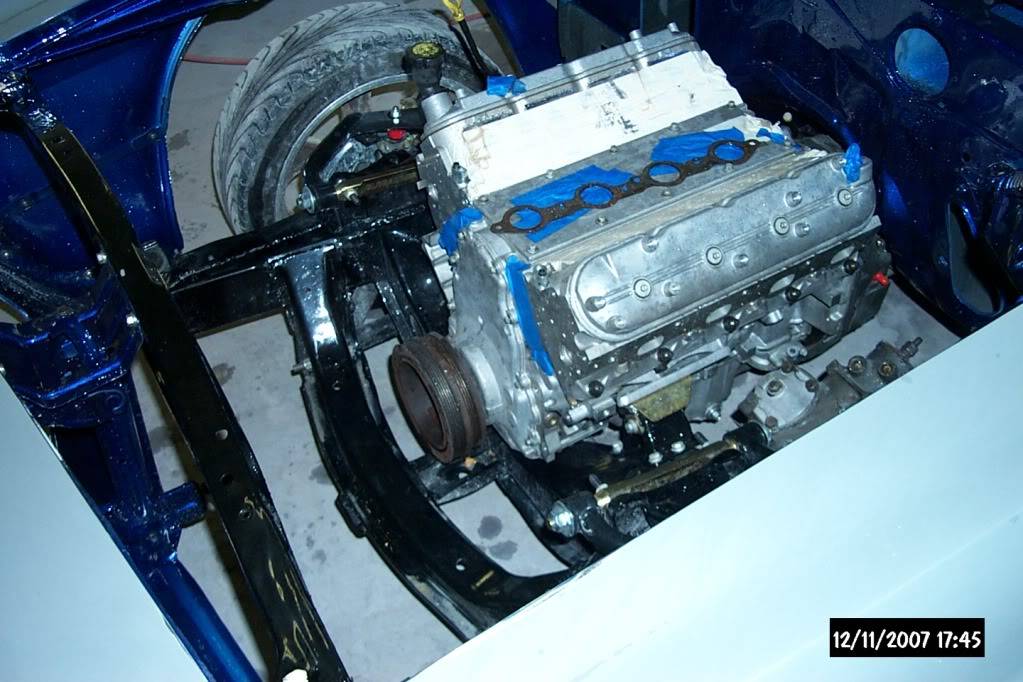
LS1 engine rebuilt with Probe forged pistons and connecting rods
T-56 Tranny rebuilt with Viper option
MP122 Magnacharger
Global West Control Arms
Moser 12" rear end
SSBC brakes, nothing special
Shortly after bringing her home
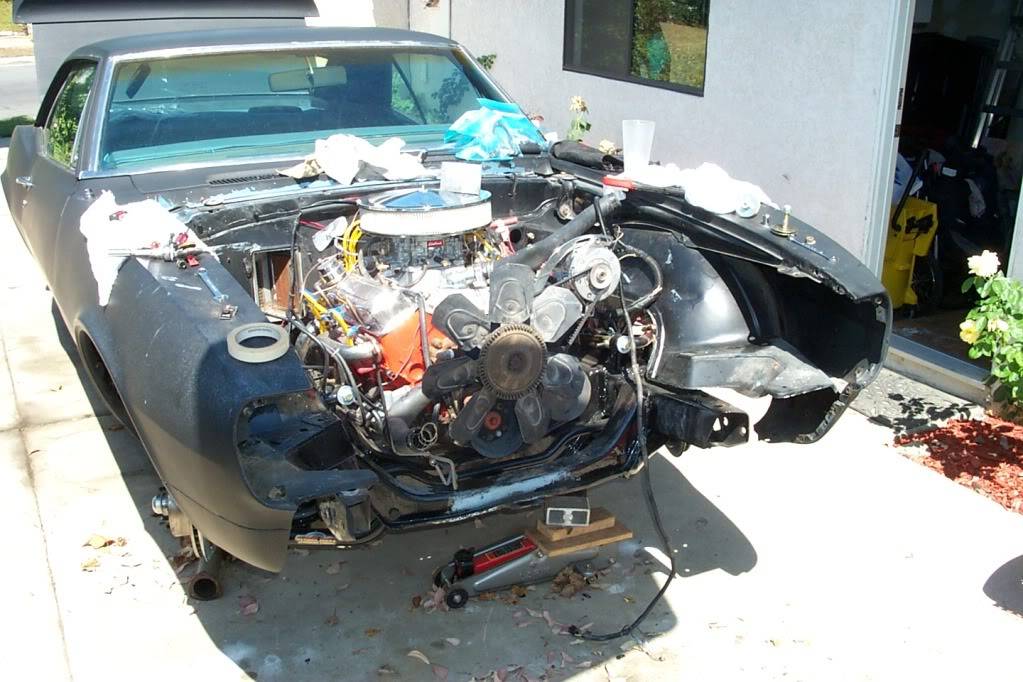
Frame off has begun
In the body shop after sandblasting
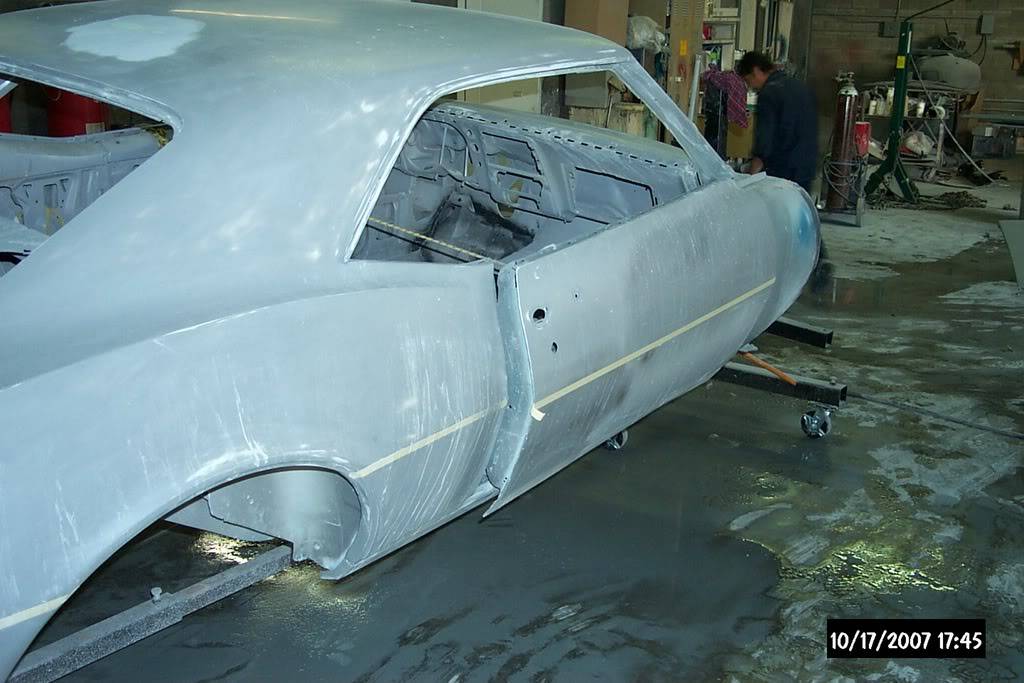
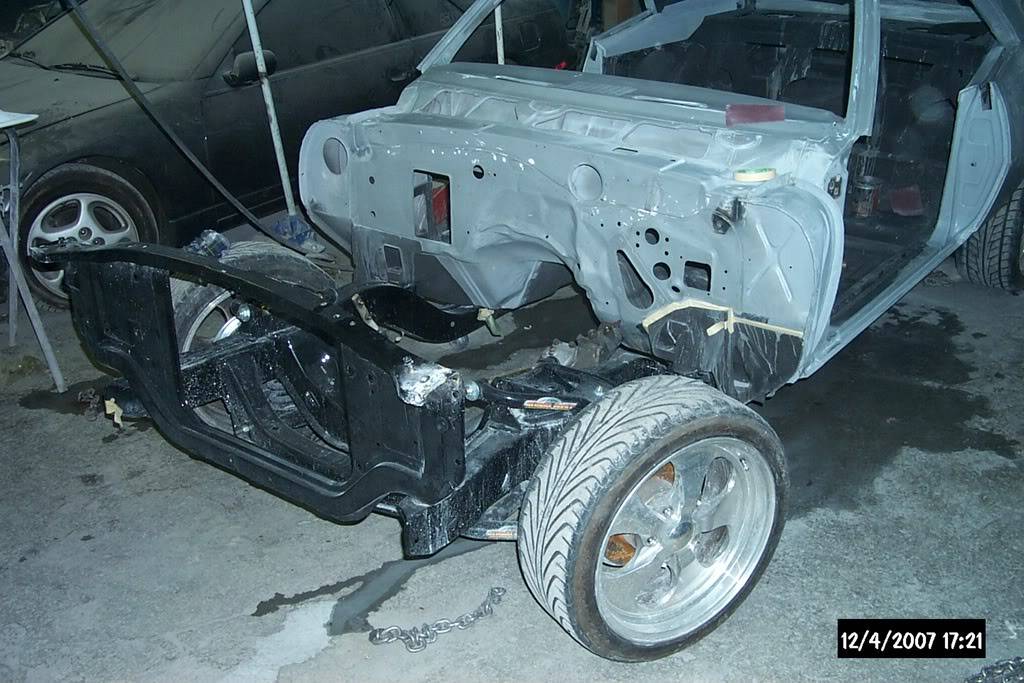
More body shop
Pulling Engine and Tranny out of the donor car
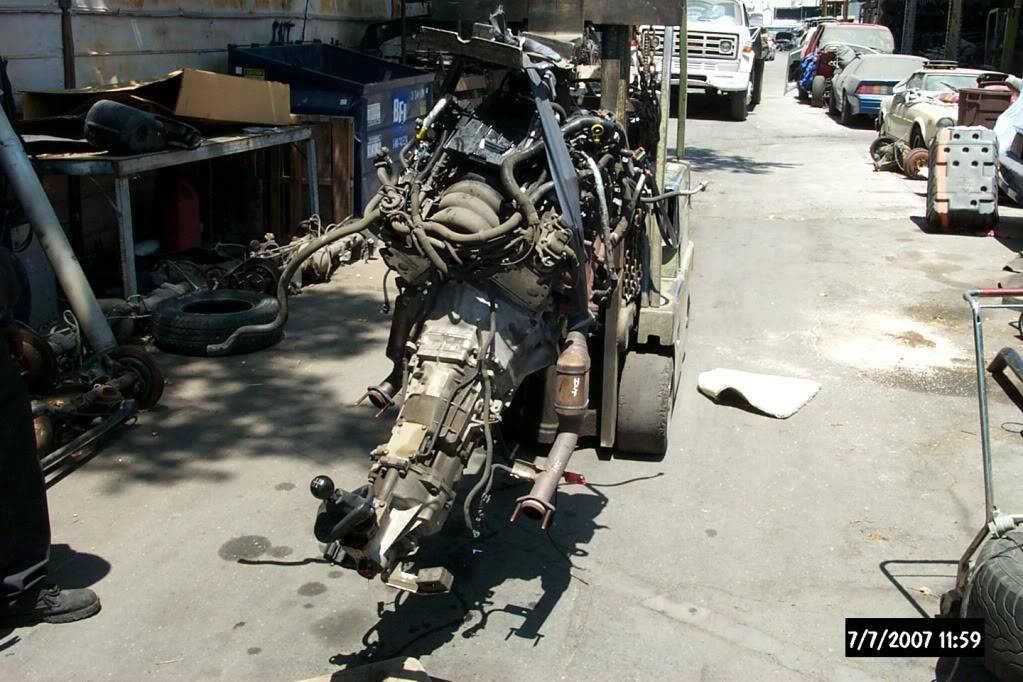
67 Camaro, LS1, T-56, MP122 Magnacharger
Project on the road, but never complete...
-
03-27-2011 #2
Registered User
- Join Date
- Jun 2008
- Location
- Sarasota, FL
- Posts
- 52
More pics
more body shop
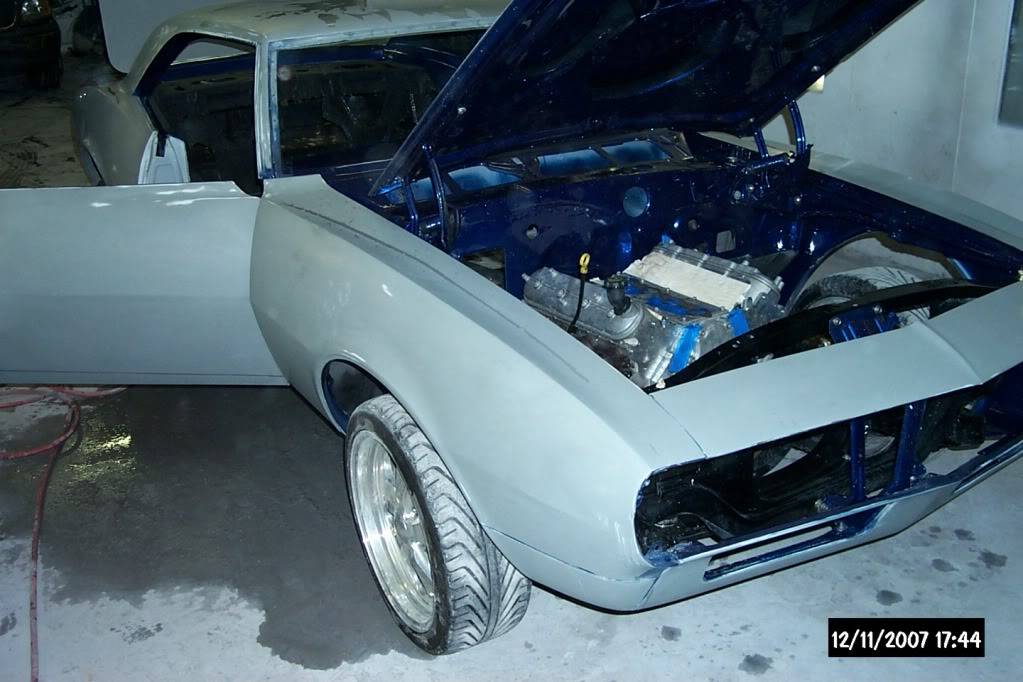
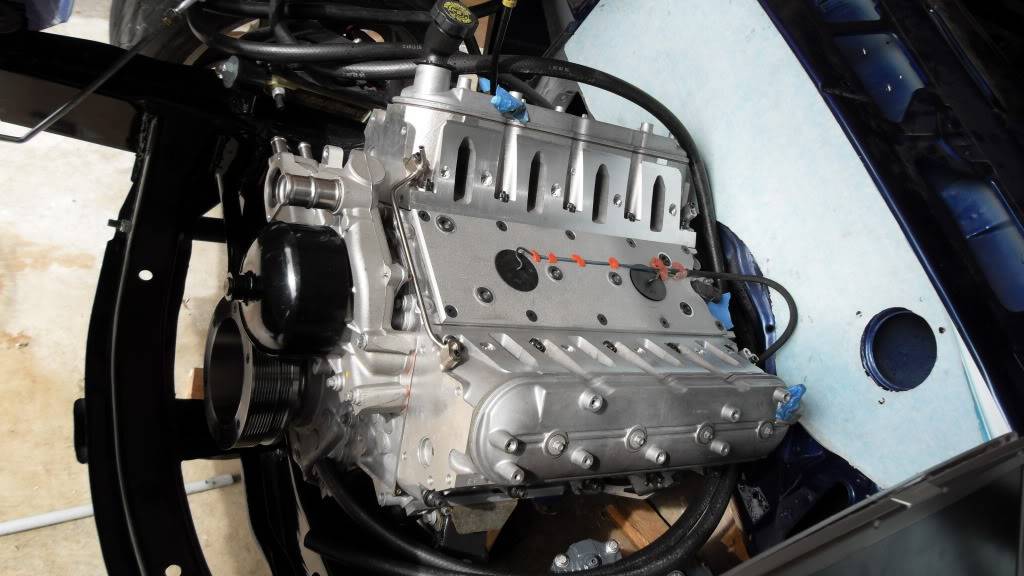
Car back home and prepping to install Magnacharger. Installed aluminum firewall liner from Undercover Innovations. Protective paper still on. Plenty of opportunities left to scratch that thing.
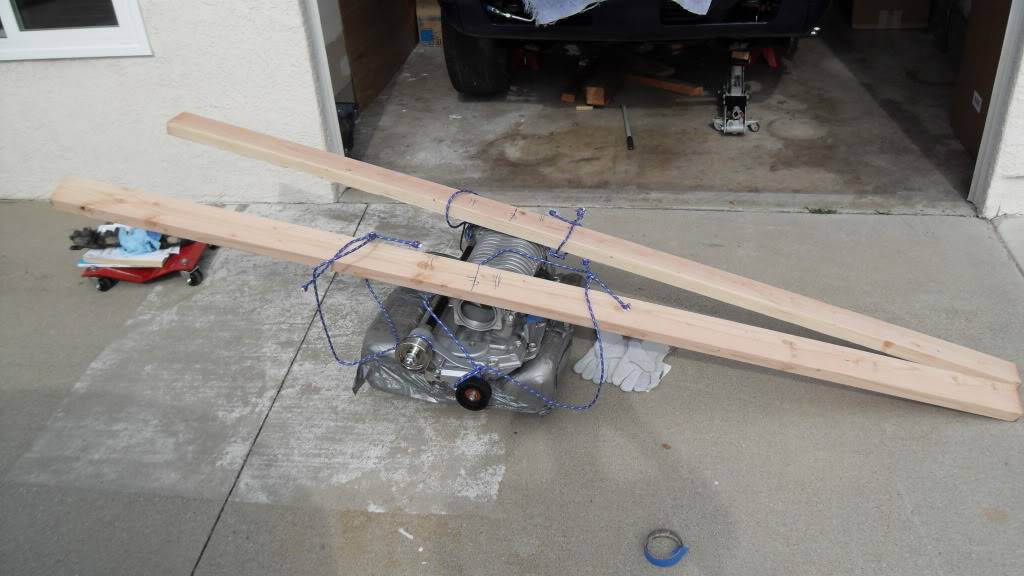
Magnacharger ready to go, Me and a buddy used 2 x 4's to carry and carefully set blower in place.
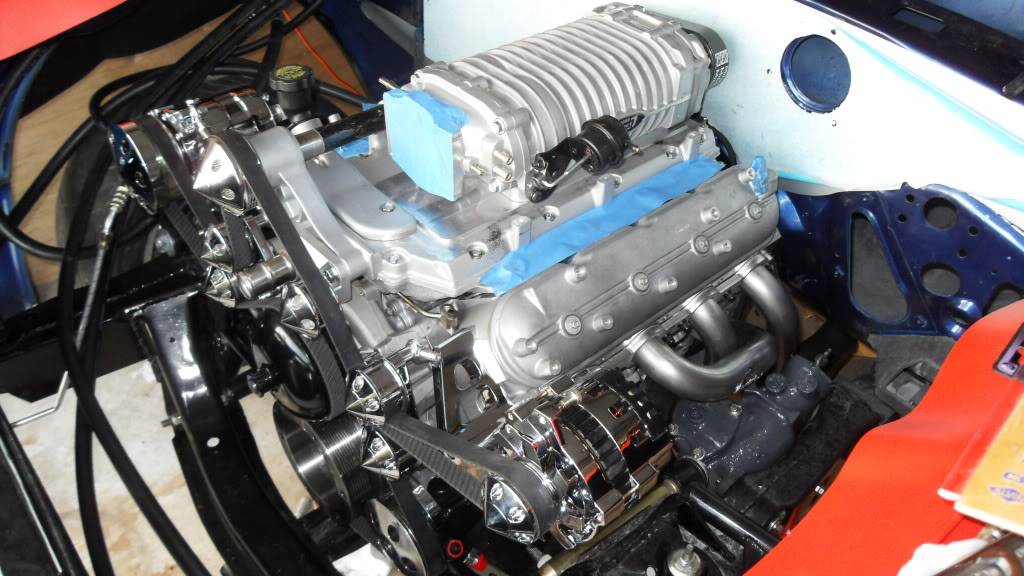
Magnacharger in place, Stainless headers installed also from Stainless Works.
 67 Camaro, LS1, T-56, MP122 Magnacharger
Project on the road, but never complete...
03-27-2011 #3
Registered User
- Join Date
- Jun 2008
- Location
- Sarasota, FL
- Posts
- 52
Those headers do clear the gearbox, but not by much.
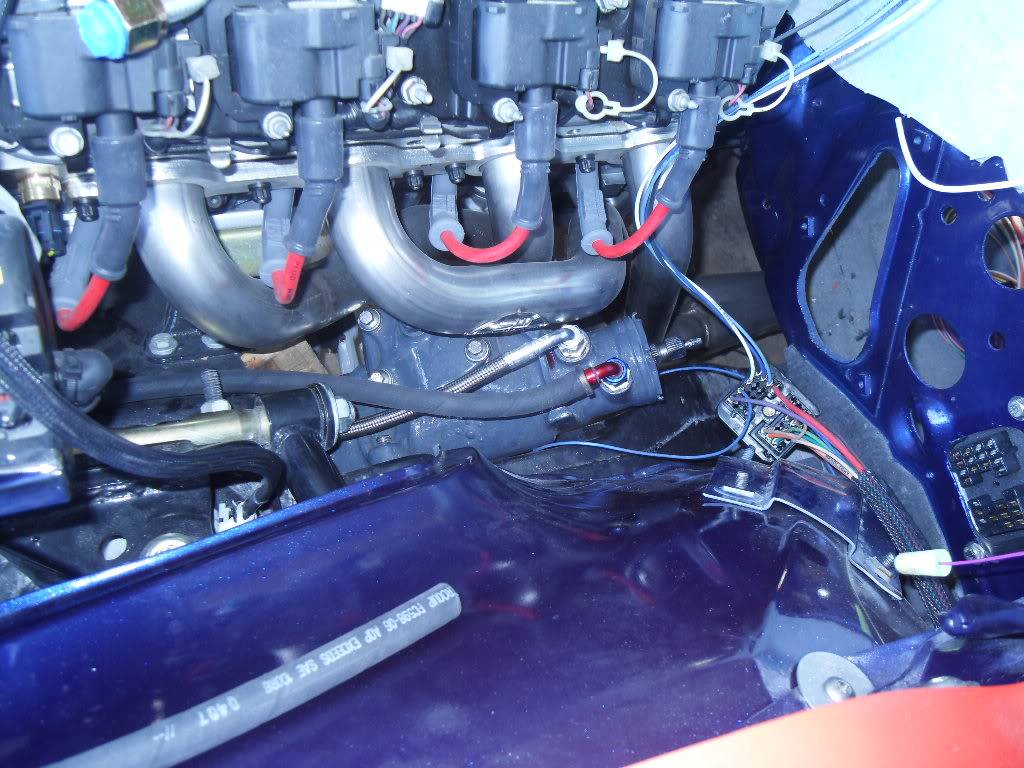
For some reason, the point where the harness penetrates the firewall was cut larger by one of the PO's. Had to fabricate a stainless liner to make it the right size for the American Autowire harness.
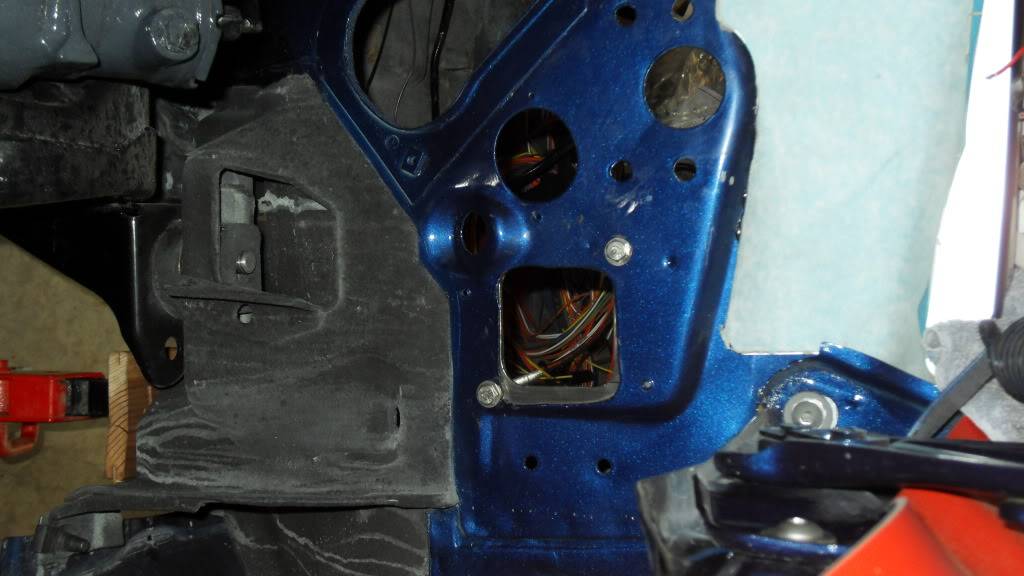
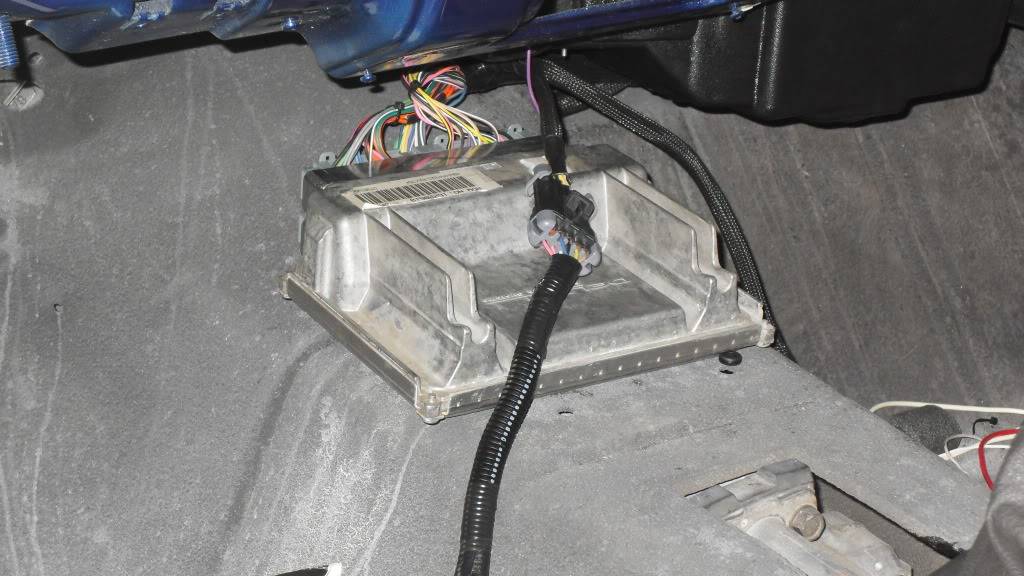
Will be using the original CPU
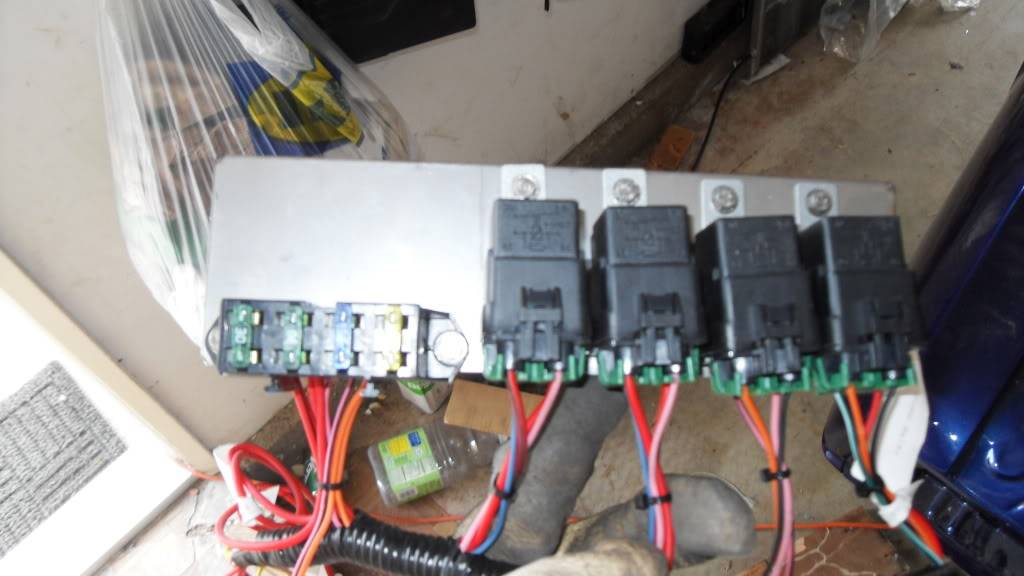
Aftermarket harness for the LS1. Fabbed a stainless plate to mount behind the dash for the relays. Not shown in the picture, had to go back to replace the fuel pump relay with a 30 A model to handle the eventual larger fuel pump.
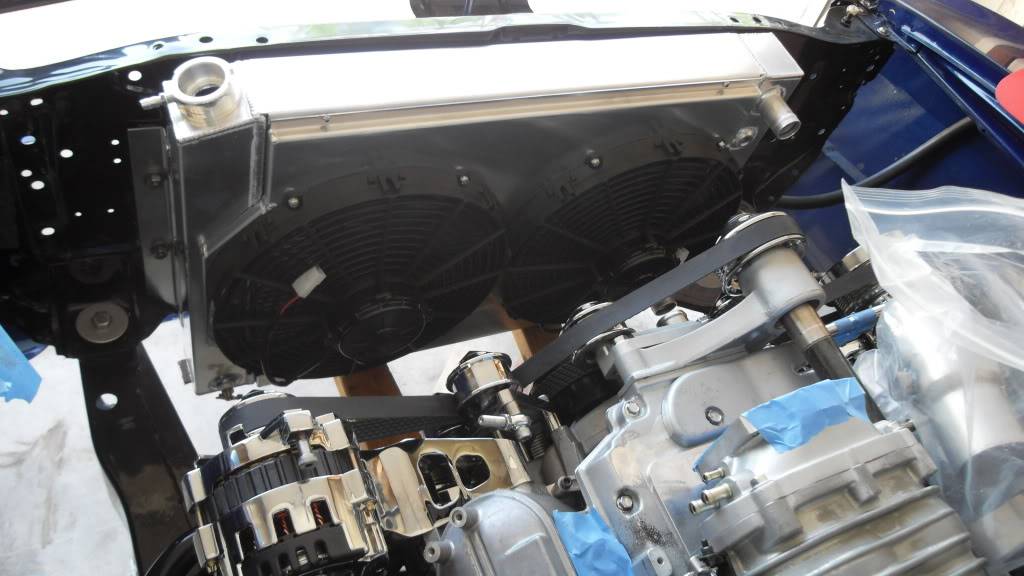
Bought a pulley kit from Street and Performance
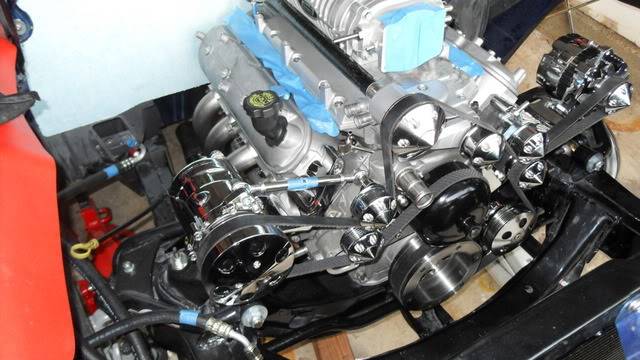
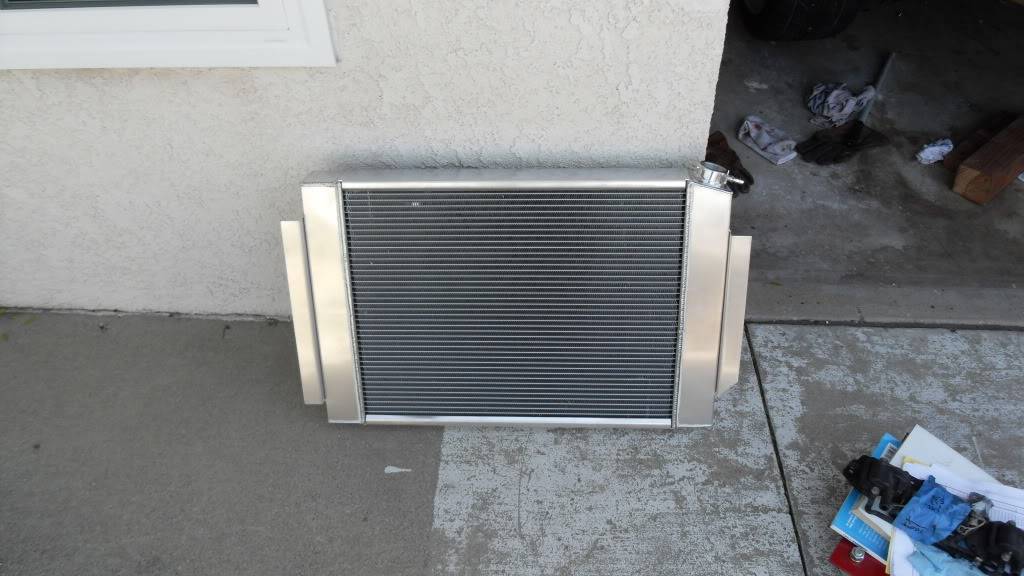
Performance Rod and Custom Aluminum Radiator (thanks to Frank at Prodigy Customs)
 67 Camaro, LS1, T-56, MP122 Magnacharger
Project on the road, but never complete...
03-27-2011 #4 Registered User
- Join Date
- May 2009
- Location
- Florida
- Posts
- 233
Welcome aboard. Love the specs on the car - engine looks awesome!
Love the name of the project ("tire burner" for the gringos out there)
03-28-2011 #5
Registered User
- Join Date
- Jun 2008
- Location
- Sarasota, FL
- Posts
- 52
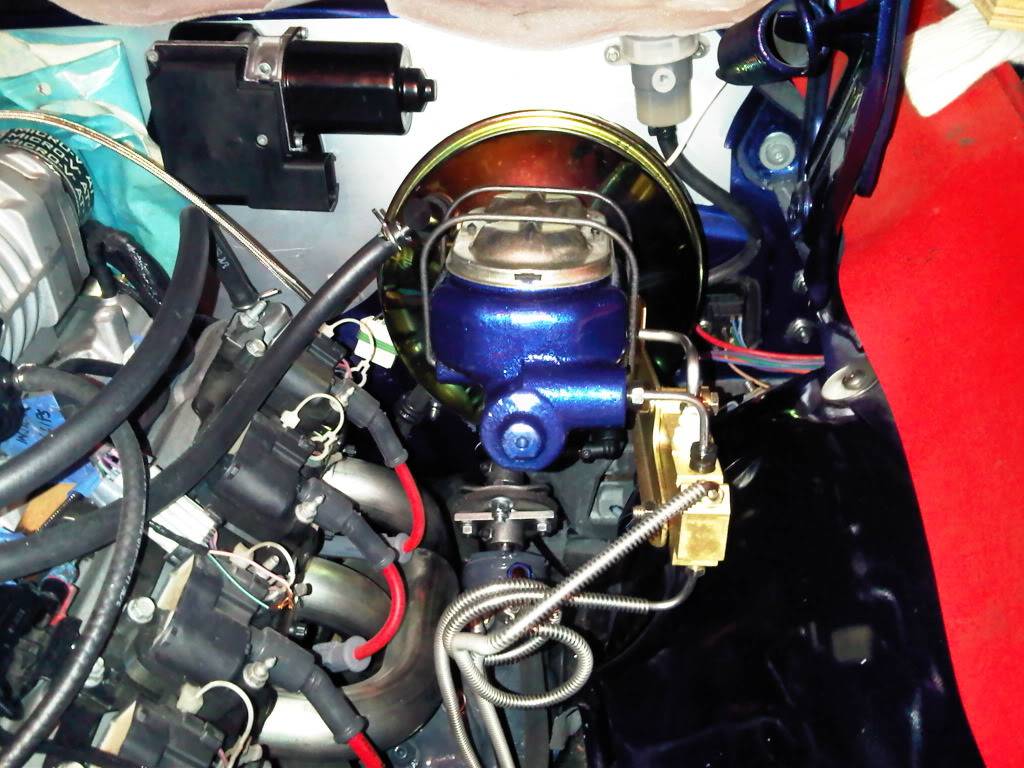
Installed DSE wiper motor, Stainless brake lines, painted the master cylinder
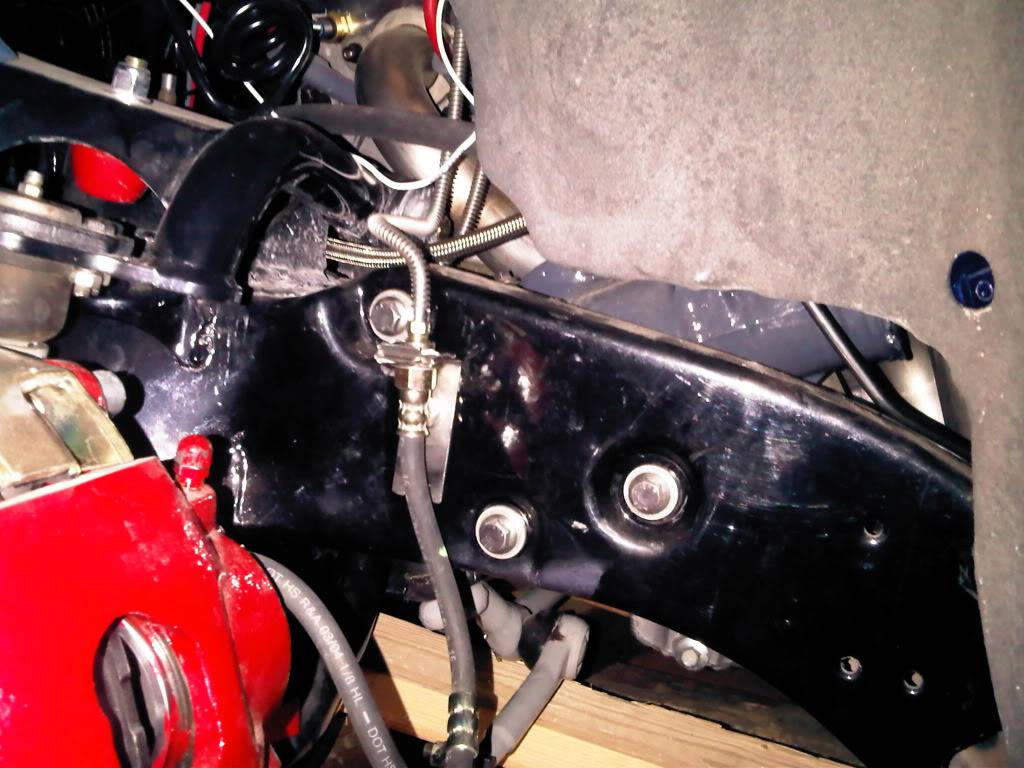
Couldn't find anyone selling stainless brackets for this transition from hardline to hose, so I made my own. I've tried to use only stainless fasterners where it makes sense. You can see the mounting bolts for the steering box are stainless. Mcmaster Carr and Totally Stainless have gotten quite a few orders from me. Also powercoated the subframe.
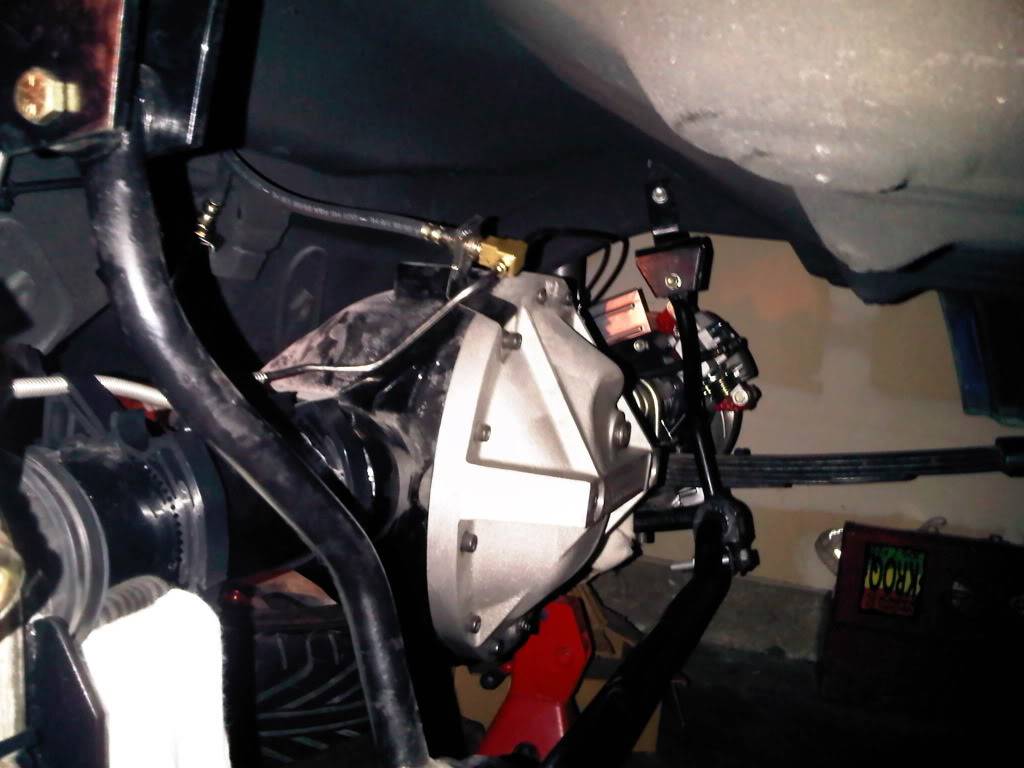
12 bolt moser with sway bar
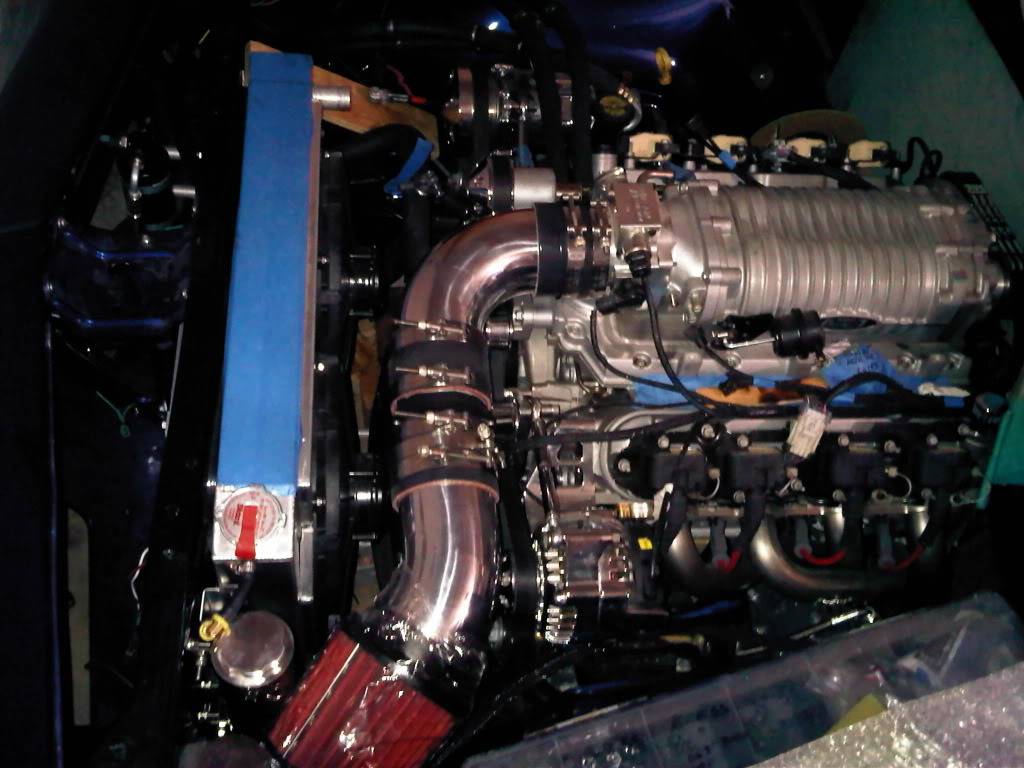
Polished aluminum intake hooked up
 67 Camaro, LS1, T-56, MP122 Magnacharger
Project on the road, but never complete...
03-29-2011 #6 Registered User
- Join Date
- Sep 2009
- Location
- Issaquah, Wa
- Posts
- 95
Awesome engine! How well did everything line up with the Magnacharger and S&P pulley system?
03-29-2011 #7 Registered User
- Join Date
- Aug 2004
- Posts
- 147
Nice job. Even though you look to be around four. Hope you finish it by the time you get your permit

03-29-2011 #8 Registered User
- Join Date
- Dec 2009
- Posts
- 1,607

Progress looks real good. Hopefully we'll see you and the car around SoCal soon!
Ron in SoCal
69 Camaro in progress
http://www.lateral-g.net/forums/showthread.php4?t=31246
Used to be known as flash911
03-29-2011 #9
Registered User
- Join Date
- Jun 2008
- Location
- Sarasota, FL
- Posts
- 52
S&P pulley system was pretty easy to install even though instructions were lacking (instructions are a black and white copy of a picture of the front of an engine. Who reads instructions anyway, right?). What remains to be seen is if it can maintain enough tension to avoid belt slippage anywhere. I've heard that can be a problem. I bought a belt tension measuring device to get a reference but I am not able to get a target number on this from anyone. It is somewhat bothersome that there is no spring-loaded tension take-up on here now that I've gone away from the stock configuration. We'll see what happens when it starts running. Originally Posted by bg5512
 67 Camaro, LS1, T-56, MP122 Magnacharger
Project on the road, but never complete...
03-29-2011 #10
Registered User
- Join Date
- Jun 2008
- Location
- Sarasota, FL
- Posts
- 52
LOL. Yeah, that's my boy. He's seven now. He often asks ,"Daddy, when are you going to finish the race car?" My answer to him as well as everyone else,"It'll be done when it's done." My wife has the itch to drive it too. There is no shortage of encouragment in our house to get this done soon. Originally Posted by beyonda68
67 Camaro, LS1, T-56, MP122 Magnacharger
Project on the road, but never complete...
03-29-2011 #11 Registered User
- Join Date
- Mar 2009
- Location
- San Antonio, TX
- Posts
- 1,632
^^ Nothing better than the whole home-team rooting for your project!
Nice build!Dave
84 Monte SS - just a few bolt-ons
03-30-2011 #12
Registered User
- Join Date
- Jun 2008
- Location
- Sarasota, FL
- Posts
- 52
few more pics
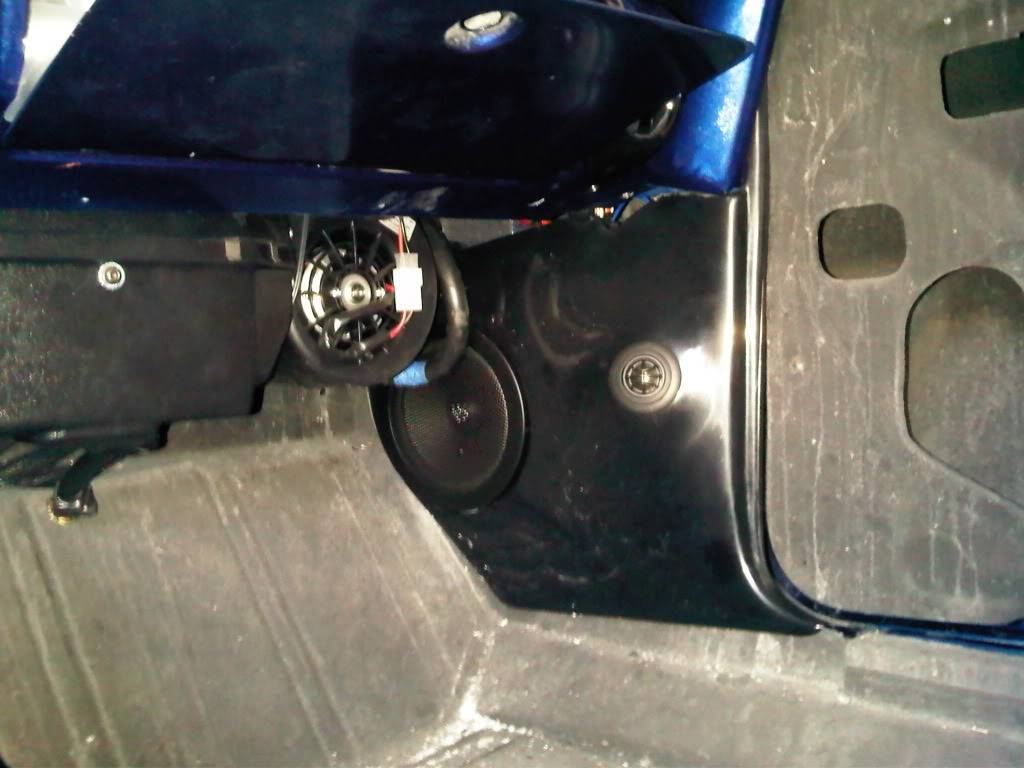
Kick panels from Screamin' Performance. I recognize that when the interior gets done I will probably have to loosen/remove these. I just need to get the speakers wired and check fit. You can also see that I sprayed the interior with Lizard Skin. First did the sound deadening then the thermal layer.
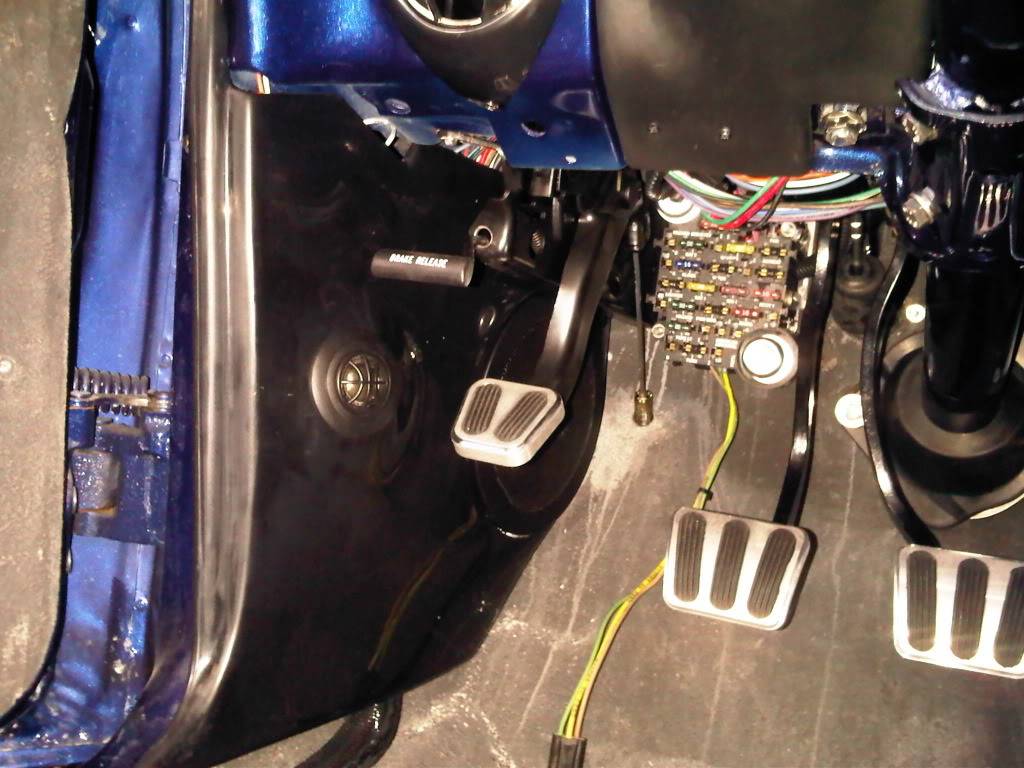
Left Kick panel which is not a problem with clearance on the emergency brake. Lokar pedals.
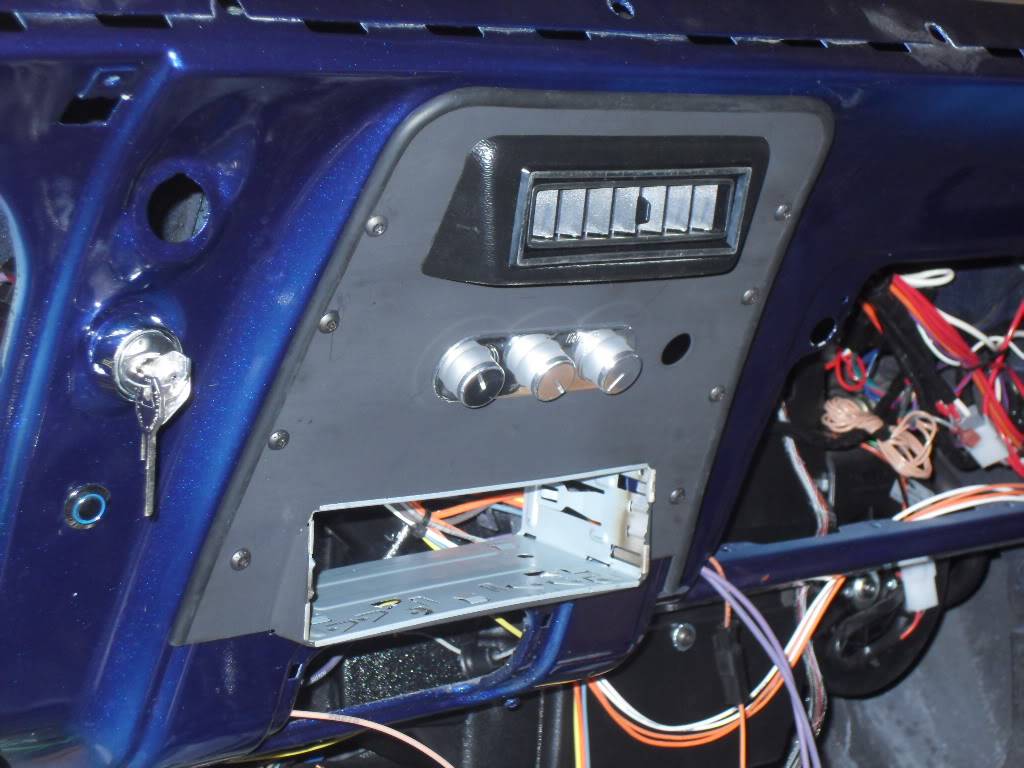
Painted an Ididit steering column that I picked up off Craigslist. I haven't bought a steering wheel yet. Not sure what would be a good combo of the right feel on the track and a good look. Also have a Covan's panel with Autometer Cobalt gages. Just dashes took the orginal dash and replaced the foam and vinyl. They did an excellent job, but ohh that price. I'm probably the only person who will ever notice that it looks good.
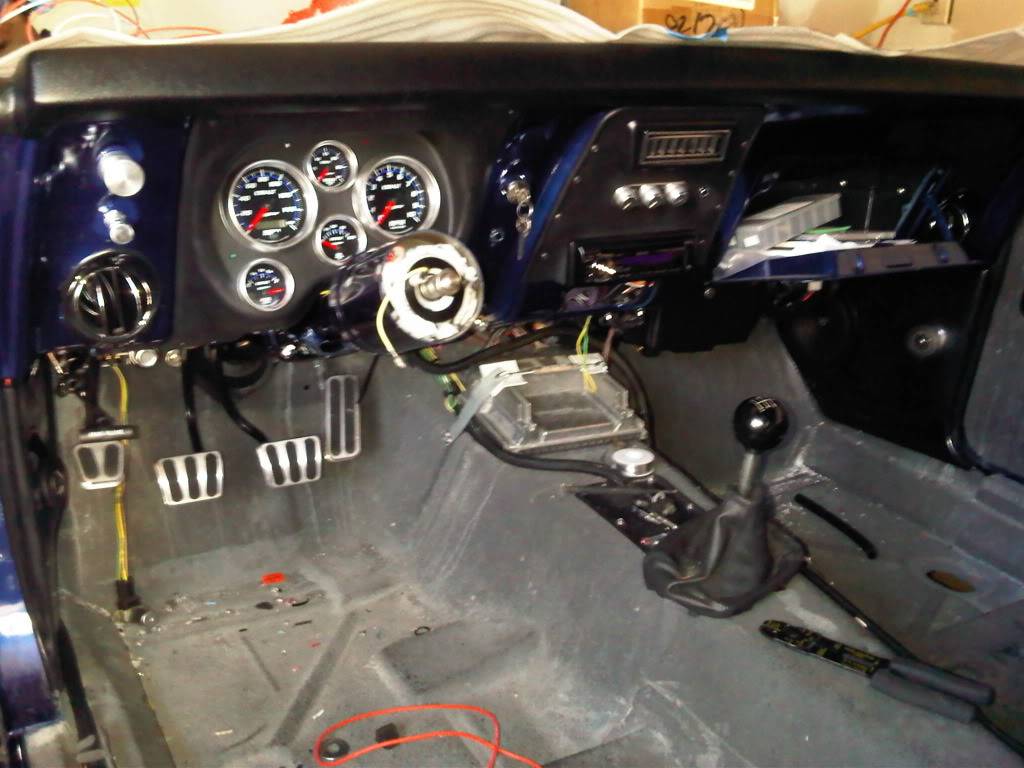
Fabbed the center panel. It took quite a bit of grinding a little here and a little there to get the Vintage Air controls to nest in there just right. I got some rubber cord from Mcmaster to line the outside edge. I brazed a little steel lip at the bottom where the stereo frame fits in. I wanted the stereo pointed horizontal out of the panel, not down where I can't see it.
 67 Camaro, LS1, T-56, MP122 Magnacharger
Project on the road, but never complete...
03-31-2011 #13 Registered User
- Join Date
- Aug 2004
- Location
- Jacksonville, FL
- Posts
- 1,651
Looks good! What are you going to use the hole next to the VA controls for? A cigarette lighter?
Chris
1968 Chevy Camaro SS
LS3/T56 DSE suspension

03-31-2011 #14
Registered User
- Join Date
- Nov 2008
- Posts
- 13
Looks good!
HERMOSO CAMARO!!!!!
03-31-2011 #15 Registered User
- Join Date
- Apr 2009
- Location
- san diego
- Posts
- 5,102
Cool project, It awesome that the family supports you!
My build thread: https://www.pro-touring.com/showthre...ing&highlight=
The mustang build thread: https://www.pro-touring.com/showthre...el)&highlight=
03-31-2011 #16 Registered User
- Join Date
- Apr 2010
- Location
- Montebello, CA
- Posts
- 250
dude im local once we finish our projects we should roll together to an autocross. awesome work, I made the mistake of not going LS, oh well ill just wait till I blow my motor and swap an LSX in. keep the pics coming
03-31-2011 #17
Registered User
- Join Date
- Jun 2008
- Location
- Sarasota, FL
- Posts
- 52
Actually, I installed a button switch with an LED light (looks just like the one below the ignition in the same picture). The button next to the VA controls is actually an extra and is not connected to anything as of yet. The button below the ignition switch turns on glow rings on the fog lights. I will have some pictures of that posted soon. Basically, I took the special lights offered by Morris Classic Concepts which are for '69 camaros only and shoe-horned them into the housings for the fog lights. It is not perfect but achieves the result I was looking for. Originally Posted by 130fe
Incidentally, My wife and I were thinking about retiring in Chile in the distant future. One thing that bothers me though is that Chilean laws say I can't bring my Camaro down there with me. Do you happen to know a way around that? If I have to sell here, how difficult would it be for me to find another 1st gen camaro? How about parts availability if I want to go the LS1 route again?67 Camaro, LS1, T-56, MP122 Magnacharger
Project on the road, but never complete...
03-31-2011 #18
Registered User
- Join Date
- Jun 2008
- Location
- Sarasota, FL
- Posts
- 52
I can't wait to drive an autocross. Never done it before. Looks like a load of fun. Originally Posted by senor_camaro
Strangely enough, a buddy of mine at work convinced me to go the LS route. I was really on the fence and he pushed me over. That was 5 years ago when the idea still had some uniqueness to it. At this stage,I agree with your approach: don't blow money on the change until you have to.67 Camaro, LS1, T-56, MP122 Magnacharger
Project on the road, but never complete...
03-31-2011 #19
Registered User
- Join Date
- Mar 2005
- Location
- McAllen, TX
- Posts
- 310
que bonito
Armando Garcia
67 RS/SS Camaro
07 Ford Mustang GT/CS
02 Harley Davidson F-150
04-01-2011 #20
Registered User
- Join Date
- Apr 2010
- Location
- Montebello, CA
- Posts
- 250
dude sell me your stock ls intake

 Reply With Quote


