

Results 81 to 100 of 336
Thread: 1968 Firebird 400
-
10-28-2009 #81
 Registered User
- Join Date
- May 2009
- Location
- Minnesota
- Posts
- 615
Thanks, I hope to get working on it again soon. Between two jobs and twins that are 3 1/2 years old there is not much extra time lately. Originally Posted by litevette

-
11-30-2009 #82
Registered User
- Join Date
- May 2009
- Location
- Minnesota
- Posts
- 615
I have made a lot of progress over the last month. I wanted to get the floor finished first. I sanded down the rear portion and did some body work over a patch that I had put in. The gas tank would have covered it up but I wanted to make it look nicer.

11-30-2009 #83
Registered User
- Join Date
- May 2009
- Location
- Minnesota
- Posts
- 615
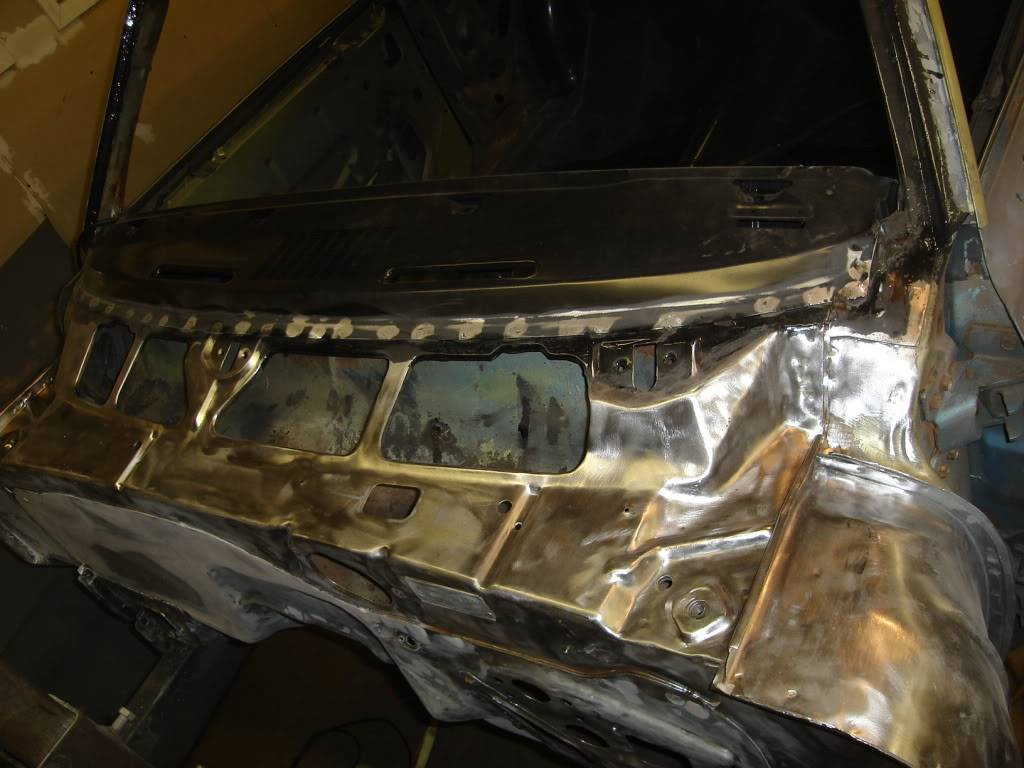
I did some more work on the firewall,cowl and dash.
Heres the upper cowl all stripped down and ready for some primer.
The upper cowl is in primer and I started to work on the inside of the cowl.
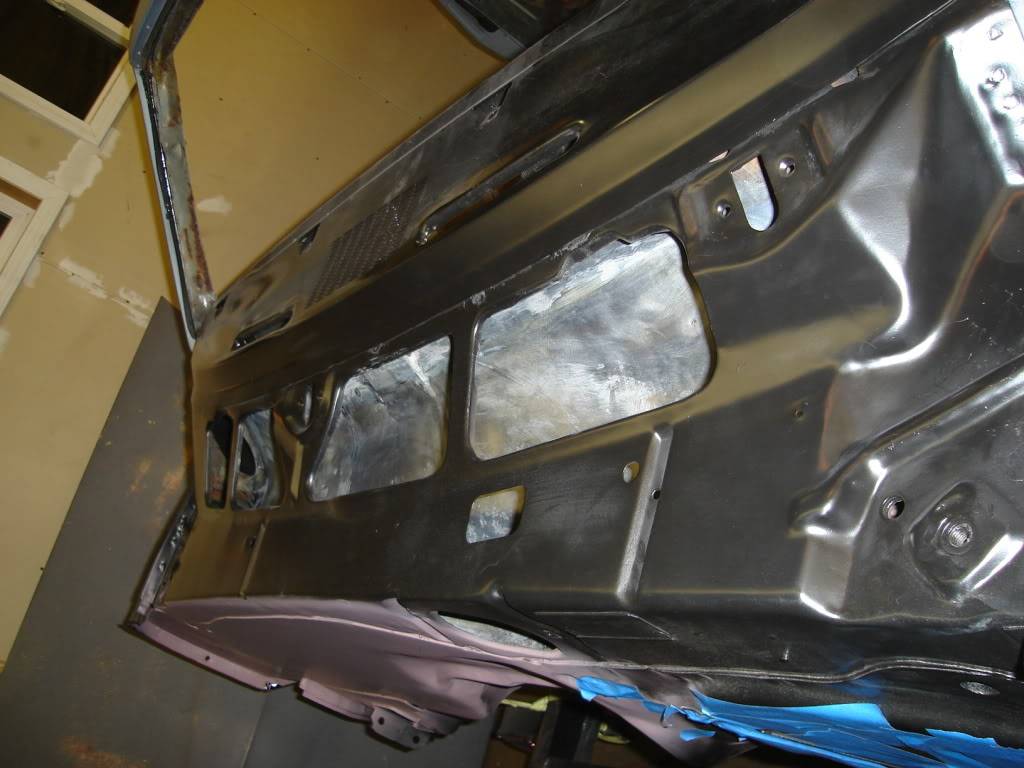
The inside of the cowl now has paint.
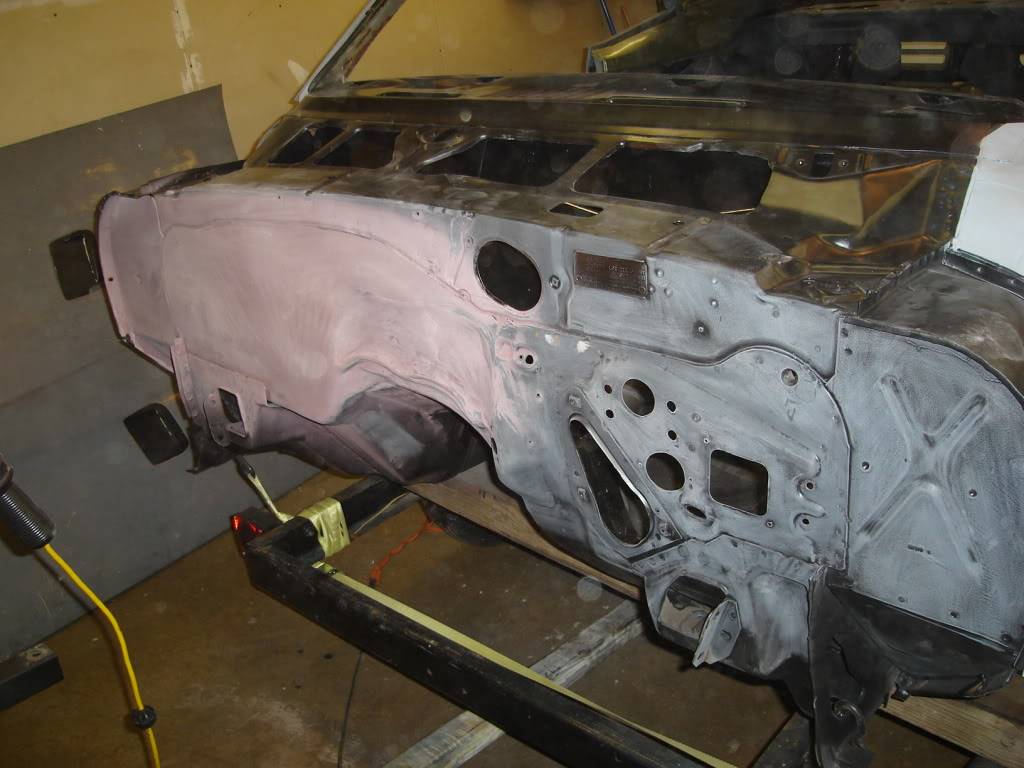
I finished sanding down the high build primer and put another coat of primer sealer on.
11-30-2009 #84
Registered User
- Join Date
- Mar 2009
- Location
- Houston, TX
- Posts
- 1,192

Looking good Rob. I wish I had a rotisserie like that. Makes it a whole lot easier working on the bottom of the car.
Tu
11-30-2009 #85
Registered User
- Join Date
- Feb 2008
- Location
- Detroit
- Posts
- 206
+1 on that, Rob you are whipping through the metal work. I am barely done stripping mine down (sandblaster keeps clogging up)!
Keep up the good work, it inspires the rest of us.
Cheers,
Brian.
11-30-2009 #86 Registered User
- Join Date
- Aug 2004
- Location
- Rustburg, Virginia
- Posts
- 3,436
Good job Rob!
1970 RS/SS350 139K on the clock:
89 TPI motor w/ 1pc rear seal coupled to a Viper T56 via Mcleod's modular bellhousing w/ hydraulic T/O bearing from the Viper, 12 bolt rear w/ 3.73 gearing, SC&C upper control arms, factory lowers with Delalums, C5 brakes at all four corners, Front Wheels 17x8's with Sumi 255/40/17 and Rear Wheels 17x9's with Sumi 275/40/17.
Brief description of the work done so far can be found here: http://www.nastyz28.com/forum/showthread.php?t=112454
11-30-2009 #87 Registered User
- Join Date
- Oct 2004
- Posts
- 394
Looking really good. Keep up the great work!

11-30-2009 #88
Registered User
- Join Date
- May 2009
- Location
- Minnesota
- Posts
- 615
Originally Posted by rickpaw
The rotisserie is a life saver. I did my last car without one and on the final steps of acid etching the bottom I got a big drop of acid in my eye. That landed me in the ER with a suction cup on my eye and with a iv attached to it. They drained over a gallon of saline over my eye to clean it out. So I'm very happy to have the use of it.
11-30-2009 #89
Registered User
- Join Date
- May 2009
- Location
- Minnesota
- Posts
- 615
I think I have most of the metal work done on the shell. Minus the doors and trunk lid. Your not using black diamond in your sandblaster are you? Thanks for the compliments. Originally Posted by gto406
12-01-2009 #90 Registered User
- Join Date
- Sep 2009
- Location
- Calgary.Alberta
- Posts
- 45
Nice work, it is nice to see a firebird getting done right. Your build is awesome. Keep up the great work!
12-03-2009 #91
Registered User
- Join Date
- May 2009
- Location
- Minnesota
- Posts
- 615
Originally Posted by Chicken Louie
Thanks for the compliments.
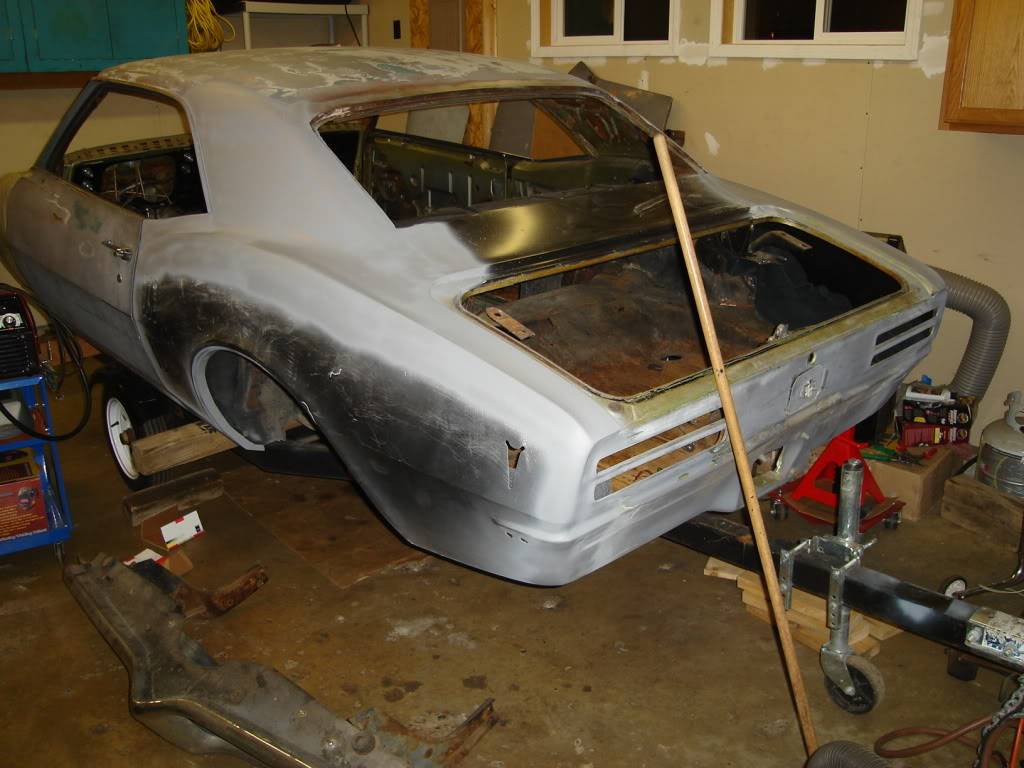
The shell is back on the rotisserie.
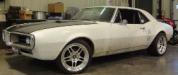
Here is what it looked like just a few weeks ago.
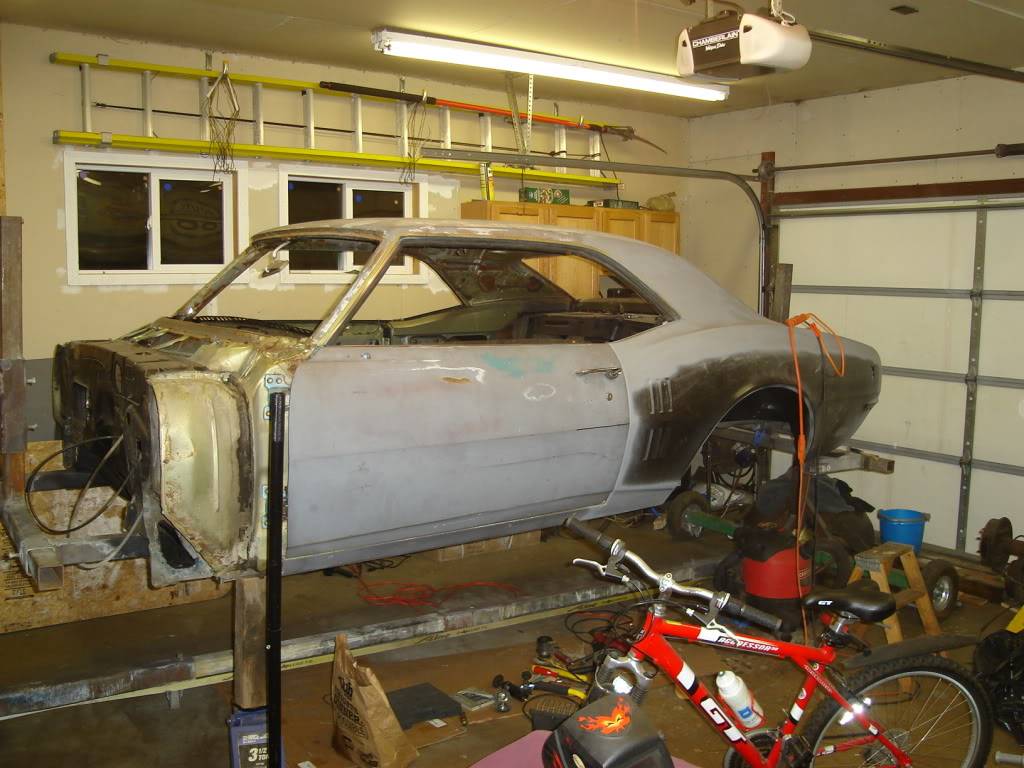
After two days of hard work I now have this.
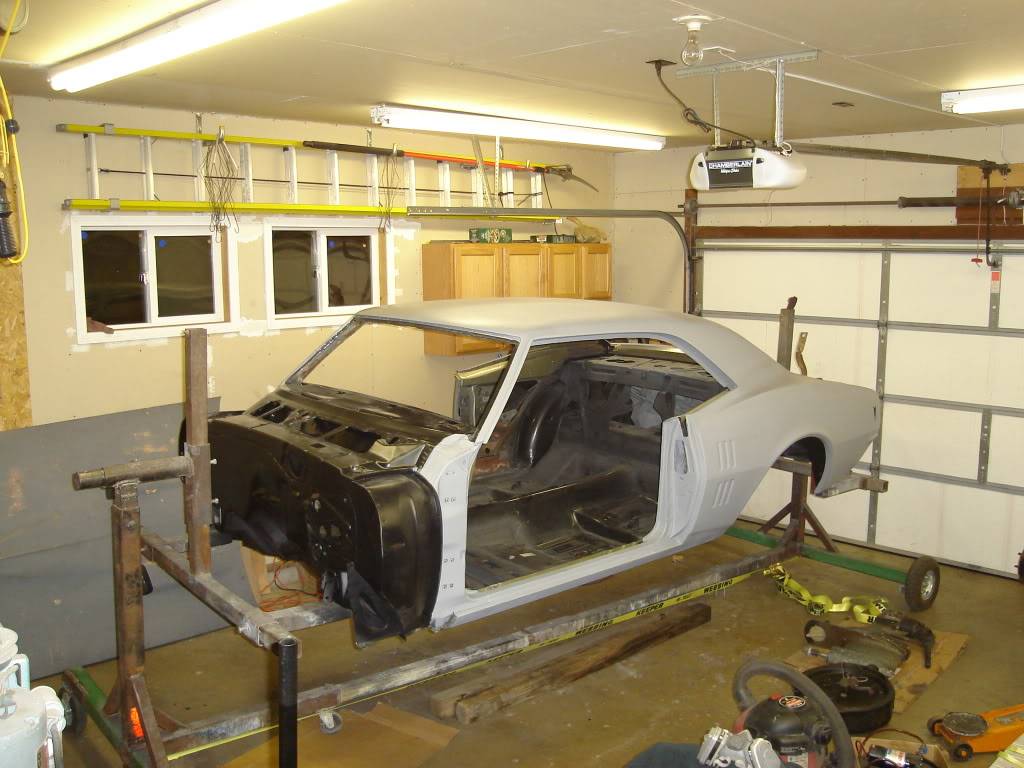
I started the seam sealing last night. I'm not enjoying the job so far.LOL
12-03-2009 #92
Registered User
- Join Date
- Mar 2009
- Location
- Houston, TX
- Posts
- 1,192
Looking real good Rob. Gives me inspiration to get back on my 67.
Tu
12-03-2009 #93
New to Pro-Touring
- Join Date
- Nov 2009
- Location
- pittsburgh
- Posts
- 40
There i so much Awesome in this thread. great rebuild
12-04-2009 #94 Registered User
- Join Date
- Feb 2006
- Location
- Idaho Falls, Id
- Posts
- 1,342
A bare Firebird shell sitting in primer is one of the sexiest things in the worldTraven
12-04-2009 #95
Registered User
- Join Date
- May 2009
- Location
- Minnesota
- Posts
- 615
I would have to agree with you. LOL It's taken along time but it was worth it.
12-04-2009 #96 Registered User
- Join Date
- Nov 2006
- Location
- Ma.
- Posts
- 5,567
Your doing a beautiful job, nice work. What a difference it makes when their all one color. Sweet!
Wayne
Car FINALLY home !!!!!! lol
Project FNQUIK https://www.pro-touring.com/showthre...ghlight=FNQUIK
01-02-2010 #97
Registered User
- Join Date
- May 2009
- Location
- Minnesota
- Posts
- 615
Originally Posted by Motown 454
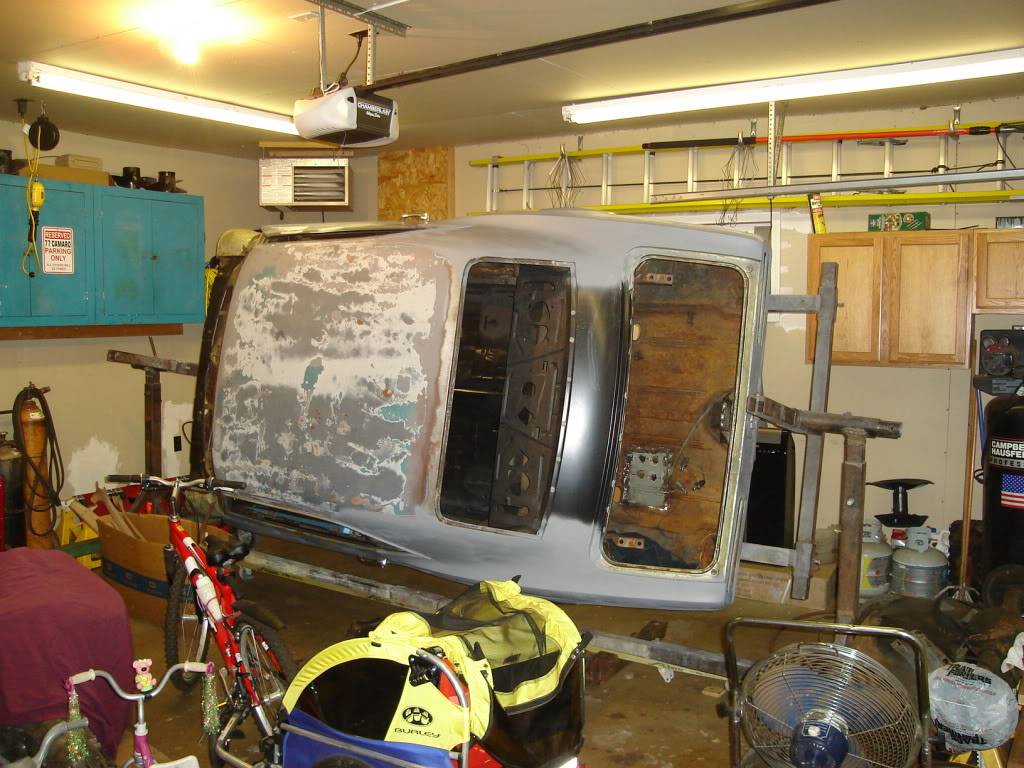
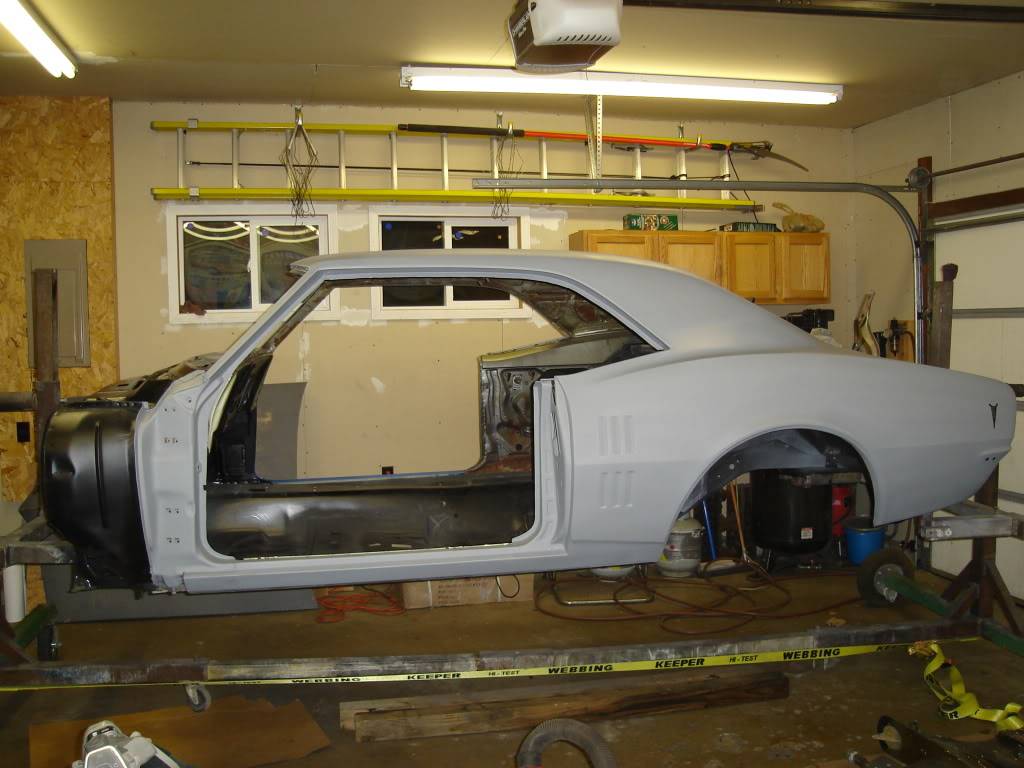
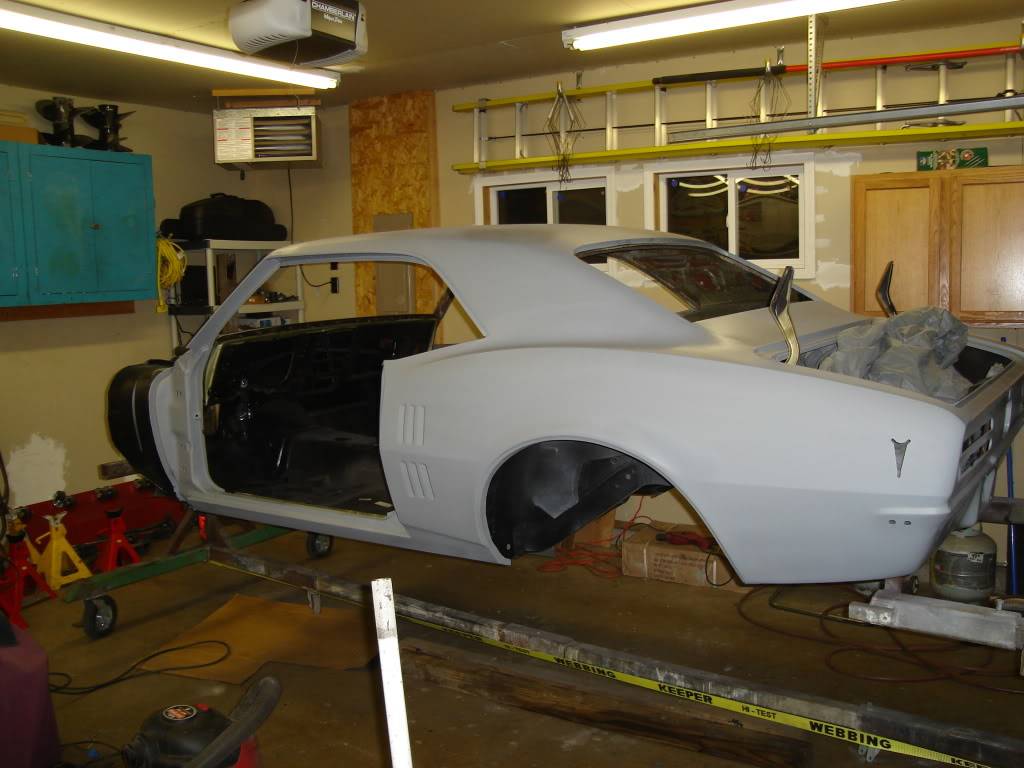
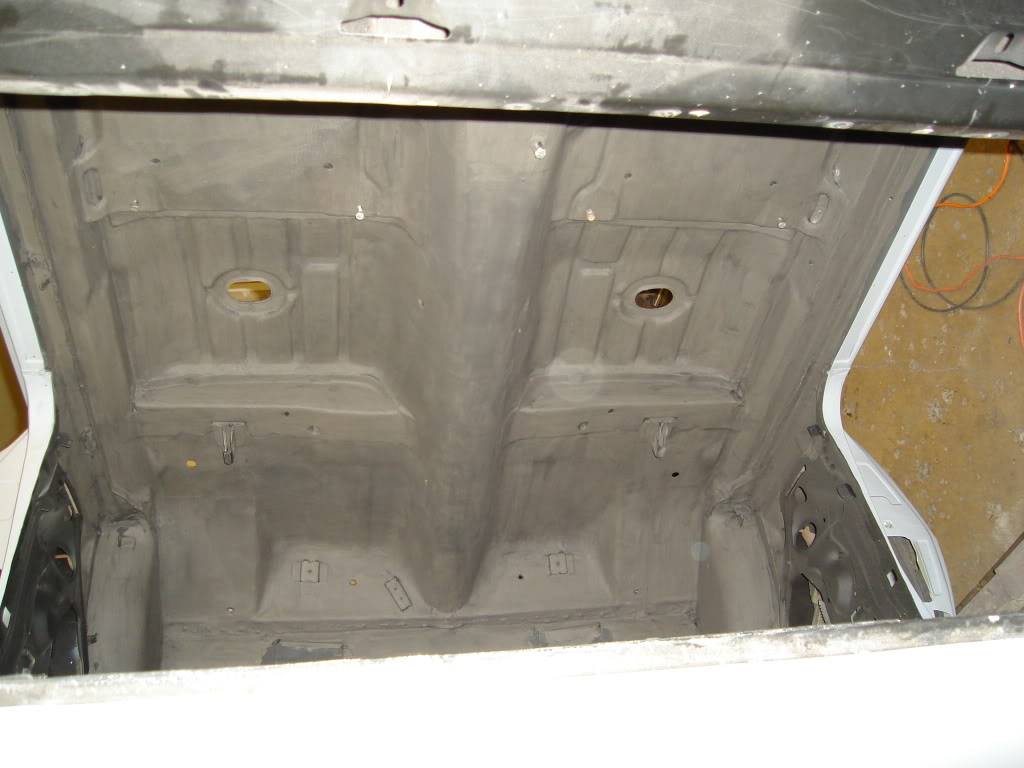
Thanks, I know just having it in one color makes a huge difference. I havn't posted updates for a long time but I have been busy on it. Both rockers needed to be stripped and both had some dents. I finished stripping the entire inside roof,sail panels, and inner rockers. There all in primer now including the rockers.
The car sat way to long so I had to scuff down all of the primer on the floor. I put seam sealer on the floor and firewall. That alone was two complete evenings and was a little stressful getting nice clean seams on my smoothed firewall.
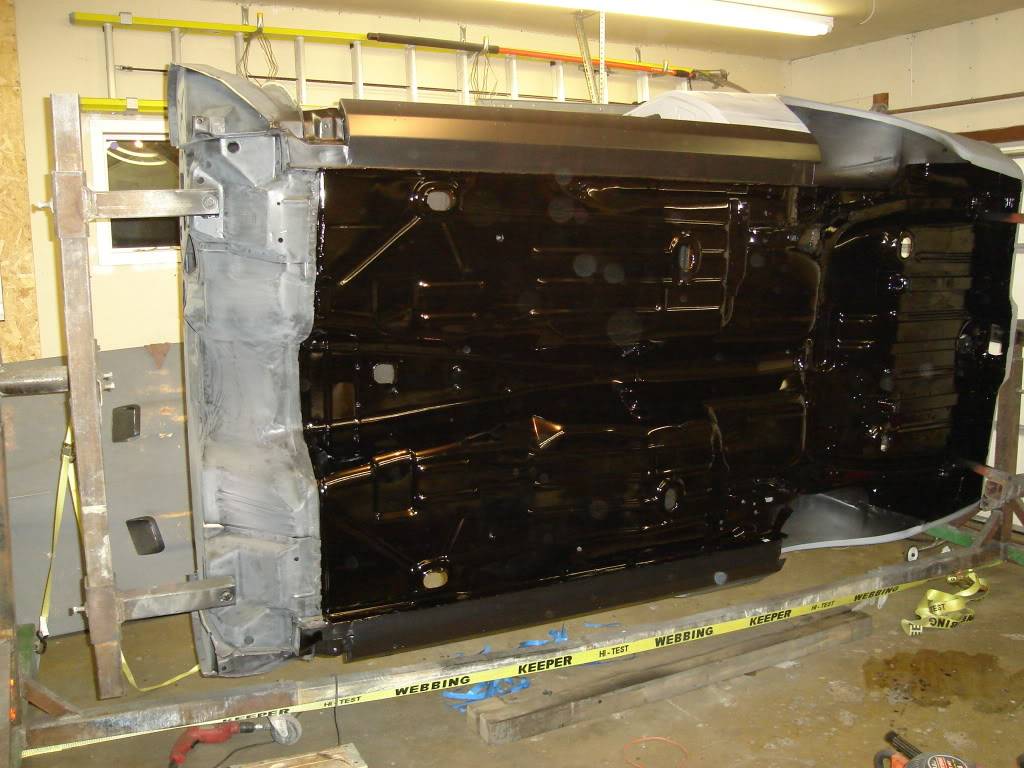
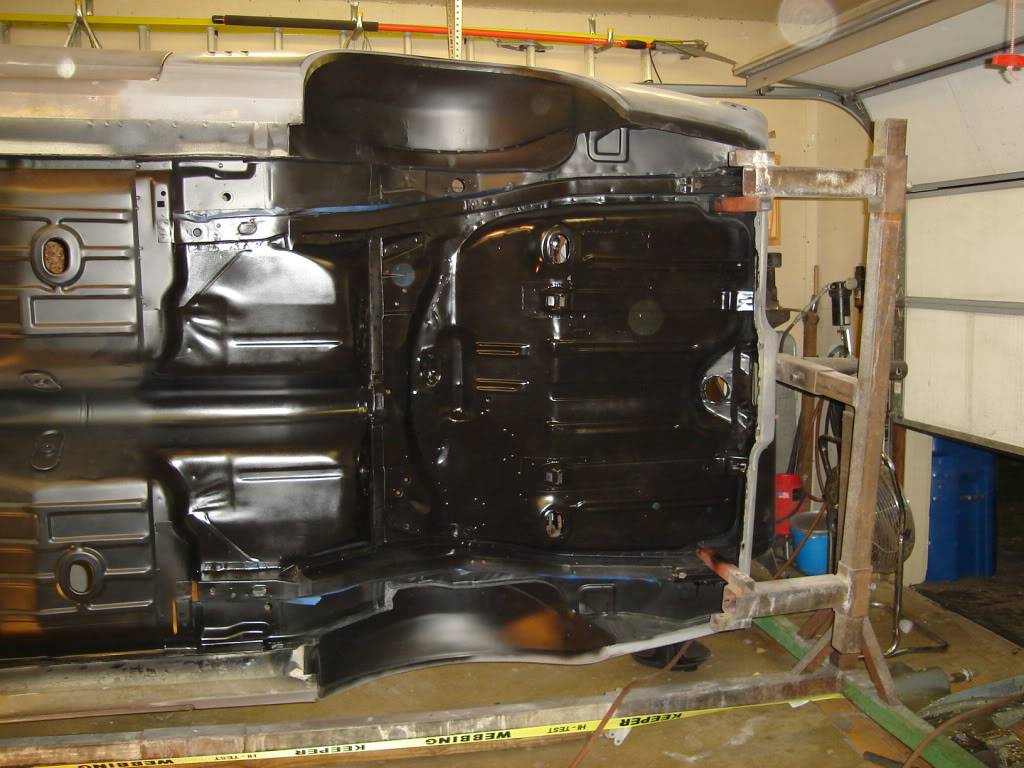
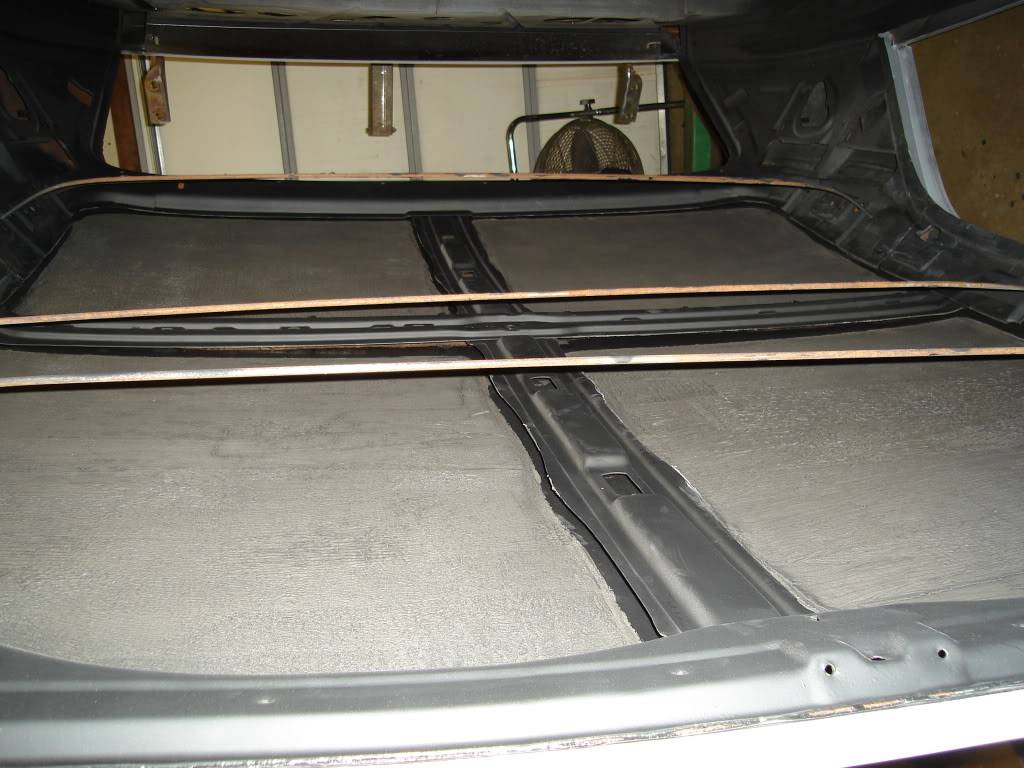
The car is upside down in the next two pictures. I brushed and rolled on six coats of Spectrum (Lizardskin) on the inside floor,roof, and I still have to do the trunk floor.
01-02-2010 #98
Registered User
- Join Date
- May 2009
- Location
- Minnesota
- Posts
- 615
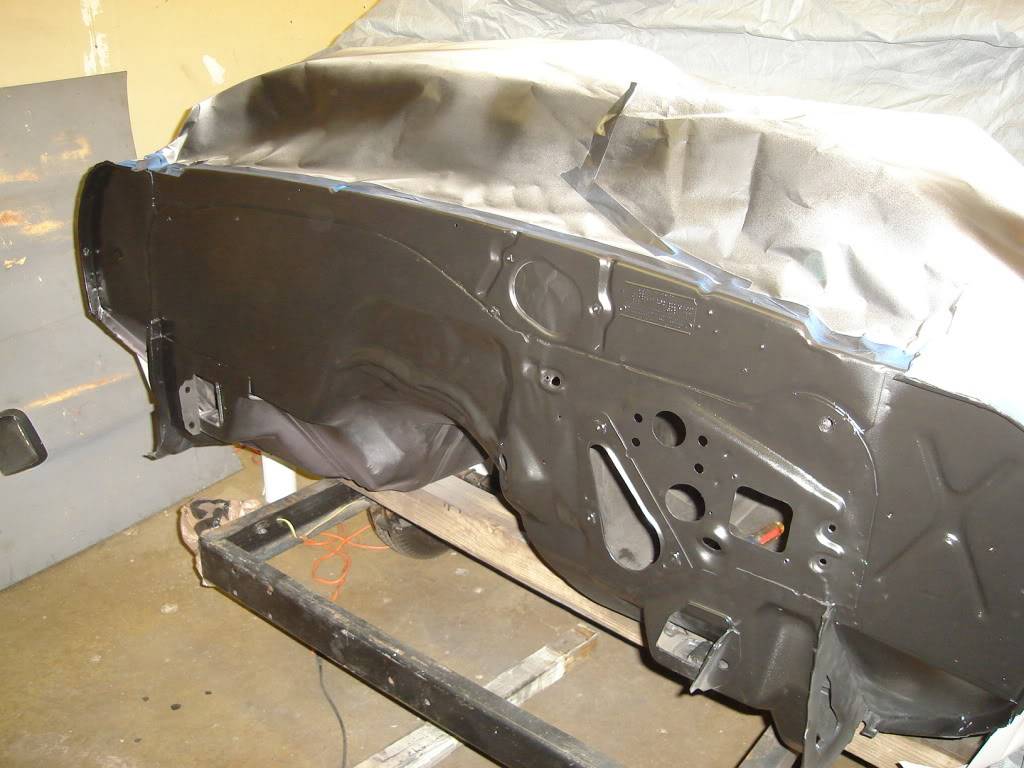
I taped off the bottom of the car and ground down the inside welds on the dash. I need to finish scuffing down the dash and then I can spray the firewall,dash,and cowl tomorrow morning.

01-02-2010 #99
Registered User
- Join Date
- Nov 2006
- Location
- Ma.
- Posts
- 5,567
Nice progress its looking good.
Wayne
Car FINALLY home !!!!!! lol
Project FNQUIK https://www.pro-touring.com/showthre...ghlight=FNQUIK
01-02-2010 #100 Registered User
- Join Date
- Aug 2008
- Location
- Pgh, PA
- Posts
- 2,177
Some nice work here. Keep up the pics. I'm enjoying seeing the progress.

 Reply With Quote


