

Results 1 to 5 of 5
Thread: my cut drip rail pics
-
05-12-2009 #1
 Registered User
- Join Date
- Feb 2008
- Posts
- 229
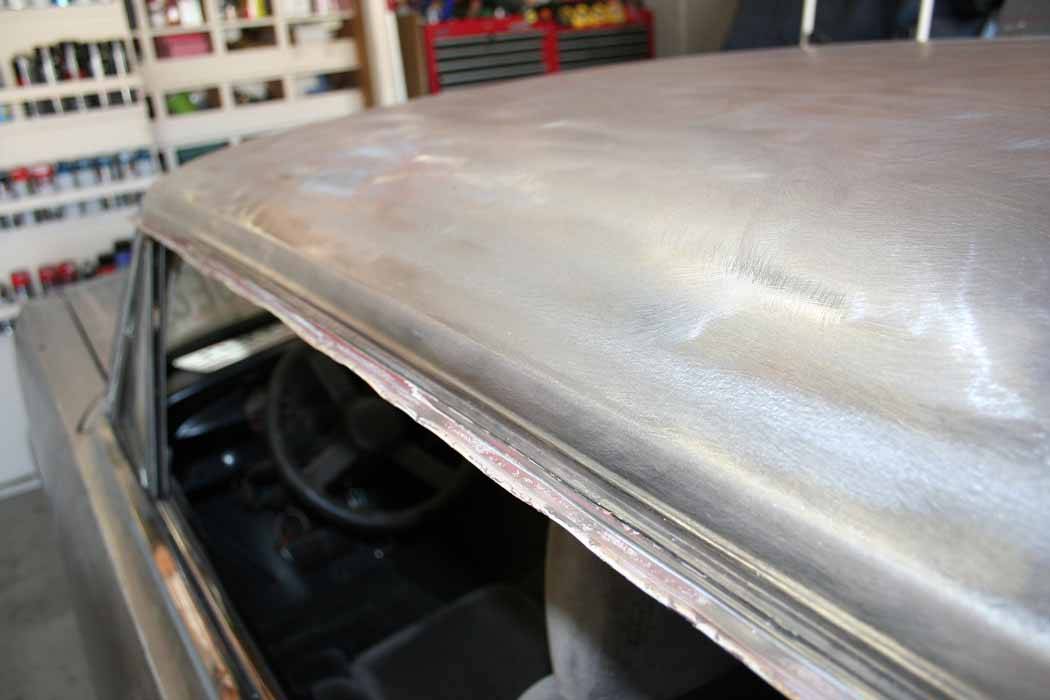
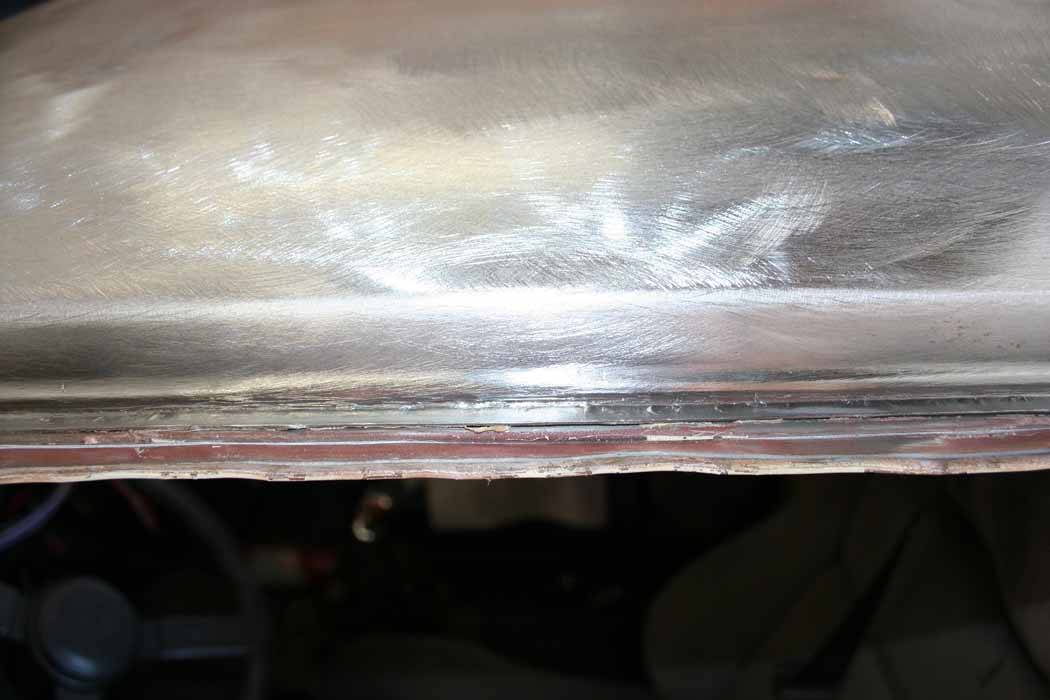
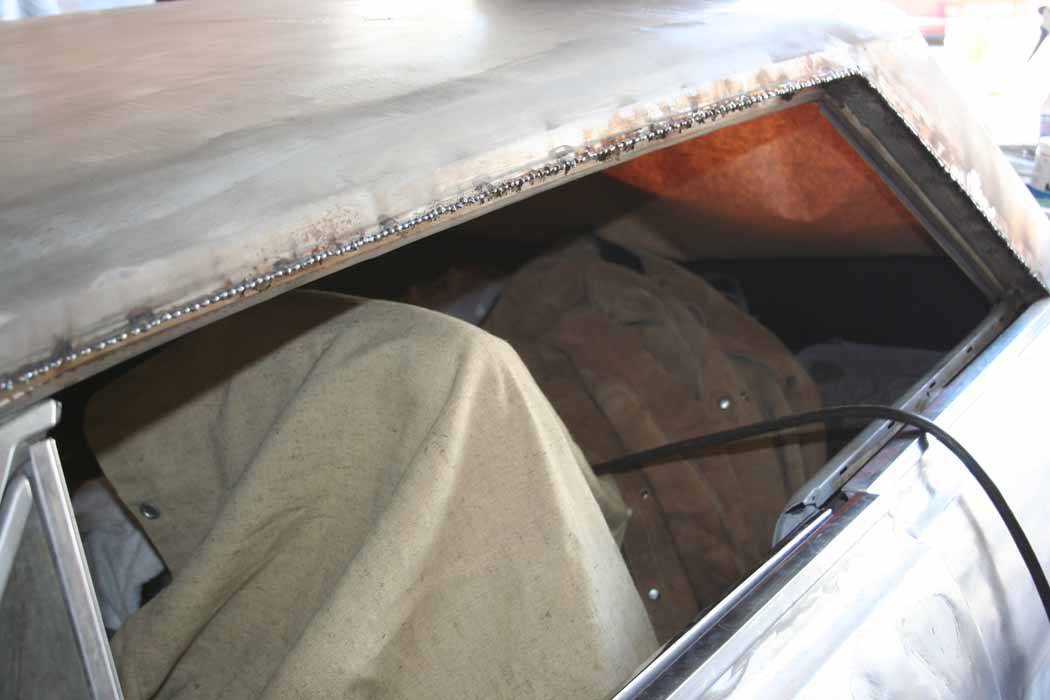
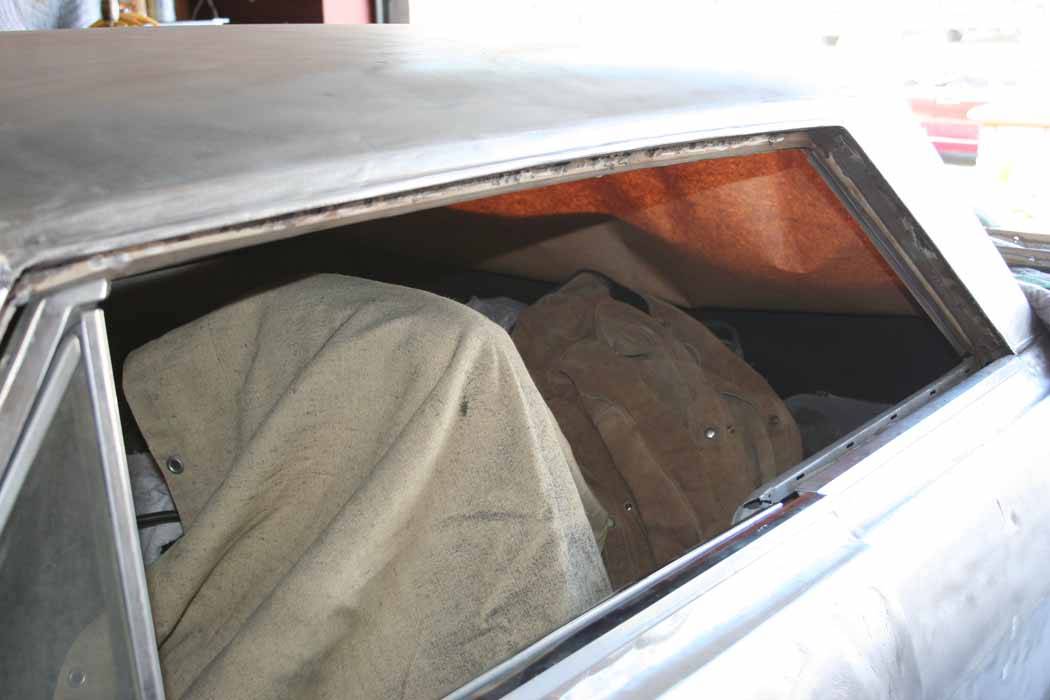
my cut drip rail pics
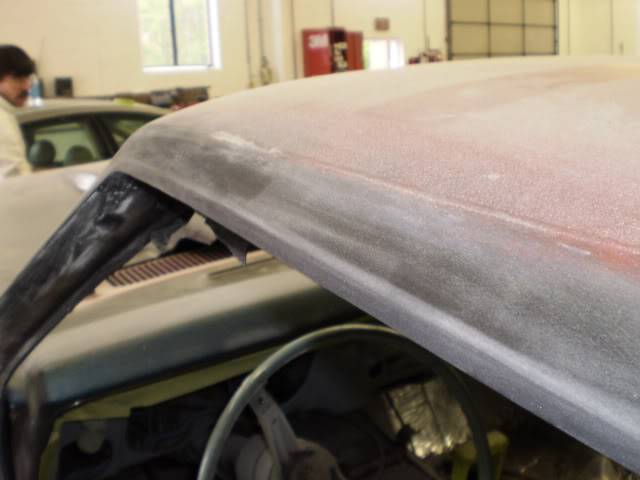
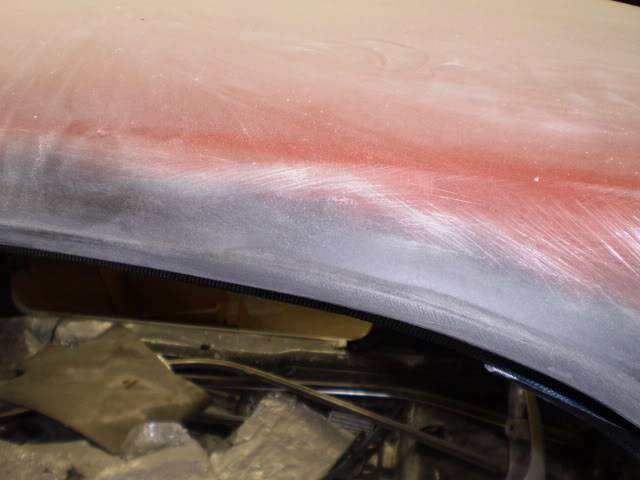
it still has alot of sanding to go but its coming along.thanks for looking
-
05-12-2009 #2 Registered User
- Join Date
- Dec 2004
- Location
- Midwest
- Posts
- 2,261

Nice! Care to tell us your process?
Kevin Oeste
V8 Speed and Resto Shop
V8TV
Muscle Car Of The Week
V8 Radio Podcast
All about us:
https://www.v8speedshop.com

05-12-2009 #3 Registered User
- Join Date
- Nov 2008
- Location
- So. Cal.
- Posts
- 1,240
I like!!
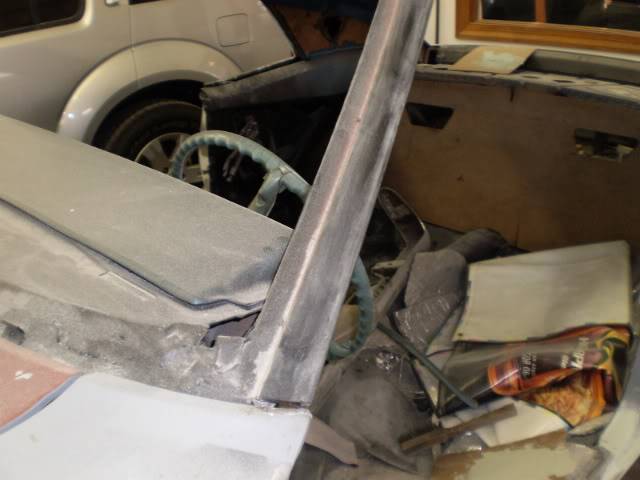
Hope you dont mind, not even trying to steal yer thunder, you did a perfect job. But Ill post some pics of how I did mine in case you dont have some additional pic for the guys to look at. You prolly did it similar to mine, umm, maybe not as hack as mine JR
JR
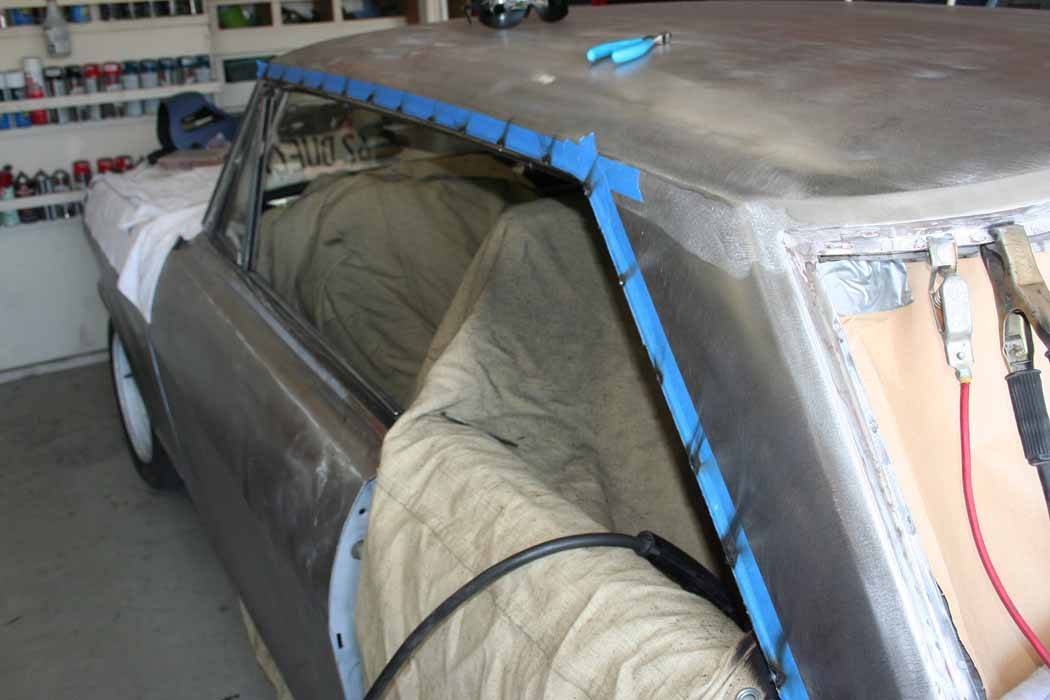
So I started buy removing the stainless trim then bent the rail down to get access for the plasma tip. I tried a zip blade (abrasive wheel) but it wandered all over the place for me, I just cant control them buggers. So then it was a matter of having both the MIG and plasma torches hanging over my shoulder. I cut about four inches then tacked with the MIG to keep the roof from peeling up. Went down the rail like that till it was free..
Then a simple matter of placing tacks every couple (splitting the distance in between the tacks) inches down the edge and cooling it as I went with a damp rag. Once she was all welded up I sanded the beads down to make it look nice. And a really abbreviated version. Dont really like digging into speedsfter's post. Sorry buddy. Just trying to add to yer great job...
Pics...
Peeled the rail down with channel lock pliers.
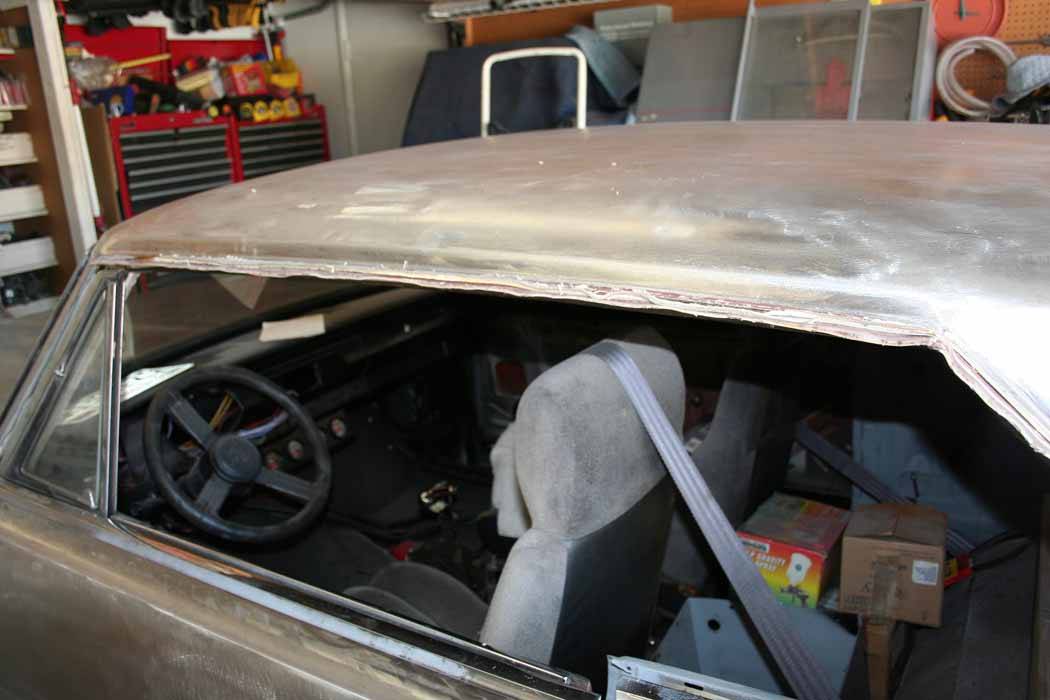
After the plasma cut and the three inch tacks. I taped it for a good line to cut by.
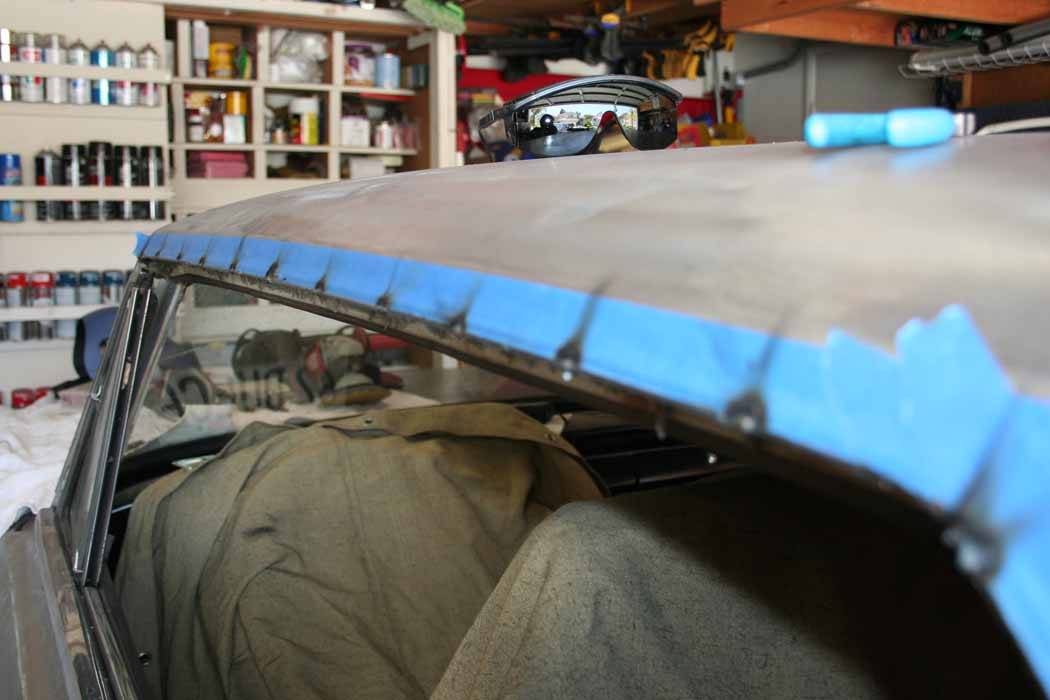
After the rough tacks..
Then after sanding. Its simple really, anyone can do it.
05-13-2009 #4 Registered User
- Join Date
- Mar 2009
- Location
- overseas
- Posts
- 3,434
looks good
 Kevin S. (overseas in Germany)
1963 Chevrolet Impala 2d ht Coupe
www.CruznArt.com
CRUZN - Automotive Artworks
05-13-2009 #5 Registered User
- Join Date
- Dec 2006
- Location
- Cypress, TX
- Posts
- 331
X2. Any pic during the process of removing the rails? Look nice!! Originally Posted by oestek


 Reply With Quote


