Results 241 to 260 of 679
Thread: Project FNQUIK
-
09-14-2011 #241

 Registered User
- Join Date
- Nov 2006
- Location
- Ma.
- Posts
- 5,567

It will get done , when I saw it I had a melt down because I was expecting them to be done. Mike got intouch with me and said he left them off so the cross member would be easier to fit in if I had to drop the rear of the sub.
Wayne
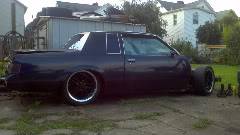
Car FINALLY home !!!!!! lol
Project FNQUIK https://www.pro-touring.com/showthre...ghlight=FNQUIK
-
09-27-2011 #242
Registered User
- Join Date
- Nov 2006
- Location
- Ma.
- Posts
- 5,567
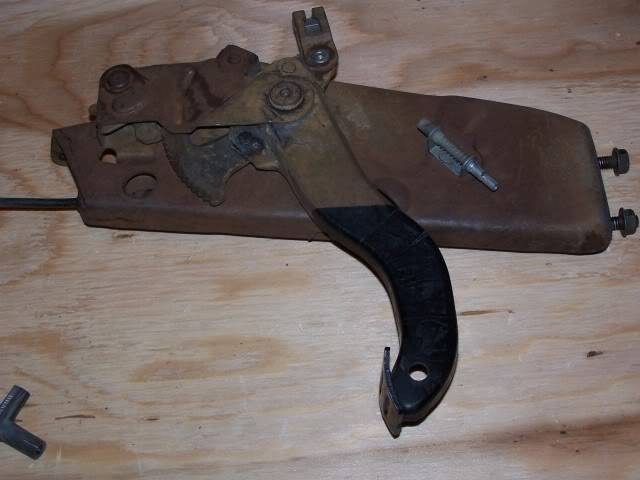
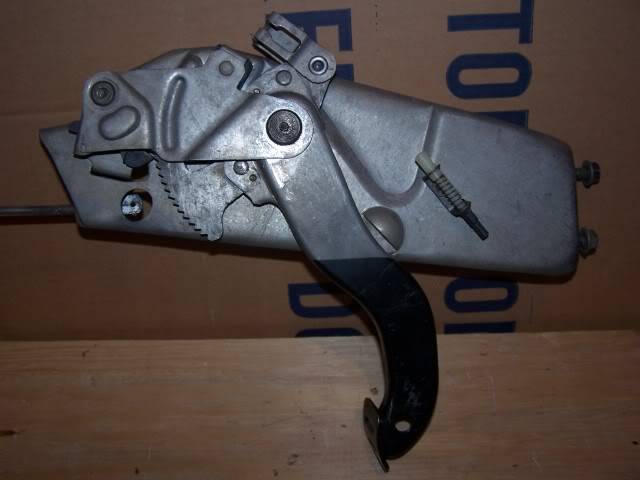
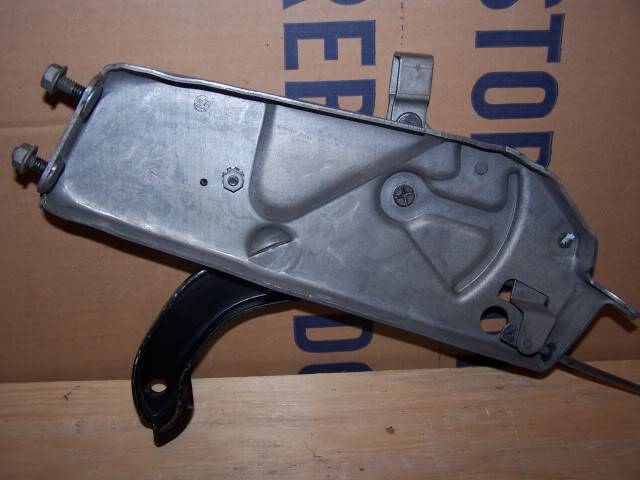
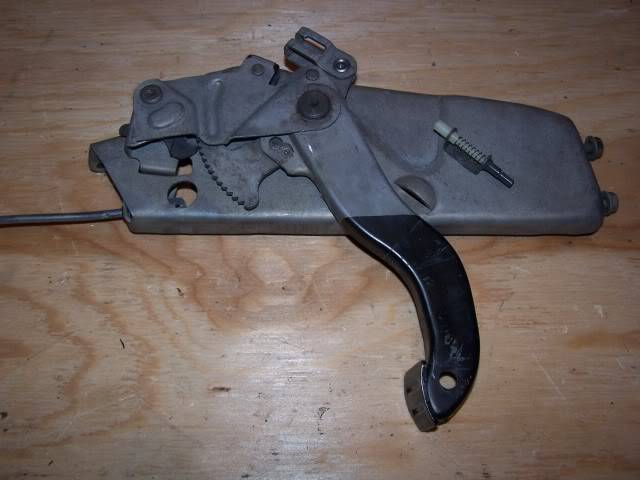
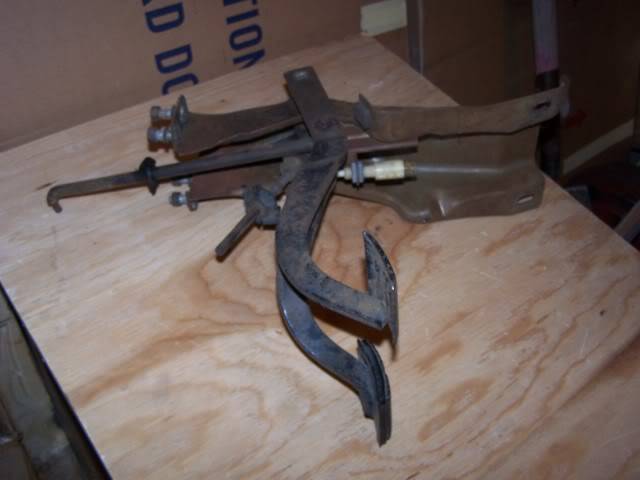
I cleaned up the parking brake pedal assembly last night. I used Safest Rust Remover, I soaked it over night and just rinsed with water and dried it. It came out pretty good. I'm going to coat it with satin clear and satin black. Thats the original paint on there. Let me know what you think.
Here are the before pictures.
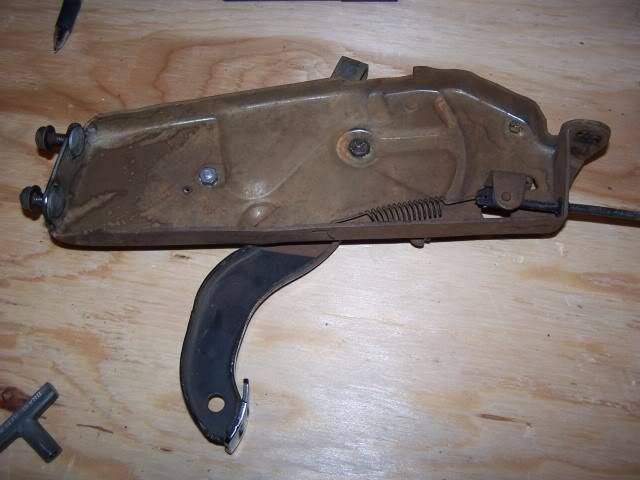
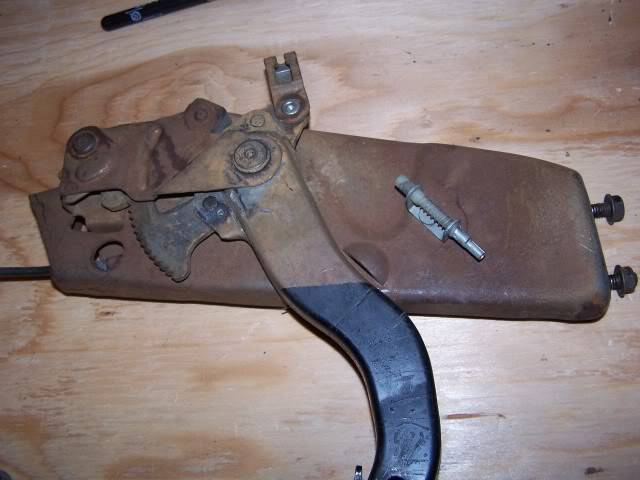
Now heres what they look like tonight.
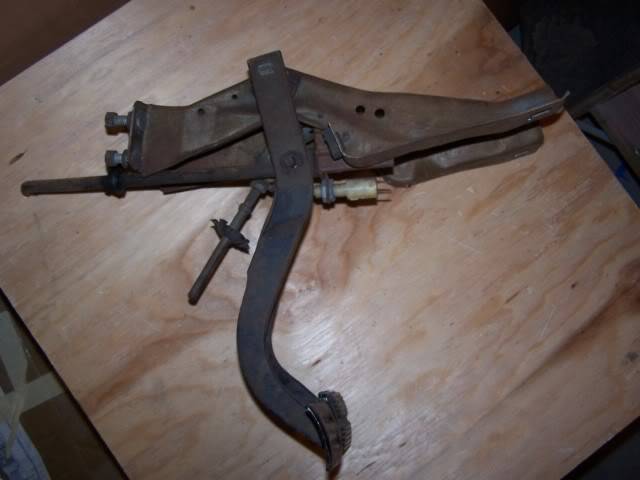
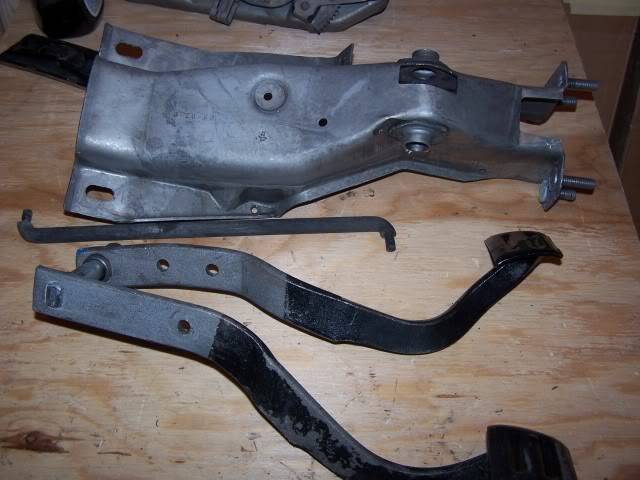
I also did the brake and clutch pedals and support
I cleaned the clutch, brake pedals and the support. I just noticed even that is date coded.
Here are the before pictures.
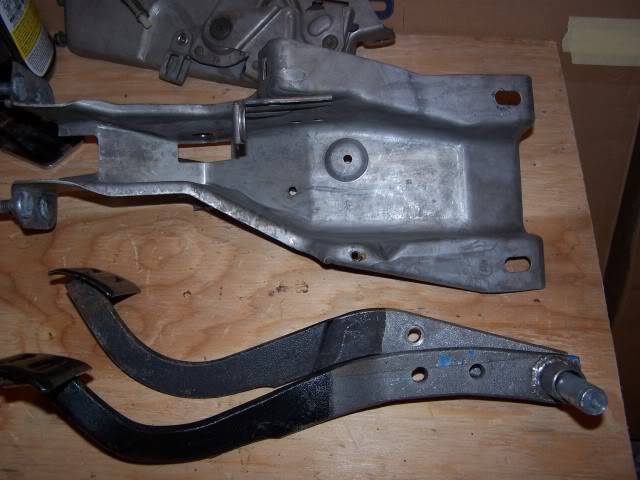
And after.
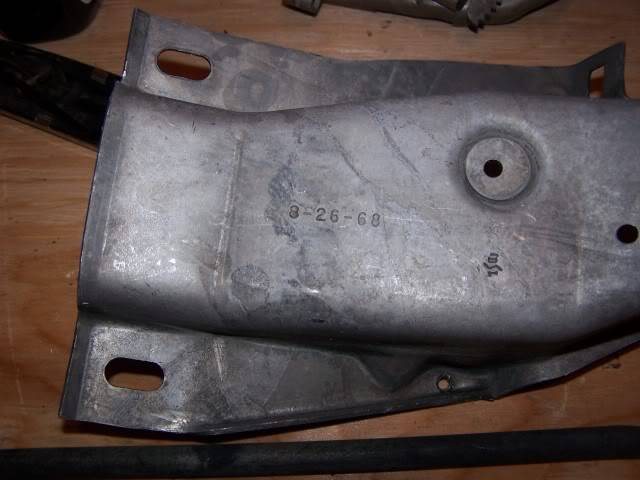
And the date code.
 Wayne
Wayne
Car FINALLY home !!!!!! lol
Project FNQUIK https://www.pro-touring.com/showthre...ghlight=FNQUIK
09-28-2011 #243
Registered User
- Join Date
- Apr 2009
- Posts
- 327
Wayne,
car is looking really good, wheels are sweet!
09-28-2011 #244
Registered User
- Join Date
- Jun 2011
- Posts
- 145
Awesome car.. good to see you got it back finally!
Dave Van Nuys
83 455 Regal in progress
10-04-2011 #245 Registered User
- Join Date
- Nov 2010
- Posts
- 1,387
Wow, it has came along way Wayne...
It should be FNLong for the duration of this creation lmao Joking but it looks great... It will be truly flawless!!!68 Camaro RS twin turbo
https://www.pro-touring.com/threads/...d-Intent-V-2-0
1993 Toyota Supra 6768 Built Single Turbo
Slow Lifted Jeep No TURBO :(
Randal F
11-01-2011 #246
Registered User
- Join Date
- Nov 2006
- Location
- Ma.
- Posts
- 5,567
Thanks every one. I haven't made much progress got a 1/2" Stainless fuel line and brake lines. I just started putting them in and my back went out when I was under the car. Spent most of the last two weeks at the chiropractors getting straightened out. I've been toying with my stainless trim trying to bang out some dings.
Wayne
Car FINALLY home !!!!!! lol
Project FNQUIK https://www.pro-touring.com/showthre...ghlight=FNQUIK
11-01-2011 #247 Registered User
- Join Date
- Oct 2011
- Posts
- 696
Amazing progress
12-19-2011 #248
Registered User
- Join Date
- Nov 2006
- Location
- Ma.
- Posts
- 5,567
Well here's a small overdue update. I've been tied up with the back and family stuff but I have been working on it a little.
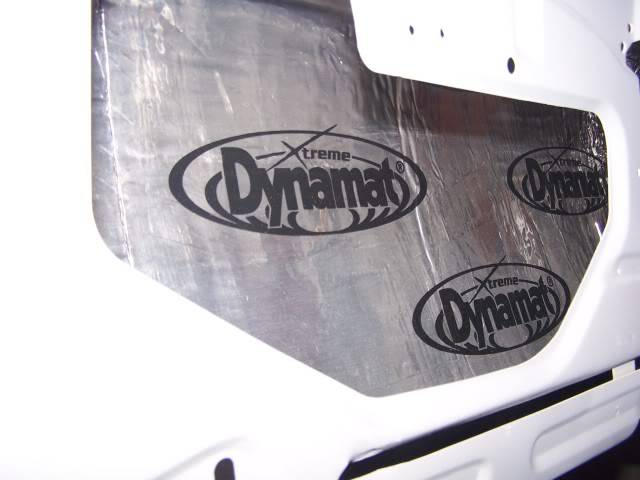
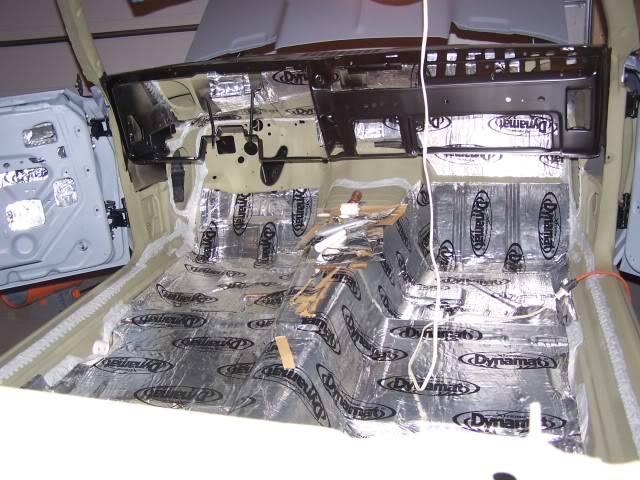
I started putting the Dynamat in. Here are a few pictures.
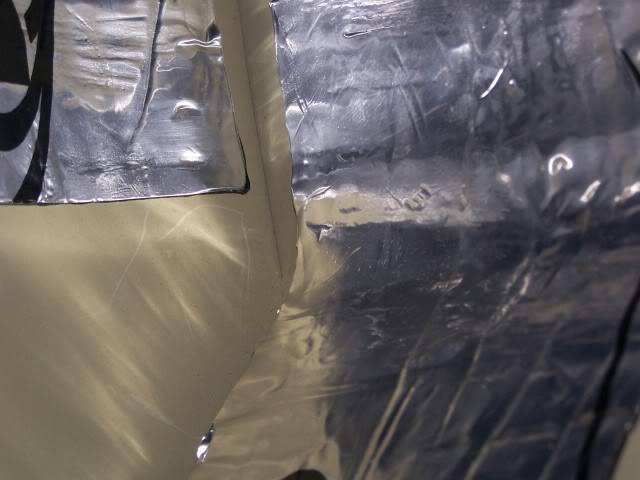
I did the complete door skin and the front part of the quarter panel.
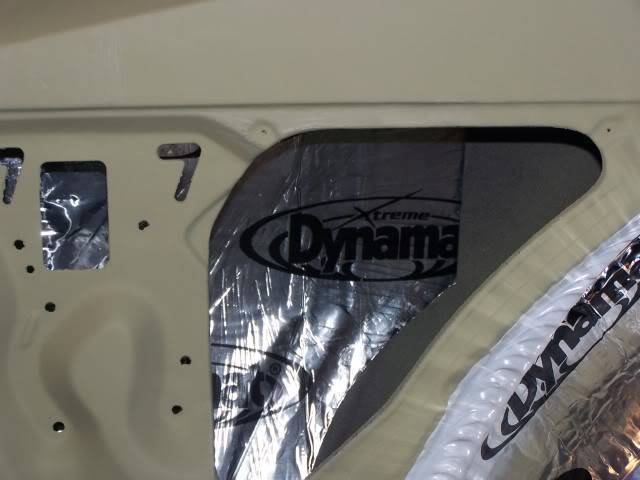
Under the dash is started is started.

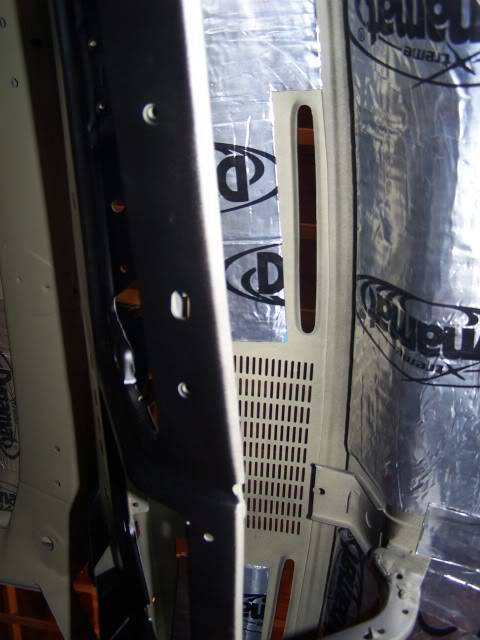
and most of the floor is done.
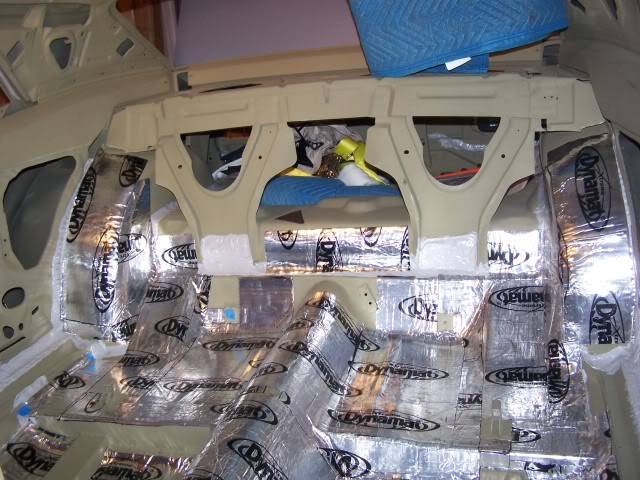
I put a couple of small pieces in the vent holes where the kick panel goes just to deaden the sound a little.
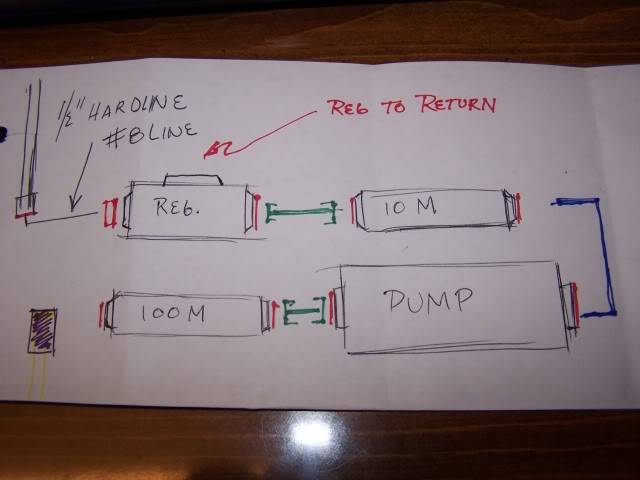
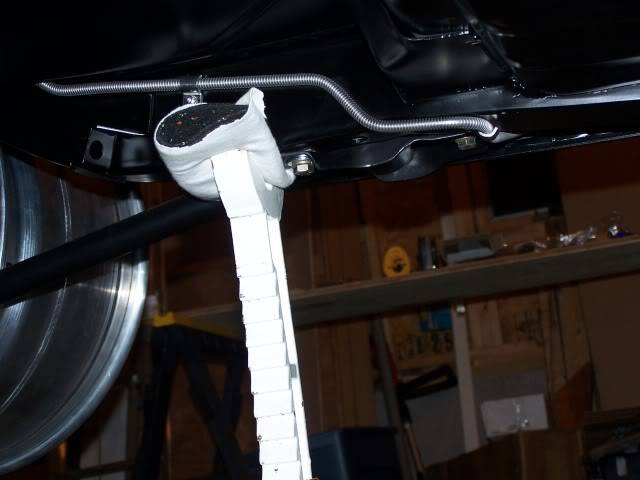
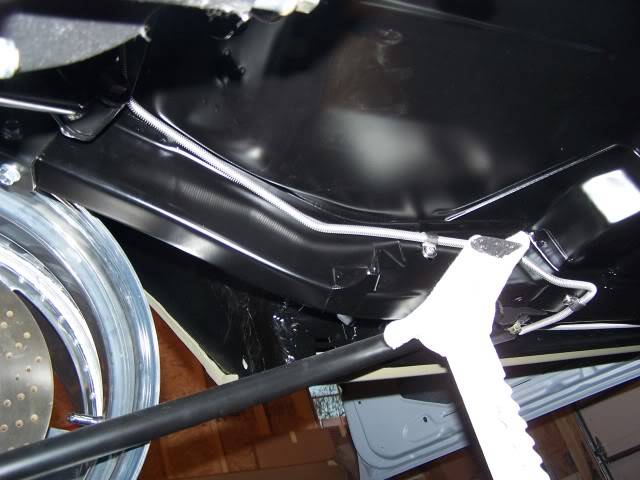
I finnished the 1/2" fuel line from back to front but don't have very good pictures. I'll get some better ones.
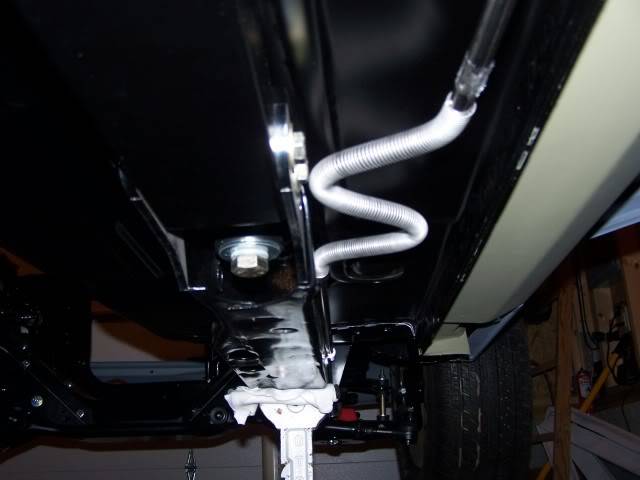
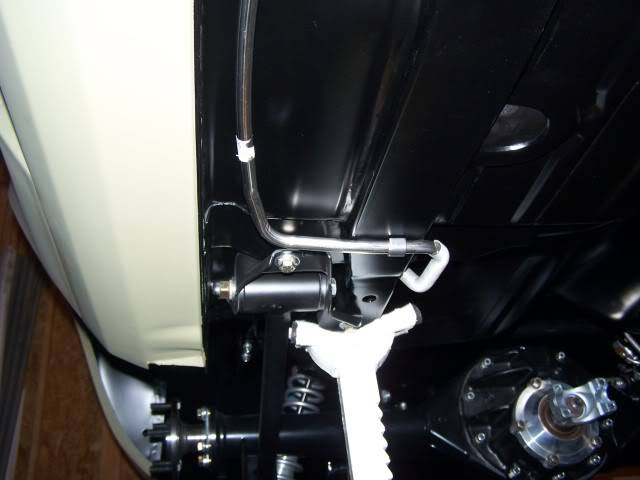
Here's what I have planned for my filters, pump and regulator. It will go at the front of the tank something like Lenie used on his car.
I also put in the brake line front to rear and across the front of the sub frame.
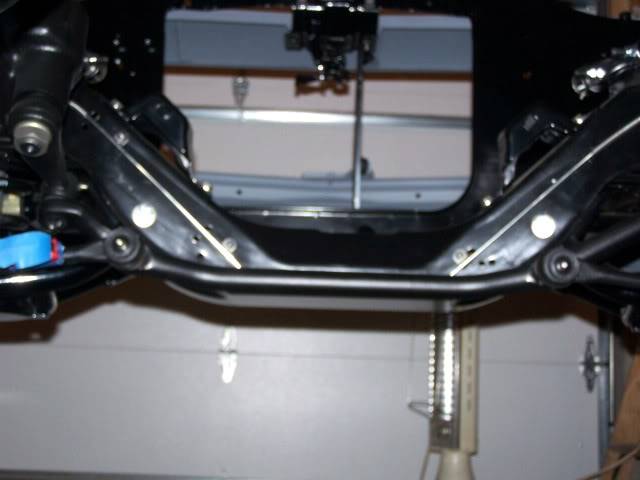
And I bolted up the plates for the DSE connectors so they can be welded to the sub after they are painted.
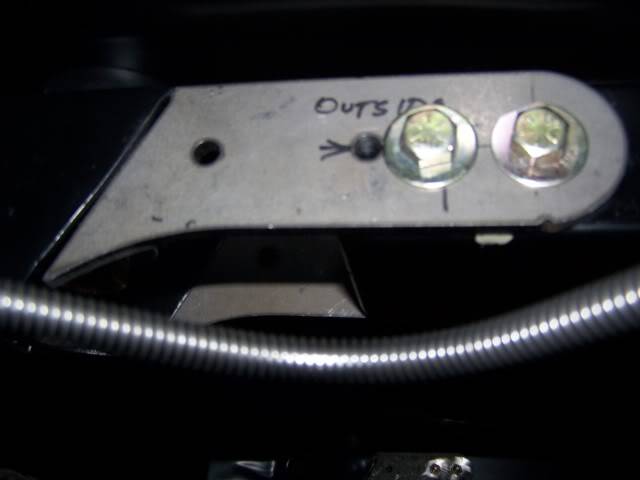
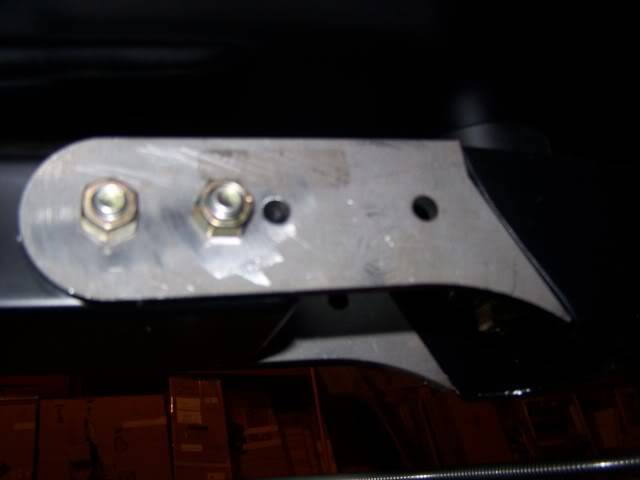
We drilled and tapped the plates plus put a nut on the back side.Wayne
Car FINALLY home !!!!!! lol
Project FNQUIK https://www.pro-touring.com/showthre...ghlight=FNQUIK
12-19-2011 #249
Registered User
- Join Date
- Dec 2011
- Location
- Wichita, KS
- Posts
- 18
Wow!!!!!!!!!!!!!!! Now is a really challenge.
Frank from Motor'n TV
12-20-2011 #250
Registered User
- Join Date
- Apr 2009
- Posts
- 327
wayne,
its all forward progress from here my friend...nice to see your getting things done..
02-02-2012 #251
Registered User
- Join Date
- Nov 2006
- Location
- Ma.
- Posts
- 5,567
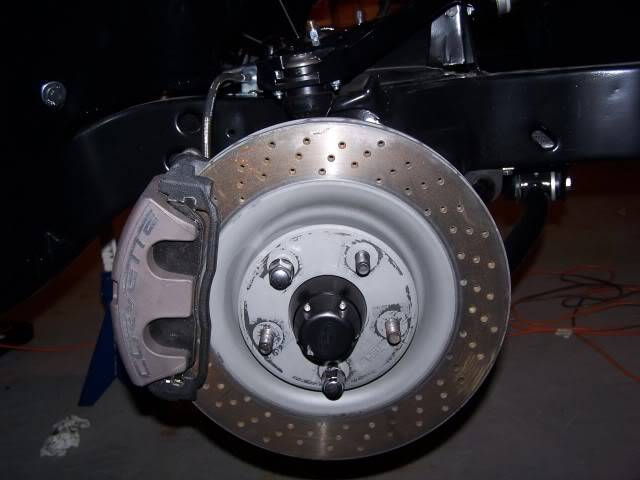
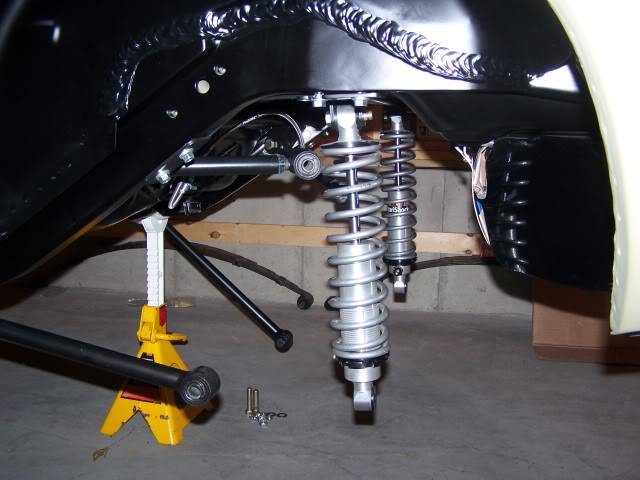
Well here's a little update. I put some Howe tall ball joints and tie rod ends on the car. The only part thats was Tuff was taking a hammer to my newly powder coated spindles. BRRRRRRR! Here's a shot of them installed
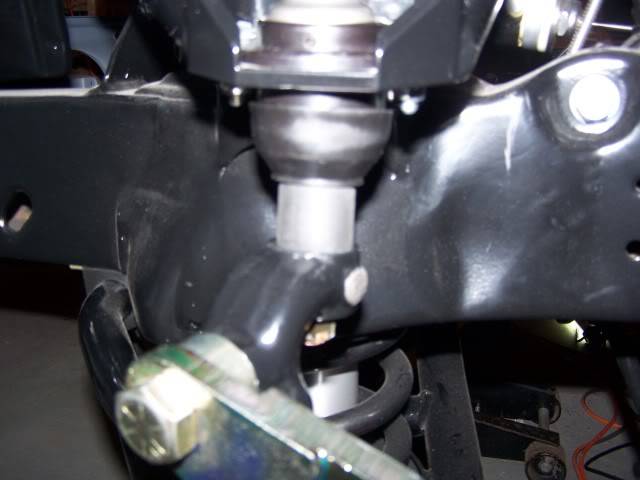
Here you can see the tall tie rod end before I bolted it up, and the Kore 3 C6 Z51 brackets. Tobin has some awesome parts, very well made.
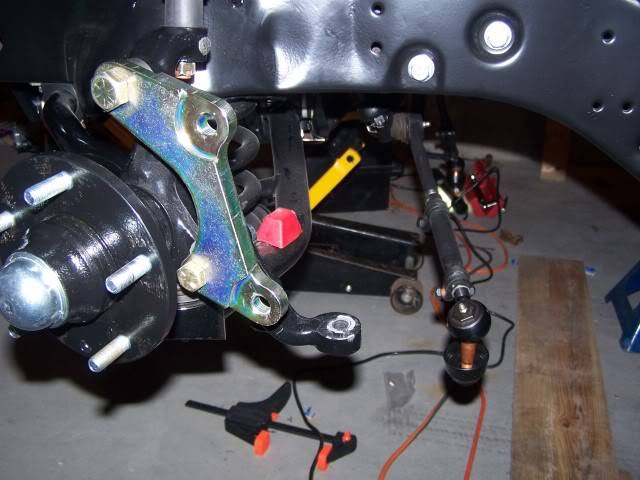
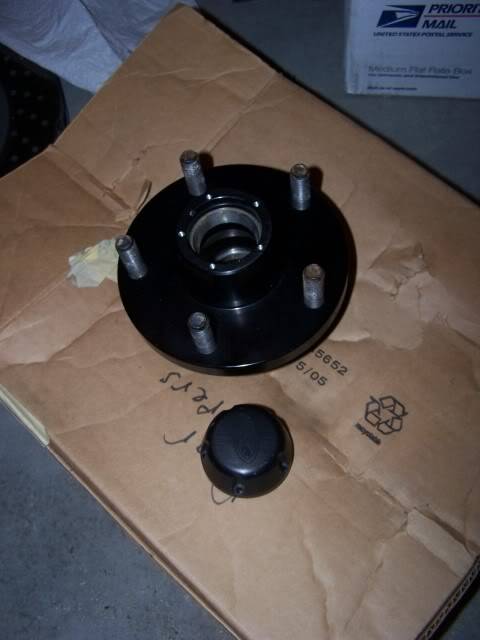
I installed a set of Speed Tech aluminum hubs with 1/2 studs.
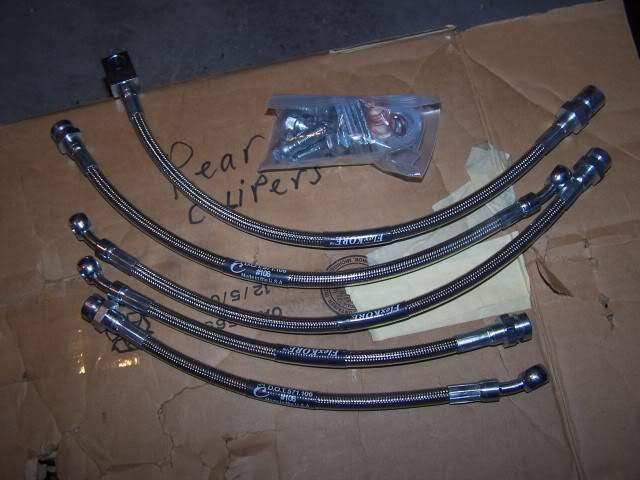
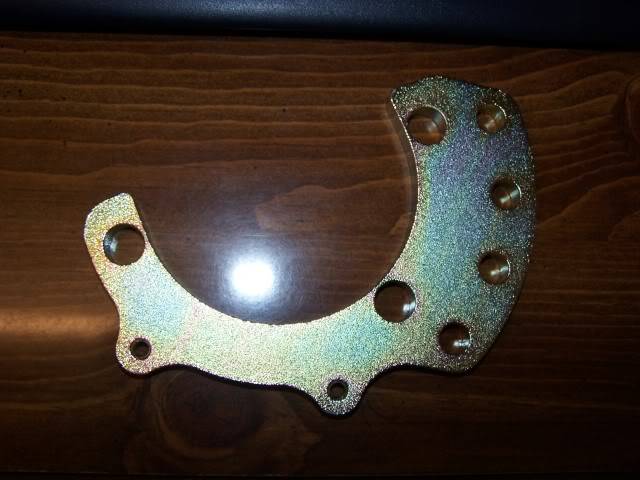
I got some of Kore 3's braided brake lines 5 pieces and their new brackets for the big old style Ford bearings to install my Z 51 rear brakes. Its a custom kit because on the offset on my axles. Tobin sent me a shim kit and it fit perfect. Their not installed yet but hear's some pictures.
I'll keep plugging away.Wayne
Car FINALLY home !!!!!! lol
Project FNQUIK https://www.pro-touring.com/showthre...ghlight=FNQUIK
02-03-2012 #252
Registered User
- Join Date
- Nov 2006
- Location
- Ma.
- Posts
- 5,567
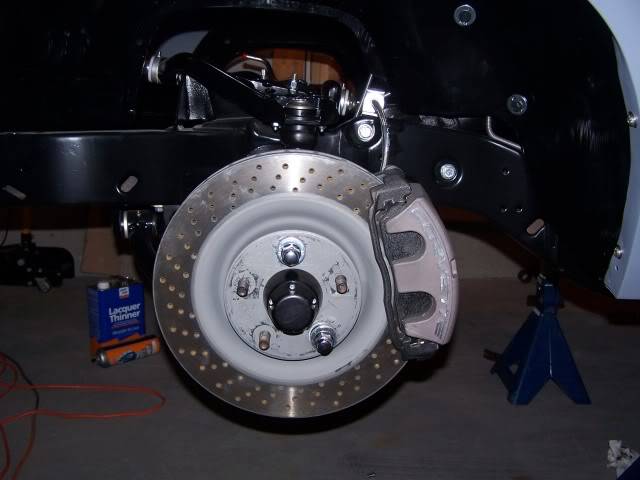
Small update finished plumbing the front brakes and added the drop line for the rear end. Front brakes should be on for good. ( Hope I didn't jinx myself )
I'm pulling the rear out so I can make up the brake lines for it and shim the brackets for the calipers then back in it goes.
 Wayne
Wayne
Car FINALLY home !!!!!! lol
Project FNQUIK https://www.pro-touring.com/showthre...ghlight=FNQUIK
02-03-2012 #253
Registered User
- Join Date
- Nov 2006
- Location
- Ma.
- Posts
- 5,567
I attached the Kore 3 brackets. ( Nice Stuff ) Then I started shimming the brake calipers, tedious because the axles offsets are not exact for this kit. Tobin was great answering all my many questions. I just came in from the garage almost 1 AM. But that part is done. Now it will be making up the brake lines for the rear end. Here are a few pictures.
That a big hole in there.
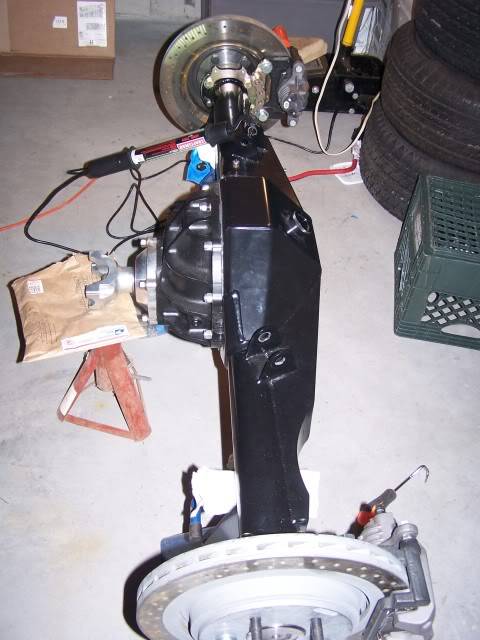
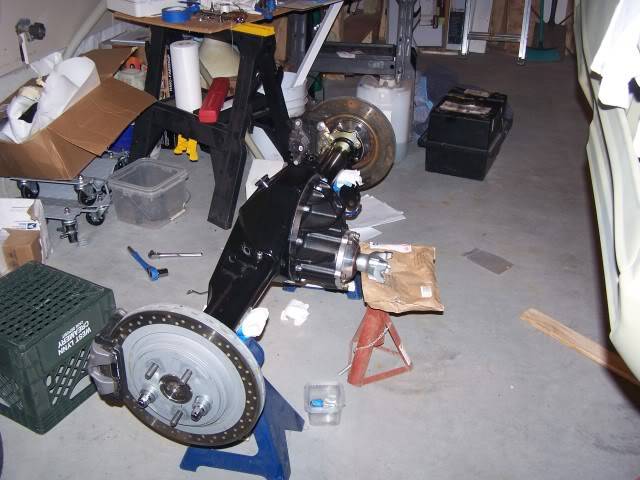
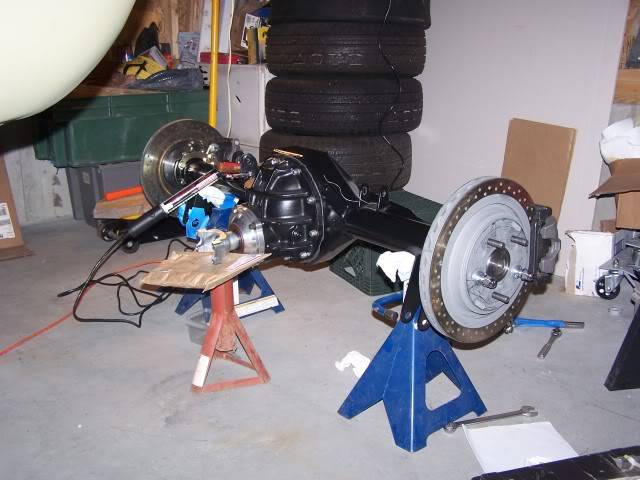
This one I took from over my head. Amazing I think I'm better when I don't look what I'm doing. lolWayne
Car FINALLY home !!!!!! lol
Project FNQUIK https://www.pro-touring.com/showthre...ghlight=FNQUIK
02-14-2012 #254
Registered User
- Join Date
- Nov 2006
- Location
- Ma.
- Posts
- 5,567
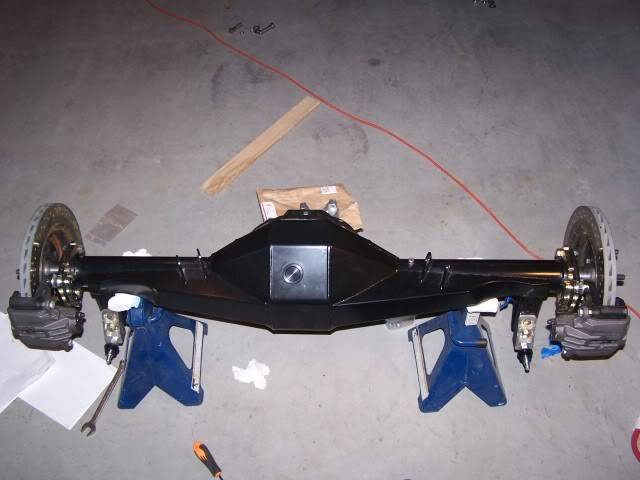
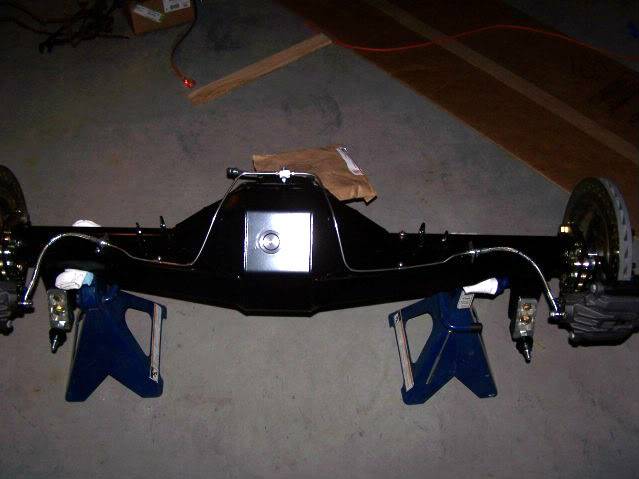
Last Friday I finnished up the brake lines on the rear. Its almost ready to go back in.
 Wayne
Wayne
Car FINALLY home !!!!!! lol
Project FNQUIK https://www.pro-touring.com/showthre...ghlight=FNQUIK
02-15-2012 #255 Registered User
- Join Date
- May 2008
- Location
- Austin, Tx.
- Posts
- 1,539
Hey Wayne,
Everything looks great! You are getting closer and closer... Great job on bending all the lines.
I'm going to check out the Kore 3 stuff! The quality looks really high on their products.Ray
FEW FRILLS, just BIG CHILLS!!!
1972 VW Bug (427LS/T56 Magnum/9"-3.70 gears)
18"x10-1/2" (315/30/18) Front, 18x12" (335/30/18) Rear
https://www.pro-touring.com/showthre...-Lady-Bug-quot
02-17-2012 #256 Registered User
- Join Date
- Sep 2009
- Posts
- 2,709
Considering what you started with, that is one solid car!! Very nice attention to detail.

1955 Nomad project LC9, 4L80e, C5 brakes, Vision wheels
1968 Camaro 6.2 w/ LSA, TR6060-Magnum hybrid and etc SOLD
1976 T/A LS1 6 Speed, and etc. SOLD
Follow me on Instagram: ryeguy2006a
02-17-2012 #257 Registered User
- Join Date
- Dec 2007
- Location
- British Columbia, Canada
- Posts
- 723

02-18-2012 #258
Registered User
- Join Date
- Nov 2006
- Location
- Ma.
- Posts
- 5,567
Thanks Guy's !
Ray Tobin has awesome stuff and great tech help. Everything was plated really heavy duty. He had to work with me because of the way I had the rear made. It came out perfect.Wayne
Car FINALLY home !!!!!! lol
Project FNQUIK https://www.pro-touring.com/showthre...ghlight=FNQUIK
02-18-2012 #259
Registered User
- Join Date
- Nov 2006
- Location
- Ma.
- Posts
- 5,567
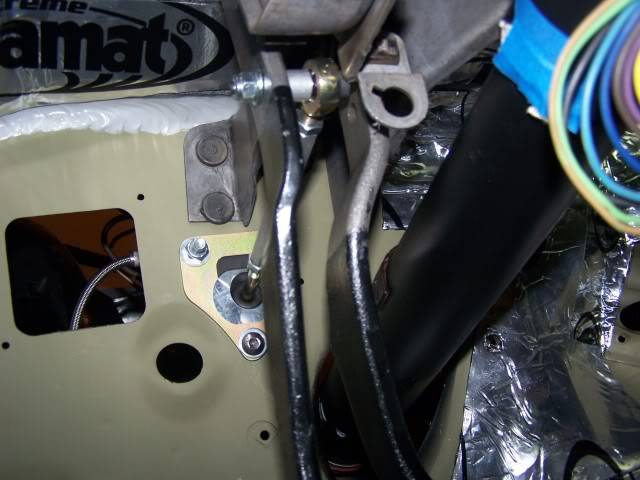
My buddy and I went to work on plumbing in my master and prop block Friday. The Inline Tube lines for the master won't fit because I used a Hydro boos and adjustable prop block. So I picked up some of those Copper Nikel lines. They bend very easily and don't corrode. I needed adapters because of the size of the ports on the master so we used brass fittings. I'm not sure if I will have these line coppied in stainless.
Here's a couple of picture of what we did.
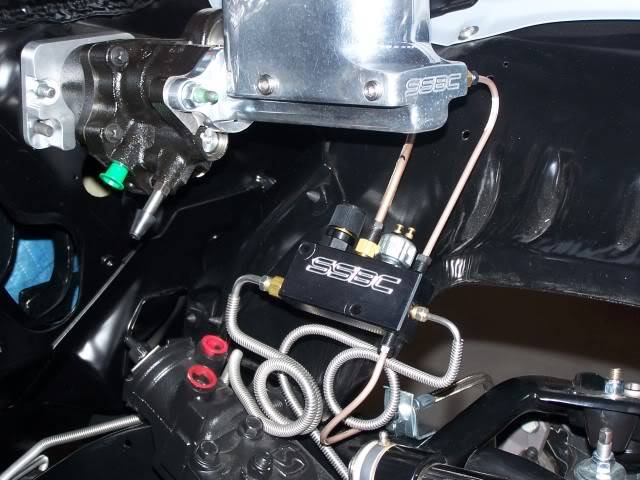
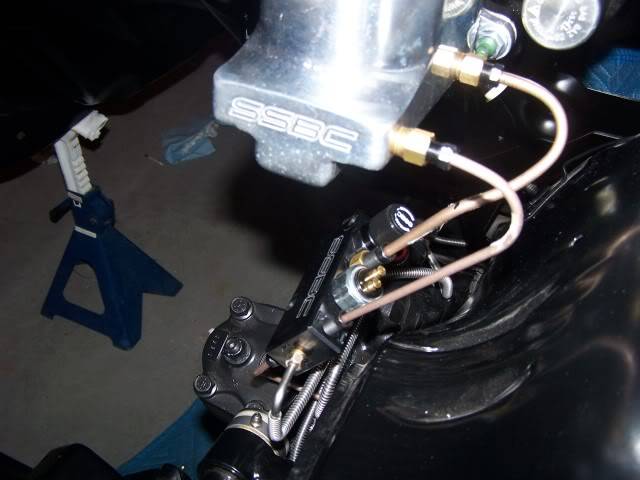
The lines are up against the steering box in this picture but have been moved to clear it. You can see the two top copper Nikel lines and the one from the prop valve to the left brake.
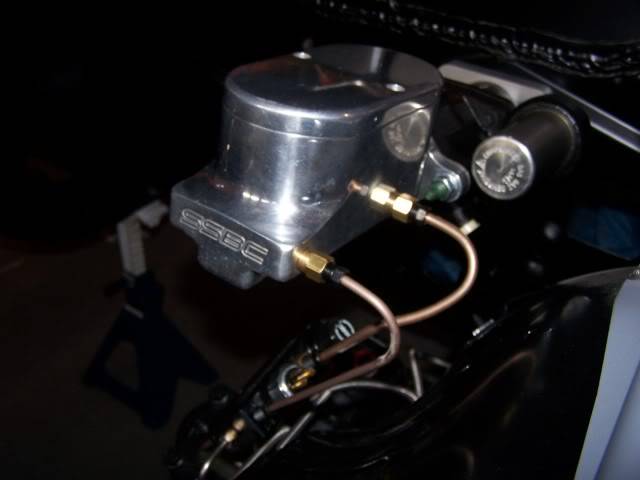
In the picture above these are the brass adapters I'm not too happy with I'd like to get the proper fittings and stainless lines.
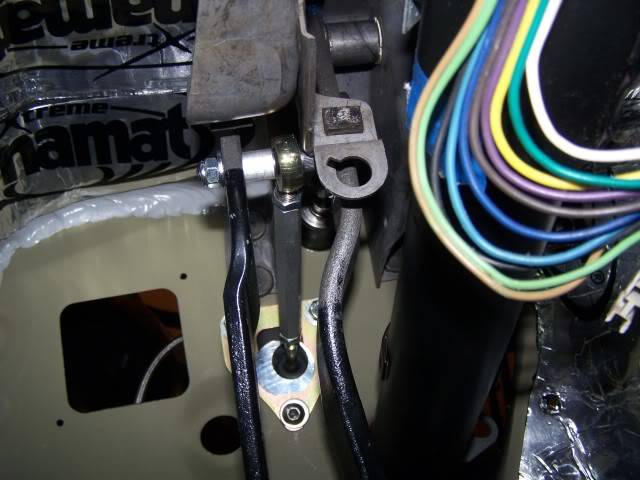
This is what it looks like from the front. We just need to make the bracket to hold the block.
Let me know what you thinkWayne
Car FINALLY home !!!!!! lol
Project FNQUIK https://www.pro-touring.com/showthre...ghlight=FNQUIK
02-24-2012 #260
Registered User
- Join Date
- Nov 2006
- Location
- Ma.
- Posts
- 5,567
Well the master for the clutch was a tight fit. Tried mounting it in the spot Kiesler suggested but with my Hydro boost it would not fit. I had to move it to wards the drivers side a little and down a touch. Then I installed the line for the throw out bearing before I bolted it up. The rod to the clutch pedal was still in line with the master so it should be good. Now to try some wiring.
Here are a few pictures
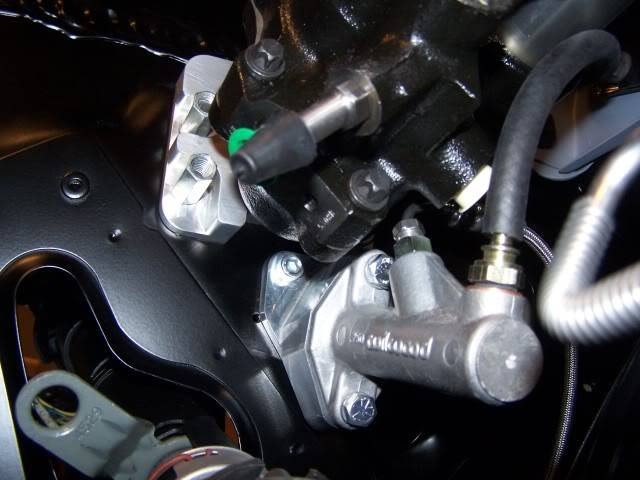
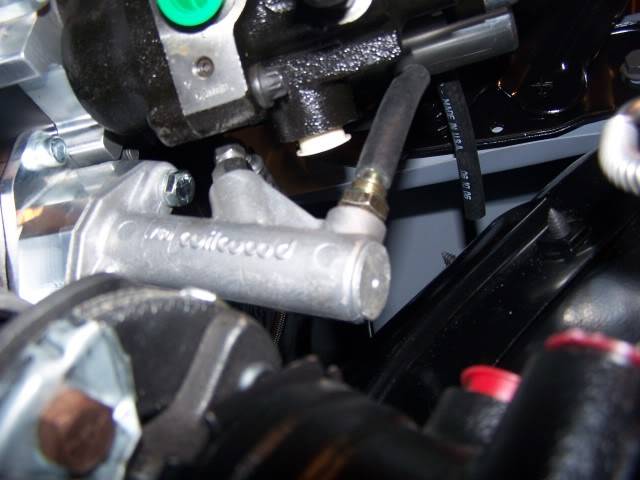
The cap screw is pretty close to the brake pedal but has enough room.
We also threw in the steering column temporarily.Wayne
Car FINALLY home !!!!!! lol
Project FNQUIK https://www.pro-touring.com/showthre...ghlight=FNQUIK

 Reply With Quote