
Results 141 to 160 of 165
-
05-30-2021 #141

 Registered User
- Join Date
- Nov 2006
- Location
- Mountain Springs, Texas
- Posts
- 4,495

Seems like there would be a business opportunity selling Corvette door opener kits. Give Kindig a run for his money…
Don1969 Camaro - LSA 6L90E AME sub/IRS
1957 Buick Estate Wagon
1959 El Camino - Ironworks frame
1956 Cameo - full C5 suspension/drivetrain
1959 Apache Fleetside
-
05-30-2021 #142
 Registered User
- Join Date
- May 2012
- Location
- Kansas City, Missouri
- Posts
- 666
I would of bought these for sure. I have the kindig handles and have already replaced the springs twice. You could definitely have a sellable product. Originally Posted by dhutton

-
05-30-2021 #143
Registered User
- Join Date
- Aug 2004
- Location
- San Antonio, Tx
- Posts
- 1,190
I’ll think I about it making some. It will have to wait until I get the body side figured out so I’d have 4 pieces to make it work.
Instagram: CamaroAJ
-
05-30-2021 #144
 Registered User
- Join Date
- Sep 2017
- Posts
- 825
The side vents and door handles both rock.
Awesome build
JasonTANKMASTERJ
https://www.pro-touring.com/threads/...touring-Camaro
Jasons Toys
67 Camaro White Lightning LMR LS7 powered, Speed tech Front and Rear.
2023 Rapid Blue ZL1 the Blue Devil
2000 HD Softail
1989 CBR Hurricane anniversary edition
-
06-01-2021 #145

 Registered User
- Join Date
- Sep 2009
- Posts
- 2,706
Wow, you have been busy!! The fab work is outstanding on this car. You make working with carbon fiber look easy haha. Where do you get your supplies? Does it mix up similar to fiberglass?

1955 Nomad project LC9, 4L80e, C5 brakes, Vision wheels
1968 Camaro 6.2 w/ LSA, TR6060-Magnum hybrid and etc SOLD
1976 T/A LS1 6 Speed, and etc. SOLD
Follow me on Instagram: ryeguy2006a
-
06-01-2021 #146
 Registered User
- Join Date
- Nov 2006
- Location
- Ma.
- Posts
- 5,567
Let us know. I'm sitting here looking at your post amazed at the progress and thinking I'd love some of these mods on my car. Awesome job!
Wayne
Car FINALLY home !!!!!! lol
Project FNQUIK https://www.pro-touring.com/showthre...ghlight=FNQUIK
-
06-03-2021 #147
Registered User
- Join Date
- Aug 2004
- Location
- San Antonio, Tx
- Posts
- 1,190
Thank guys, trying to get the car drivable sooner then later. I’d love to drive it this year, but I think I need another $10k in parts to make that happen so maybe next year unless some companies care to step up and help out.
Rye guy, composite envisions is where I’ve been getting my stuff lately.Instagram: CamaroAJ
-
06-04-2021 #148
Registered User
- Join Date
- Dec 2015
- Posts
- 193
Amazing build! You have some amazing talent and skill, keep up the great work!
-
06-20-2021 #149
Registered User
- Join Date
- Aug 2004
- Location
- San Antonio, Tx
- Posts
- 1,190
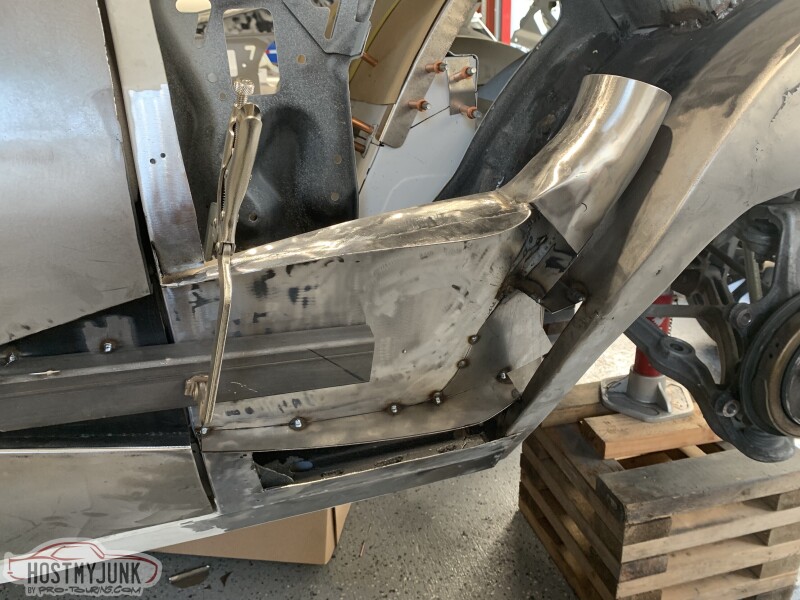
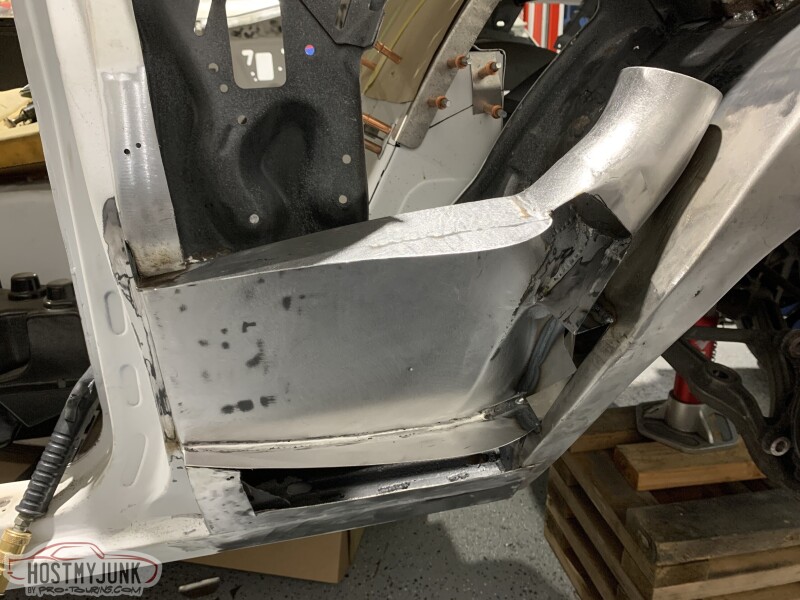
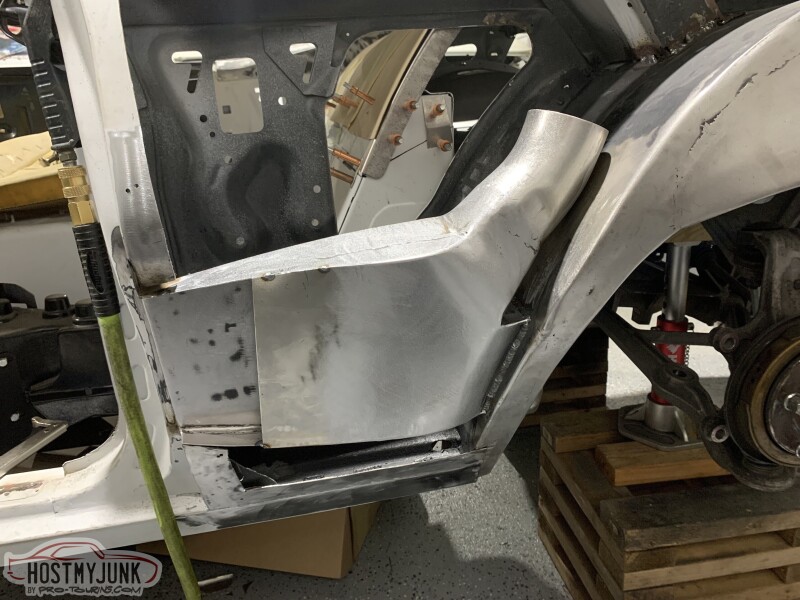
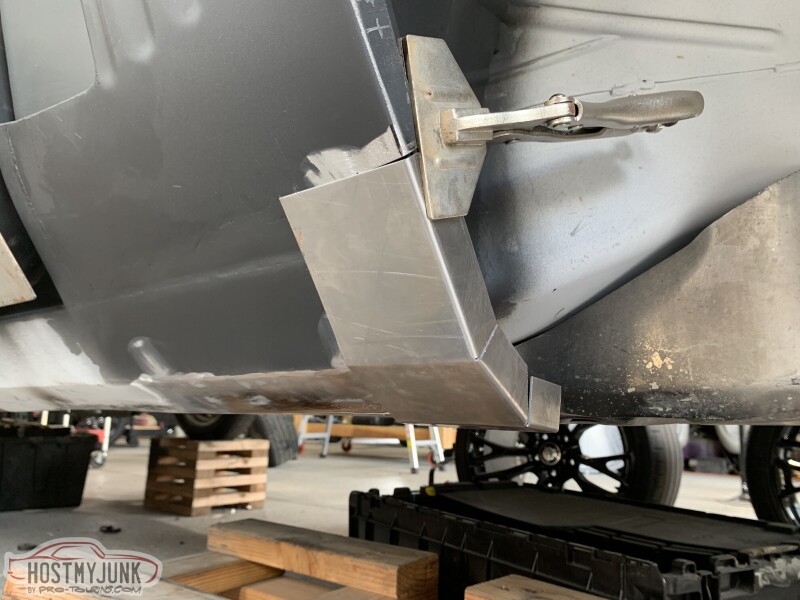
Ok lets get up to speed on the last few weeks. I finished up the driver side brake and trans cooler duct.
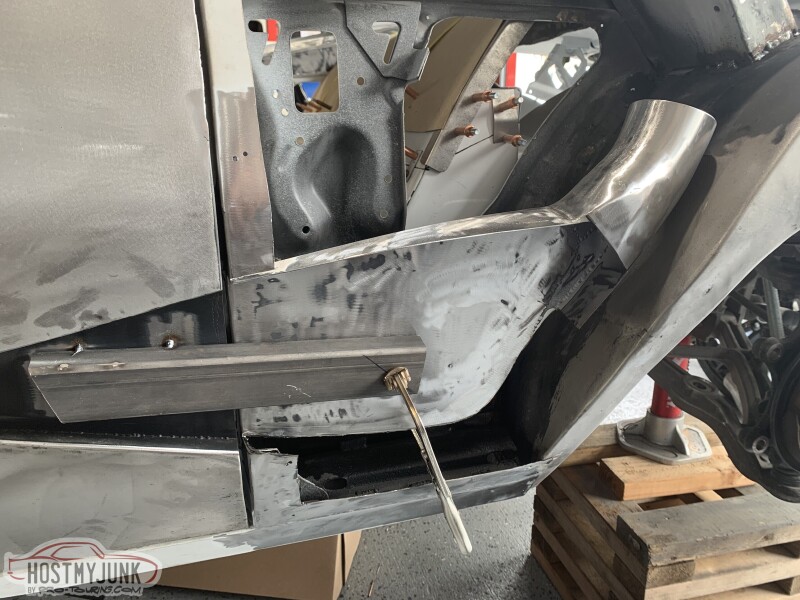
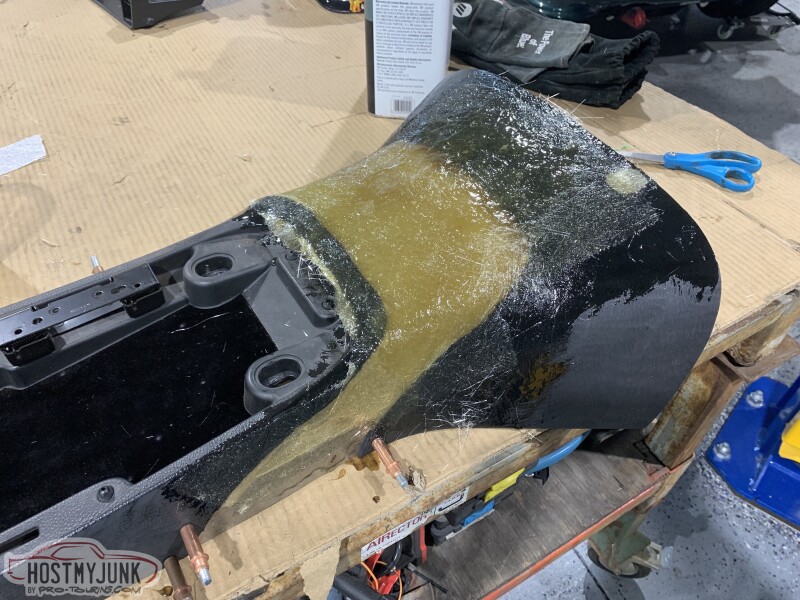
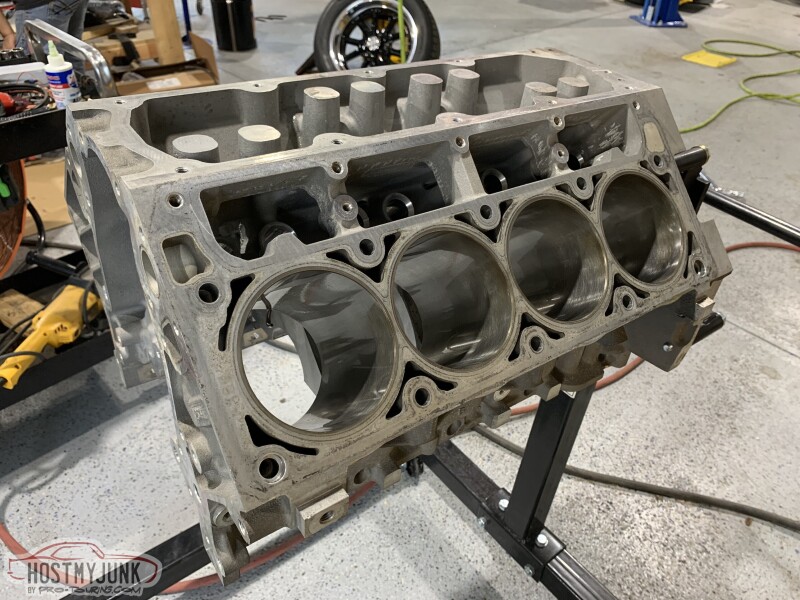
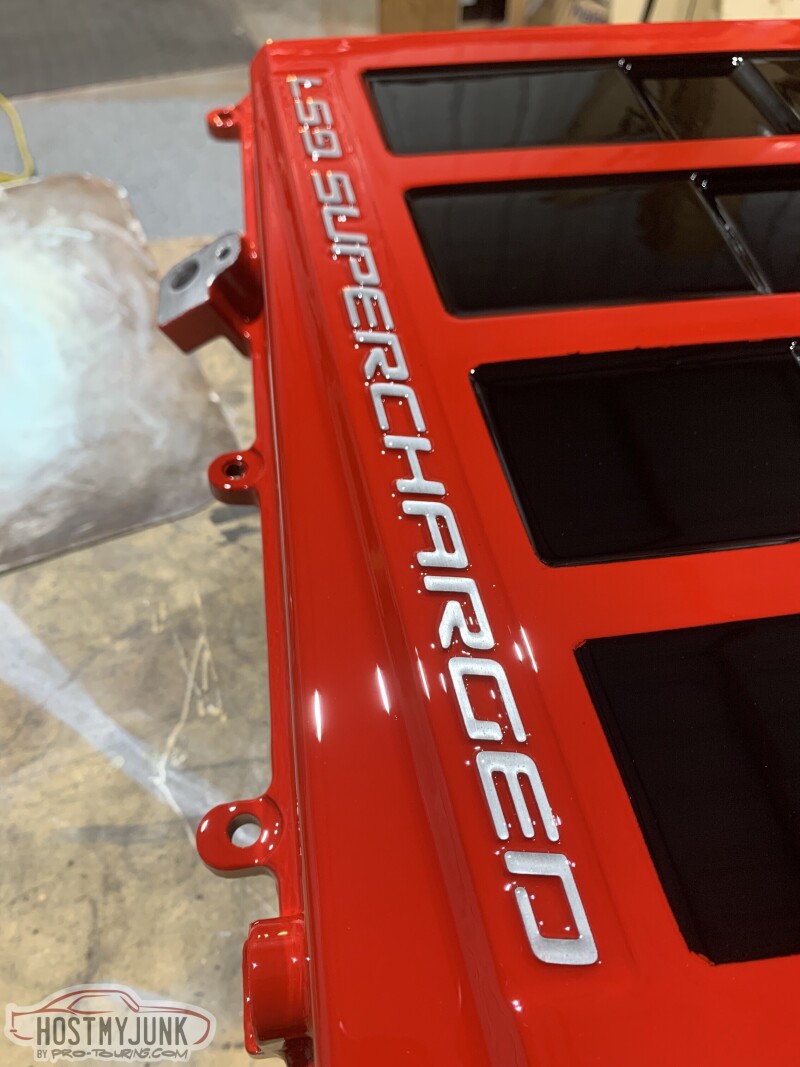
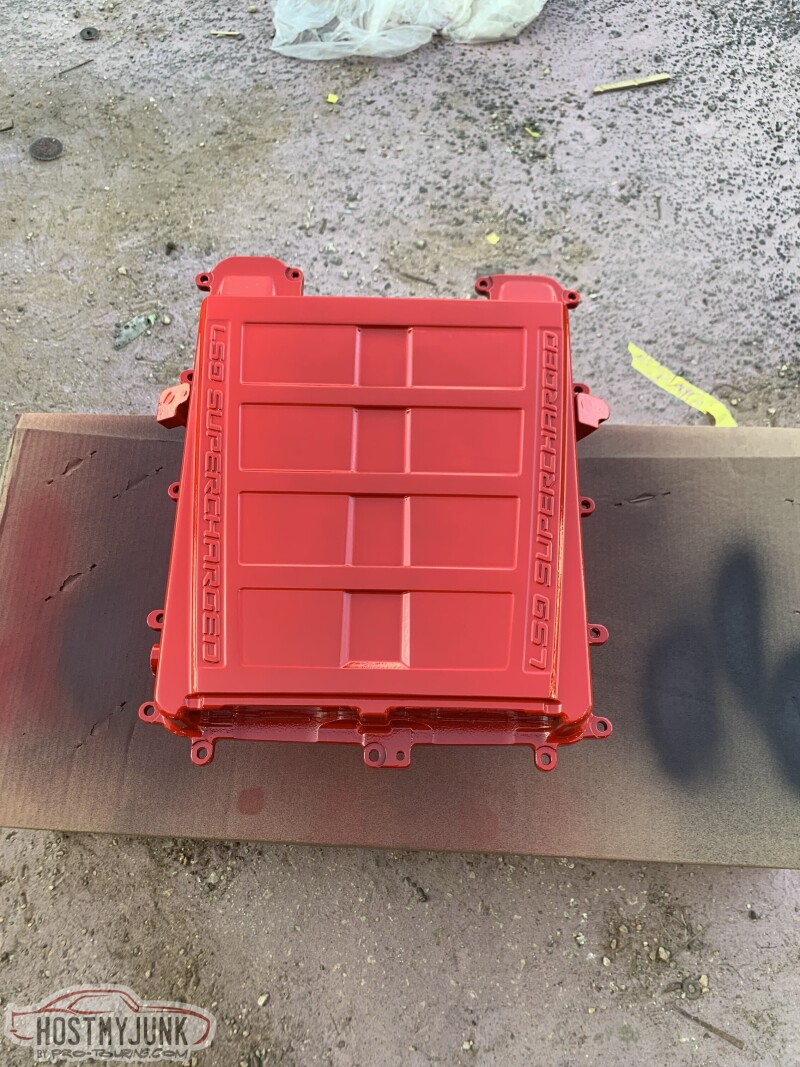
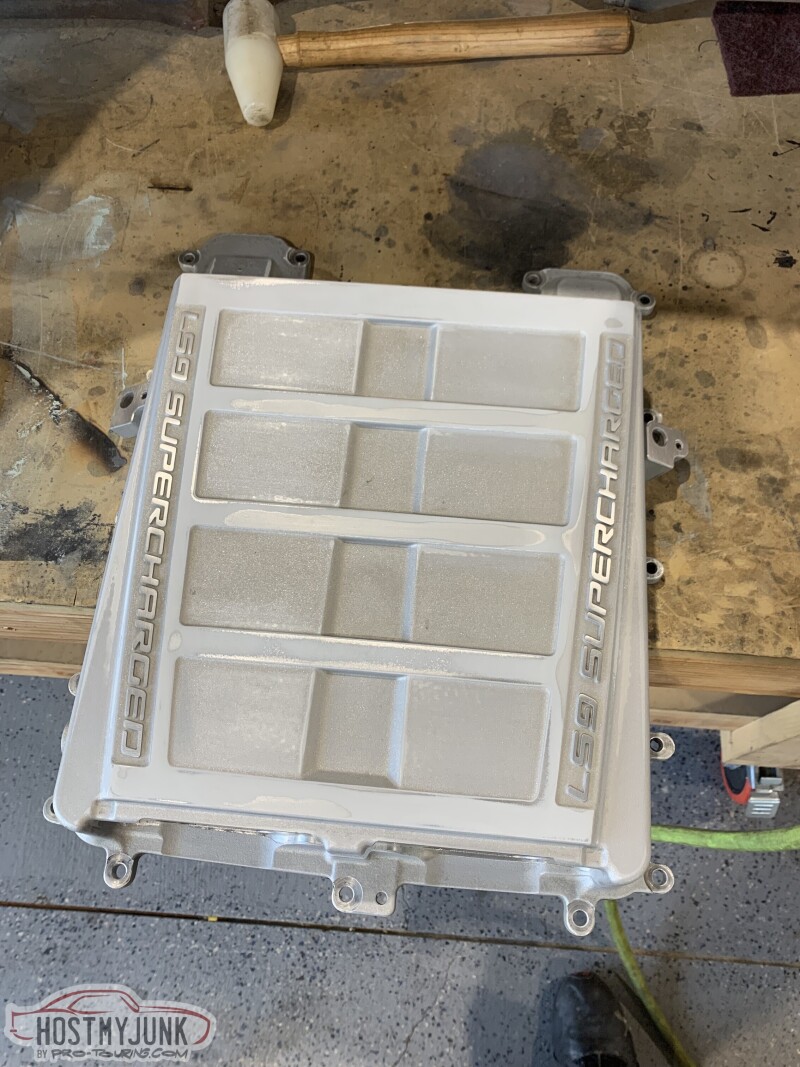
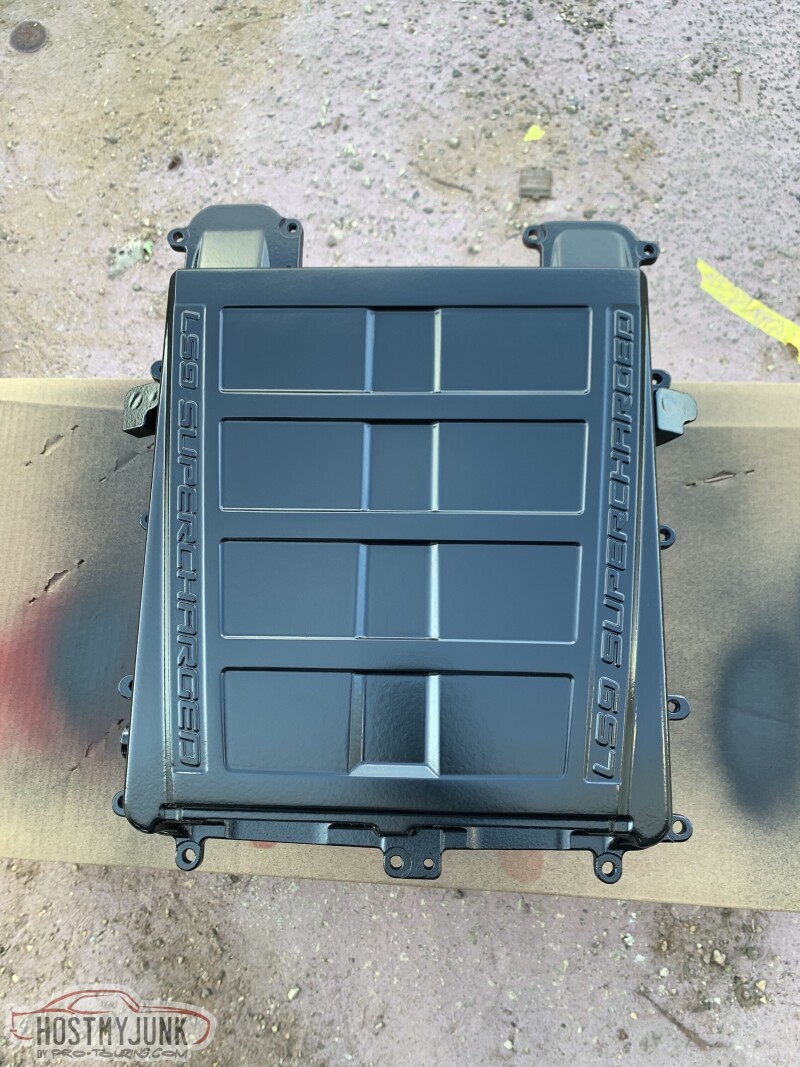
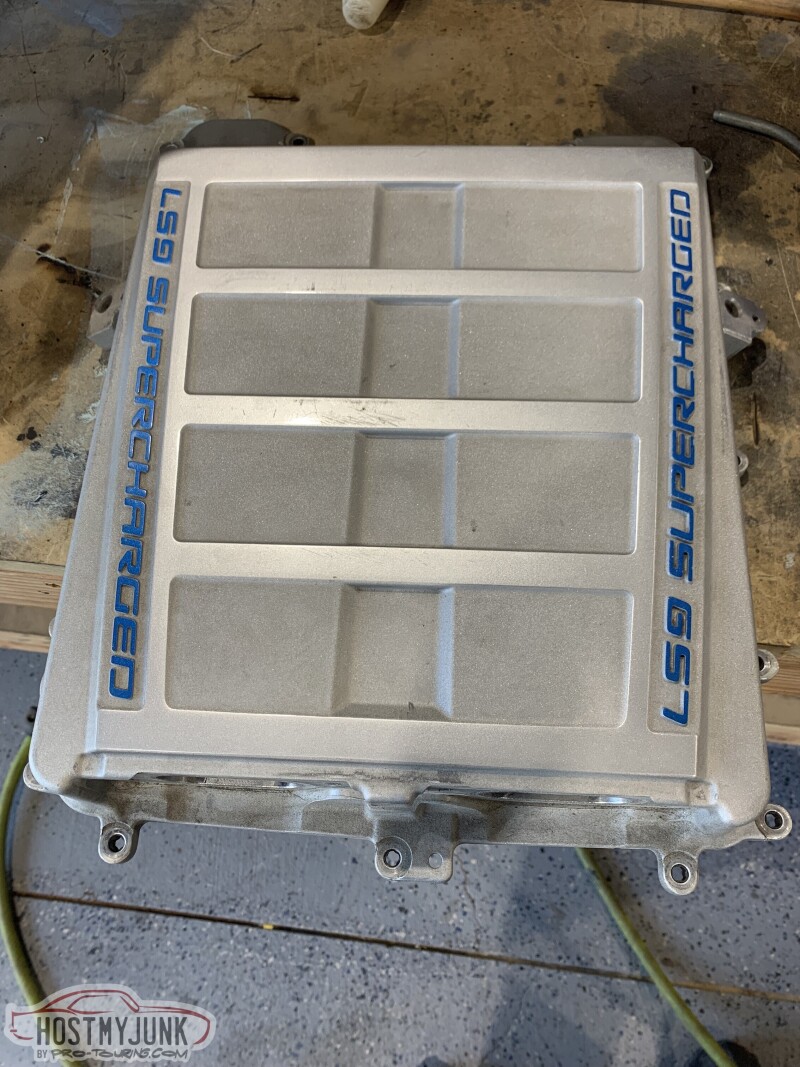
The engine came back from the machine shop and I'm ready to assemble it once I get a few more bolts and bearings ordered. I still don't know what cam I want to go with either. I started working on the supercharger cover by grinding down the Corvette letters and back filing them with panel bond. On the center console I stared to fiberglass the gap until I ran out of glass. The cover and console are coming along nicely tho.
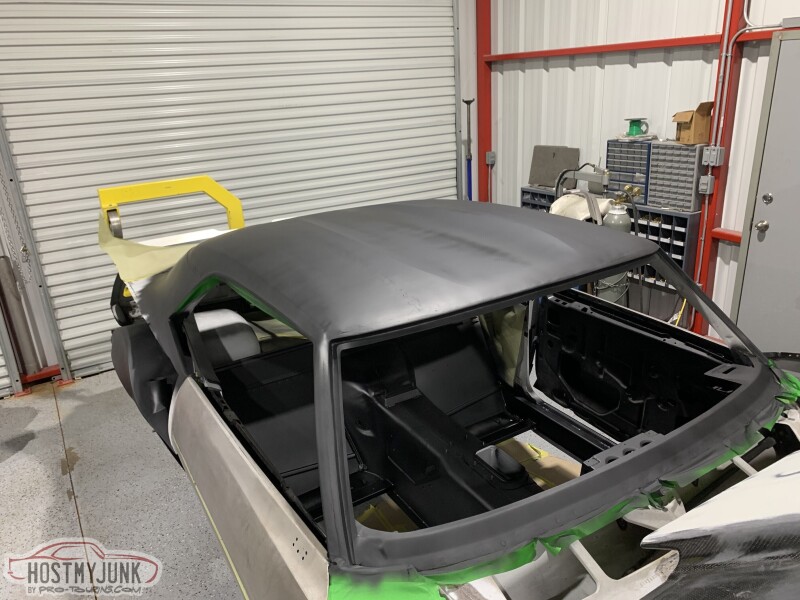
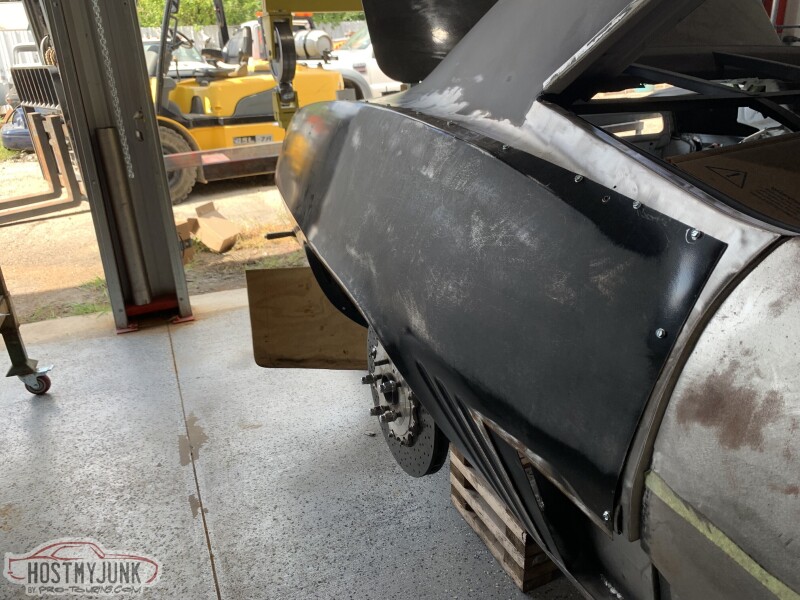
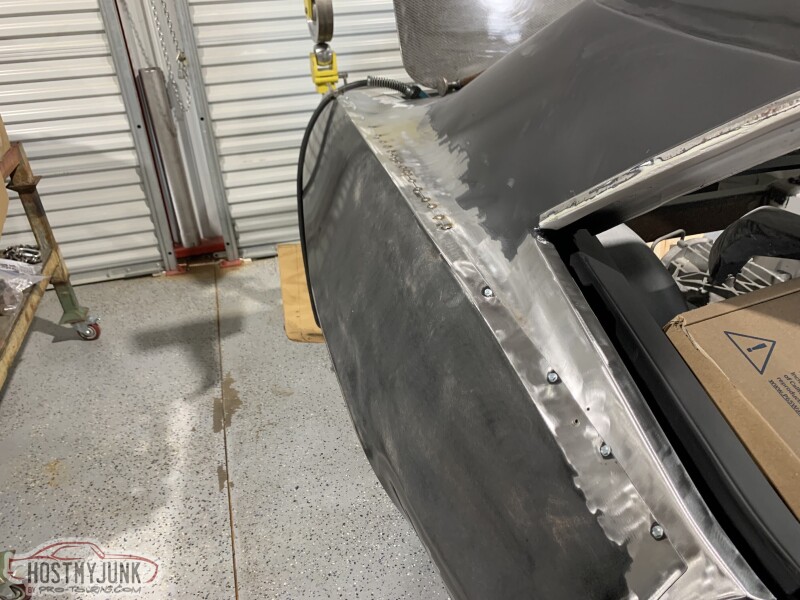
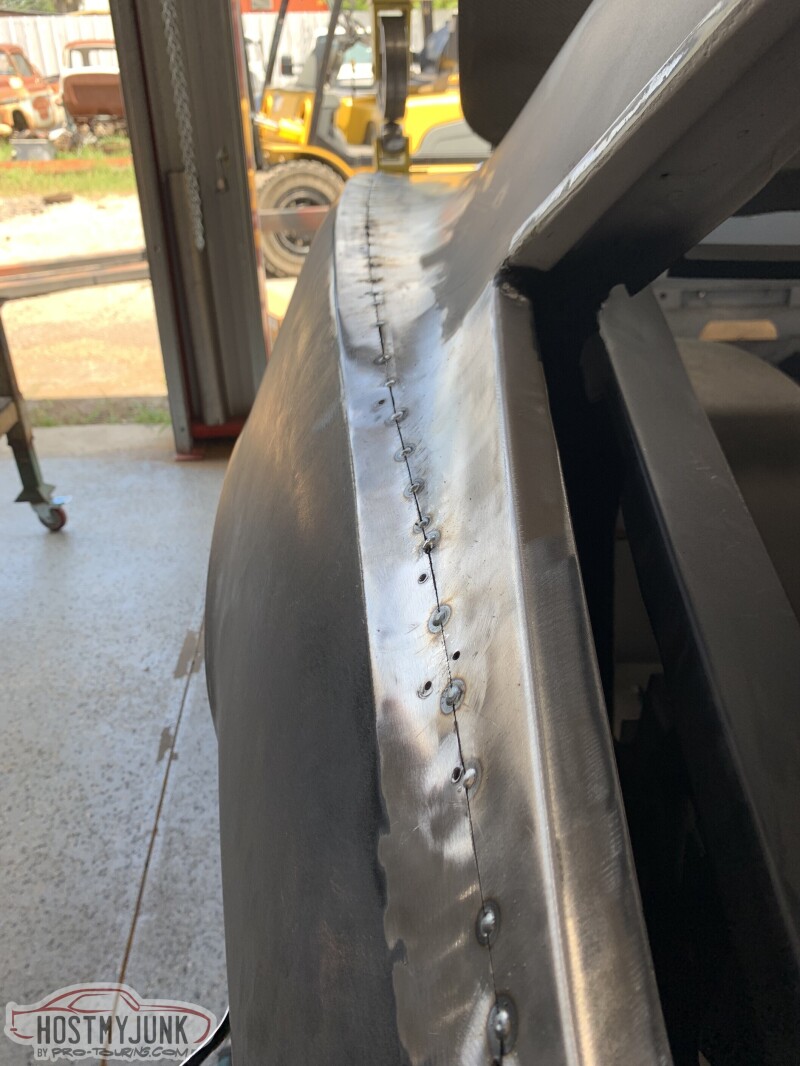
Most importantly I finally got some epoxy shot on the inner structure and have started the final fitment and welding of the quarters. It took a lot longer then I figured it would to get everything fit and mostly welded up. I still have more welding to do across the top and back before I can grind the welds and start the hammer and dolly process. Big step forward to having a whole car again tho.
 Instagram: CamaroAJ
-
08-15-2021 #150
Registered User
- Join Date
- Aug 2004
- Location
- San Antonio, Tx
- Posts
- 1,190
Ok guys, I kinda slack with the updated on the car on the message boards. Its just kinda a hassle since I don't have the internet and I have to pair to my phone and transfer all the pics to the computer, resize, and convert them to a format I can upload. Anyways I've been busy so lets hop in.
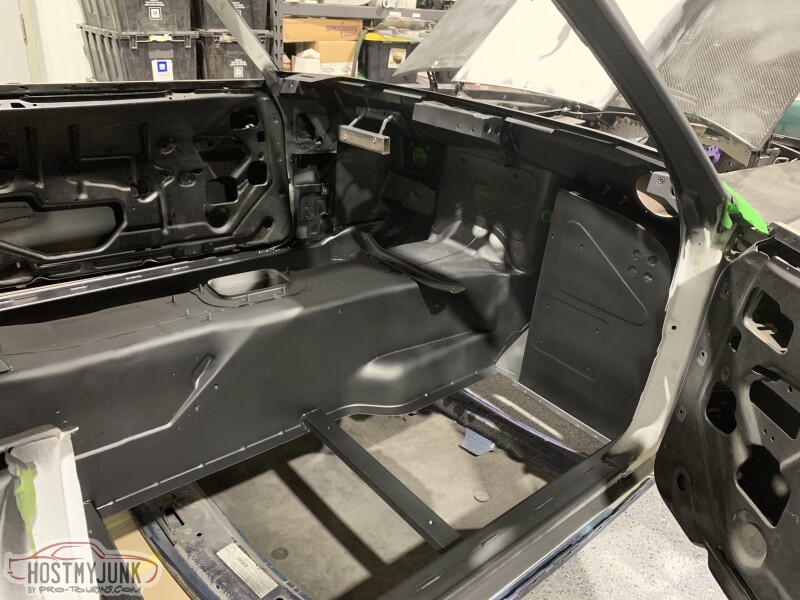
Picking up where I left off last time I got the car stripped down with the craptastic epoxy that the blaster applied that was flaking off and then into sealer. Also the bare metal was sealed to stop the surface rust.

With that out of the way I was able to get the driver quarter metal finished by pick and file and with the stud gun on areas with no back access.
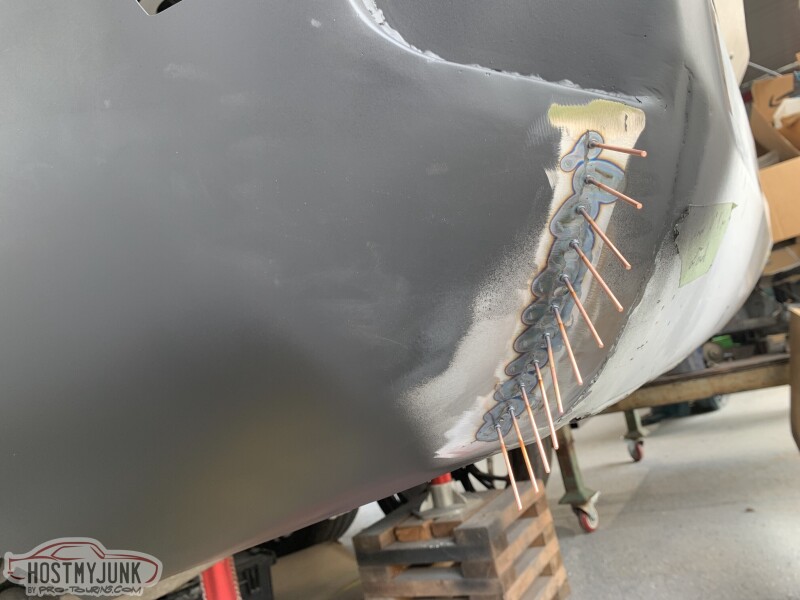
The passenger side was the same process. Final fit, zip screw, trim, weld, metal finish, seal.

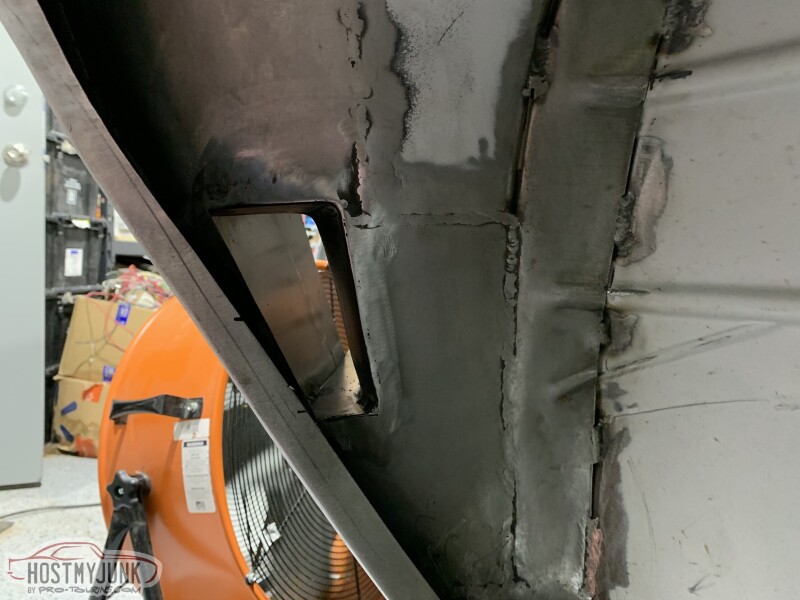
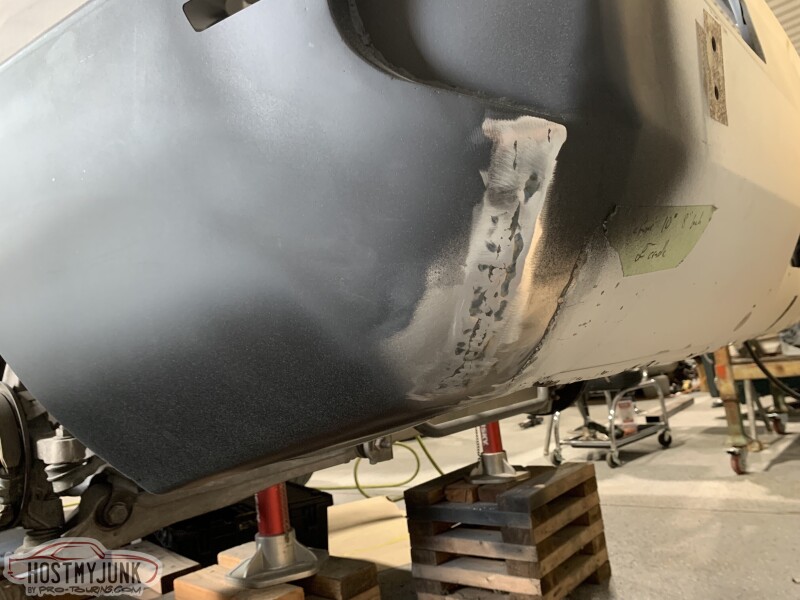
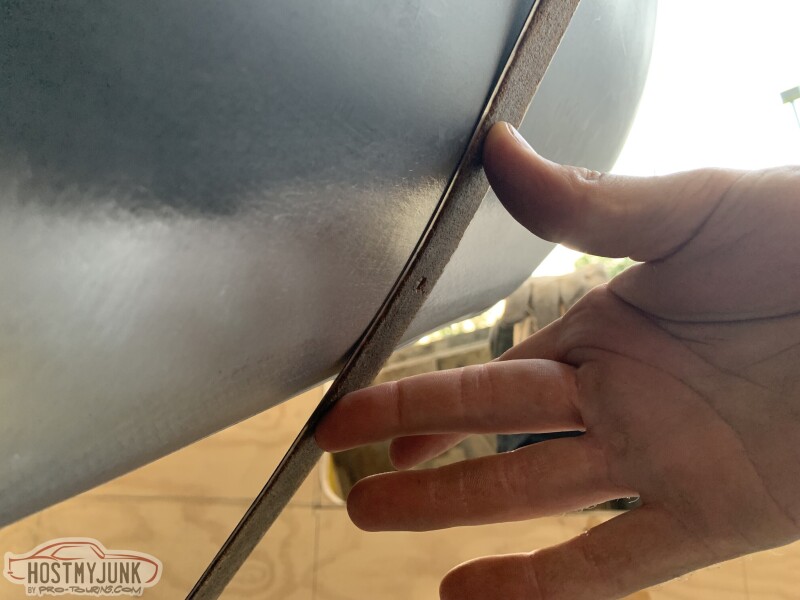
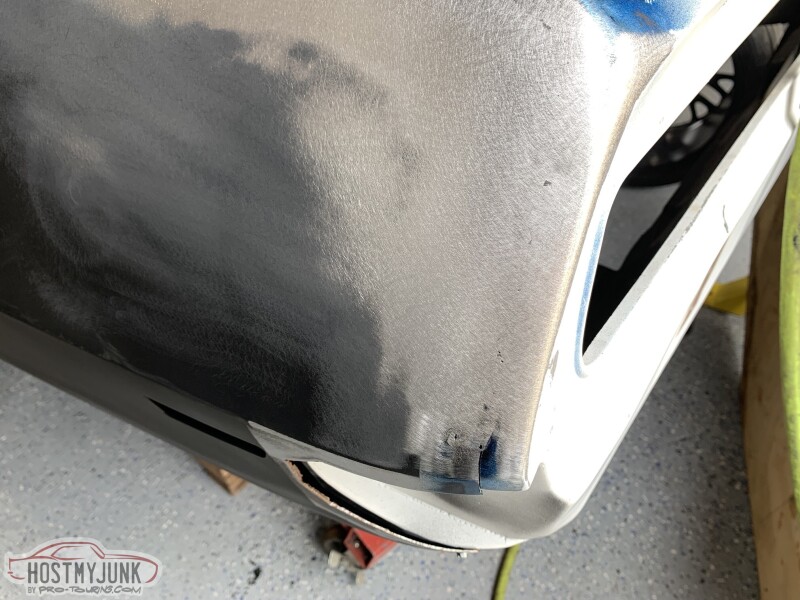
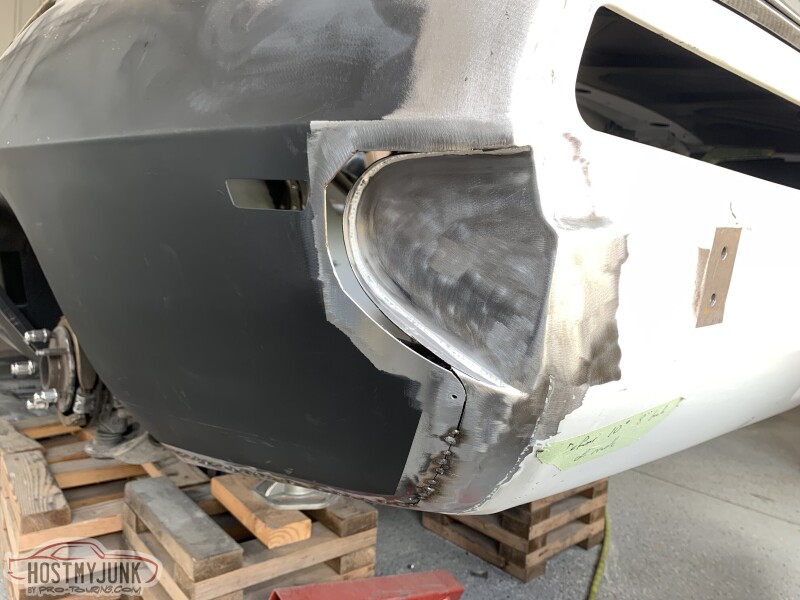
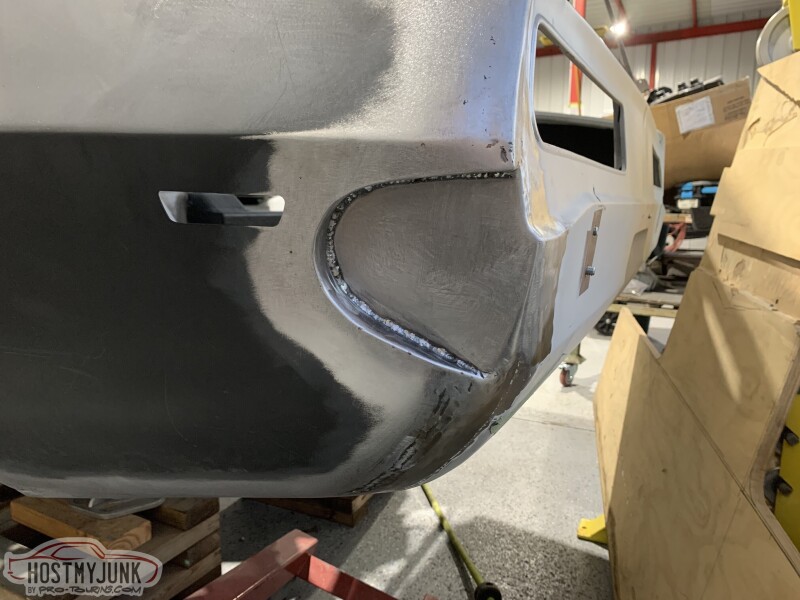
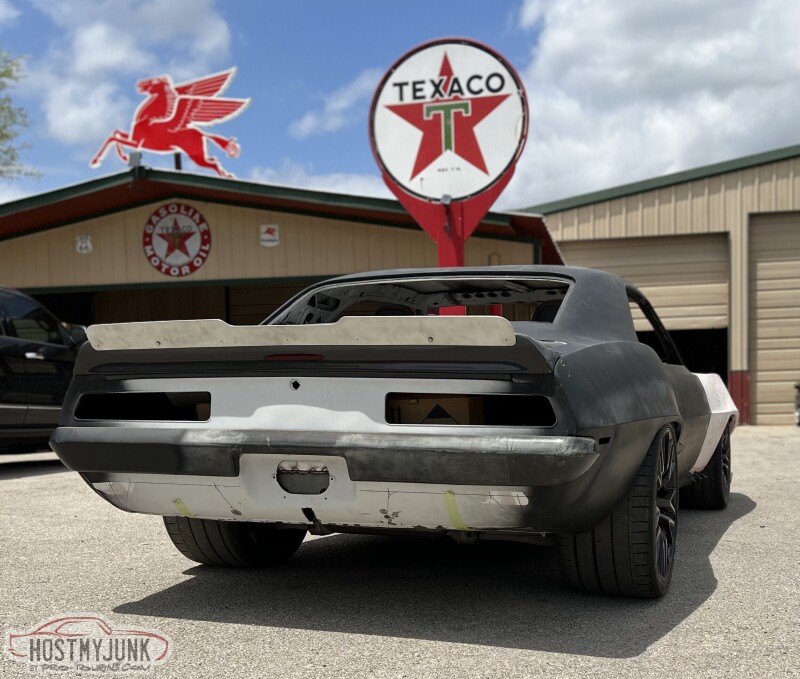
With the quarters in place I needed to finish up retucking the bumper. Since I did the wide body on the car I needed to modify the pockets to be a little deeper and trim the bumper ends accordingly. I didn't get great pictures when I did the driver side so I'll run down the passenger side. With the bumper bolted in place I tapped off the metal around to make a template. Transferring that to some sheet metal I got everything cut out and clamped into place before welding and metal finishing everything.
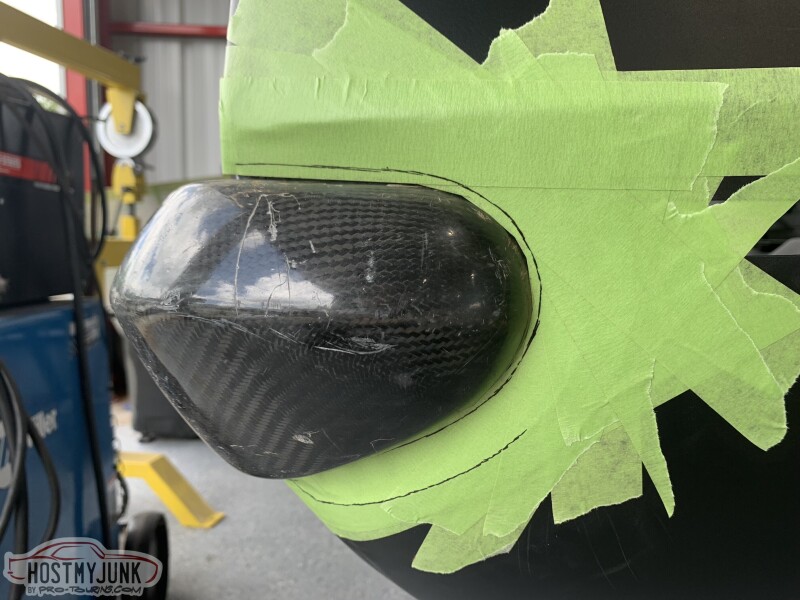
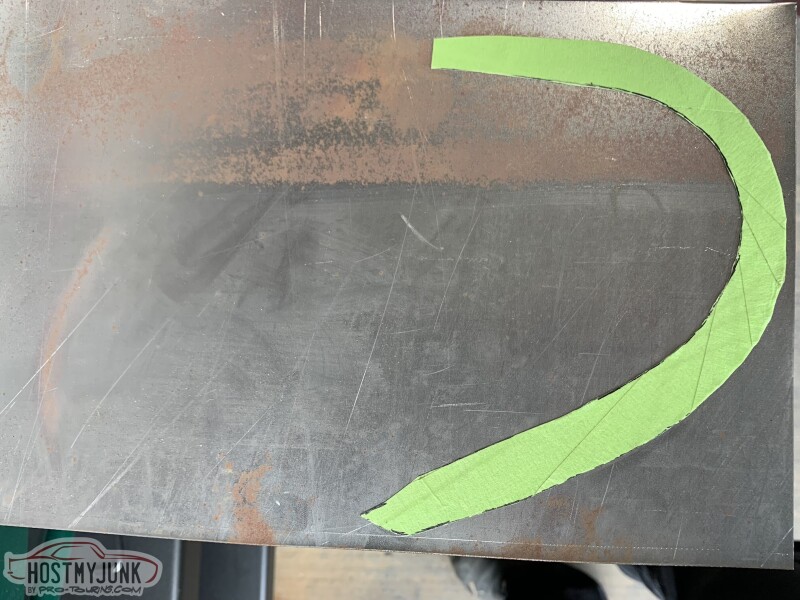
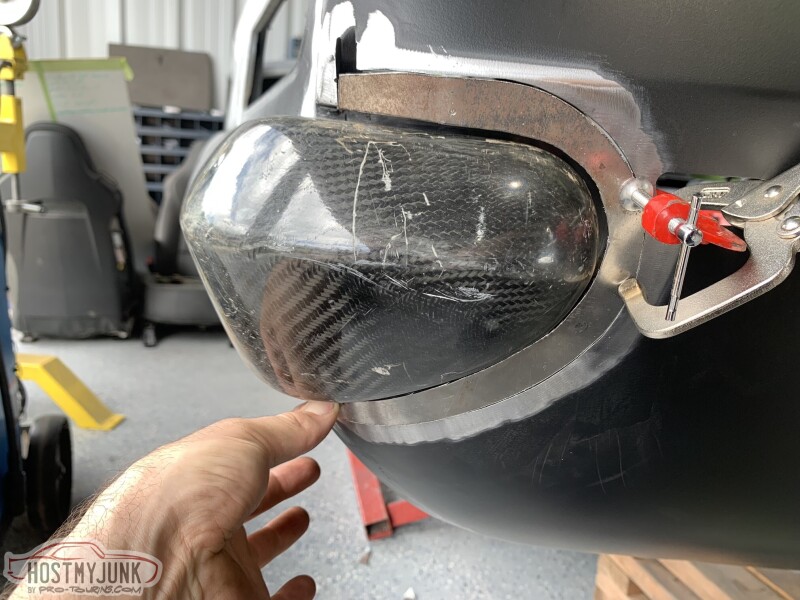
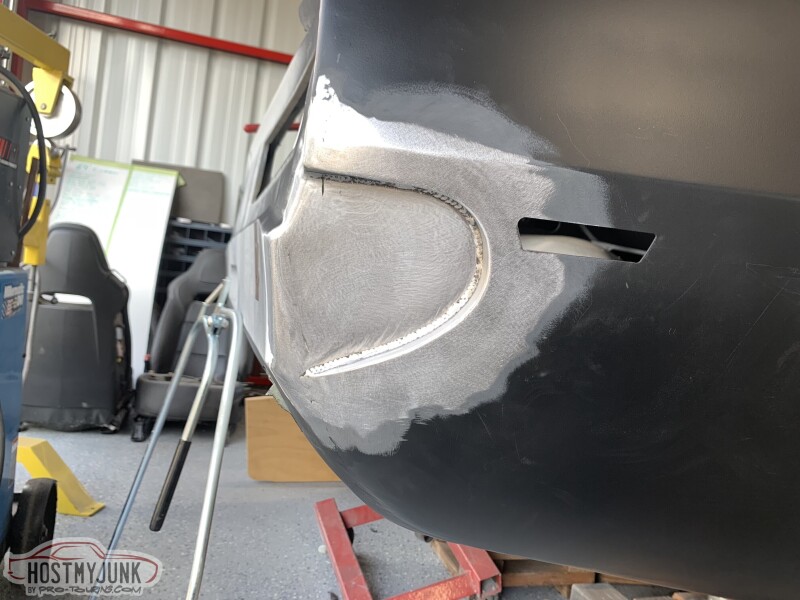
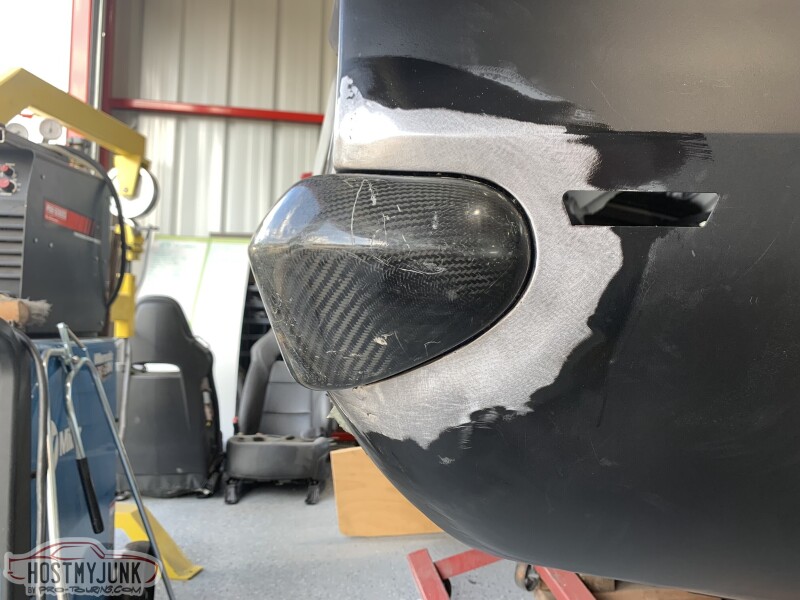
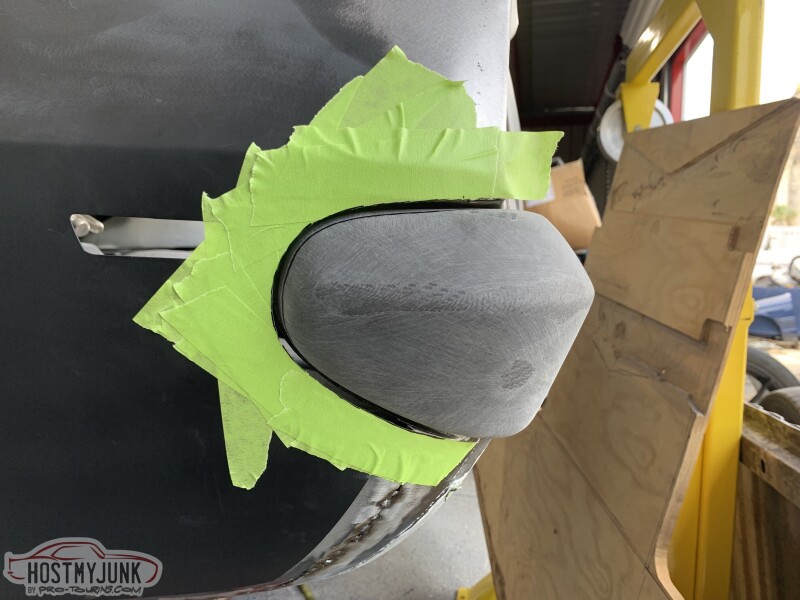
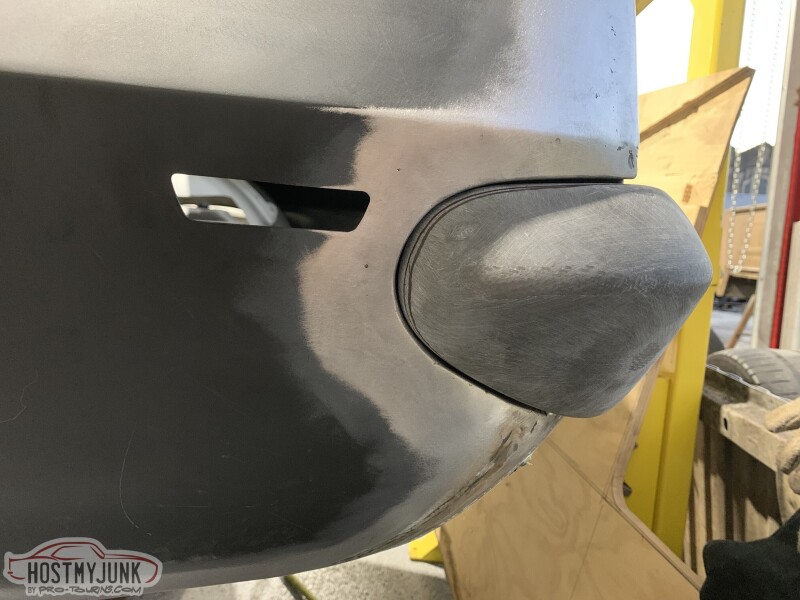
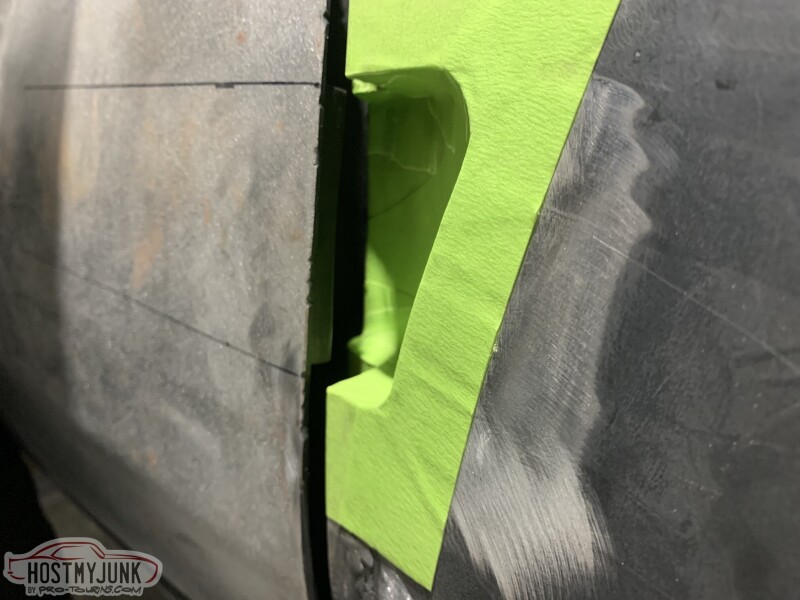
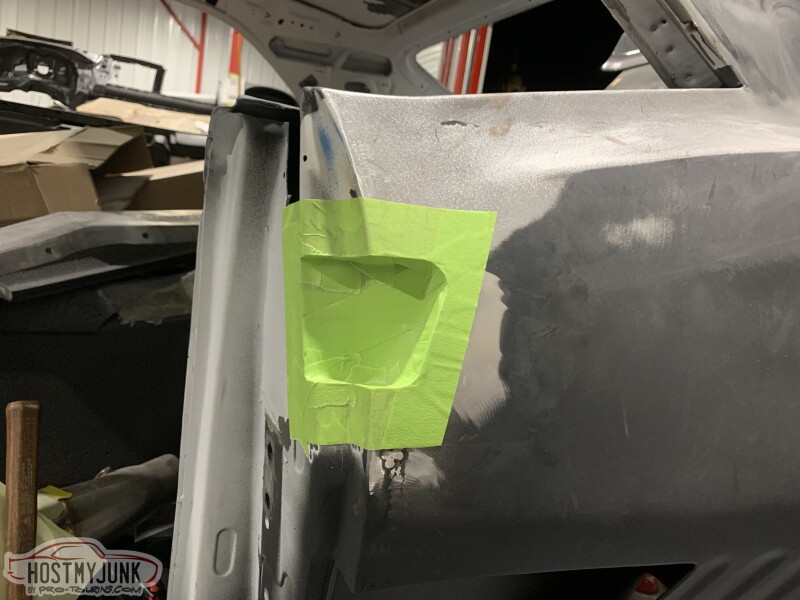
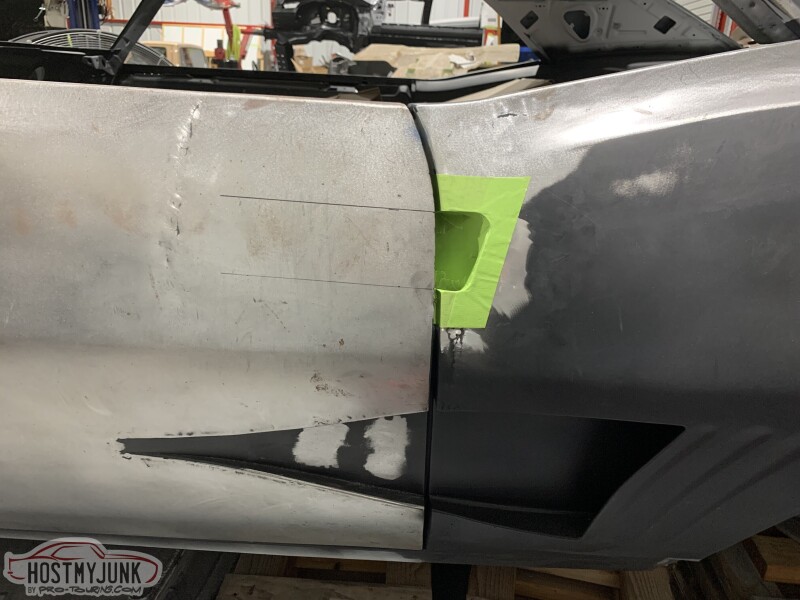
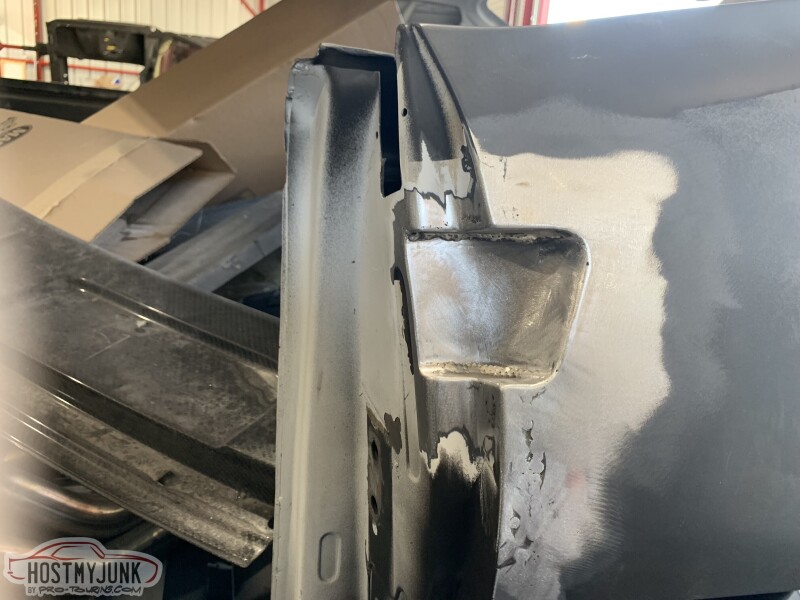
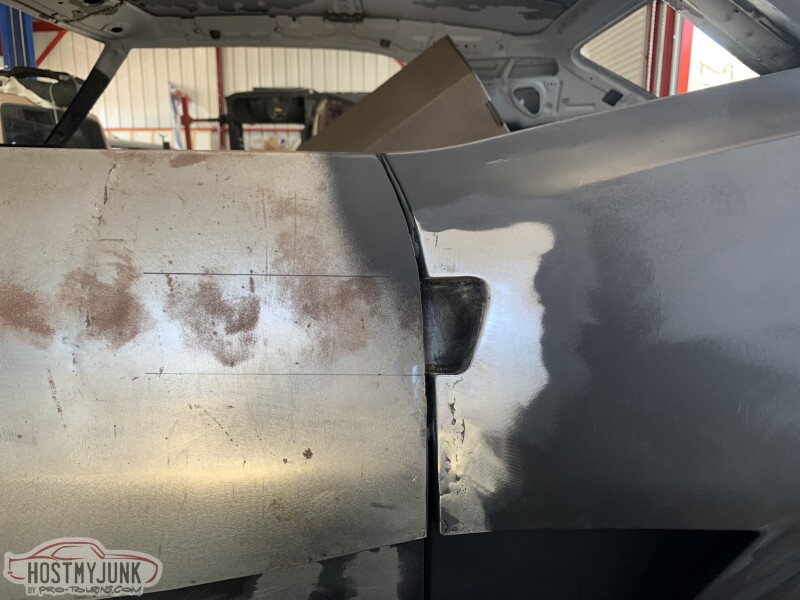
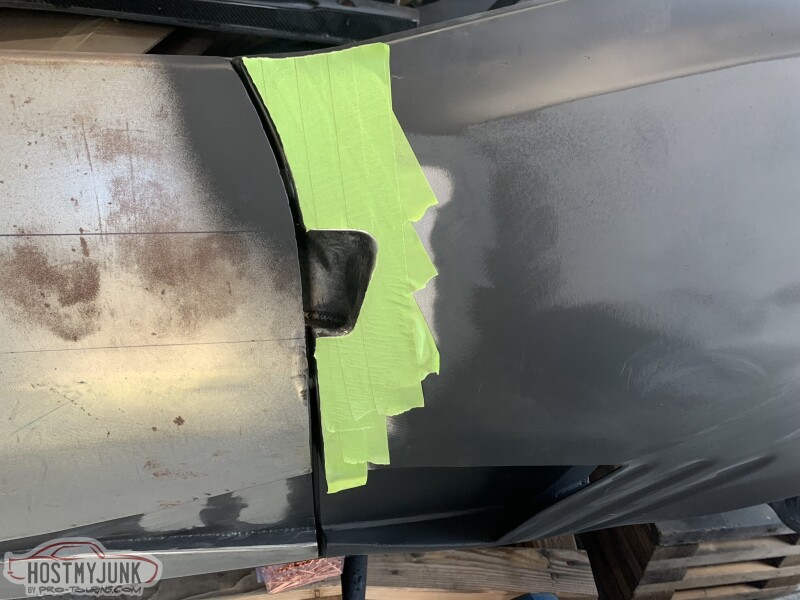
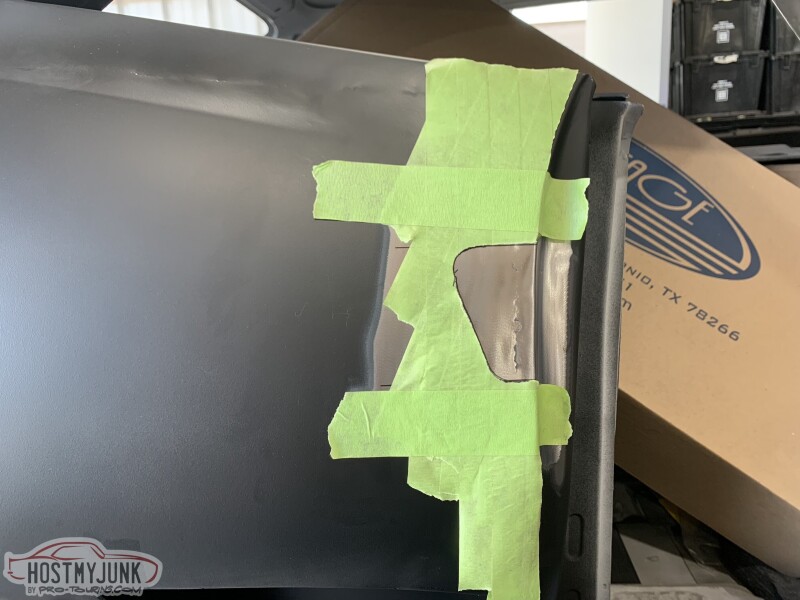
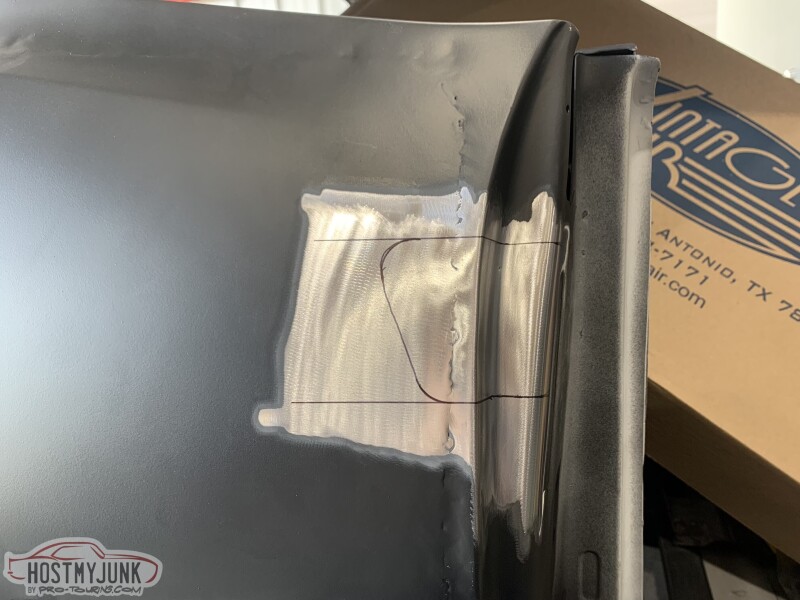
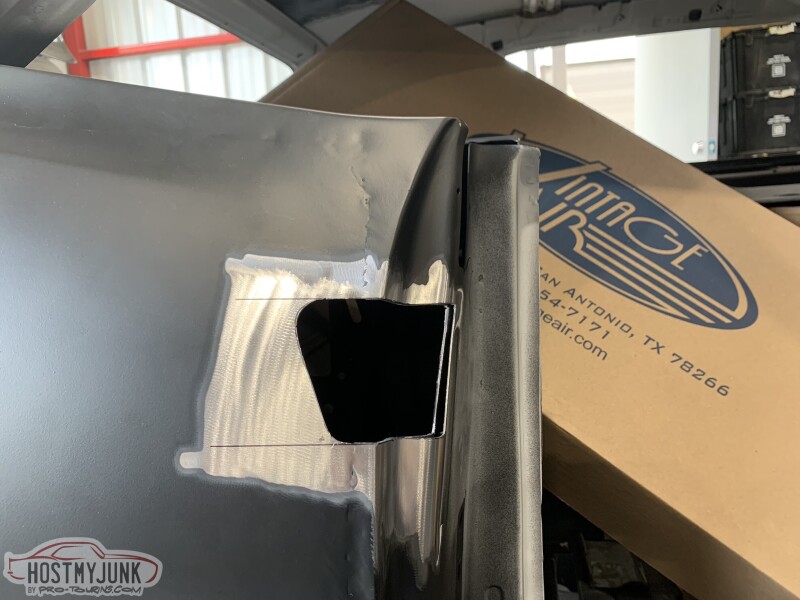
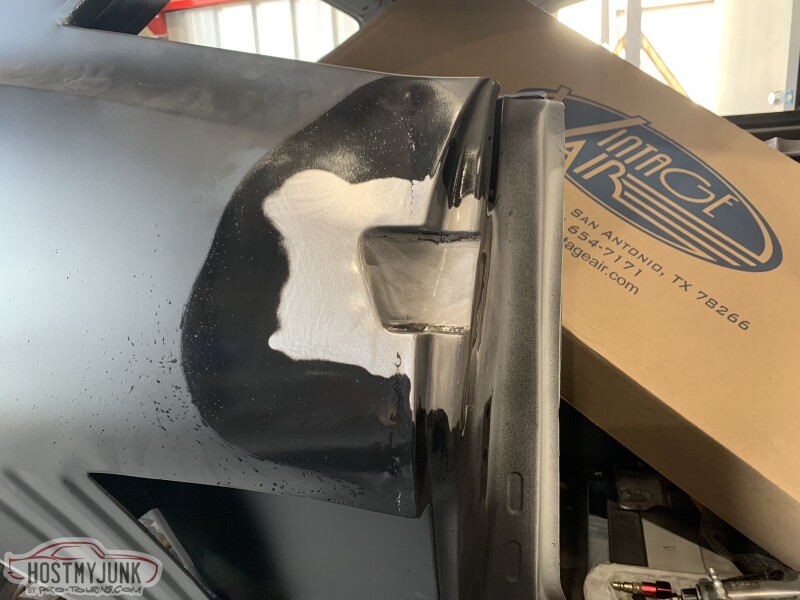
Now with the bumper squared away I moved onto the door handles. I'm running C6 style release buttons so I needed a pocket to get my fingers into. Starting with a shape the same angle as the stock gills and not the NACA duct I made a tape pattern to get me in the ball park. It took some work and time, but I like how they came out.
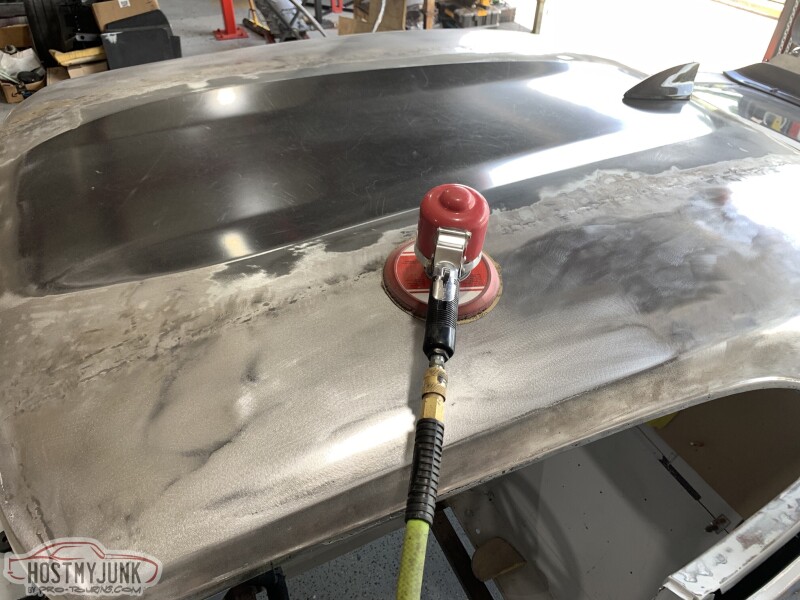
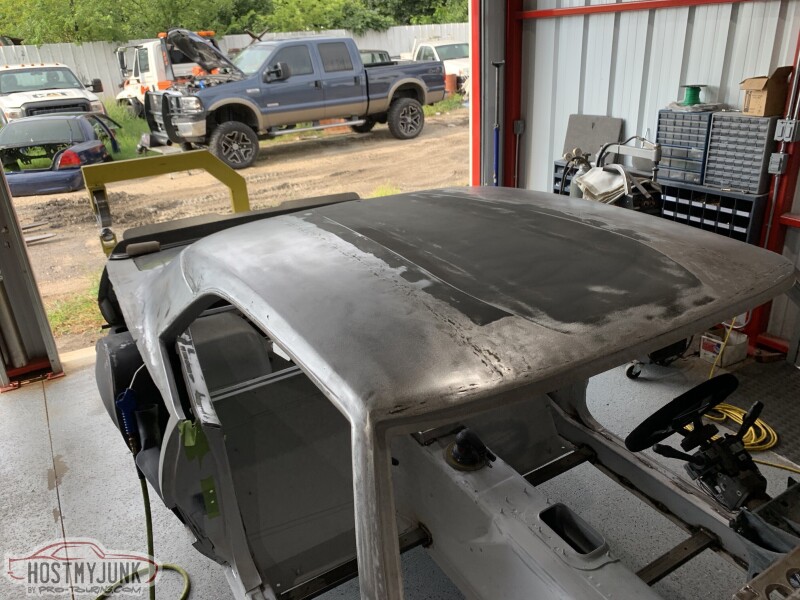
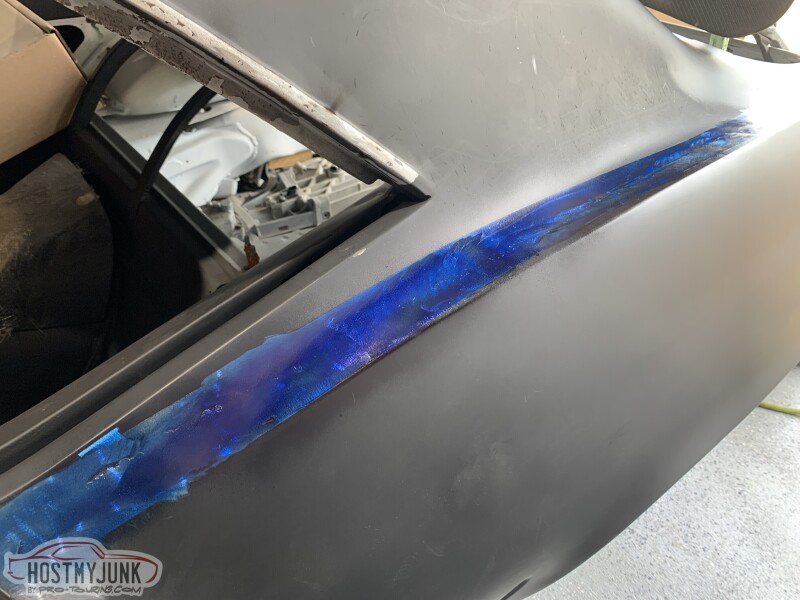
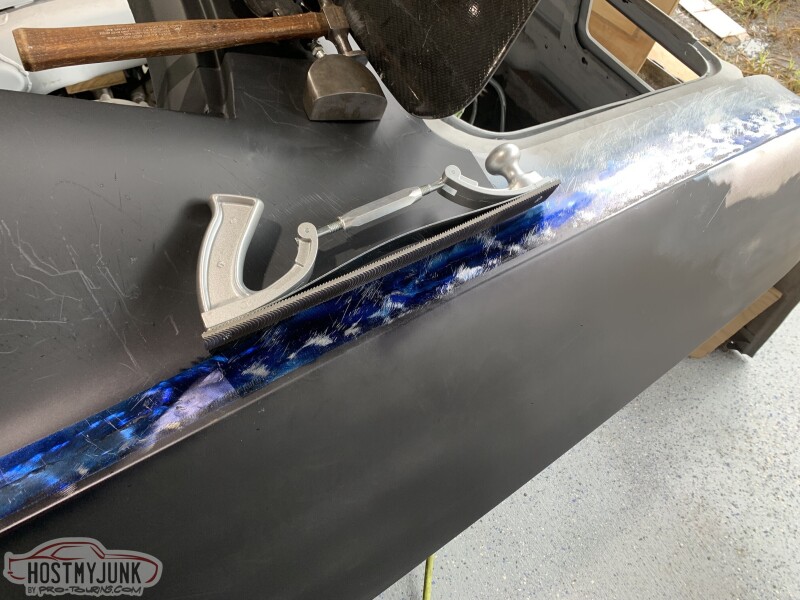
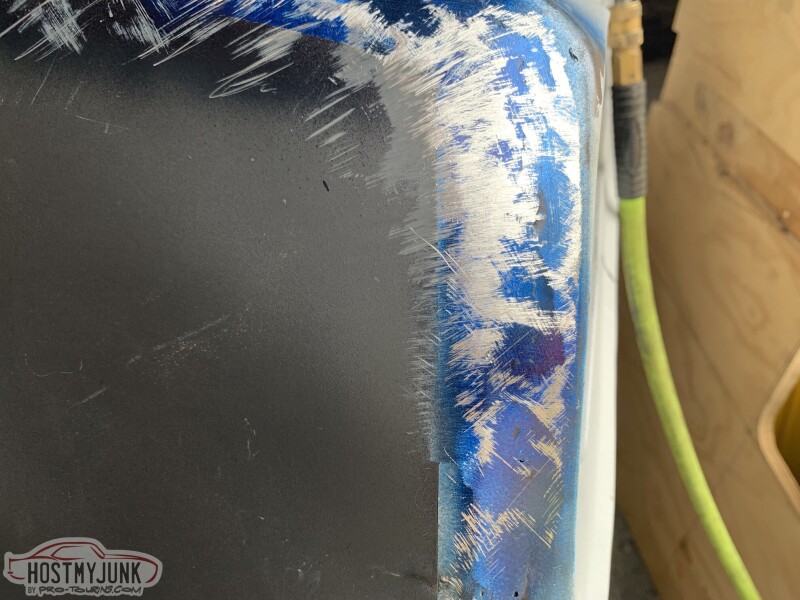
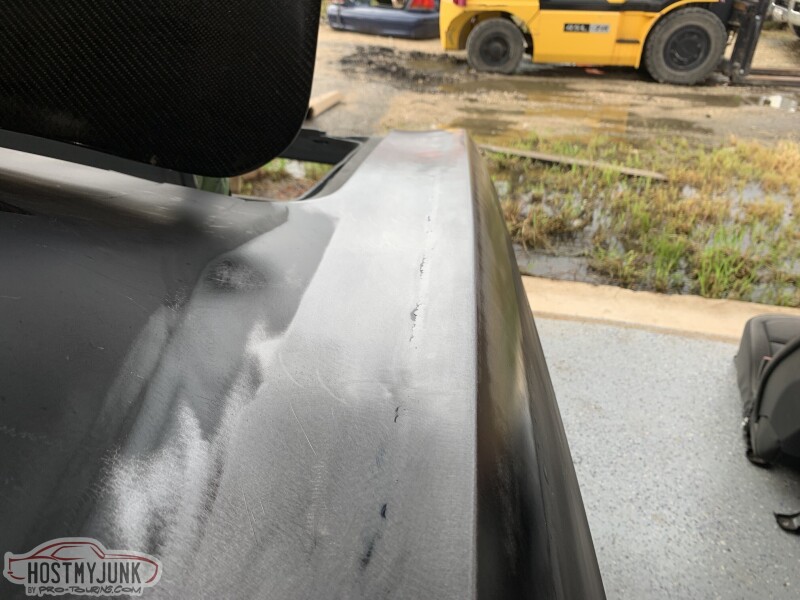
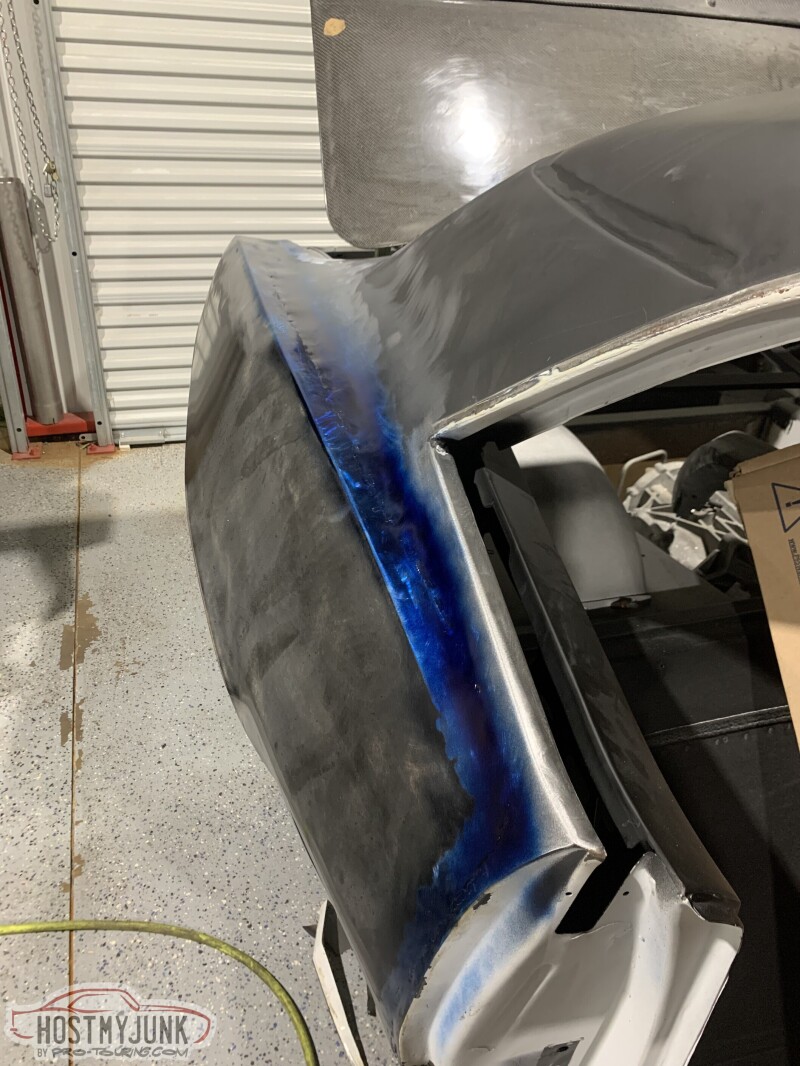
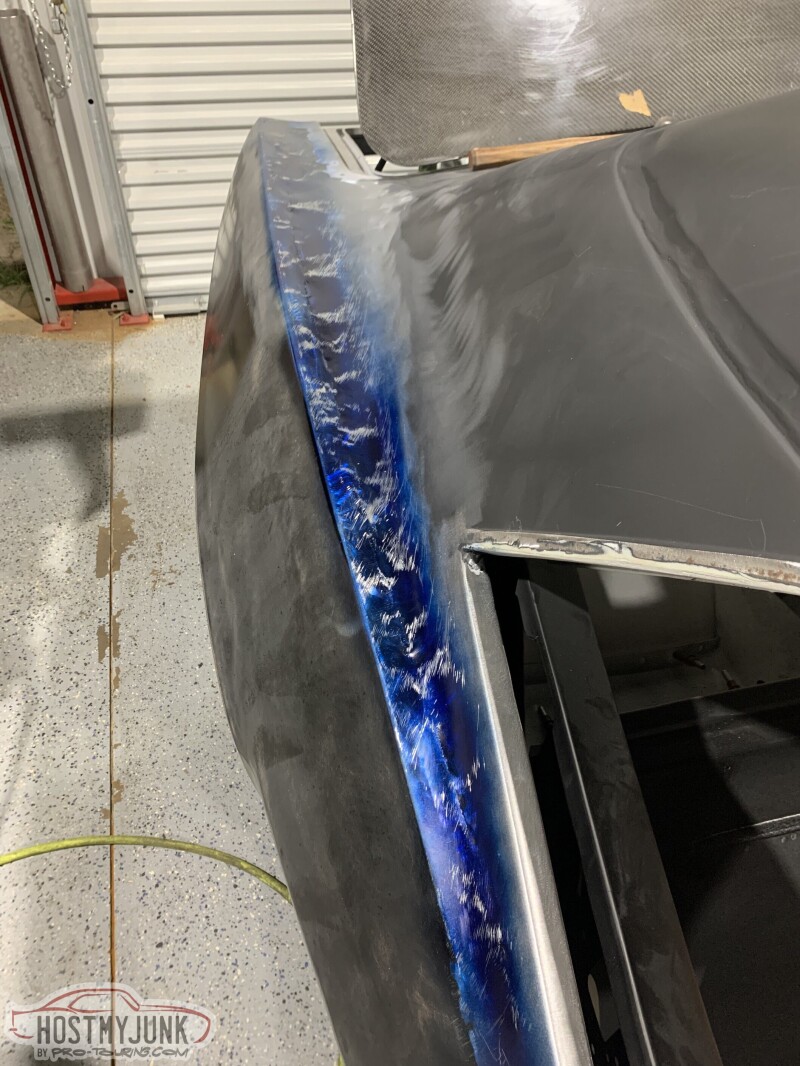
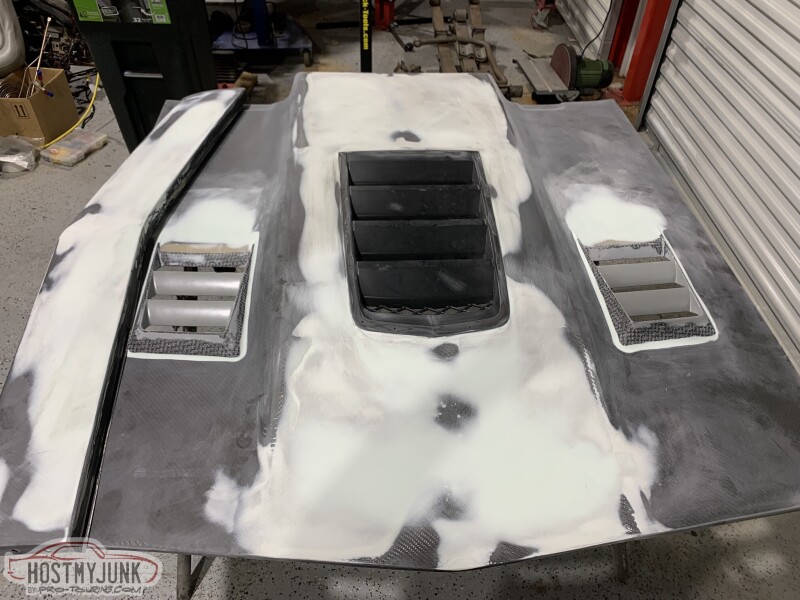
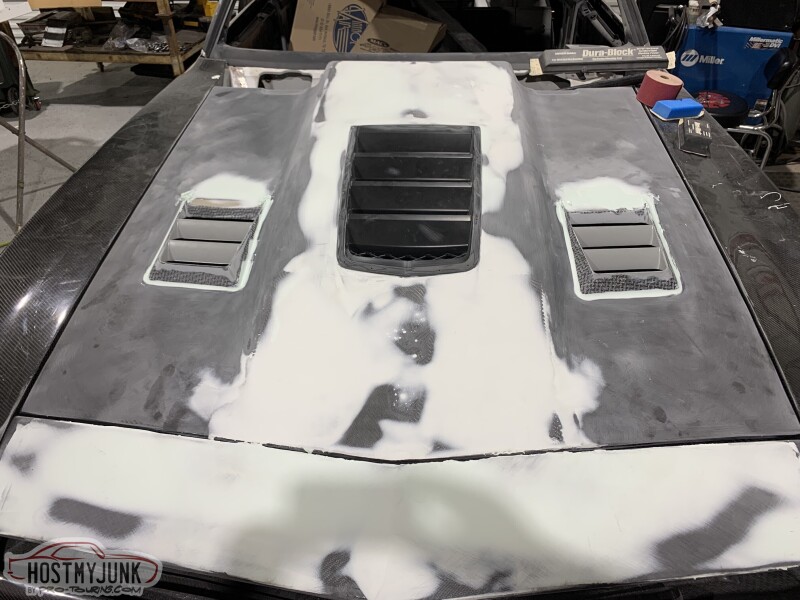
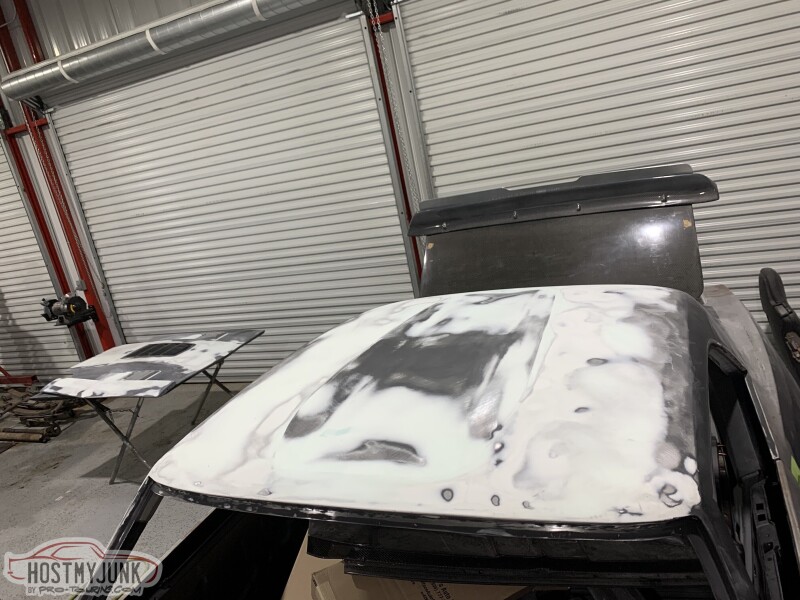
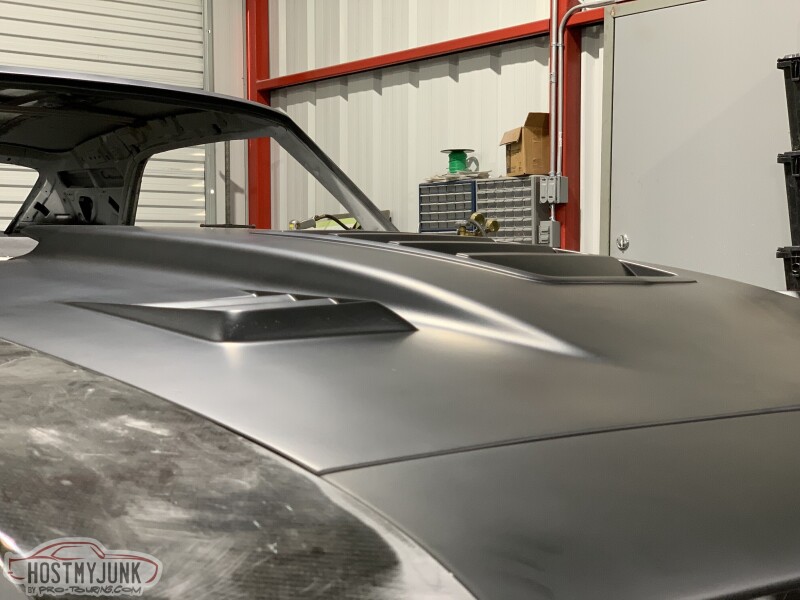
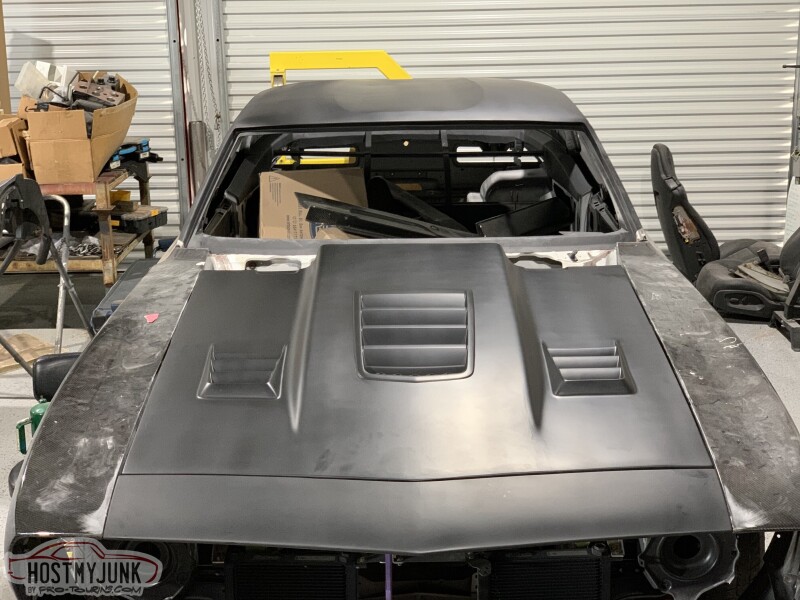
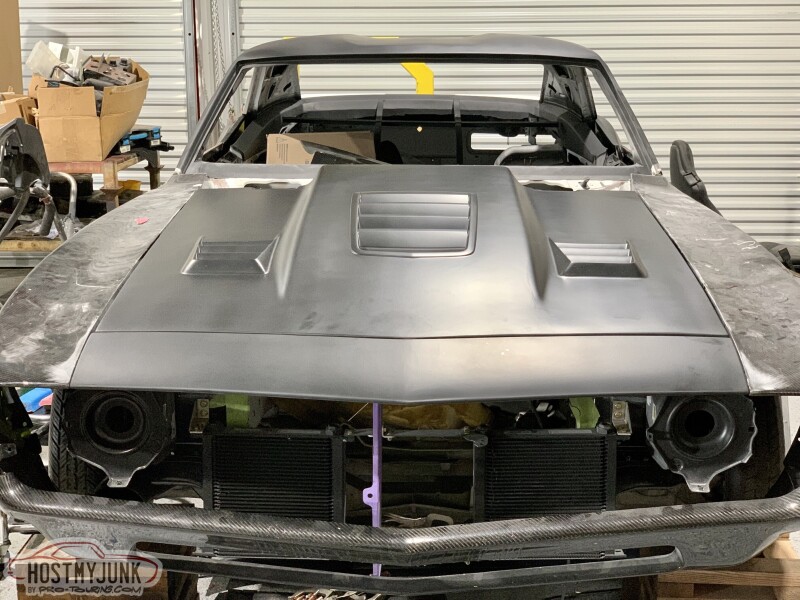
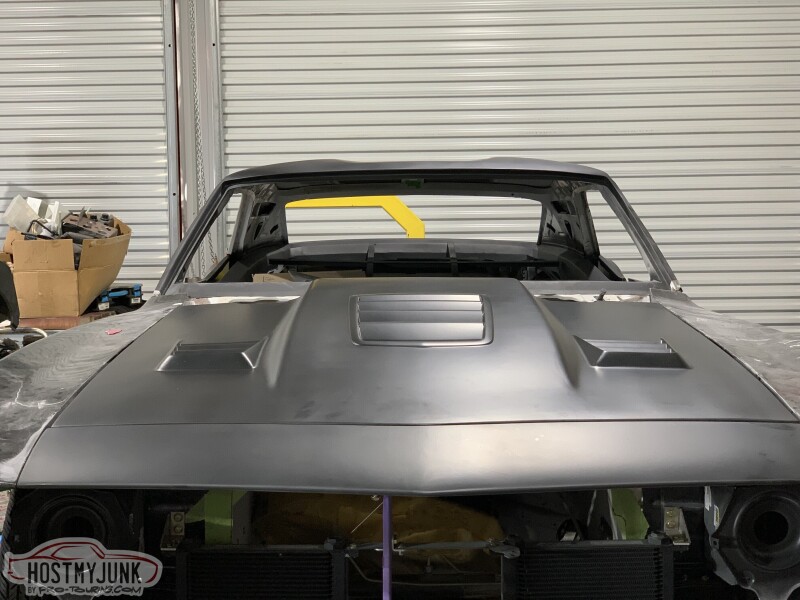
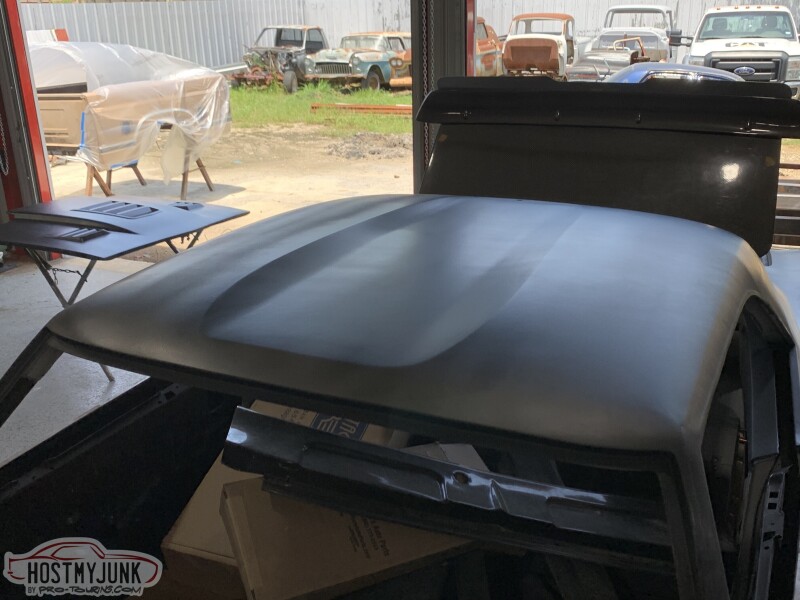
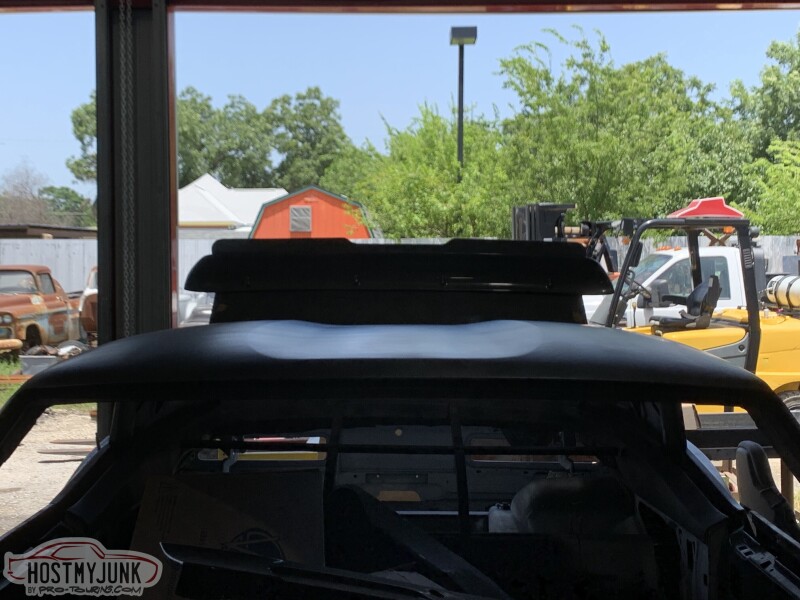
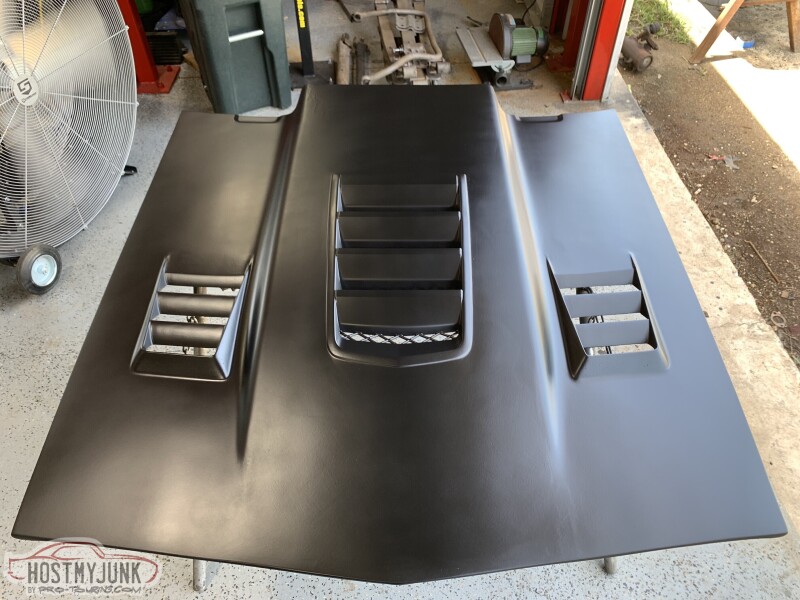
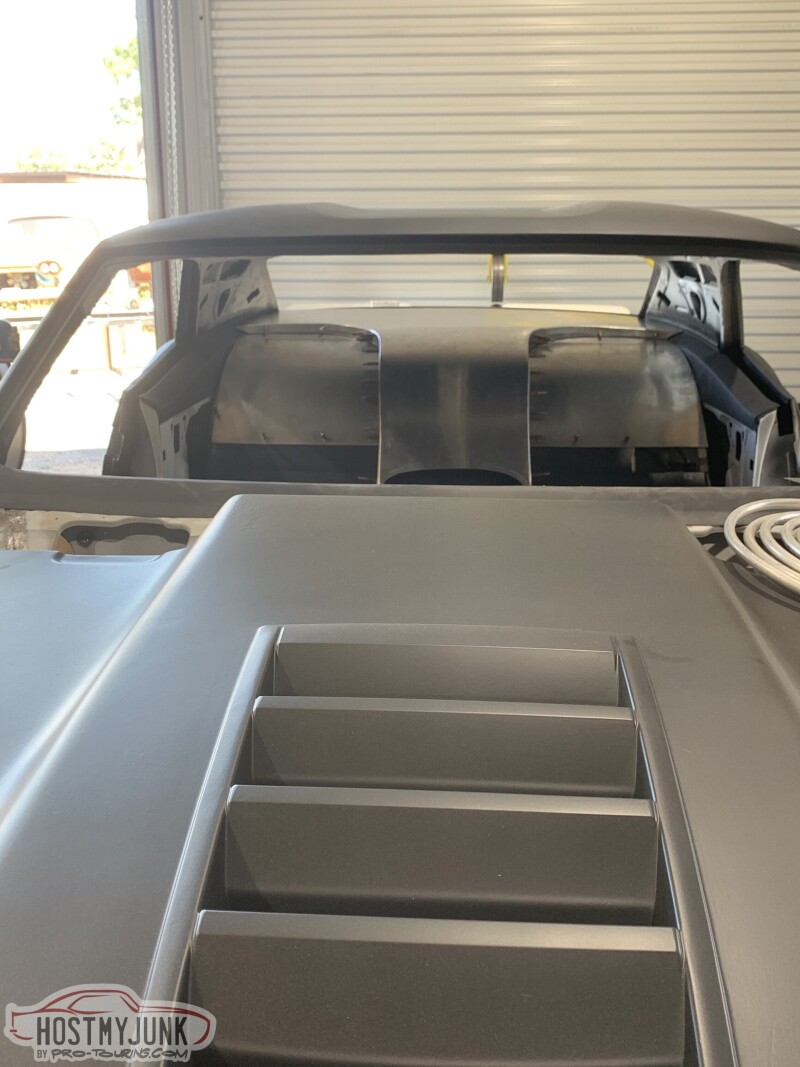
In between all of this work I've been doing some body work on the hood, upper valance and roof getting it pretty close so when its ready for a real body guy it won't be too far off and should help move things along quicker from paint jail. For not being a body guy I'm really happy with how it came out so far.
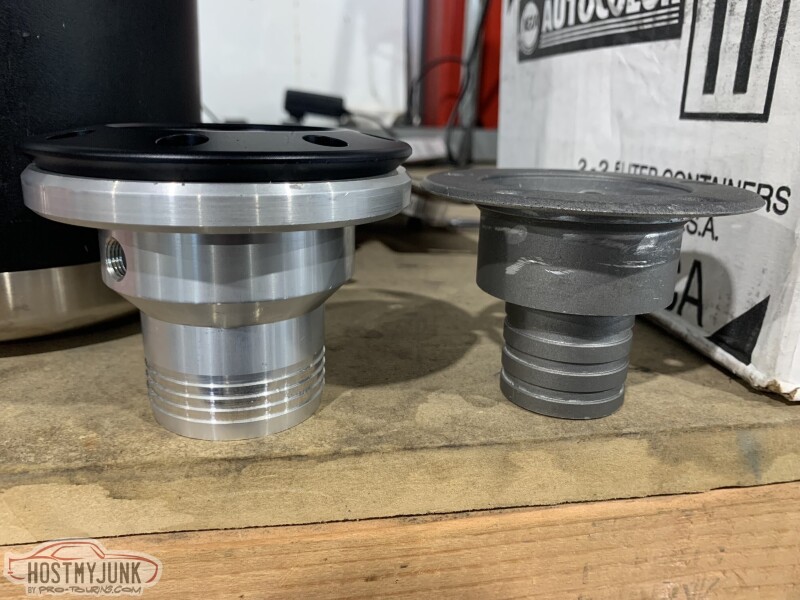
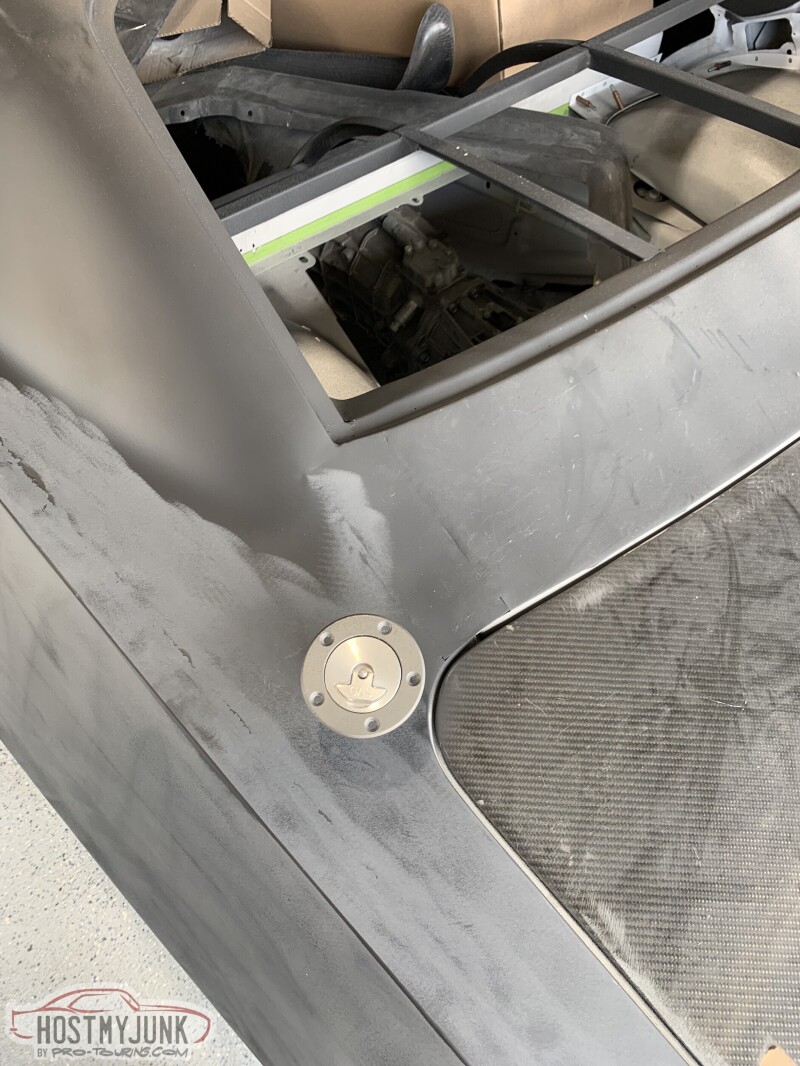
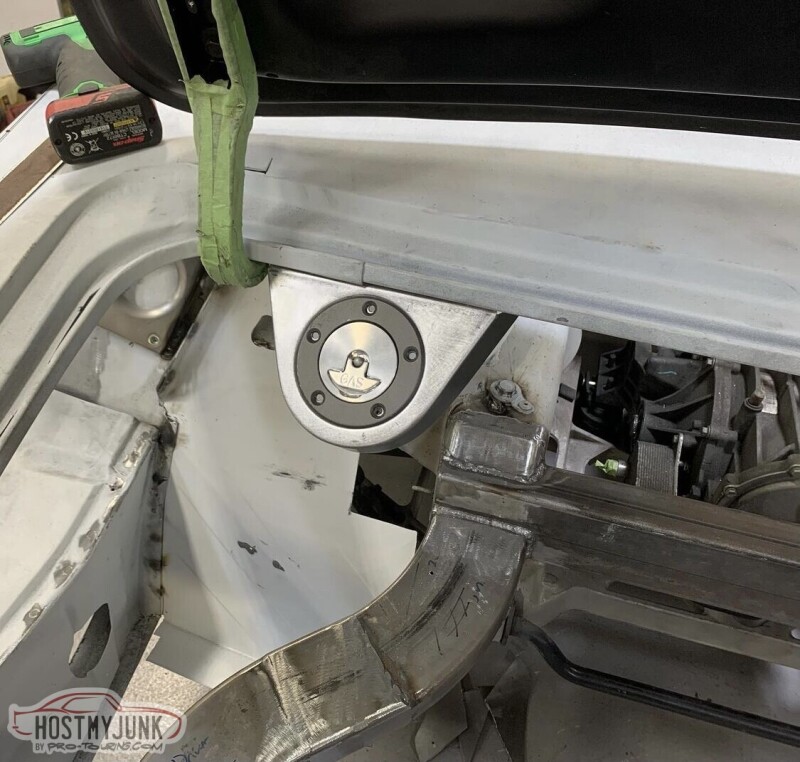
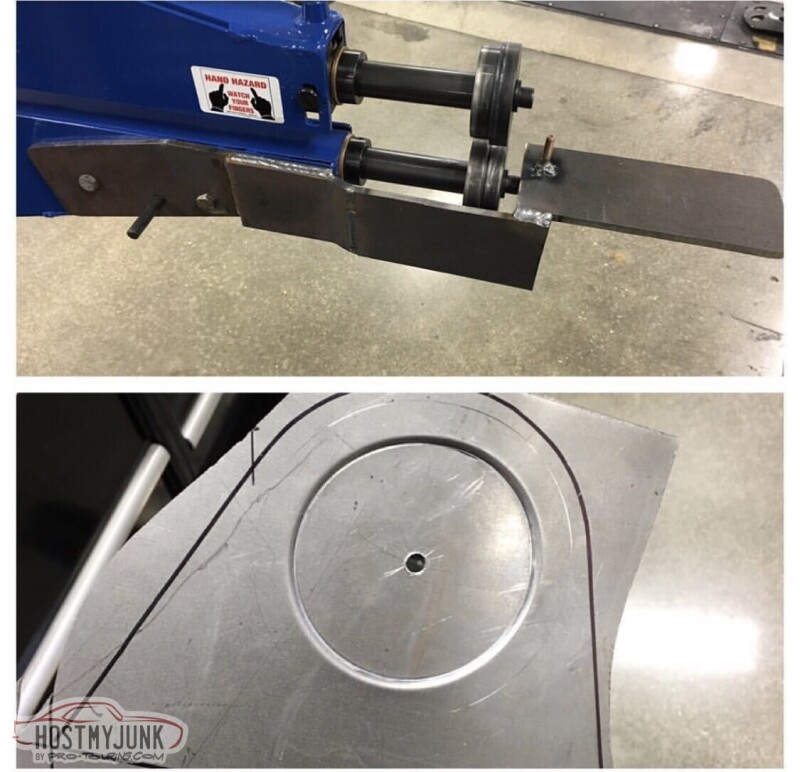
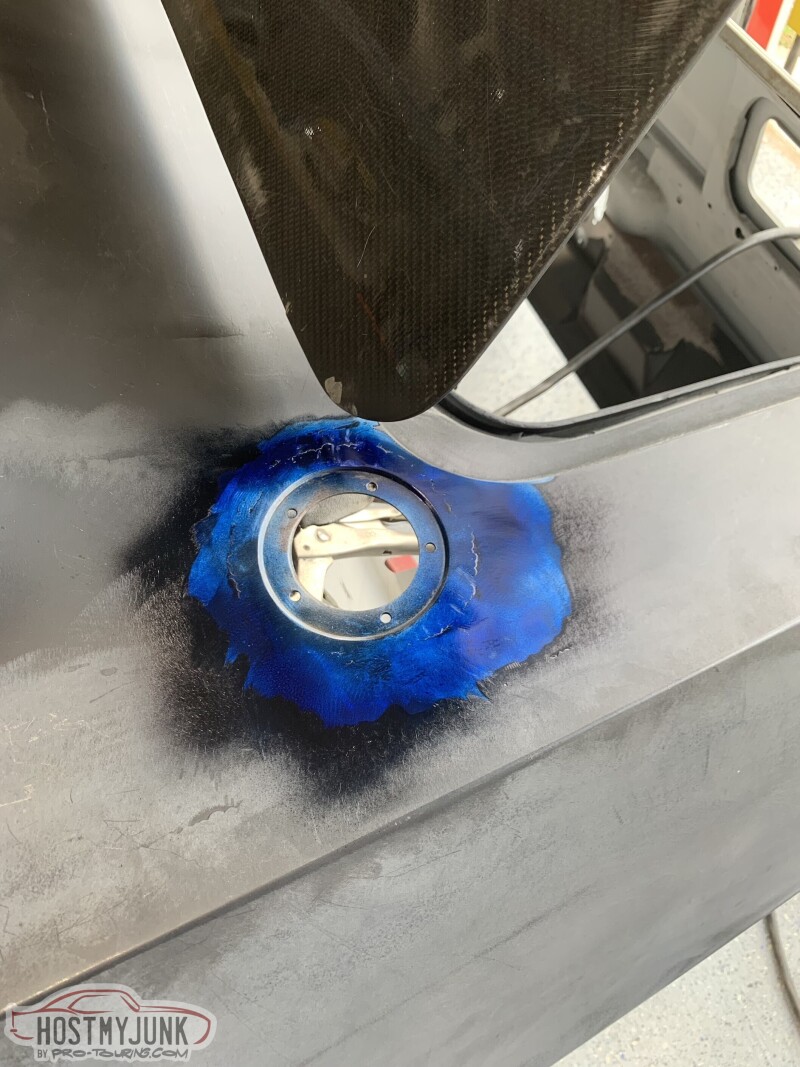
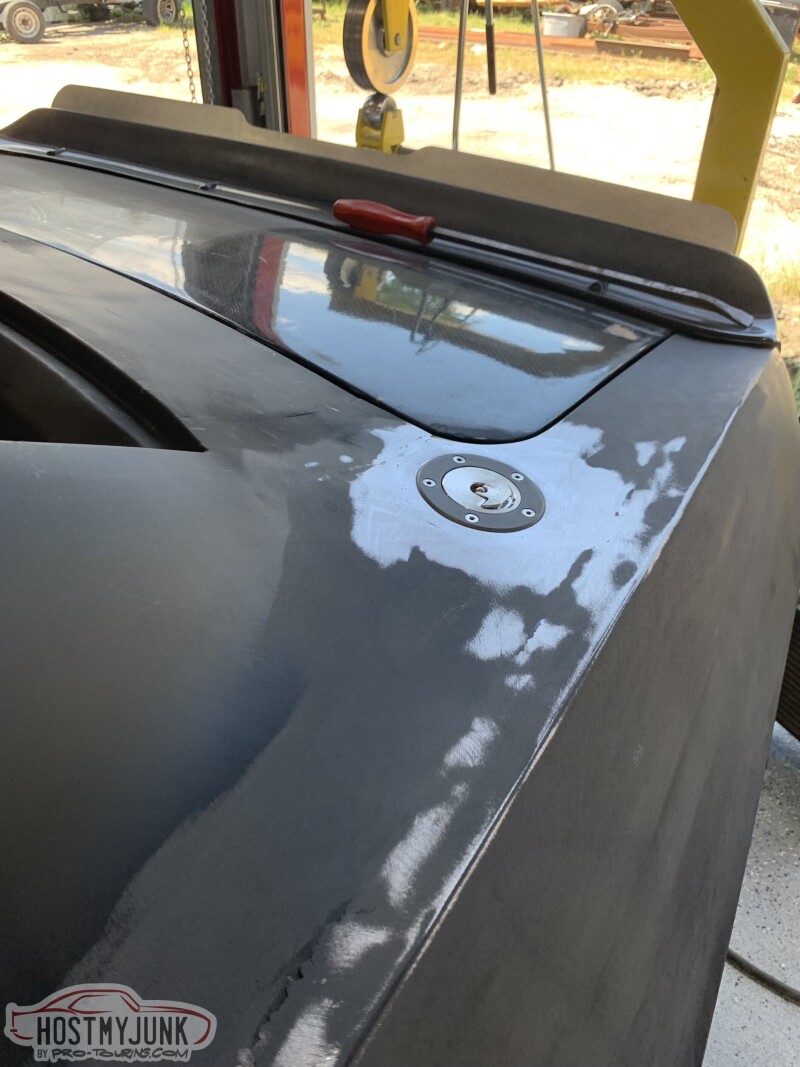
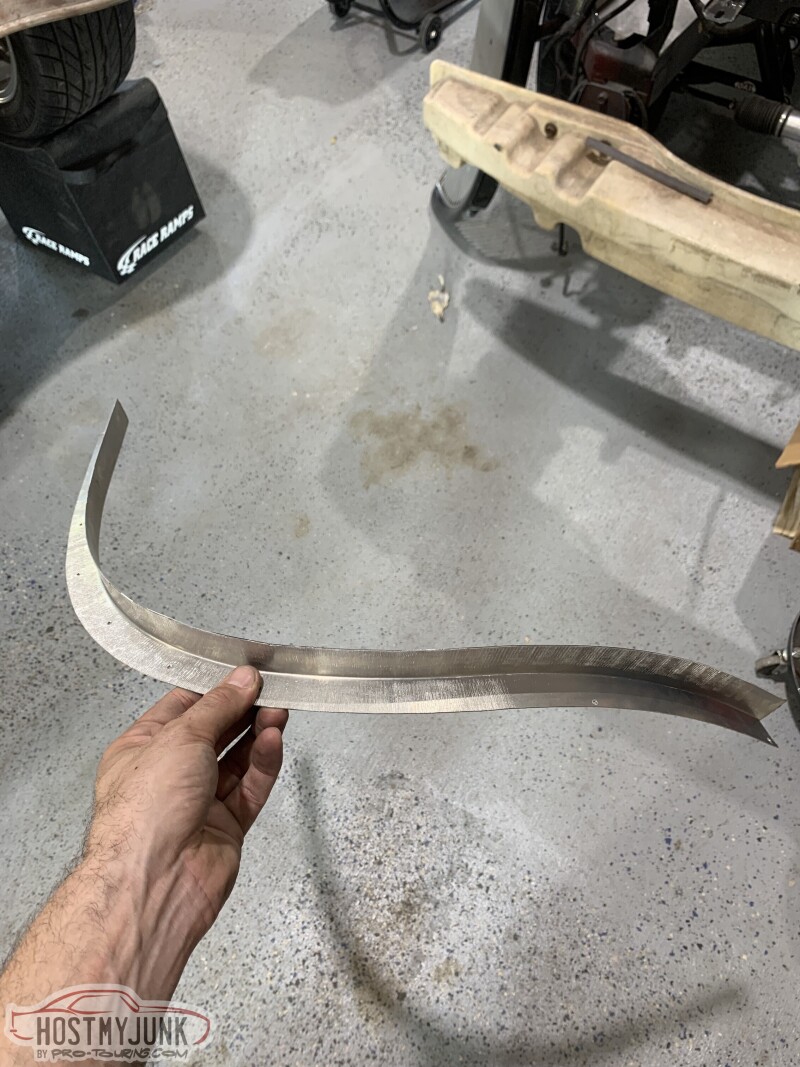
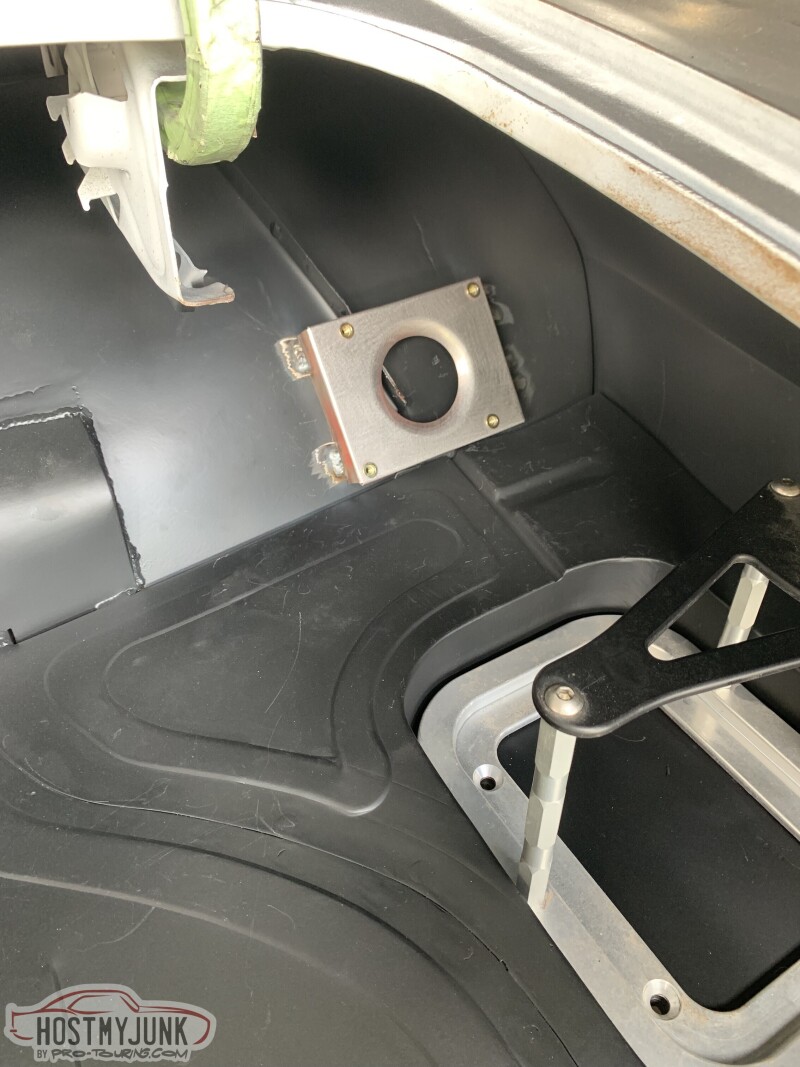
That brings us to this weekend. I've been going back and forth on where to put my fuel filler since the Vette tanks are kinda high behind the driver seat. I didn't want to have an external filler, but thats what worked the best for me. I had an EMI filler, but I wanted a locking one so I ordered the ridetech unit. Safe to call it a unit as its huge and heavy. On the scale it was over a pound and twice as much as the EMI that I ended up using, because of the weight and size. Mostly the weight lol. With a modification to my bead roller a few years ago I made a perfect circle to recess the filler cap. I cut that up from version 1.0 and welded it into the driver quarter. And as with the rest of the metal if was pick and filed to fix the warping.

I also received my LED headlamps, so I got those test fit then boxed back up.
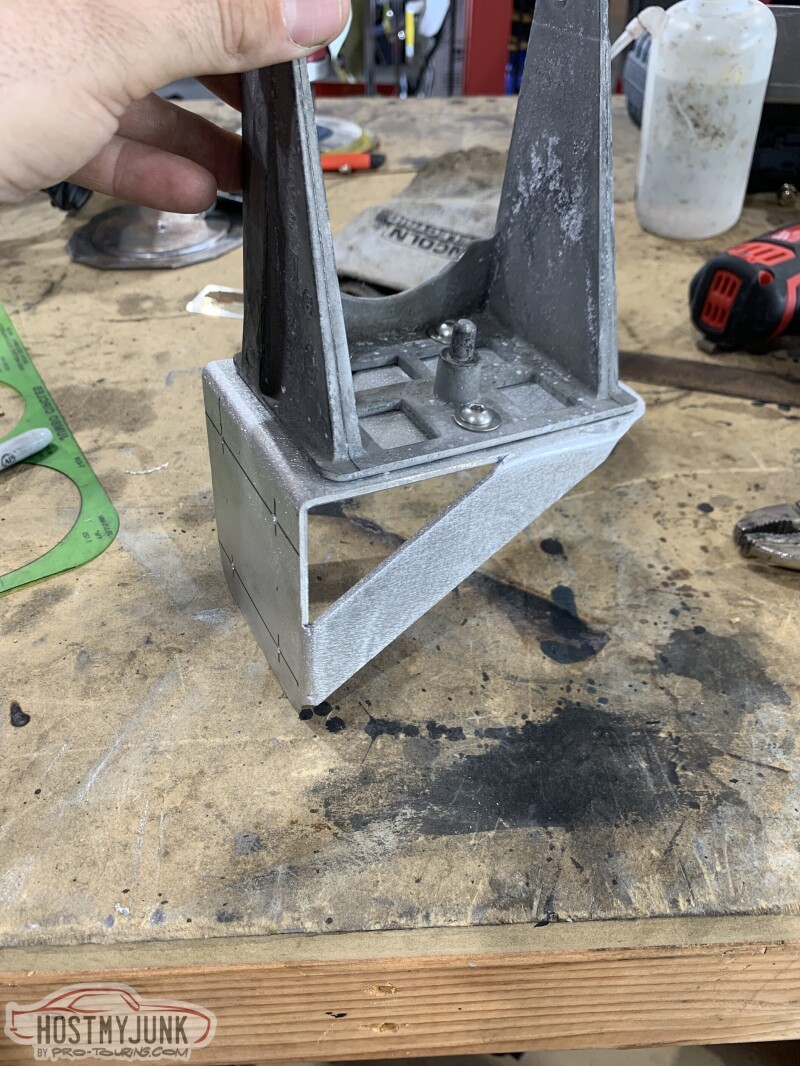
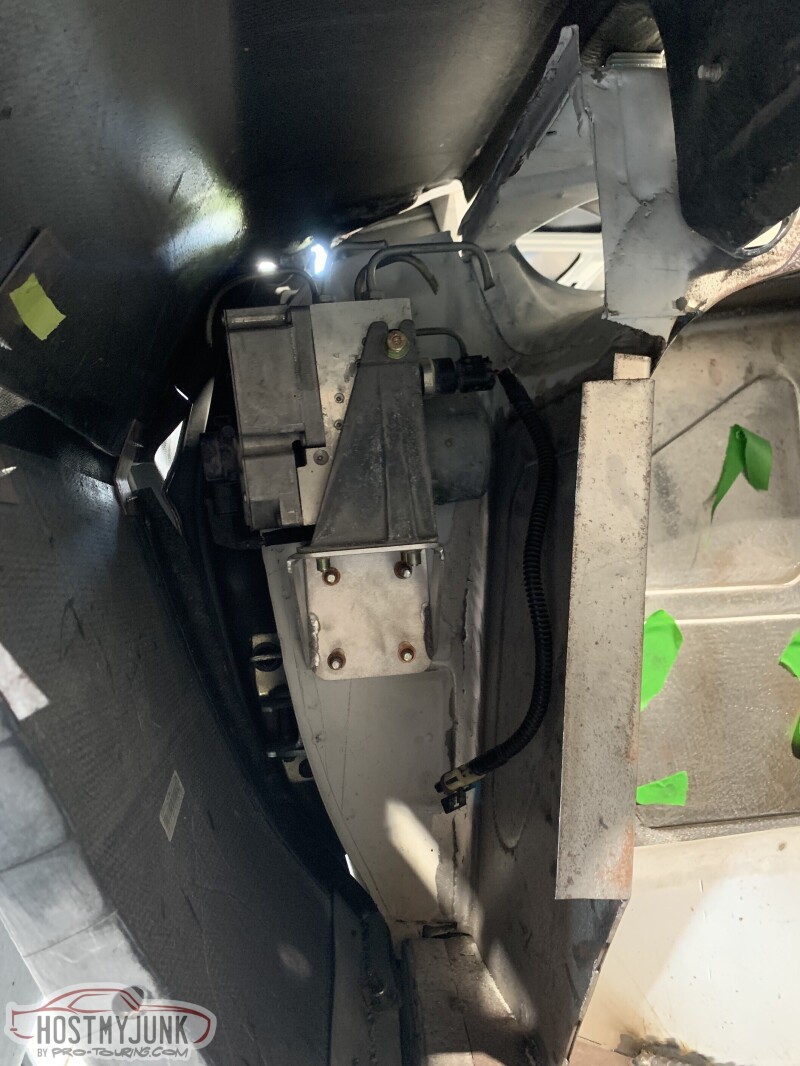
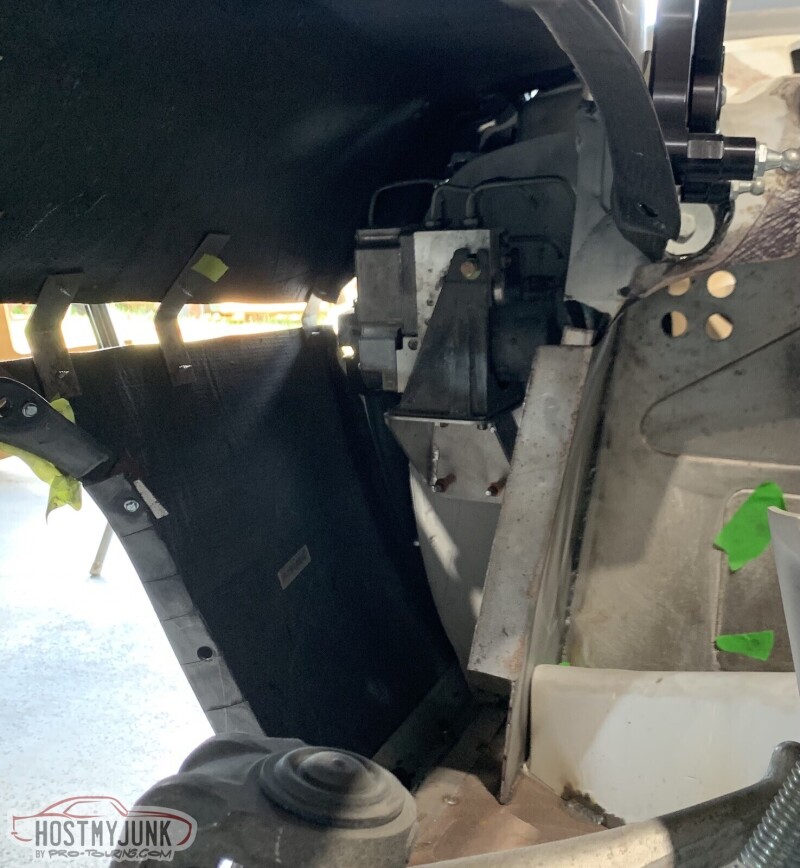
I also found a place for my ABS module and BPMV. I made a bracket to mount the modified stock bracket to and then mounted the whole assembly behind the passenger fender in the wasted space.
 Instagram: CamaroAJ
08-15-2021 #151 Registered User
- Join Date
- Aug 2015
- Location
- charlotte
- Posts
- 924
unreal work, it's really coming together now that the filler-work has begun.
08-16-2021 #152
Registered User
- Join Date
- Sep 2009
- Posts
- 2,706
I love seeing updates on this car. You do outstanding work, and thanks for sharing some of the metal finishing techniques.
1955 Nomad project LC9, 4L80e, C5 brakes, Vision wheels
1968 Camaro 6.2 w/ LSA, TR6060-Magnum hybrid and etc SOLD
1976 T/A LS1 6 Speed, and etc. SOLD
Follow me on Instagram: ryeguy2006a
08-29-2021 #153
Registered User
- Join Date
- Sep 2017
- Posts
- 825
Every time you turn around it's 10k more in parts. But seriously your fab work looks amazing. The roof is such a cool mod as with the vents and all the other. And your moving at warp speed from our end. I know from your end it doesn't seem like it lol. All I did was Frank Vs hood vents as far as custom fab and everytime I turn around some little something else need dabbed. I bought bowlers clutch master kit and had to re fab the bracket and pin point to get geometry and stroke right. 3 hours later after cut, tack, test fit with brake master and cage bars. I'm it's non stop! Originally Posted by CamaroAJ
Keep it up it's such an awesome build thread.
JaaonTANKMASTERJ
https://www.pro-touring.com/threads/...touring-Camaro
Jasons Toys
67 Camaro White Lightning LMR LS7 powered, Speed tech Front and Rear.
2023 Rapid Blue ZL1 the Blue Devil
2000 HD Softail
1989 CBR Hurricane anniversary edition
08-29-2021 #154
Registered User
- Join Date
- Jul 2017
- Location
- Island Lake, IL
- Posts
- 131
Can't wait to see this thing done. What an awesome build coming together.
07-15-2022 #155
Registered User
- Join Date
- Aug 2004
- Location
- San Antonio, Tx
- Posts
- 1,190
Sorry for the lack of updates. Ok this is going to be long since its been a while since I've updated this. I'm just gonna touch on everything kinda quick since the pics are worth a thousand words.
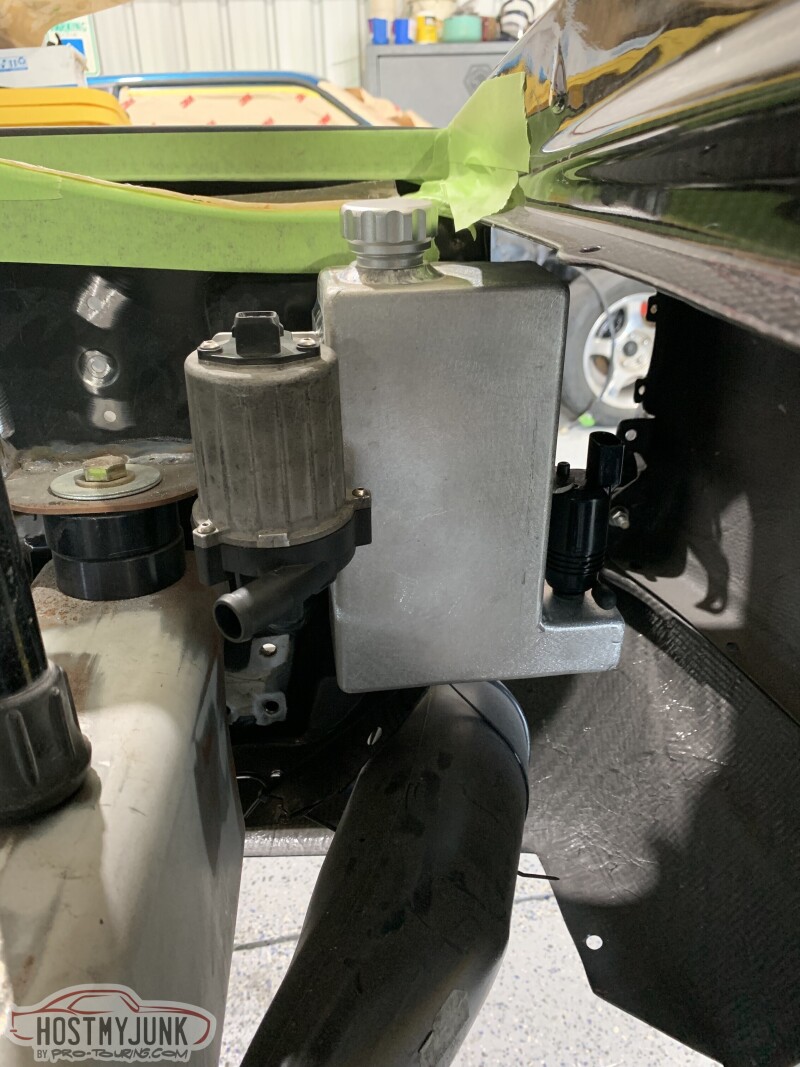
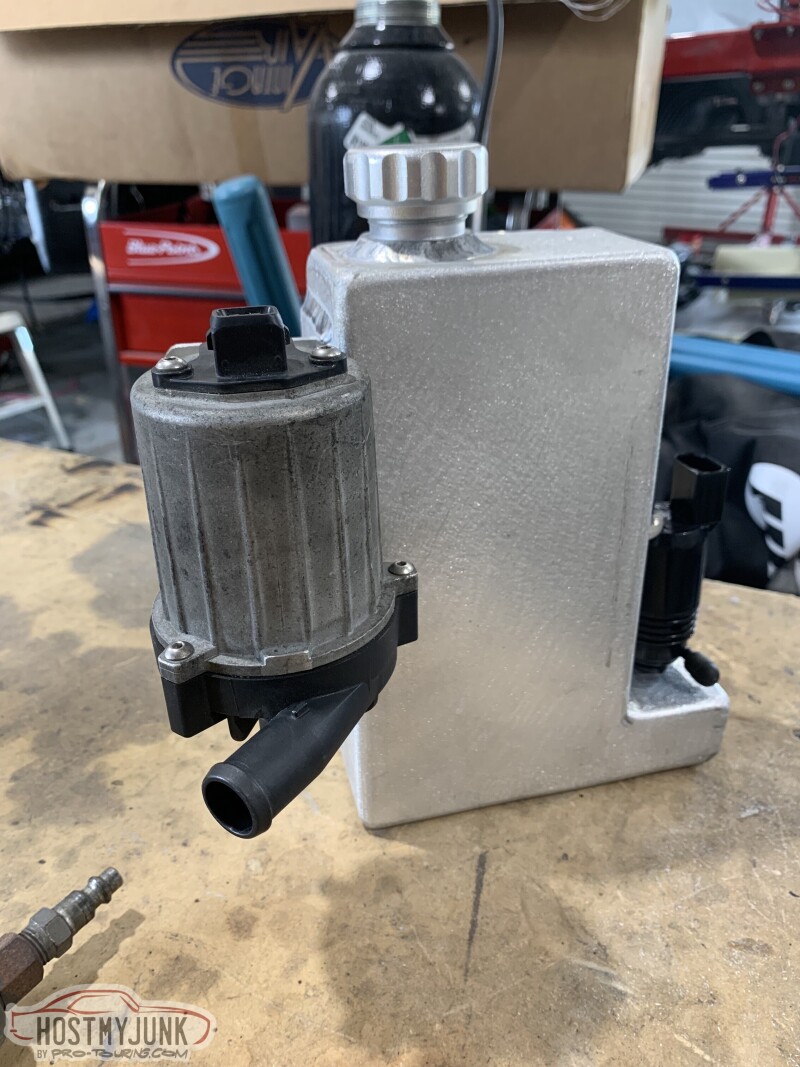
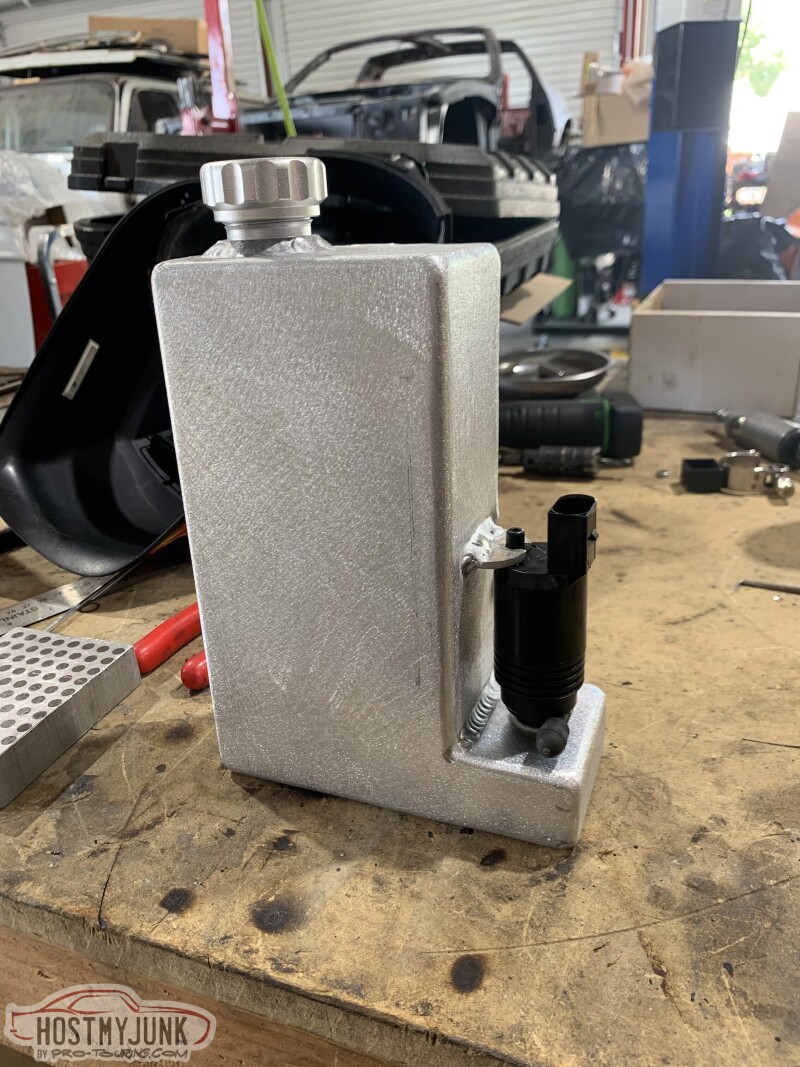
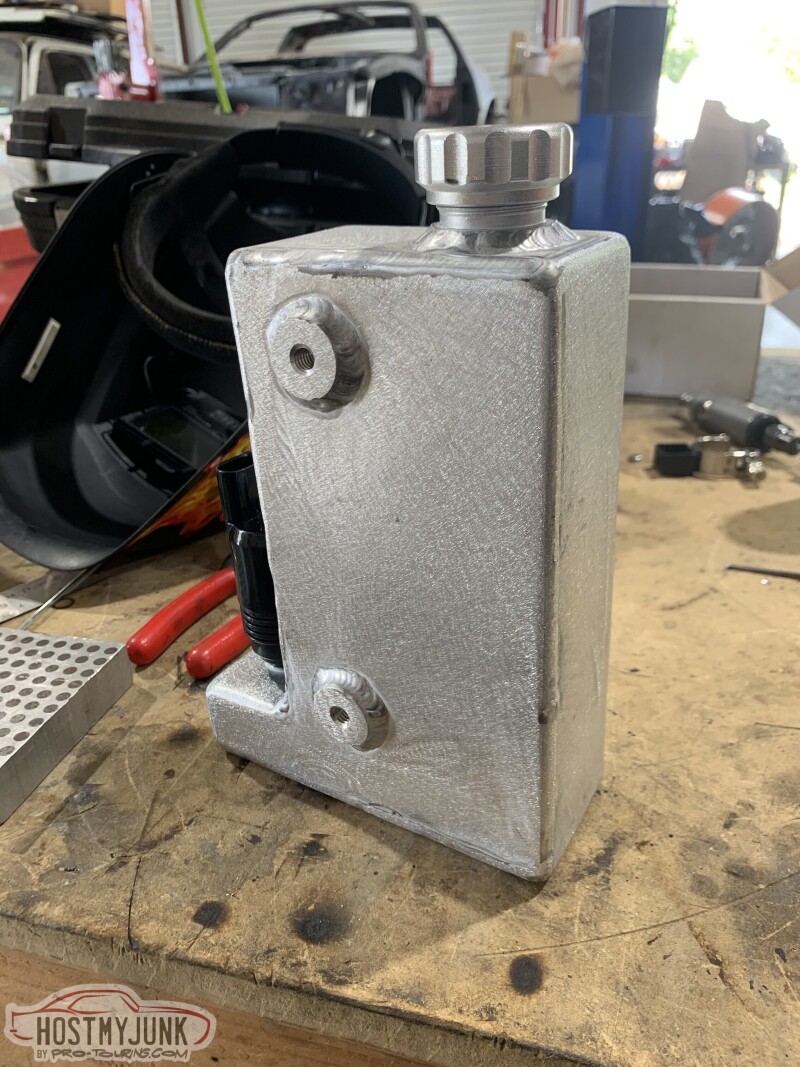
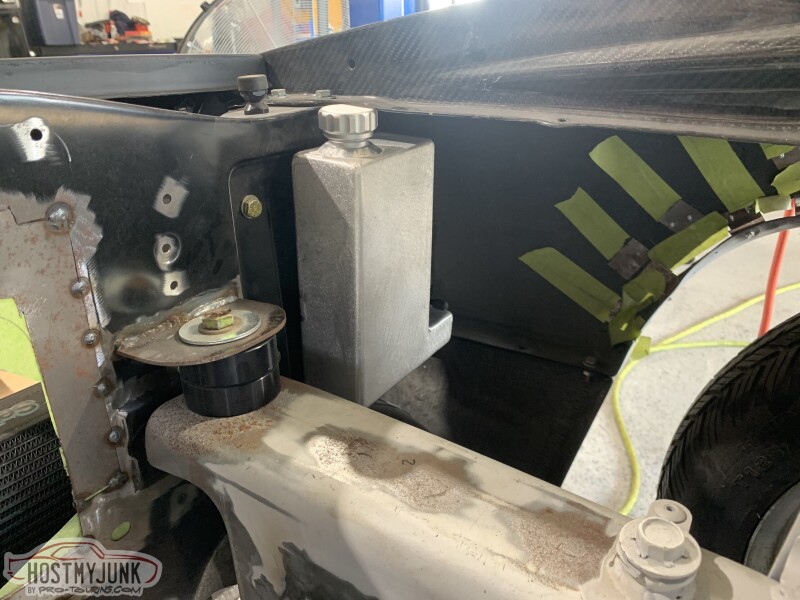
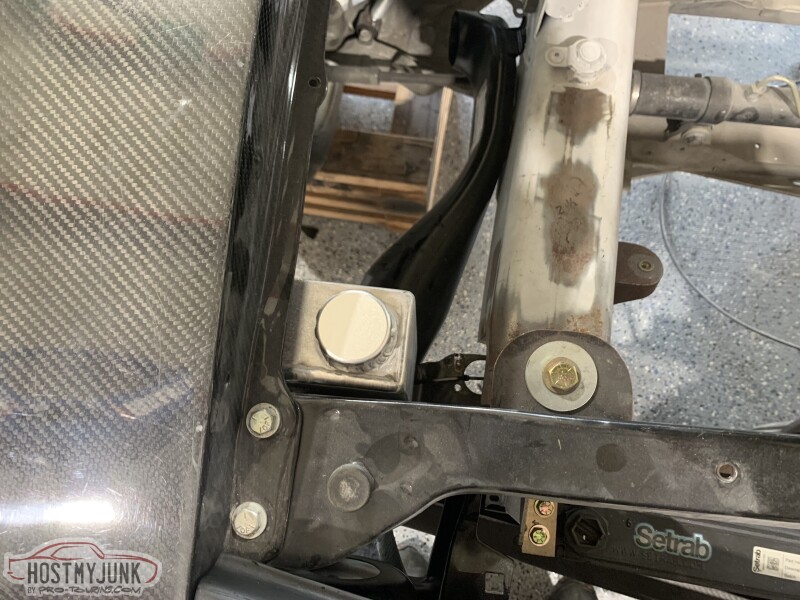
Looks like last update I had mounted the ABS. After that I built a washer reservoir and used it to mount the supercharger cooler pump.
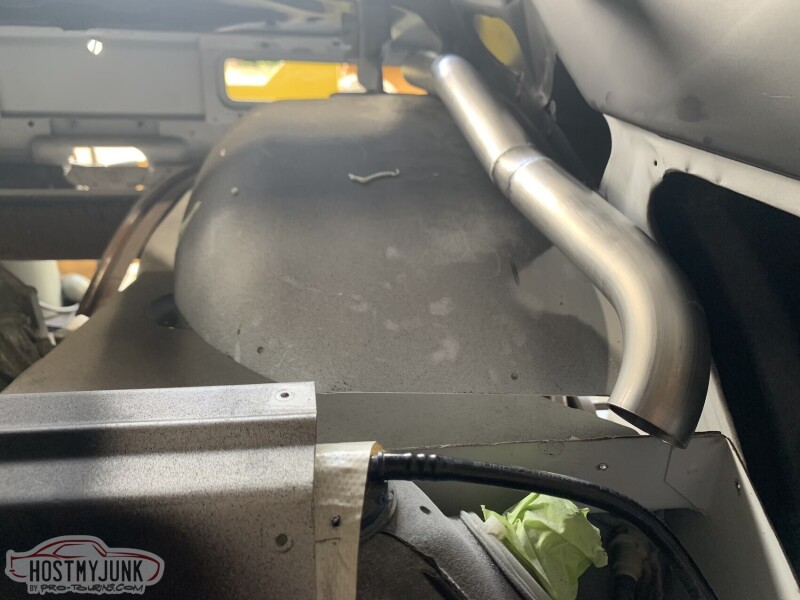
I fabricated a fuel fill pipe to connect the filler to the tank thats behind the drivers seat.
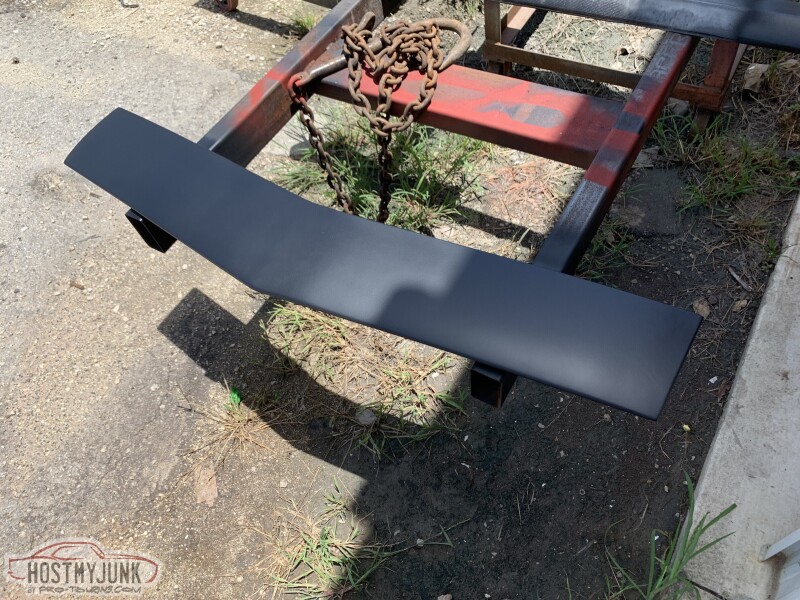
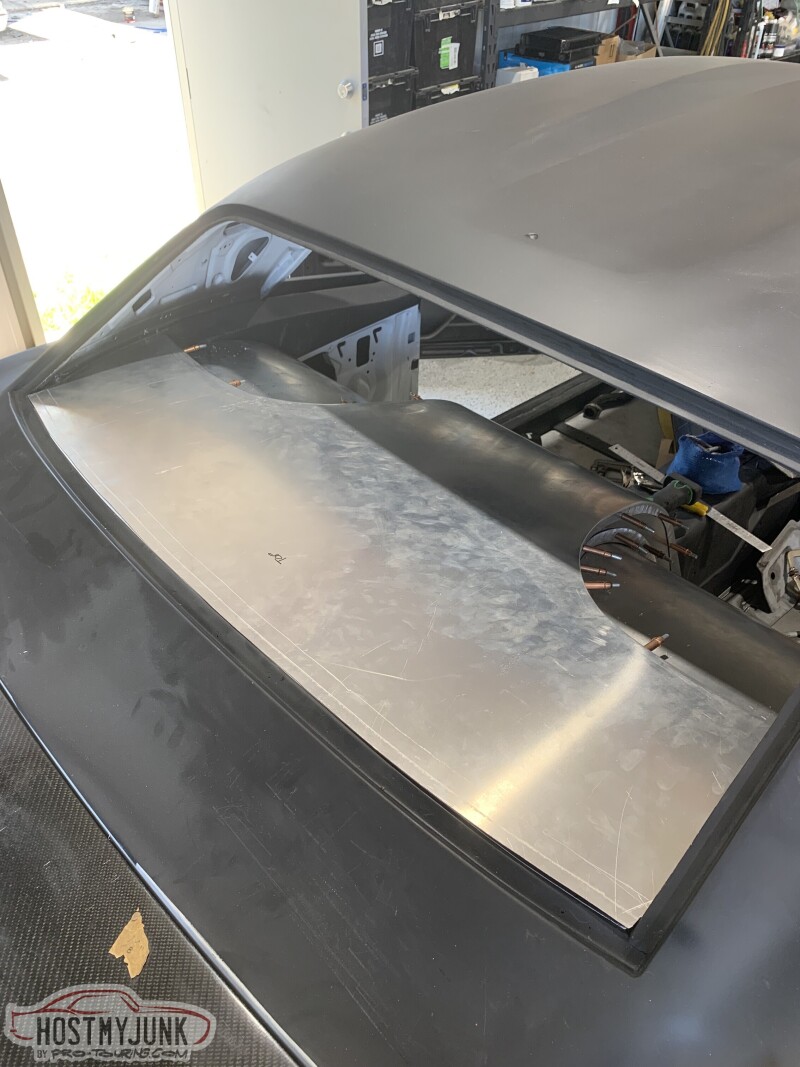
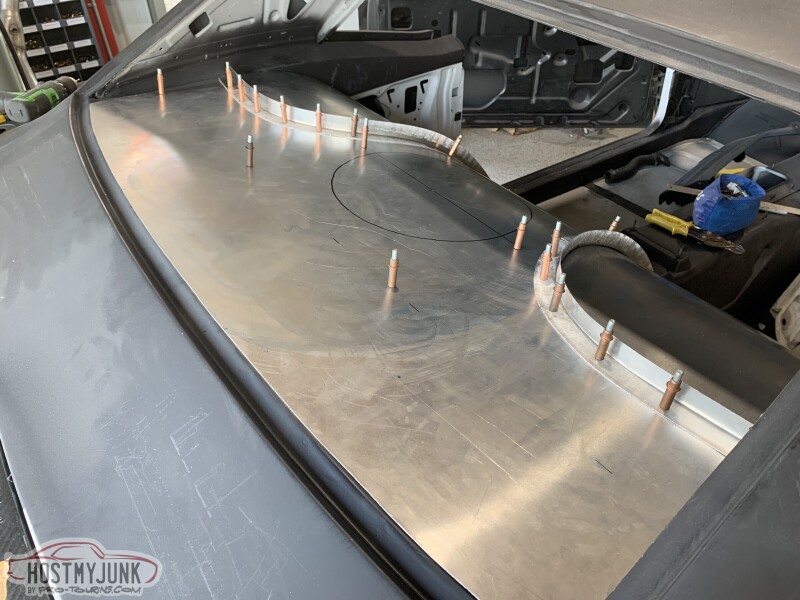
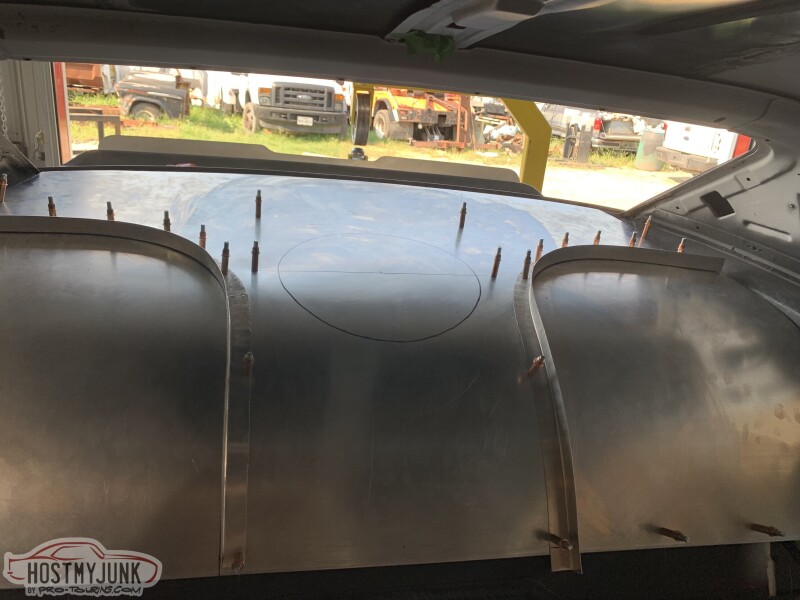
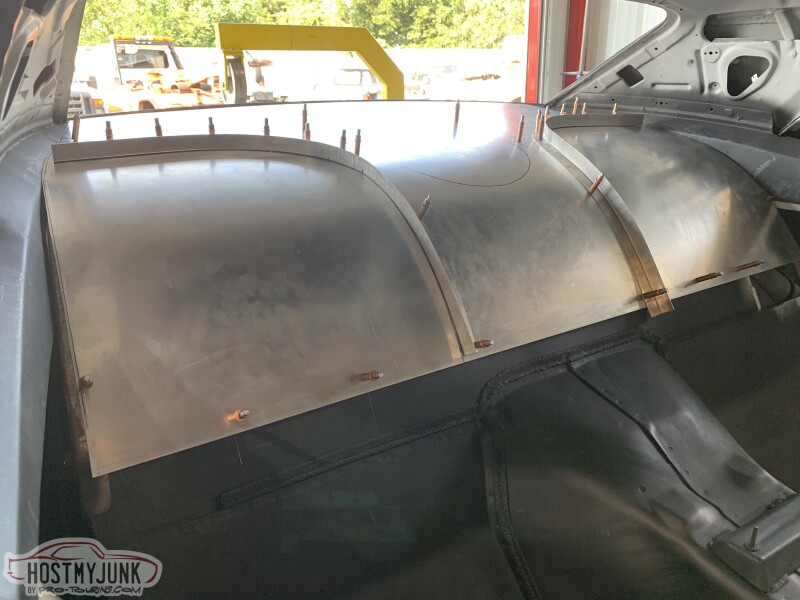
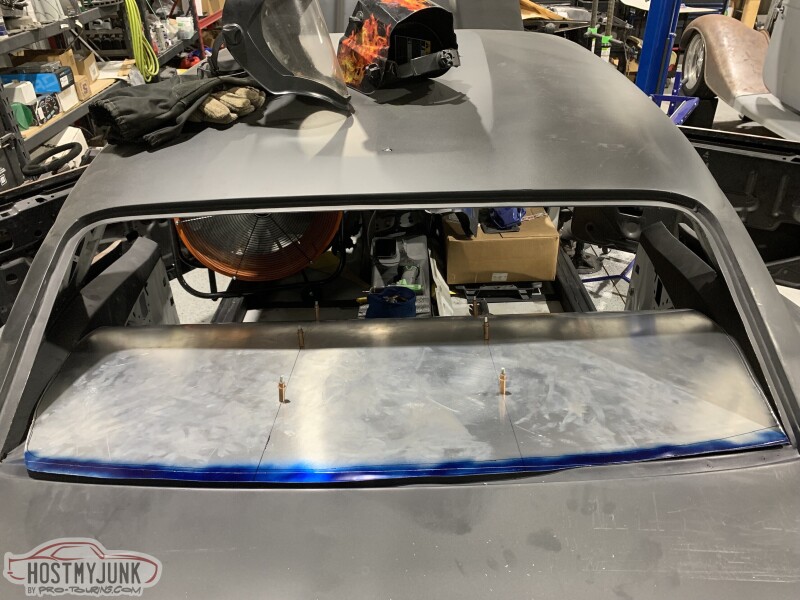
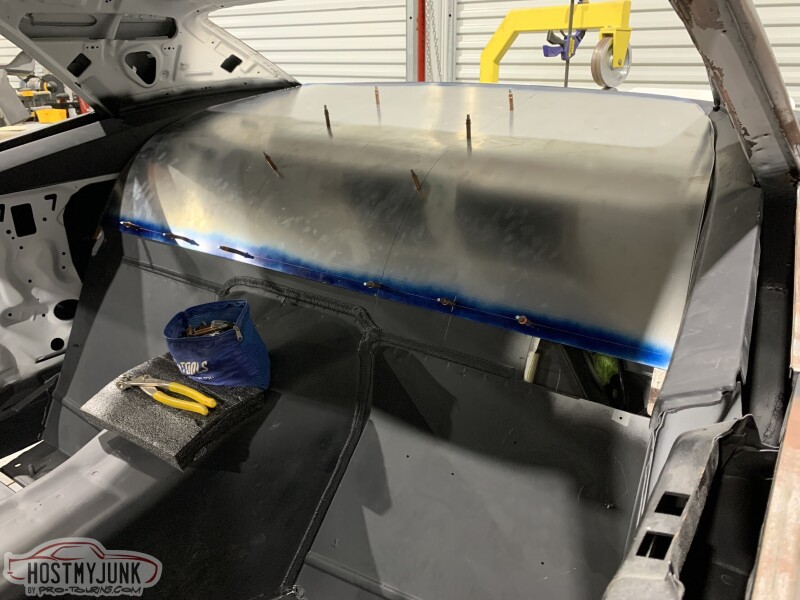
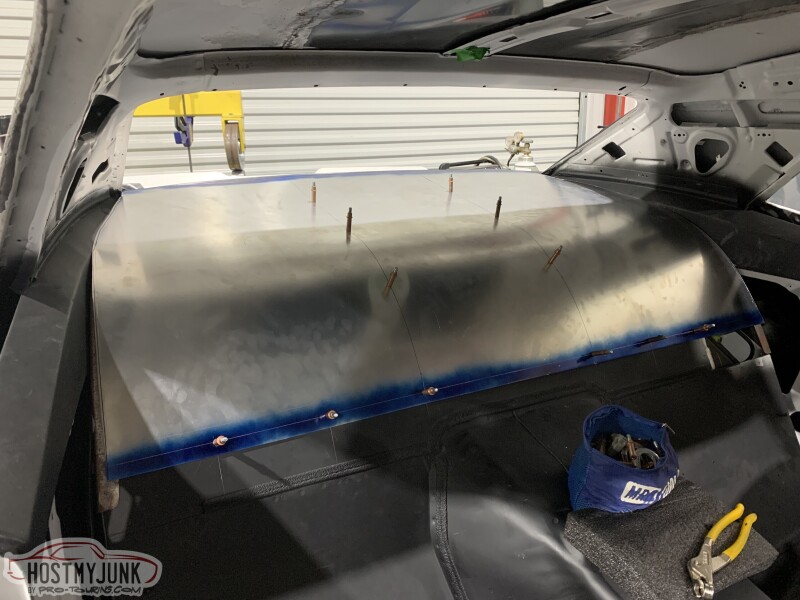
Then I moved onto the frame work for the rear package tray delete panel/waterfall, sanded everything down and shot it in black epoxy.

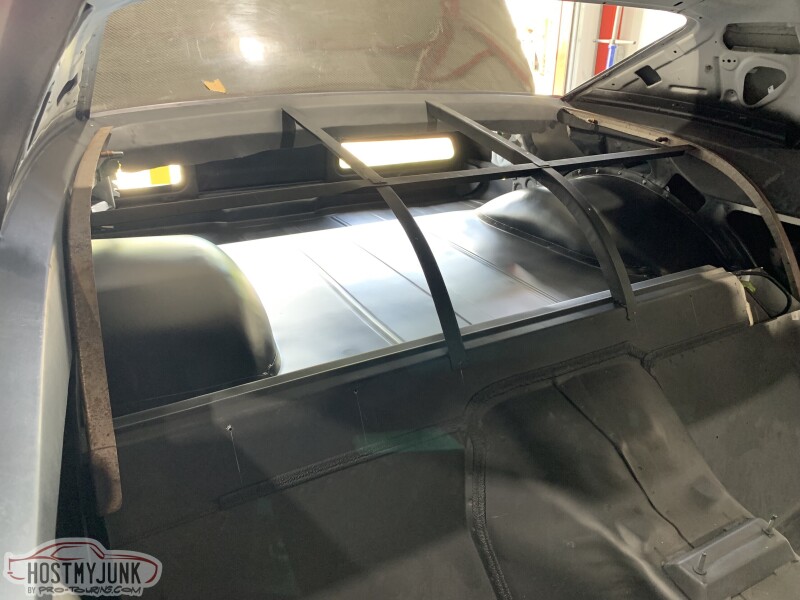
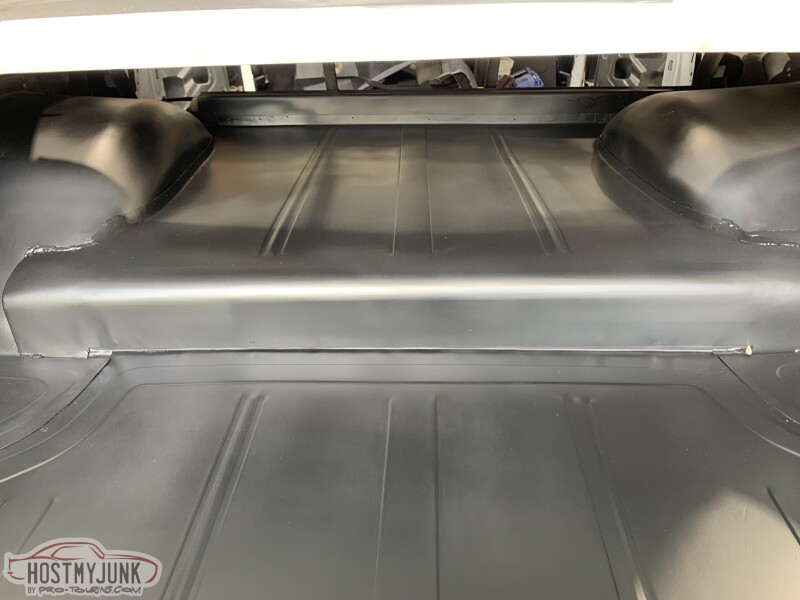
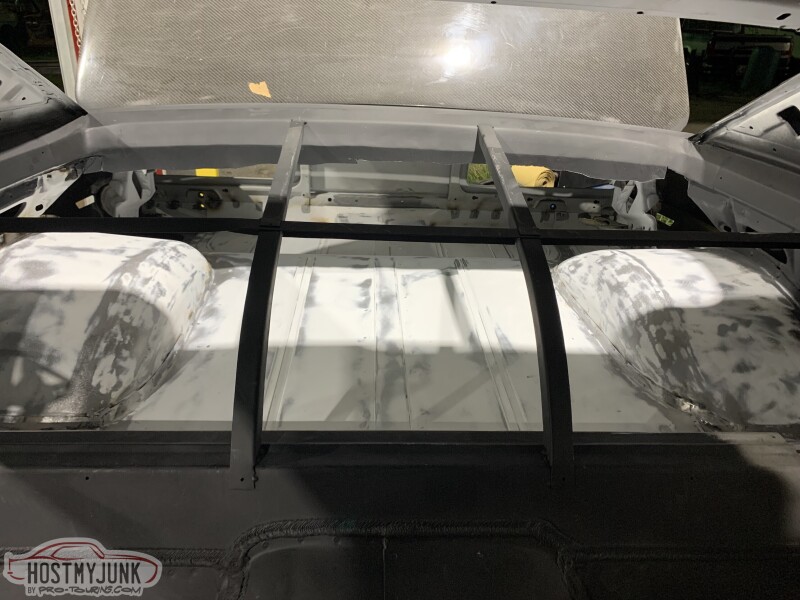
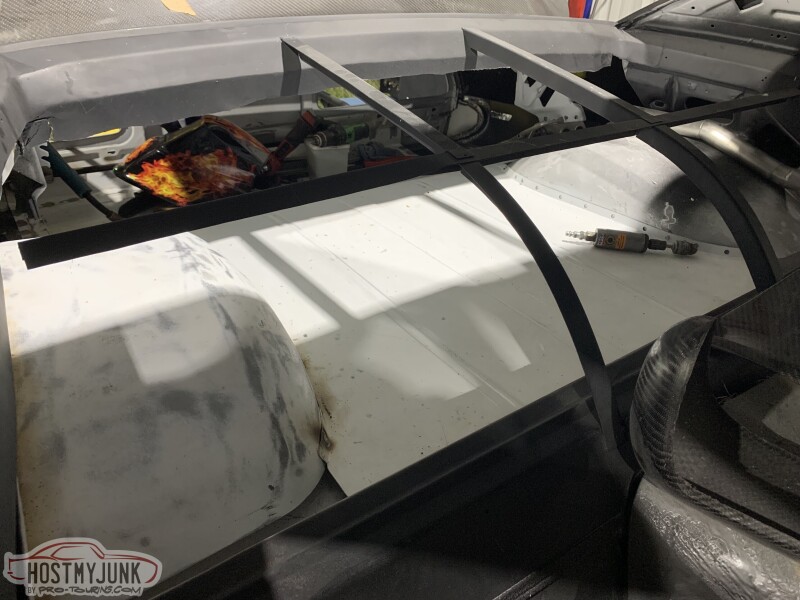
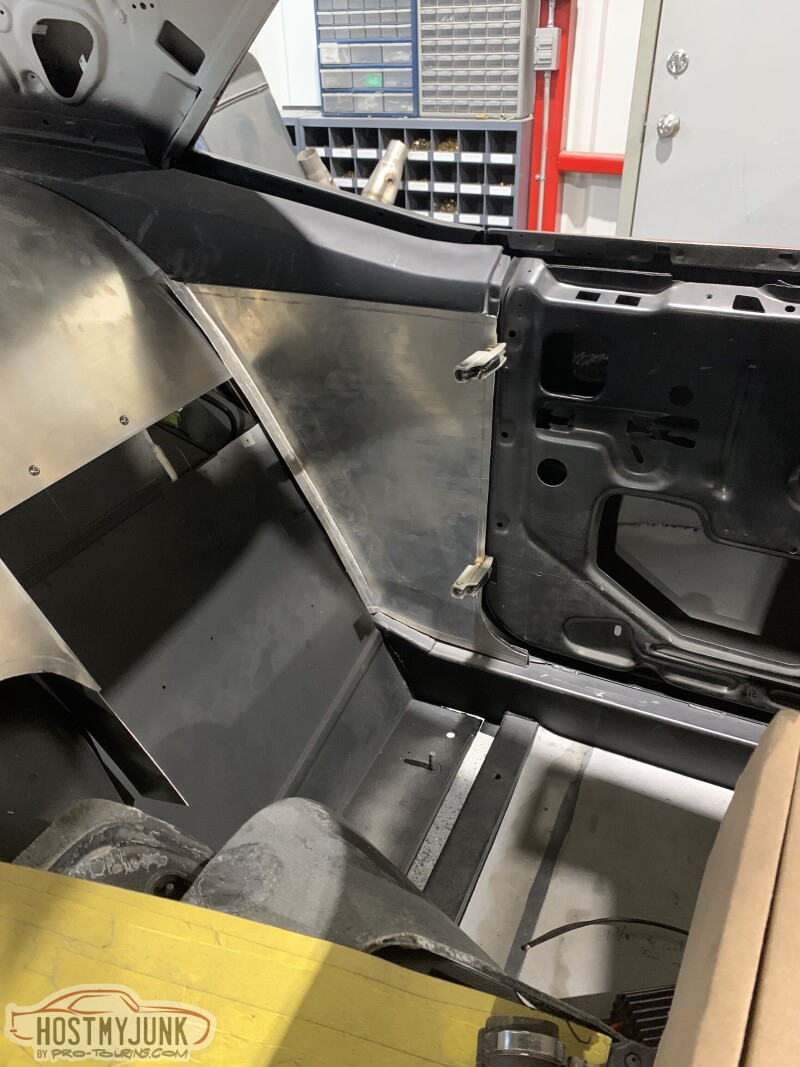
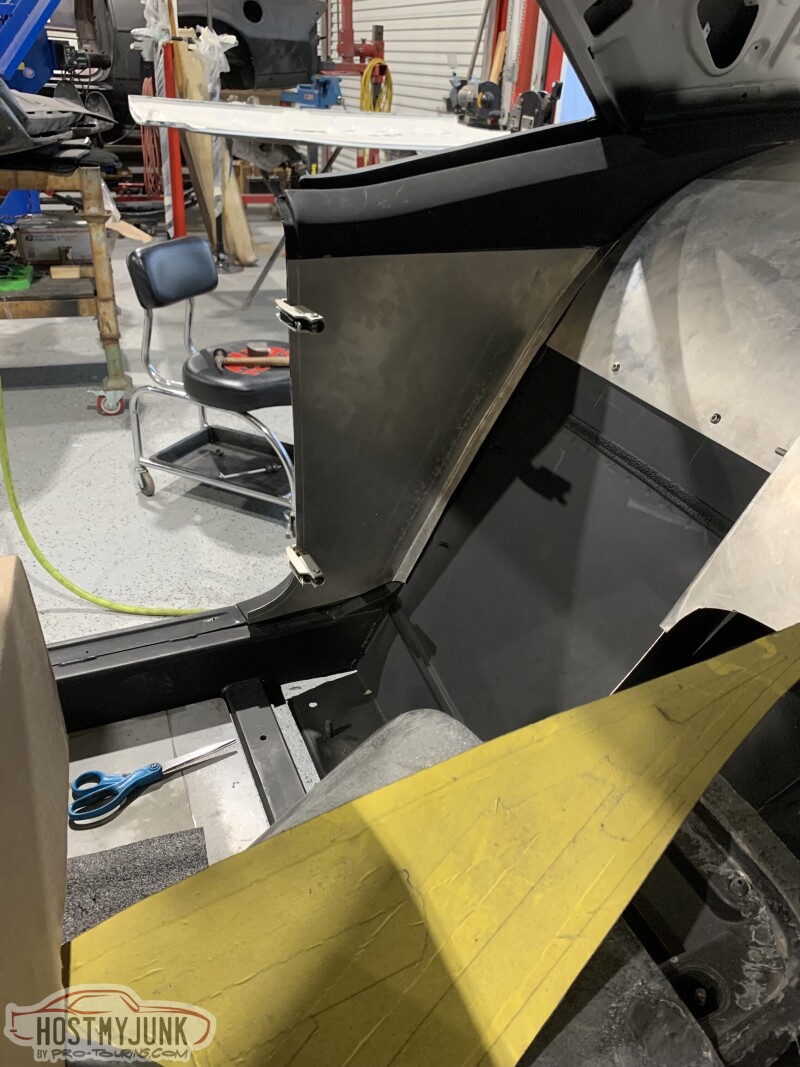
Which led to the waterfall being fabricated out of .040 aluminum, The plan is for this to be carped on the lower section and leather on the upper section with a 12" sub in the middle. Also a start of the rear side panels.
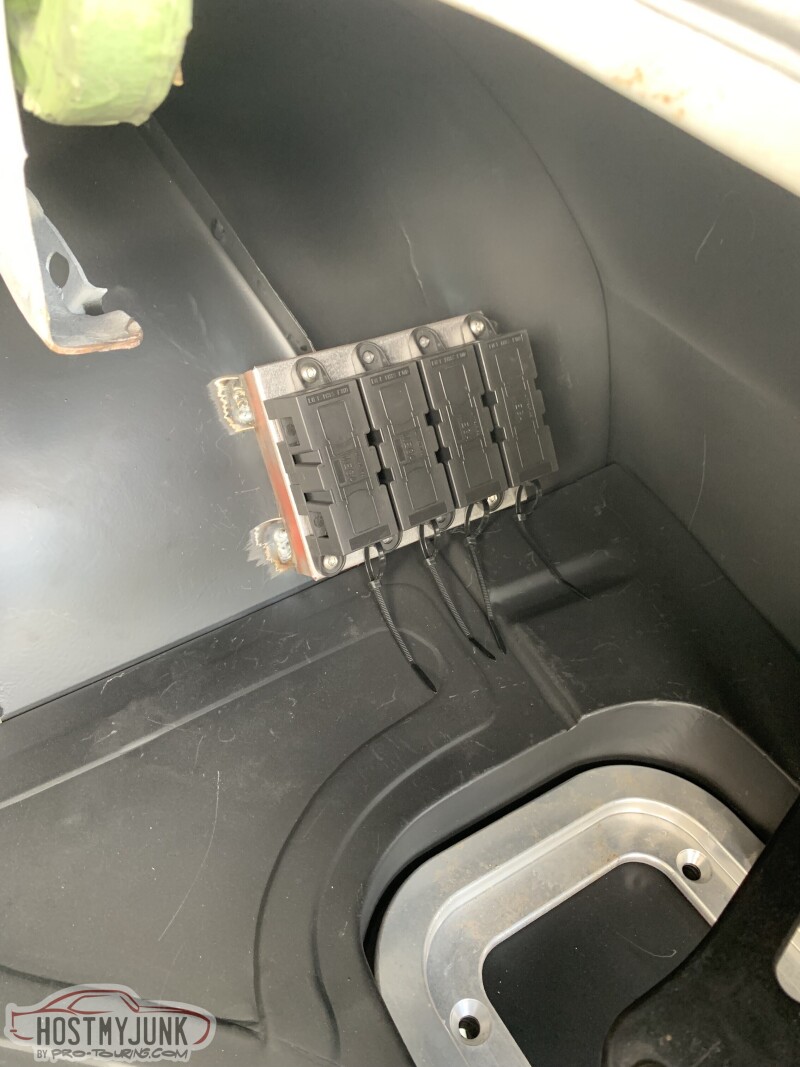
A quick little fuse bank holder next to the battery to hold the Mega fuses that power my Infinity Box system.
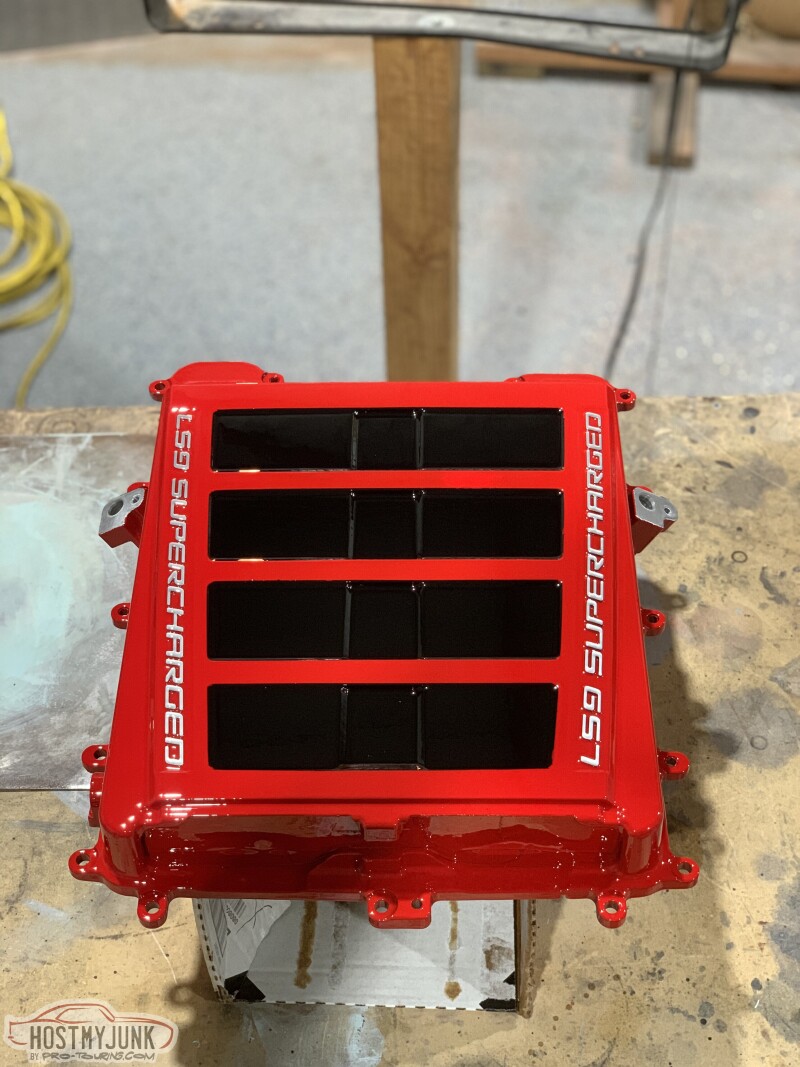
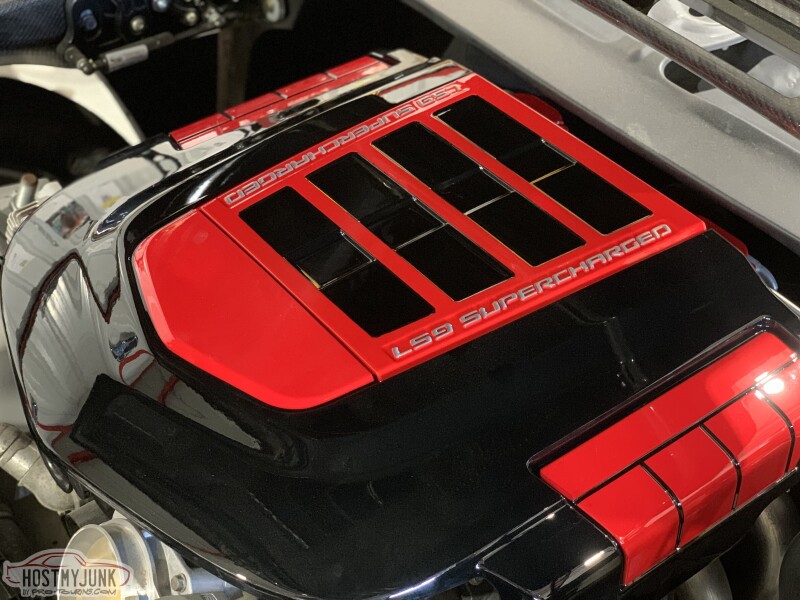
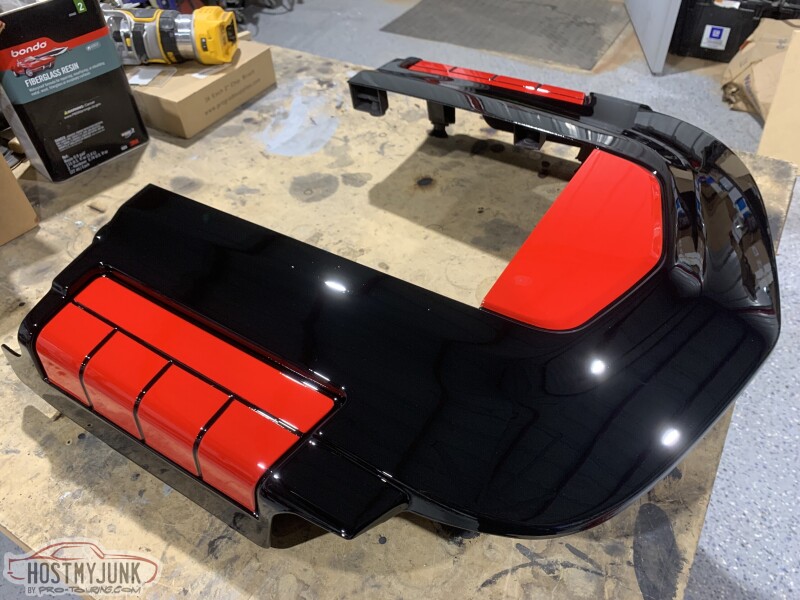
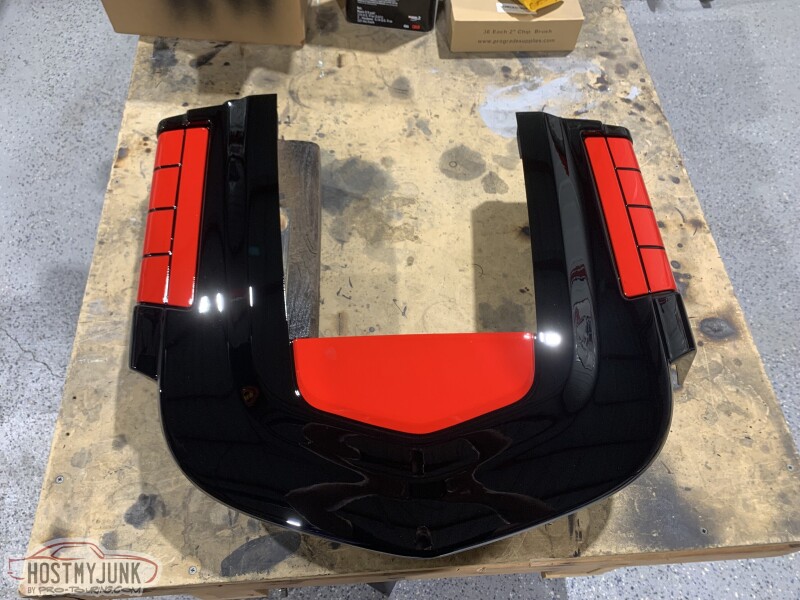
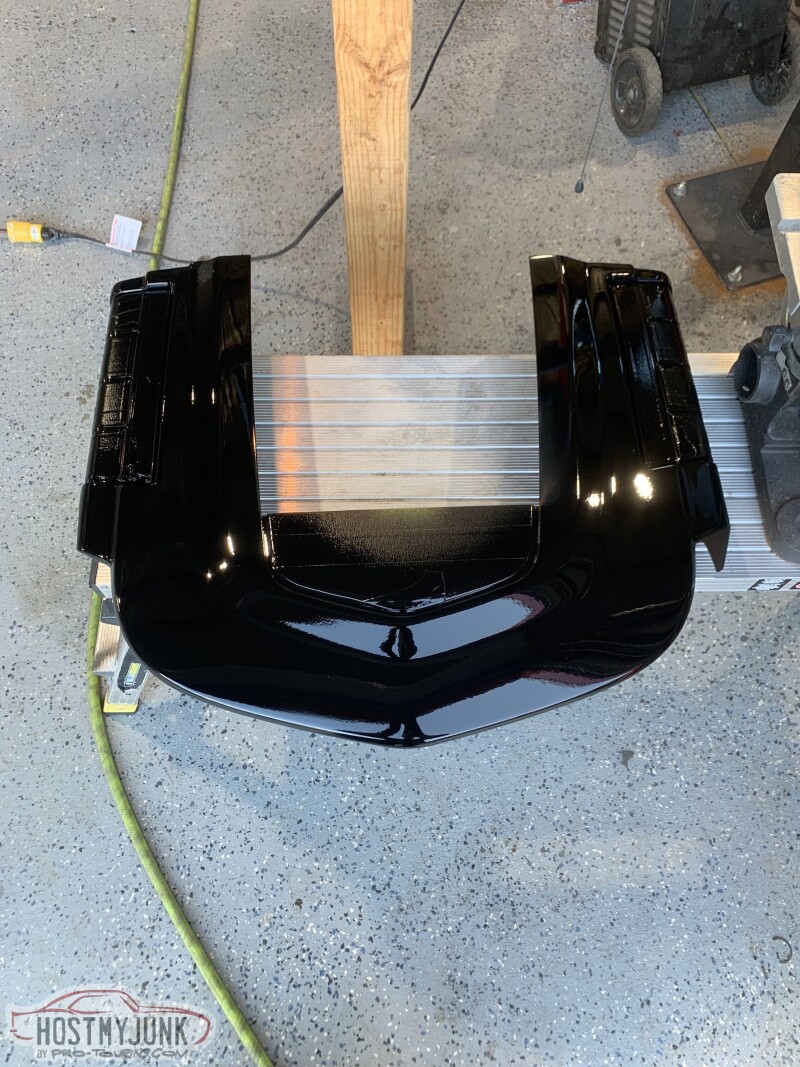
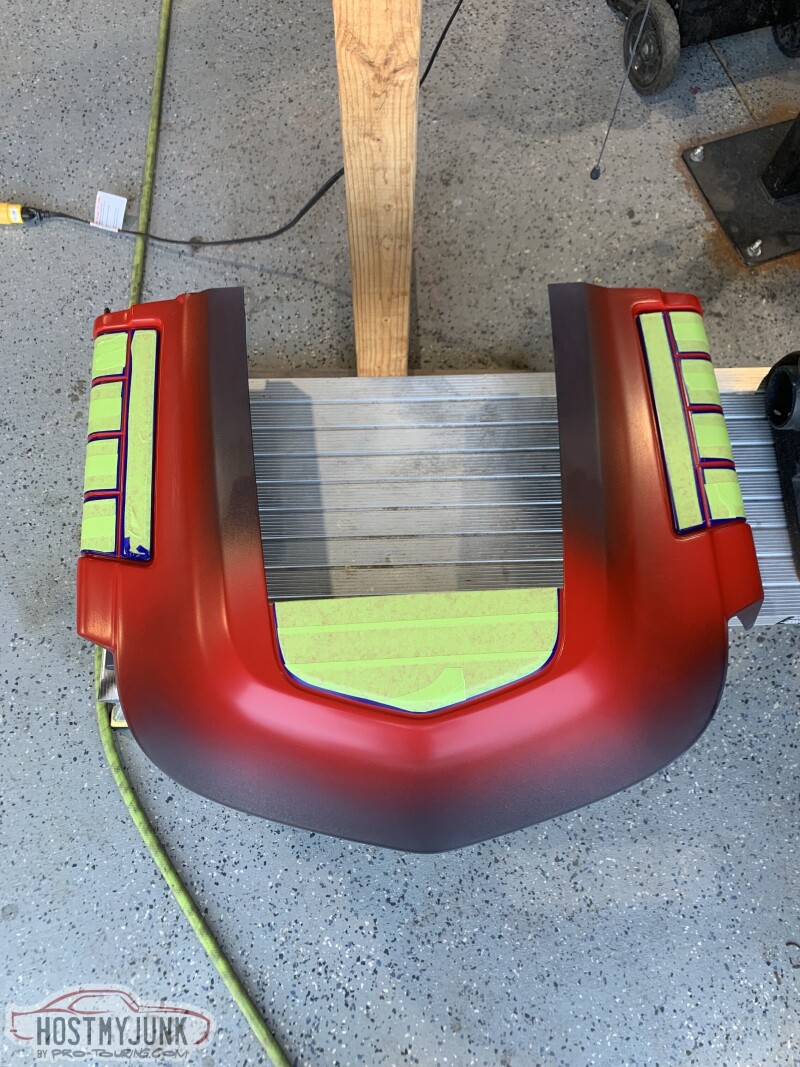
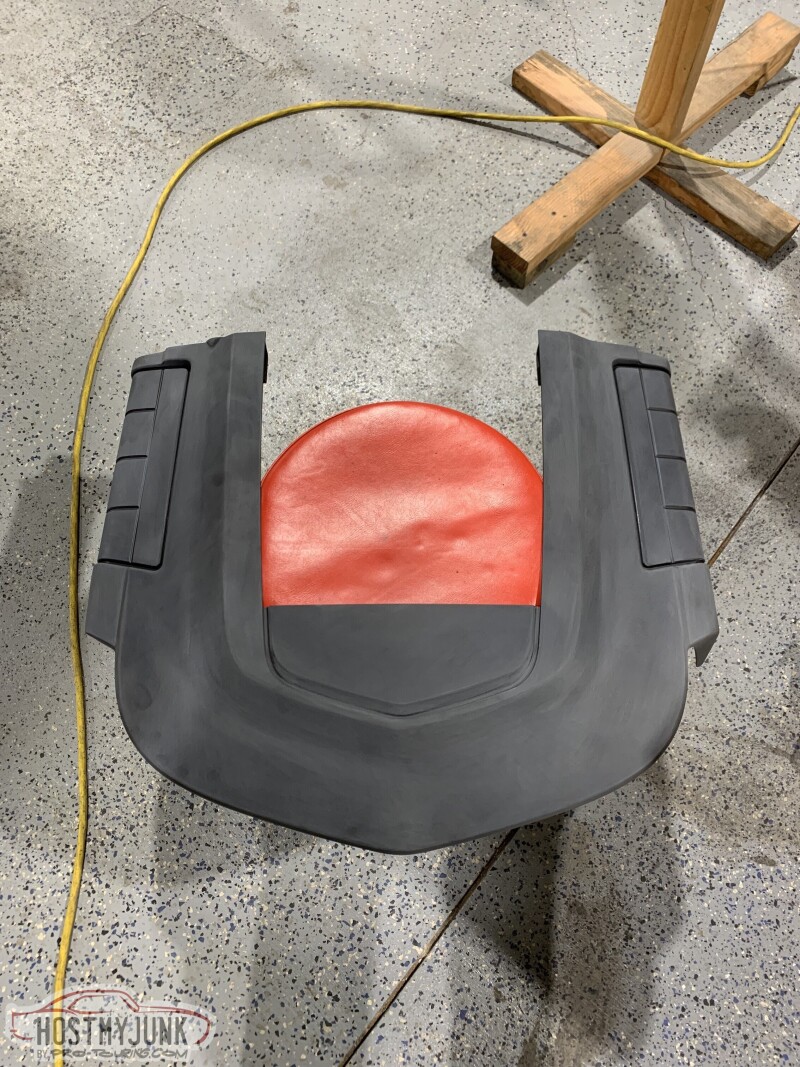
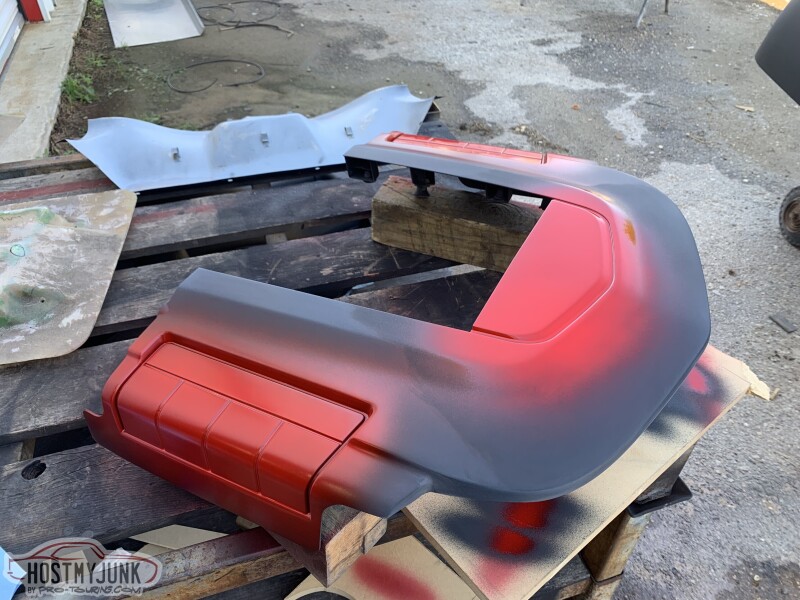
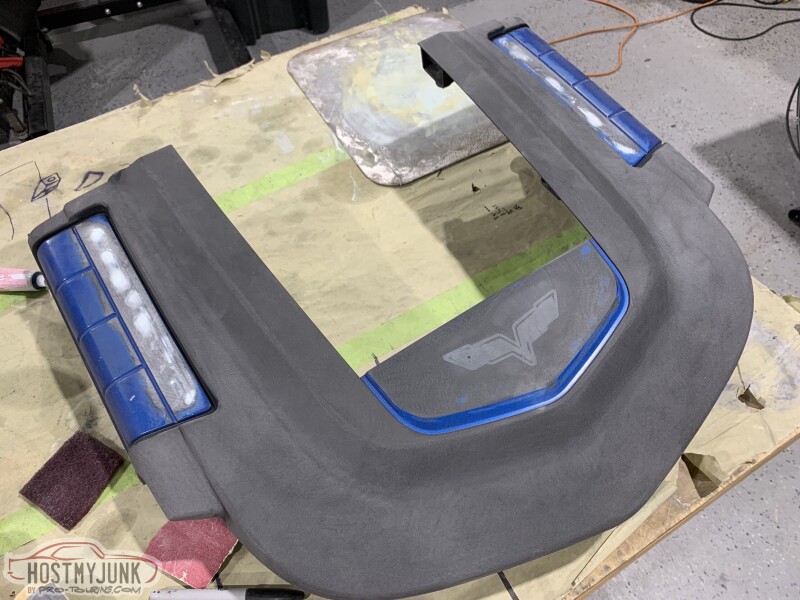
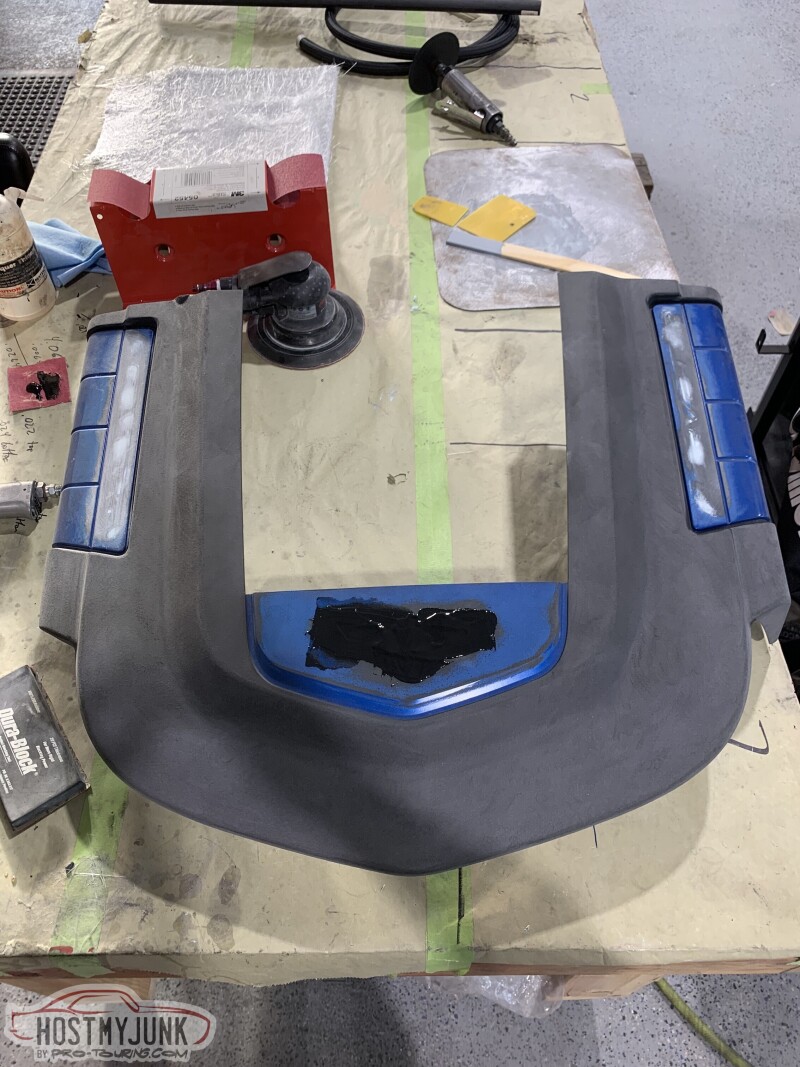
Some body and paint work on the firewall to get that moving in the right direction as well as the supercharger lid and cover. I'm a big fan of this red and black color combo that will be against a matte black engine bay and the metallic blue the car will be.
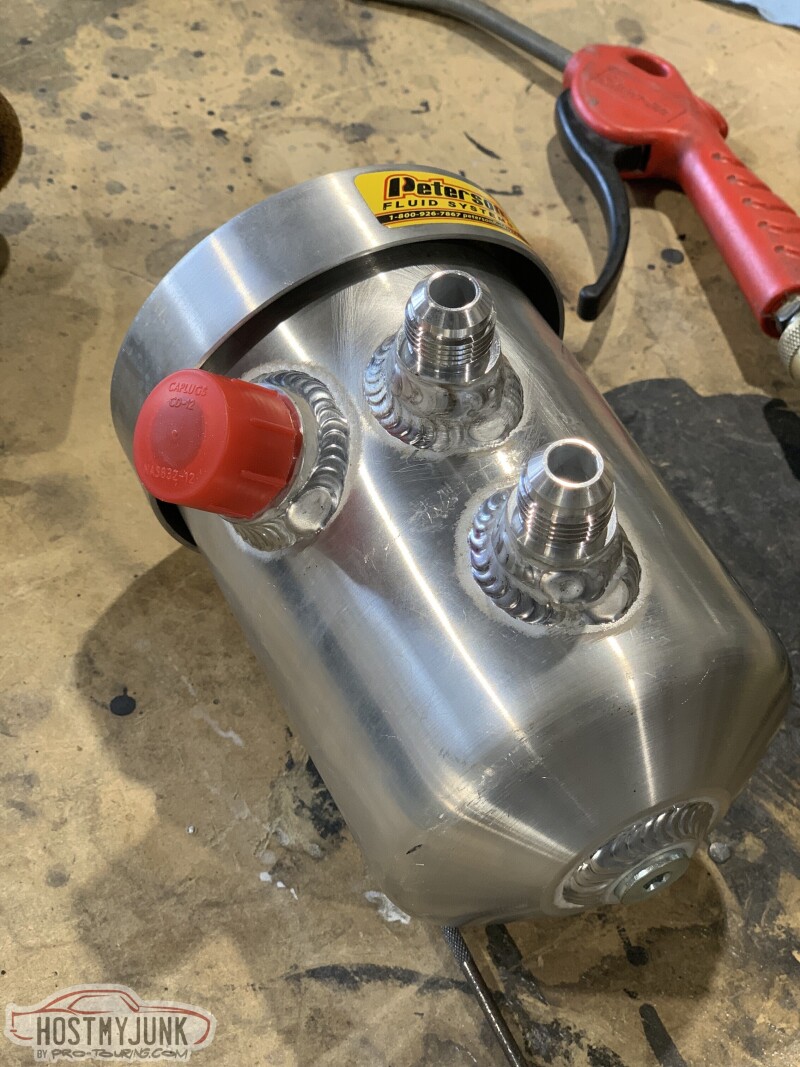
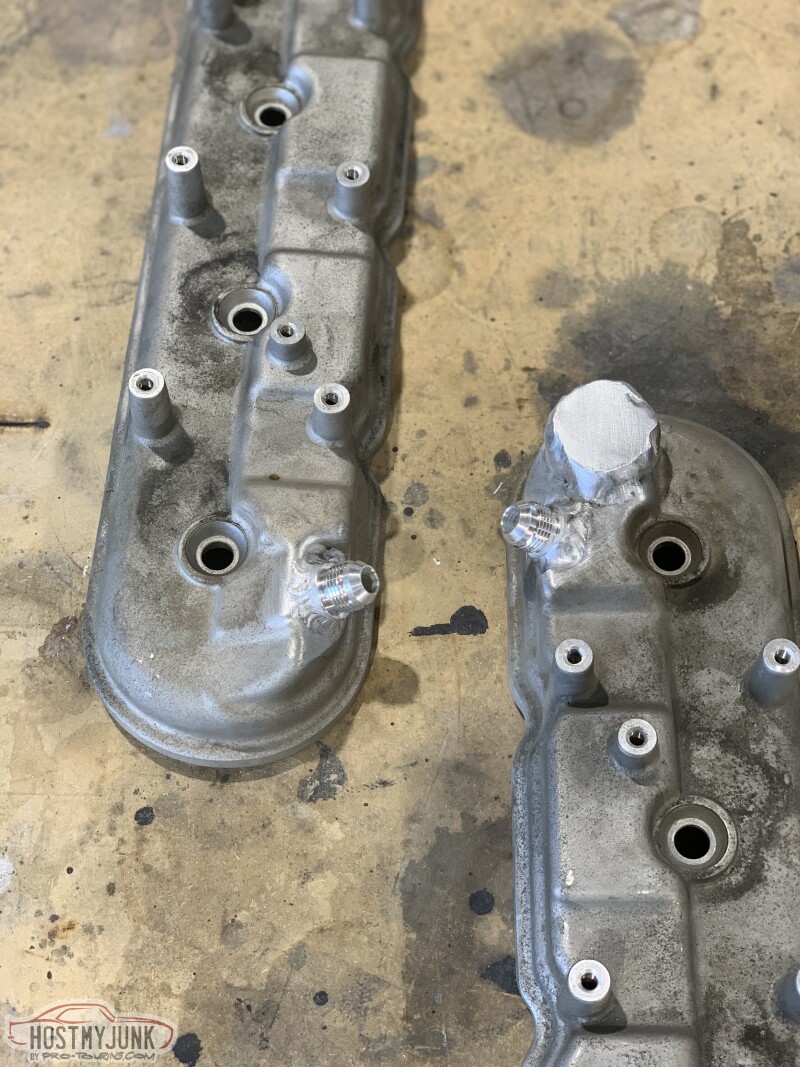
The engine has been mostly assembled and I welded AN fittings to the valve covers and bigger fittings on the breather tank.
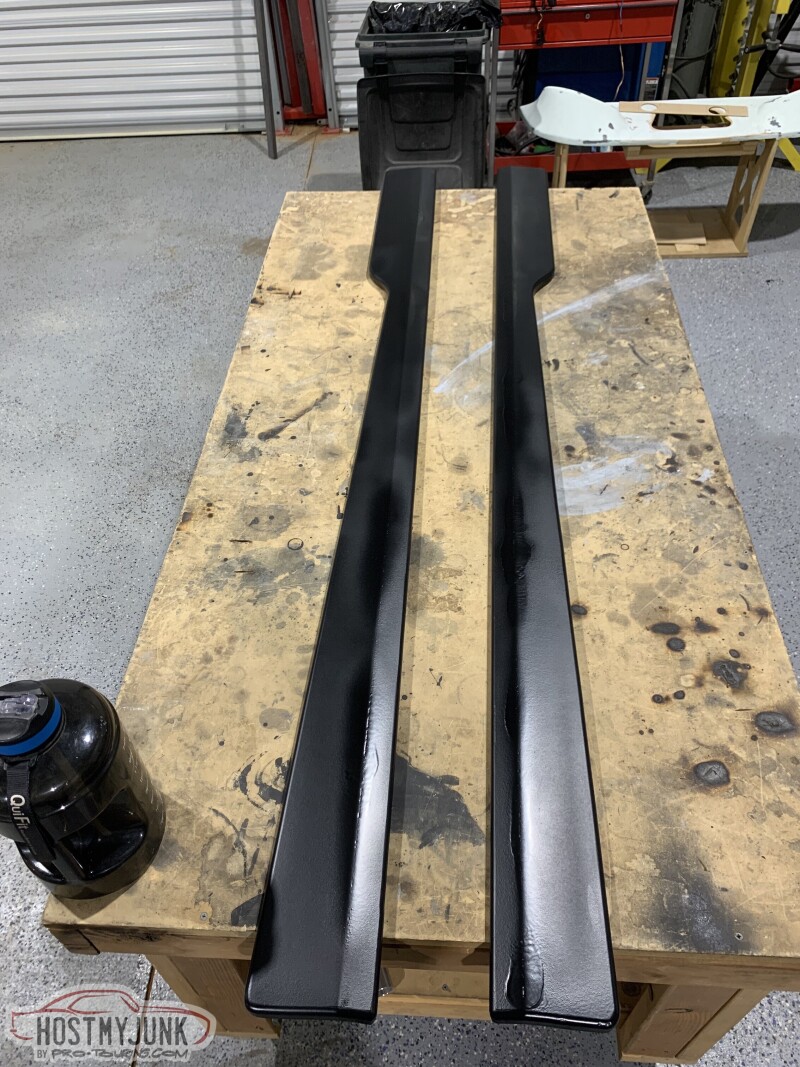
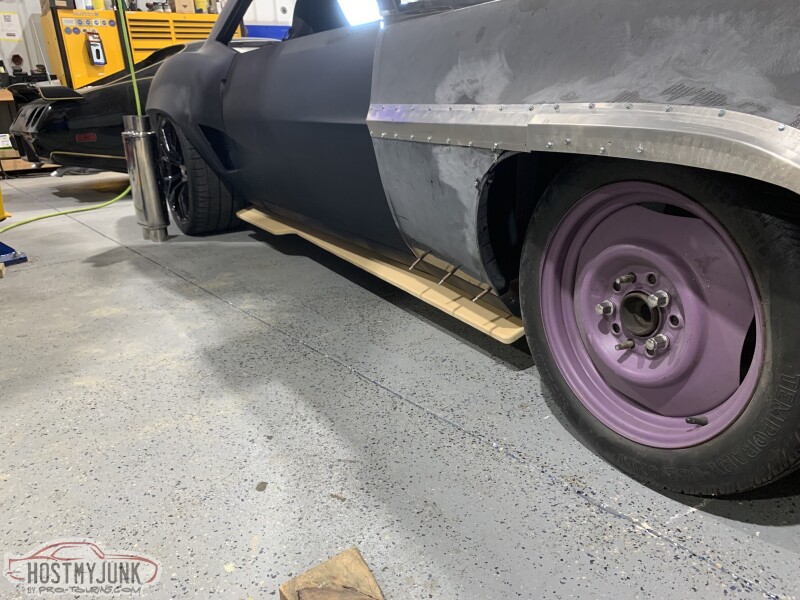
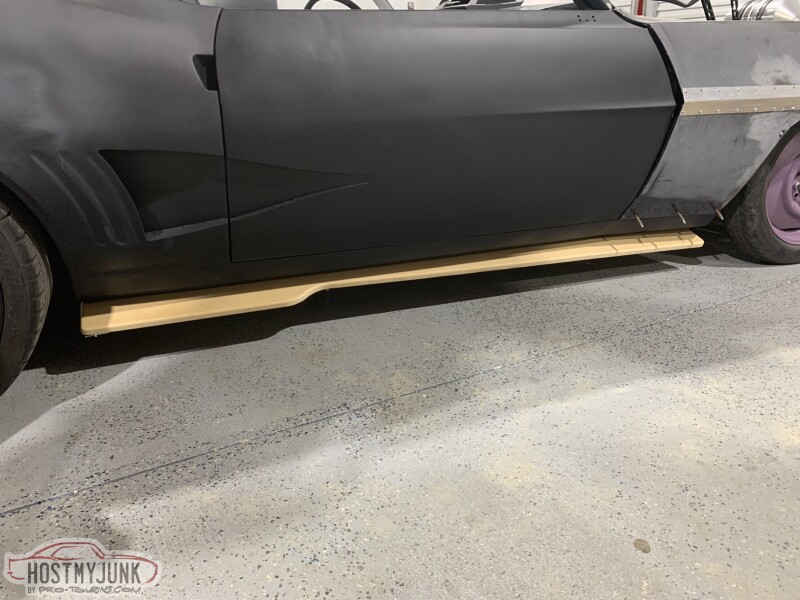
Around this time I started to work on the side skirts and get them ready to make molds from.

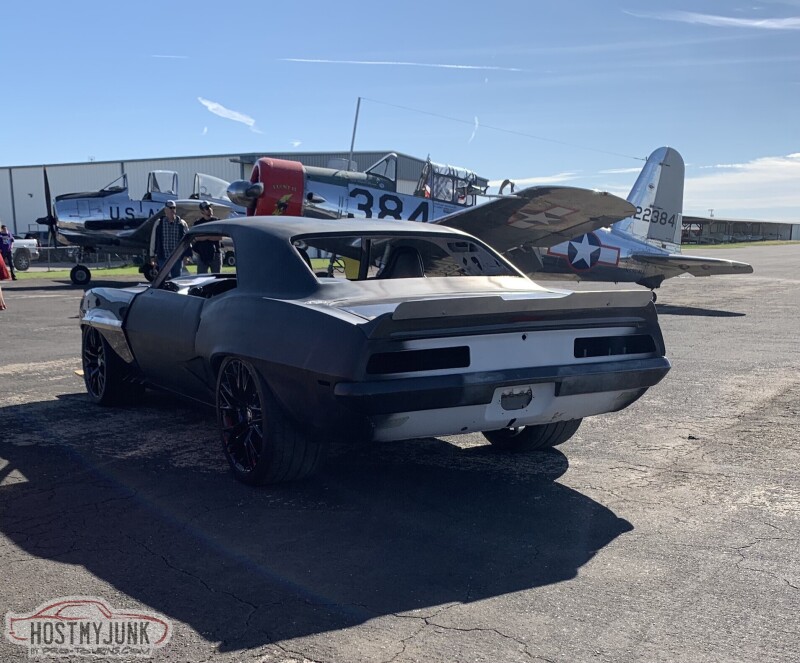
I also took the car to a local car show. Turns out I wasn't the only trailed car there.
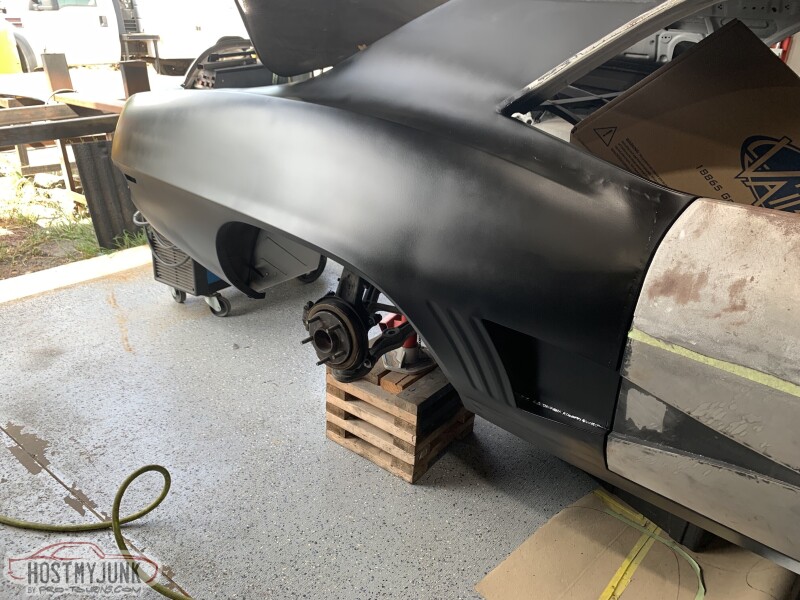
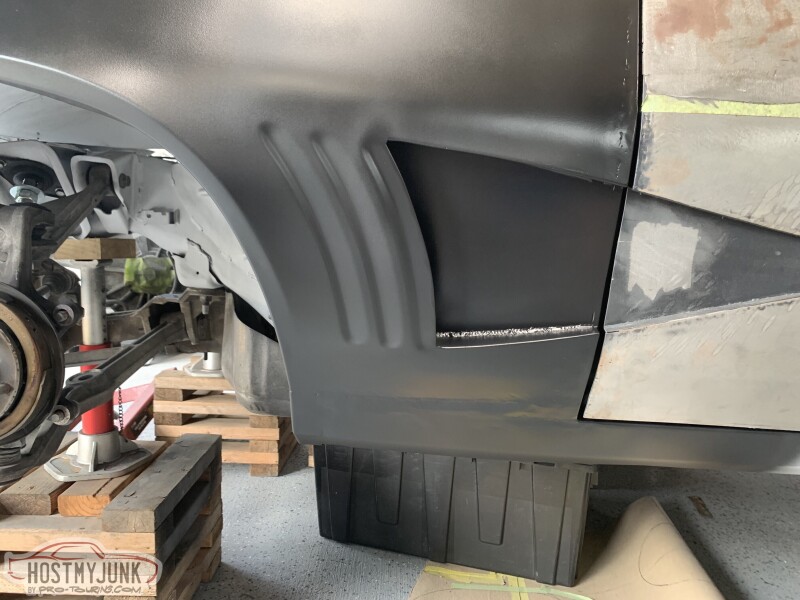
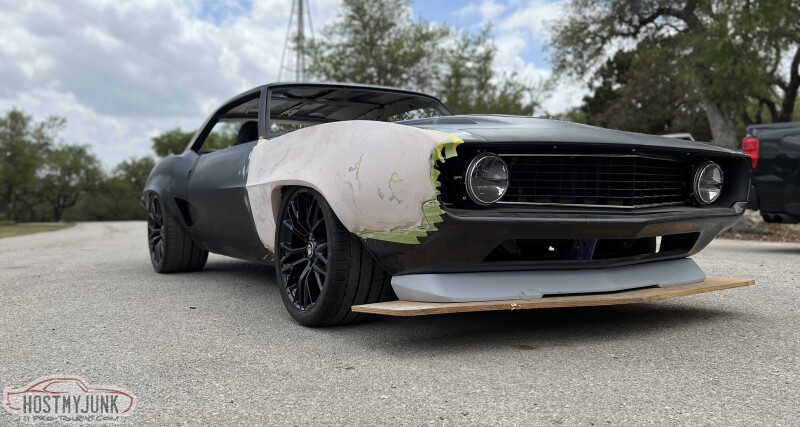
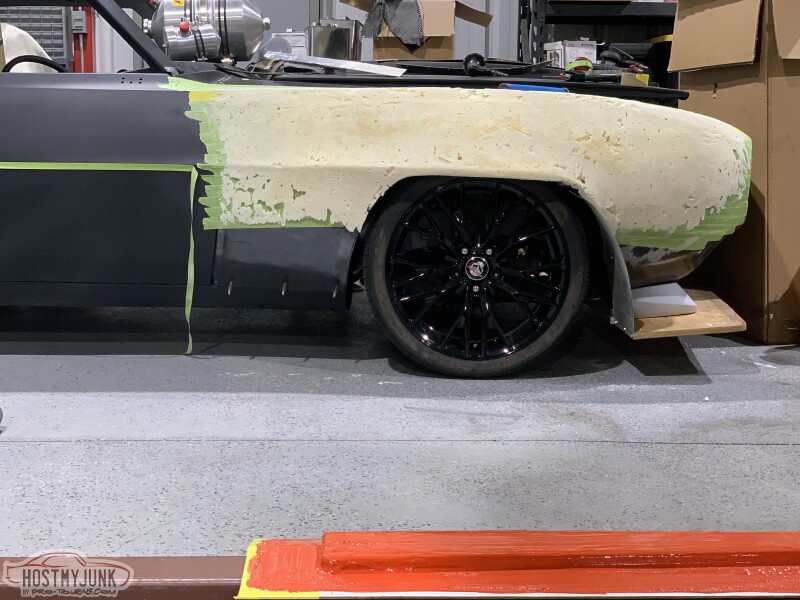
- - - Updated - - -
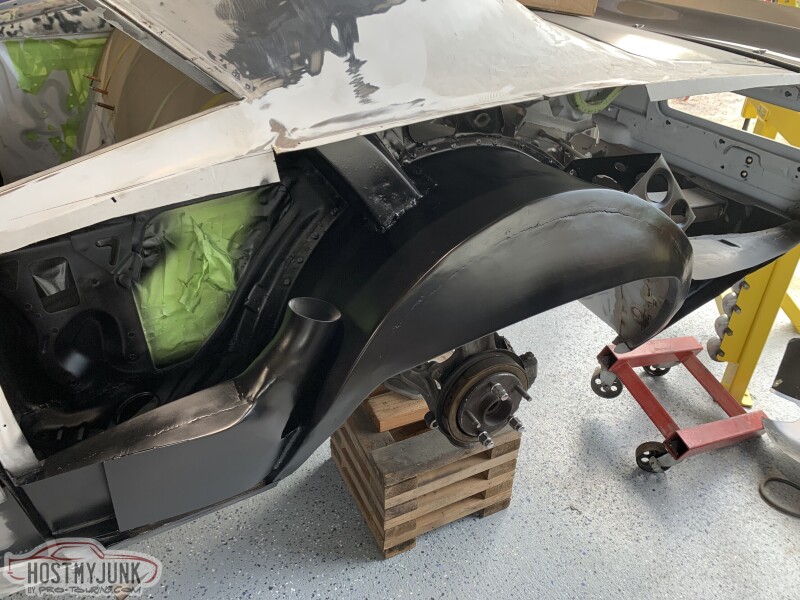
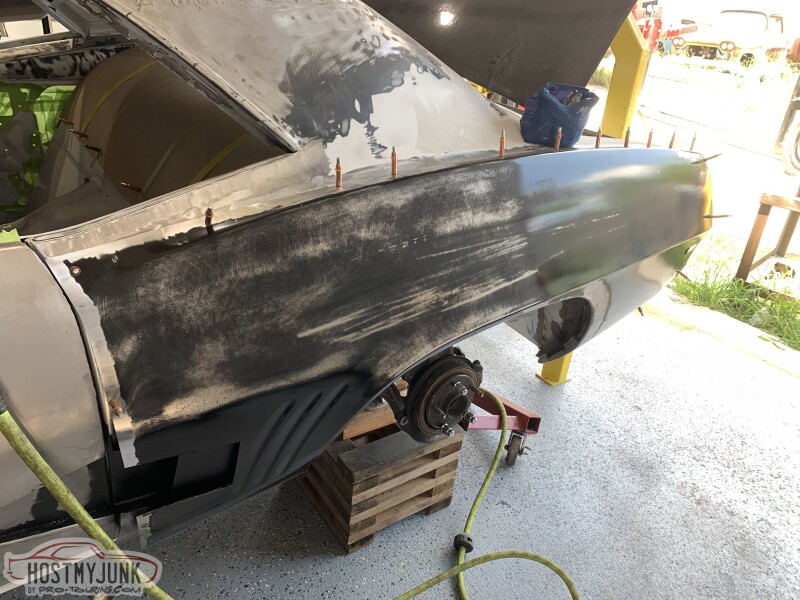
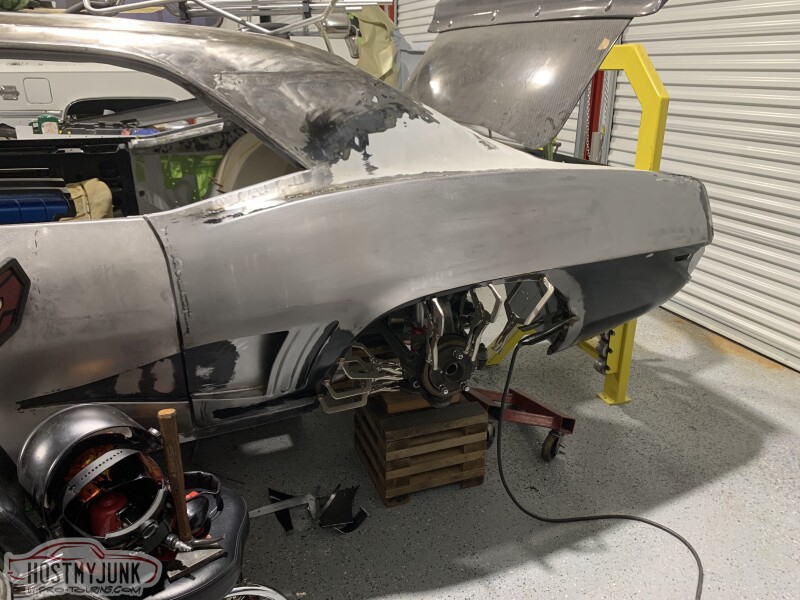
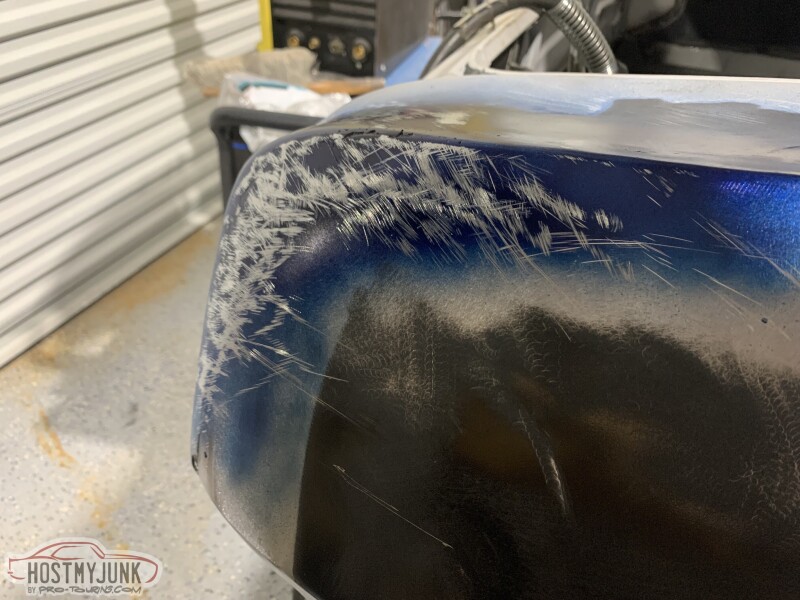
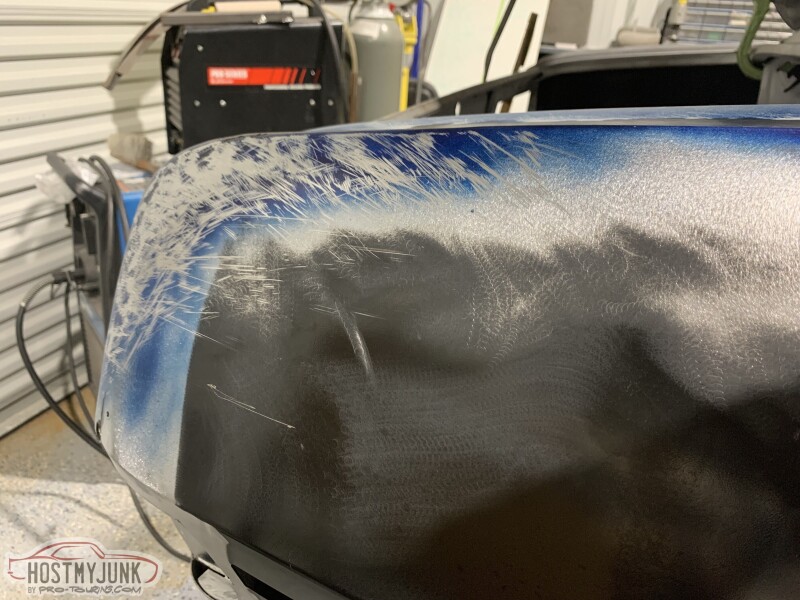
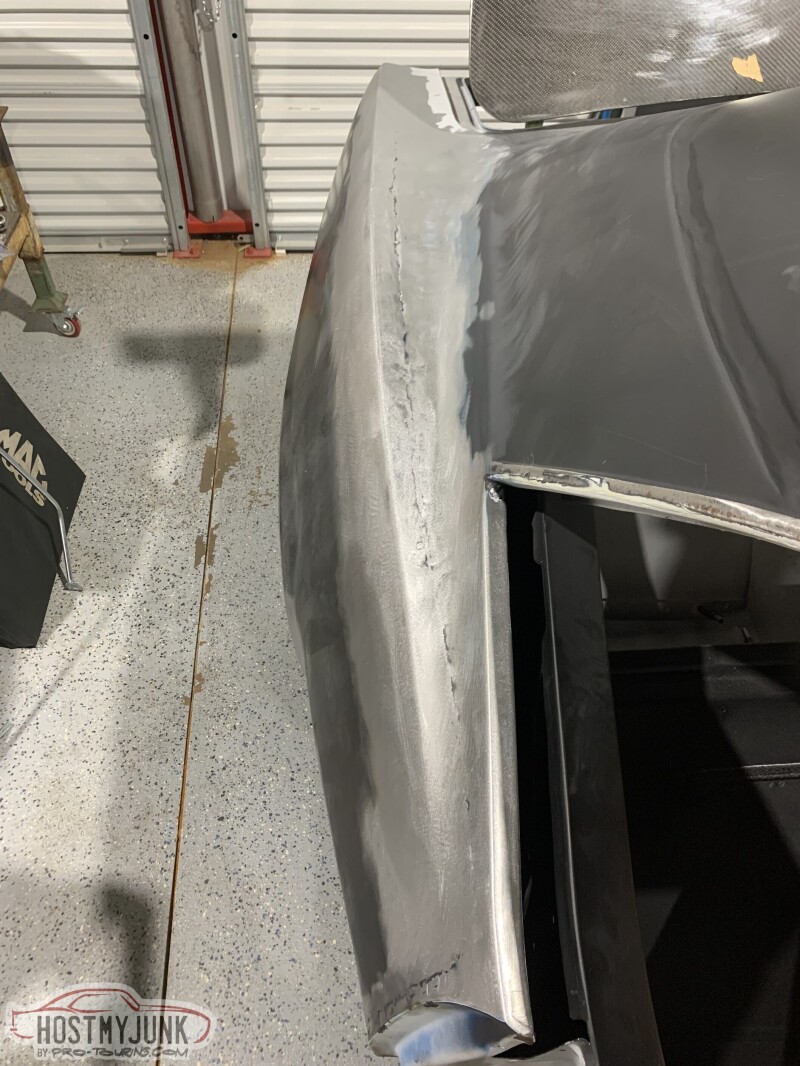
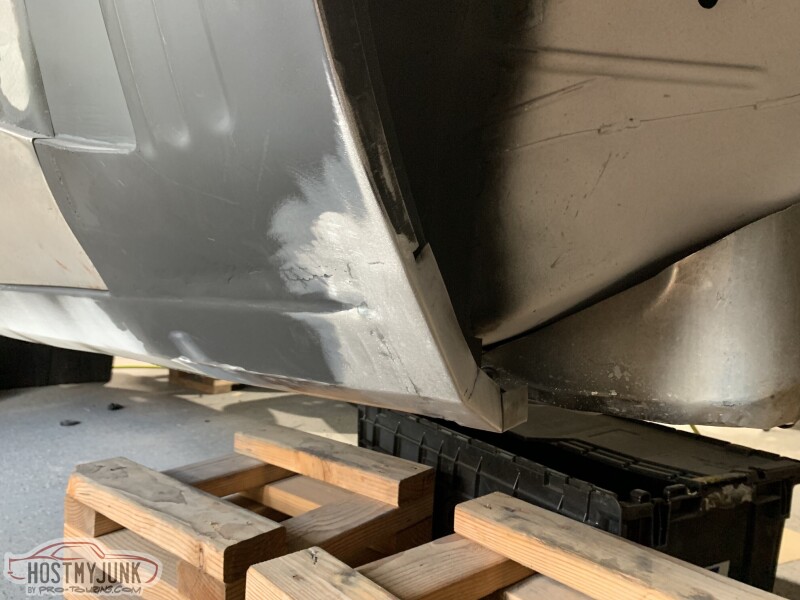
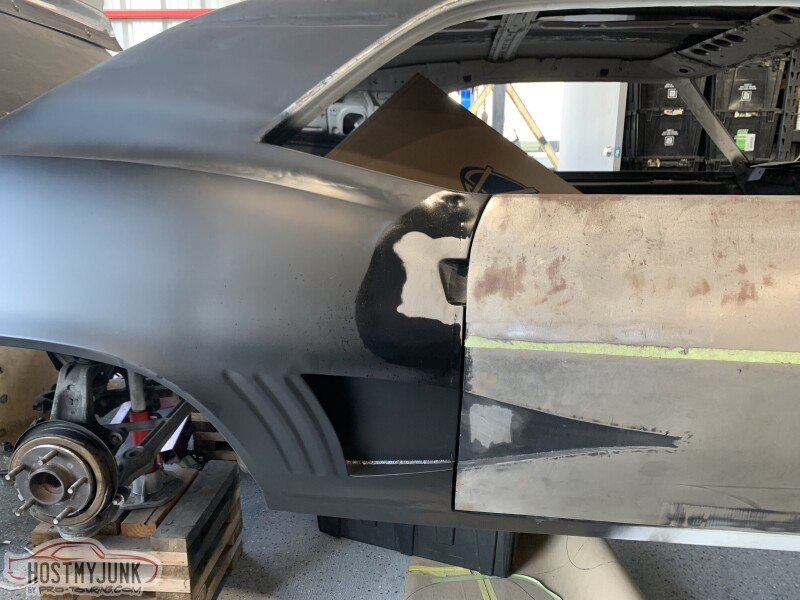
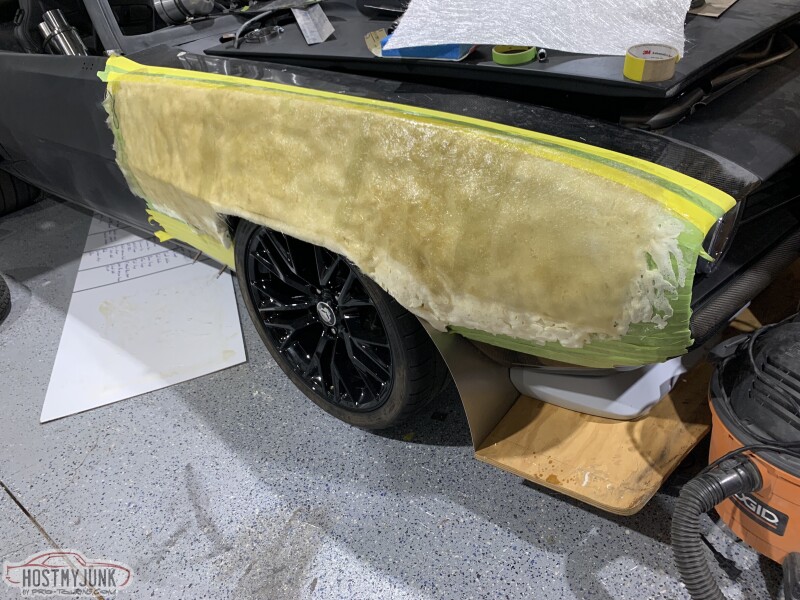
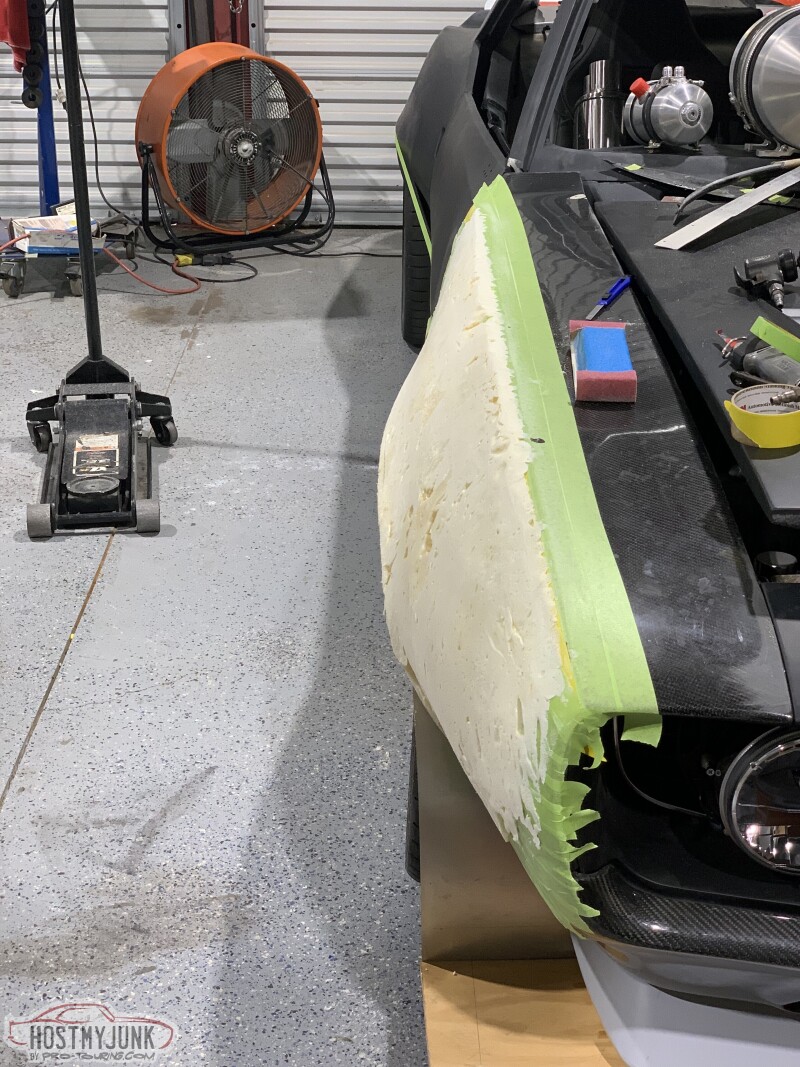
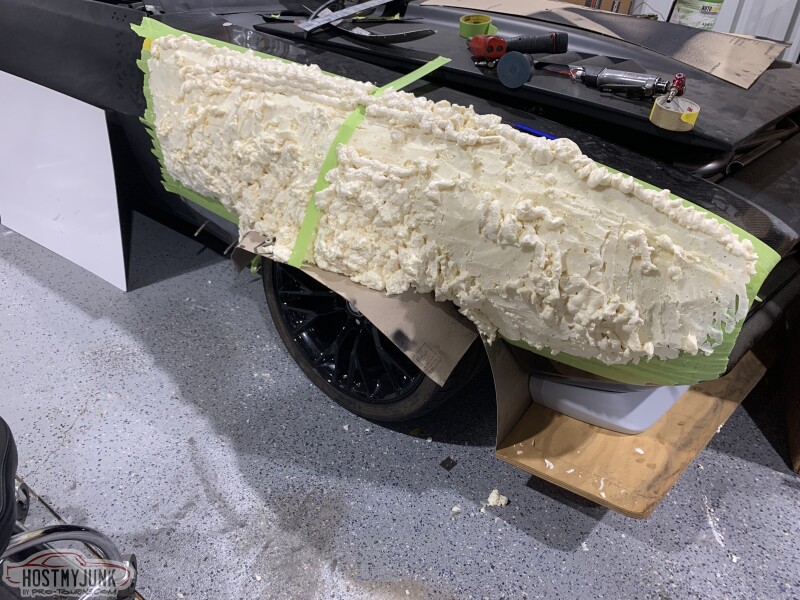
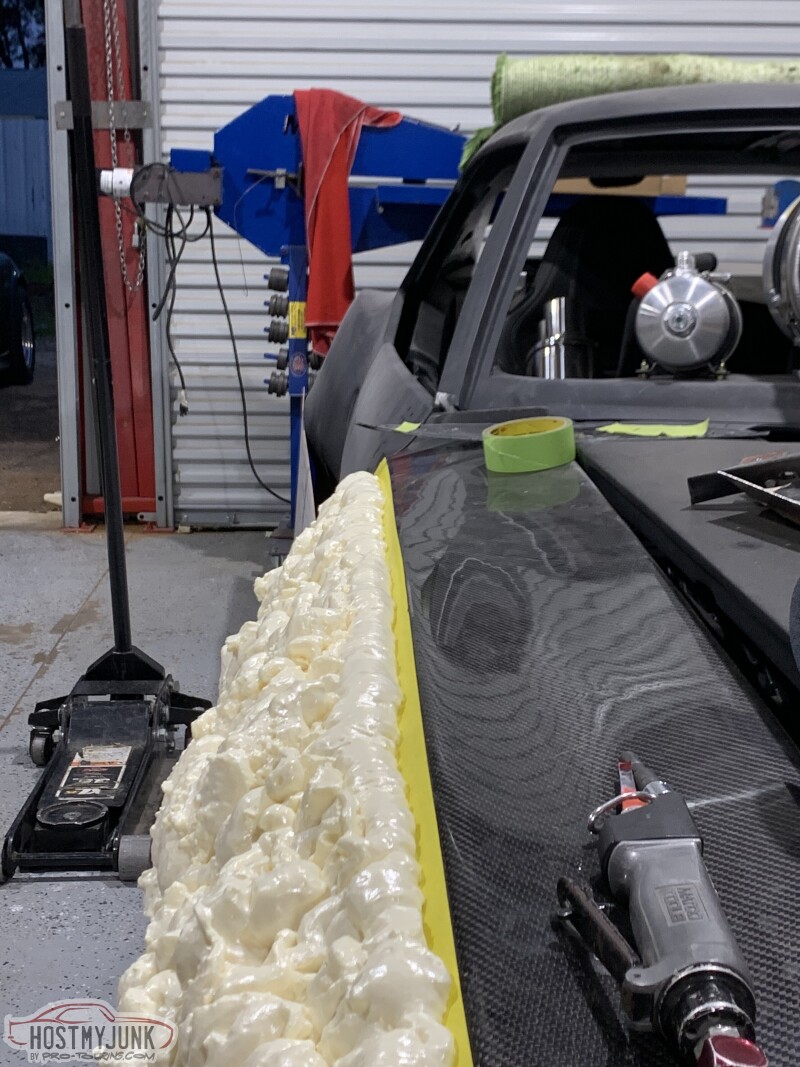
I've been messing with the wider body up front to clear the wheels. I used foam as a base then fiberglass to get a little more solid and shaped it with body filler. After all this is final I'll prime and paint it, wet sand, then buff to a high shine so I can make a mold off it then make a carbon fiber panel to replace everything with.
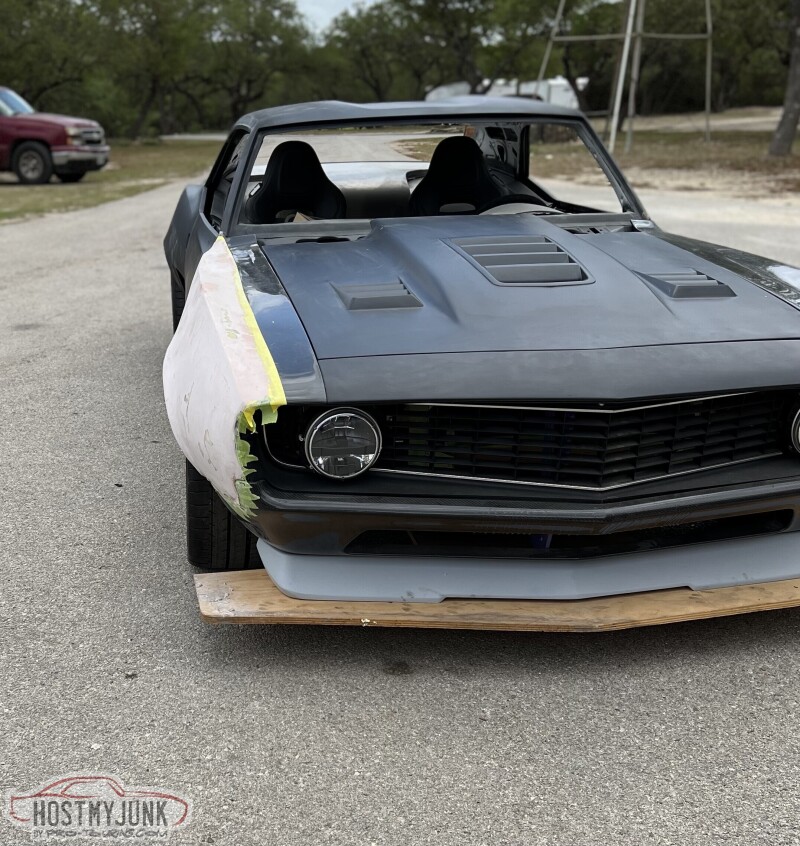
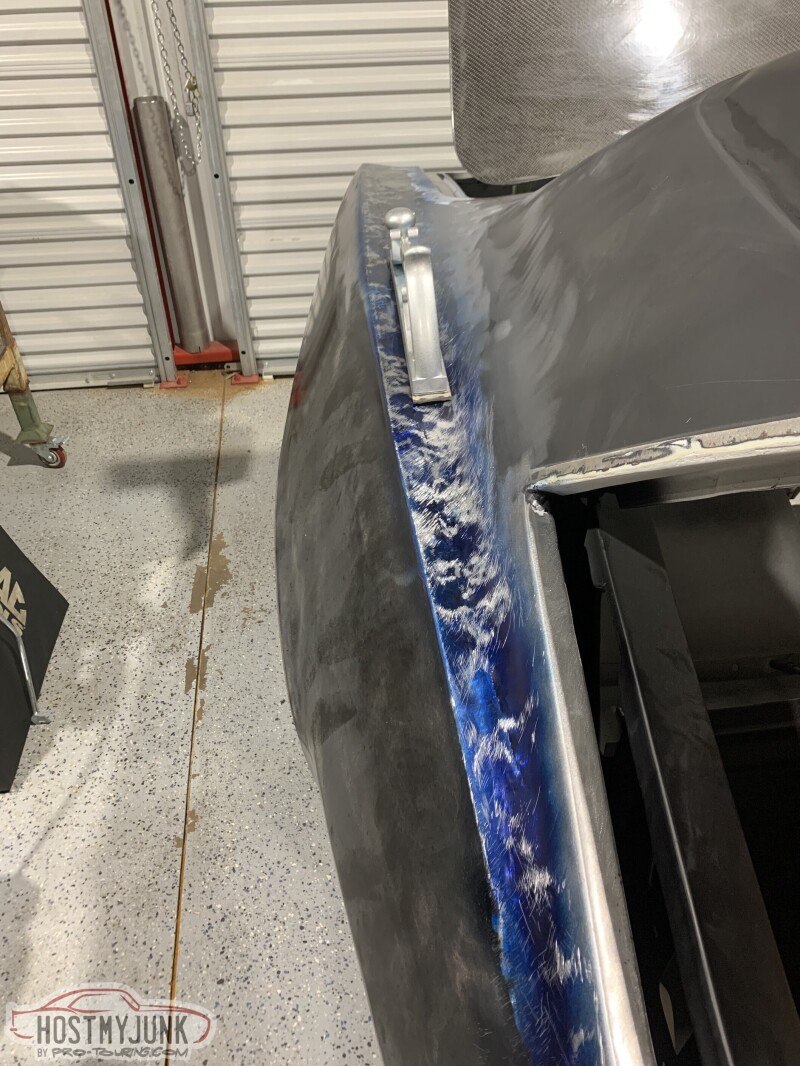
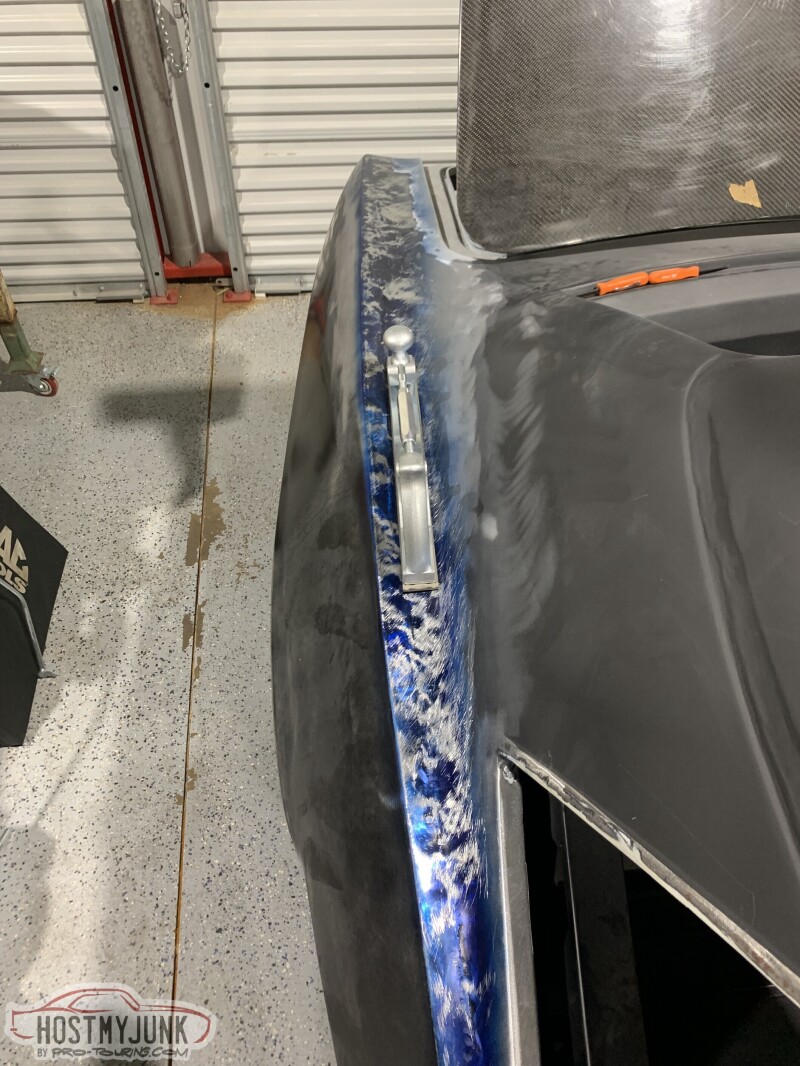
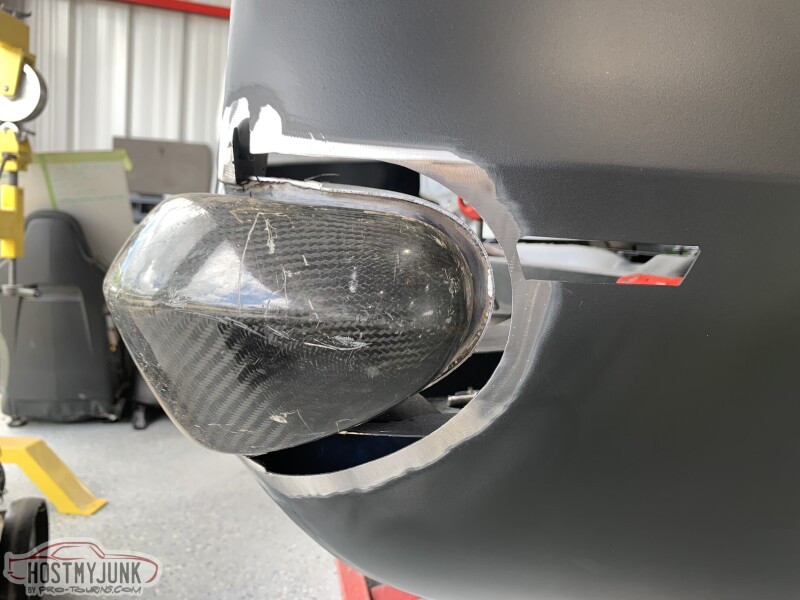
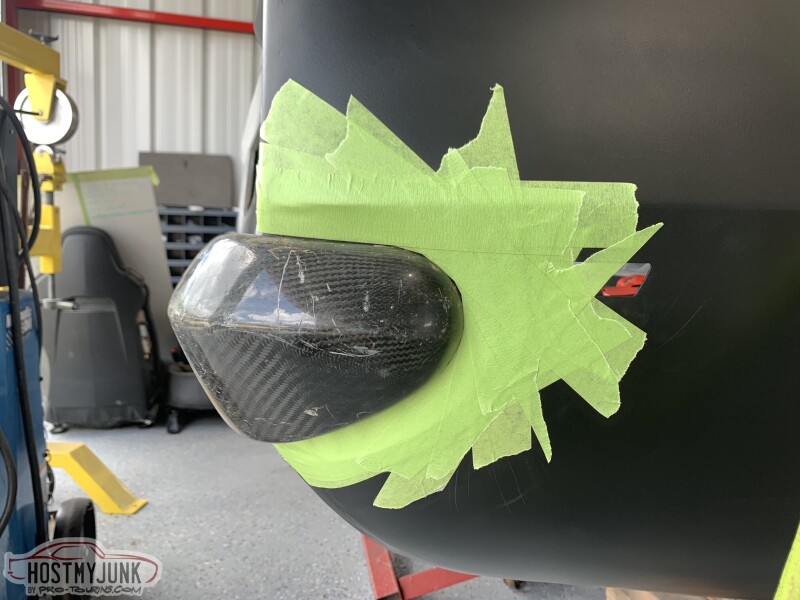
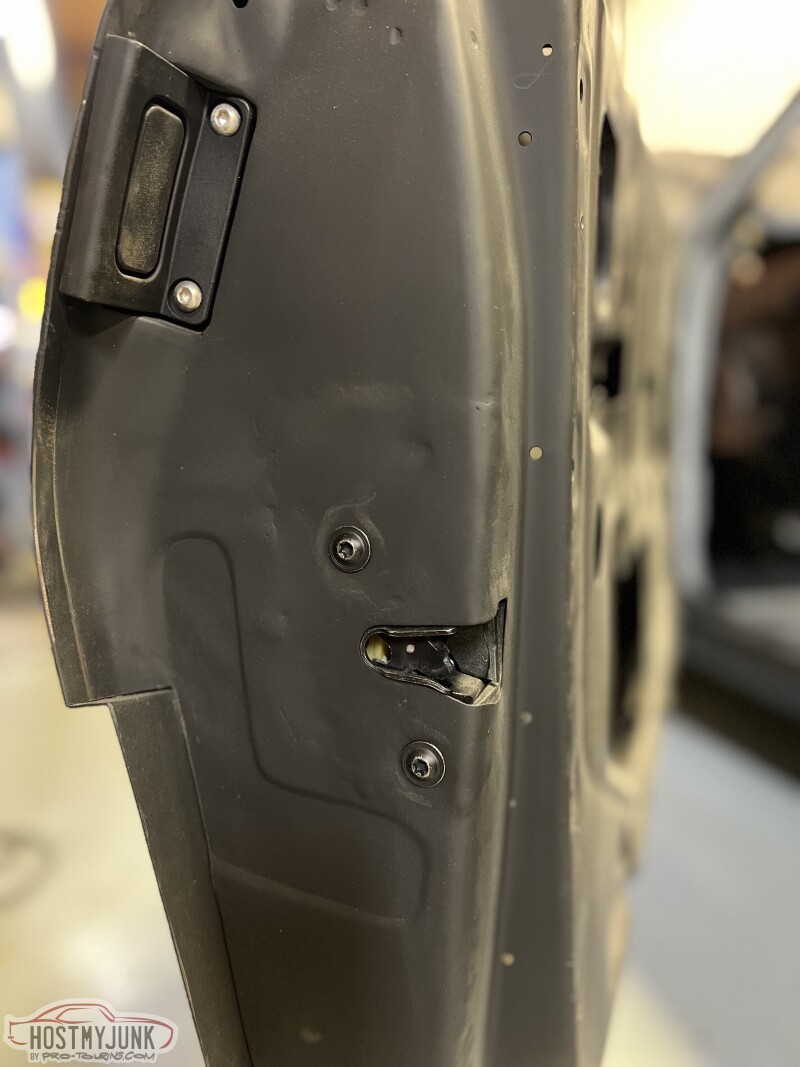
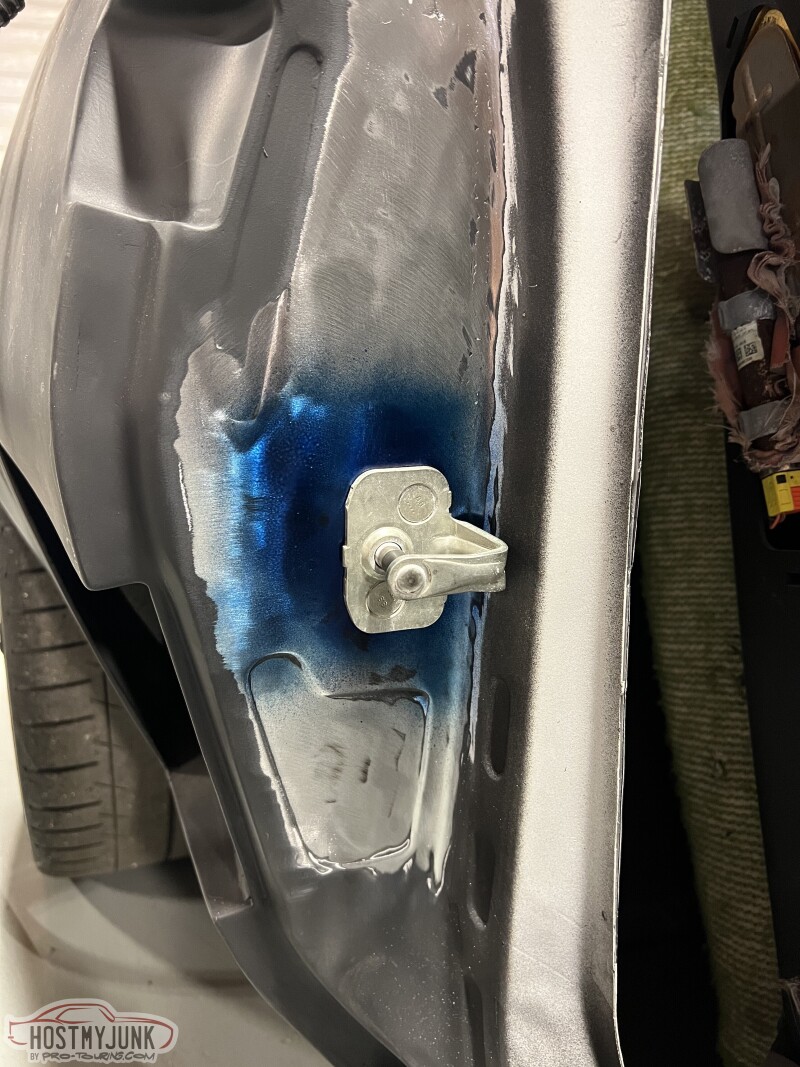
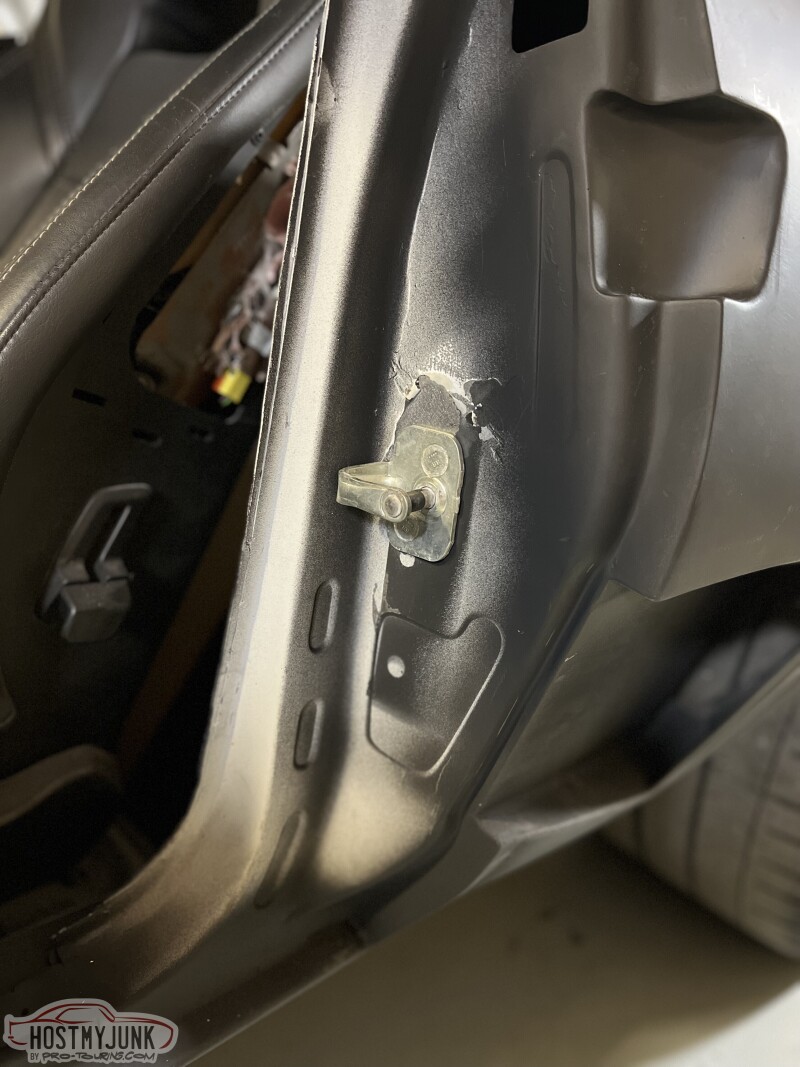
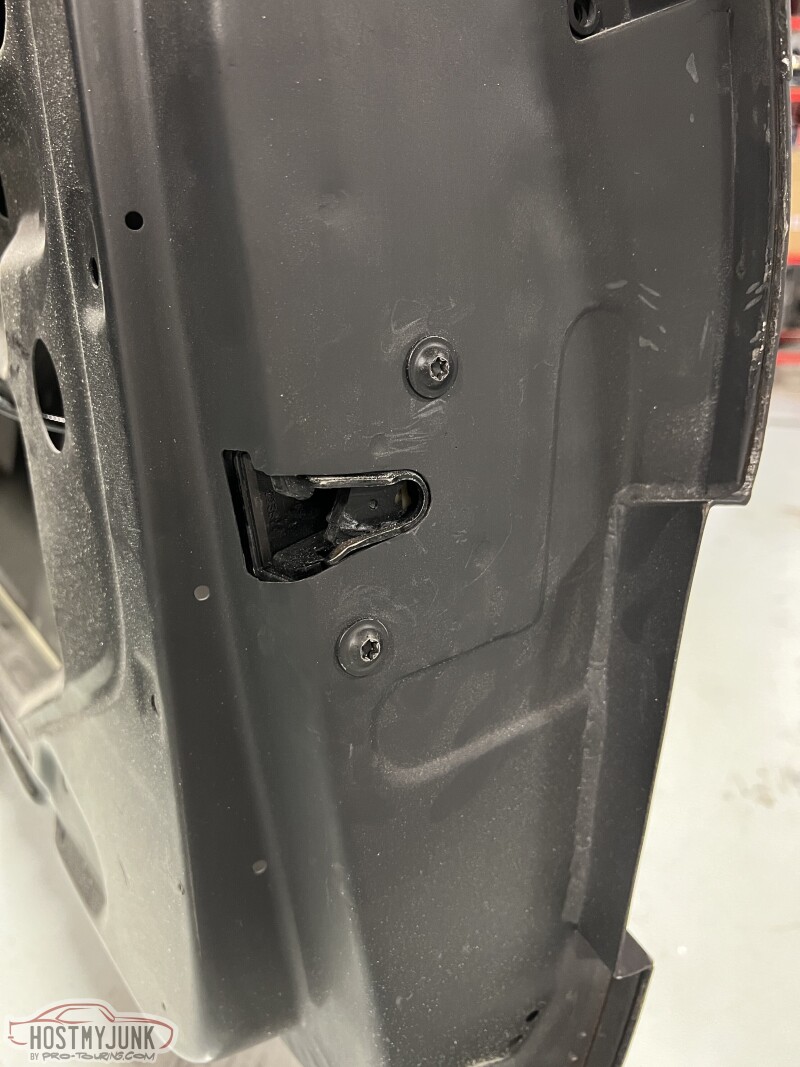
I've also finished up my C6 door latch swap and trimmed the under side of the hood so I could get to the secondary latch when I pop the hood. That will all be repaired with carbon and body worked so it looks like it came that way.
<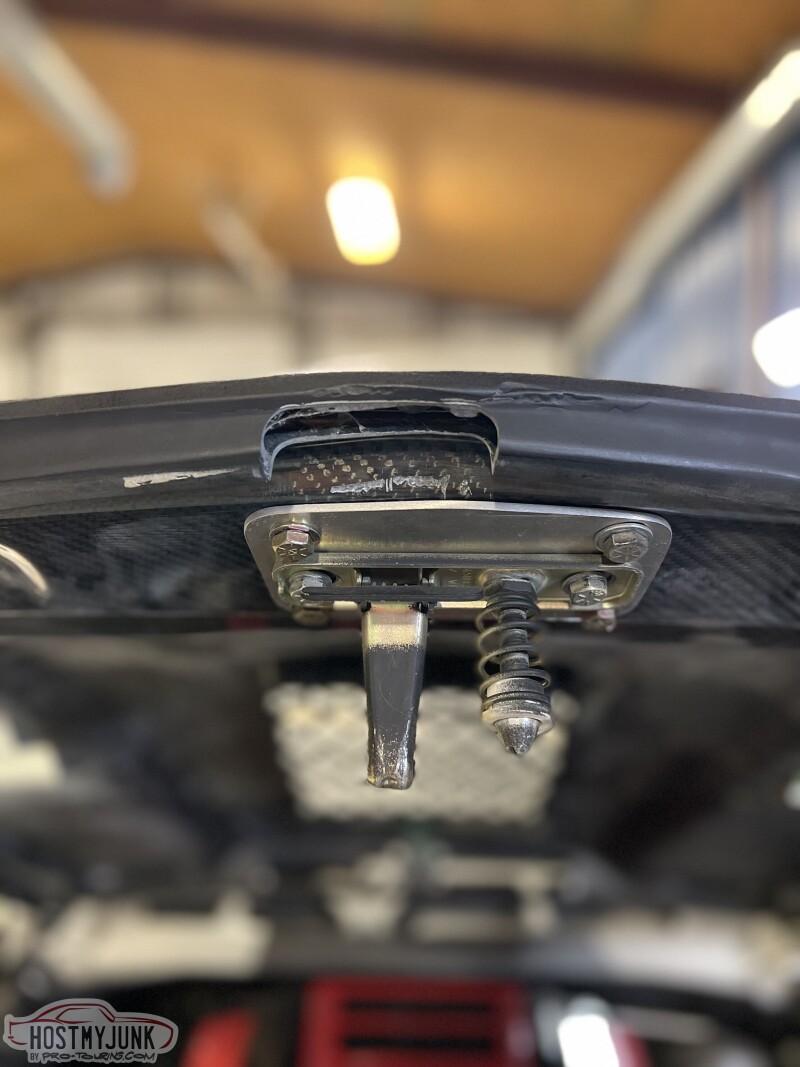
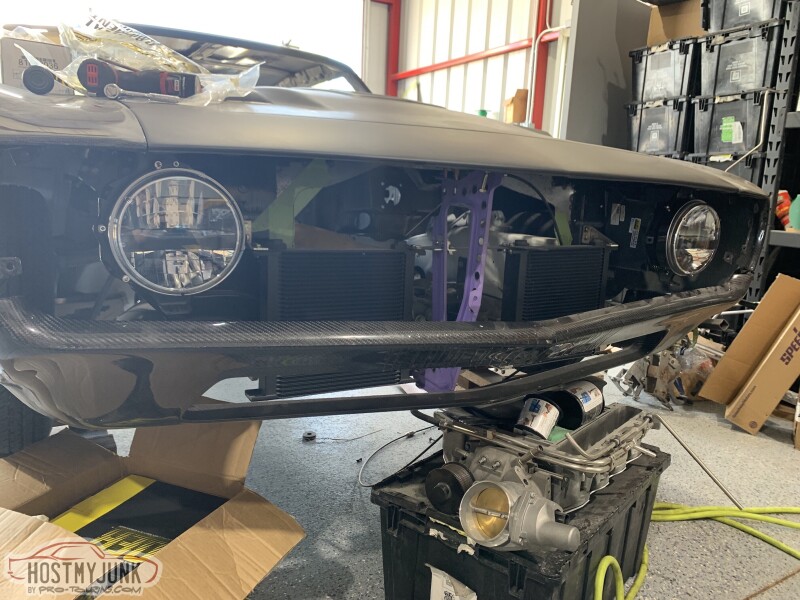
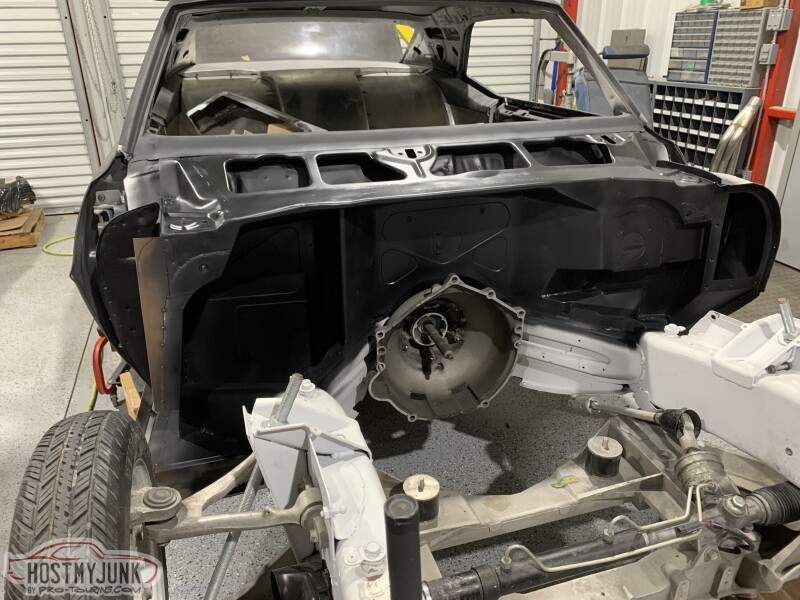
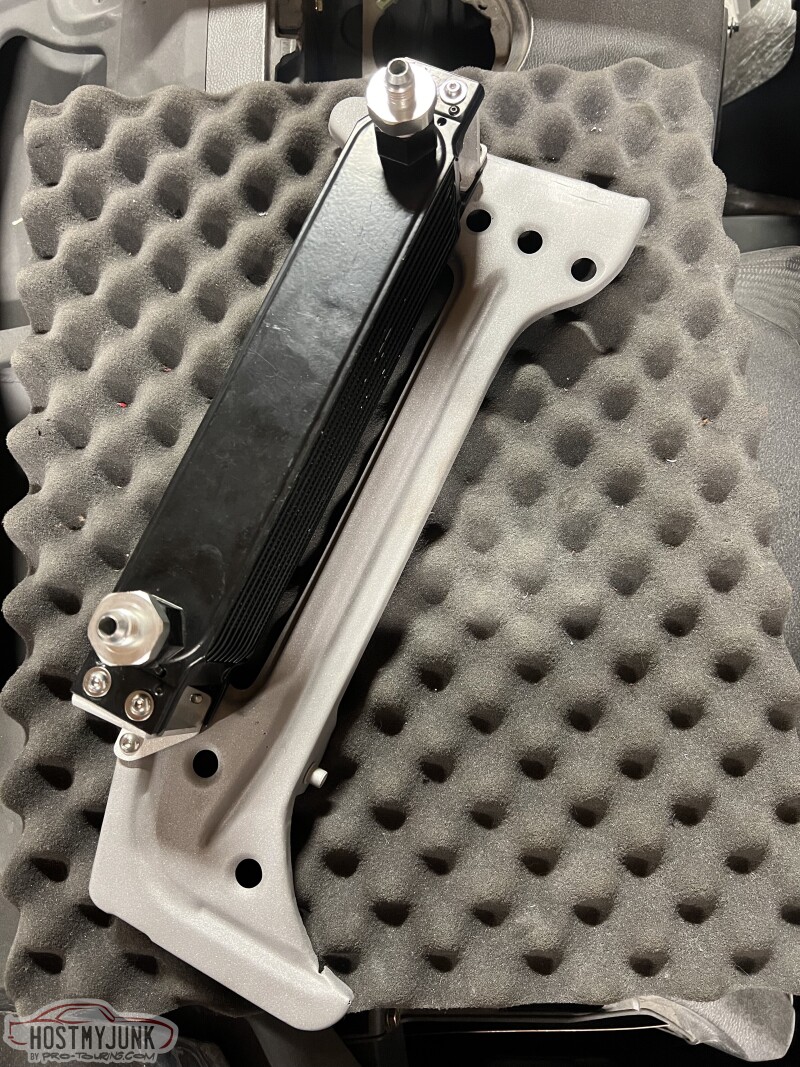
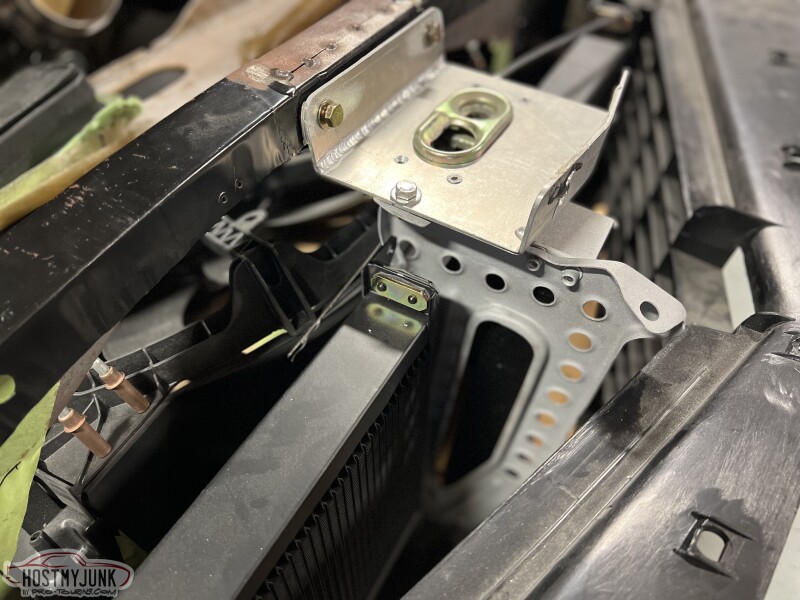
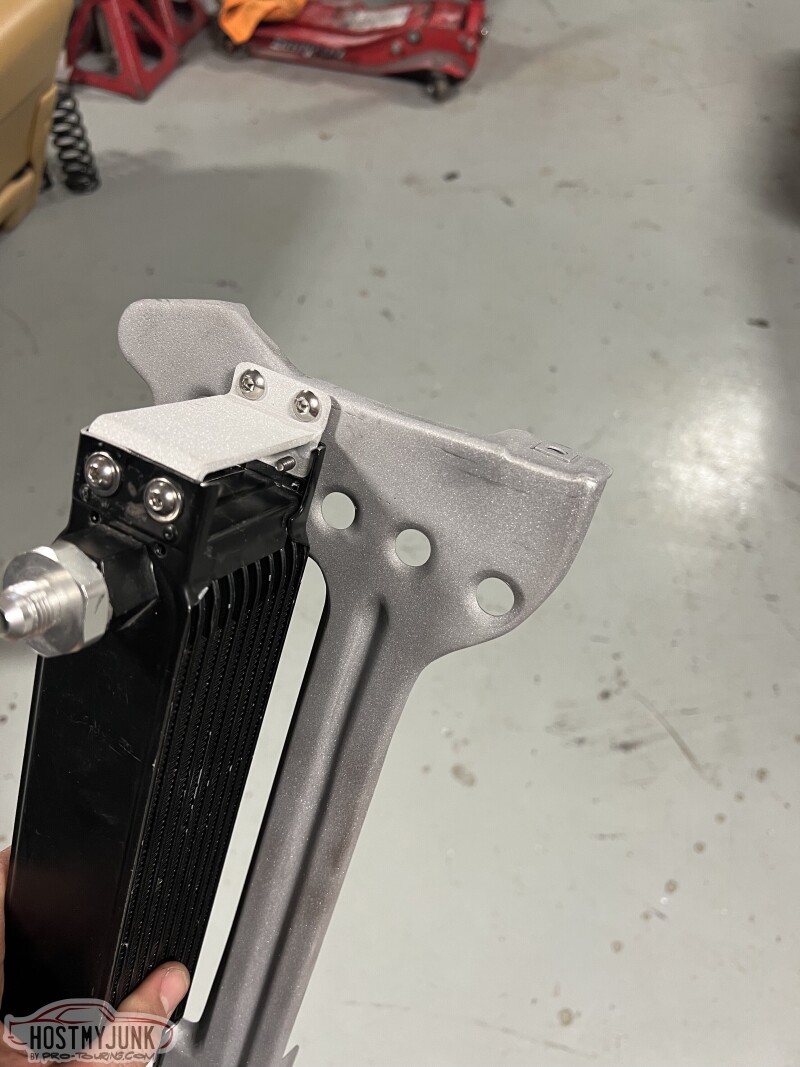
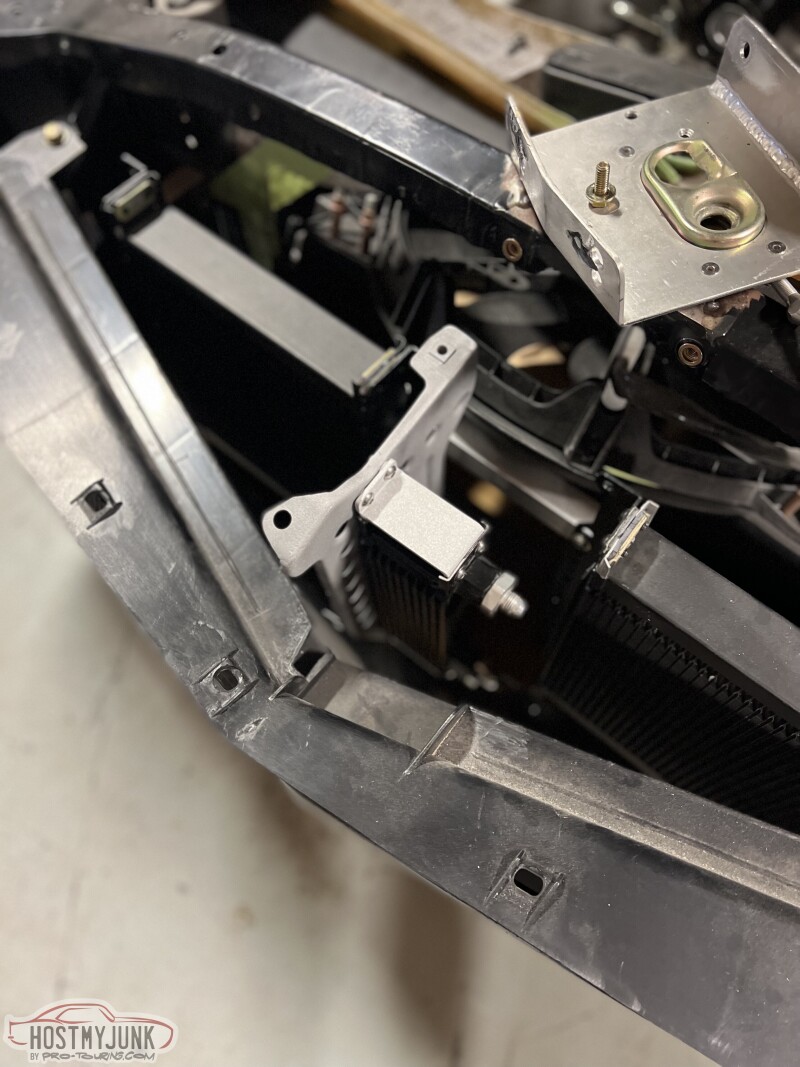
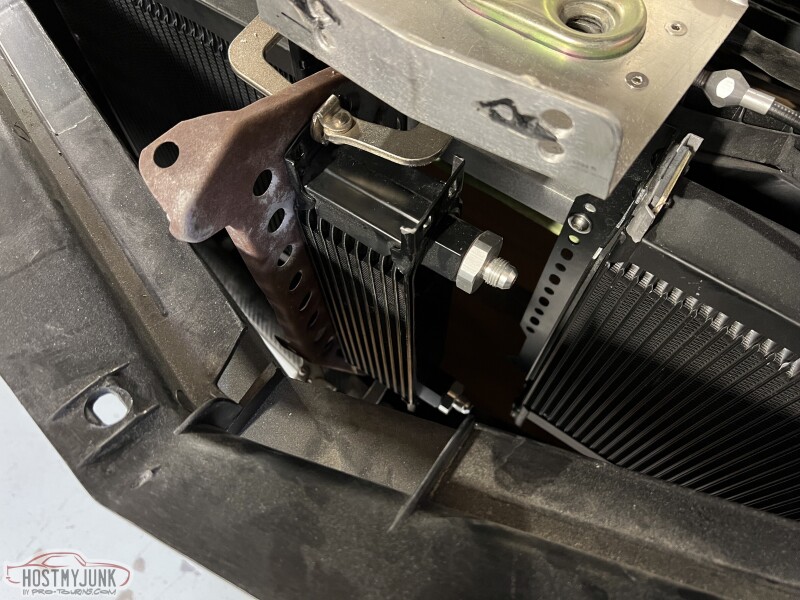
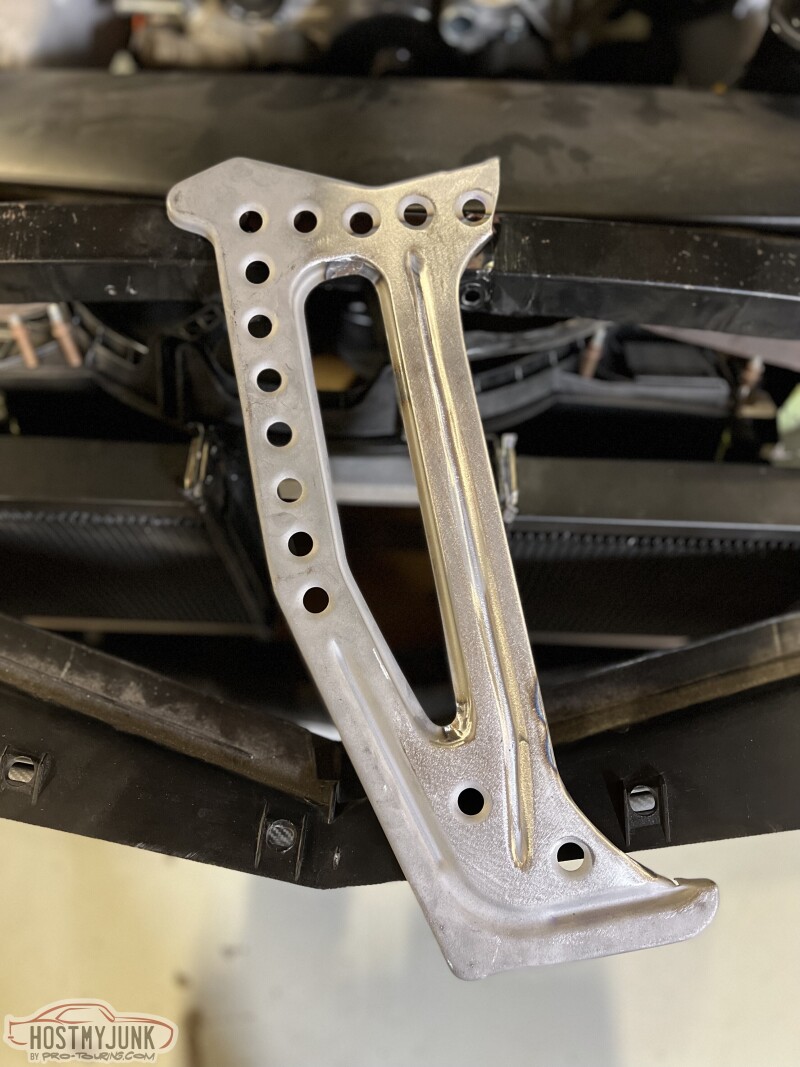
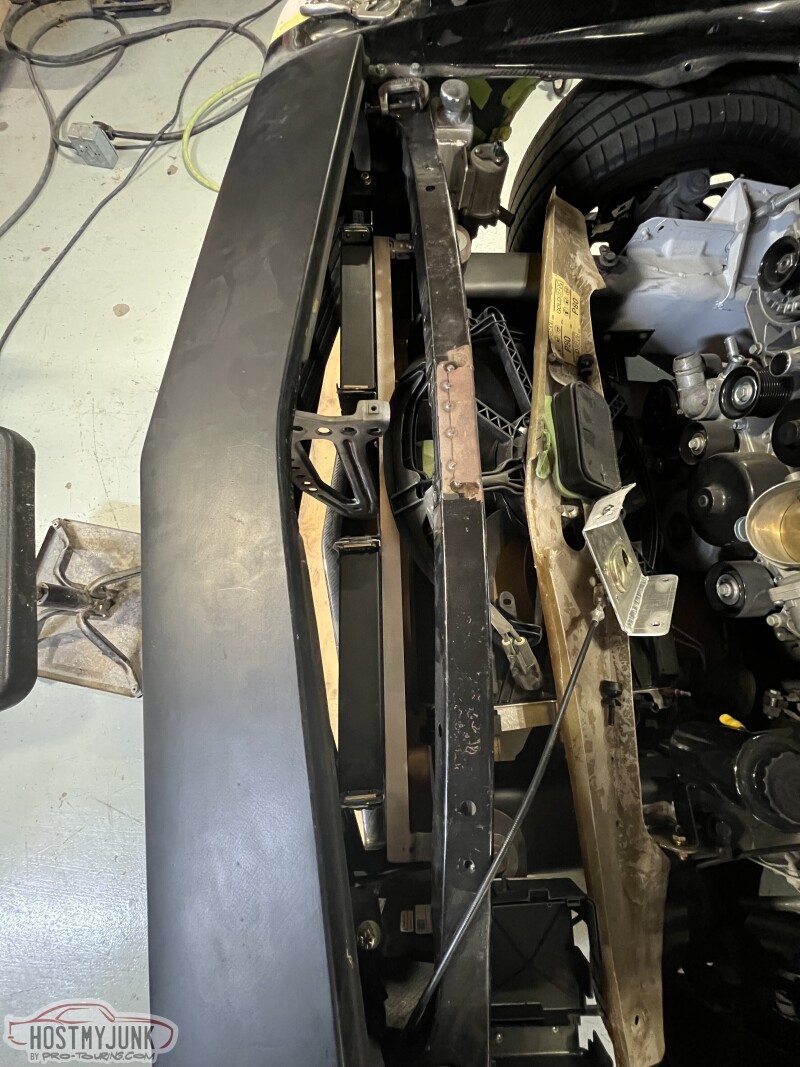
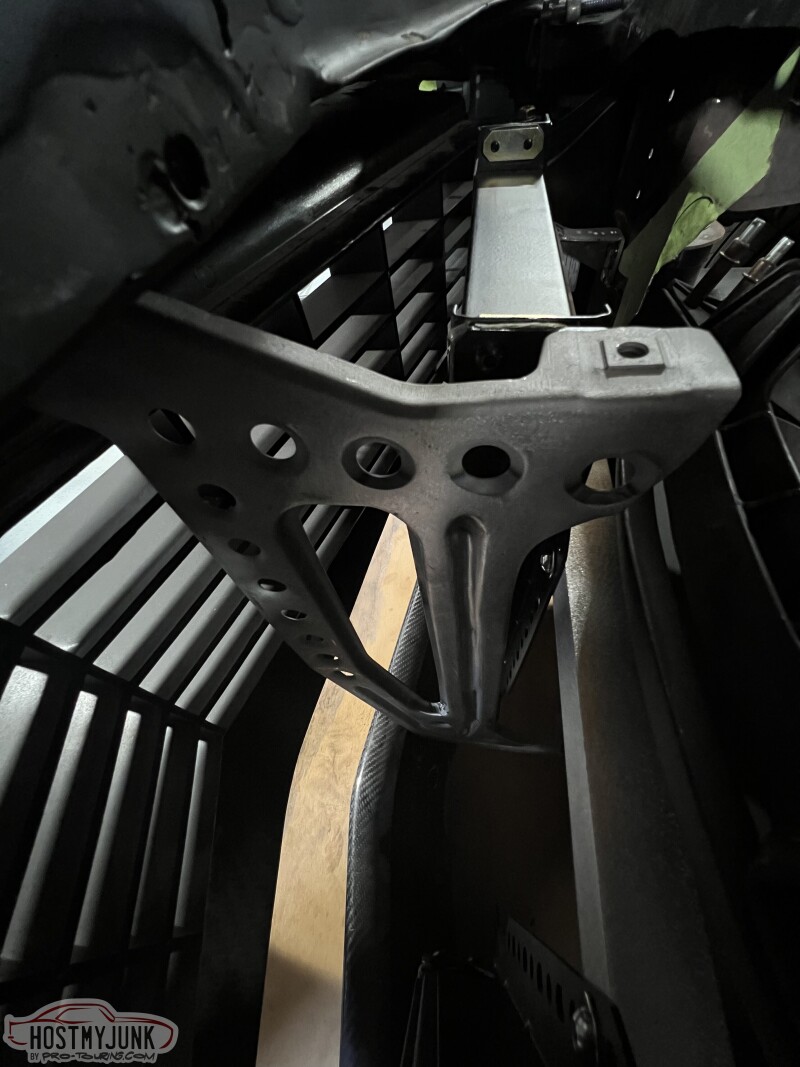
I mounted up the heat exchanger, oil cooler, and power steering cooler. Unless I had a stock one side by side you'd never be able to tell all the work I did on the header panel support to keep it looking factory while clearing the tilted forward radiator, mounting the power steering cooler to it, and raising up the mount to fit the Porsche hood latch. Oh, and dimple die holes for some weight savings.
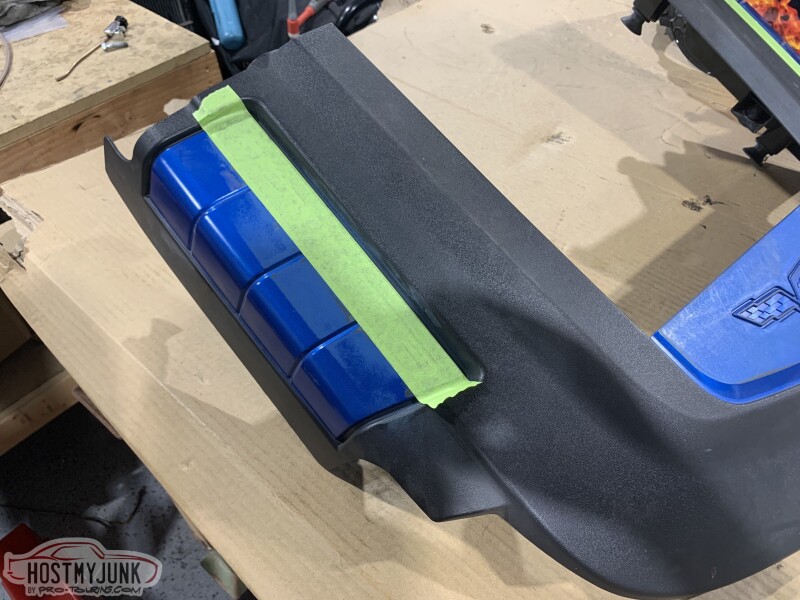
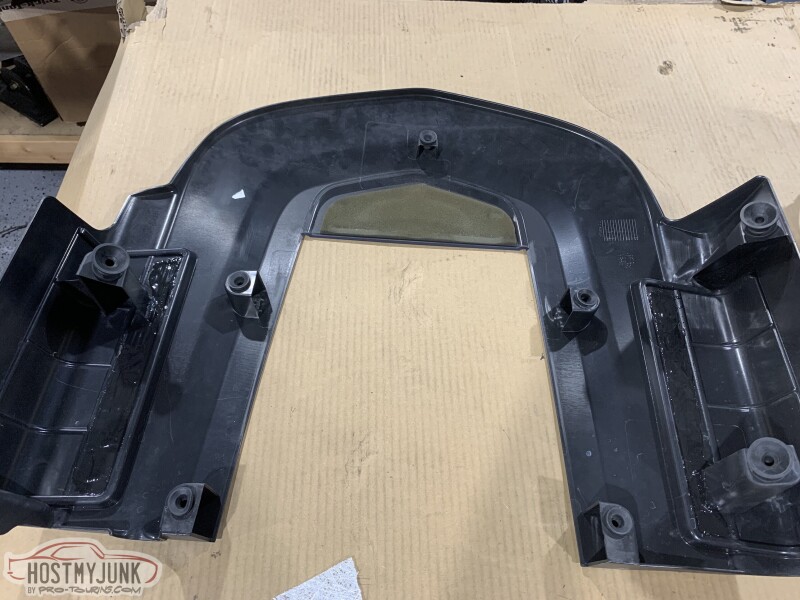
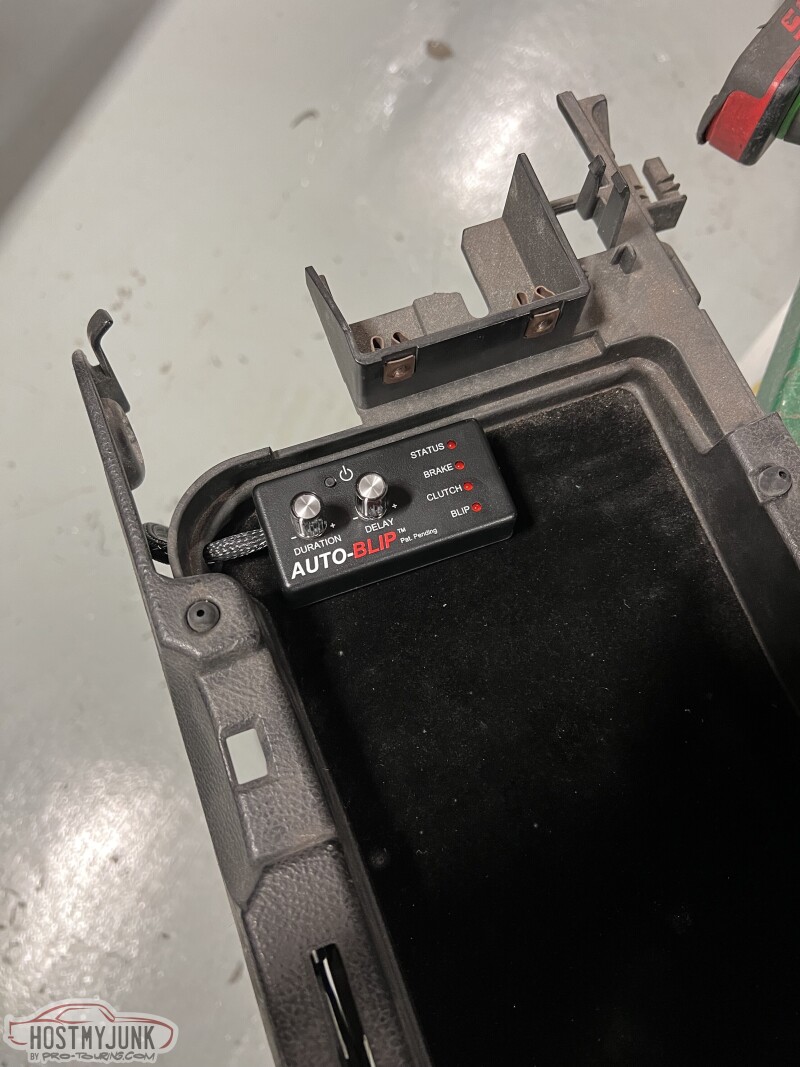
Some modern magic with this rev match module so I don't have to heel/toe all the time when down shifting. Perfect spot in the center console for it and out of site.
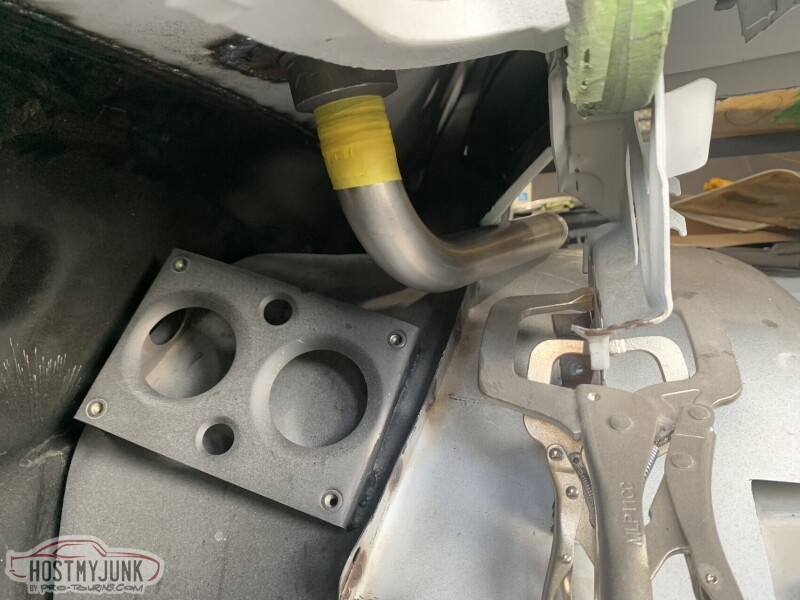
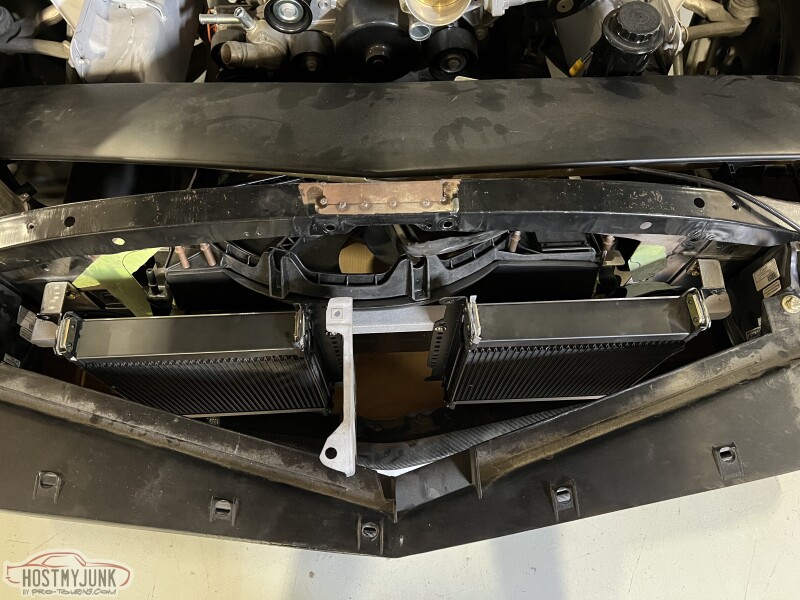
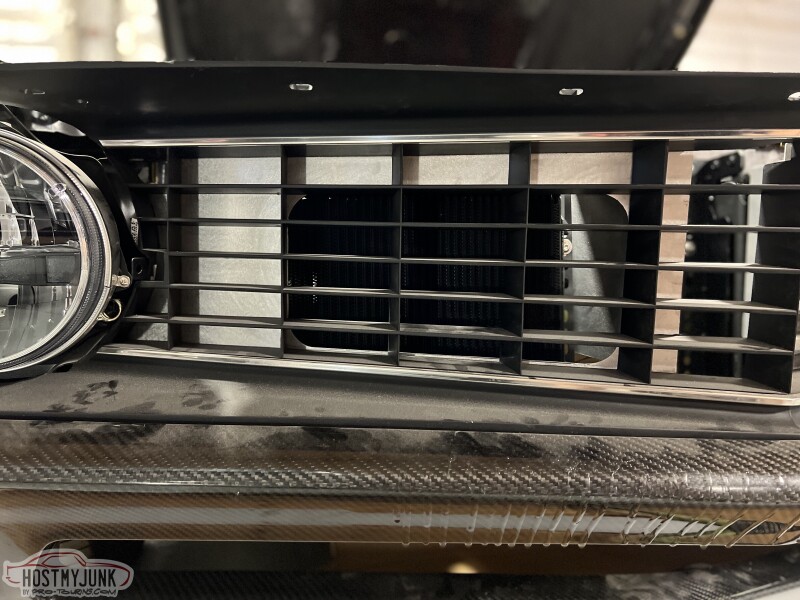
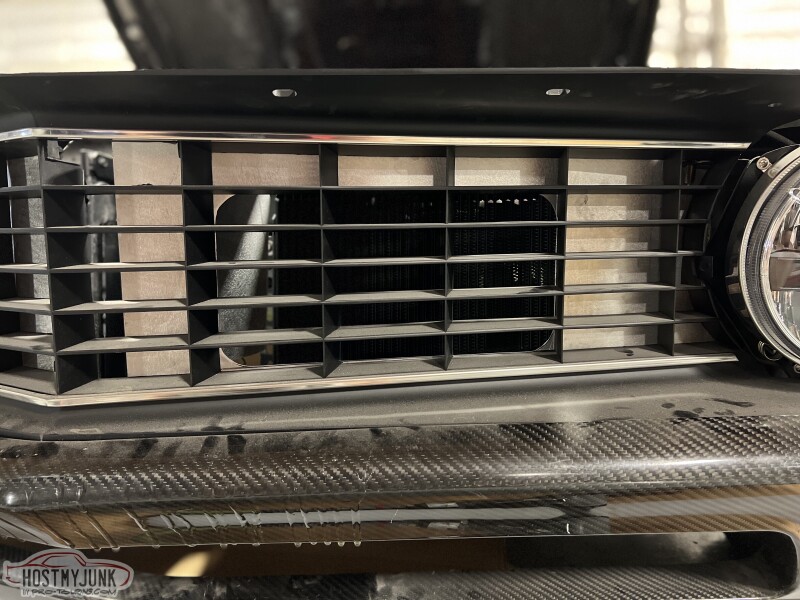
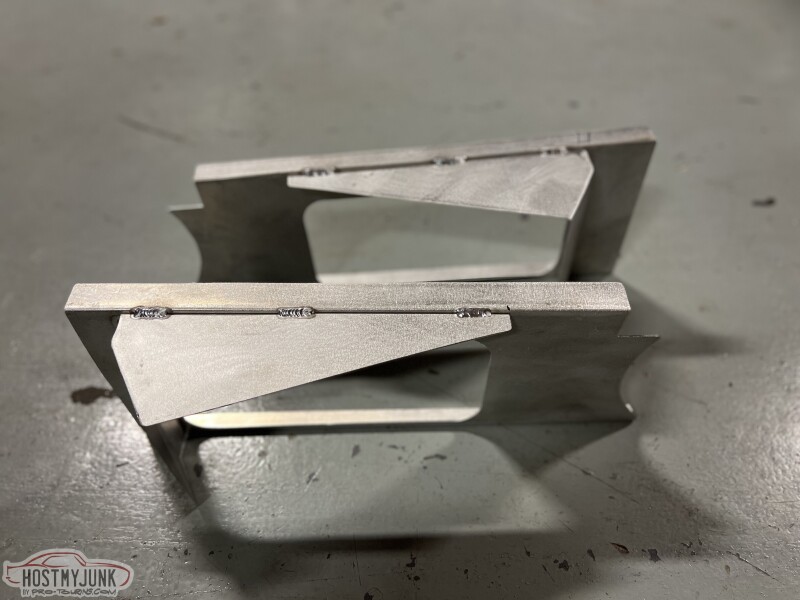
The last of the update brings us to some grille block off panels. Since the goal is to keep as much needless air as I can from going into the engine bay I made up these block off panels for the grille. I made them out of .040 aluminum to the size of the heat exchanger and oil cooler and duct them to the coolers. The center I left wide enough to blow onto the power steering cooler.

 Instagram: CamaroAJ
07-16-2022 #156 -Moderator/Sponsor-
- Join Date
- Apr 2001
- Location
- The City of Fountains
- Posts
- 15,975
That's one hell of an update and amazing work!
Andrew1970 GTO Version 3.0
1967 Cougar build
GM High-Tech Performance feature
My YouTube Channel Please Subscribe!
Instagram @projectgattago
Dr. EFI
I deliver what EFI promises.
Remote Holley EFI tuning.
Please get in touch if I can be of service.
"You were the gun, your voice was the trigger, your bravery was the barrel, your eyes were the bullets." ~ Her
07-19-2022 #157
Registered User
- Join Date
- Sep 2009
- Posts
- 2,706
Wow, this car is amazing. Fab work is outstanding. Thanks for bringing us up to date!
1955 Nomad project LC9, 4L80e, C5 brakes, Vision wheels
1968 Camaro 6.2 w/ LSA, TR6060-Magnum hybrid and etc SOLD
1976 T/A LS1 6 Speed, and etc. SOLD
Follow me on Instagram: ryeguy2006a
07-20-2022 #158
Registered User
- Join Date
- Jul 2020
- Location
- McCordsville IN
- Posts
- 11
Outstanding craftsmanship. You have some great skills. Keep up the great work!!
07-21-2022 #159
Registered User
- Join Date
- Apr 2010
- Posts
- 96
Agreed Originally Posted by Motoracer838
07-31-2022 #160 Registered User
- Join Date
- Sep 2004
- Posts
- 159
I am blown away by your creativity, ingenuity, and ability to make things happen ����.
It is interesting how well the corvette frame fits into the Camaro.Brian P

 Reply With Quote


