

Results 1 to 20 of 24
-
07-18-2015 #1
 Registered User
- Join Date
- May 2015
- Posts
- 17

1988 Trans Am Pro Tour/Auto-X Build
This is mirrored on thirdgen.com
Intro:
I'm a 32 year old infantryman from Montreal, Canada. I'm rebuilding a 1988 Trans Am on my weekends/leave. The car was actually my first car, I've had it since I was 16! I blew the engine about 10 years ago and its been on blocks since.

Car in storage.

At least the cats have been enjoying my TA...
So, there it is. The basic idea is to create a road-race/auto-x weekend car.
My plans, in no particular order, include:
- 6.0 LS Swap
- Manual transmission
- Roll cage
- Subframe connectors
- 9 bolt rear with disk brakes
- Sheet-metal interior/Lightening
- Suspension tweaks
- Paint job (Probably Championship White, its cheap)
If some things I do seem odd, its probably because I had no other options within my budget. Parts in Canada are a nightmare. Anything new will wind up costing at least 200-300$ more in shipping then who knows how much in duty and the used parts selection is "sparse". Paying 1500$ for a broken T56 sparse, no thanks.
-
07-18-2015 #2
Registered User
- Join Date
- May 2015
- Posts
- 17
Progress...
I've managed to get most of the necessities of my build.

2007 LY6 6.0

Close ratio (2 groove) Super-T10

Super Comp Hurst shifter and linkage

Lightly used Centerforce, Willwood Master/Pedals
07-18-2015 #3
Registered User
- Join Date
- May 2015
- Posts
- 17
More progress on the interior:

Installed Main Hoop

Finished gutting the interior, mocking up the rest of the cage.
Don't mind the ugly welds/rust.
07-19-2015 #4
Registered User
- Join Date
- Mar 2012
- Posts
- 87
Excited to follow this build. I have an 87 myself.
07-19-2015 #5
Registered User
- Join Date
- Apr 2015
- Posts
- 188

is that roll cage something you fabricated yourself or is that a kit from somewhere?
07-20-2015 #6
Registered User
- Join Date
- May 2015
- Posts
- 17
A bit of both. I have an 8-Pt Competition engineering kit, as well as a Jegster 10-PT conversion. Because of some sales and shipping, it worked out cheaper. The Comp kit was 50$ shipping for the 8-Pt, but the 10 point was something ridiculous, like 500$ shipping. I got the conversion off e-bay and the shipping for that was 20$. The shipping industry is insane. Originally Posted by Schroeder

I'm also reinforcing the chassis/cage with some 1.66"x0.134" mild steel bar. I'm also fabricating my own SFCs/Transmission cross-member for the Super-T10 conversion's torque arm mount.
Good news! Seems like the roll cage is legal in Quebec, with some limitations. Basically, anything that interferes with your movement in and out of the car is prohibited. Therefore, door bars cannot be higher than your hip.
I will mock up a door bar that is lower than the stock seats hip placement and see how it looks. I guess it will be more of a reinforcement bar than safety, but whatever. it should tie in nicely with the SFCs I'll be fabricating on the other side of the floor.
09-05-2015 #7
Registered User
- Join Date
- May 2015
- Posts
- 17
Bad news: Works been a pain and my daily driver (Volvo V70R, never buy one) has been acting up. So, I haven't got to do as much as I'd like.
Good news: It's a long weekend up here and I got to throw the motor in. Morale is high...

Motor going in.

Oil pan's tight?!?!

So much firewall clearance...
I pulled the motor out and am going to reinstall it with the transmission tomorrow. Hopefully I can begin work on the cross-member and driveline and be done this weekend...
09-06-2015 #8
New to Pro-Touring
- Join Date
- Jul 2008
- Location
- Knoxville, TN
- Posts
- 17
I have a soft spot for 3rd gens. i keep telling myself Ill fix up one someday.
12-31-2015 #9
Registered User
- Join Date
- May 2015
- Posts
- 17
Updates are coming. In the mean time, I've got some new parts:

Weight Jacks and Springs

Camber Plates
12-31-2015 #10
Registered User
- Join Date
- Mar 2012
- Posts
- 87
Wow, with that much firewall clearance, can you slide it back some more? Better weight distribution then?
01-01-2016 #11
Registered User
- Join Date
- May 2015
- Posts
- 17
I was at it again tonight as well as last night. Things just didn't fit properly. Poor clearance everywhere I looked.
Earlier, I had left the clam shells in the stock location. This left the motor too far forward. So, I moved the clam shells to the rear position on the rearward position on the K-member. This created some clearance issues with the firewall.

Cylinder head resting on firewall in the rearward clam shell position
I came to the conclusion that I was sold the wrong motor mounts (Hooker 12621HKR). I was hoping the mounts would be easy-peasey. Guess I'll have to sort things out myself.
I measured everything, old engines, new engines, old mounts, new mounts, transmissions. You name it, I measured it. Just to be sure.
In the end it seems that the motor should be moved 3.48" back. This is the mount to transmission difference between an SBC an LSx. The mounts only move the engine about 2.325 (measured it). Meaning, the motor falls 1.125" short of where it should to retain the factory transmission mount point. This also meant the the info for this product is straight up wrong. :crazy:
Seems like this info would be all over the internet. Newsflash, its not. :huh:
Luckily, the third gen k-member is pretty big. I drilled some clam shell mounts 1.125 further back and now it looks like it fits.

New clam shell location

Firewall cleared

Super-T10 hanging out.
Before anybody says anything; the x-member is just so the engine doesn't bottom out on the k-member. I still have to make a x-member with a mount point about 0.5" to 1" further forward.
On the upside, it seems like I will be able to re-use the GTA drive shaft. All that will be required is a 1310 to 1350 universal joint.
06-18-2016 #12
Registered User
- Join Date
- May 2015
- Posts
- 17
While staring into the woods I got cell service every now and then and ordered a f*** ton of parts. I'll add links for the other poor Canadian souls so maybe they can save some duckets. The e-bay parts probably should have been bought from any Canadian parts store but whatever. Here's a breakdown:
- Racing Innovation and Supply SS Third Gen swap headers (In stock again!!!)
- HP Tuners VCM
- 1998-2004 Corvette fuel filter/regulator kit with fittings (Speedway Motors has a sweet deal)
- GM High Volume Oil Pump (Jegs)
- EBC Blue Stuff (Racing compound) Brake pads for Porsche Cayenne Turbo S brake conversion (18z calipers+corvette rotors)
- Walbro 400LPH fuel pump (Amazon deal of the century)
- 1998-2002 F-Body Oil Pickup (Ebay)
- 1998-2002 F-body Oil Pan Gasket (Ebay)
- 1998-2002 F-Body Oil Dip-Stick (Ebay)

A bit of me dies inside when I think of the customs fees.
In case you are wondering, the headers seem to be of pretty good quality. Especially given what they cost. Before you start, they look a lot better than some ceramic "high quality American headers" that I've played with in the past. As a side note, they will ship them UPS. UPS will rip you off for brokerage fees at the border, unless you call them and say that you're going to clear them yourself.
Here's some more pics:

Primary welds are good inside.

Primary welds are good outside.

Collector welds look good.

Header flange is straight but seems like it could have been cut better. (oh well)

Internally collector looks fine.
I also got a set of C5 Corvette rims to experiment with. It seems like the brake conversion will not be a problem. It looks like it will even fit under 17" wheels, something that Baer or others have not produced? Though I think Ill go with 18" rims all around, for suspension/tire clearance issues. I didn't have the spacers at the time, I used some wood instead. Its maybe not 100% centered...

18Z Calipers under 18" C5 Rim

18Z Calipers under 17" C5 Rim

18Z Caliper under 17" C5 Rim (clearance seems good?)
06-20-2016 #13
Registered User
- Join Date
- Apr 2016
- Location
- Baltimore, MD
- Posts
- 10
Subscribed
I have an '85 Camaro so I'm keeping tabs on the 3rd gen folks on here.
06-21-2016 #14 Registered User
- Join Date
- Mar 2006
- Location
- California City Ca.
- Posts
- 398
about to pick up a third gen myself ill keep an eye on this (you know the third gens are the new second gens).
Dale Hayes
87 turbo t
turbonetics t60, pet stock location intercooler, ride tech coilovers, rjc exhaust, 60lb injectors with tt chip, ported heads and intake, ported tb, baer brakes, roh 17 inch wheels....now need to finish paint and get it put back together.
06-22-2016 #15
Registered User
- Join Date
- Jan 2013
- Posts
- 43
Nice build!
Factory Five Cobra http://www.ffcars.com/forums/17-fact...ation-mk2.html
http://www.ffcars.com/forums/28-nort...shed-mkii.html
1965 Mustang Restomod
1969 MGB GT
03-07-2019 #16
Registered User
- Join Date
- May 2015
- Posts
- 17
The saga continues
Its been a while since I have updated this. I moved and basically this project got stuck in a town I wasn't in for a while. I also got a little distracted with other projects/cars. Since the last update I had a low rider Colorado, a fire damaged BMW 330Ci that I restored for autocross and a '69 Dodge Dart that I've got some future plans for.
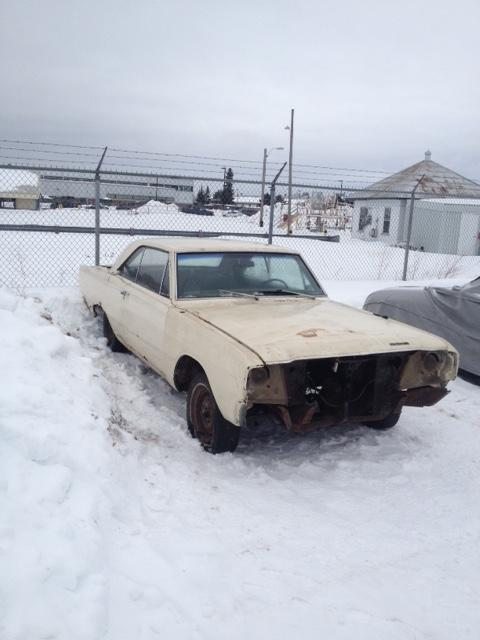
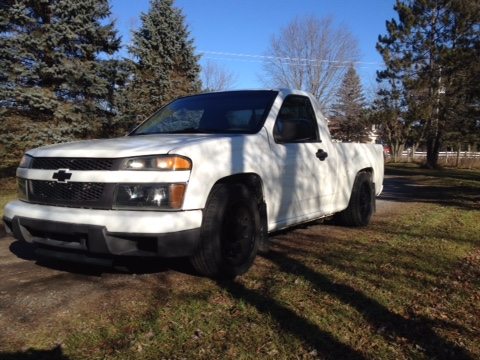
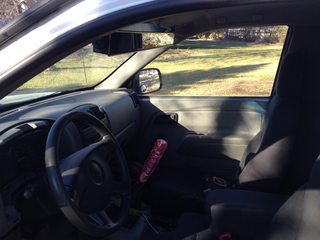
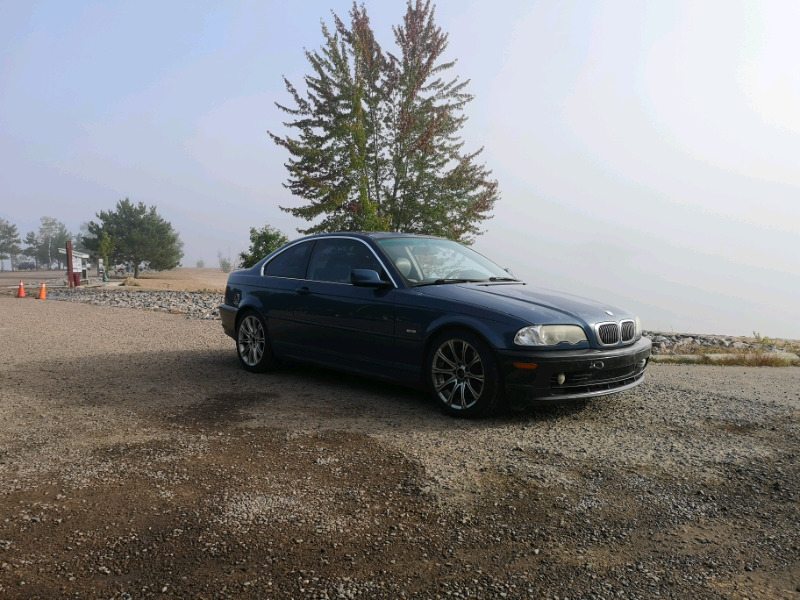
2004 Chevrolet Colorado 1969 Dodge Dart 2002 BMW 330Ci
Anyhow, I sold the Colorado and the BMW and moved my Trans Am closer to where I am. Conveniently enough there's a lift or two.
New Home
03-09-2019 #17
Registered User
- Join Date
- Mar 2012
- Posts
- 87
Looking forward to updates.
03-10-2019 #18
Registered User
- Join Date
- May 2015
- Posts
- 17
Out with the old...
I had to take the gas tank out in order to install the new fuel pump. I also removed the old exhaust and 10 bolt drum rear, as I'm going with a 9 bolt disc unit.

Out with the old...
I originally planned on retrofitting the old tank with a walbro fuel pump and corvette pressure regulator/filter. The tank looked great from he outside, the inside was another story.
15 year old gas/rust
Delicious caramelized fuel
On the upside the floors, pickup points and frame are immaculate. Living in Quebec/Ontario that's pretty amazing. There only two spots of surface rust. I imagine they are from bottoming out. Who needs undercoating when you smash transmission cooler lines once a year right?
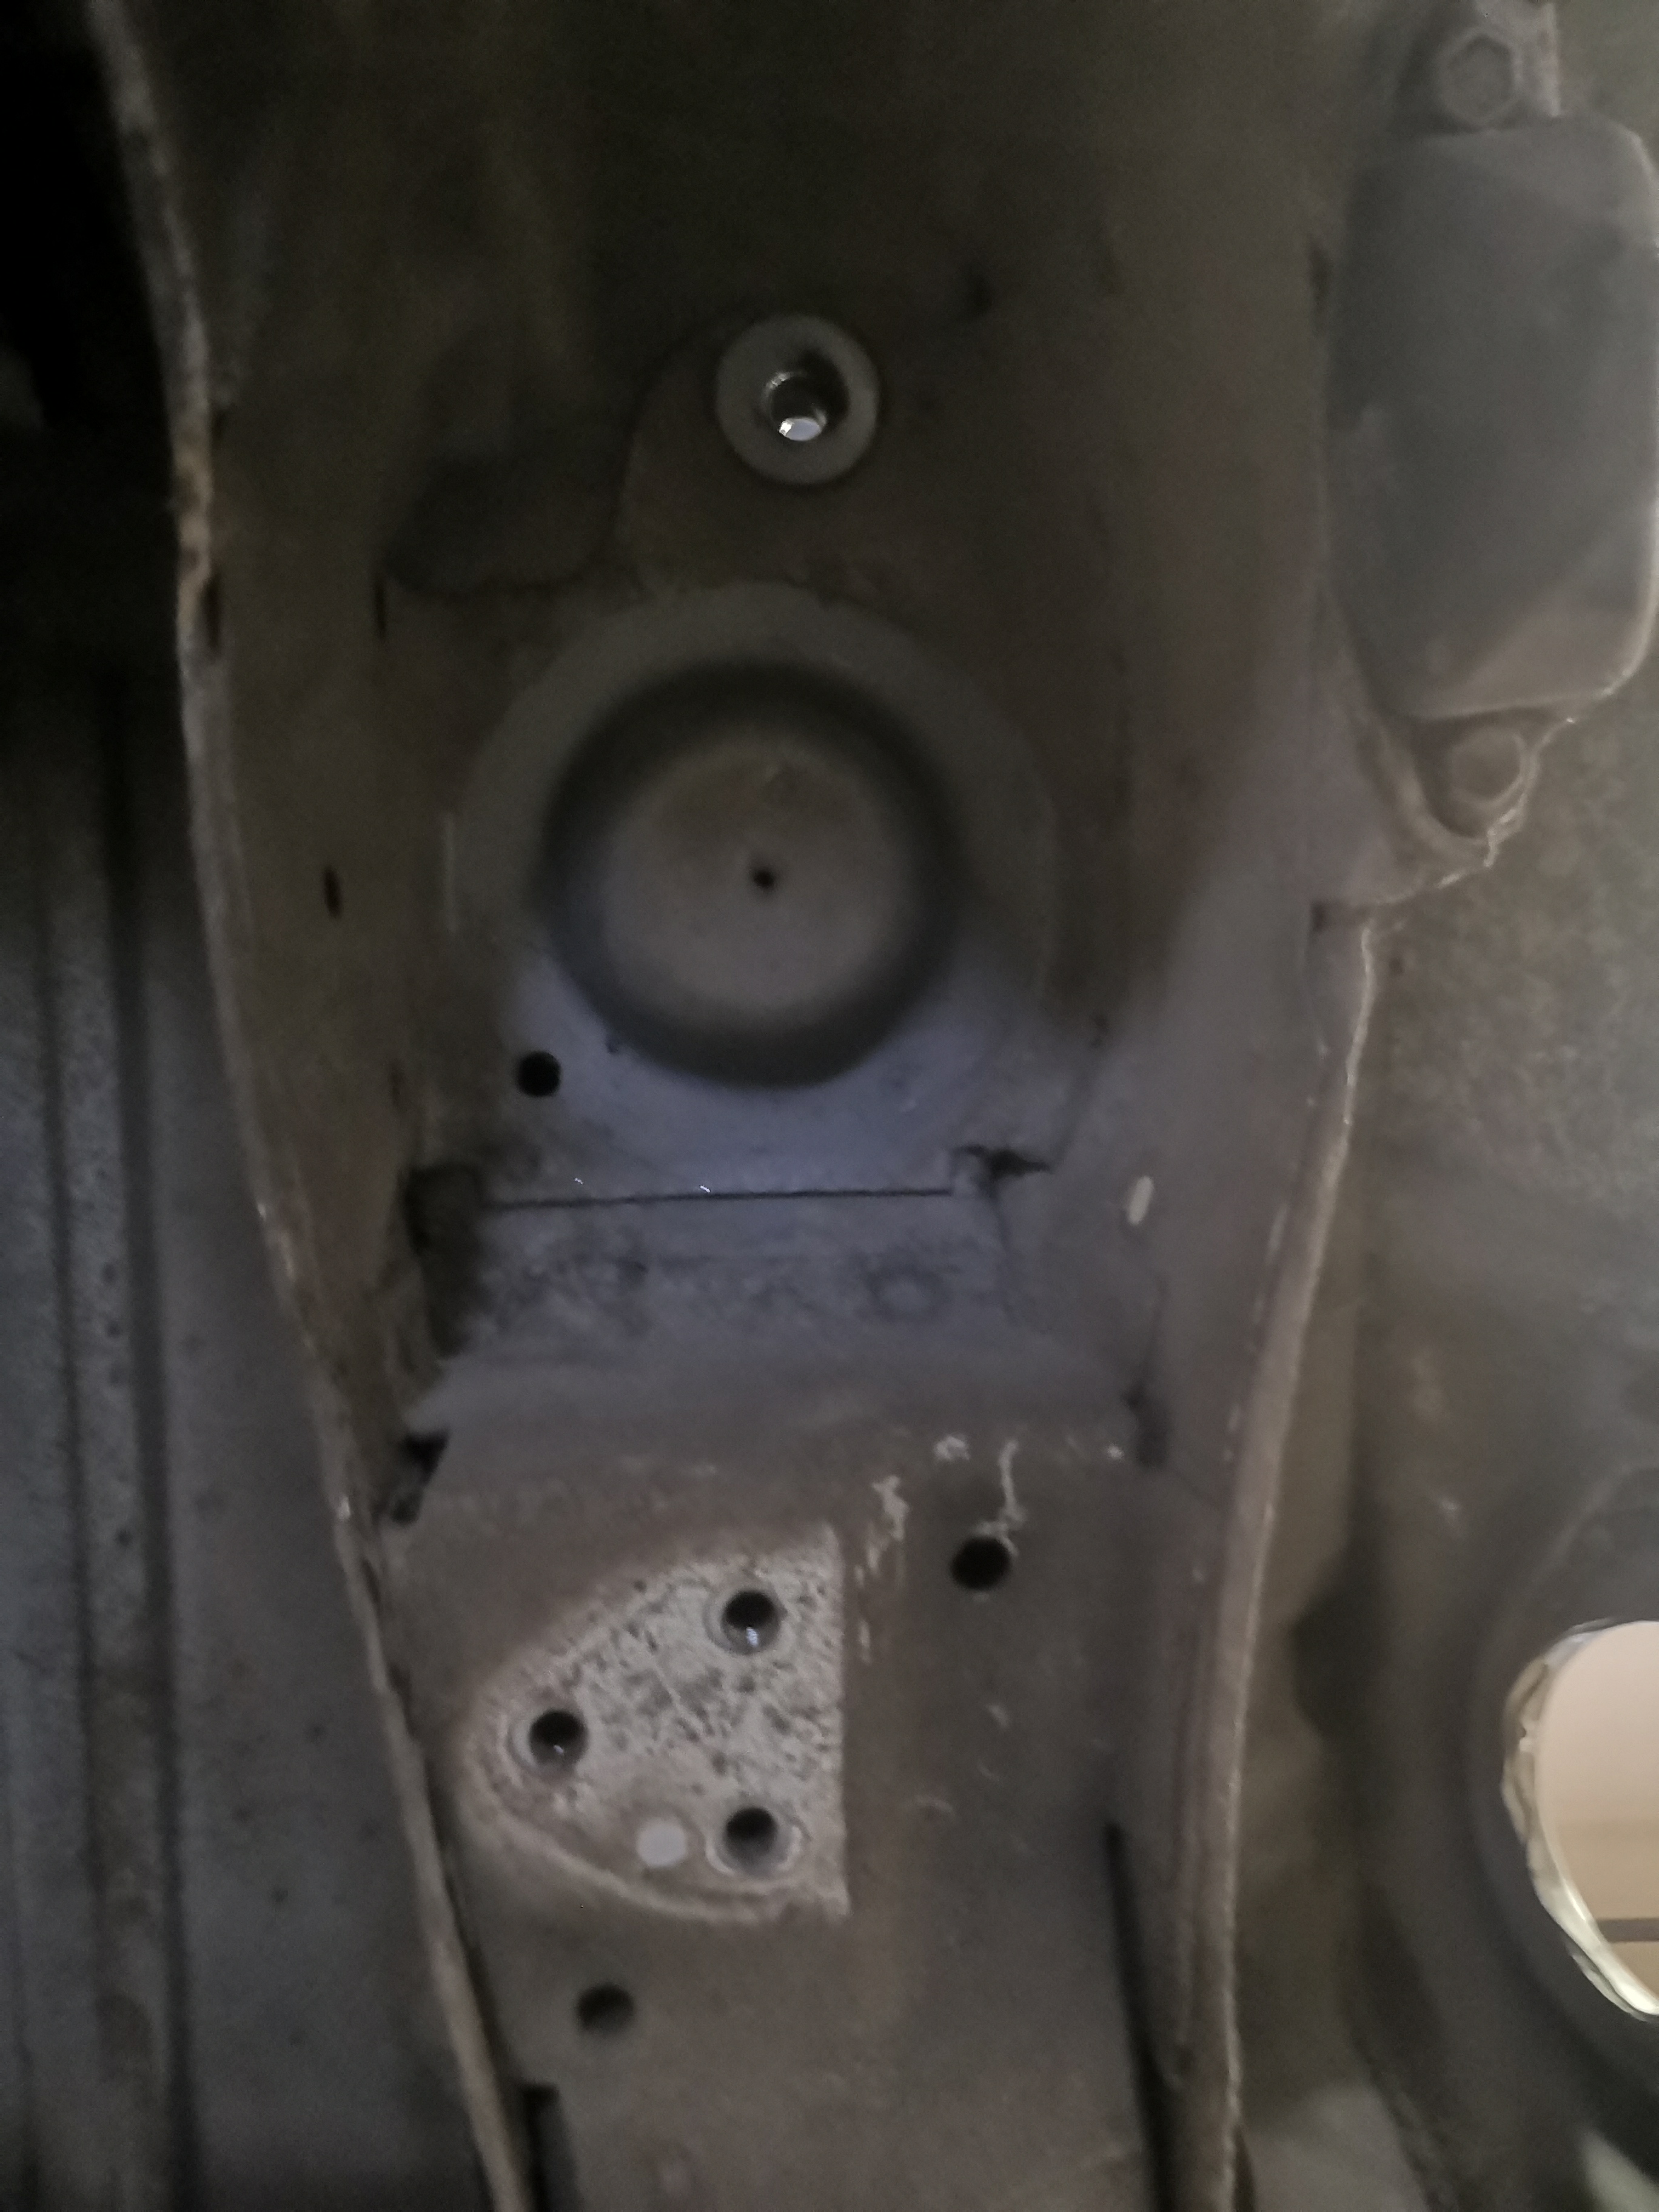
So clean....
Don't mind the massive pictures, my Huaiwei spy phone takes hi resolution 40MP direct to China. I didn' really get to put any work in since Friday. There's more to come, Ill be working on this all week. I'm shooting to have this thing on the road come spring.
03-12-2019 #19
Registered User
- Join Date
- May 2015
- Posts
- 17
Good news and bad news...
Bad news, I drained the old gas and my gas tank was pretty gross. It was Sunday evening so I had no idea what I could get other than Hawks Third Gen, Rock Auto or Summit. Hawks and Rock Auto were really overprices, summit was ok but who knows how long that will take. F*&# that. I thought about trying to acid wash it with some muriatic acid, but I wasn't really certain I would be able to get rid of the all the crust and decided to find a new (to me?) tank. Now spinning...

Nasty....
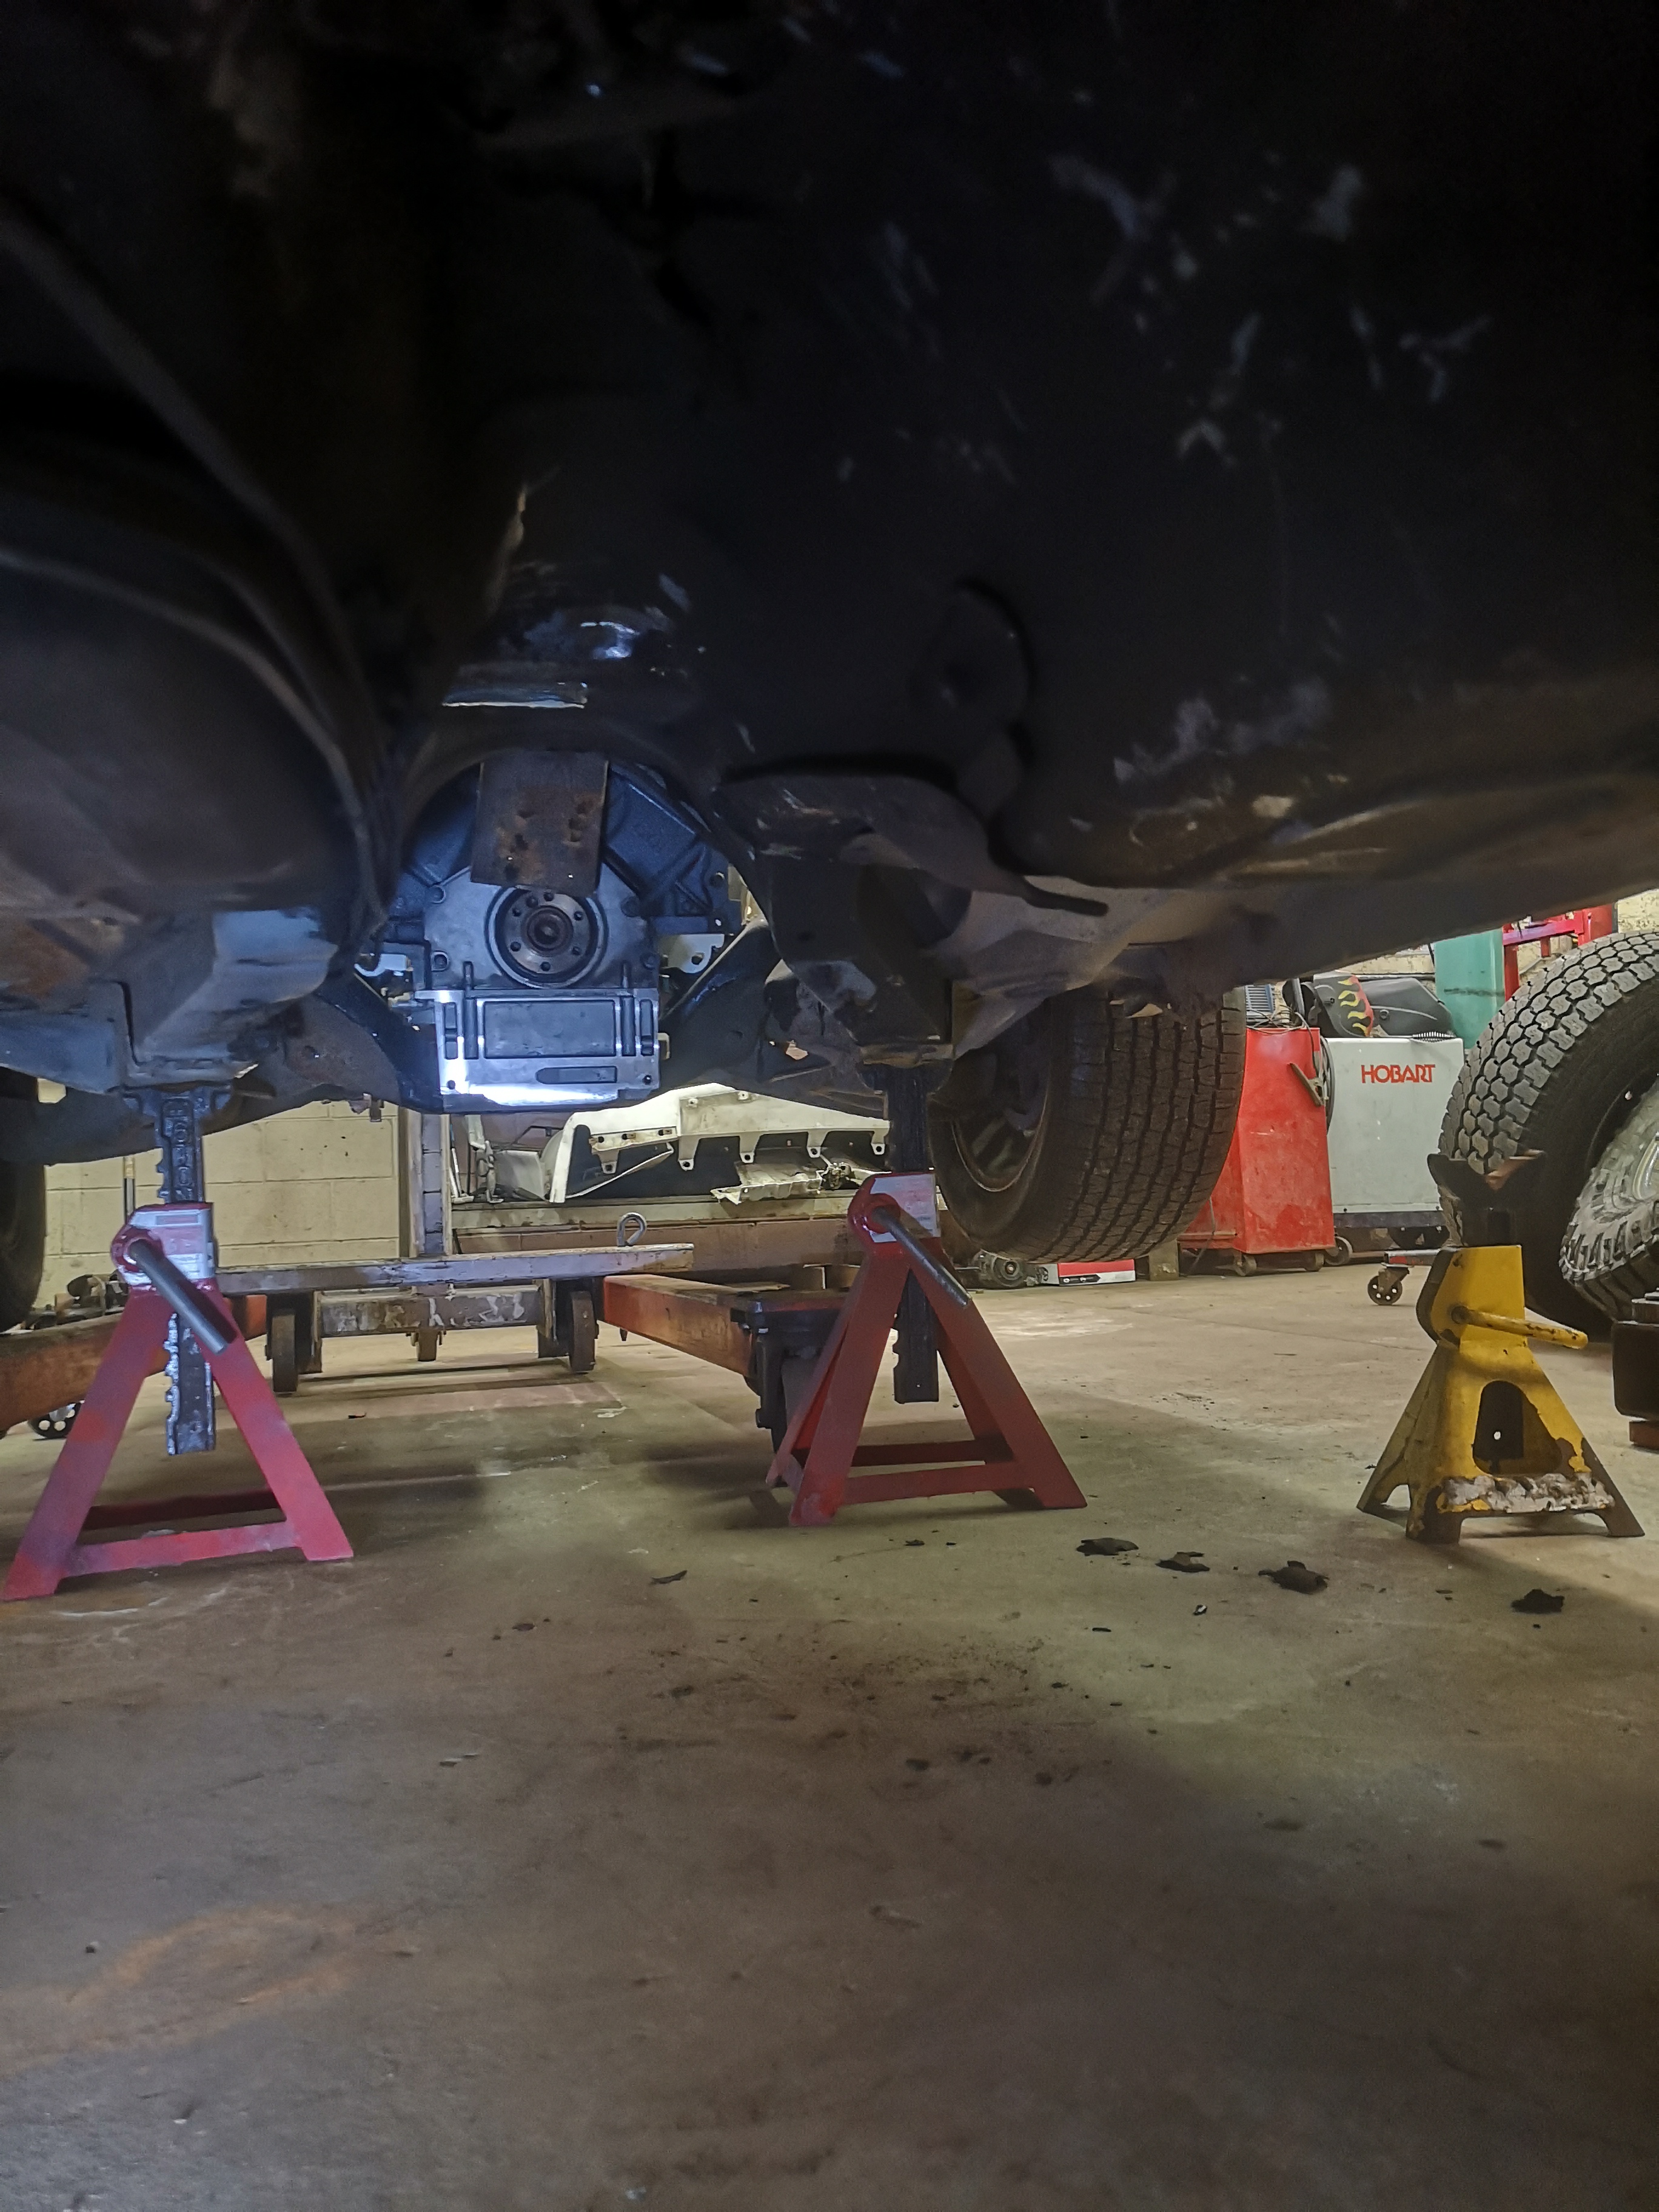
I moved on to mock up the Trans/Engine. Because I set the engine so far back with the Super T-10 transmission, it seemed impossible to get the T-56 installed. That was with no clutch or flywheel present, not fun. I dropped the K-Member. This created enough room to get the motor and trans installed as one unit. Great, I really dislike installing transmissions from the bottom anways. Looks like I have to weld in a patch and cut a new shifter hole though.

Sketchy things to be doing alone on a sunday at 1AM

Pretty tight clearances.

Right against the firewall

T56 is longer than a Super T-10
I called around all Monday morning and most of the places wanted $500+ CAD, which I found to be ridiculous. Luckily enough, the local scrap had this lying around for $150.

Upgrade!!!
I weighted it and it comes in at 10 pounds lighter, with the EVAP canister attached. I'll be removing that, so maybe 11 pounds lighter . Most importantly, the tank will last longer than the car. Downside is non of the fittings are the same. The old tank uses a 16mm x 1.5 fitting on the main line and some hose clamps for the EVAP and return lines. The new tank uses 3/8 in quick connect EFI connectors for the main and return lines and a 5/16 quick connect for the EVAP. It took some research (Thirdgen.org/Google) but I got a pretty good idea of the route used.
Most people
- Use an LS1 fuel pump sender.
- Connect to the pump using female quick connect to AN6 adapers.
- Run a new line to the stock fuel filter (16mm x 1.5).
- Install a T union (flare?) either before or after the pump.
- Run a fuel line back to the pumps return from the T union.
This works because the LS1 pump has a build in pressure regulator. It seems like a bit of extra work just to create a loop. My solution is similar but IMO better and I also decided to go ahead and future proof myself for if we ever get ethanol in Canada. I'll try to remember to add pictures when I receive the parts.
My Solution:
- Use an LS1 fuel pump sender.
- Install an AN6 to 16mm x 1.5 adapter at the stock fuel line.
- Install a Tee adapter at the on the Tee adapter.
- Connect the Tee adapter to the pump using female quick connect to AN6 adapers.
- Run a fuel line back to the pumps return from the Tee adapter.
- Remove the stock return and EVAP lines.
- Remove the rubber fuel line at the engine compartment end of the fuel line.
- Install an AN6 to 16mm x 1.5 adapter on the engine compartment side of the fuel line.
- Connect to the LS using a quick connect to AN6 adapter.
Shopping list:
- Russell 640830 Specialty Adapter Fitting O-Ring Adapter x 2
- Russell 661020 Blue Anodized Aluminum -6AN Flare Tee Adapter Fitting
- Russell 640850 Hard Tube Adapter x 4
- Russell 640860 Hard Tube Adapter x 2
- Braided nylon PTFE fuel line x 20'
Cooking this up ate a lot of my day and I still have a metric %H!T ton of wiring to do.


FML
03-13-2019 #20 Registered User
- Join Date
- Sep 2005
- Location
- Chit-ca-go
- Posts
- 459
Looking forward to your build. My one car I should've never sold was a white 87 Trans Am that had a Corvette LT1 swapped in along with a T56 from a 4th gen. I wish I knew where it was now.
1971 Firebird
2017 Slipstream SS

 Reply With Quote


