

Results 61 to 80 of 583
Thread: Pro-touring 72 Camaro SS
-
06-02-2017 #61
 Registered User
- Join Date
- Oct 2016
- Posts
- 556
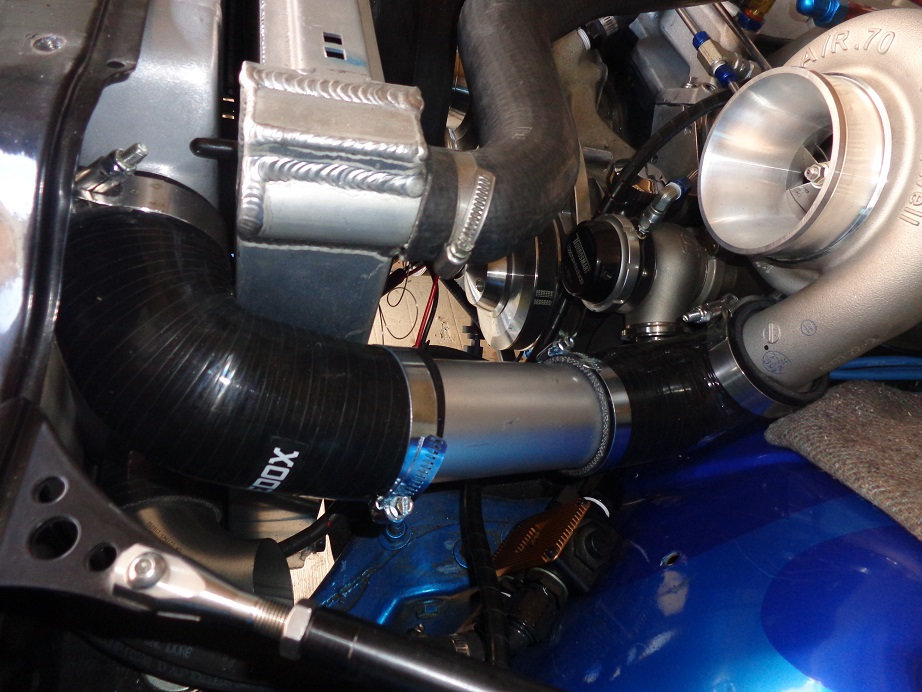
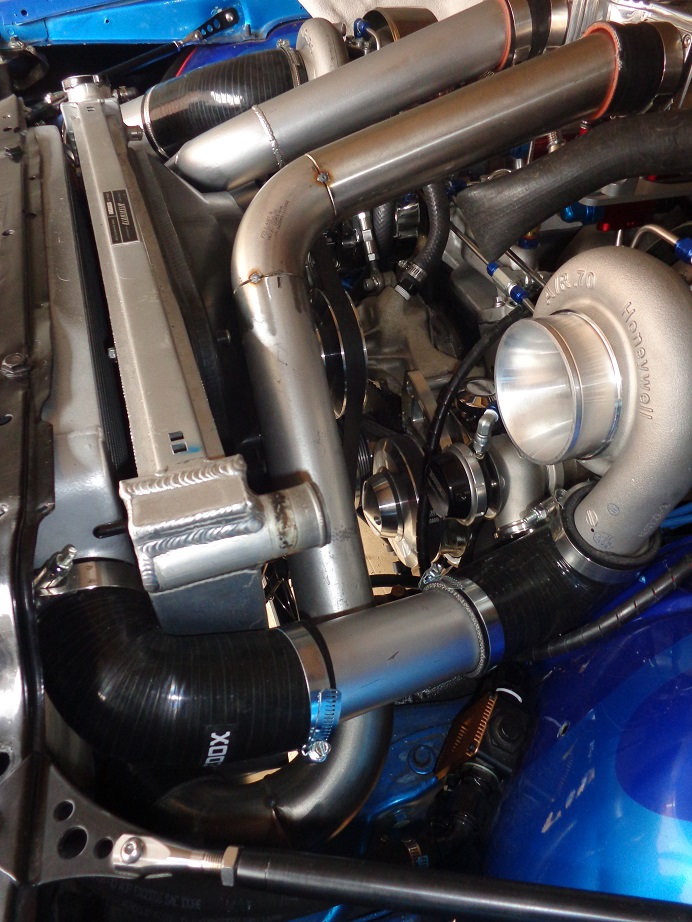
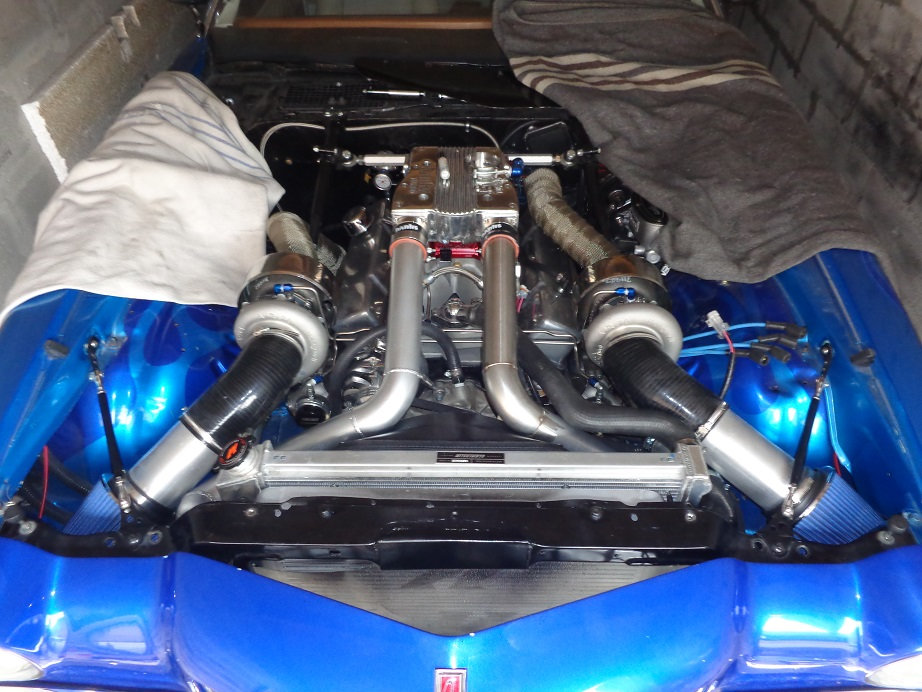
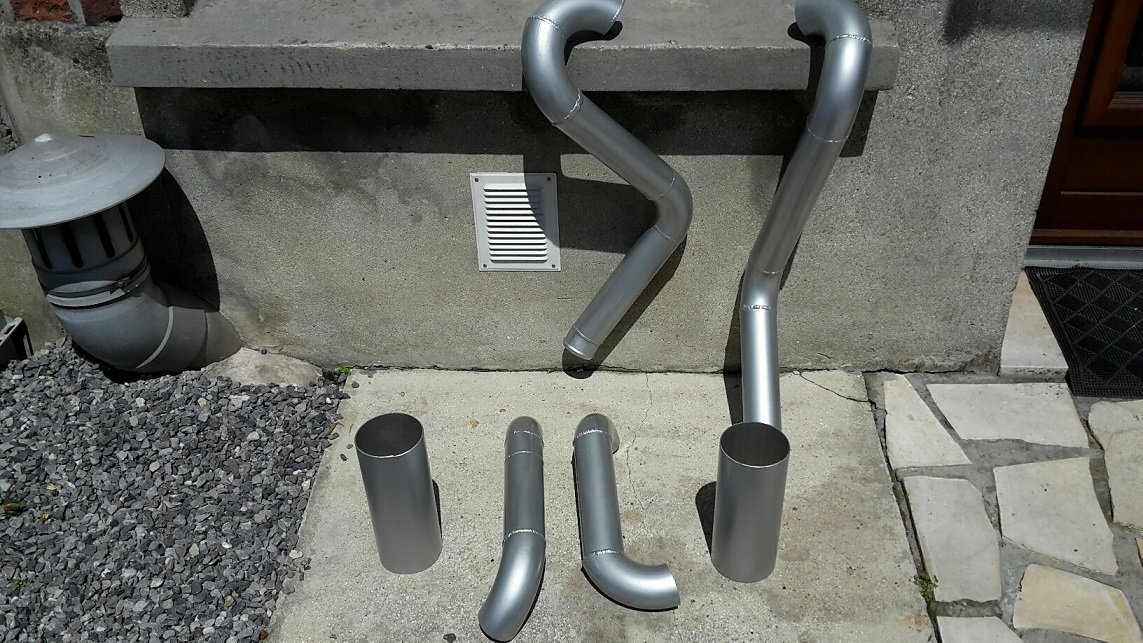
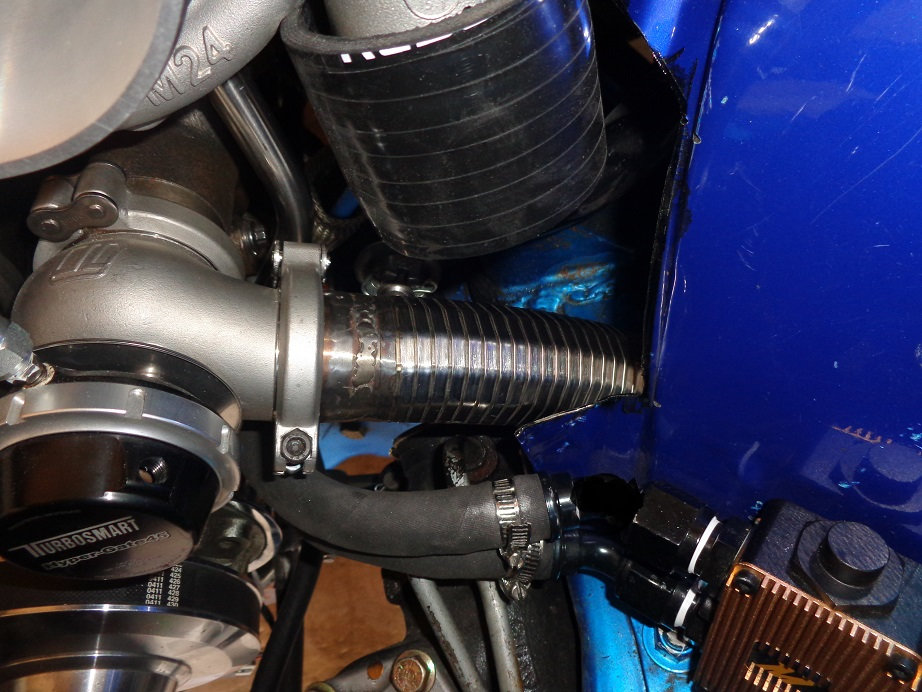
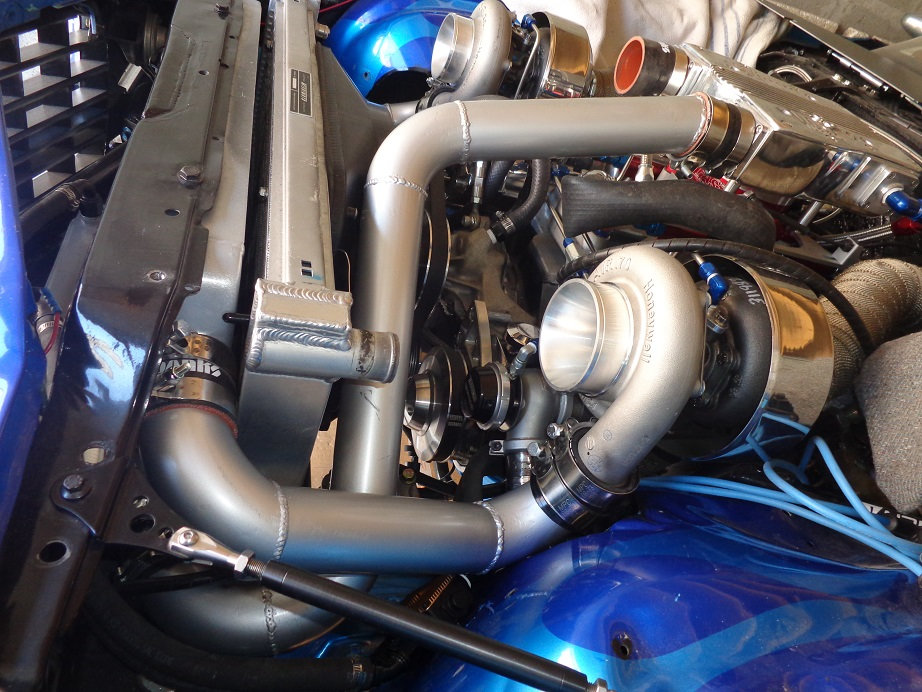
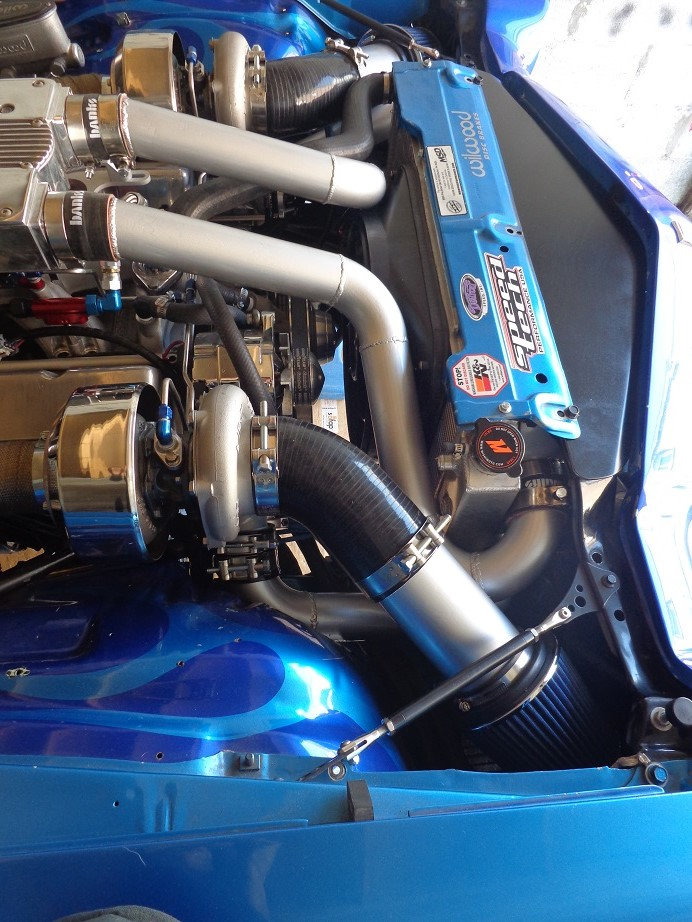
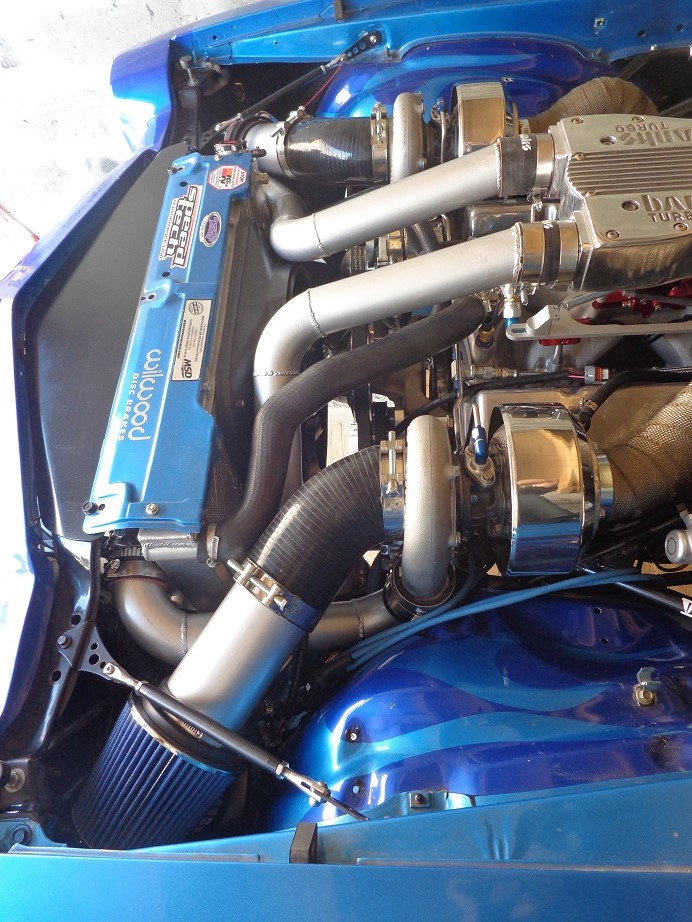
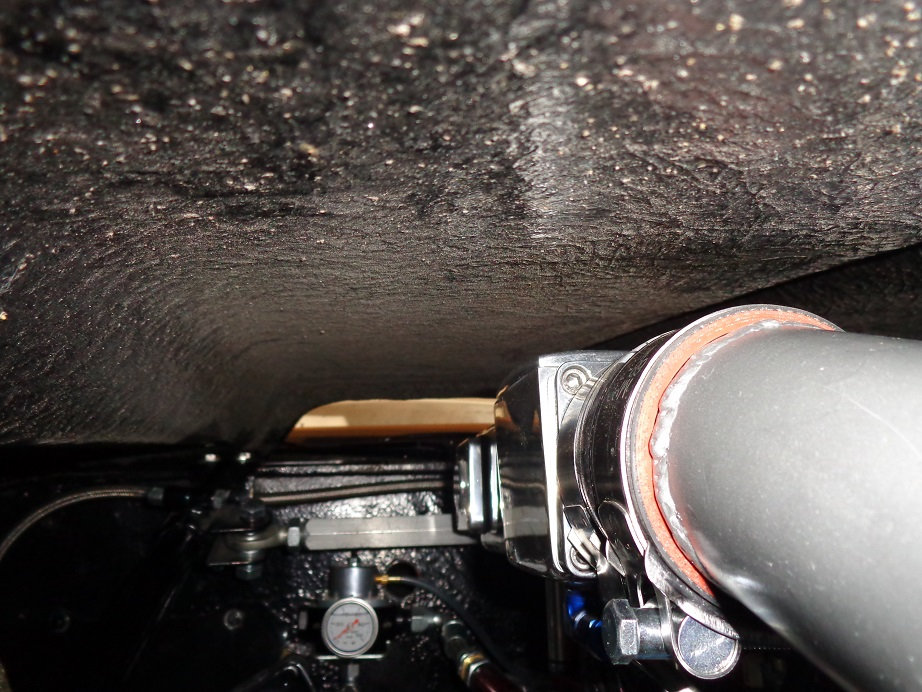
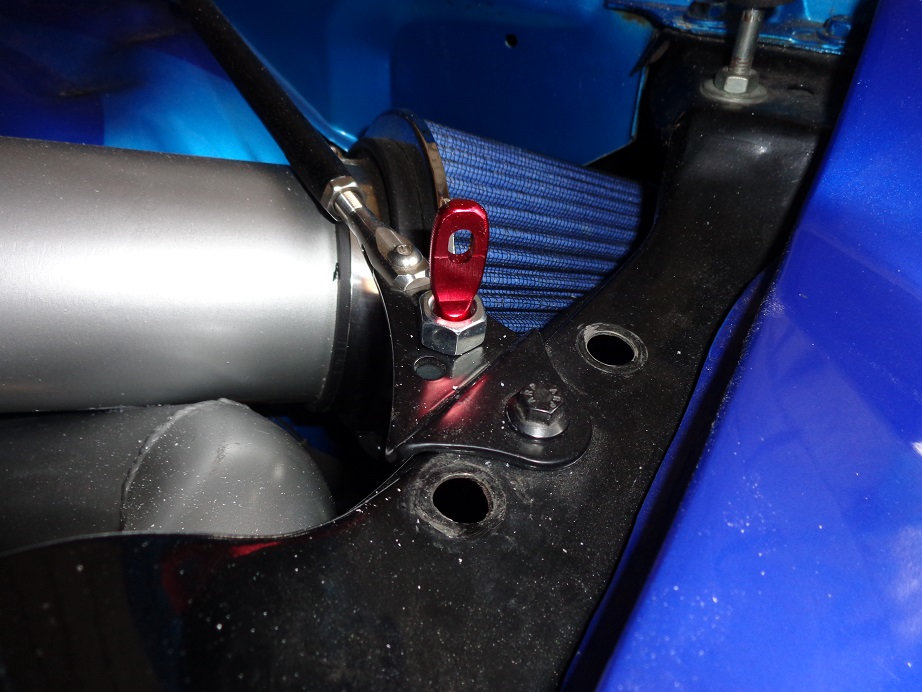
intercooler pipes finiished, I don't really like 90° silicone bends cause it kills airflow but no choice this time. Finally I will be able to order all electronic parts.


-
06-08-2017 #62
Registered User
- Join Date
- Oct 2016
- Posts
- 556
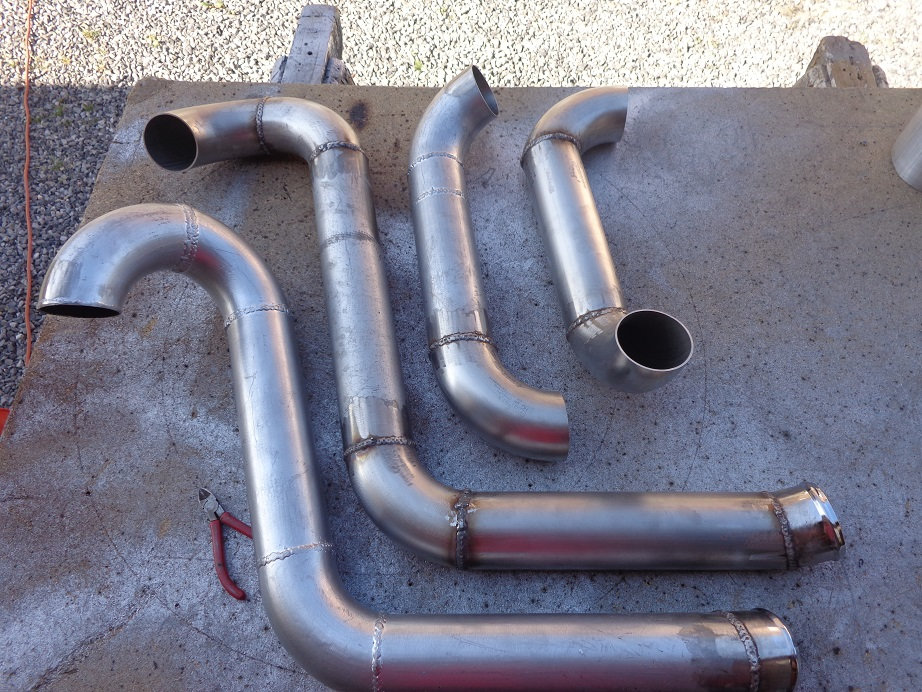
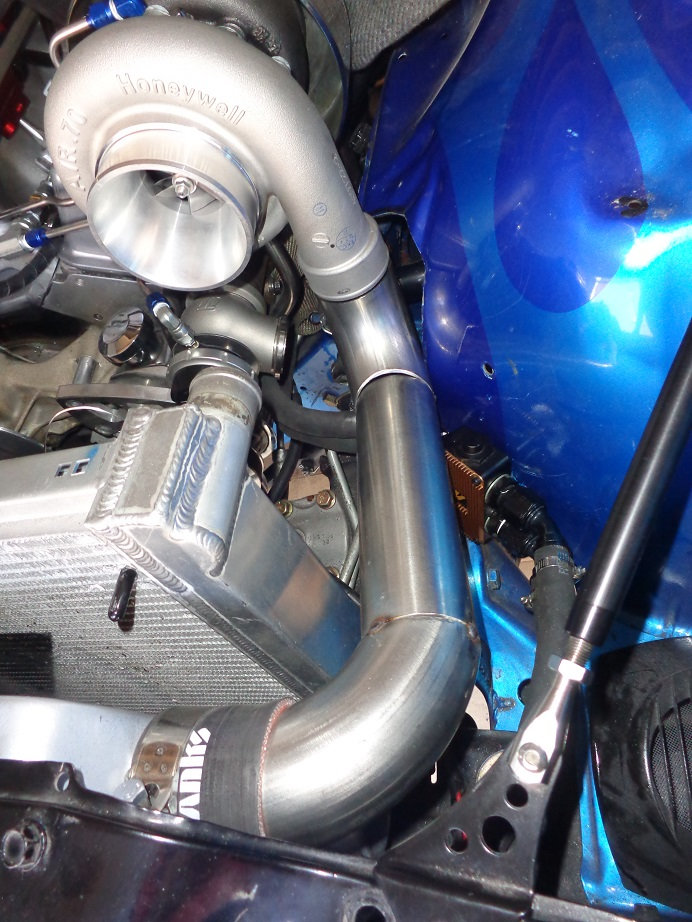
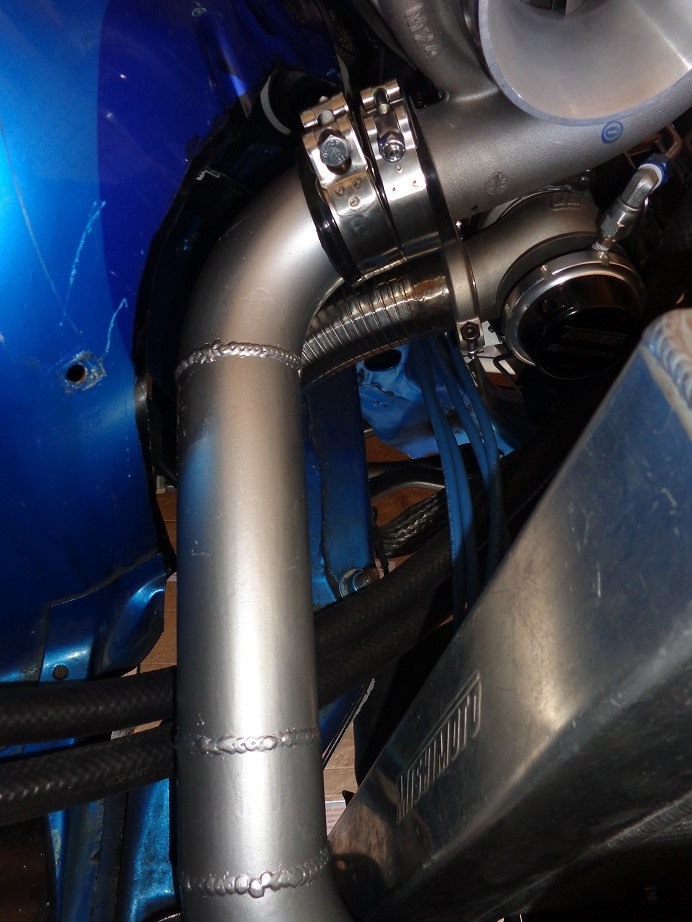
finally I've decided to re-built the 2 intercooler pipes from the turbos to the intercooler with 90° SS tubes on both side, I really don't like to have a bad airflow with 90° silicone bends, it will be smoother now.
06-08-2017 #63 Registered User
- Join Date
- Mar 2010
- Location
- decatur alabama
- Posts
- 92

Wow! You are doing well. I bet there won't be a Caravelle around that can keep up with your camaro. I see at the beginning of your post you mentioned Mulhouse. Have you been to the Schlumpf collection? I will be there in a couple of weeks. Really cool to see international pro touring.
06-08-2017 #64
Registered User
- Join Date
- Oct 2016
- Posts
- 556
thx ! I didn't even know there was a Schtrumpf museum at Mulhouse ! It looks like there are a lot of beautifull cars, thx one day I will visit it.
Unfotunately there are not a lot of pro-touring cars in France because of laws...etc for ex if we had to respect laws, we could not even touch the original settings of the carb...we all know it's illegal, cops knows it too but fortunately they let us live our passion. we will not have problems till we will not have road accident.
we have no autocross events, we have 3-4 drag racing events per year but it sucks ...( only interesting in UK or Germany ) and drive on circuits is expensive, I like to say we are not living in the good country !
finally I will be able to lower the car about 10 mm ( 0.4" ) at the 4 corners but next time I remove the engine I will change the street/strip oil pan by a road race oil pan to have the max ground clearance as possible. now the street/strip oil pan will be at 2" 3/4 from the ground and the motor crosmember at about 3".
06-14-2017 #65
Registered User
- Join Date
- Oct 2016
- Posts
- 556
07-21-2017 #66
Registered User
- Join Date
- Oct 2016
- Posts
- 556
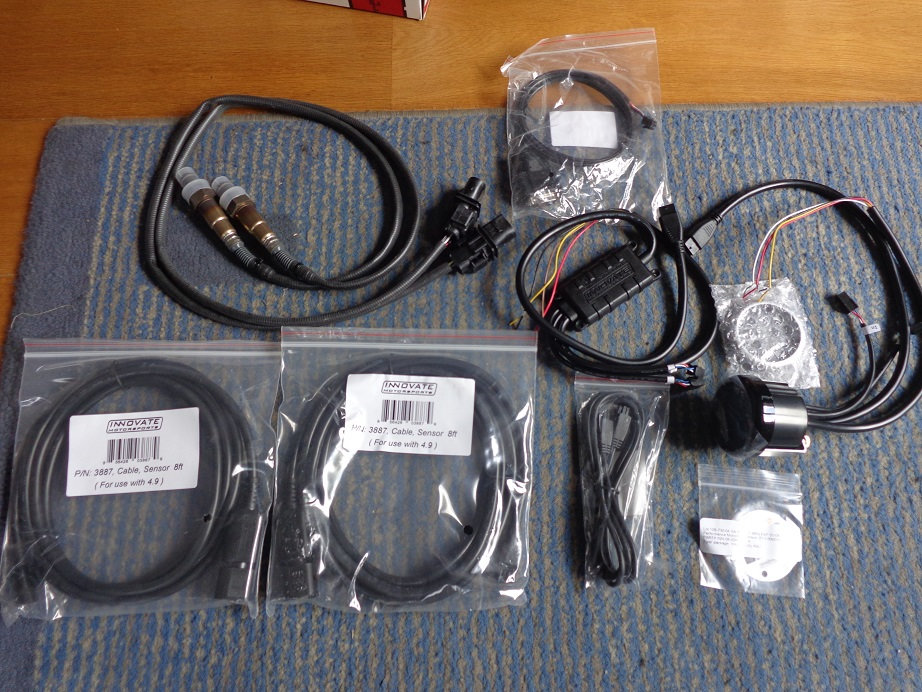
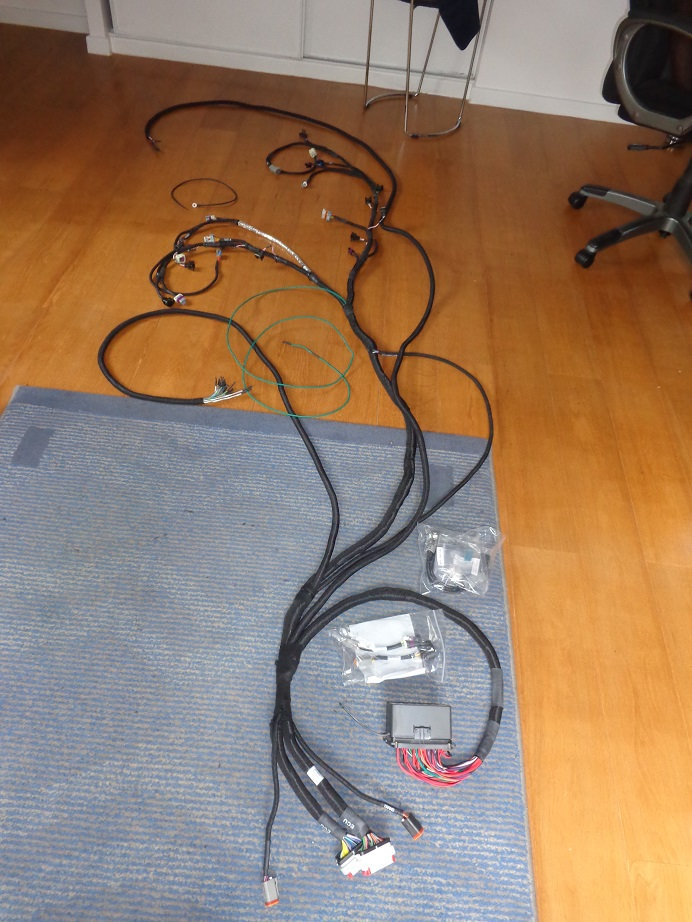
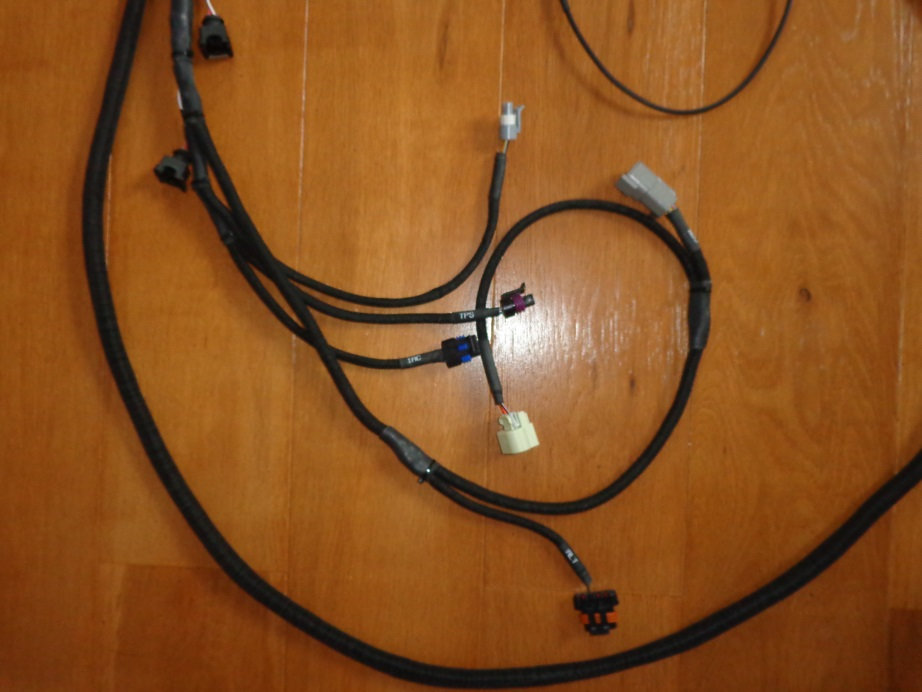
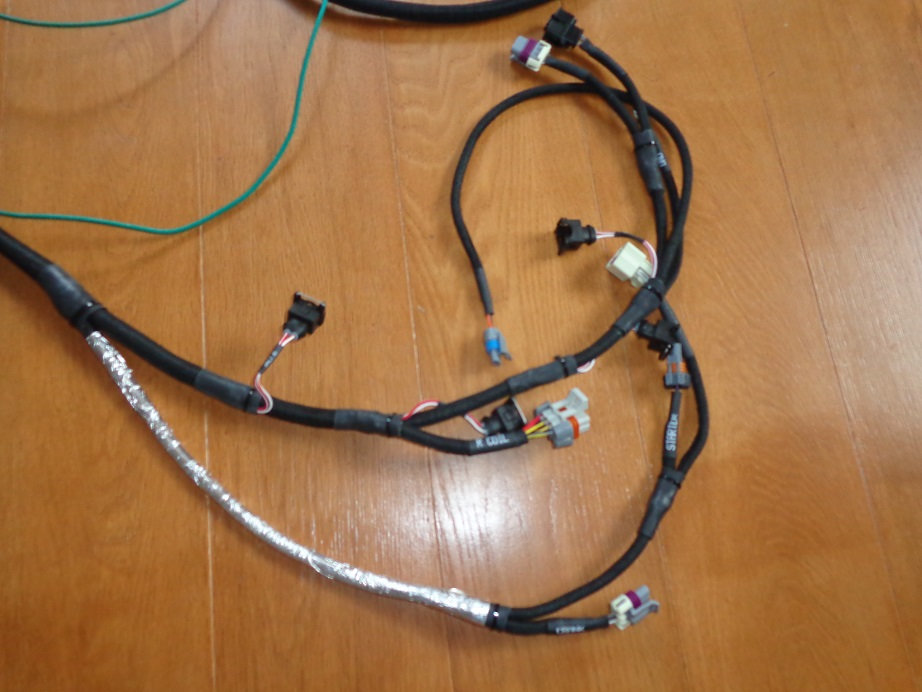
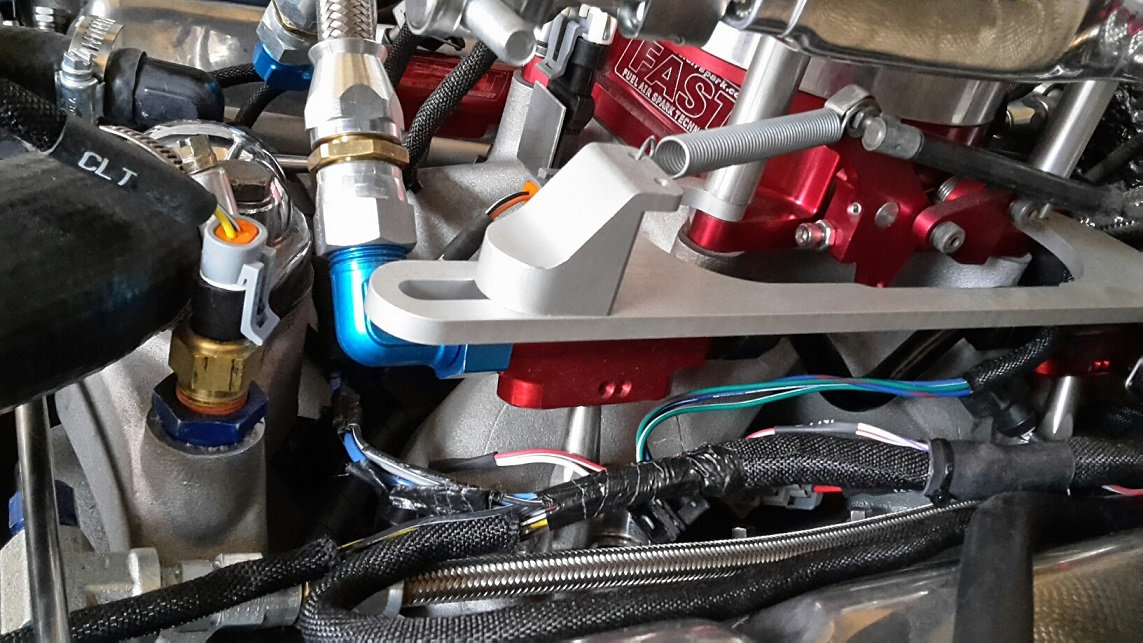
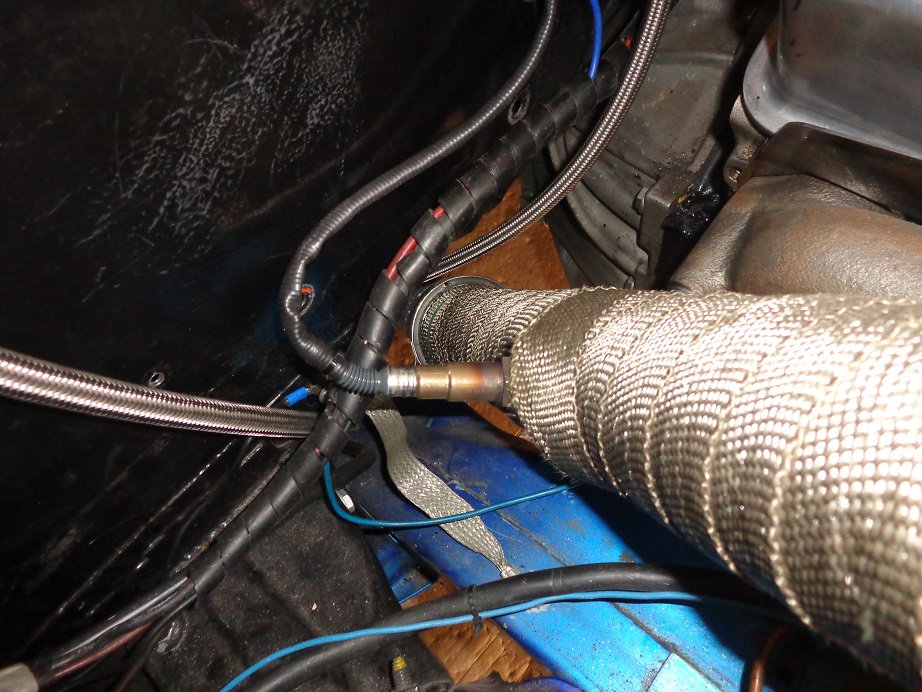
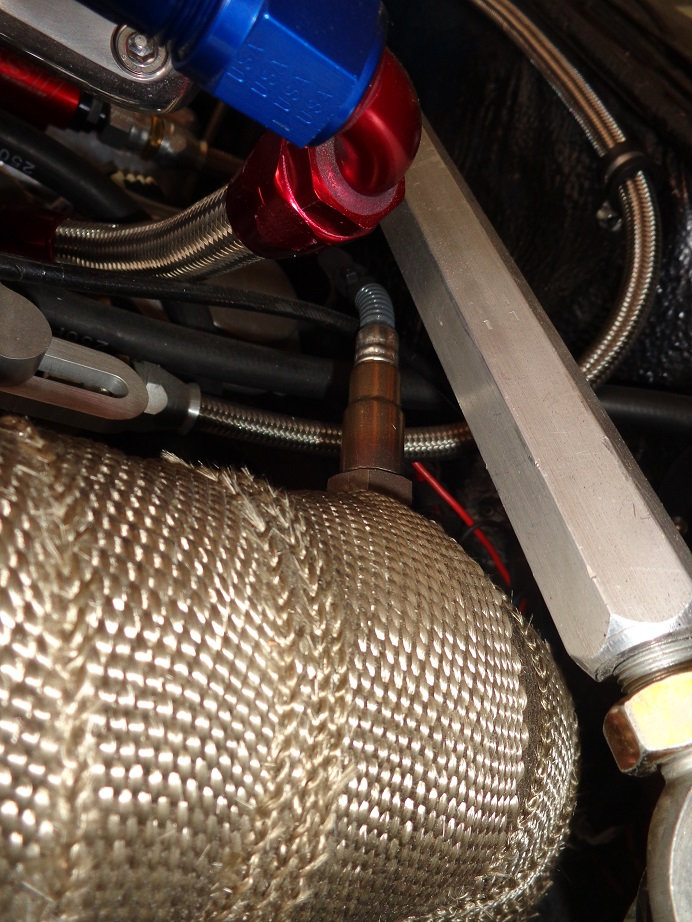
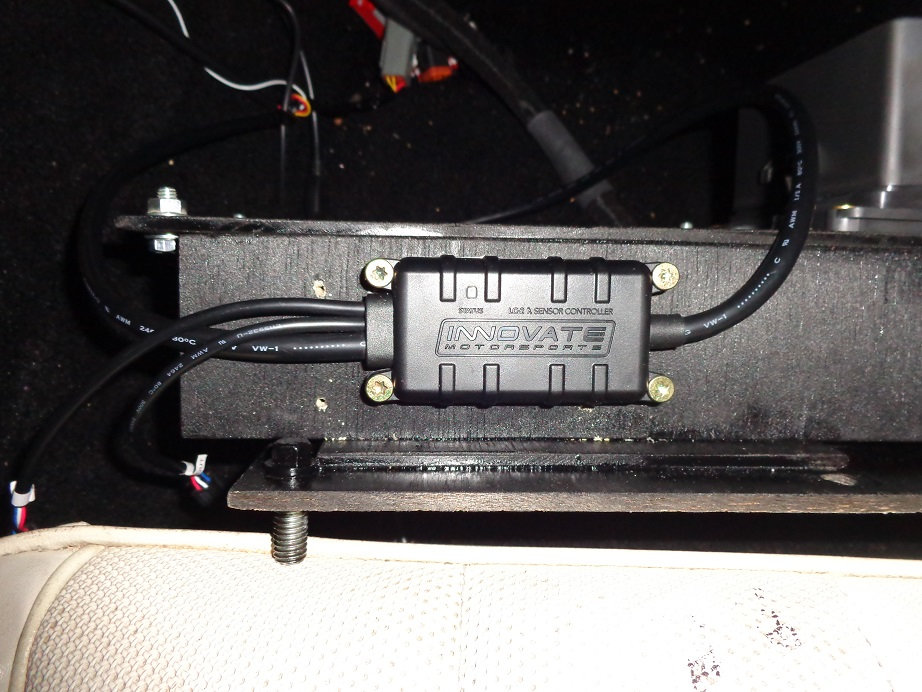
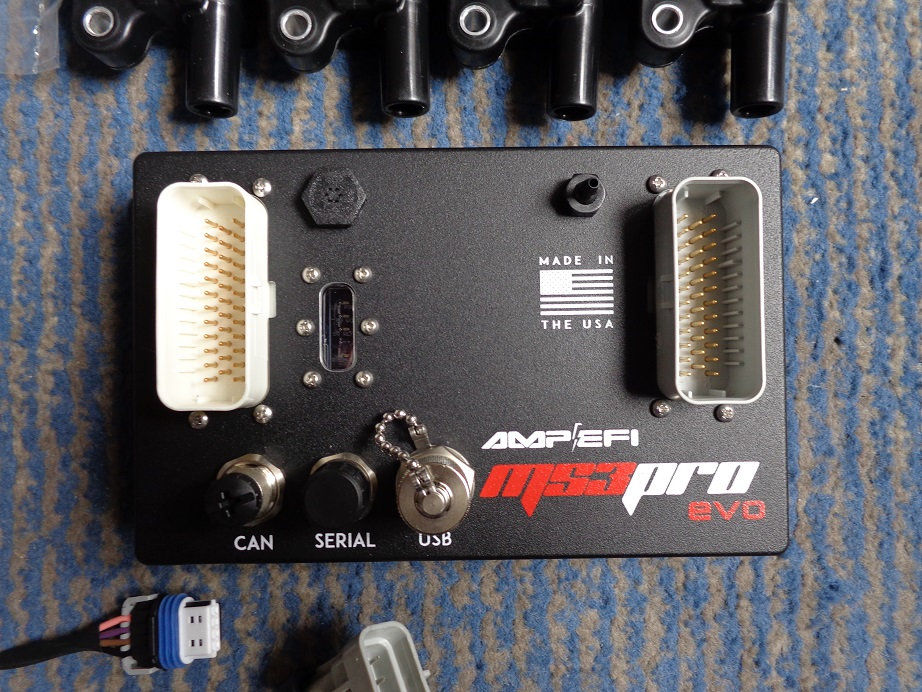
finnally received the Plug and Play LS harness from DIYautotune and Innovate DLG1 dual wideband O2 sensors, next step : modify and install the harness on my SBC gen 1 and next month the MS3-Pro EVO ECU, coils and injectors
07-21-2017 #67 Registered User
- Join Date
- Nov 2006
- Location
- Ma.
- Posts
- 5,567
Looking Good!
Wayne
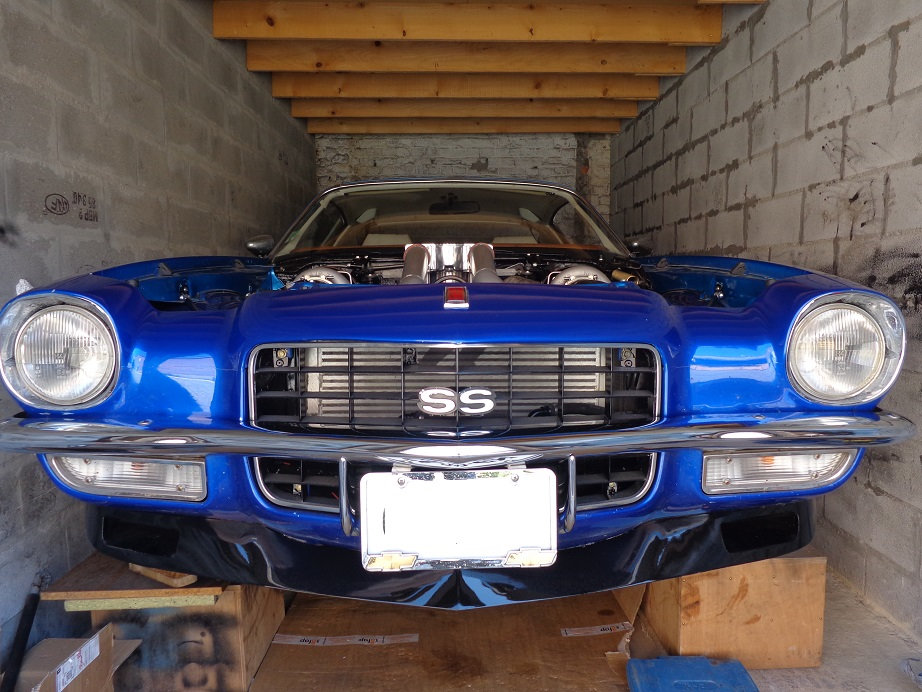
Car FINALLY home !!!!!! lol
Project FNQUIK https://www.pro-touring.com/showthre...ghlight=FNQUIK
07-22-2017 #68
Registered User
- Join Date
- Oct 2016
- Posts
- 556
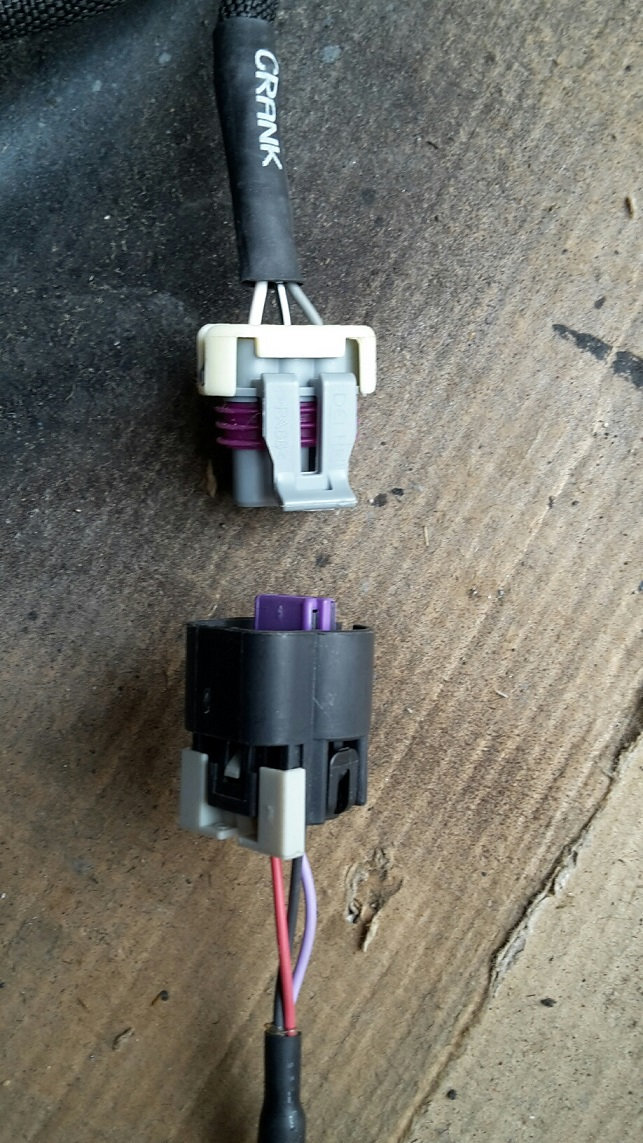
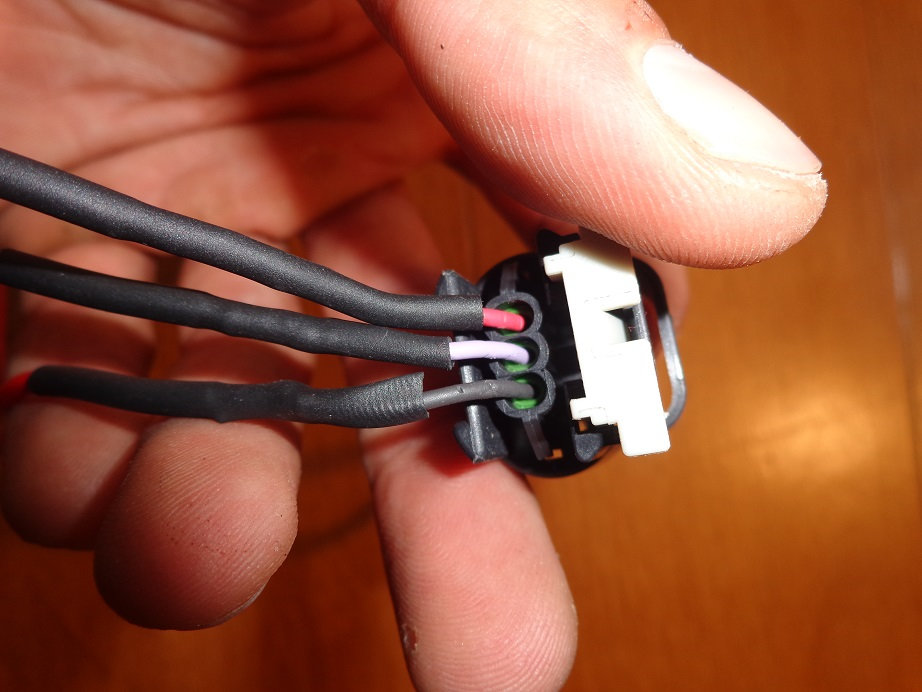
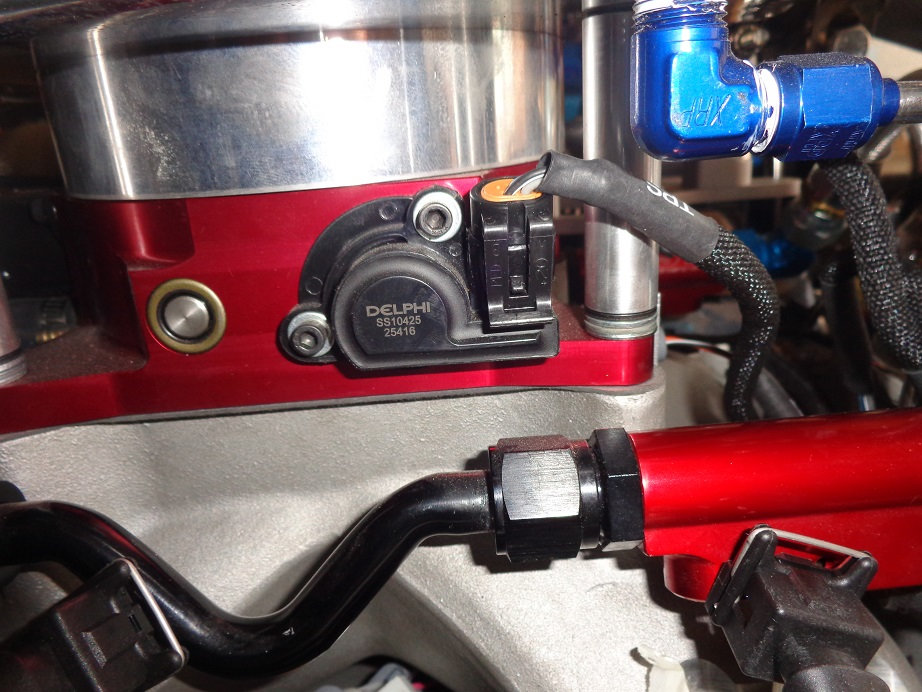
THX ! I hope I will be able to run on august. I've only one connector to replace, the holley crank trigger connector is not the same as the DIYautotune, I don't have to shorten or lenghten any wires and I'm waiting DIY to told me how to repin it for the Gen 1 firing order but I will ask if it's possible to let the ECU believe the cyl 7 is the cyl 4 for ex because of the LS firing order 18726543 vs gen 1 firing order 18436572, it would be easier than repin injector wires.
07-25-2017 #69
Registered User
- Join Date
- Oct 2016
- Posts
- 556
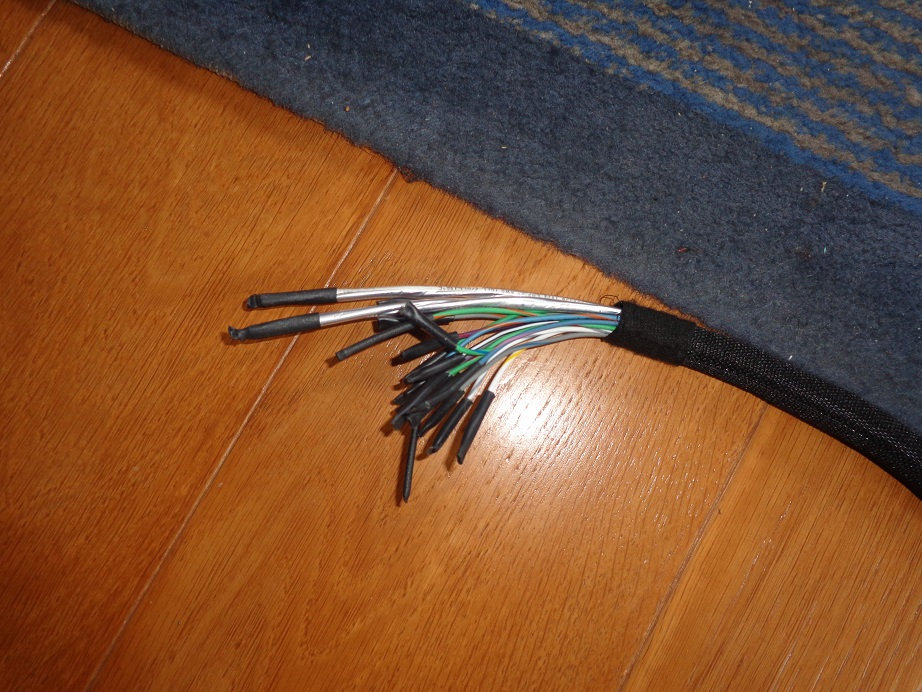
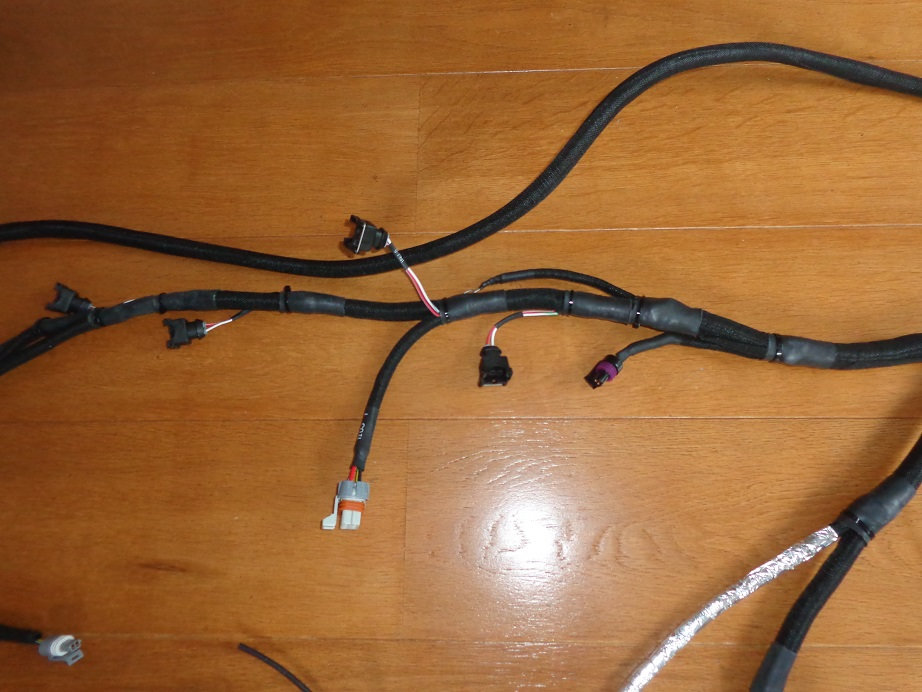
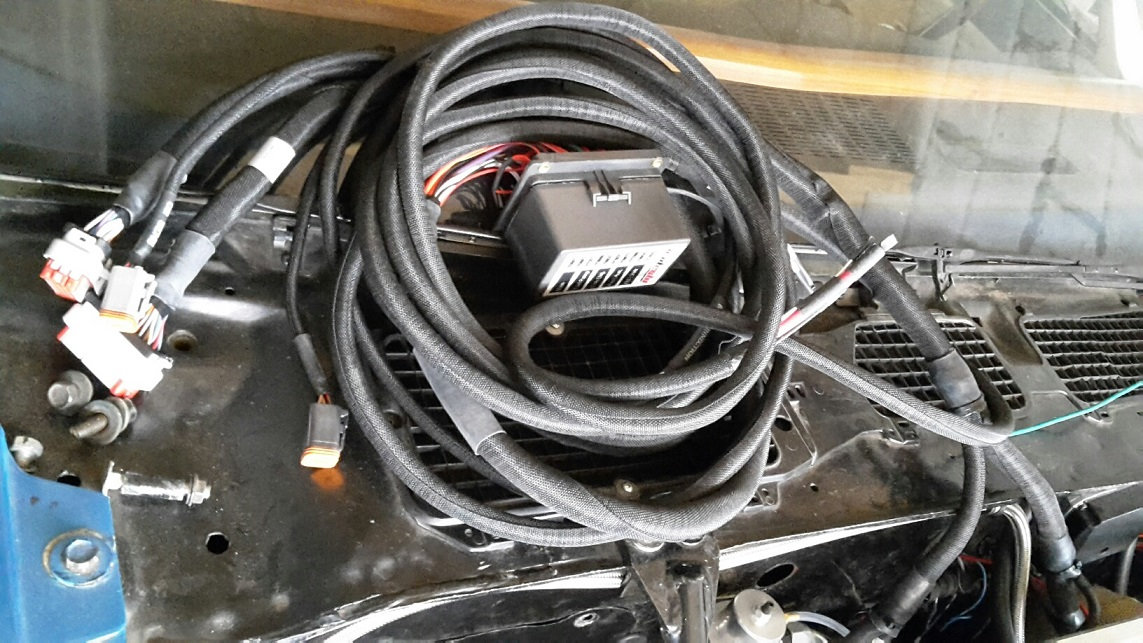
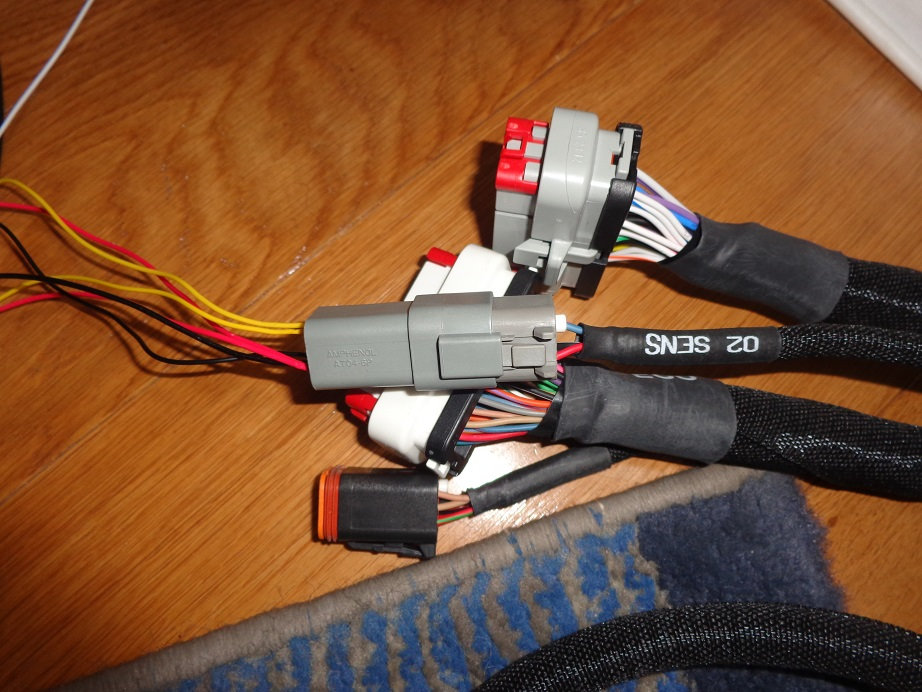
allmost finished ! I believed it would be more difficult but finally it was pretty easy to modify the harness.
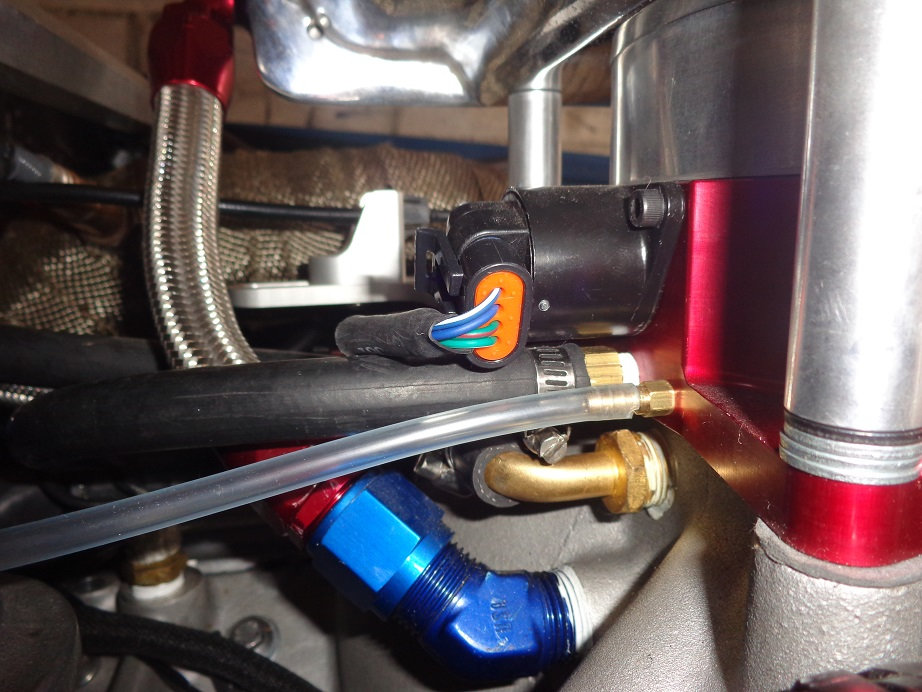
to adapt the DIYautotune LS plug and play harness on a SBC we have to :
relocate some connectors but no need to cut any wires.
swap the "C" and "G" spark / injector outputs, and swap the "D" and "H" spark / injector outputs because of the different firing order and directly swap them on the ECU connectors.
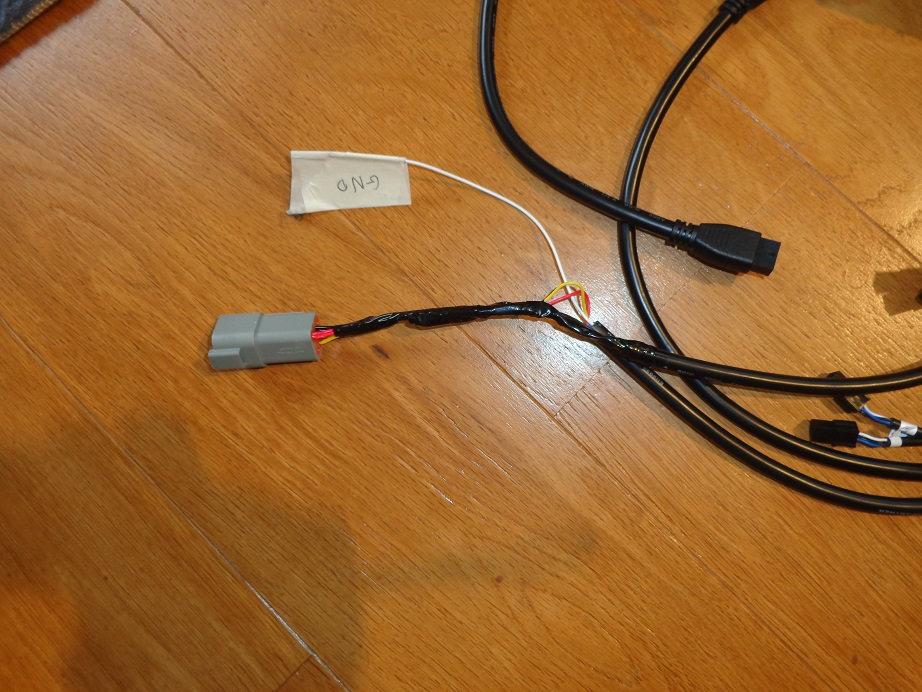
Connect both grounds of the DLG-1 gauge and LC2 controller to the power ground on the 6 pin connector included in the harness
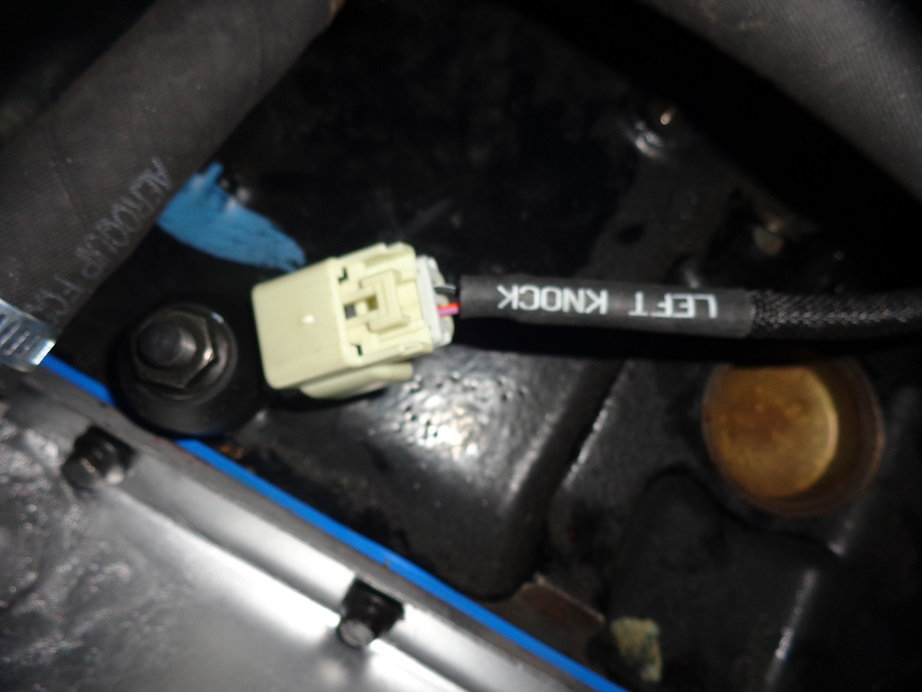
remove the alternator wire; it is intended for later alternators and not used with the one wire sort.
remove the starter connector and connect the starter wire to the tab marked "To Ignition Switch" on the starter solenoid
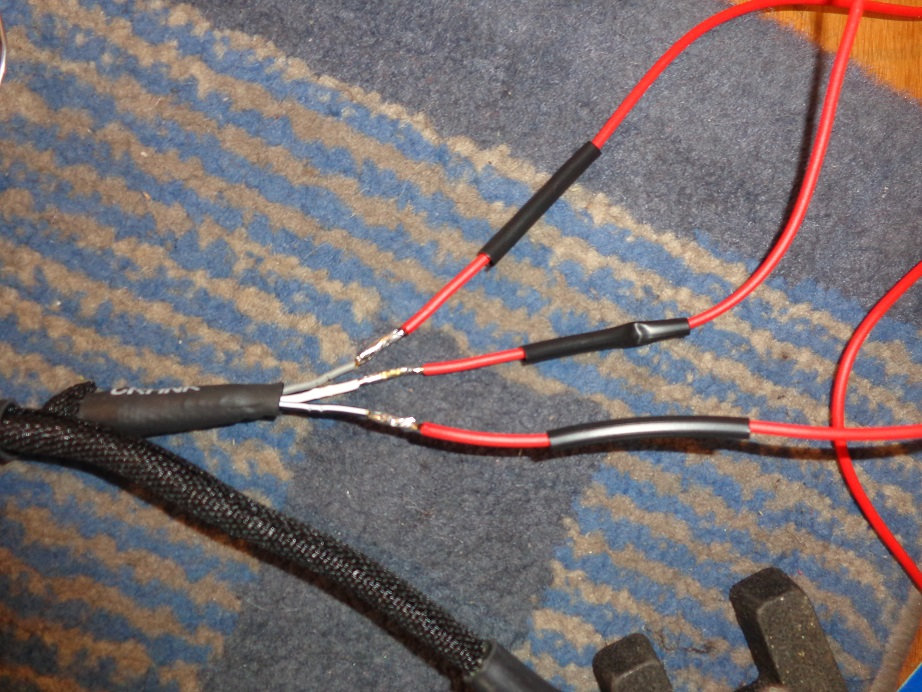
remove and replace the crankshaft connector cause the holley connector was not the same, lenghten the wires.
connect the flex fuel sensor connector to the digital switched in 1/flex, switeched 12v and sensor ground
starter wire ( body connection ) to S-terminal on a ford remote starter solenoid
and prepare all connexions for battery +/-, fuel pump, tach output and switched 12v
DIYautotune harness is really very good quality !

07-30-2017 #70
Registered User
- Join Date
- Oct 2016
- Posts
- 556
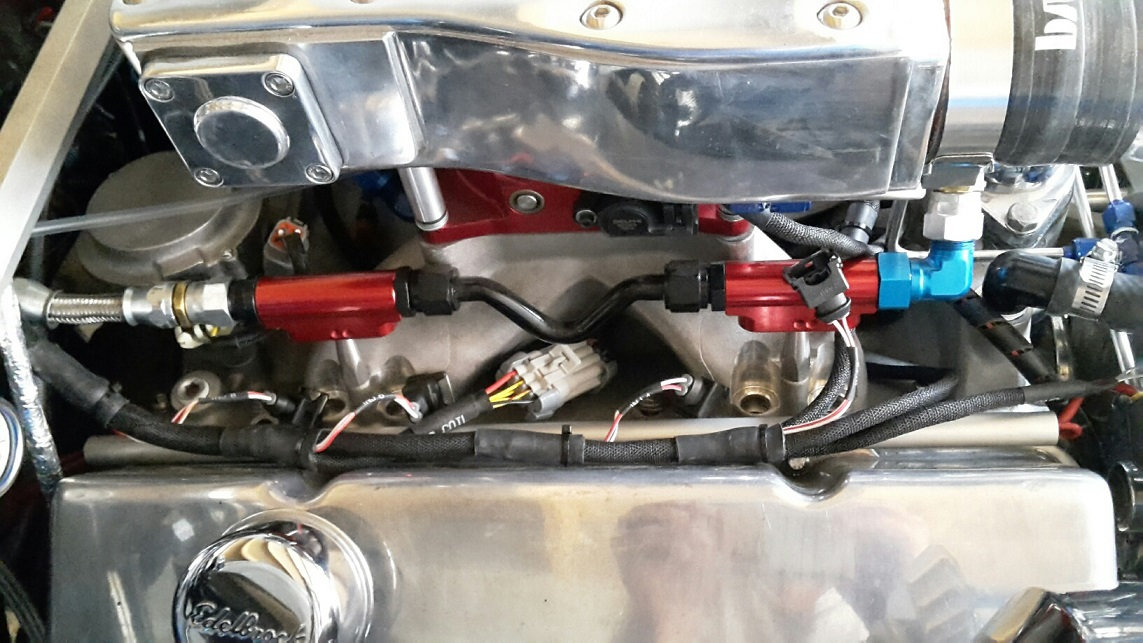
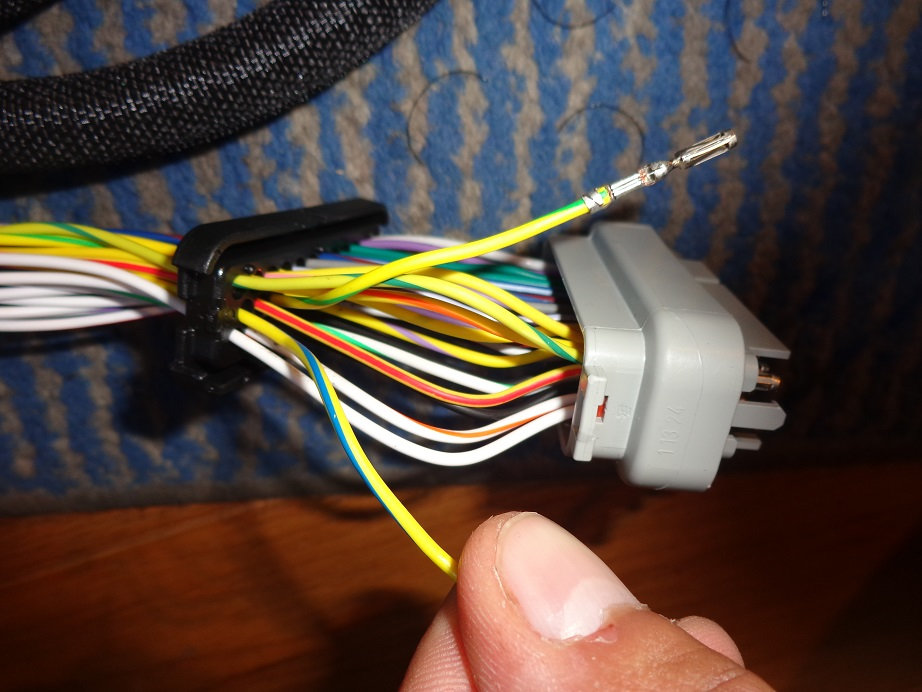
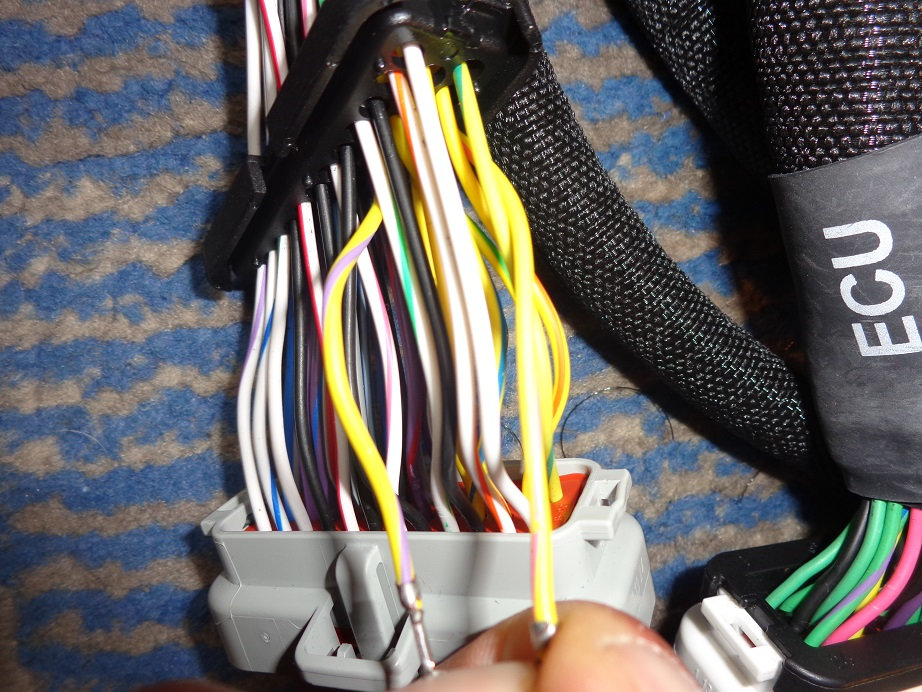
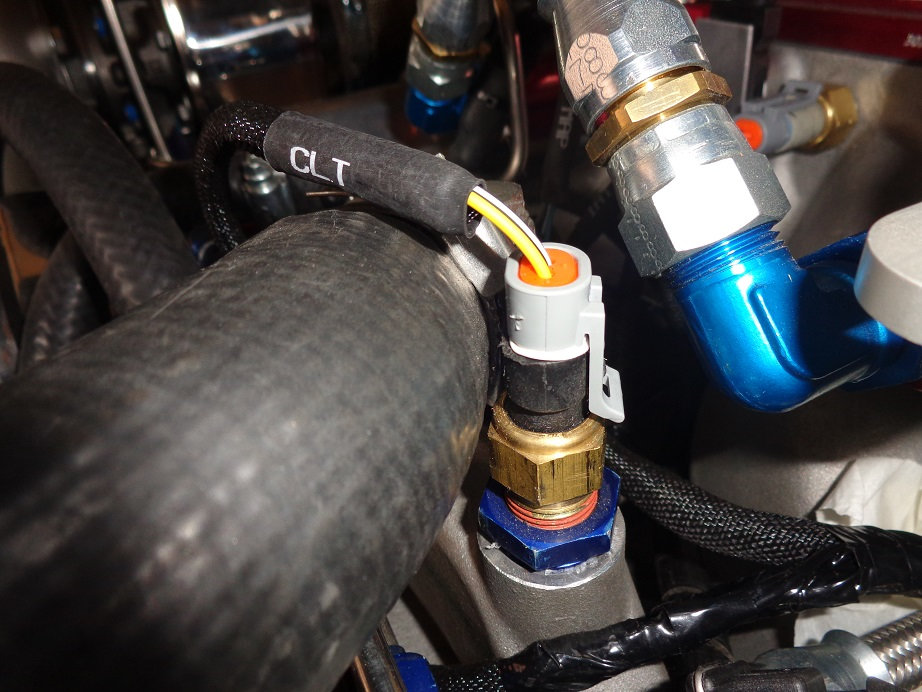
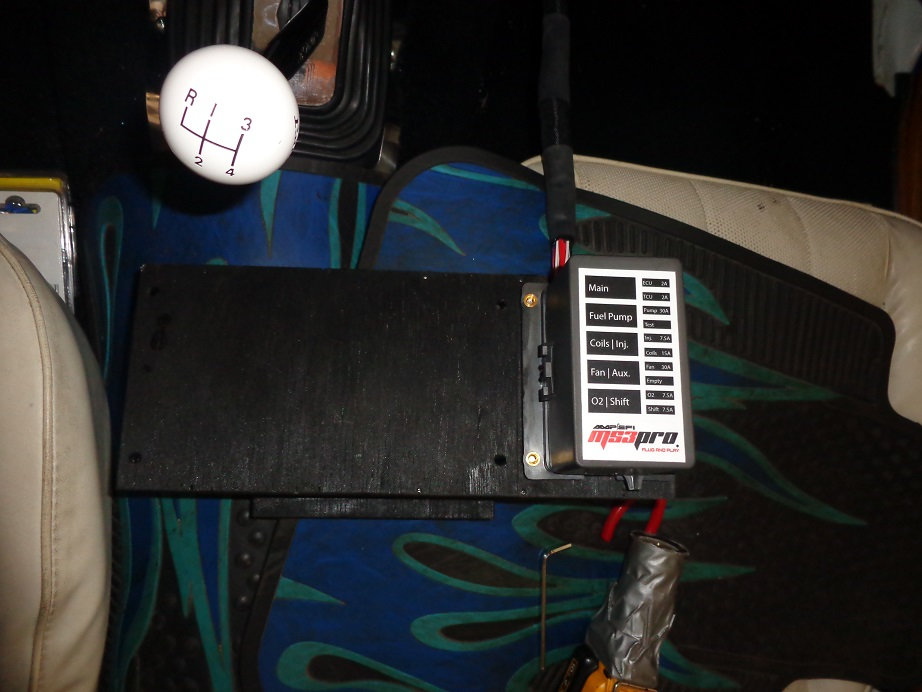
everything is connected, I've added 5 switched 12v wires and 5 sensor ground wires if I add other sensors like driveshaft speed, wheel speed, fuel pressure...etc later
next step : install and tune the ECU, coils and injectors, calibrate O2 sensors and maybe ENGINE START

08-17-2017 #71
Registered User
- Join Date
- Oct 2016
- Posts
- 556
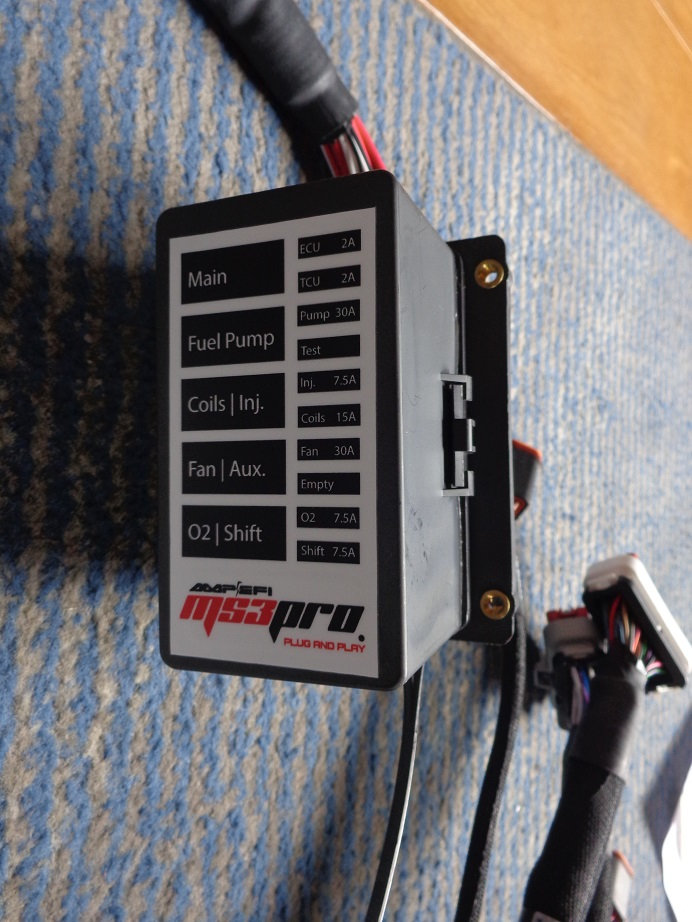
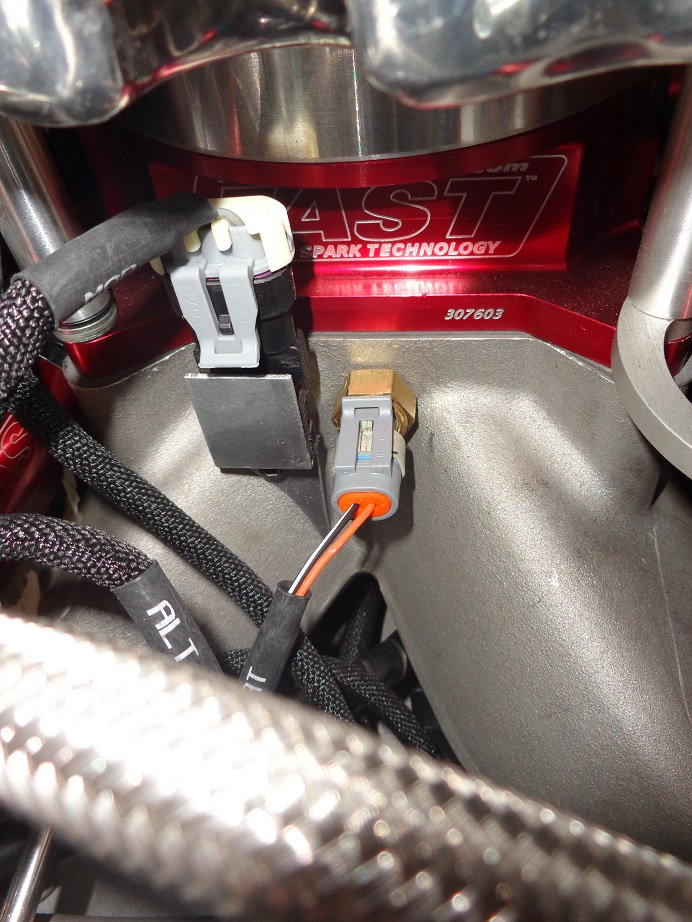
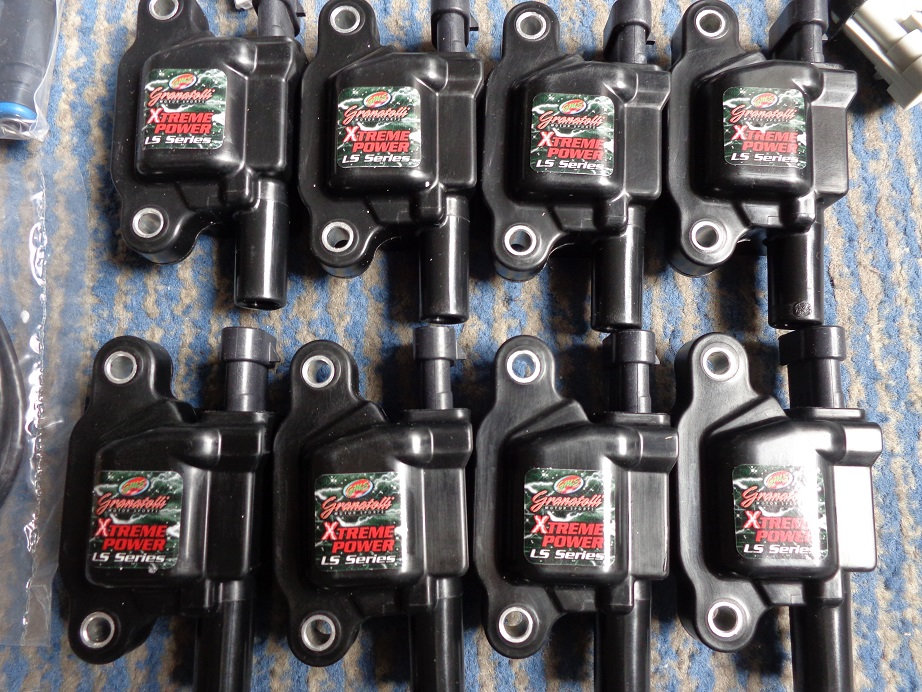
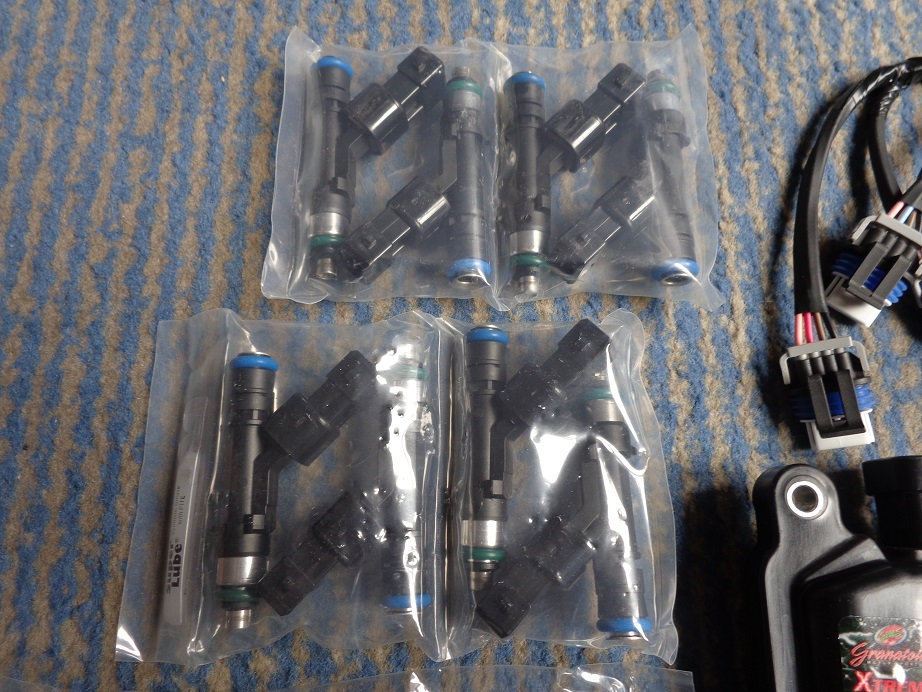
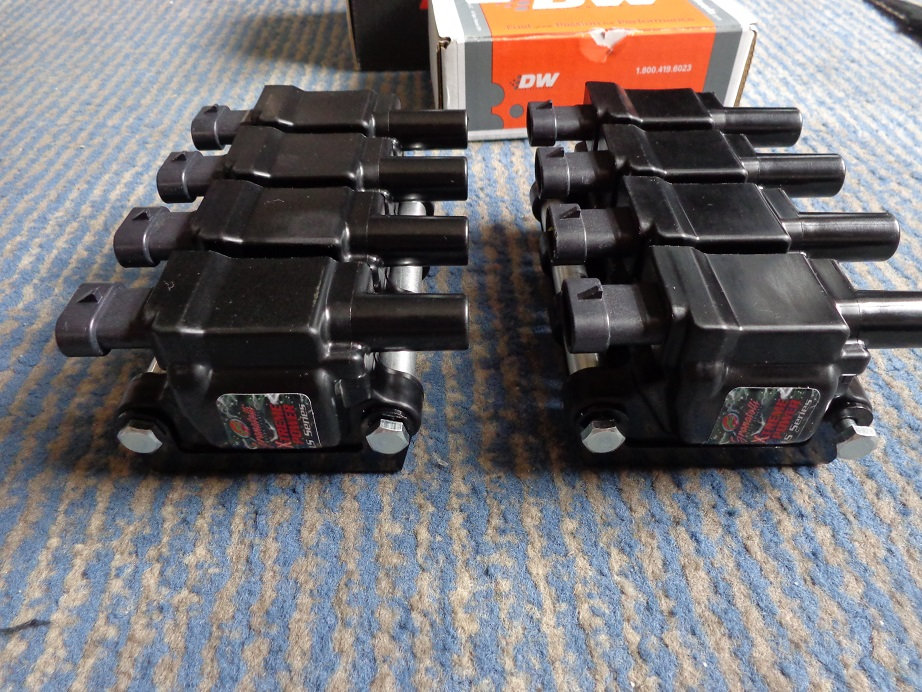
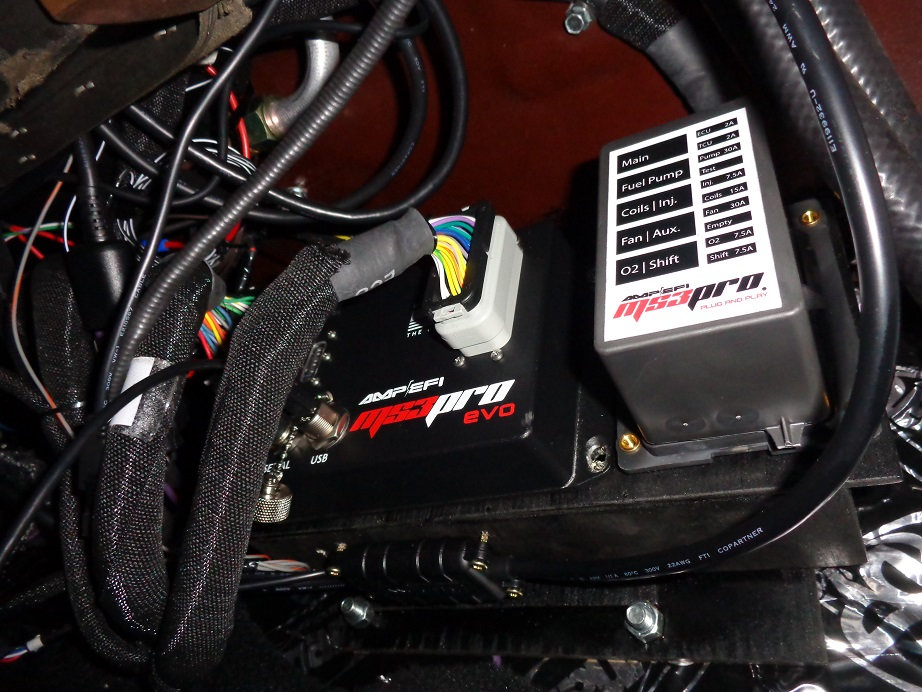
little update, I've finally bought the MS3-Pro EVO ECU, Granatelli 80kv coils and Deatchwerk 88lbs fuel injectors, I will receive all next week, CAN'T WAIT !!
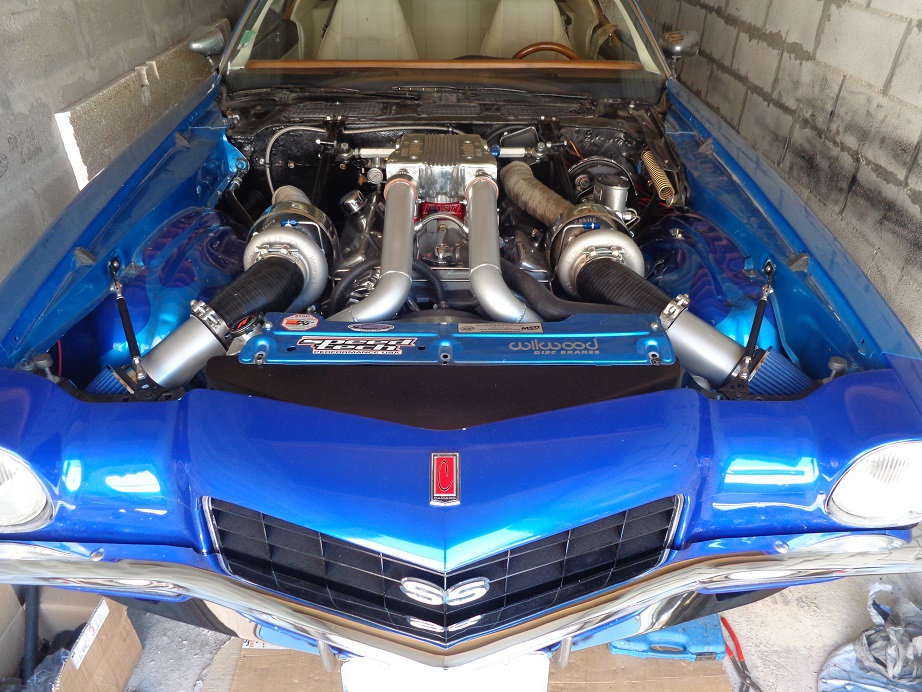
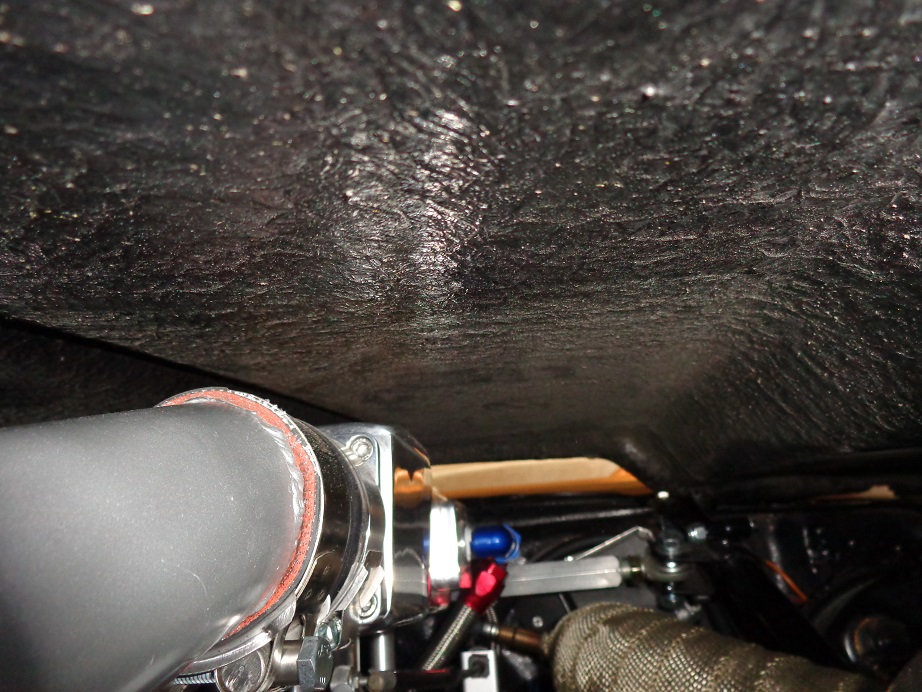
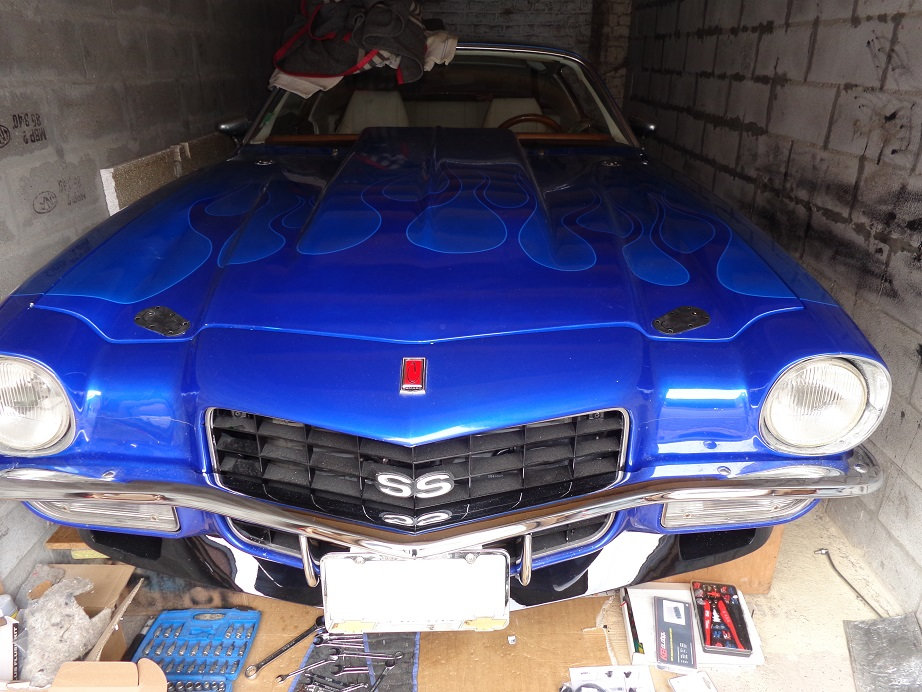
So I've reinstall the hood with new hood latch pin lock kit and verify the clearance between the hood and the pressure chamber, about 10mm with a 3" scoop I believe.
and future little upgrade, I will replace the 1 piece Speedtech sway bar by a 3 piece splined sway bar exactly the same as the one on their Extreme Chassis.
08-25-2017 #72
Registered User
- Join Date
- Oct 2016
- Posts
- 556
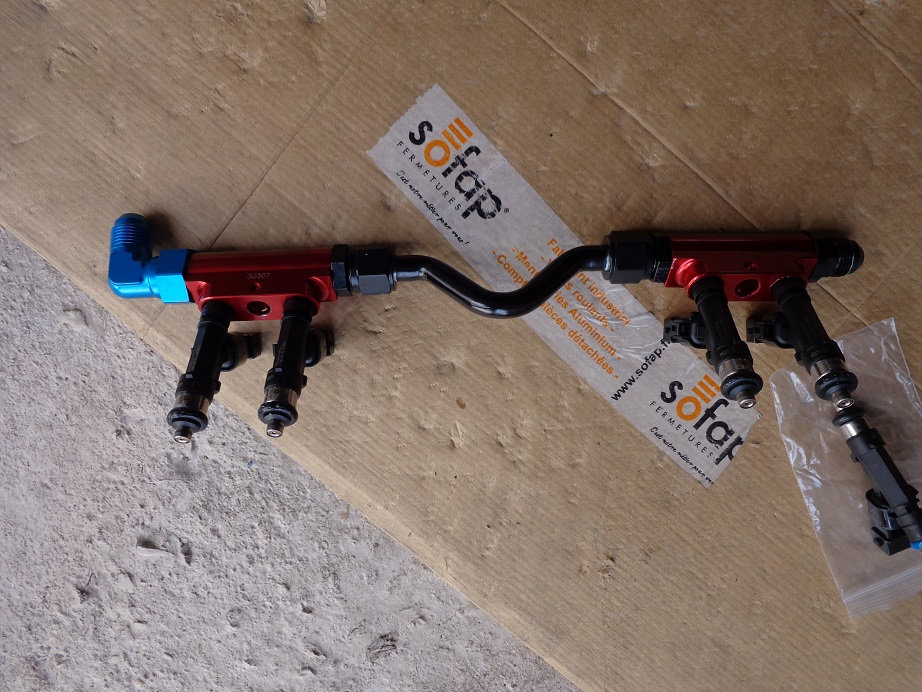
finally received !!! the coil sub-harness is coming from On3Performance but it can be easily found on ebay

08-25-2017 #73 Registered User
- Join Date
- Sep 2009
- Posts
- 2,706
Wow, that is some fantastic work you have done there! So cool that your hood fit back on there. I'm in for some updates.

1955 Nomad project LC9, 4L80e, C5 brakes, Vision wheels
1968 Camaro 6.2 w/ LSA, TR6060-Magnum hybrid and etc SOLD
1976 T/A LS1 6 Speed, and etc. SOLD
Follow me on Instagram: ryeguy2006a
08-25-2017 #74
Registered User
- Join Date
- Oct 2016
- Posts
- 556
thx a lot ! I hope it will run and run well, we will see if an Edelbrock 350 performer rpm engine can hold 7 psi of boost and still work well !
08-27-2017 #75
Registered User
- Join Date
- Oct 2016
- Posts
- 556
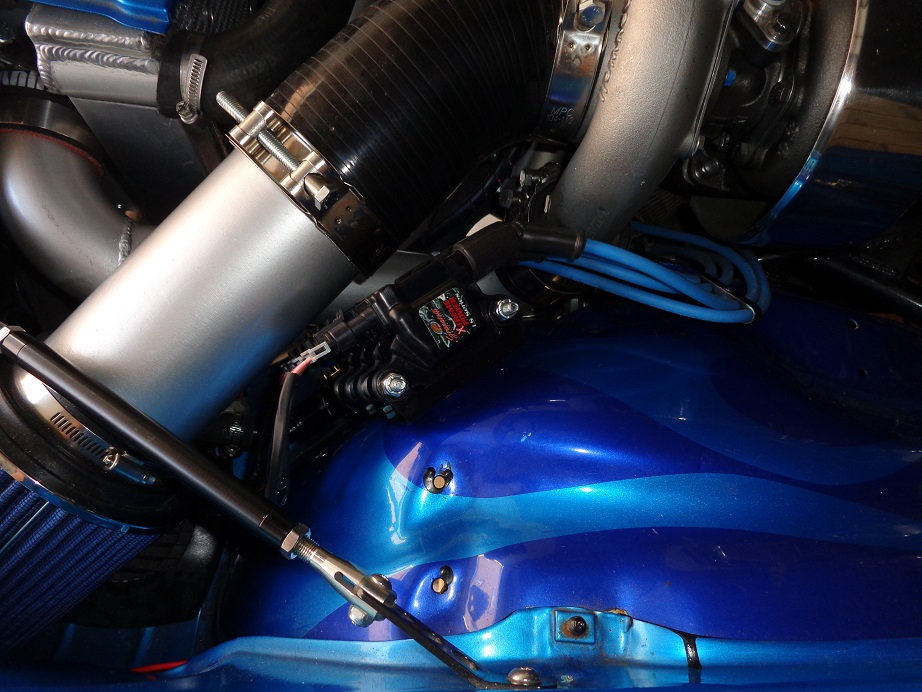
almost finished, she is back on her wheels, ECU tuned, sensors calibration, coil/injector and fuel pump tests OK, just one fuel leak corrected right away, I'm waiting for an answer from DIYautotune to know if everything is OK with the tune.


10-17-2017 #76
Registered User
- Join Date
- Oct 2016
- Posts
- 556
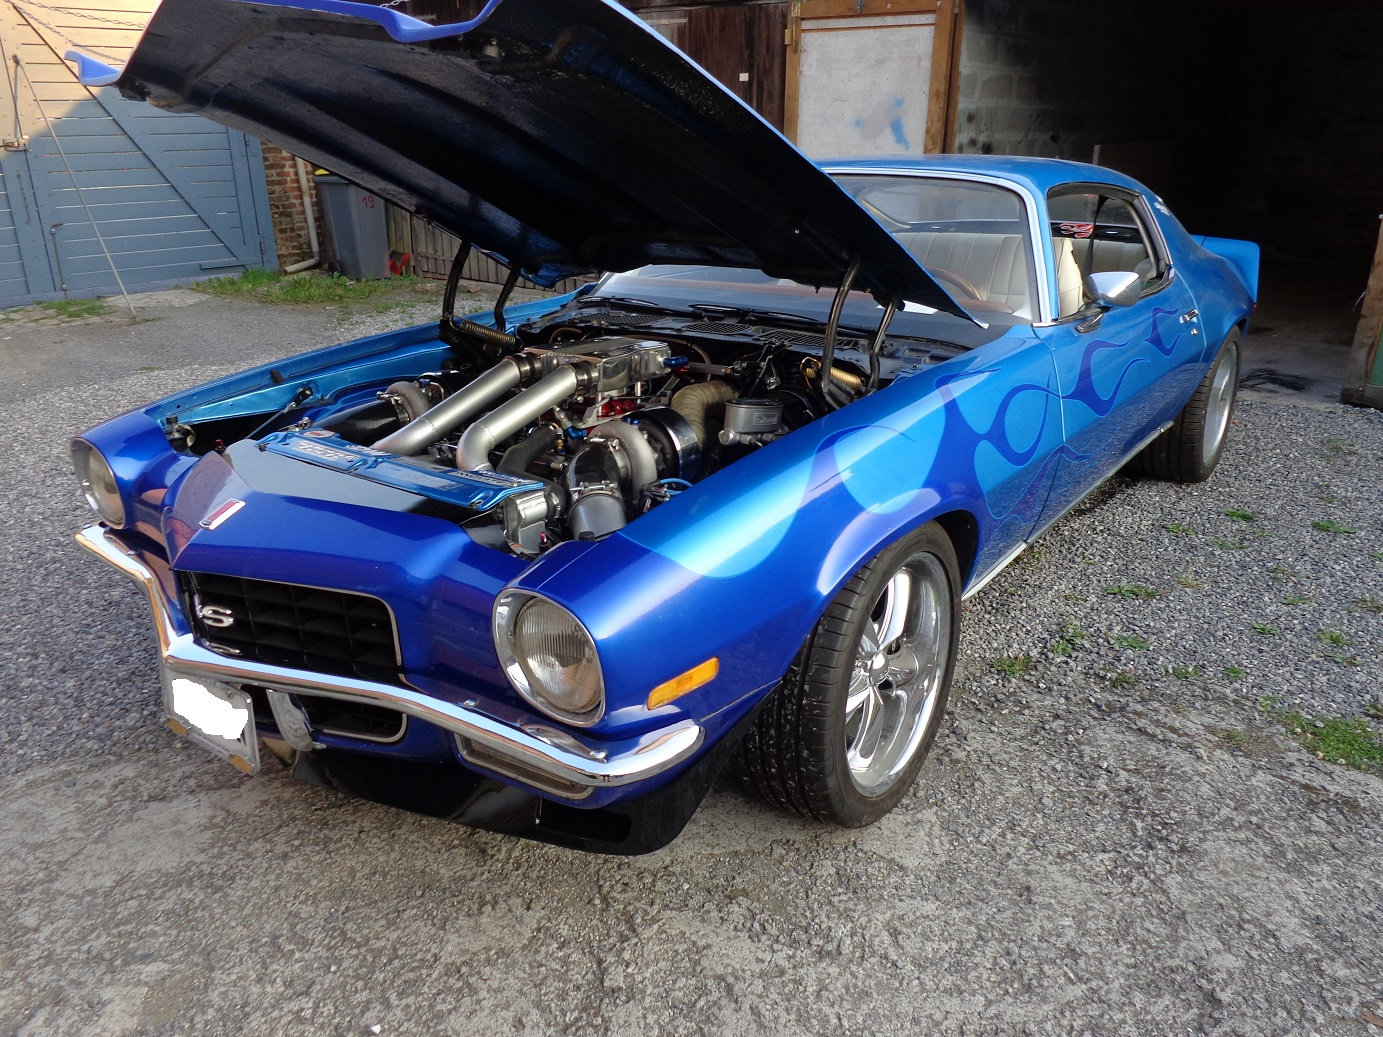
Hey Guys ! so after a fuel leak, I believed it was a head gasket so I've removed everything to know where the problem was coming from, she finally starts ! Now I can tune the ECU, verify the timing, VE table...Etc but it looks good, I was a bit disappointed after that leak but now I can't wait the car runs well !
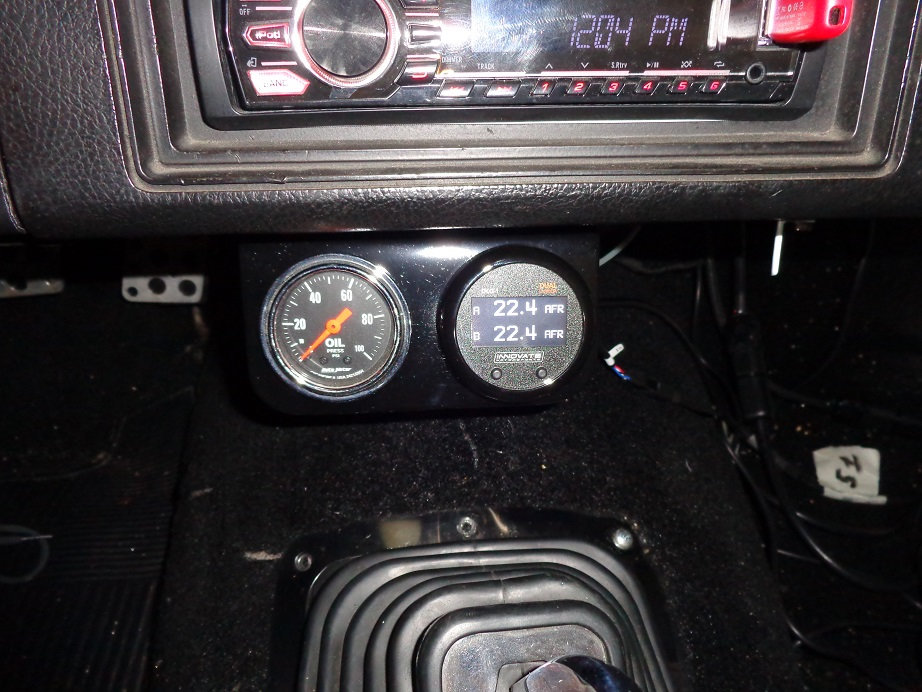
on the following vidéo, one of the 2 O2 sensor is dead ( the one that reads 22.4 ), I need to tune the VE table, Idle table...Etc
https://www.youtube.com/watch?v=EqIl6yHwkd8
before
after
10-29-2017 #77
Registered User
- Join Date
- Oct 2016
- Posts
- 556
https://www.youtube.com/watch?v=E_mB2BPIXYM
YEEEEEEEEEEEESSSSSSSSSSSSS !!!!! for the moment running semi-sequentail fuel injection and wasted COP, starting slowly with about 20-30% throttle.
10-29-2017 #78
Registered User
- Join Date
- Nov 2006
- Location
- Ma.
- Posts
- 5,567
Watched the video it sounds good! That’s got to feel good.
Wayne
Car FINALLY home !!!!!! lol
Project FNQUIK https://www.pro-touring.com/showthre...ghlight=FNQUIK
10-30-2017 #79
Registered User
- Join Date
- Oct 2016
- Posts
- 556
Thx Wayne ! here the second little video, she is also runing fully sequential and COP ignition but I've a cam fault so I will give a log to Matt Cramer from DIYautotune who will tell me where the code comes from.
https://youtu.be/Oz9ksn3NSxw
soon build of a 3 piece splined sway bar and for Xmas I will buy the Speedtech chicane full floater axle, it's been a long time I want it !
11-05-2017 #80
Registered User
- Join Date
- Oct 2016
- Posts
- 556
video done at about 50% throttle, boost goes up to 6.8 psi with 5 psi wastegate springs. AWESOME !!
https://youtu.be/oSw1UaUqGuo
https://youtu.be/kPiXfOsBgTA
with some math and the following link and thx to the logs, I can estimate the power between 500 and 600hp with respectively BSFC at 0.55 and 0.65
https://www.rbracing-rsr.com/calcboost.html
5491 rpm
VE 120.9
manifold air temp ( post intercoolers) 88 °F
AFR 13, target AFR 12, so I've set it to 11.5, we will see on the next run
boost 6.8 psi with 5 psi springs
72.6% throttle


 Reply With Quote


