
Results 341 to 360 of 583
Thread: Pro-touring 72 Camaro SS
-
07-28-2020 #341

 Registered User
- Join Date
- Sep 2017
- Posts
- 825

And by the way I freaking love the cut out and bolt together crossmember idea. I don't know why speedtech or dse , tci, or other chassis builders haven't done It.
I know they want rigidity but it really sucks pulling an engine to drop a pan.
TANKMASTERJ
https://www.pro-touring.com/threads/...touring-Camaro
Jasons Toys
67 Camaro White Lightning LMR LS7 powered, Speed tech Front and Rear.
2023 Rapid Blue ZL1 the Blue Devil
2000 HD Softail
1989 CBR Hurricane anniversary edition
-
07-28-2020 #342
Registered User
- Join Date
- Oct 2016
- Posts
- 556
True !
I don't think I lose rigidity with the 4 tubes welded from the side of the subframe and the sway bar tube to the control arm brackets
07-31-2020 #343
Registered User
- Join Date
- Oct 2016
- Posts
- 556
Allmost finished !
07-31-2020 #344
Registered User
- Join Date
- Sep 2017
- Posts
- 825
Bernardo,
The only thing wrong with it is that I didn't think of it before i droped my subframe at my buddy's shop to powder coat.
I'm too late for cutting and welding on mine.
But dang I'm wishing.
That looks good and I agree I don't think you'll loose rigidity
Keep up the good work
JasonTANKMASTERJ
https://www.pro-touring.com/threads/...touring-Camaro
Jasons Toys
67 Camaro White Lightning LMR LS7 powered, Speed tech Front and Rear.
2023 Rapid Blue ZL1 the Blue Devil
2000 HD Softail
1989 CBR Hurricane anniversary edition
07-31-2020 #345
Registered User
- Join Date
- Oct 2016
- Posts
- 556
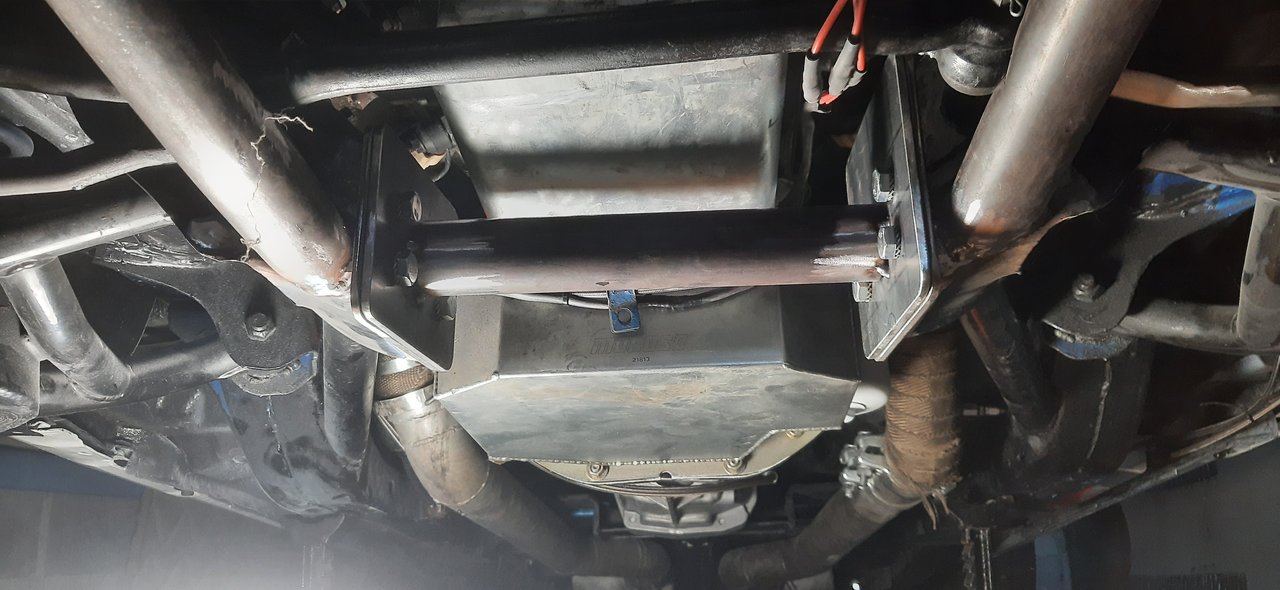
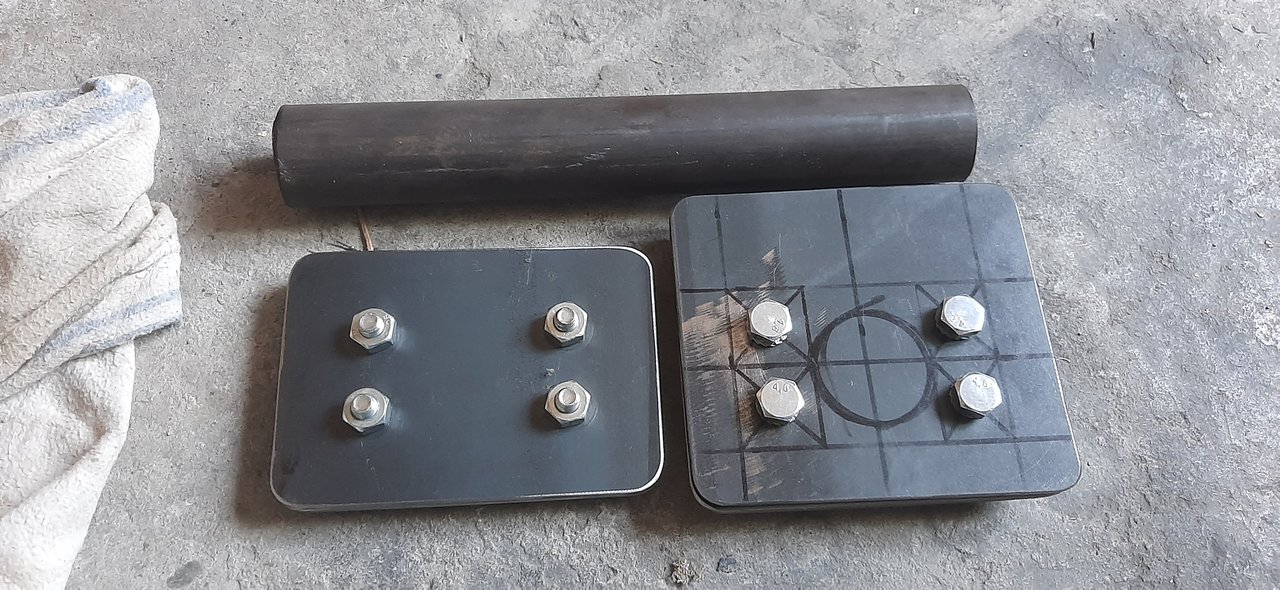
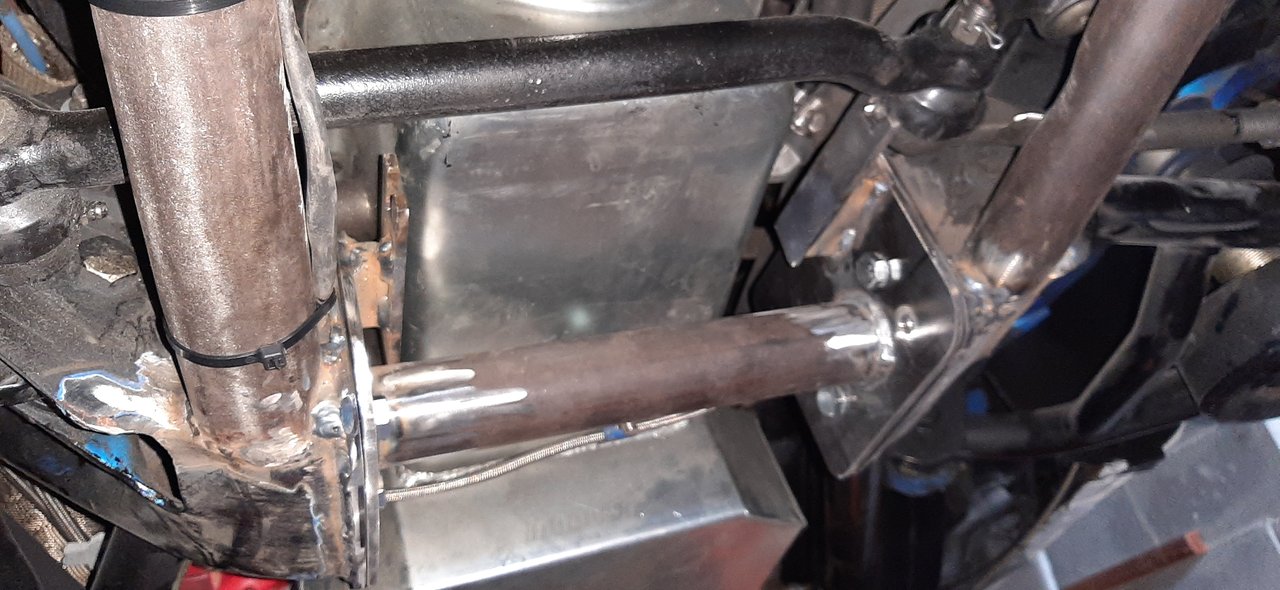
Jason, you''ll do it next time you drop your pan. This is not really difficult even with the engine sitting on the car.
I'm using 1-3/4 x 0.1" chromoly tubing cause I have it in stock and did not want to order an other 30ft lenght tube but I think you can use smaller diameter tubing size like 1-1/4" and be sure to weld them before cutting !
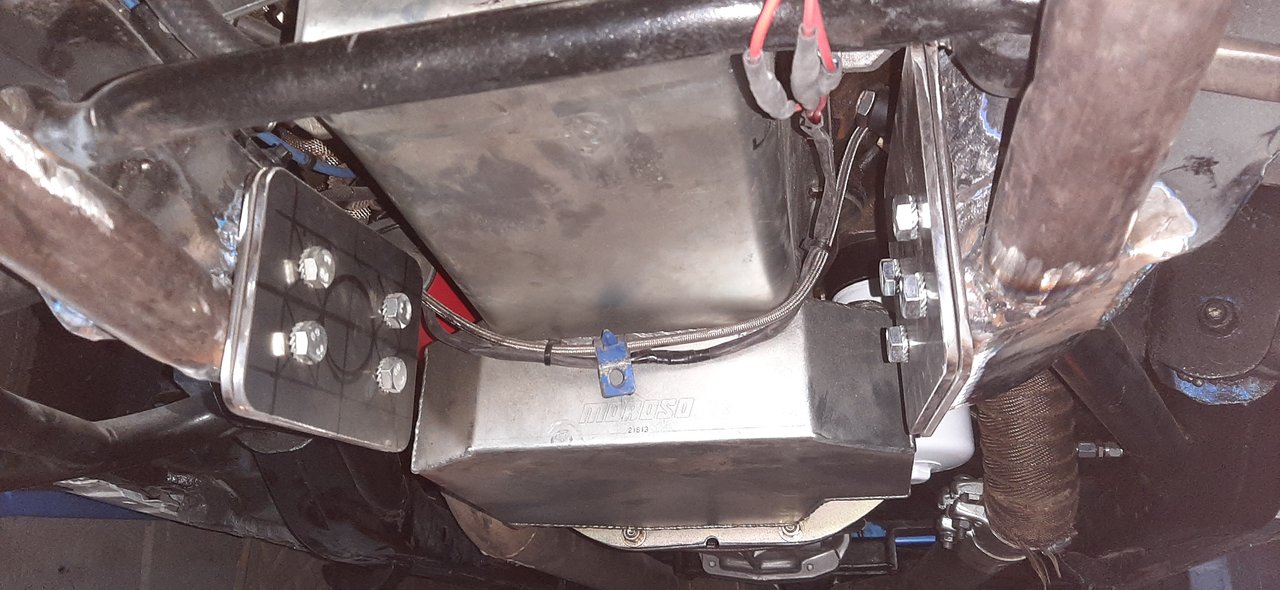
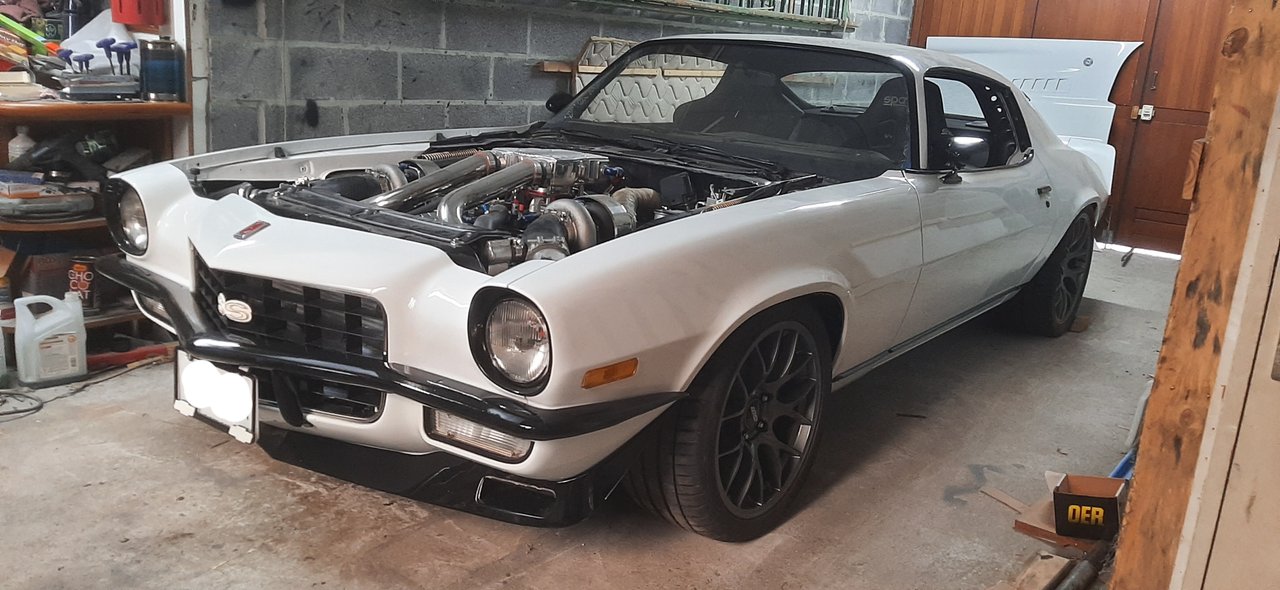
08-02-2020 #346
Registered User
- Join Date
- Oct 2016
- Posts
- 556
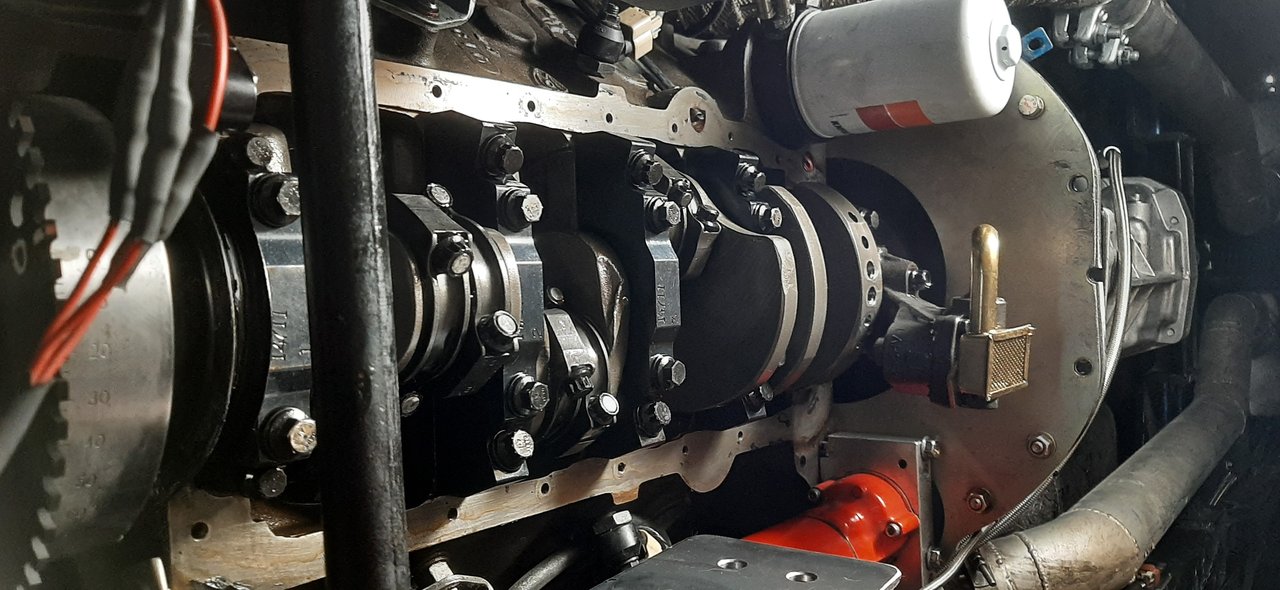
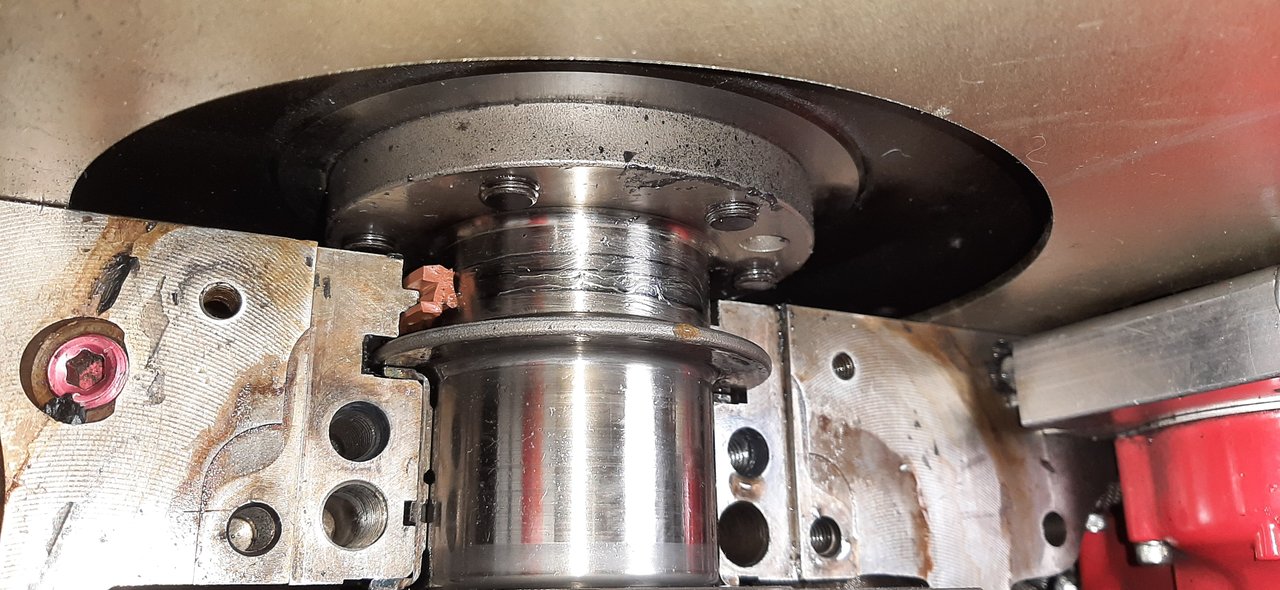
Finished, 3 in 1, removable motor crossmember, brake line bracket and steering stop cause I've never understand why the driver side tire touched the frame when turning full left, full right never had issues....solved
Next step rear main seal replacement

08-03-2020 #347
Registered User
- Join Date
- Oct 2016
- Posts
- 556
I can say alleluia ! Removing the oil pan without moving anything from the engine is so cool !
08-04-2020 #348
Registered User
- Join Date
- Oct 2016
- Posts
- 556
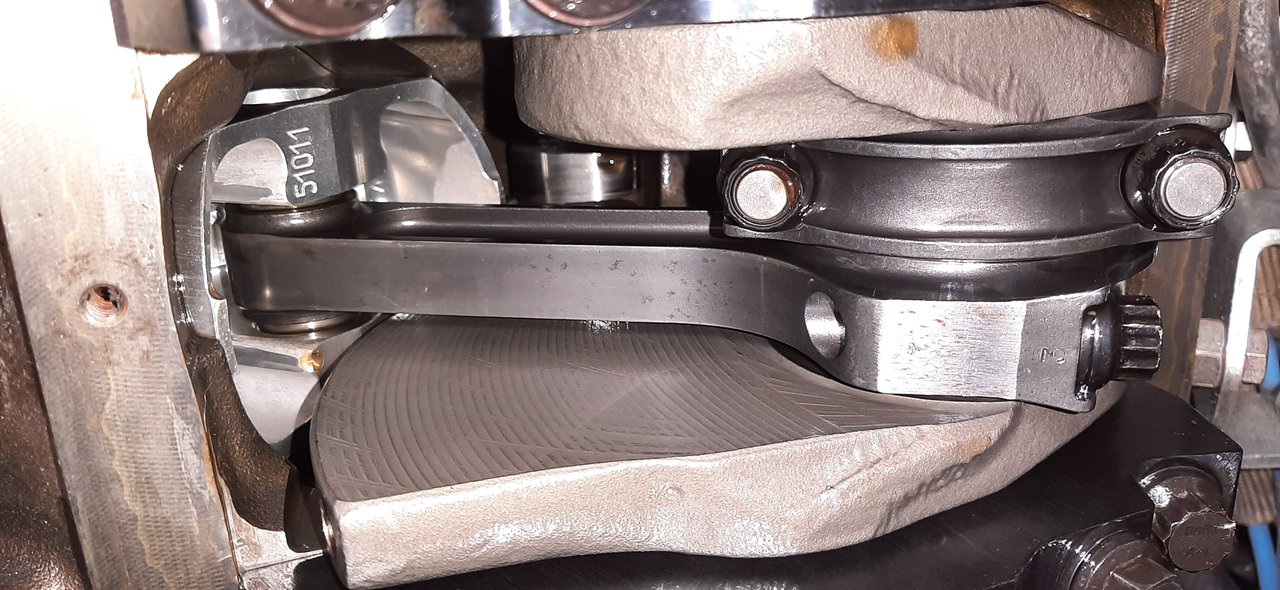
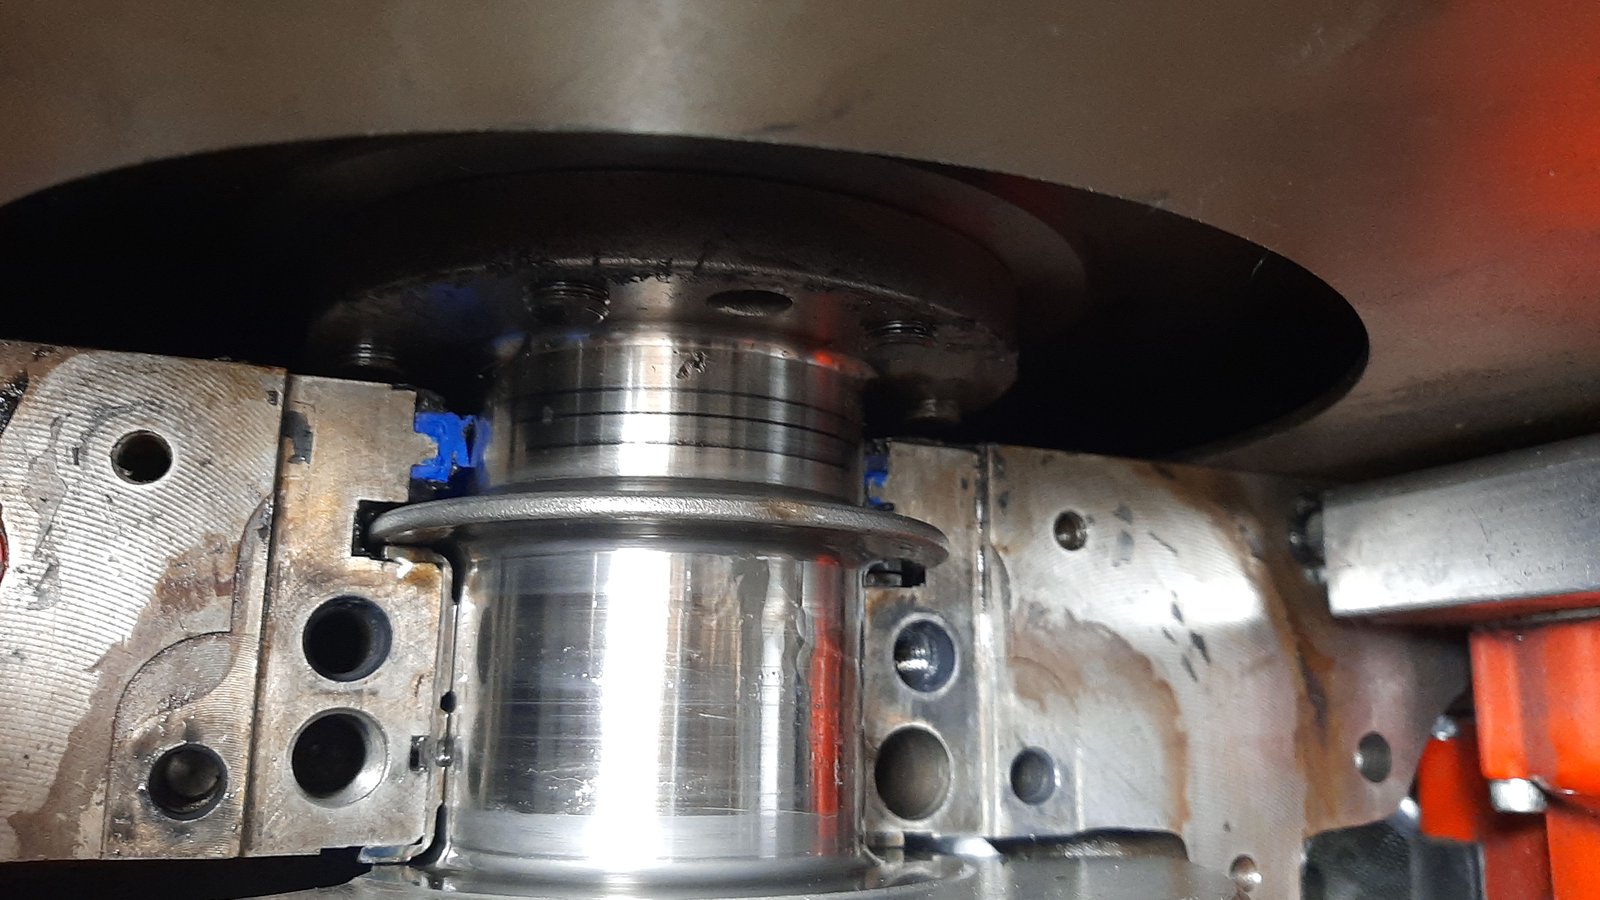
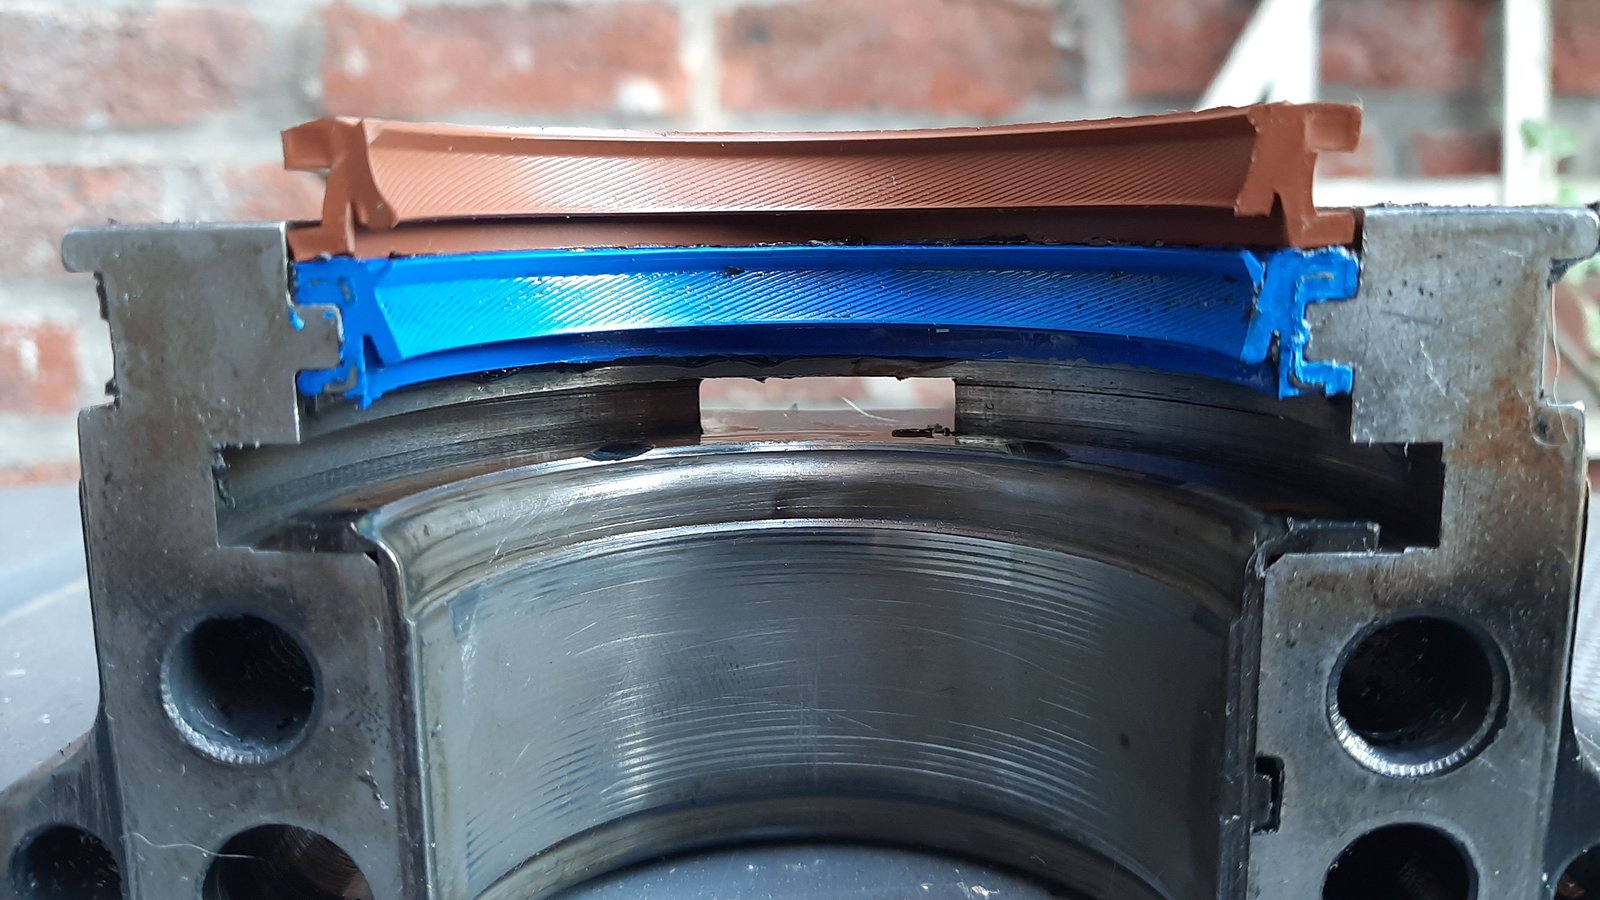
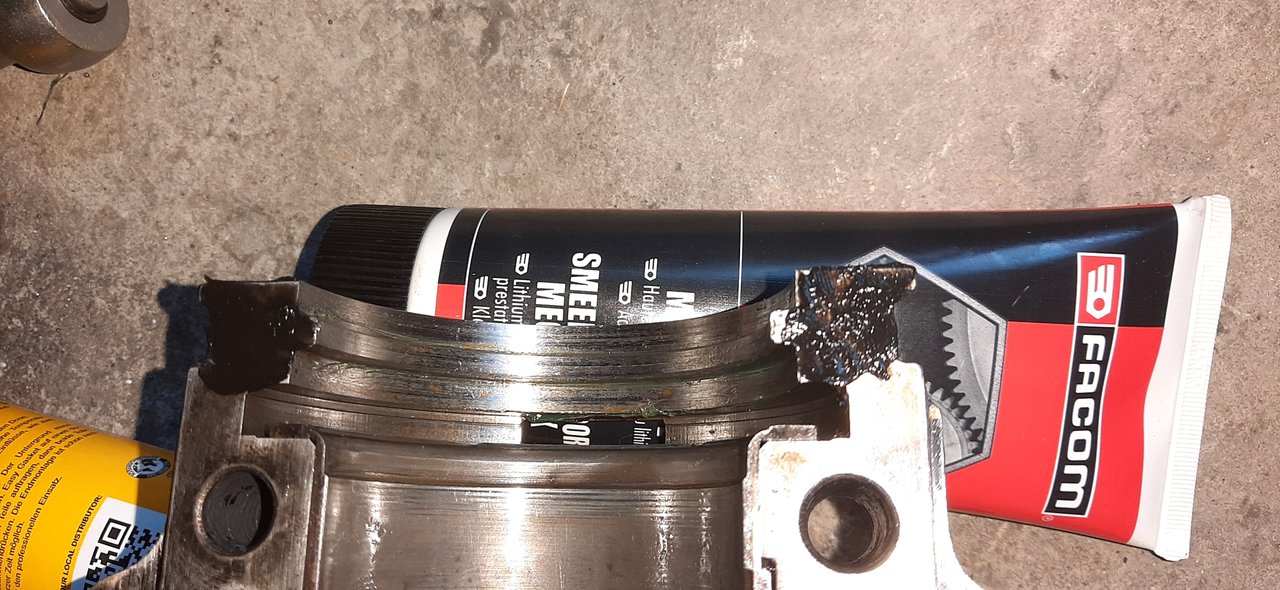
Rear main seal changed, the last one appeared to be in a good shape but I prefer to change it. Need to change my oil pan gasket too

08-04-2020 #349
 Registered User
- Join Date
- Sep 2009
- Posts
- 2,705
I've heard you should also dab some silicone where the two seals come together.

1955 Nomad project LC9, 4L80e, C5 brakes, Vision wheels
1968 Camaro 6.2 w/ LSA, TR6060-Magnum hybrid and etc SOLD
1976 T/A LS1 6 Speed, and etc. SOLD
Follow me on Instagram: ryeguy2006a
08-04-2020 #350
Registered User
- Join Date
- Oct 2016
- Posts
- 556
Some seals need silicone on the end, some not, on the installation instruction of that fel-pro 2912 rear main seal, nothing written about putting silicone on the end of the seals. But I ve corrected the way to put silicone on the cap as following
08-04-2020 #351
Registered User
- Join Date
- Sep 2009
- Posts
- 2,705
Looking great man. I can't wait to see how the front bumper turns out all painted.
1955 Nomad project LC9, 4L80e, C5 brakes, Vision wheels
1968 Camaro 6.2 w/ LSA, TR6060-Magnum hybrid and etc SOLD
1976 T/A LS1 6 Speed, and etc. SOLD
Follow me on Instagram: ryeguy2006a
08-12-2020 #352
Registered User
- Join Date
- Oct 2016
- Posts
- 556
08-12-2020 #353
Registered User
- Join Date
- Oct 2016
- Posts
- 556
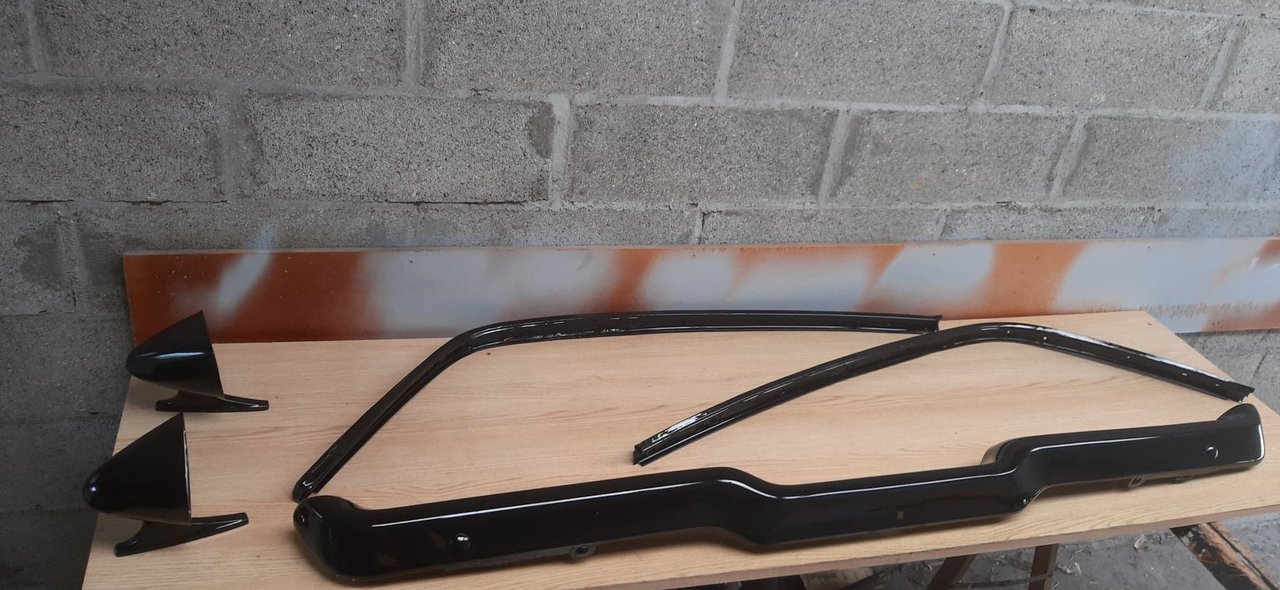
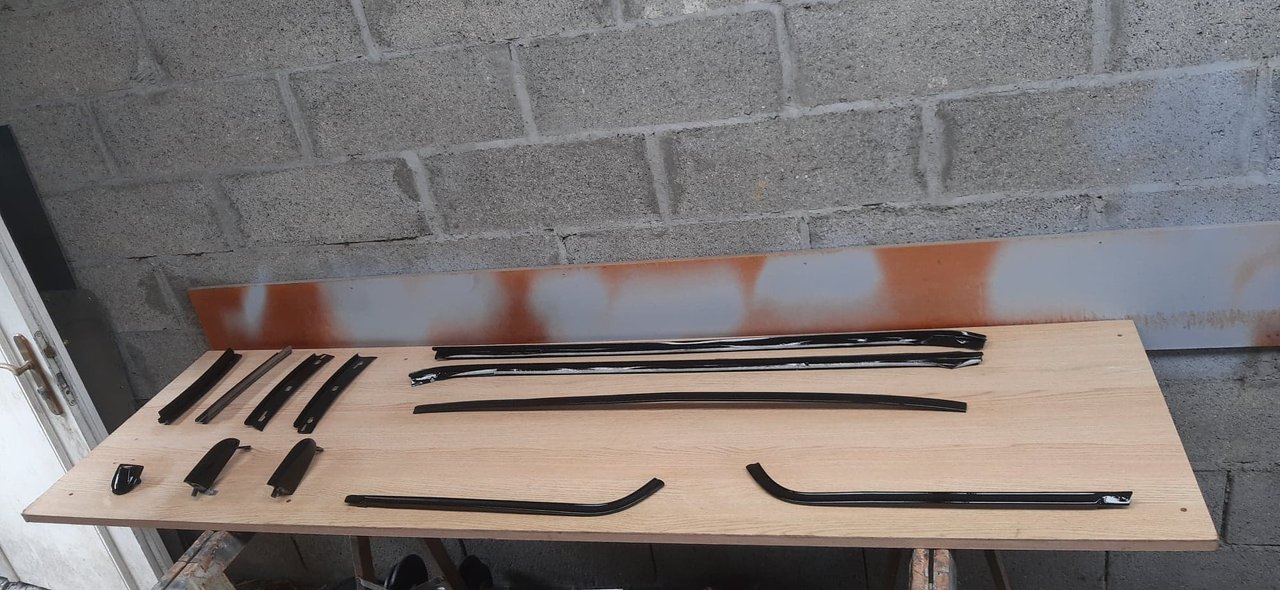
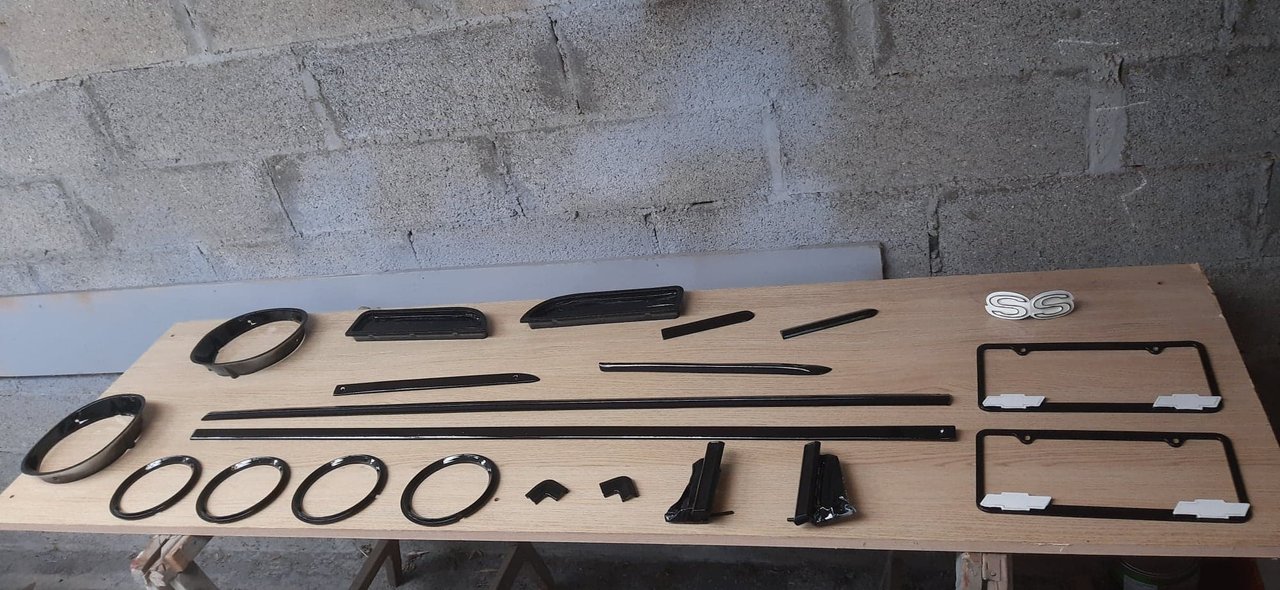
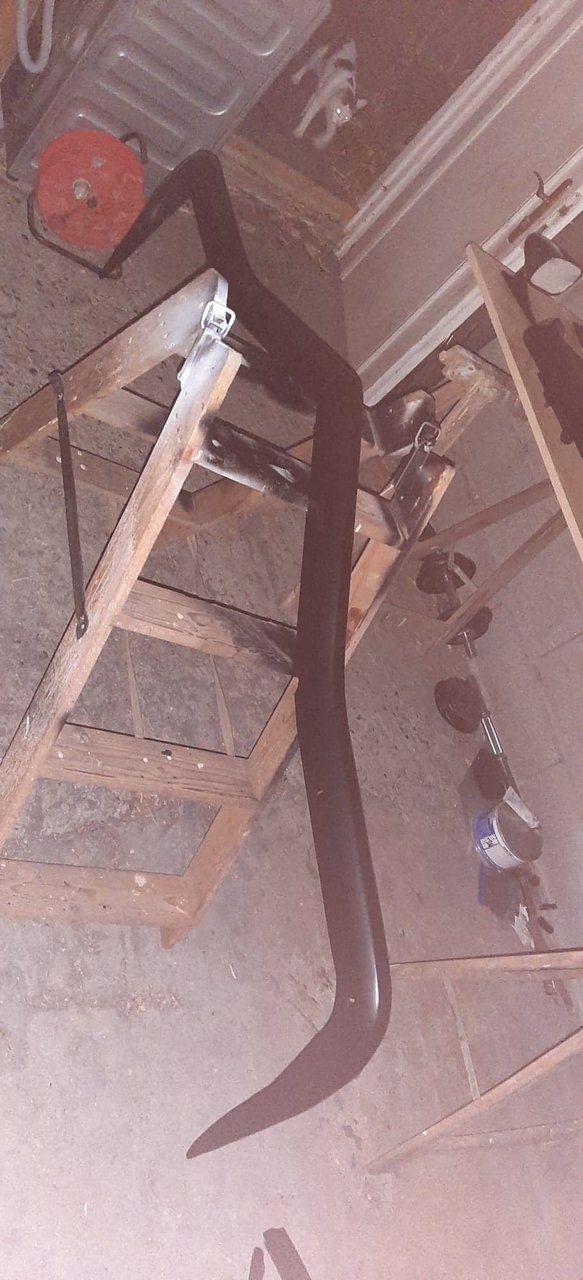
08-14-2020 #354
Registered User
- Join Date
- Oct 2016
- Posts
- 556
back on the road soon !


08-17-2020 #355
Registered User
- Join Date
- Oct 2016
- Posts
- 556
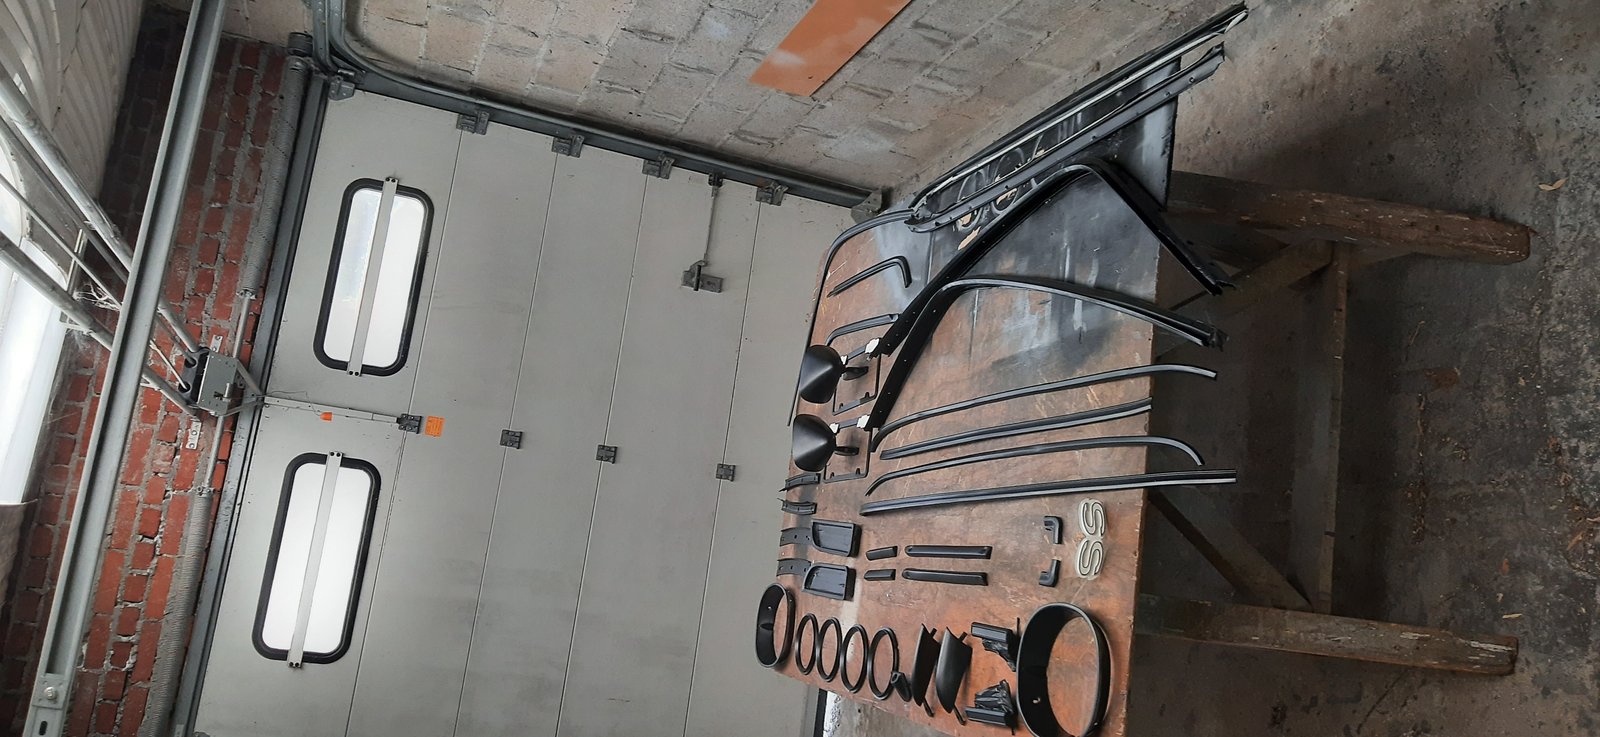
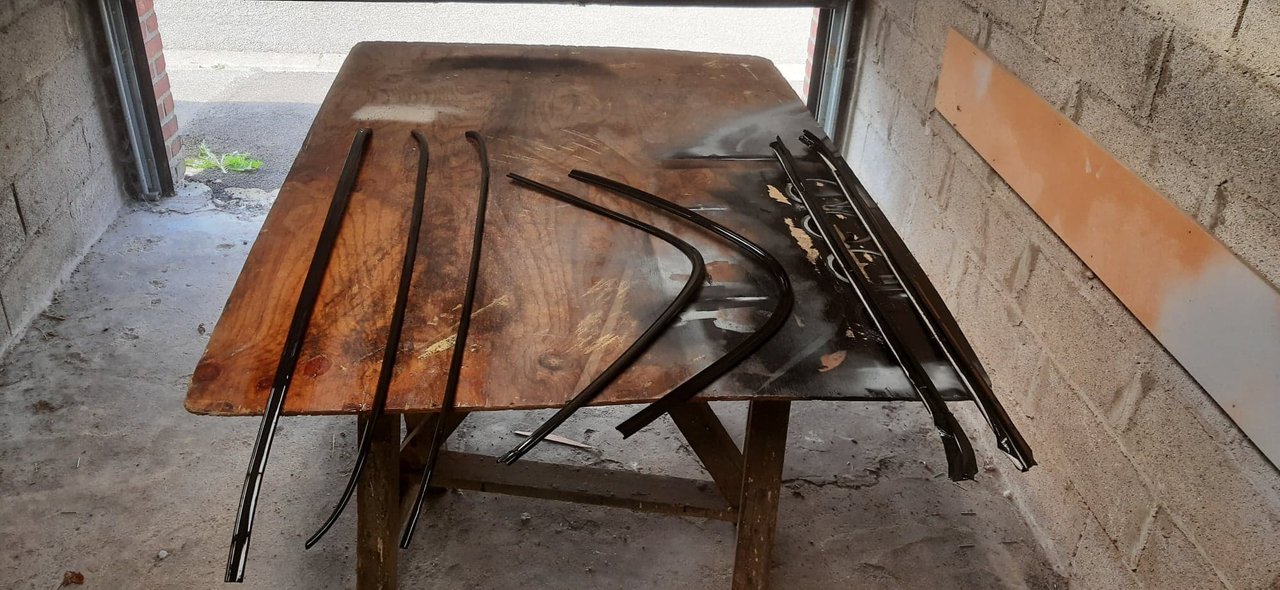
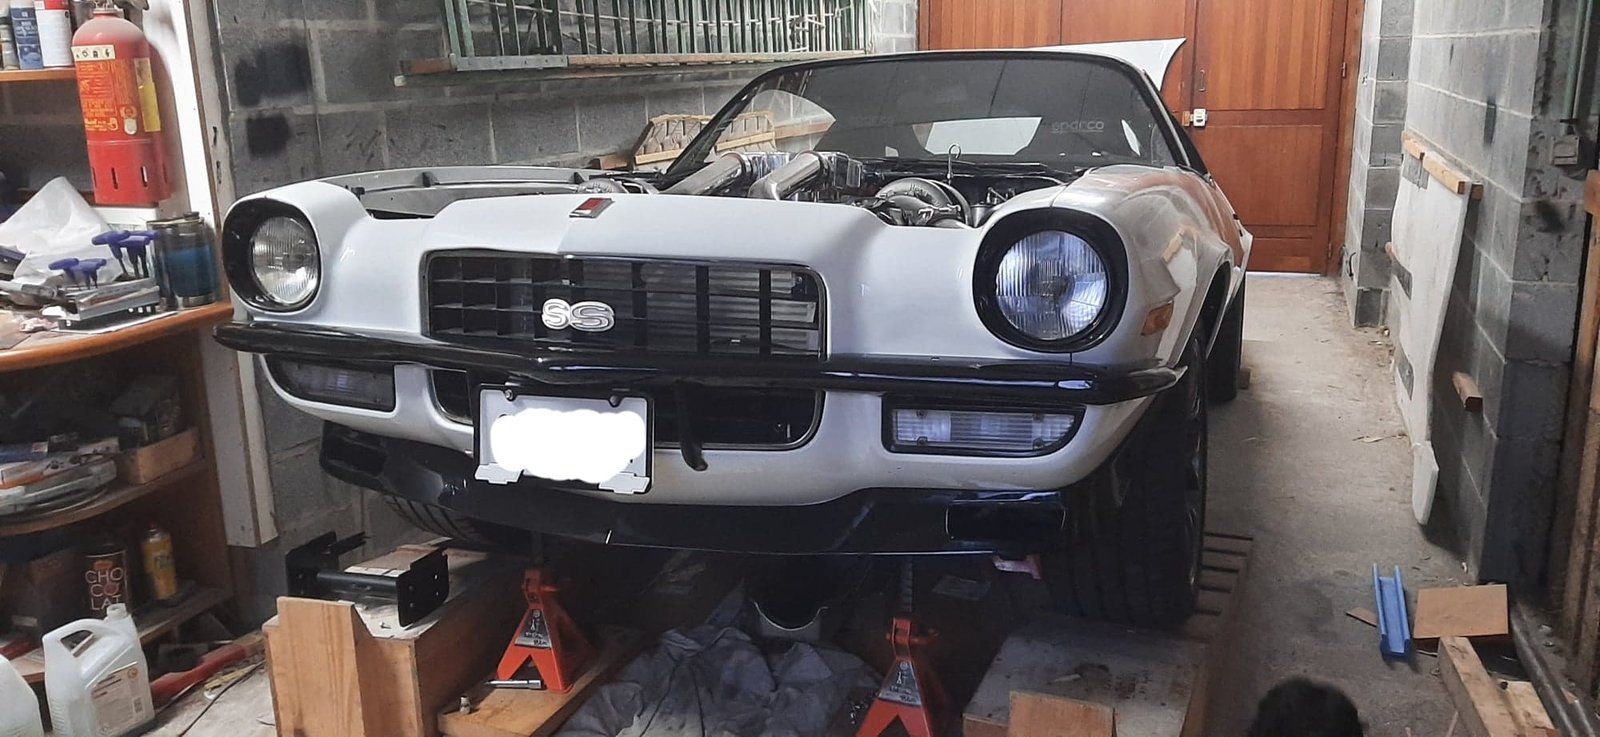
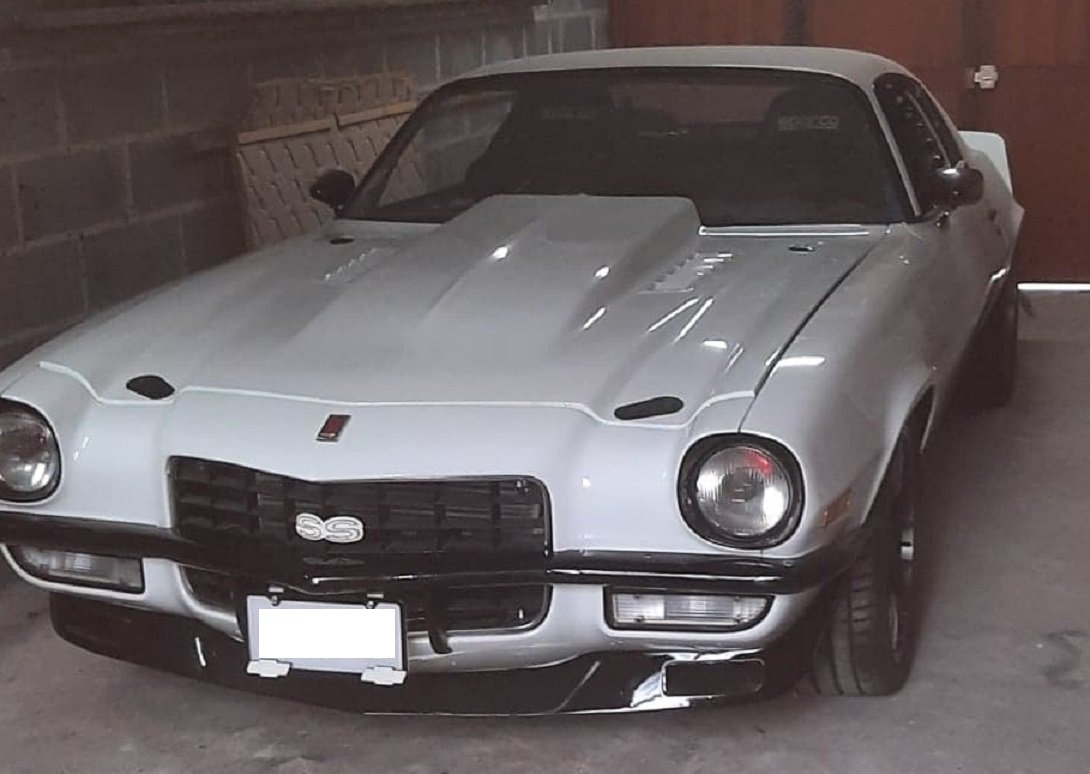
Oil pan ok hope there will have no leaks anymore.
The big question now is : do I need stripes ? I think yes on the hood but on the front fenders and doors I don't know
Any suggestions ?
08-18-2020 #356 Registered User
- Join Date
- Mar 2006
- Location
- NYC
- Posts
- 201
A+A+A+ Good job looks very nice
08-18-2020 #357
Registered User
- Join Date
- Oct 2016
- Posts
- 556
Thanks a lot !
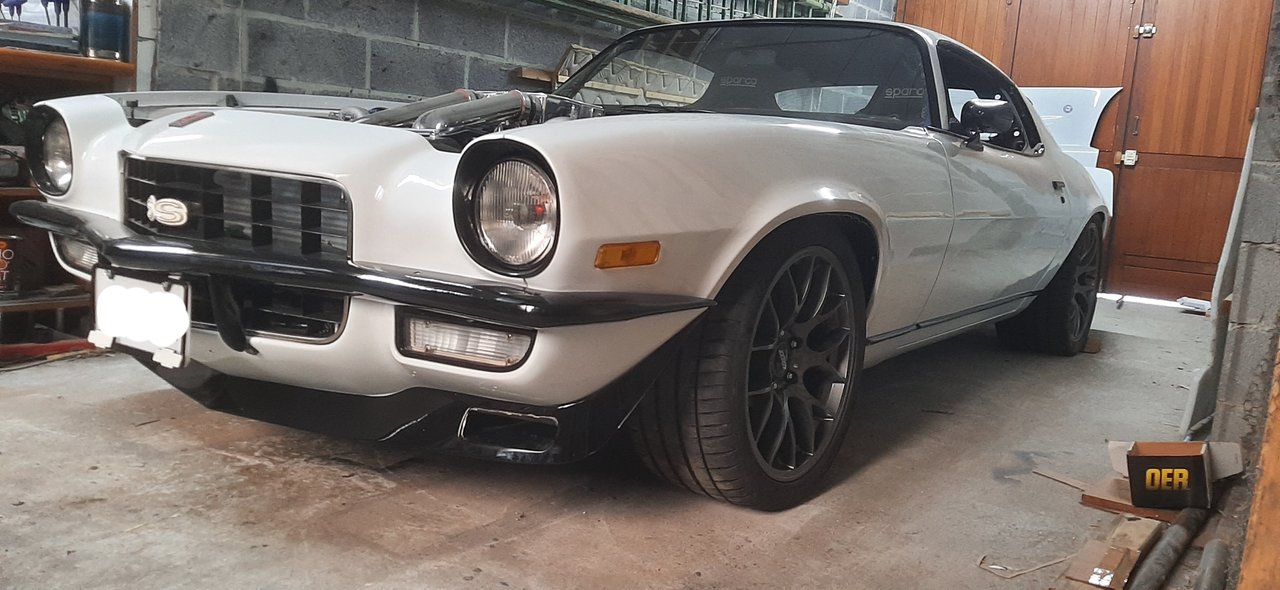
Yes no leaks anymore, it was finally the rear main seal, hope this one will hold a long time.
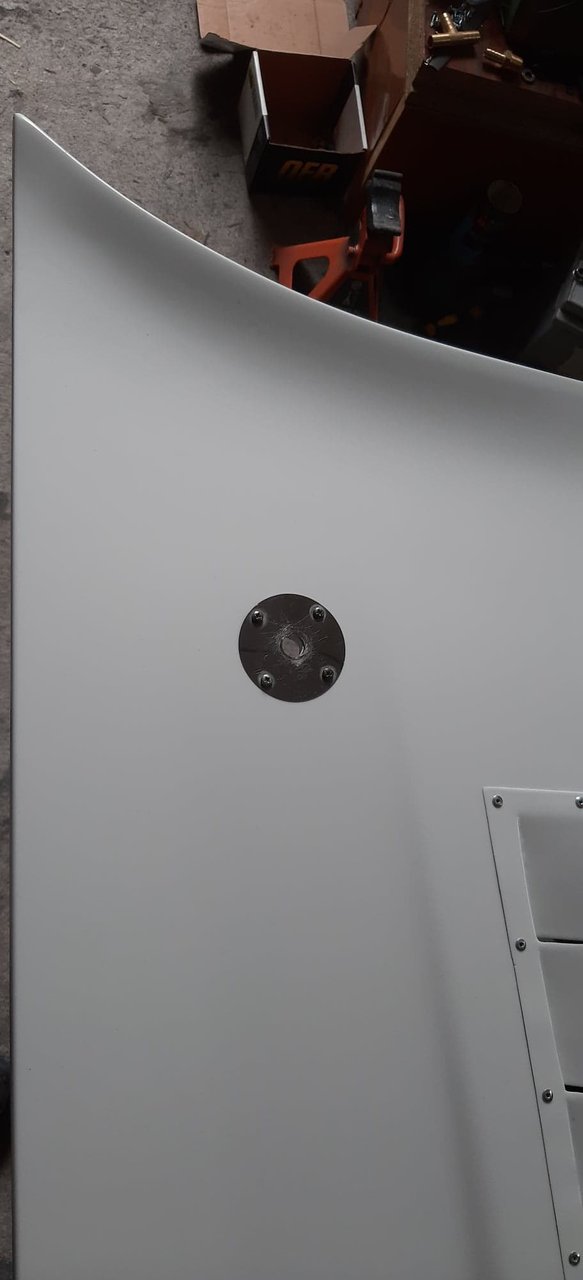
About the stripes as shown bellow on the rendering, I don't know....
I like the Speedtech Performance sticker too....on the rear fender

08-21-2020 #358
Registered User
- Join Date
- Oct 2016
- Posts
- 556
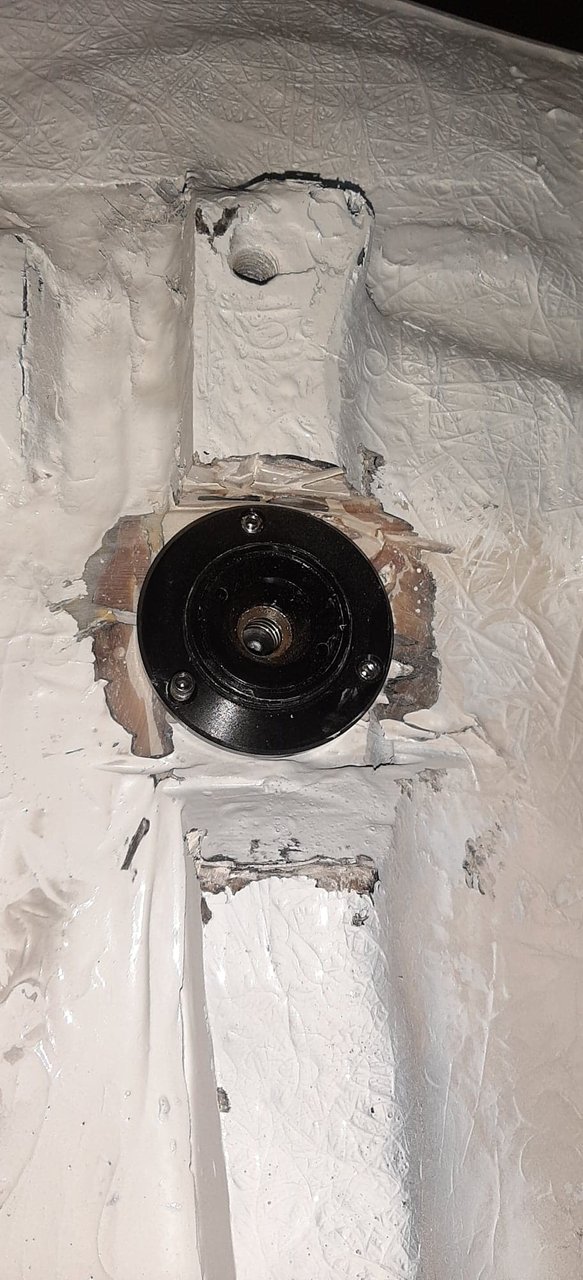
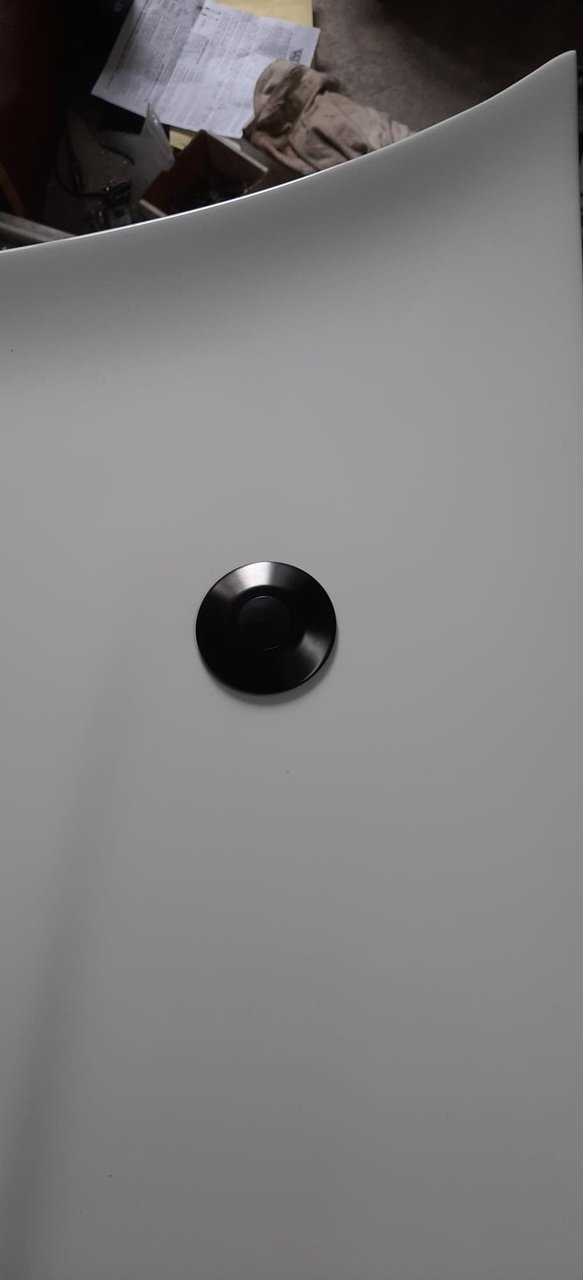
before
after

08-24-2020 #359
Registered User
- Join Date
- Oct 2016
- Posts
- 556
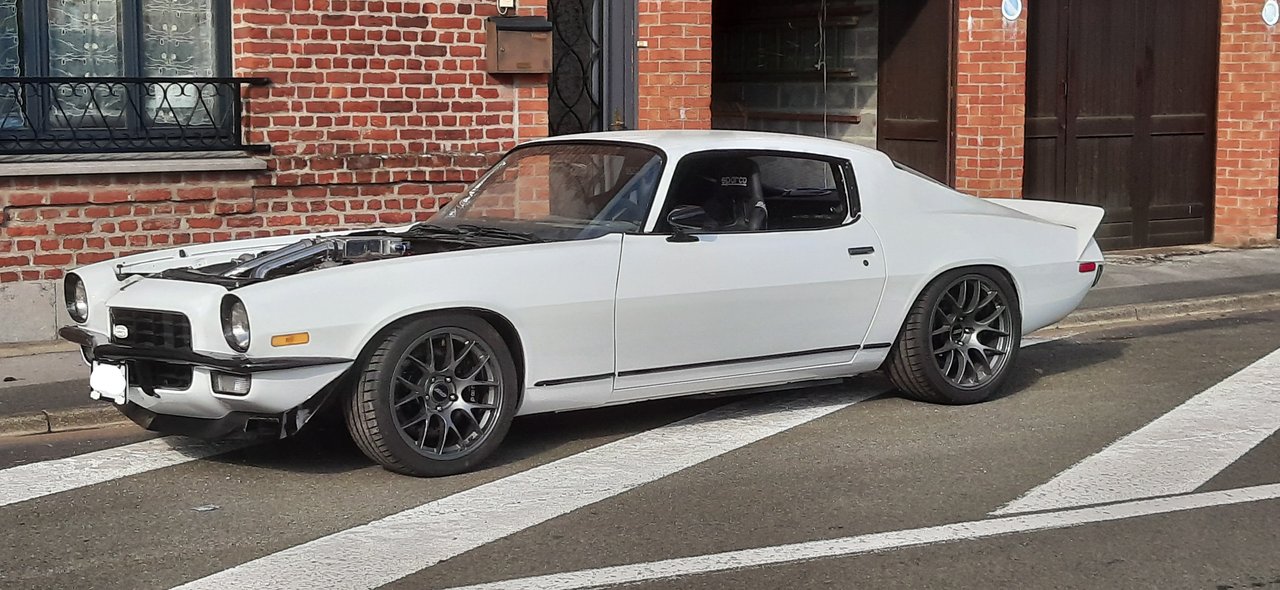
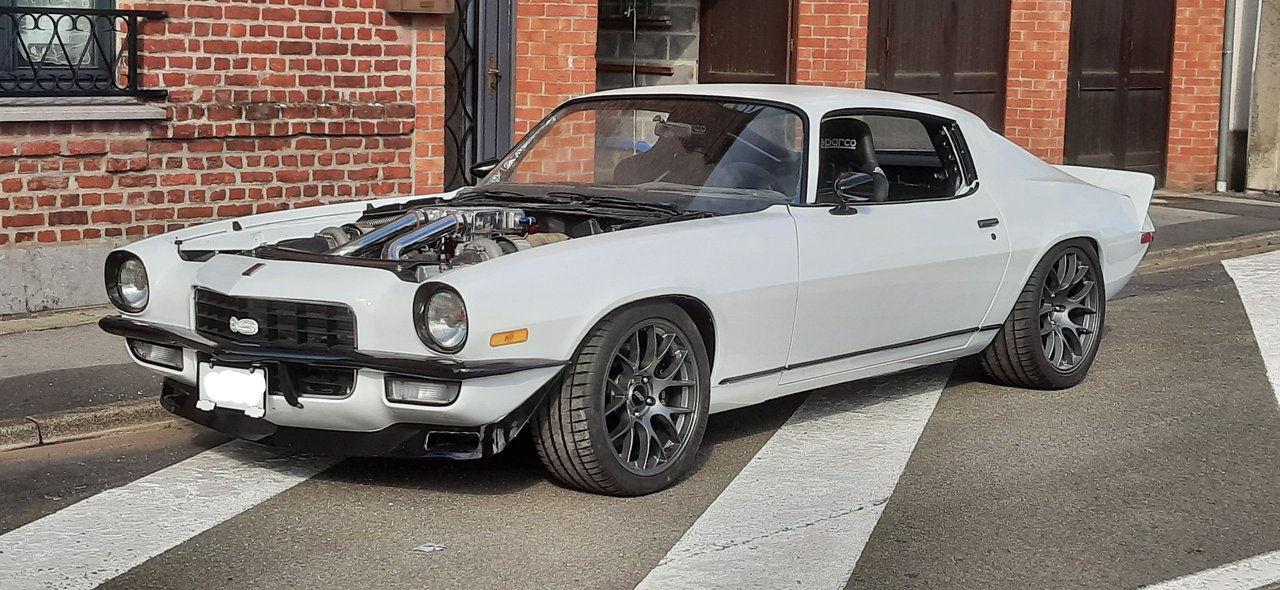
Finally driven yesterday, I'm really happy with my car. Handling is a bit better with those wider tires, braking is crazy with those racing pads. Awaiting for molding clips and she will be definitly finished !
08-24-2020 #360
Registered User
- Join Date
- Sep 2006
- Posts
- 3
 Originally Posted by berdunord

looks good, loving the build. Working on a 1971 camaro myself and just got some wheels for it. Curious if you had to replace the wheel studs on the front of if youre still running the 1.3 length studs? I ask because I cant find any longer with the correct knurl and there isnt enough thread engagement with the wheel mounted to trust the lugs are secure. I saw you mention running shank style lugs, if you went this route did you also run shank style lugs on the rear? If so, which ones did you go with? Thanks!

 Reply With Quote


