

Results 381 to 400 of 808
-
07-22-2018 #381
 Registered User
- Join Date
- May 2015
- Location
- Island Lake, IL
- Posts
- 815

Good stuff Ryan! So happy to see you coming along and continuing with the project.
I'm pretty much turning my car into a penny pincher like you. Got the new LS and a Camaro rear end for $525 delivered to my house, 16x8 wheels for $80, used B-Body spindles for $80, etc. While that sounds cheap, it surely adds up quick. I spent right about $1k today on Raptor Bed Liner/Primer, LS swap mounts, Hawk brake pads, bellhousing for the LS-4spd swap, etc.
-
07-22-2018 #382 Registered User
- Join Date
- Apr 2015
- Location
- Burlington KY
- Posts
- 357
looking great man. Once you start hanging panels on the car it becomes a light at the end of the tunnel..
"Racing is life. Everything else is just, waiting"
07-28-2018 #383 Registered User
- Join Date
- Mar 2010
- Location
- Rochester NY
- Posts
- 404
Looking great ryan
Don
Grace - 67 Camaro daily driver with upgrades along the way.
https://www.pro-touring.com/showthre...-Camaro-Driver
08-06-2018 #384 Registered User
- Join Date
- Sep 2009
- Posts
- 2,709
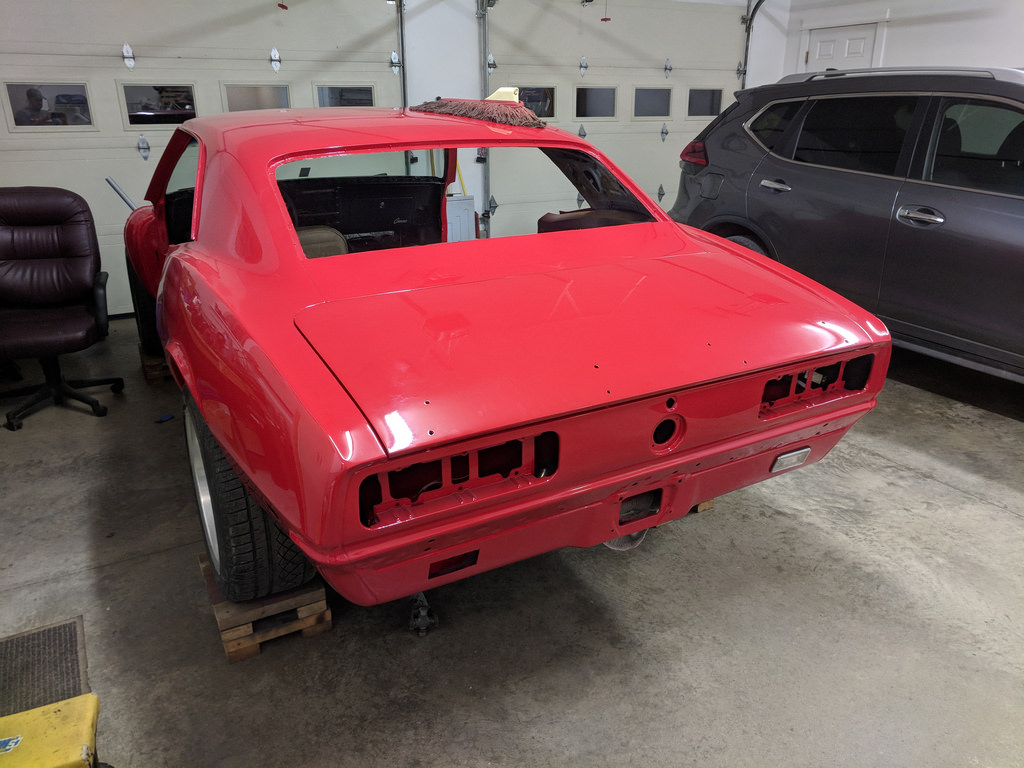
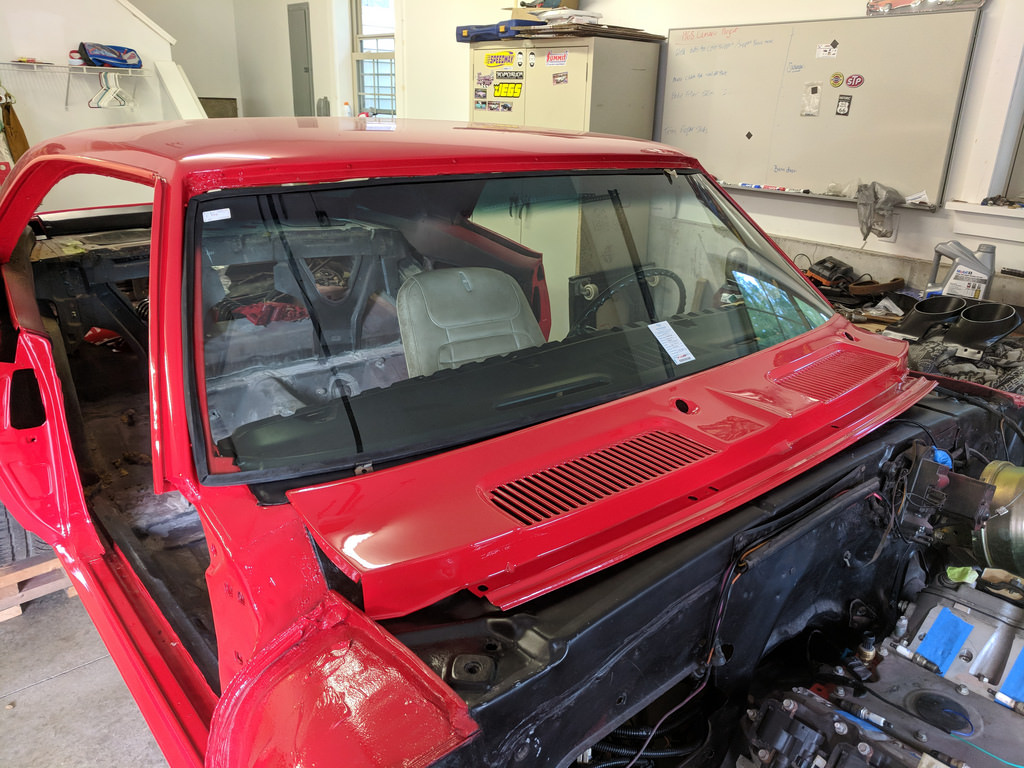
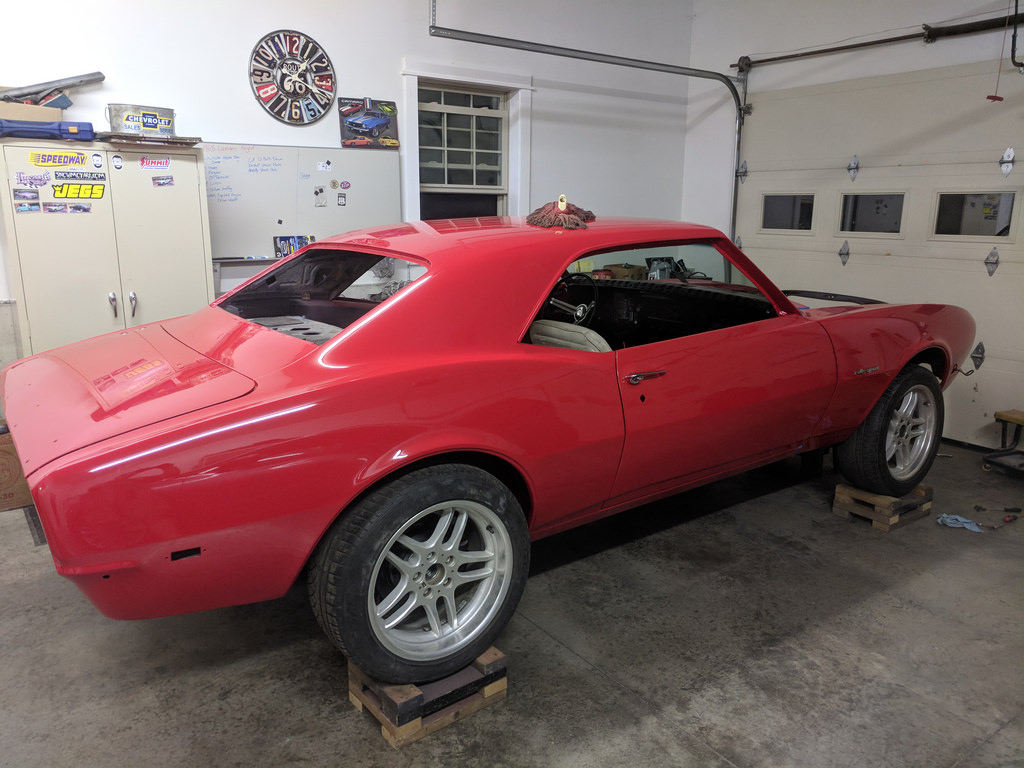
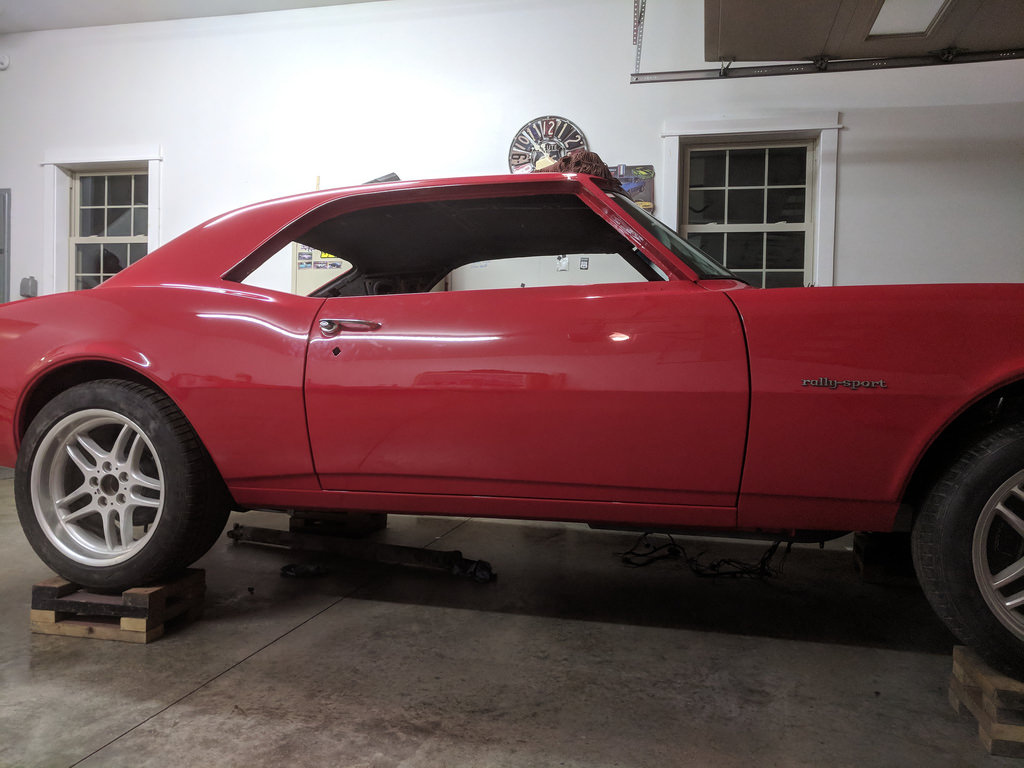
Thanks for the positive feedback. Getting really excited and after the work over the last two weeks, I'm really starting to see the light at the end of the tunnel. I've been keeping busy on the car but haven't been able to update here. Now that all panels but the hood and spoiler are painted, it was time to bring them home and start assembling this car. I started by putting on the deck lid and cowl purely because I ran out of counter space to put it. Took just a few mins to get it aligned and the deck lid fits very nicely, but the cowl is just sitting there for now.
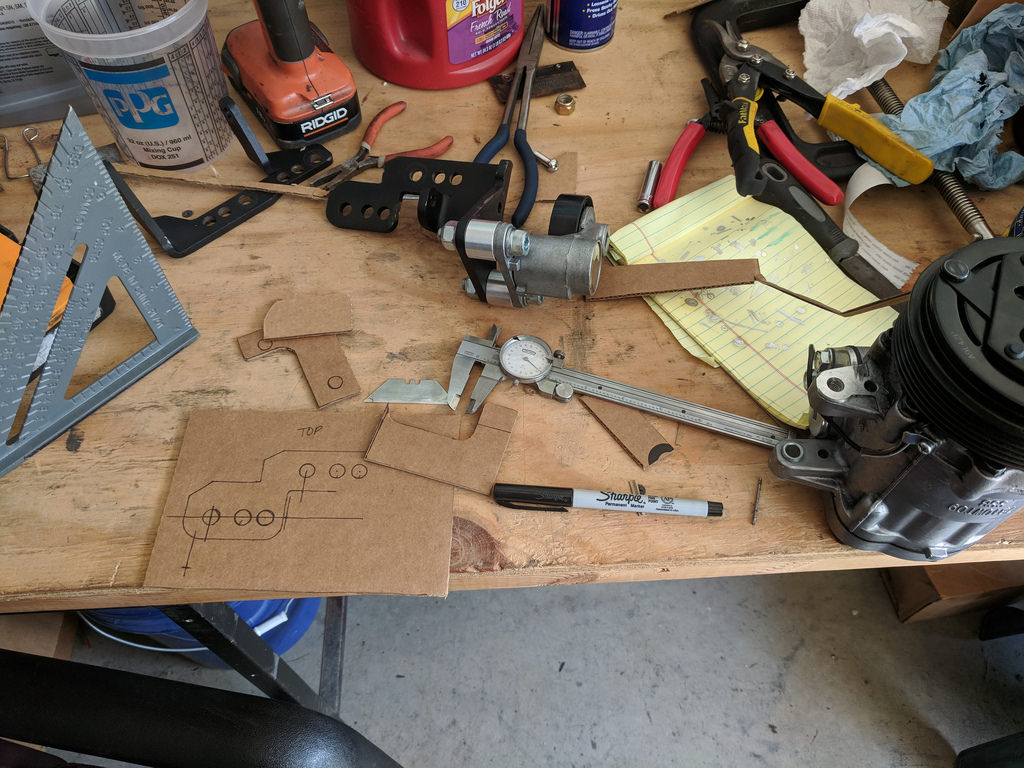
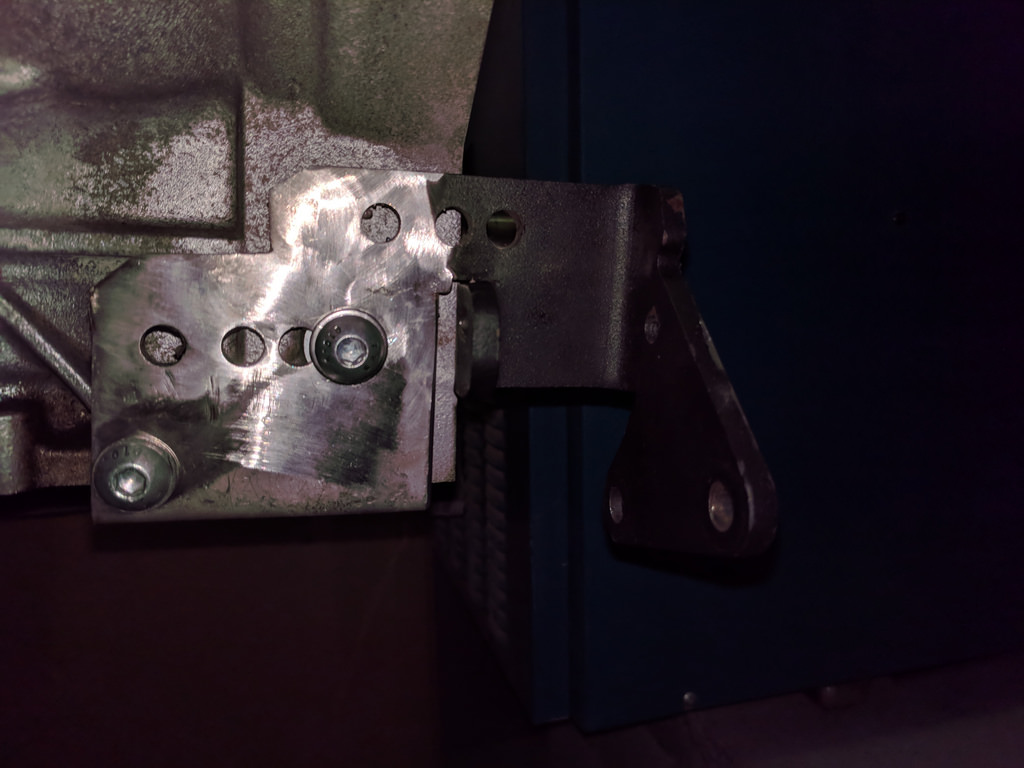
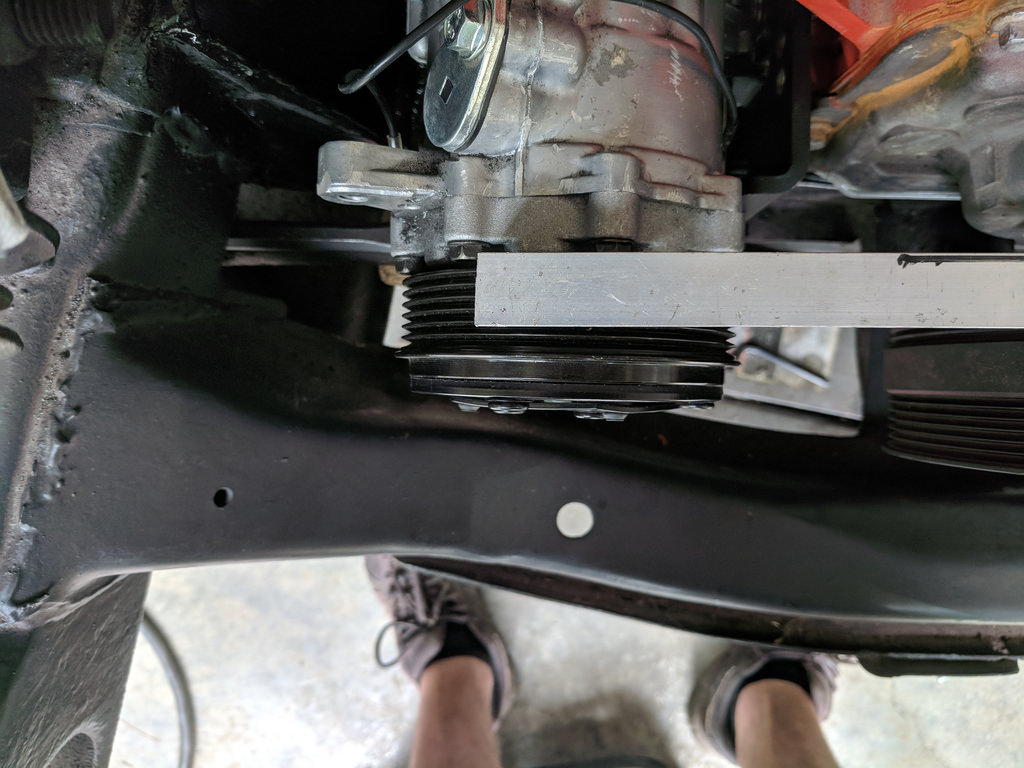
I decided to change gears and focus on finalizing the mount for my A/C compressor. I needed to move the mounts up 2" to allow the belt tensioner to clear the sway bar. I am also moving the mounts to run on the rear 4 ribs of the compressor verse the front 4 ribs as the mount was originally designed. This will allow me a little more room to clear the motor mount. In conjunction of moving the mounts up 2", forward ~.3" and running a .5" spacer under the sway bar mounts everything will fit and work happily together.

I made sure to clamp it down to a flat piece of 3/4" plate to ensure that it didn't warp when welded.
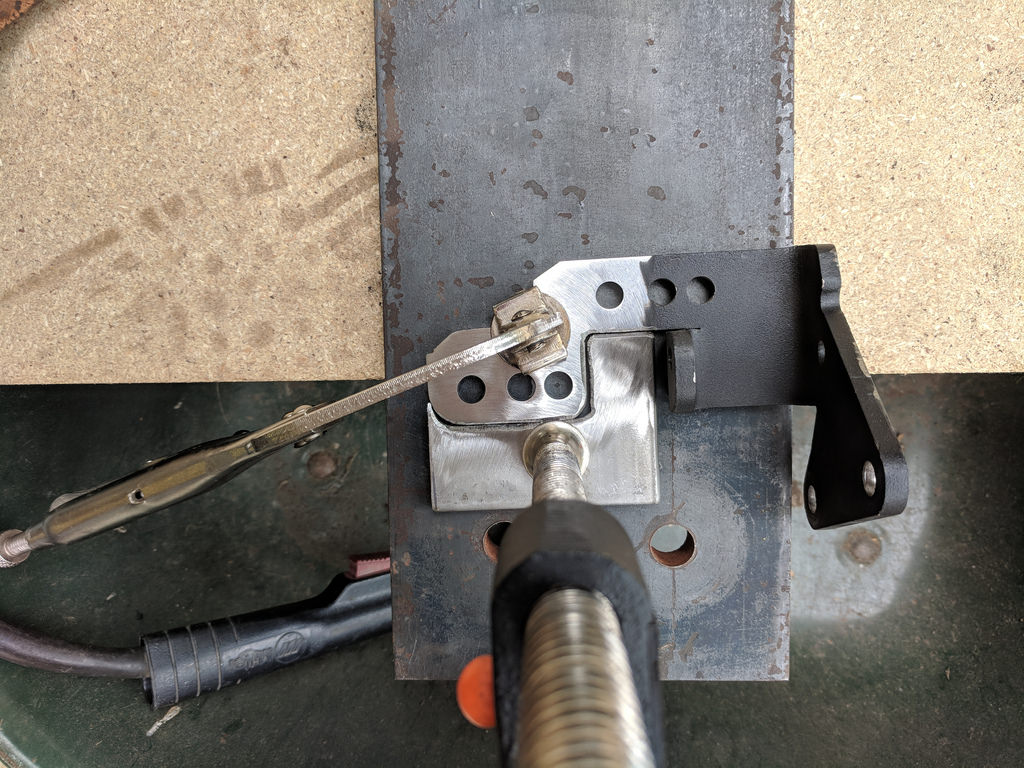
I took this to my dad's house to weld and didn't get pictures of it in process. I brought it home and it fits great. Everything lines up just like it should so I'm very pleased.

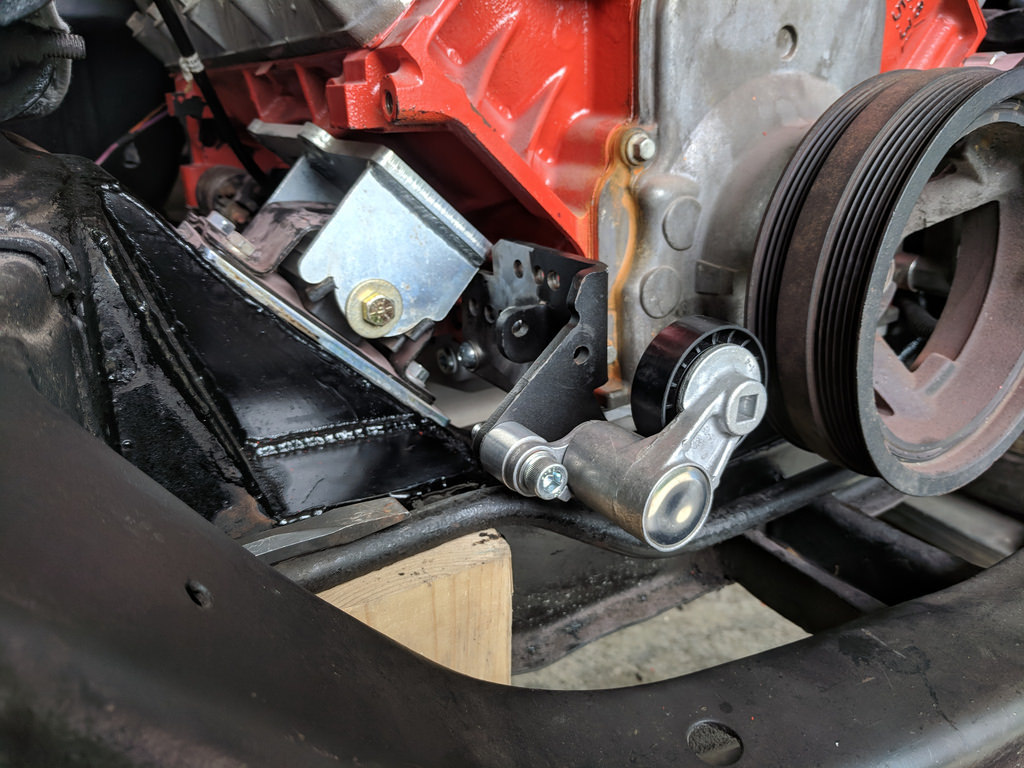
Test fitting the compressor I was very pleased. It fit just like I wanted it to and the pulleys lined up quite nicely as well.
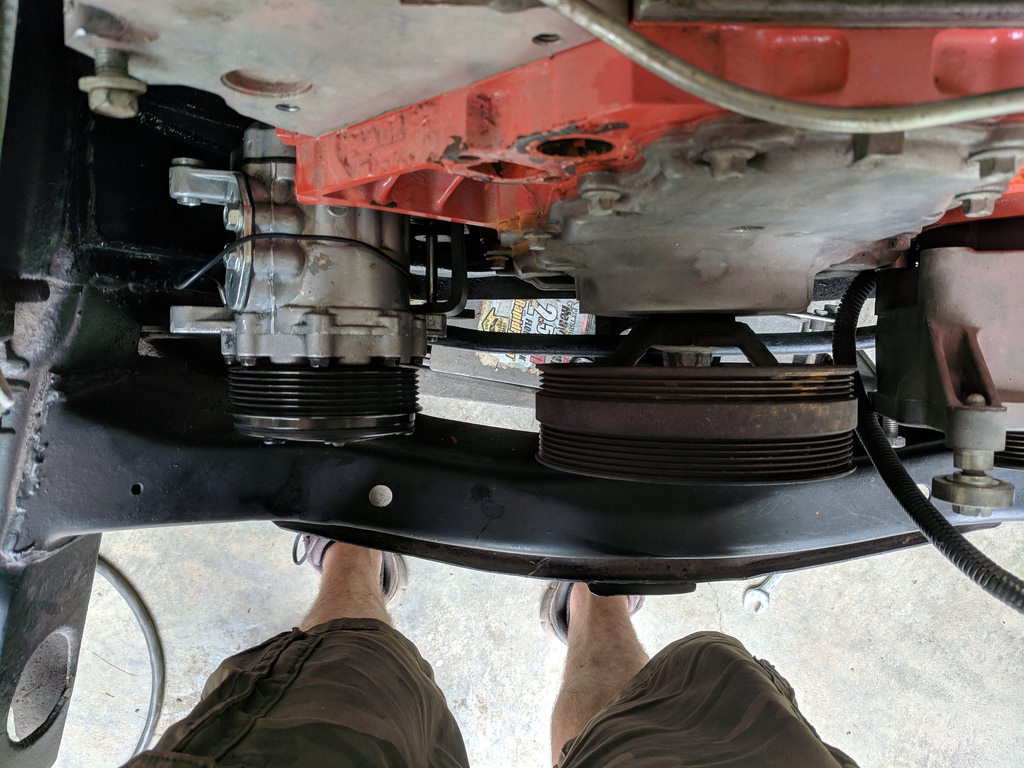
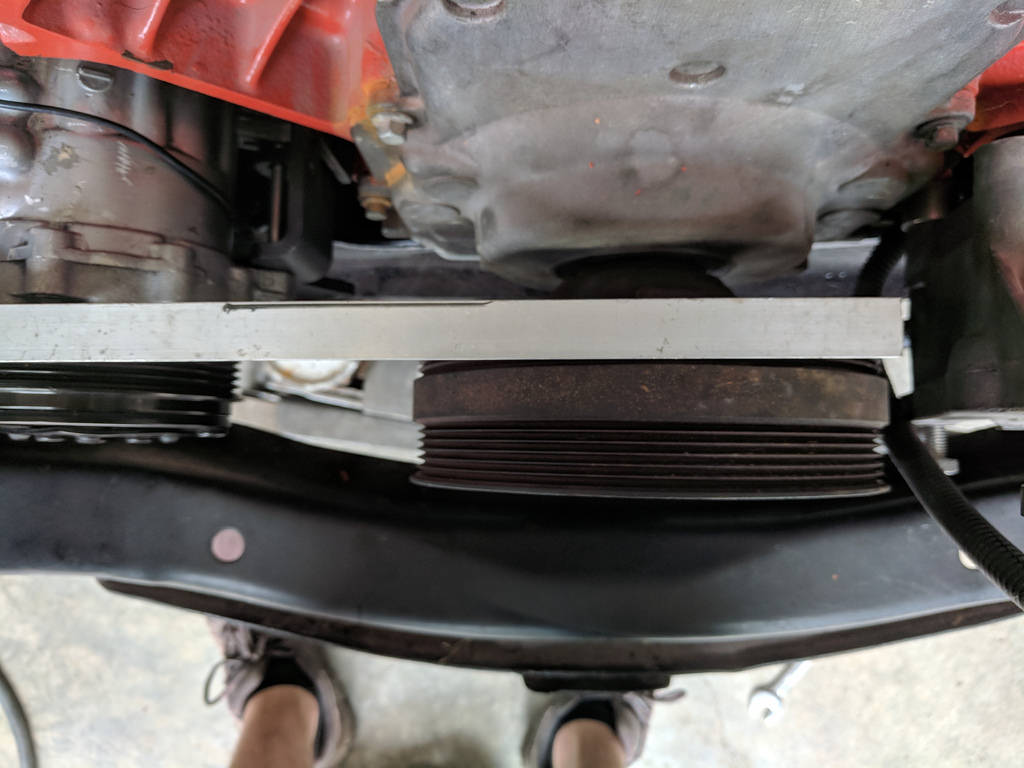
Now that the lower mount is confirmed to fit with all of my components, I'm going to hold off on modifying the upper mounts until after the car is running/driving. I'm not ready for the Vintage Air at this point, so it can be put off. My biggest concern was making sure I could test fit the compressor to be sure that it will live happily in the low mount position. Moving on, I could now I could start installing some of the freshly painted body panels. First up was the passenger side door.
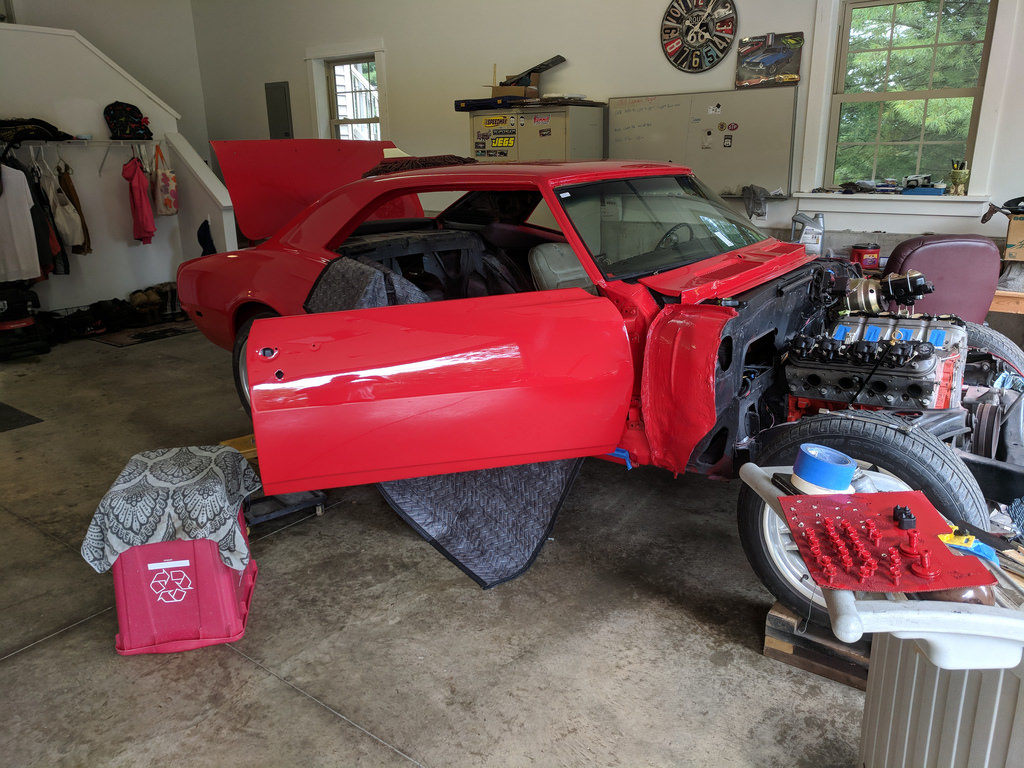
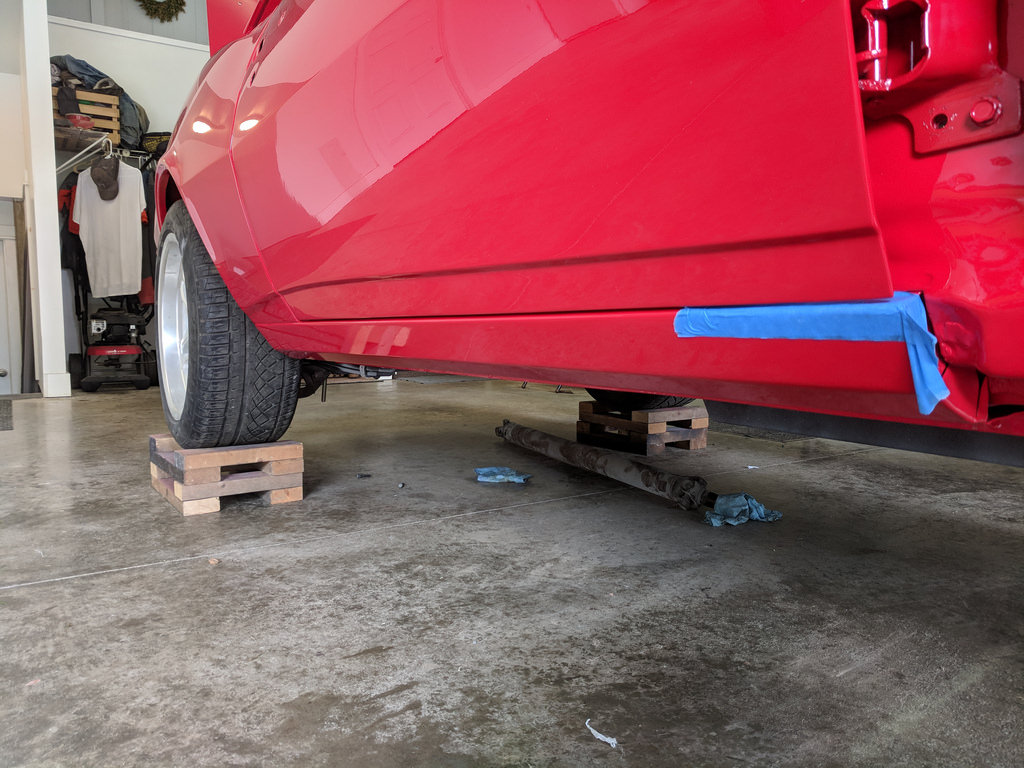
I decided to take a chance and drill some 1/8" holes through the doors and hinges to help with the re-installation after paint. I'm so glad that I did too. This took me all of about 15 mins to get the gaps. So glad I took the time to gap and get the body lines. Really pays off when I stepped back and checked it out.
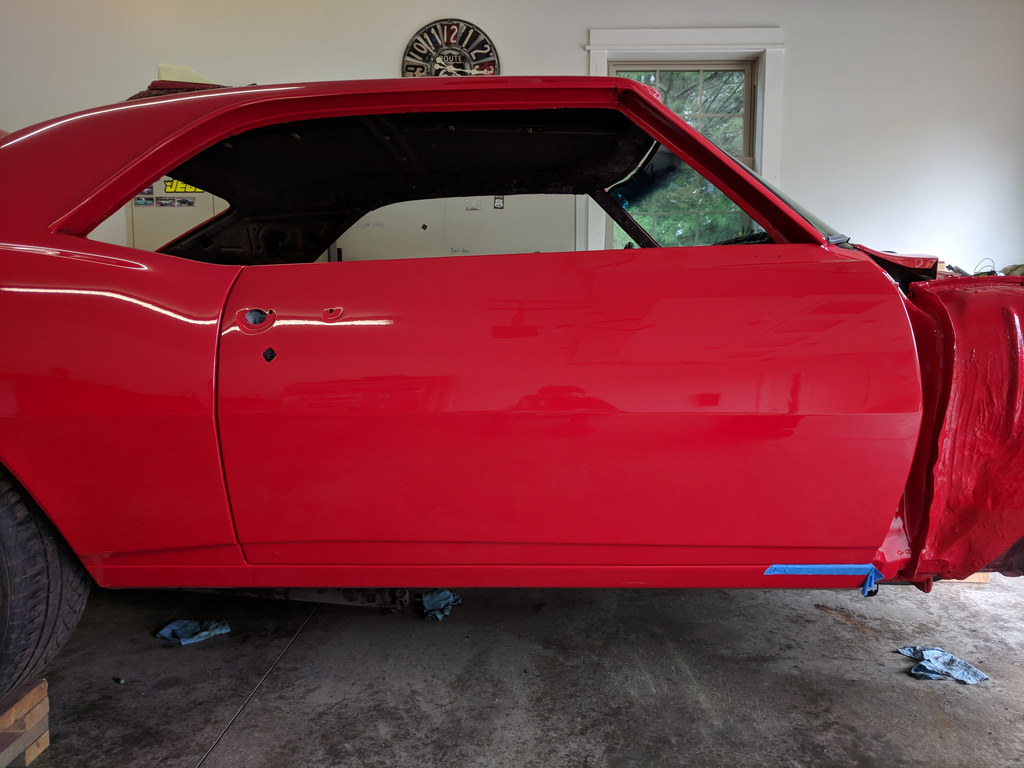
I couldn't get as good of pictures on the driver's side as it's pretty tight against my work bench. But I used the same techniques and mounted the other side. I couldn't be happier with the fitment.
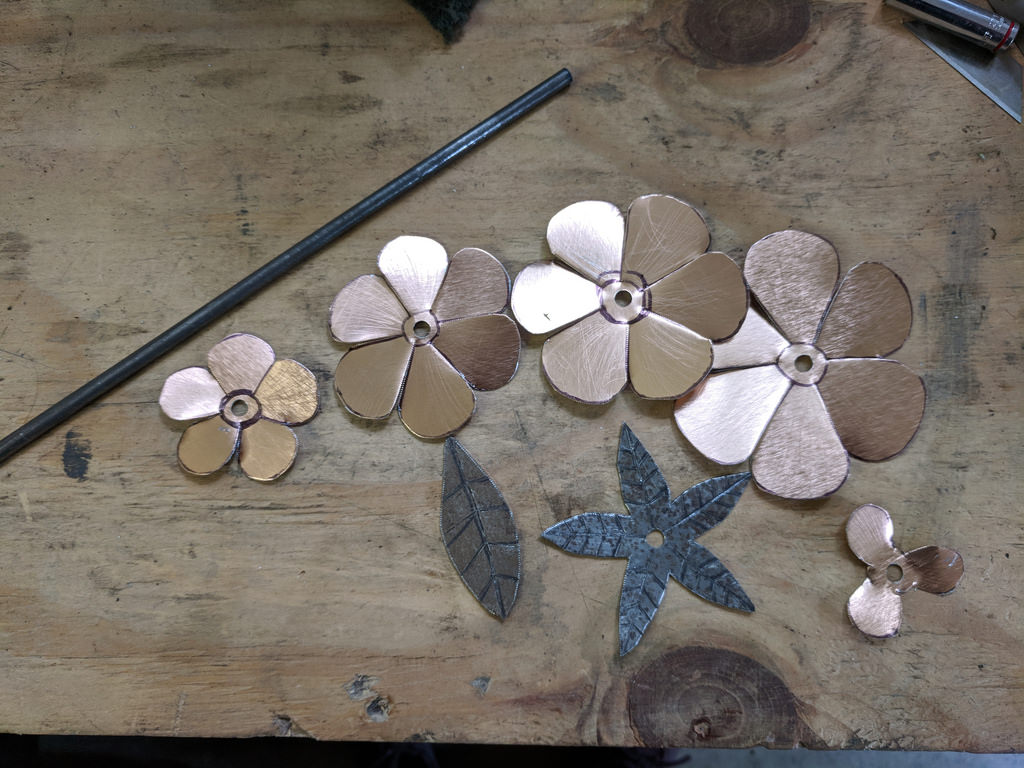
On a non-car related update, I made this as a gift for my wife for our 7 year wedding anniversary. According to tradition, 7 years is the copper anniversary so I found some plans to make a copper rose for her. It turned out really nicely.
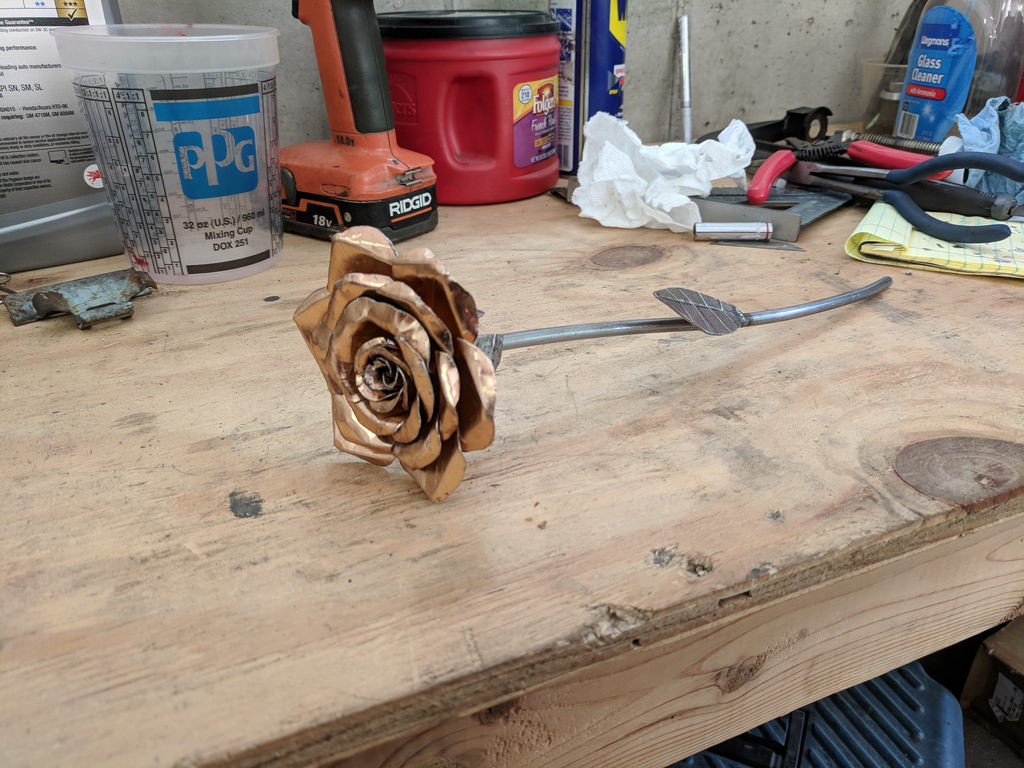
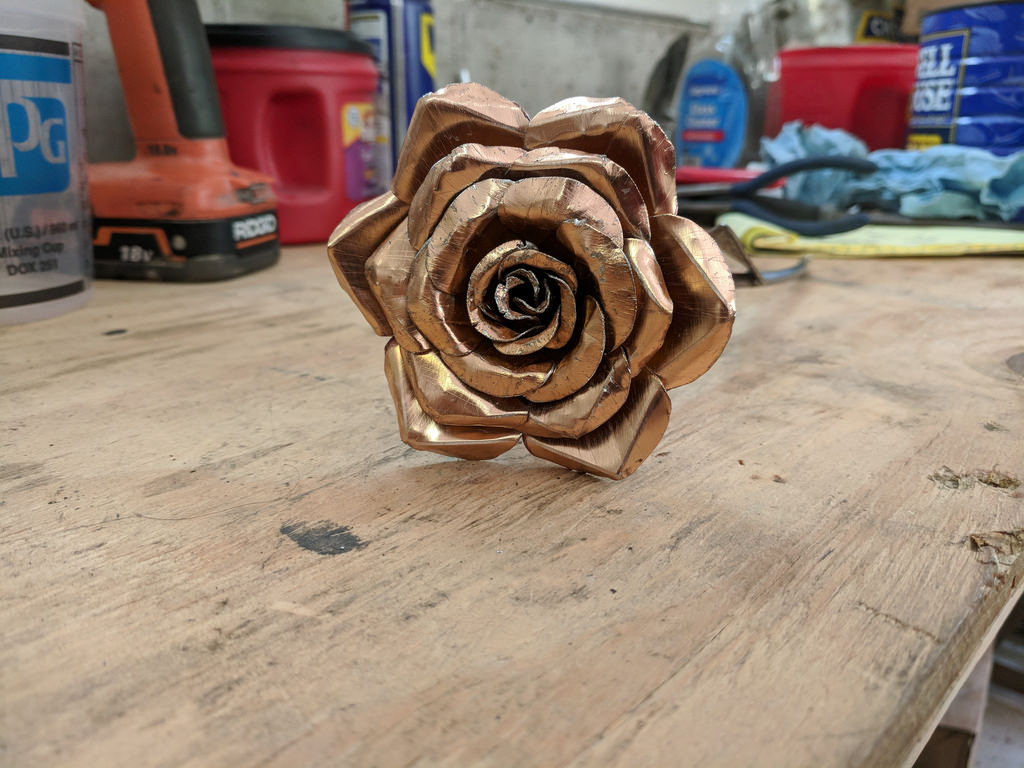

1955 Nomad project LC9, 4L80e, C5 brakes, Vision wheels
1968 Camaro 6.2 w/ LSA, TR6060-Magnum hybrid and etc SOLD
1976 T/A LS1 6 Speed, and etc. SOLD
Follow me on Instagram: ryeguy2006a
08-06-2018 #385
Registered User
- Join Date
- Sep 2009
- Posts
- 2,709
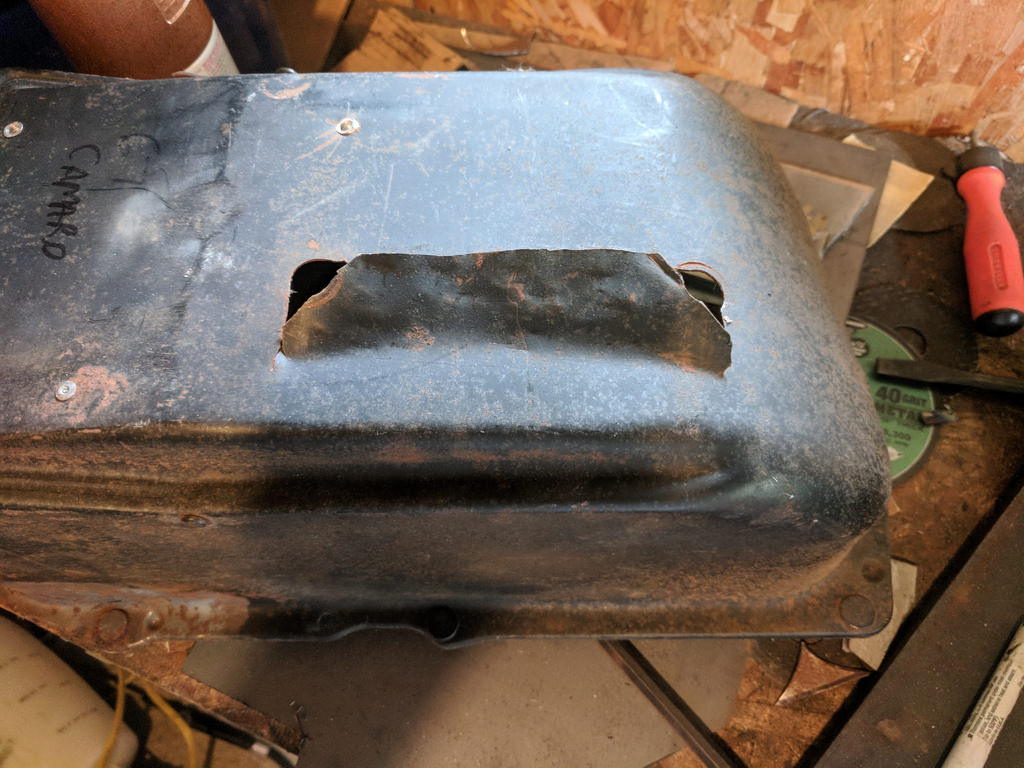
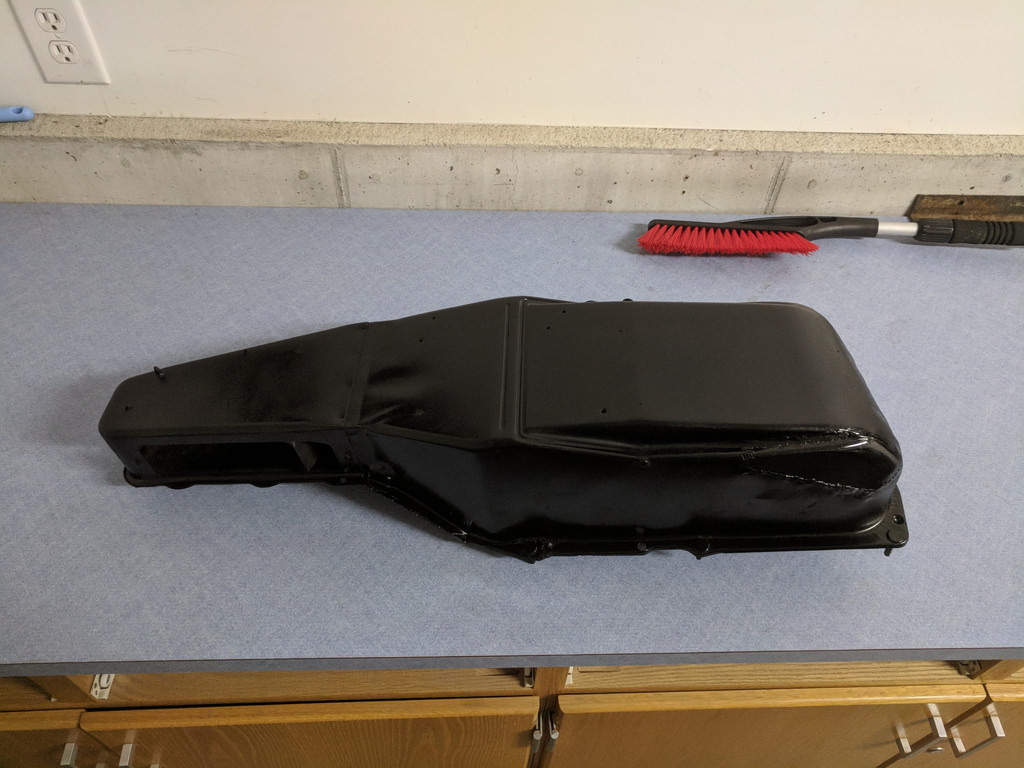
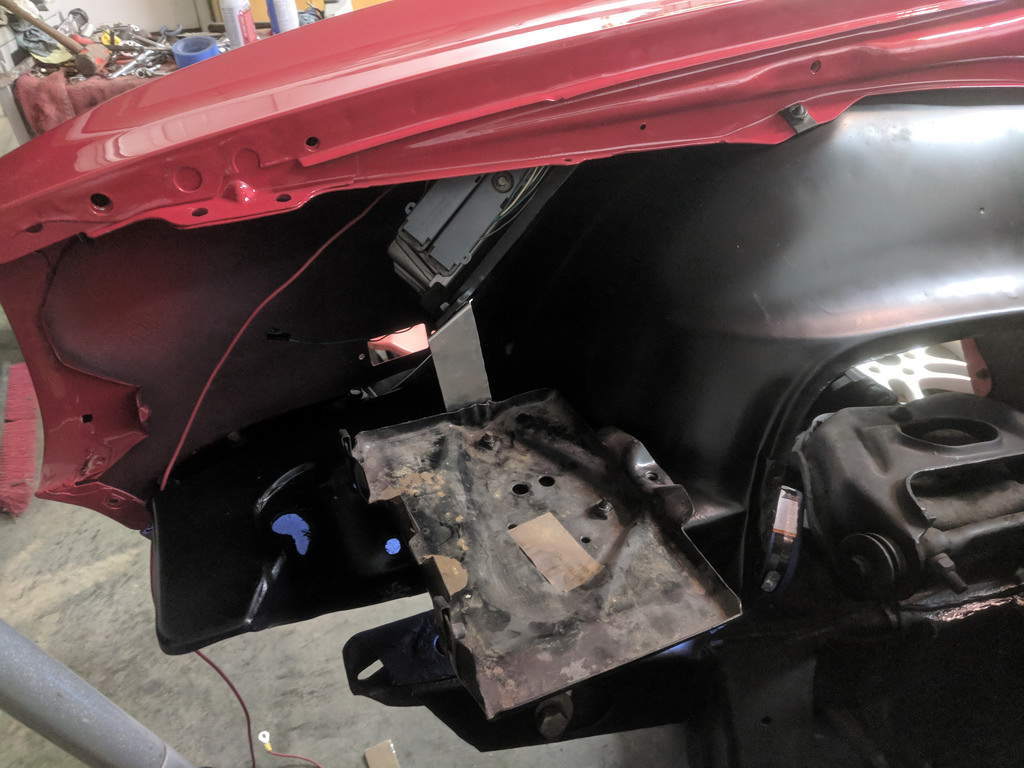
Next up on my list was preparing to install my front fenders. There were a few things that I needed to do before I could put them on. First was to repair my factory heater box. It had some rust on the lower section that needed to be repaired. I picked up another box at Spring Carlisle this year and it will make a perfect candidate to cut out my patch panel.


I also had to replace this rusty stud and mounting tab.
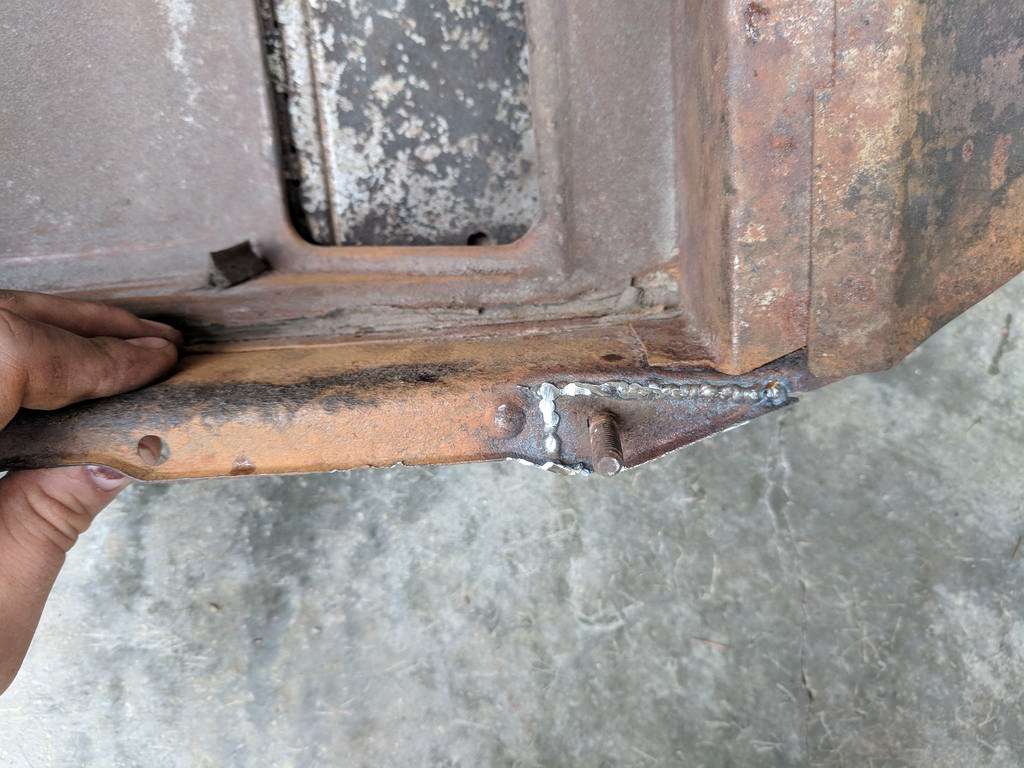
And all painted up. I didn't spend a ton of time on it as it will be removed when I install Vintage Air in the future.
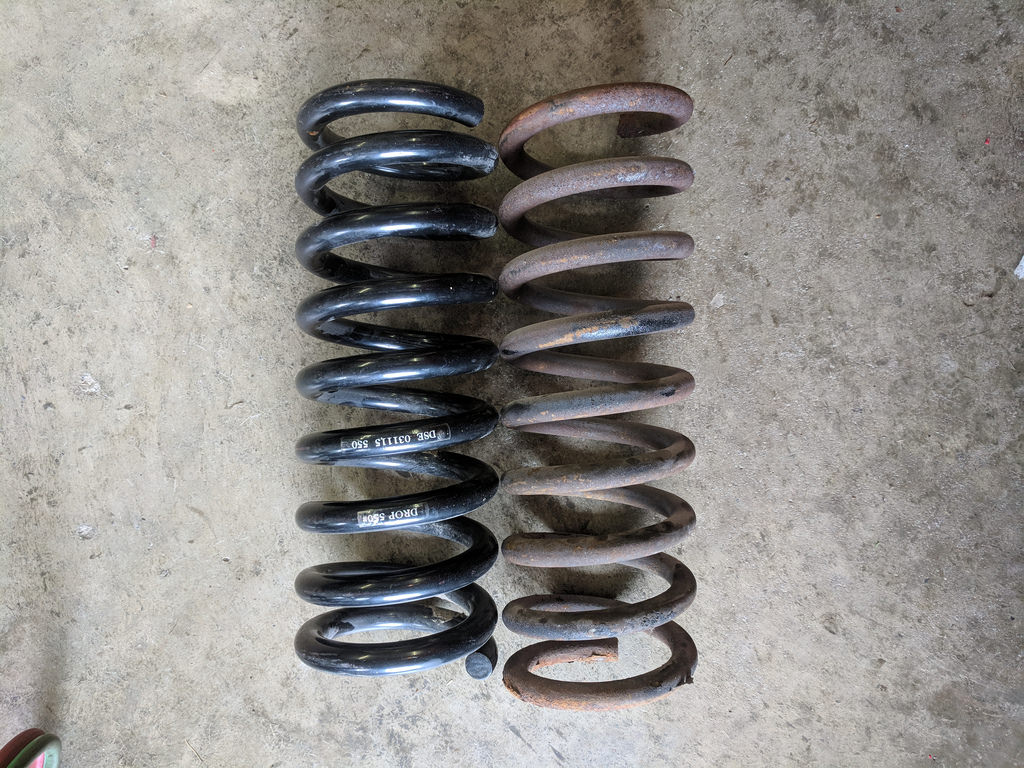
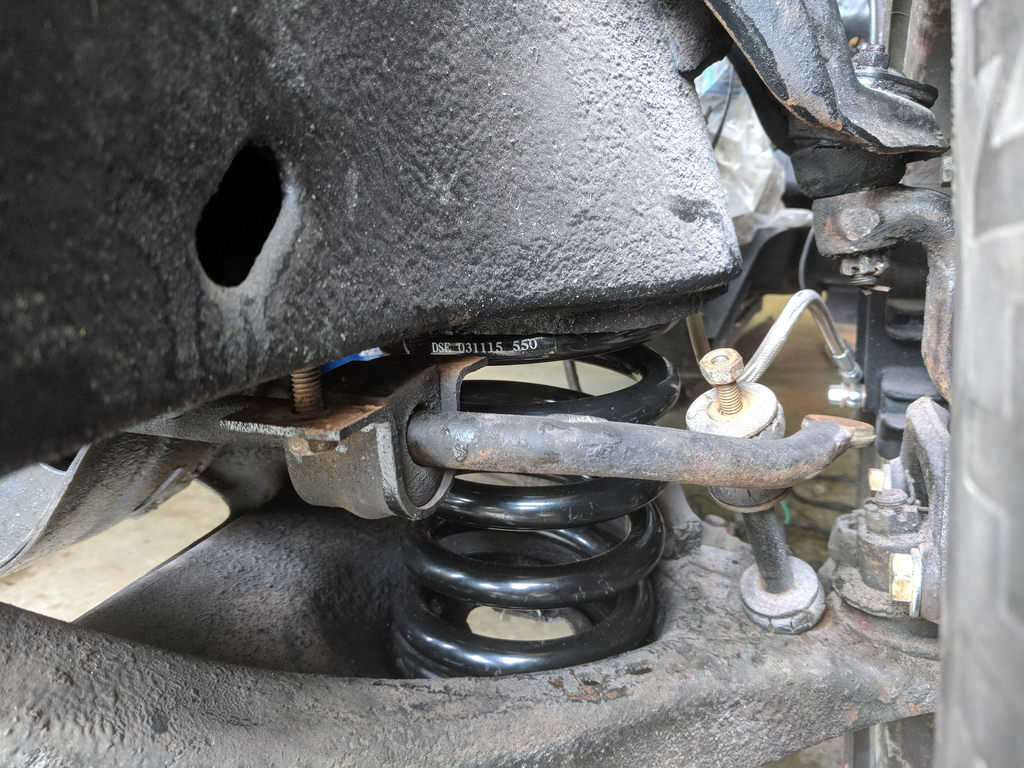
Next up was replacing the stock springs that were in the car with who knows how many miles on them. I picked up a set of DSE 1" drop springs for LS/SBC a while back so it was time to swap them out. The old shocks put up the biggest fight, but eventually came out. I ended up having to torch off the top nuts. What a smoky mess that was when the rubber bushings caught on fire...
Should stiffen up the ride. Noticeable difference in the diameter of the coils.
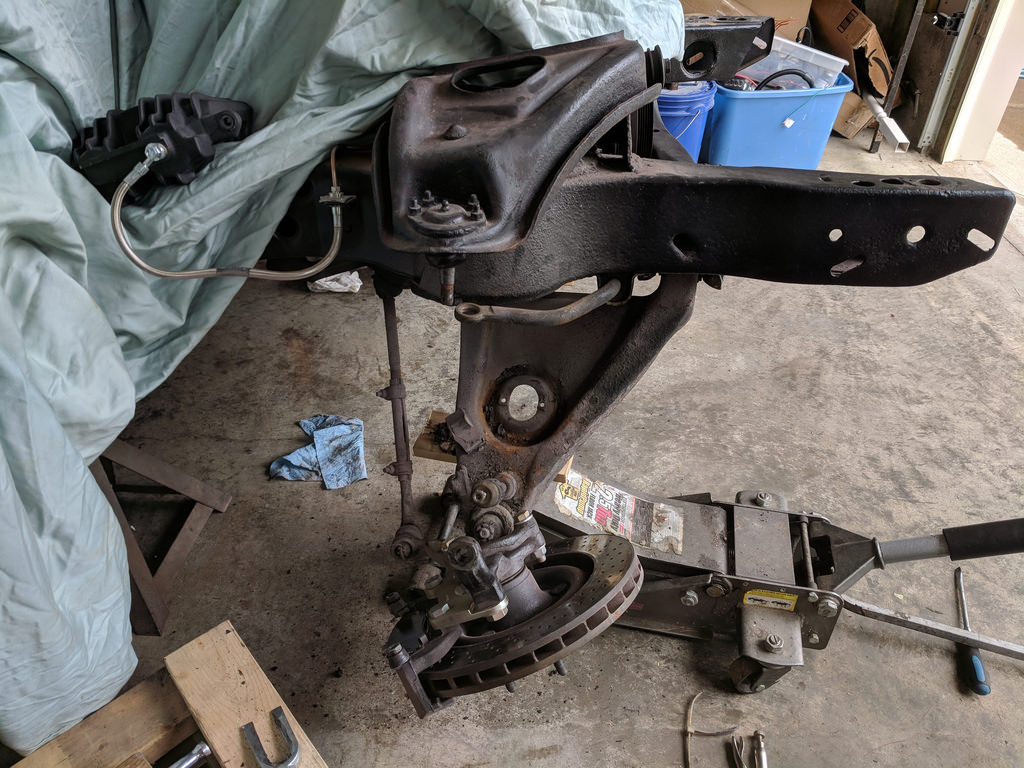
All back together.
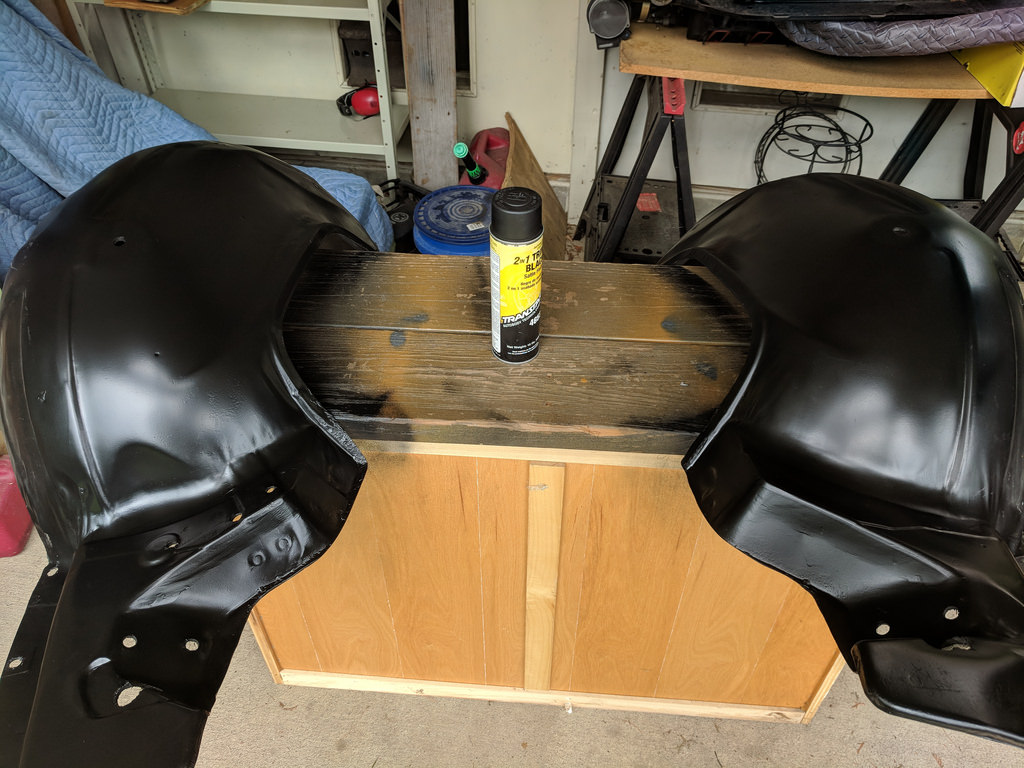
While I was repairing and painting the heater box, I was cleaning up and painting my fiberglass inner fenders.
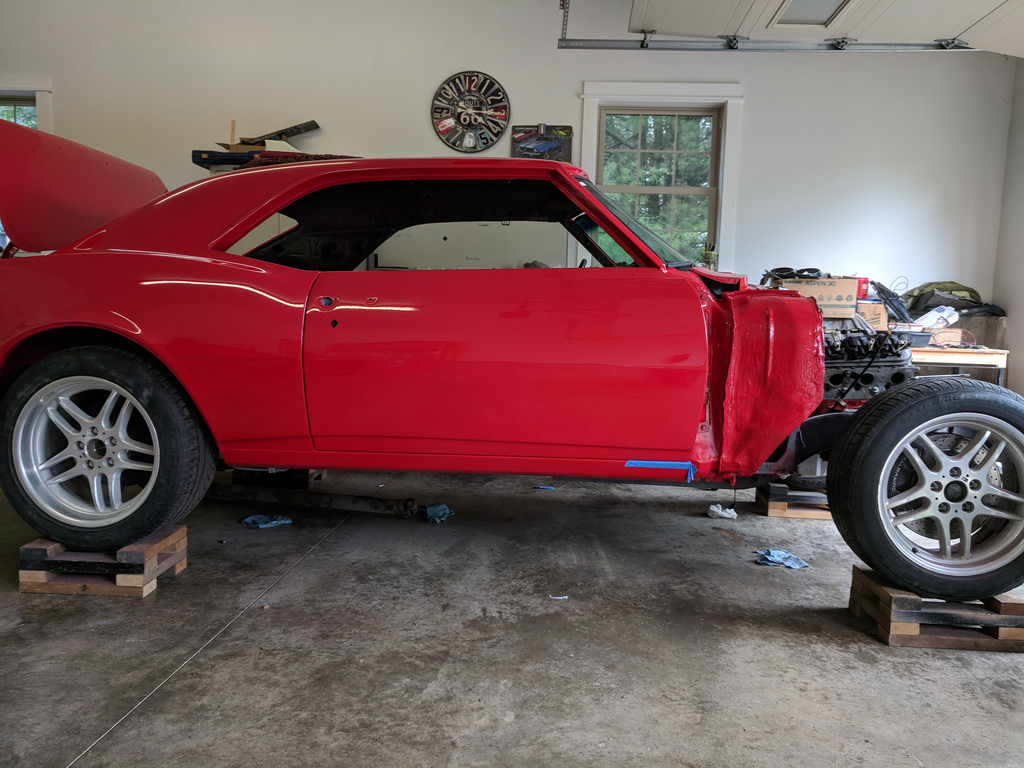
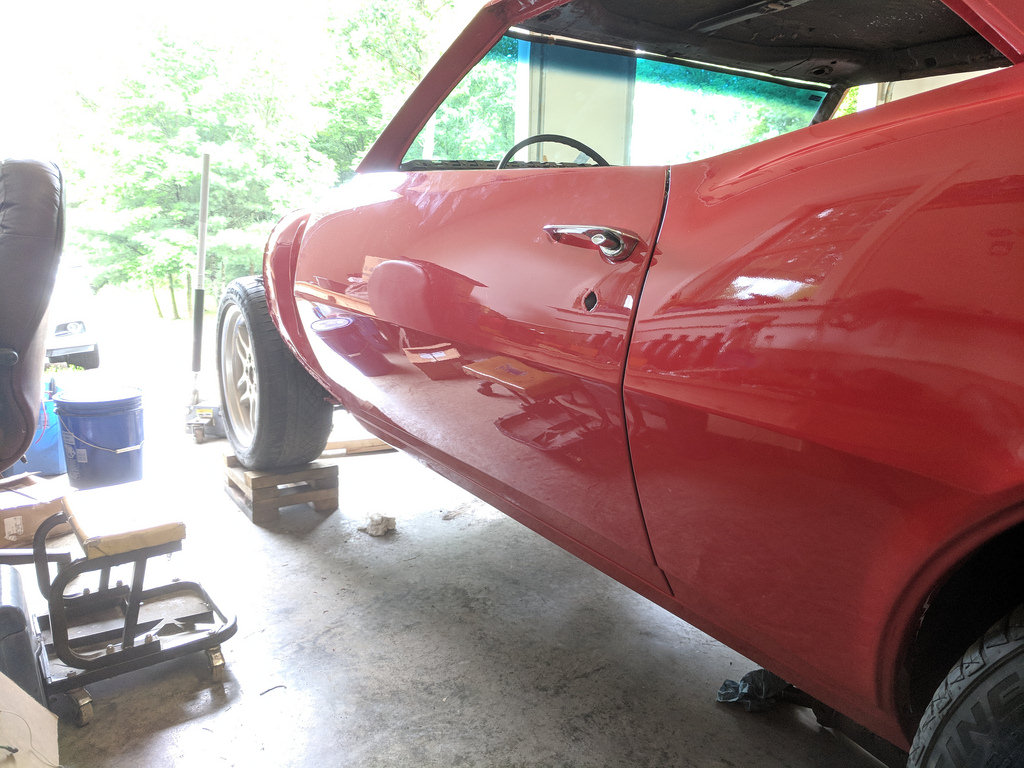
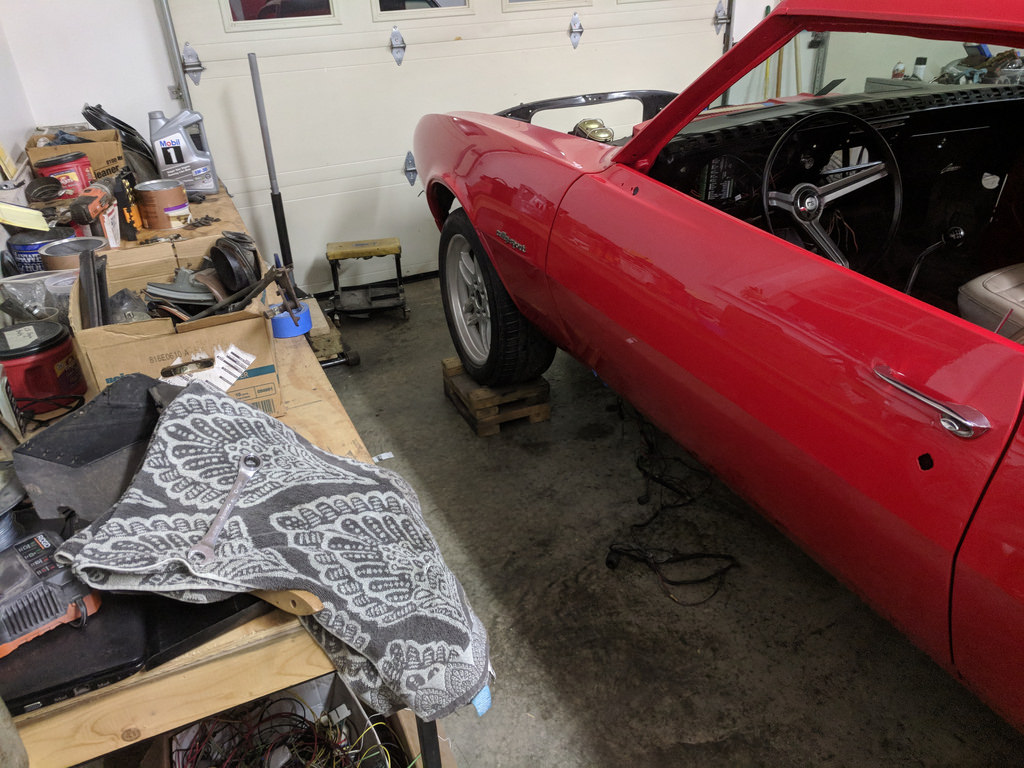
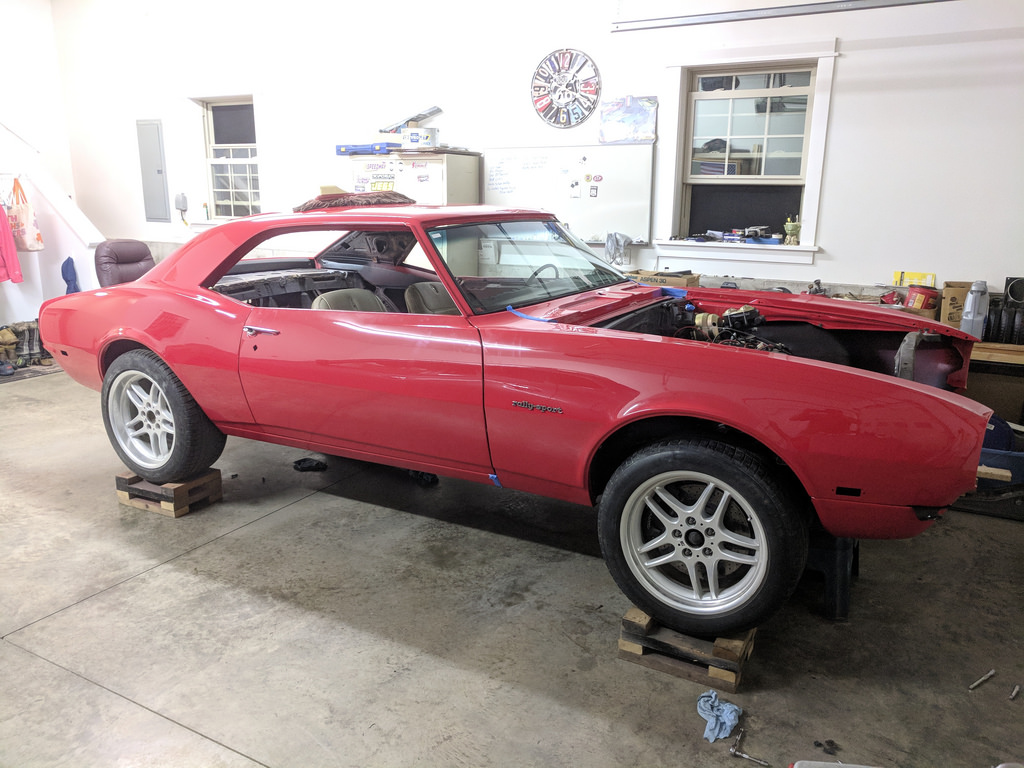
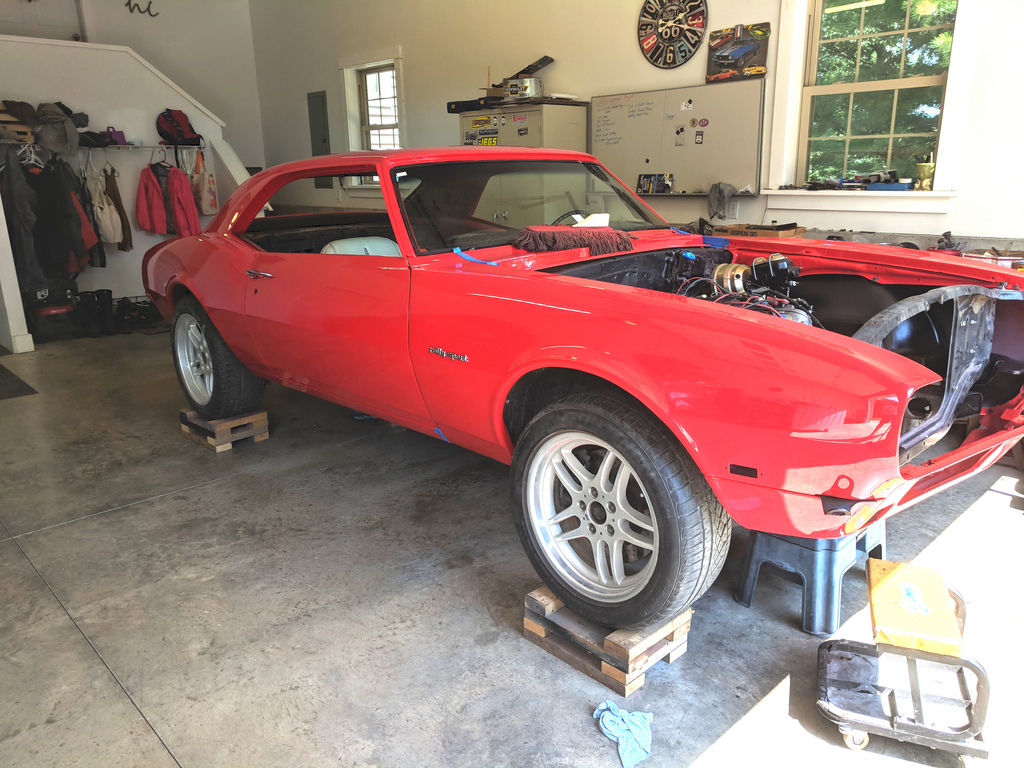
After I assembled the inner and outer fenders, I did a first test fit. Luckily before I disassembled the car I took note of the number of shims in each location that helped tremendously. The fender almost fell right into place when I reinstalled. So happy, it's starting to look like a car again.

1955 Nomad project LC9, 4L80e, C5 brakes, Vision wheels
1968 Camaro 6.2 w/ LSA, TR6060-Magnum hybrid and etc SOLD
1976 T/A LS1 6 Speed, and etc. SOLD
Follow me on Instagram: ryeguy2006a
08-06-2018 #386
Registered User
- Join Date
- Sep 2009
- Posts
- 2,709
Before I could install the passenger side fender, I had to clean up and install the outer heater box. I used some seam sealer to seal up the box and will pull the inner box to install the heater core. I think I'm going to have to run a big block heater core in order to clear the LS motor. If not I'm going to run a block off plate and eventually upgrade to a BBC heater to allow for more space.
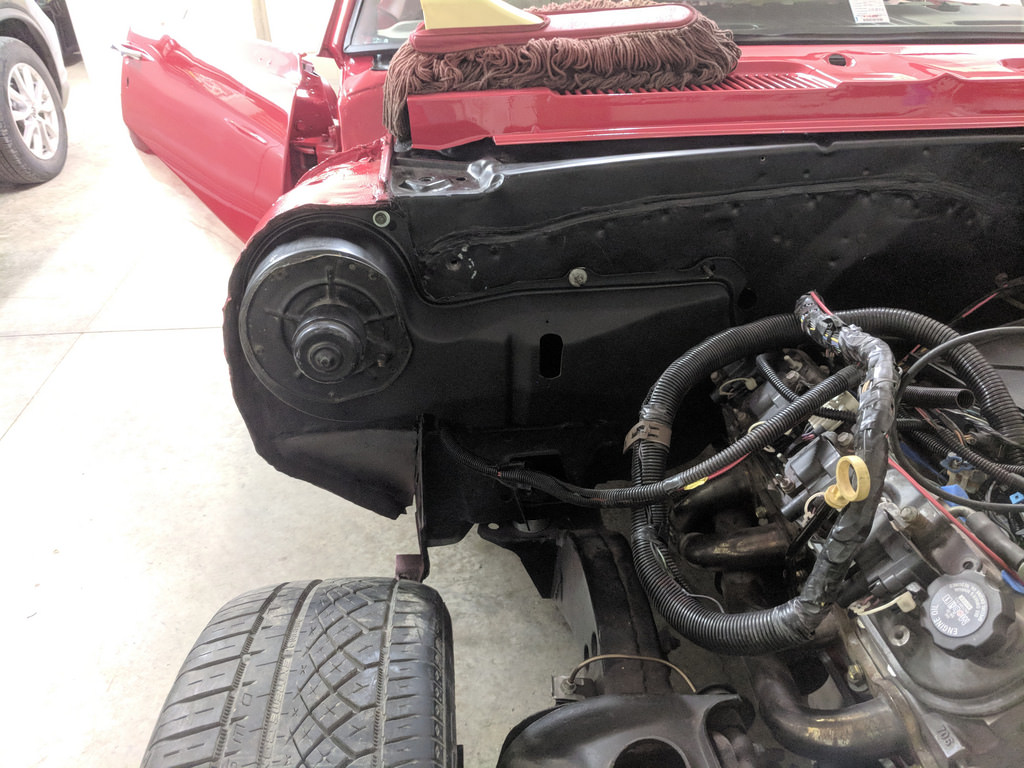
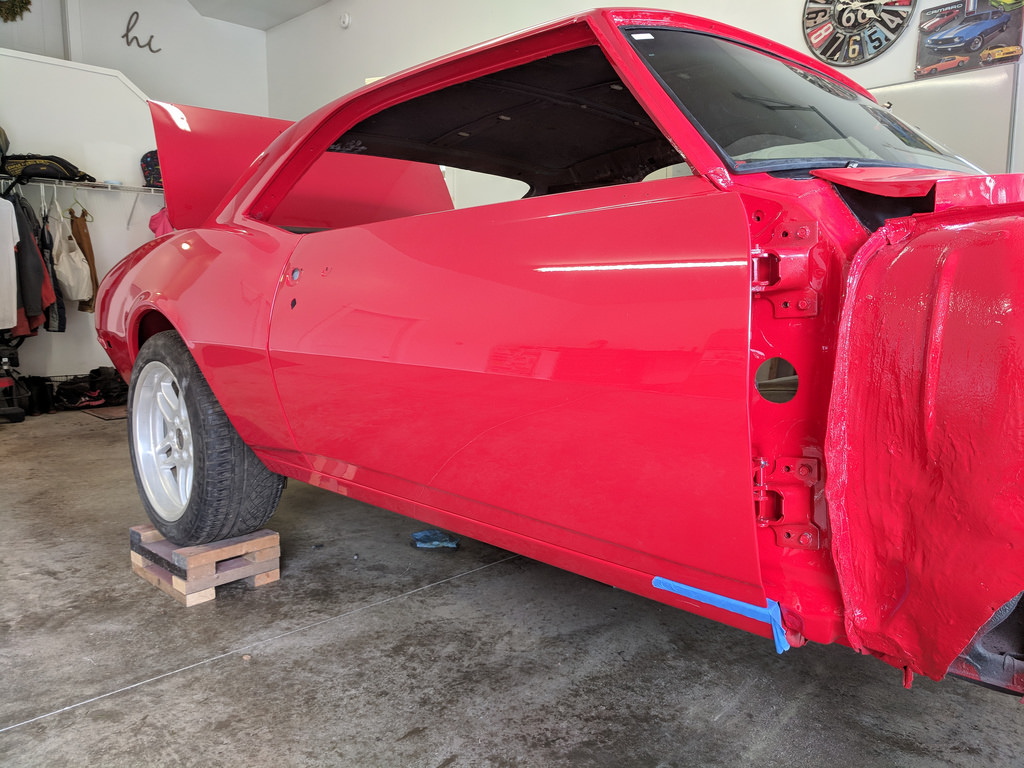
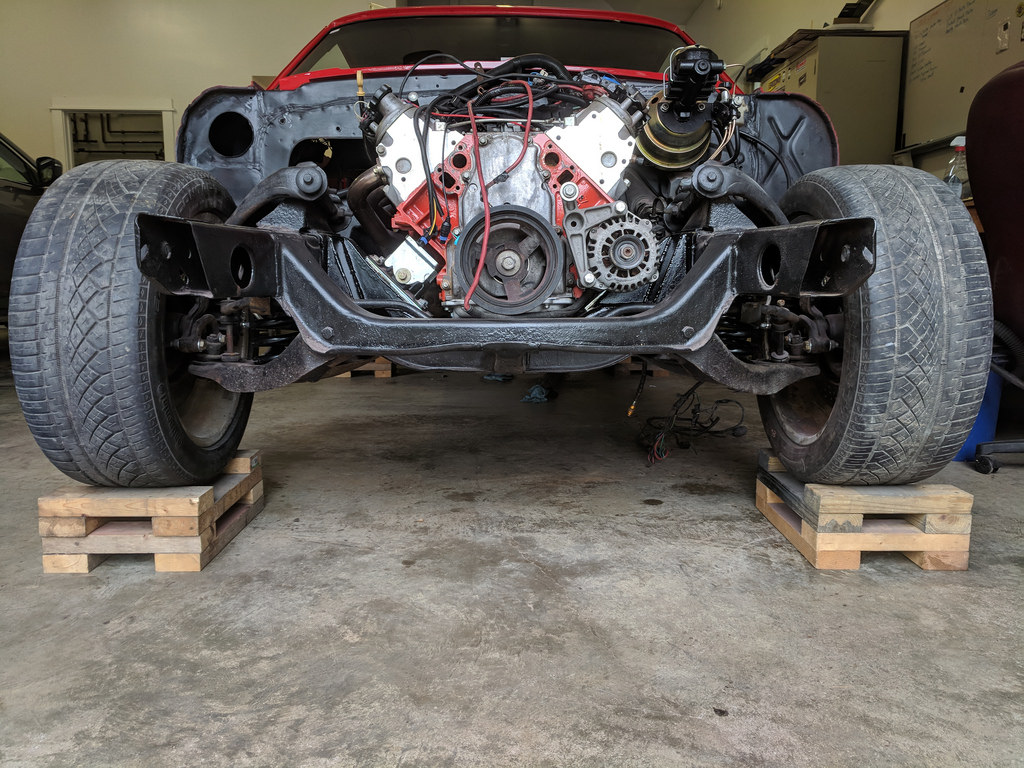
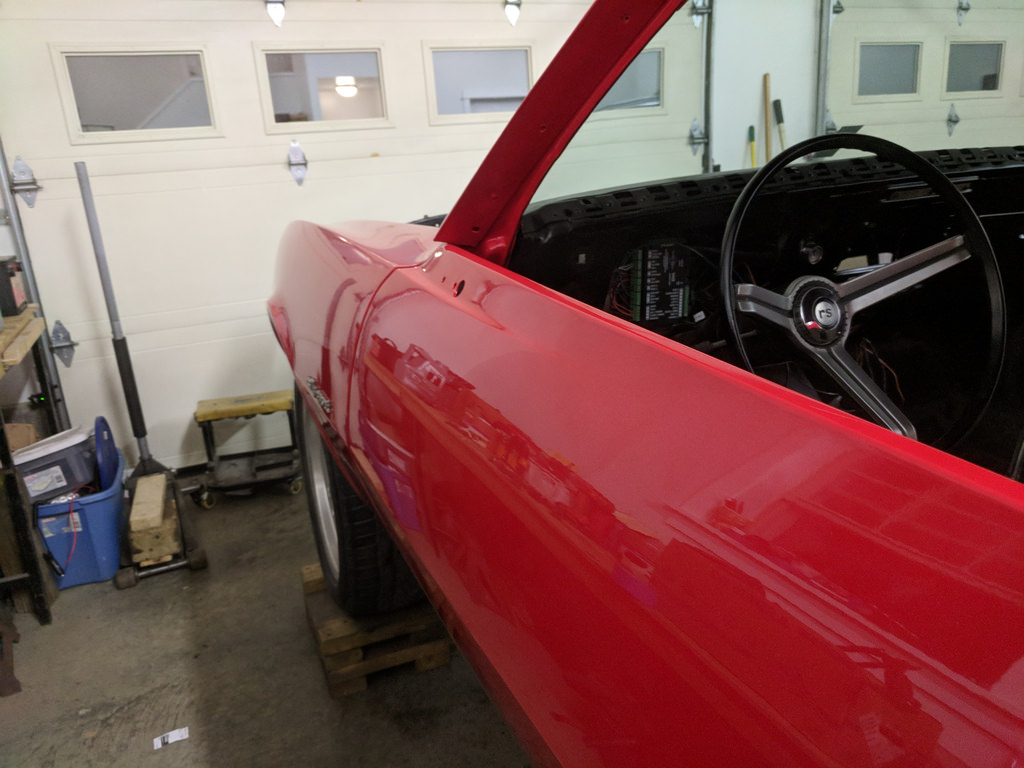
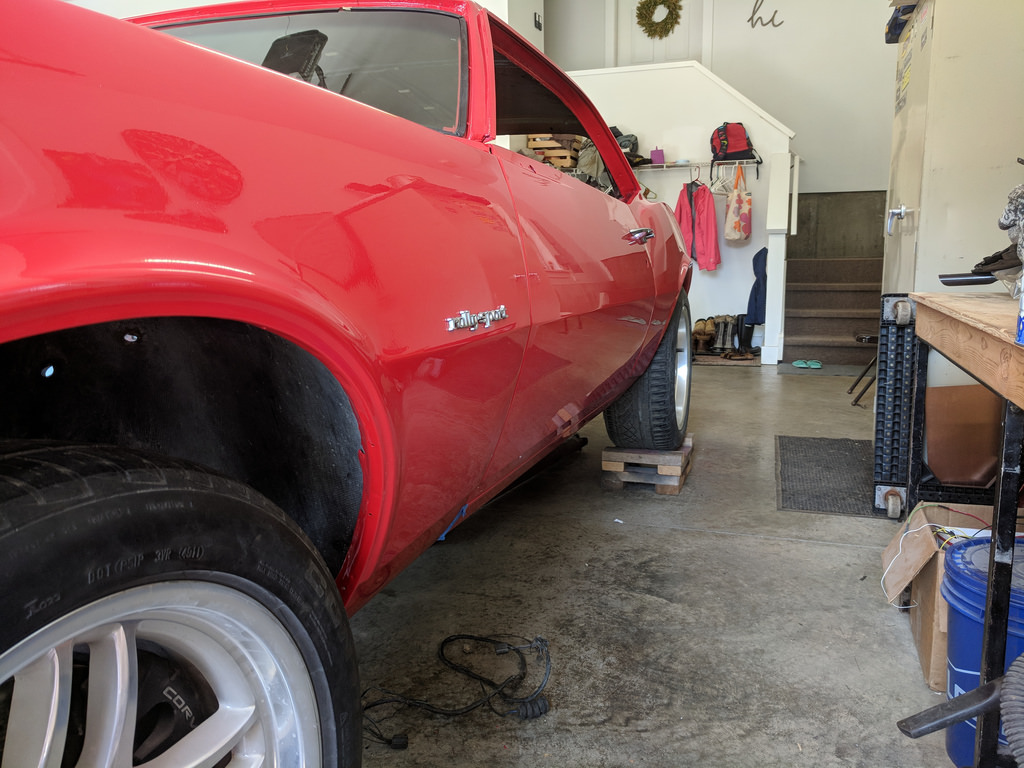
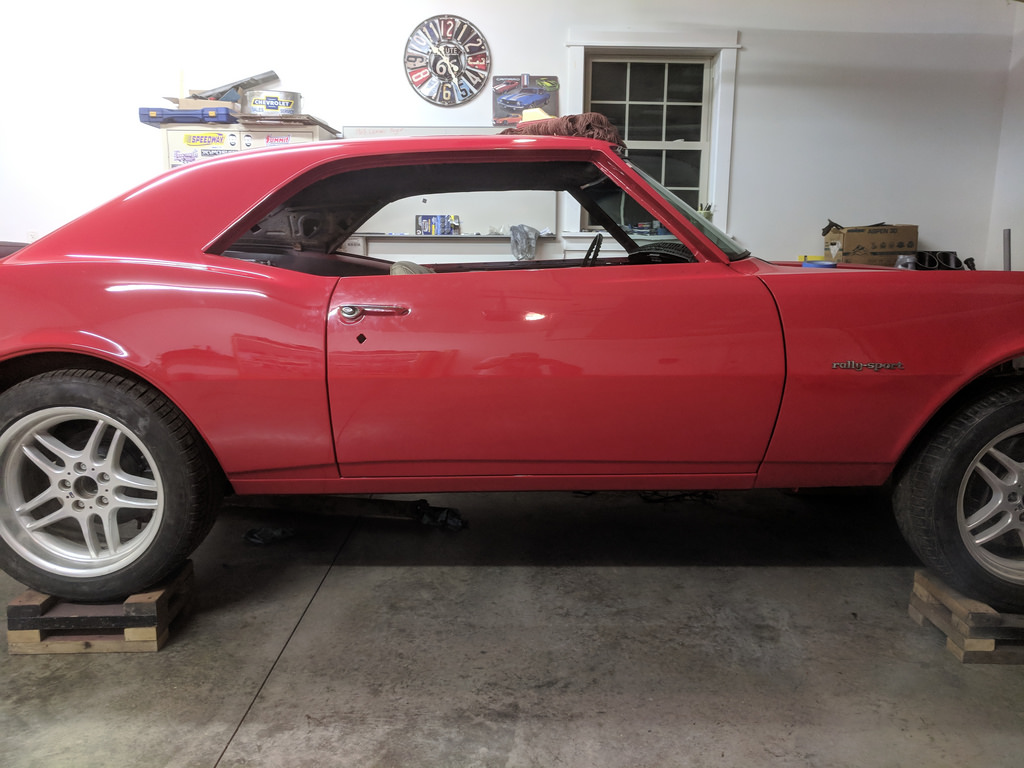
And here is the moment I have been waiting for, for along time.


1955 Nomad project LC9, 4L80e, C5 brakes, Vision wheels
1968 Camaro 6.2 w/ LSA, TR6060-Magnum hybrid and etc SOLD
1976 T/A LS1 6 Speed, and etc. SOLD
Follow me on Instagram: ryeguy2006a
08-06-2018 #387 Registered User
- Join Date
- Feb 2016
- Location
- SoCal
- Posts
- 475
Looking good!
1970 VW Bug - Just your average mid engine Bug
Track toy - 06 Evo - E85 and lots of boost
Newest track toy - 2021 Supra
08-06-2018 #388
Registered User
- Join Date
- Jan 2018
- Location
- Oregon
- Posts
- 40
It looks like a real car again! You do top notch work. Makes my attempts at it look bad in comparison. :D
08-06-2018 #389
Registered User
- Join Date
- Apr 2018
- Location
- Ozarks
- Posts
- 46
Looking great. It dosen't get much better than a red '68 Camaro.
08-07-2018 #390 Registered User
- Join Date
- Jul 2007
- Location
- Phx AZ
- Posts
- 25
Lookin good! Had to make my own AC bracket also, nice work. I like the rose too, happy wife happy life !
08-08-2018 #391
Registered User
- Join Date
- Aug 2014
- Posts
- 435
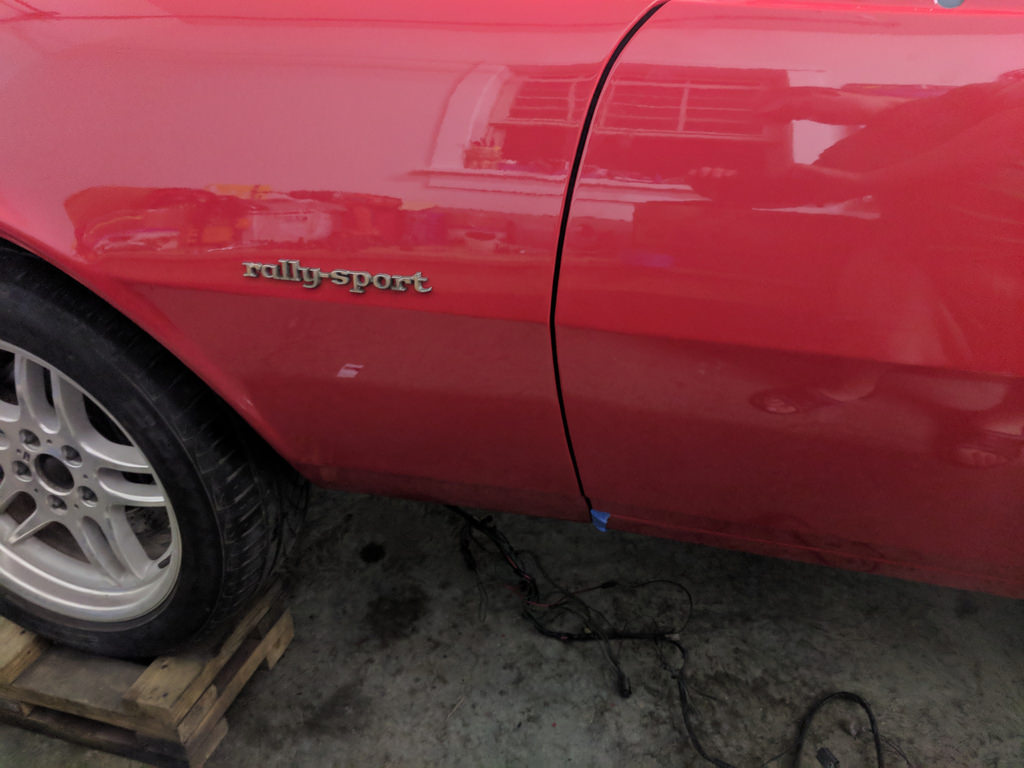
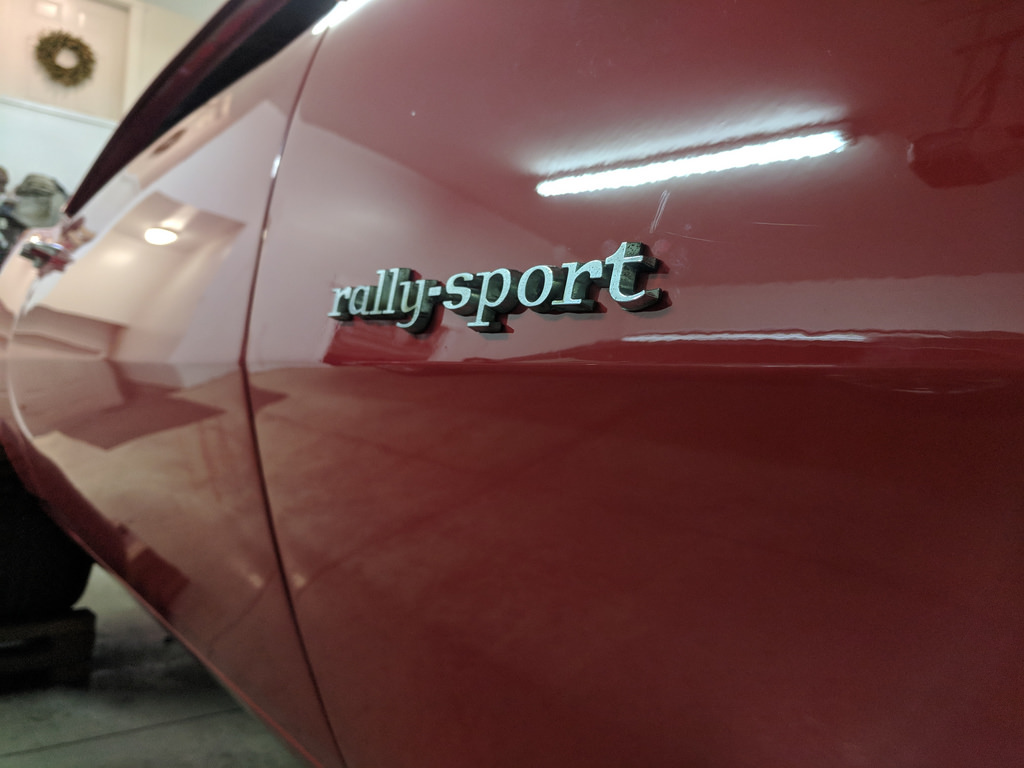
I've been waiting for this! Looks good with the doors and fenders on! Can you easily take the Rally Sport emblems back off when you cut and buff the car?
The rose is pretty cool. Got a link to the plans?
Jay
08-08-2018 #392 Registered User
- Join Date
- Sep 2004
- Location
- DFW, Texas
- Posts
- 217
Great updates!
My thoughts and ramblings while working on my motor driven menagerie http://mechanicdude.blogspot.com/
08-08-2018 #393
Registered User
- Join Date
- Sep 2009
- Posts
- 2,709
Thanks for all of the postitive feedback!
Jay, unfortunately they bolt from the back and I will have to pull the fender off to get to them. Not THAT bad, but at this point I just want to put the car back together and get some miles on it. I'll worry about cutting/buffing later. Oh, and the rose I found on instructables website.
1955 Nomad project LC9, 4L80e, C5 brakes, Vision wheels
1968 Camaro 6.2 w/ LSA, TR6060-Magnum hybrid and etc SOLD
1976 T/A LS1 6 Speed, and etc. SOLD
Follow me on Instagram: ryeguy2006a
08-13-2018 #394
Registered User
- Join Date
- Sep 2009
- Posts
- 2,709
It must have been late when I installed the passenger door and fender because the gaps weren't quite right. Too tight on the quarter/door gap and too loose on the fender/door gap. I also noticed that the front bottom edge of the door just kissed the rocker. So after about 4 times removing/reinstalling the fender and adjusting the door I was finally happy and tightened them down for good. The door now has clearance around everything so I don't have to worry about the painted edges.
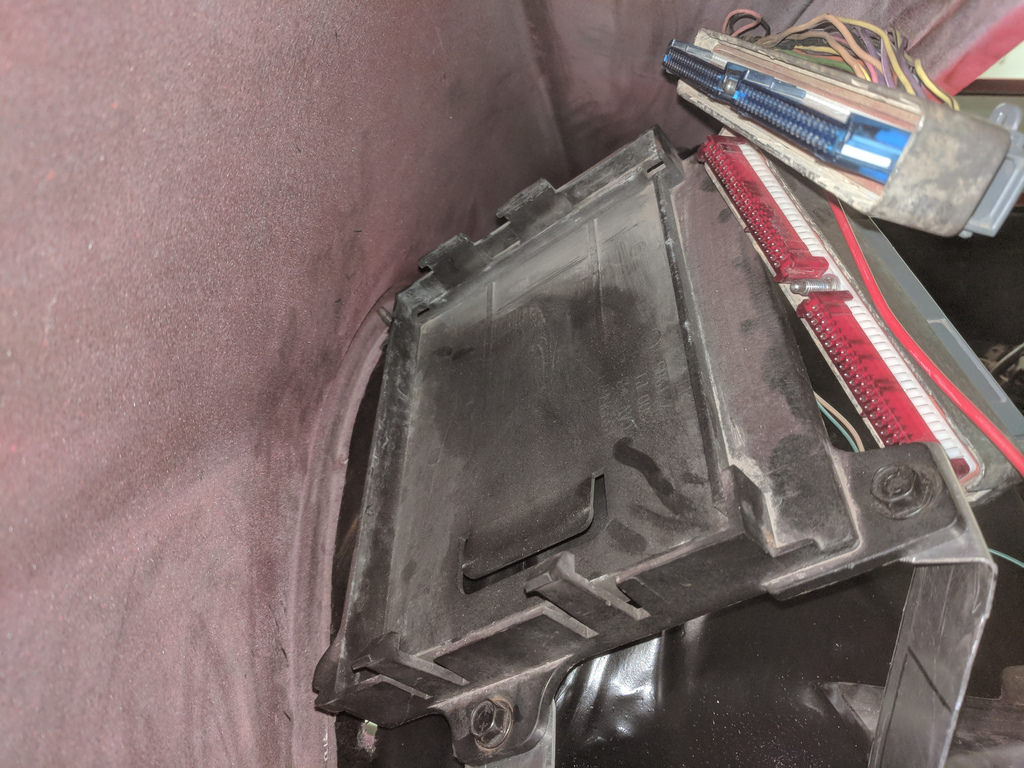
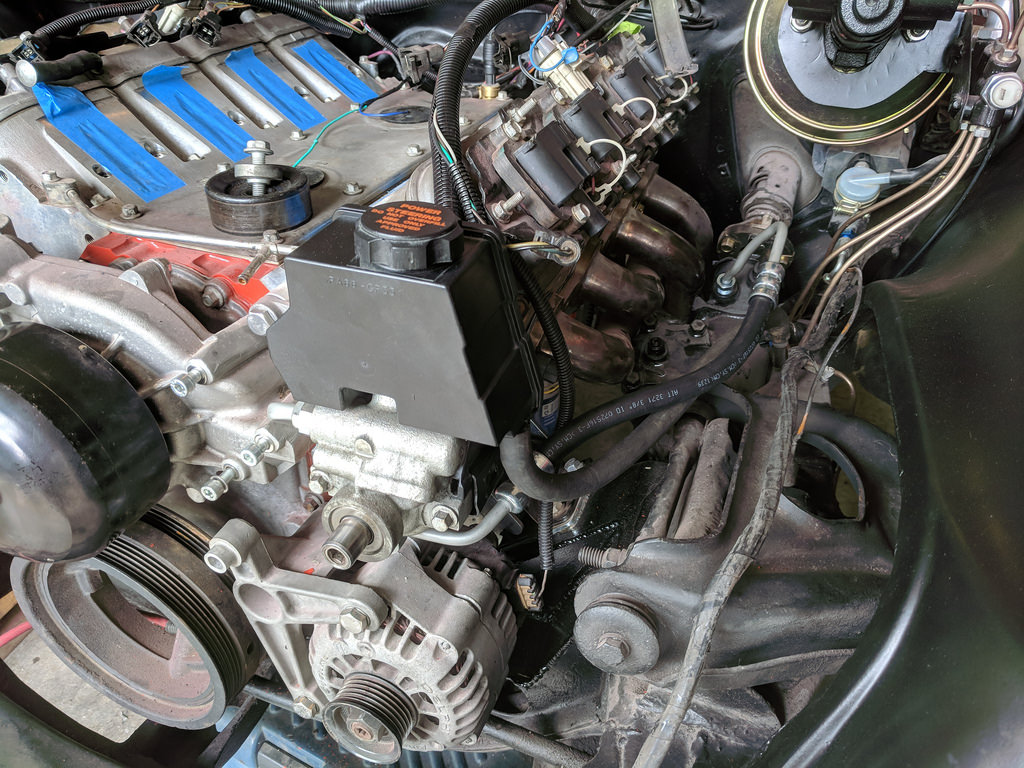
Next up was figuring out how to mount the ECU down. I had to move it back a little from where I originally had it mounted so that I could give the harness more slack. It was too tight before. I also had to balance between the battery, fender, and being able to service it if needed. I used some aluminum stock from my metal bin and it worked great. I was originally going to use something more substantial, but it's super solid with this mount so I'm happy.
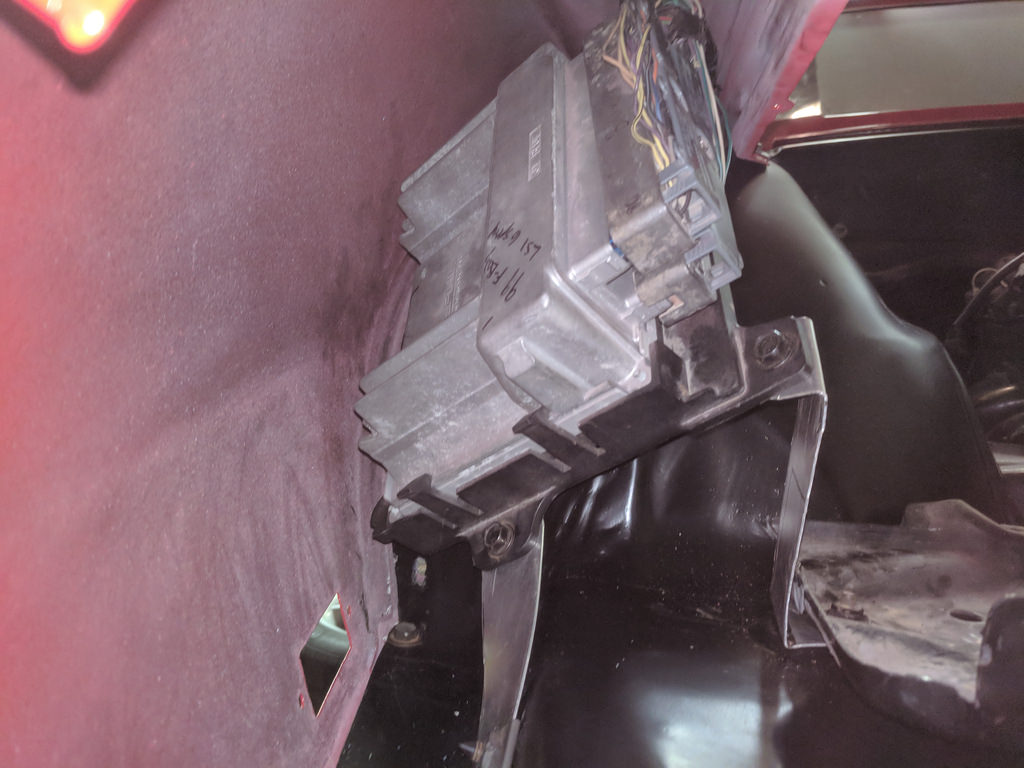

And with it mounted I can easily pull the computer out if needed.
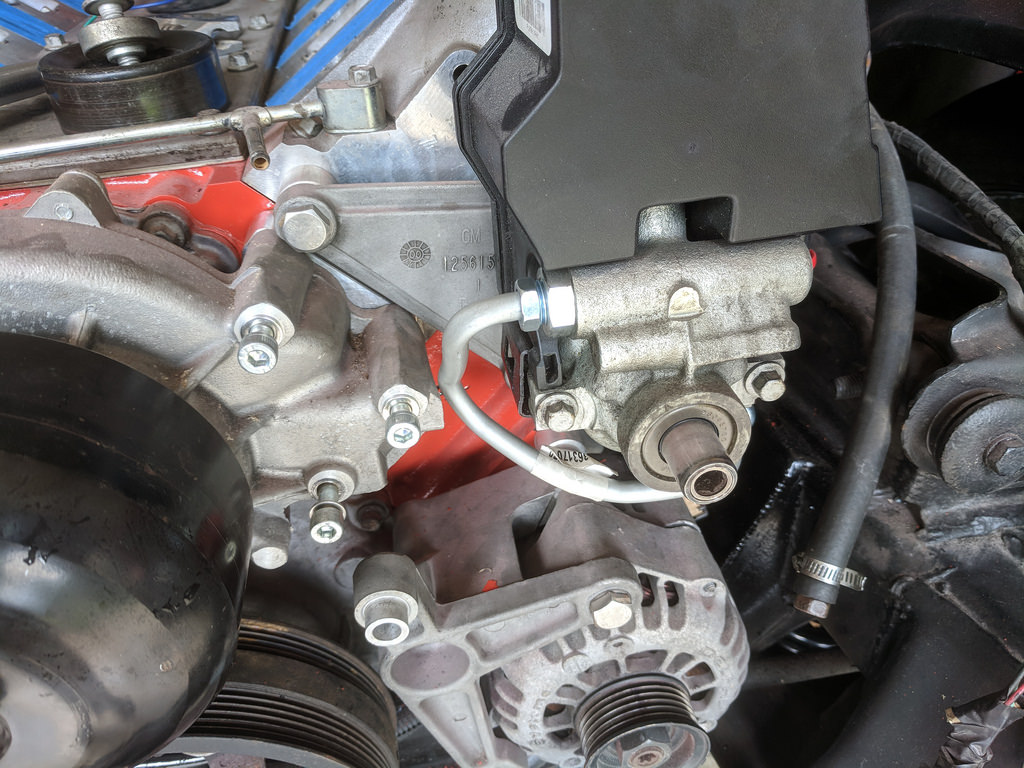
Moving on to my engine accessories, I finally bought a power steering pressure line. I knew that the fittings were correct for my application from a stock 98-02 Fbody Camaro, so I took a chance on it knowing I would likely need to bend the lines. It ended up working quite well after quite a bit of tweaking. I'm hoping that I won't have any leaks from all the bending when I go to start it up, but I'll keep my fingers crossed.

I also have been going back and forth about whether or not to swap out the 5.3 for the LS1 now rather than later. Mainly becuase I know that the 5.3 runs good, but at the end of the day, I would prefer having the LS1 engine. So... I'm going to put the LS1 together now and confirm whether or not it's a solid running engine. I bought it as a complete shortblock a while back so I'm curious to know if I actually got a good running motor. I'm going to put it together and make myself a budget LS6 engine. I have a pair of 799 heads, LS2 cam w/ front mount cam sensor, and just recently picked up an LS6 intake manifold. My plan will be to put the motor together over the next week, pull the 5.3 while it's still relatively easy to pull, and put the LS1 in and confirm that it's a good running motor.
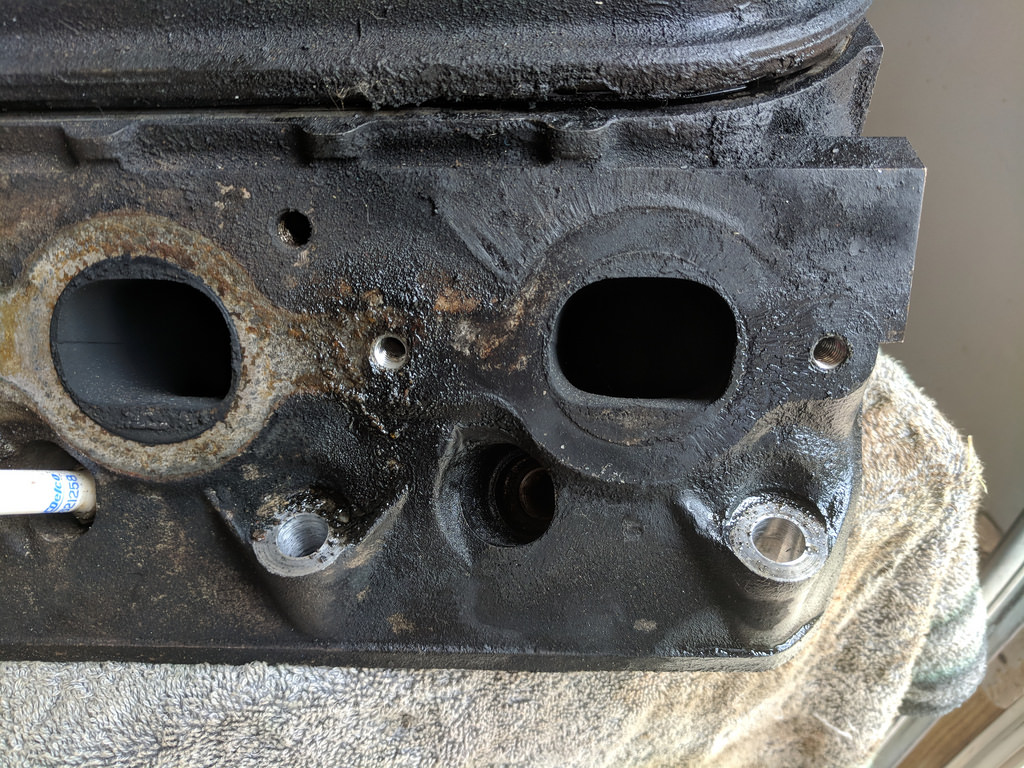
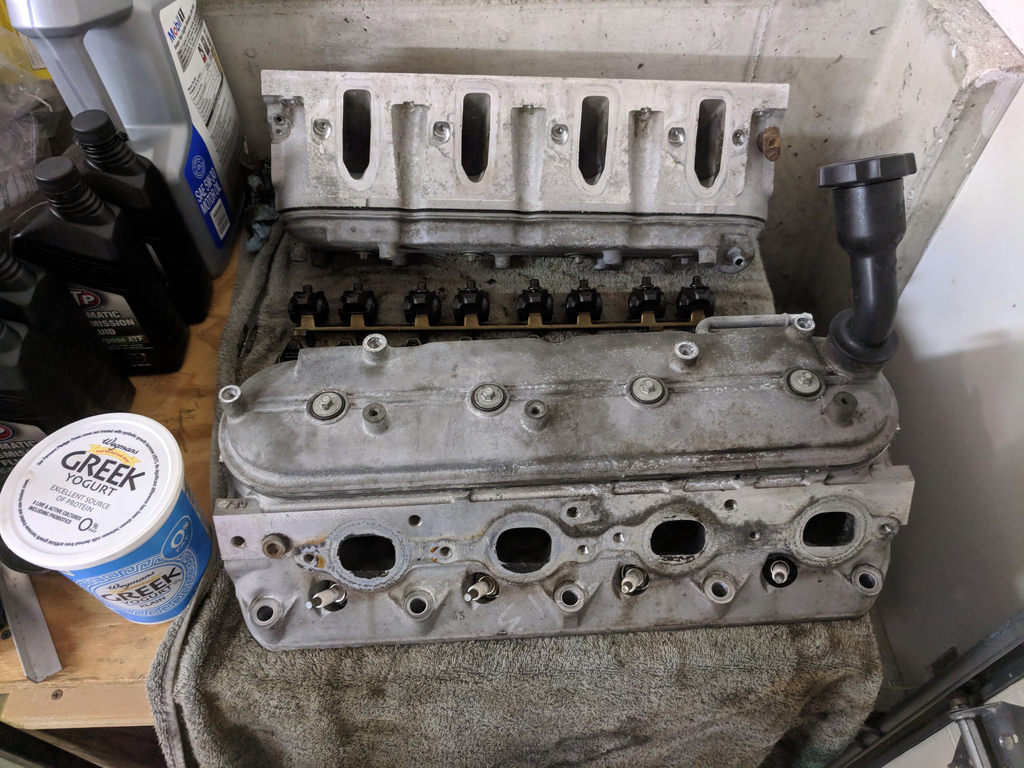
Yesterday, I pulled the heads off of my parts shelf to see how hard it would be to get those broken studs out. Thankfully, they both came right out with some PB Blaster and a pair of vice grips. Now they just need to be degreased badly.
Before:
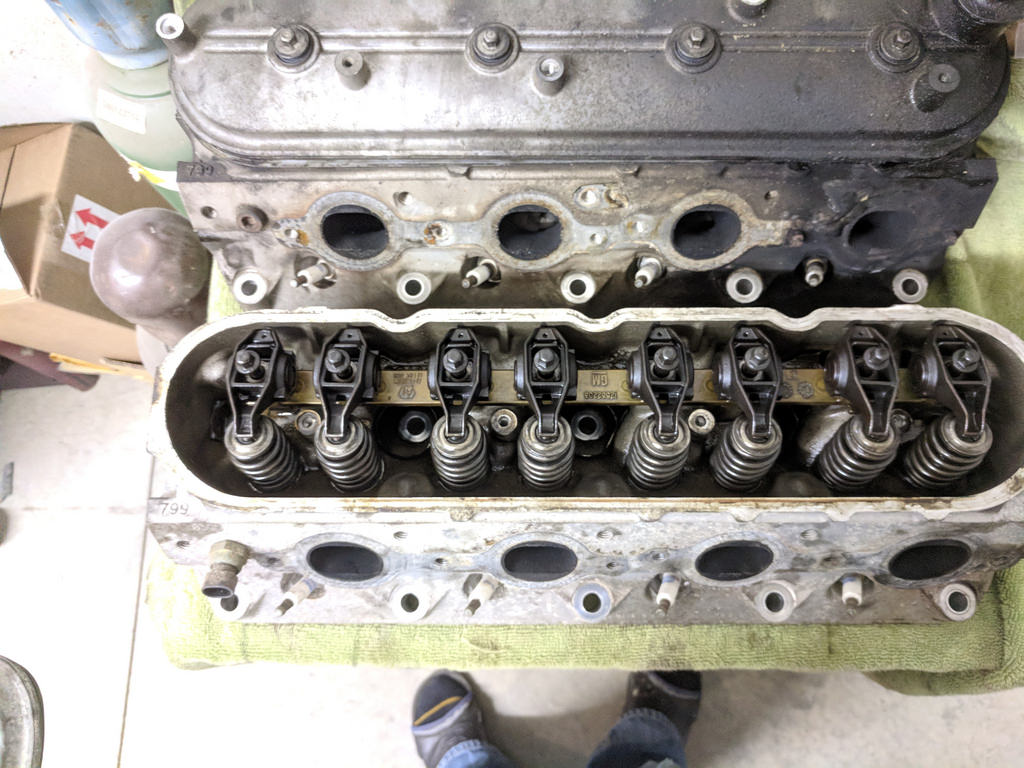
After:
I'm hoping by the weekend that I will know whether or not the LS1 engine will be installed for good. It would be good to shave off some lbs. and gain some HP.
Cheers,
Ryan
1955 Nomad project LC9, 4L80e, C5 brakes, Vision wheels
1968 Camaro 6.2 w/ LSA, TR6060-Magnum hybrid and etc SOLD
1976 T/A LS1 6 Speed, and etc. SOLD
Follow me on Instagram: ryeguy2006a
08-21-2018 #395
Registered User
- Join Date
- Sep 2009
- Posts
- 2,709
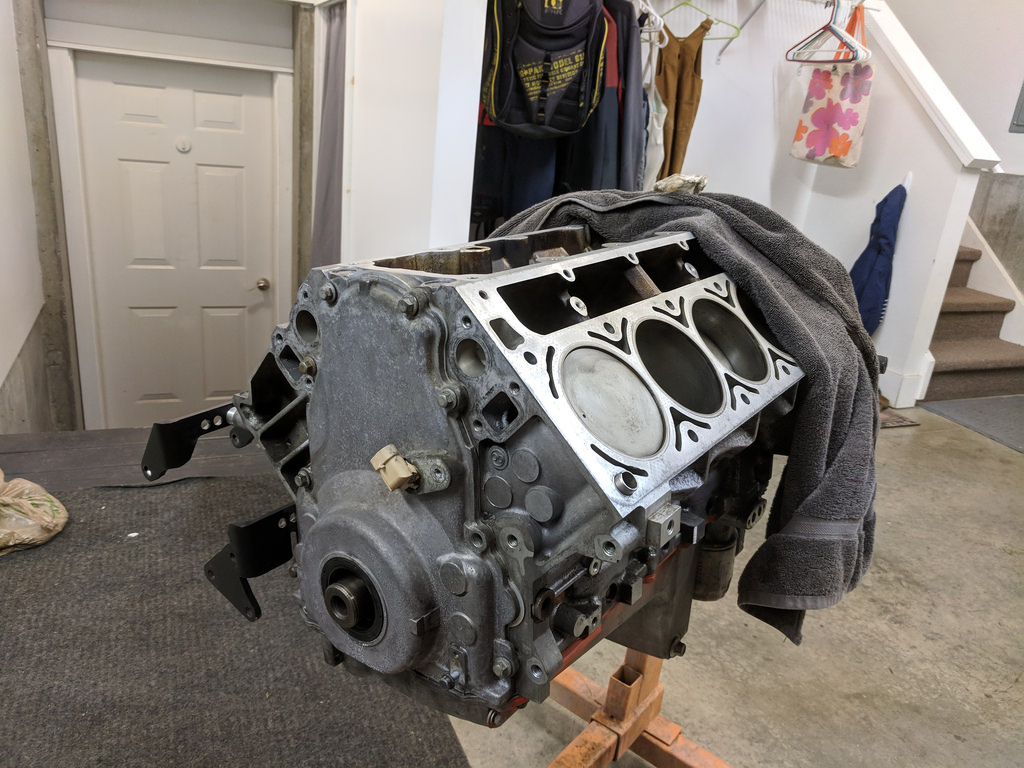
Been taking a break from working on the car to get some yardwork done and spending time with my family. I did get a little motivation last night and am moving forward on assemblying the LS1 engine to confirm whether or not it is worth swapping for the 5.3. I started by reinstalling and torquing the rear plate. Made sure to tighten and align it with the oil pan, so there was a proper seal before torquing down. Also installed the flywheel so that it can be started.
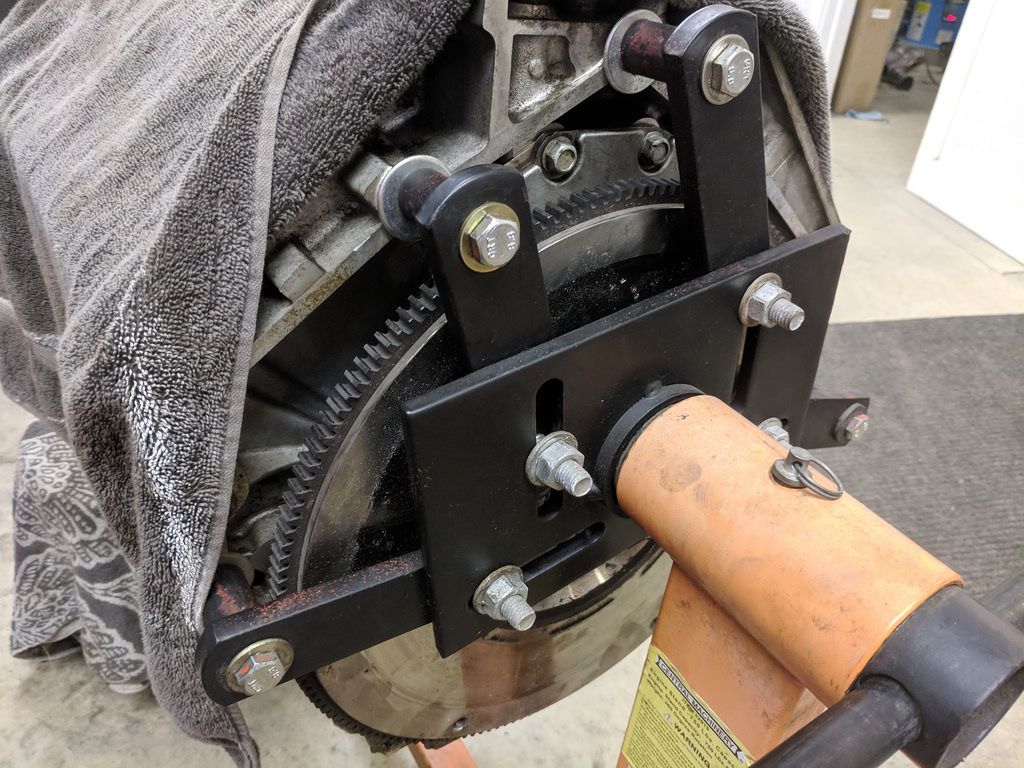
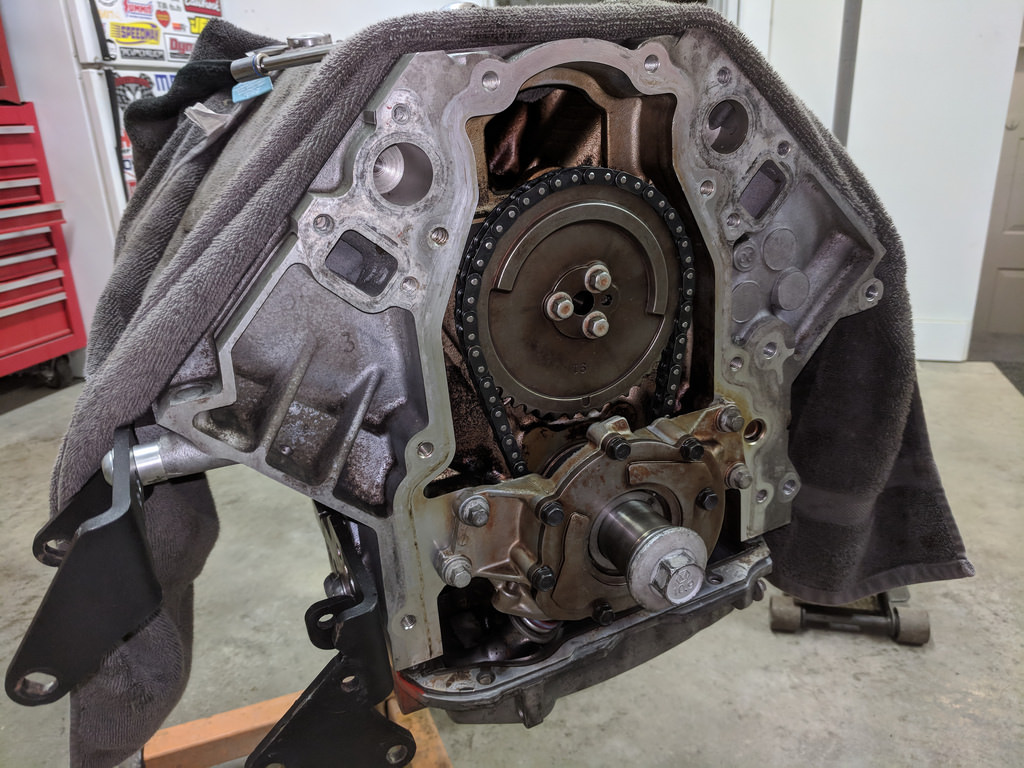
Then I spun the engine around and installed the LS2 cam, sprocket, and timing chain. Torqued everything down as I was going. Followed by the oil pump and timing cover. I will be removing the timing cover though as I broke the cam sensor. A new one will be ordered soon.
After I removed the broken studs from the one head, I cleaned them up with some Purple Power. It really does a great job removing grime. Just make sure to rinse with water as it can corrode the aluminum if it's not washed off.
Before:
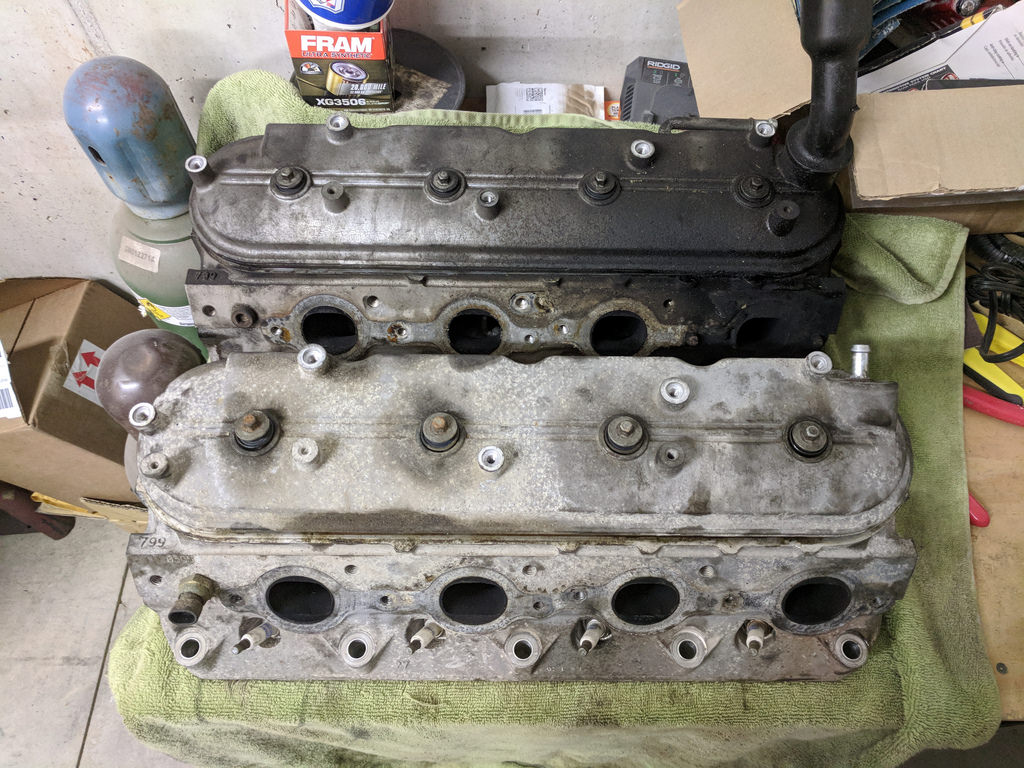
After:

I've also got the lifters soaking in new oil waiting to be installed.

Before I install the cylinder heads I need to pick up a set of stock LS6/LS2 springs for the added lift of the LS2 cam. Hoping to have everything soon. I'm anxious to know whether or not this motor is good solid like the seller said!
Cheers,
Ryan
1955 Nomad project LC9, 4L80e, C5 brakes, Vision wheels
1968 Camaro 6.2 w/ LSA, TR6060-Magnum hybrid and etc SOLD
1976 T/A LS1 6 Speed, and etc. SOLD
Follow me on Instagram: ryeguy2006a
08-22-2018 #396
Registered User
- Join Date
- Sep 2009
- Posts
- 2,709
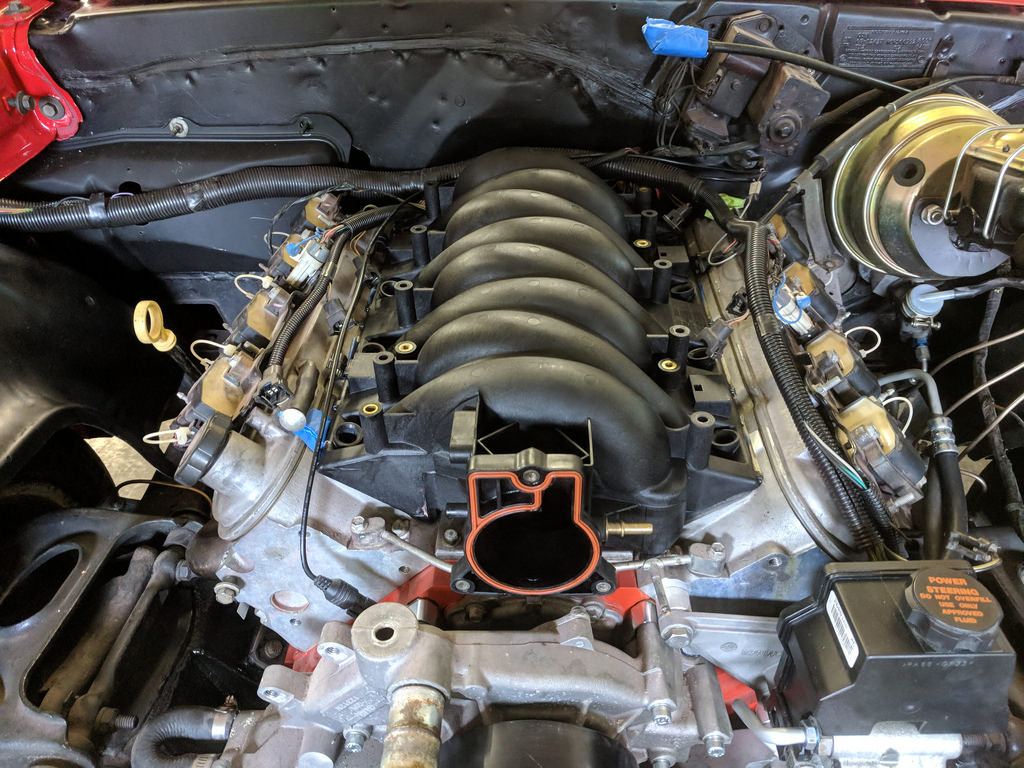
Forgot to add, I got a great deal on an LS6 intake last week.
1955 Nomad project LC9, 4L80e, C5 brakes, Vision wheels
1968 Camaro 6.2 w/ LSA, TR6060-Magnum hybrid and etc SOLD
1976 T/A LS1 6 Speed, and etc. SOLD
Follow me on Instagram: ryeguy2006a
08-22-2018 #397
Registered User
- Join Date
- Nov 2014
- Posts
- 235
just a quick observation/question. Isn't a LS1 a gen III engine and use the cam sensor on the back of the block? Might save you some headaches when it comes time to start and mismatched sensors slow you down
08-22-2018 #398
Registered User
- Join Date
- Mar 2009
- Location
- Houston, TX
- Posts
- 1,192
It all depends on the cam sprocket. Looks like he has the correct cam sprocket for the front mounted cam sensor. Originally Posted by btmatt
 Tu Ho
Tu Ho
Firebird V2-LS swap
08-22-2018 #399
Registered User
- Join Date
- Sep 2009
- Posts
- 2,709
Thanks for chiming in btmatt. Yes, you are right that they have the cam sensor located on the rear of the block. However, the LS2 cam I'm running doesn't have the cam lobs on the rear of the cam. rickpaw is right, I'm converting to the front mounted cam sensor with the correct 1x cam sprocket from an LS2. Should work the the same, but I've never personally done it.
1955 Nomad project LC9, 4L80e, C5 brakes, Vision wheels
1968 Camaro 6.2 w/ LSA, TR6060-Magnum hybrid and etc SOLD
1976 T/A LS1 6 Speed, and etc. SOLD
Follow me on Instagram: ryeguy2006a
08-22-2018 #400
Registered User
- Join Date
- Nov 2014
- Posts
- 235
Got it.
BTW, I have to say that following your thread been inspiration to tackle the body on my Camaro (and I hate bodywork). Good Luck

 Reply With Quote


