

Results 301 to 320 of 808
-
04-30-2018 #301

 Registered User
- Join Date
- Sep 2009
- Posts
- 2,709

Yes! I told my wife that my arms (from sanding) and legs (from standing up and sitting constantly) feel like I have been at the gym lifting for the past month! Maybe this is the silver lining!
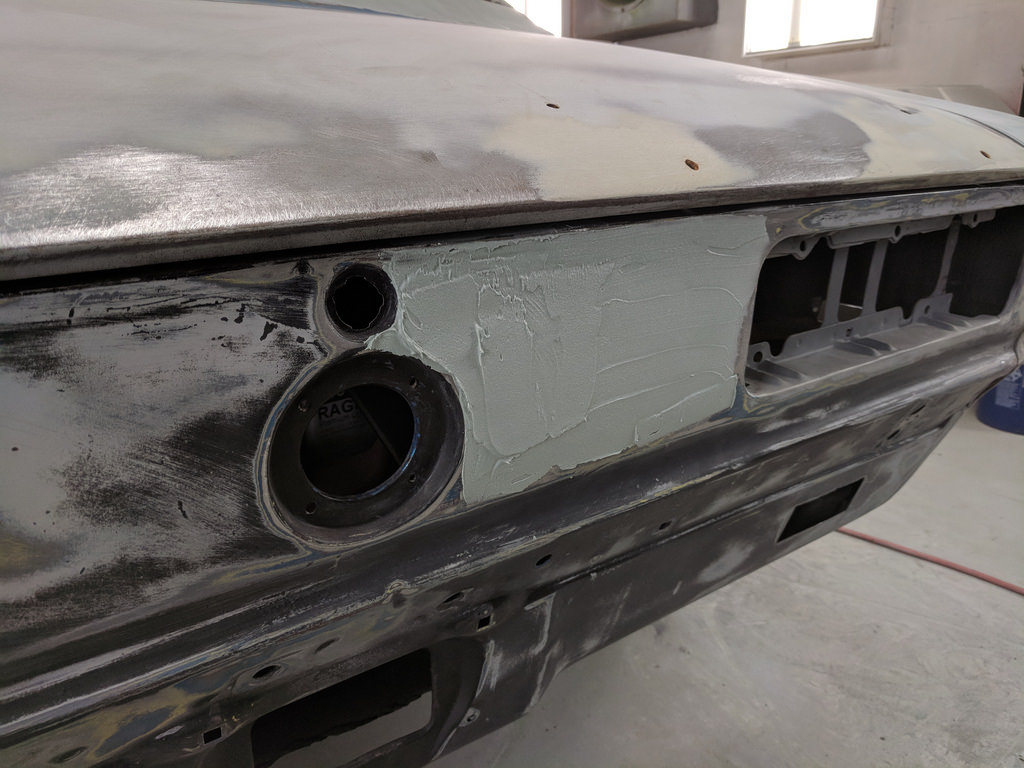
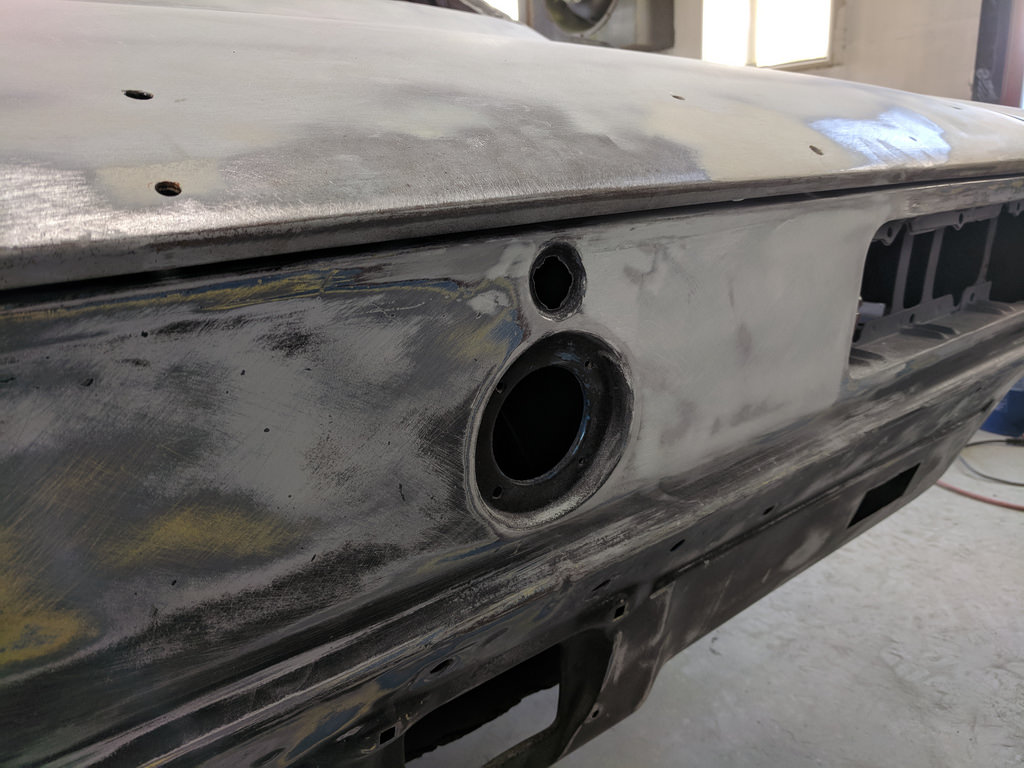
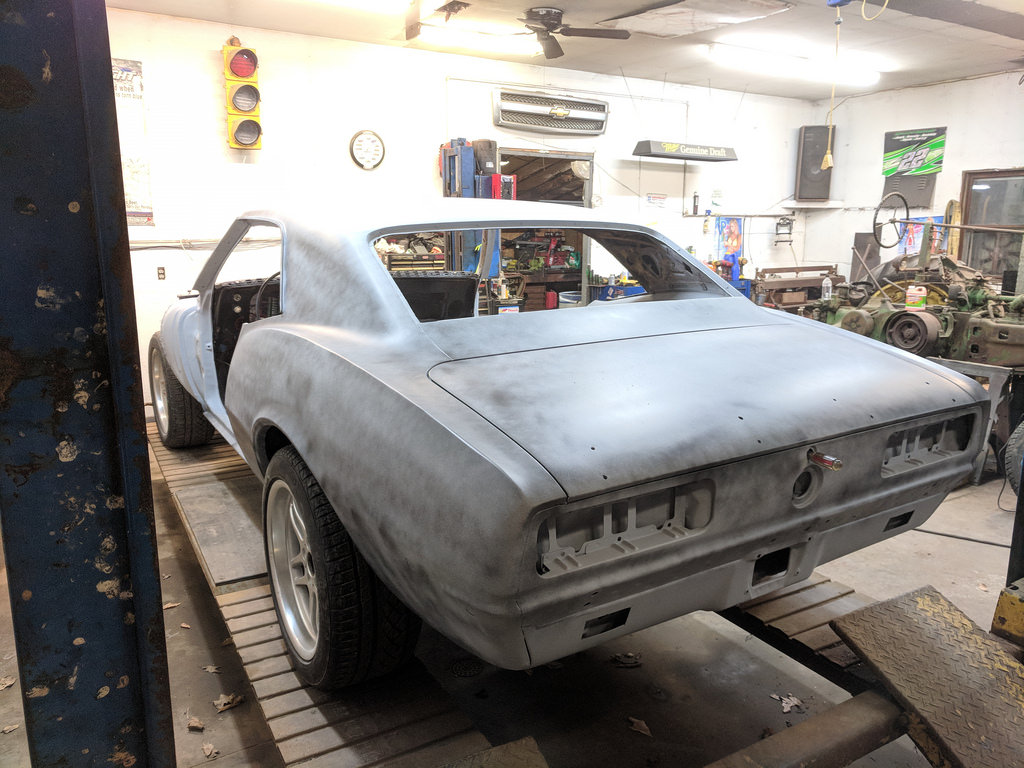
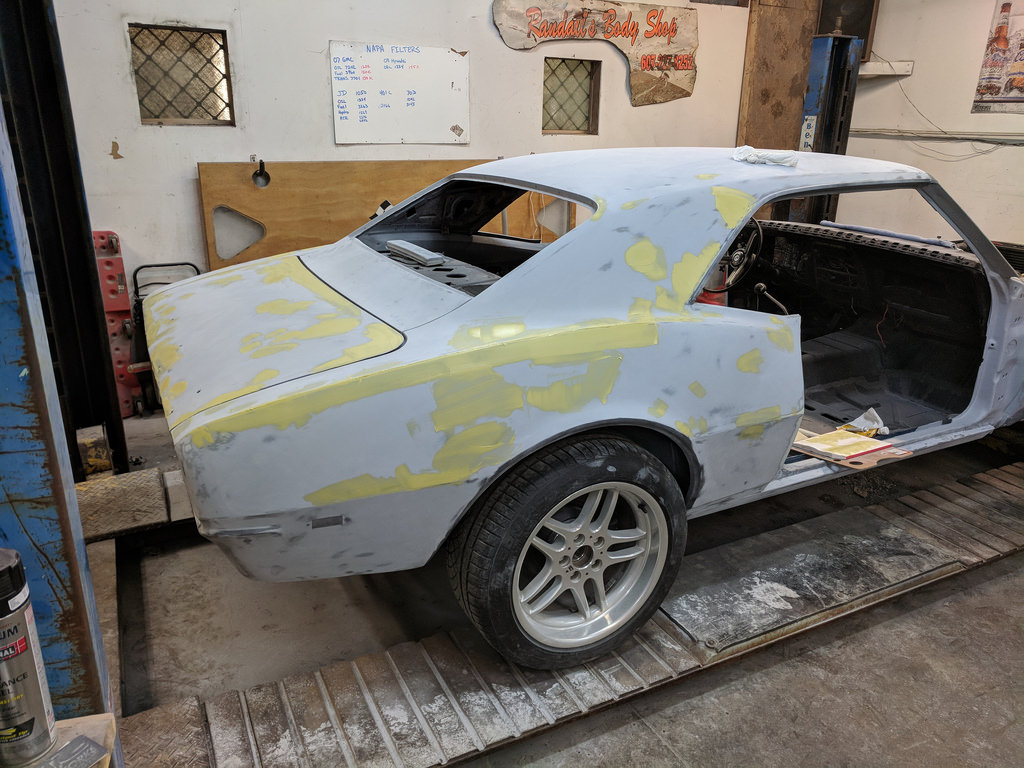
I was plugging away again this Friday night and Saturday morning/early afternoon. I was hoping to get more done, but I ran into a little hurdle. I have been busy prepping the body and fixing the small little details in preparation for the epoxy and 2K primers. I started on the passenger side making sure that all surfaces are scuffed and ready for good adhesion. Worked my way do the tail panel, and as I was buzzing the panel just to the right of the filler I noticed something didn't feel right. the more I sanded the more filler I found. So, we ended up having to break out the stud gun and pull a rather large dent.
Hard to see in this picture, but it is very dented.
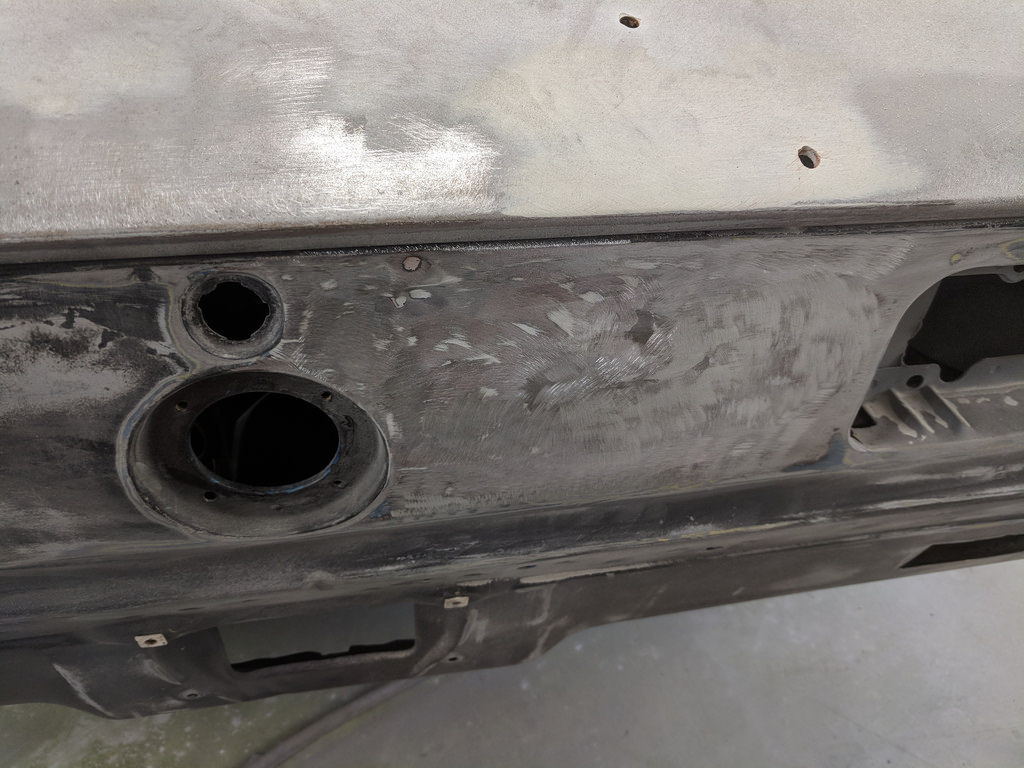
After pulling the dents out probably 1/4"
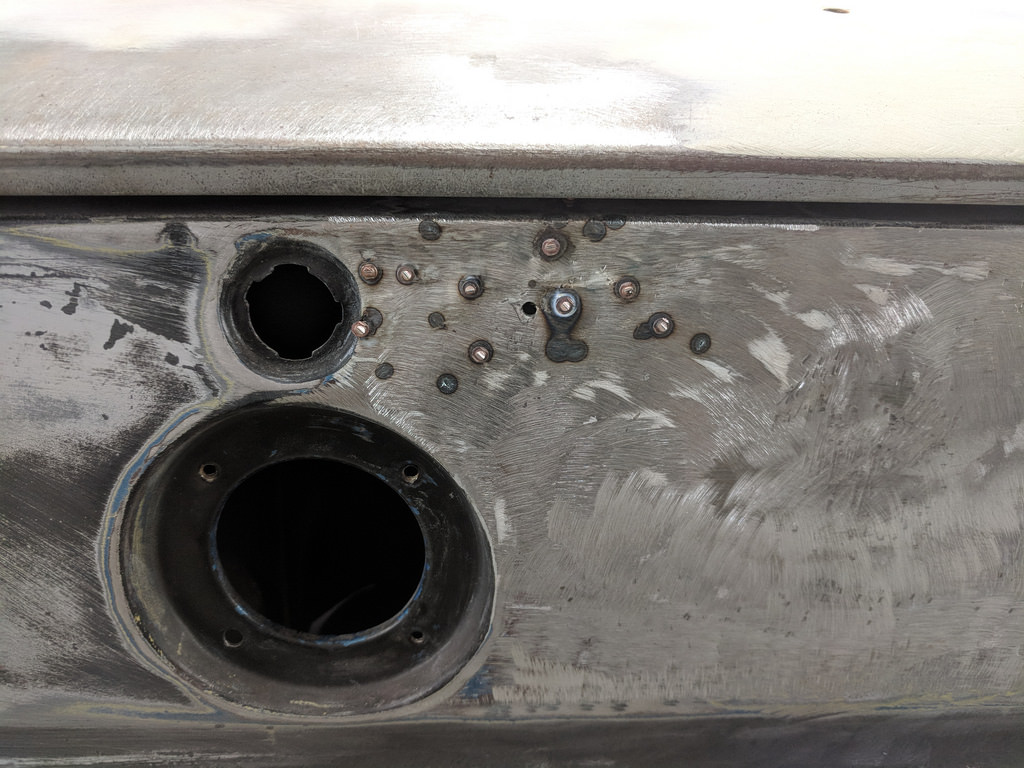
It all worked out though as we also needed to pull a good size dent on the filler panel between the deck lid and the rear window. First round of filler work.
Round 2
And the final round. Pretty proud because I actually spread all of the filler on the tail and filler panels. My buddy signed off on them and said they looked good enough to lay down some primer.
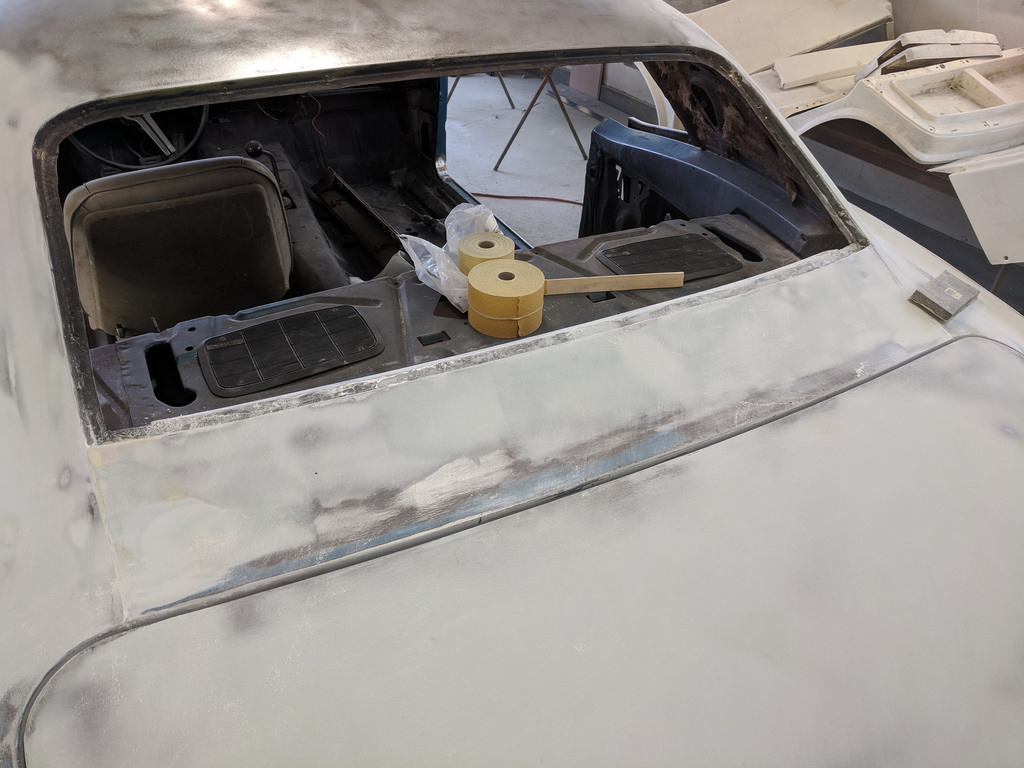
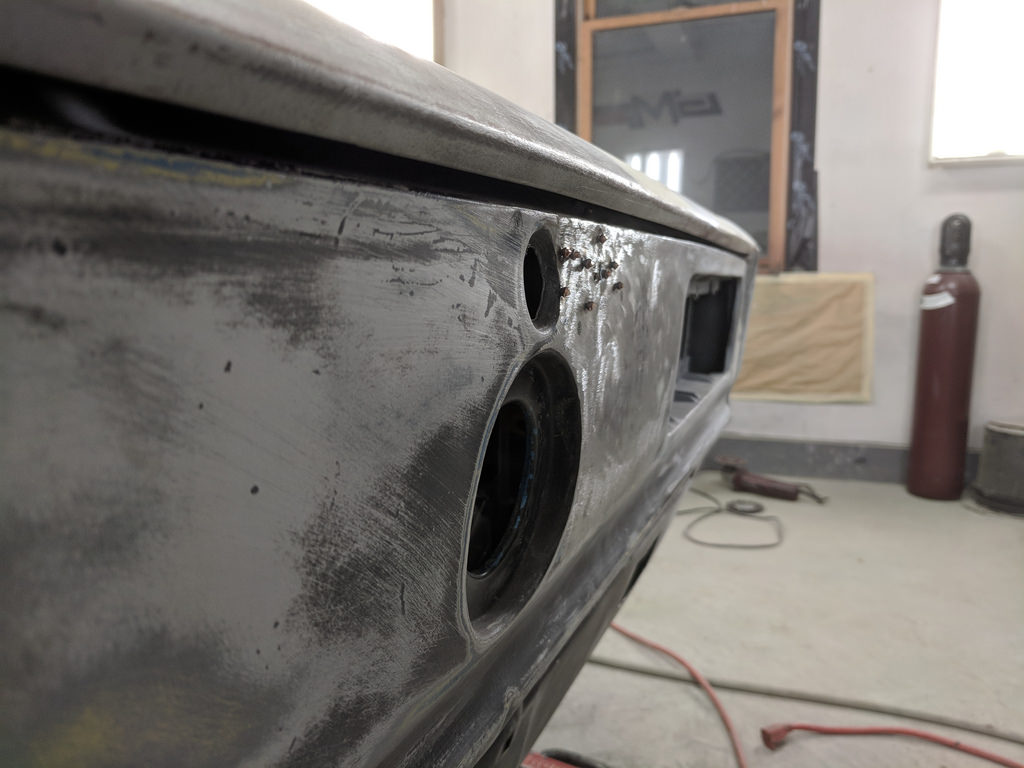
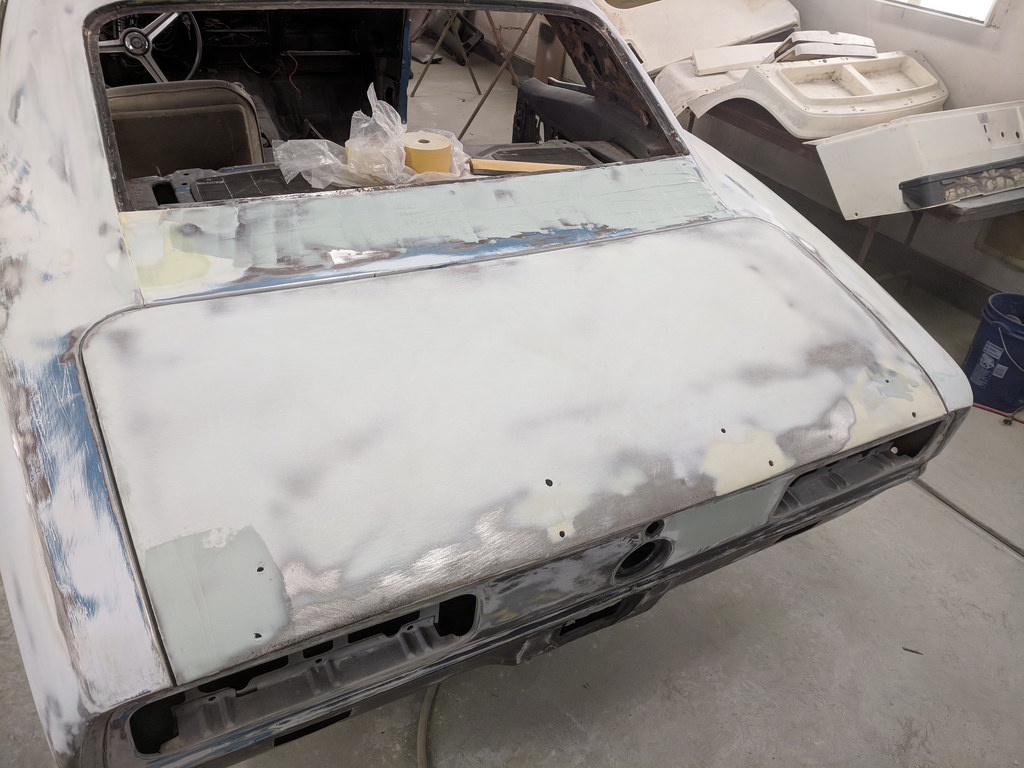
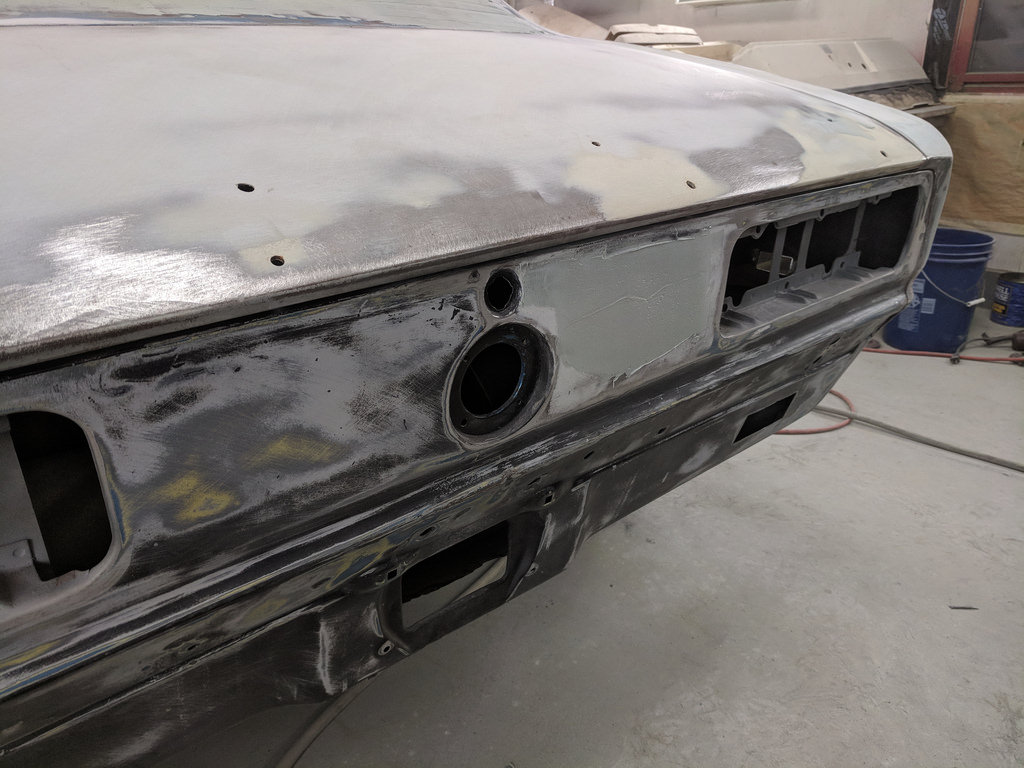
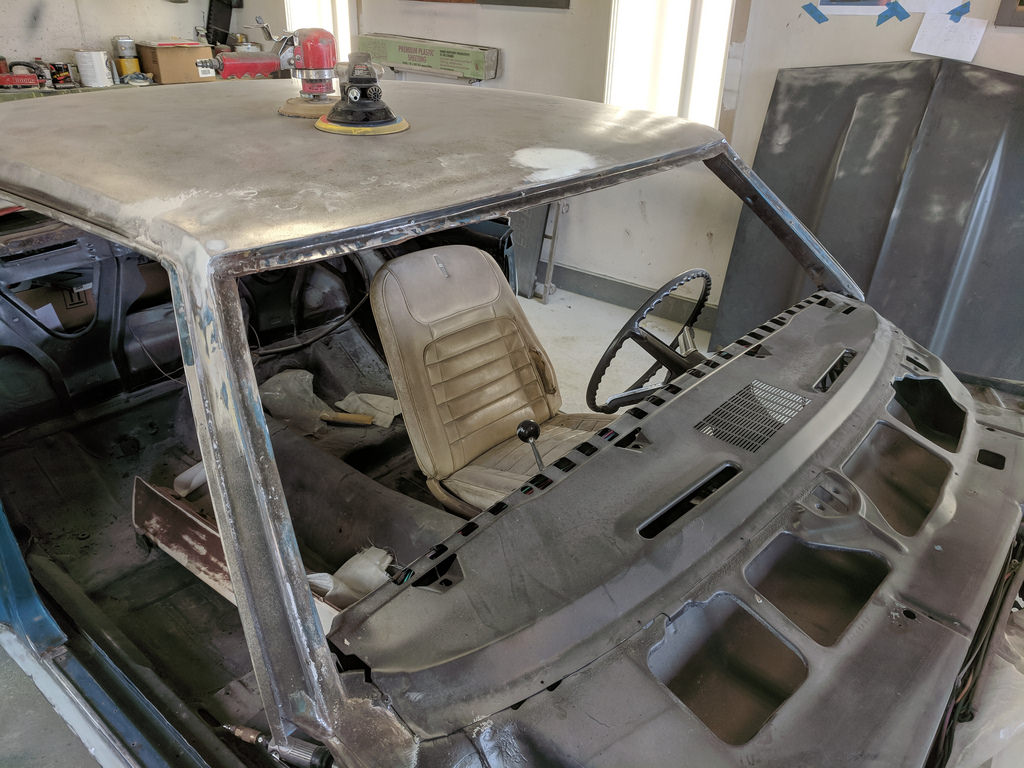
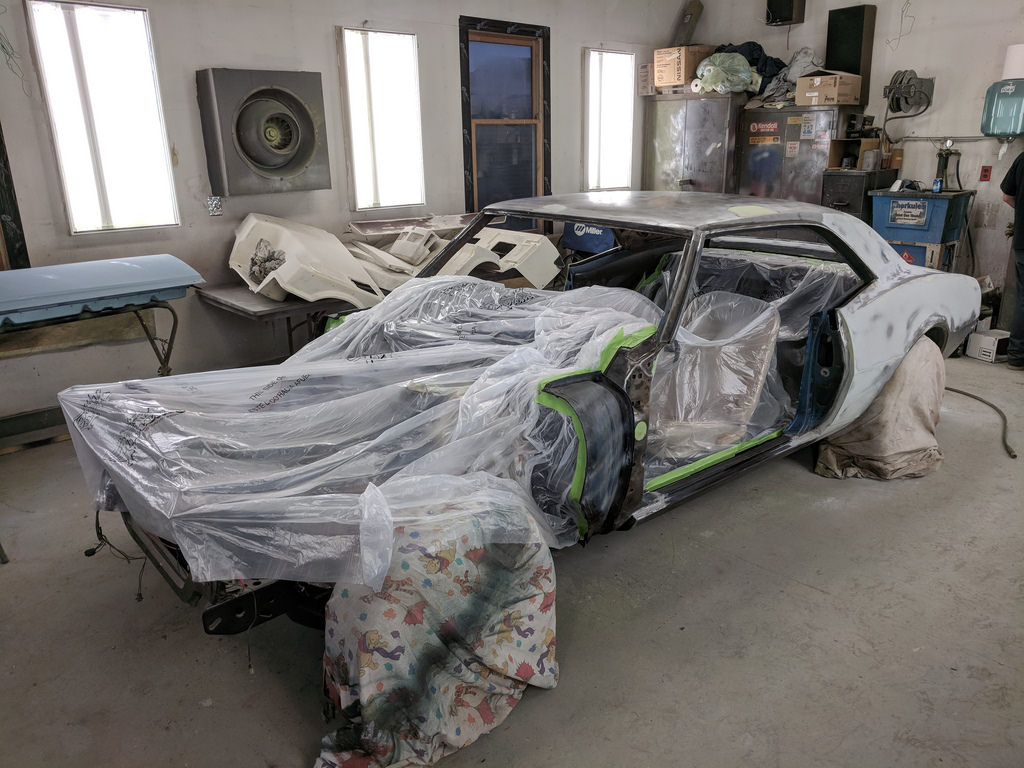
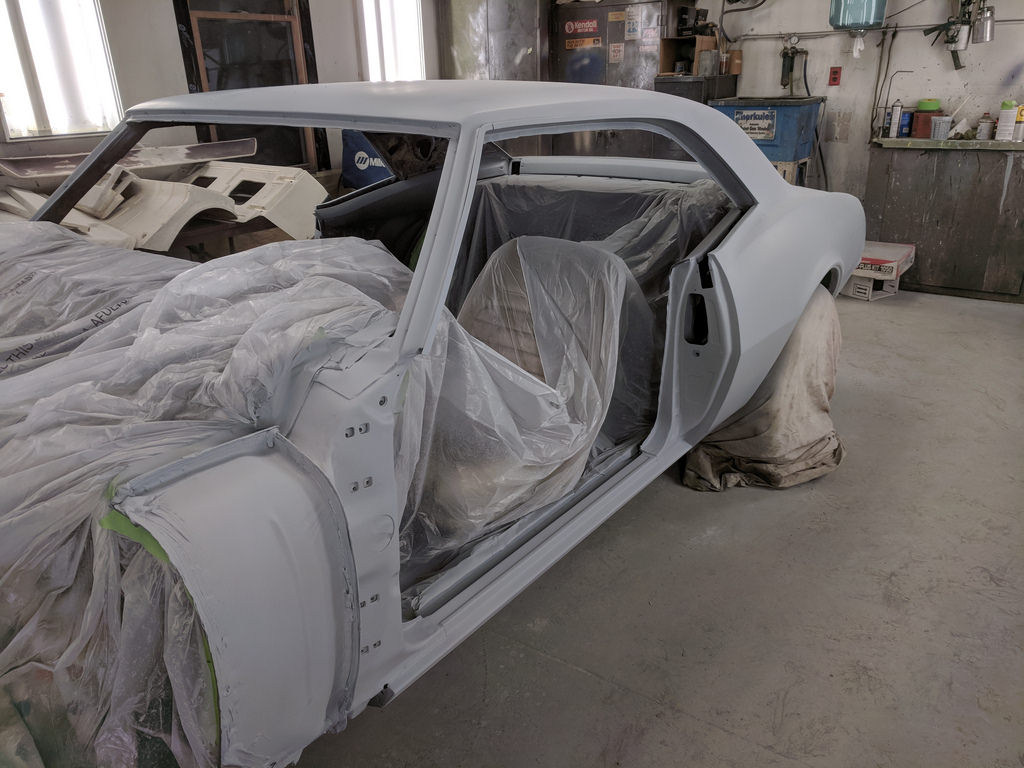
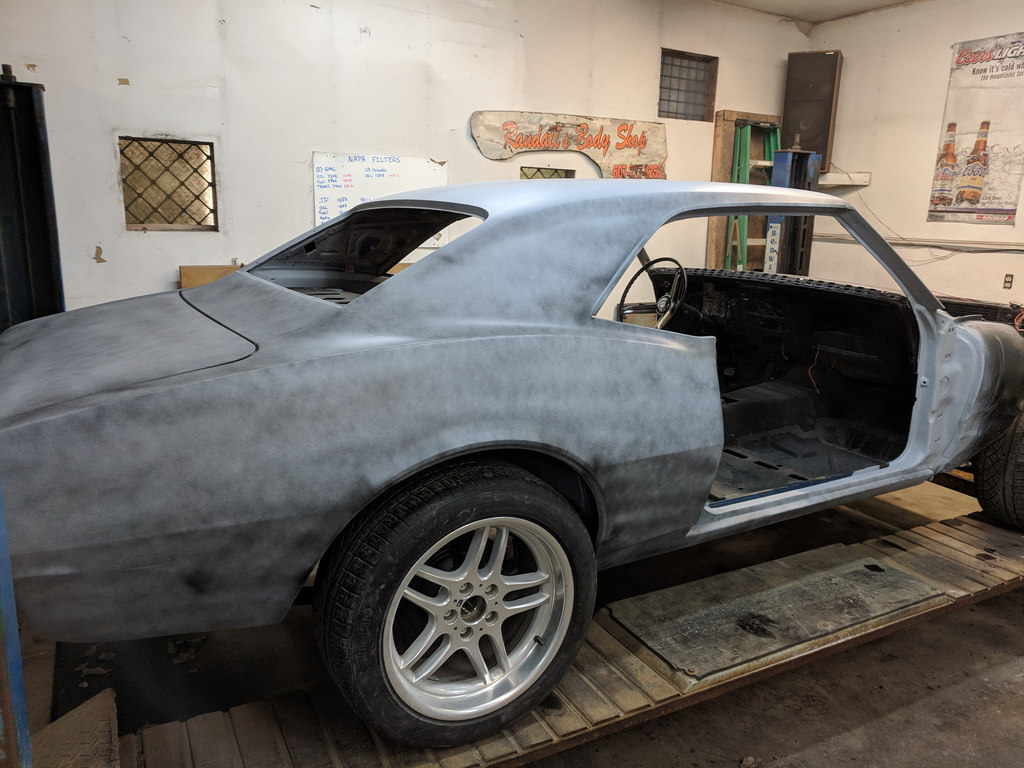
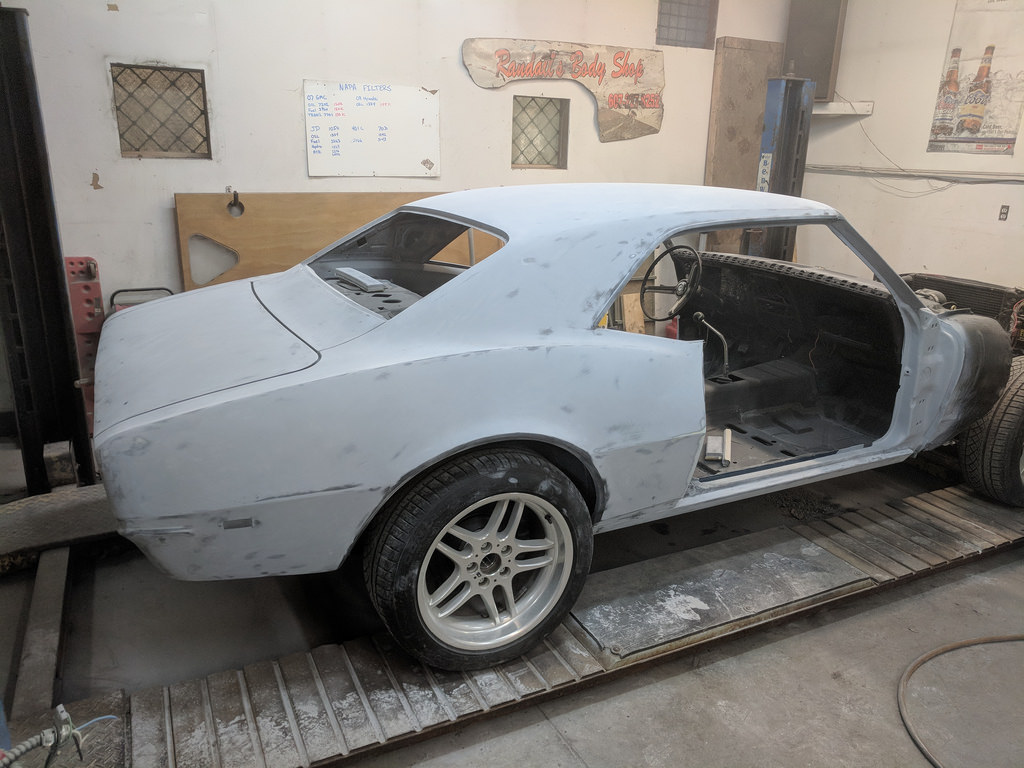
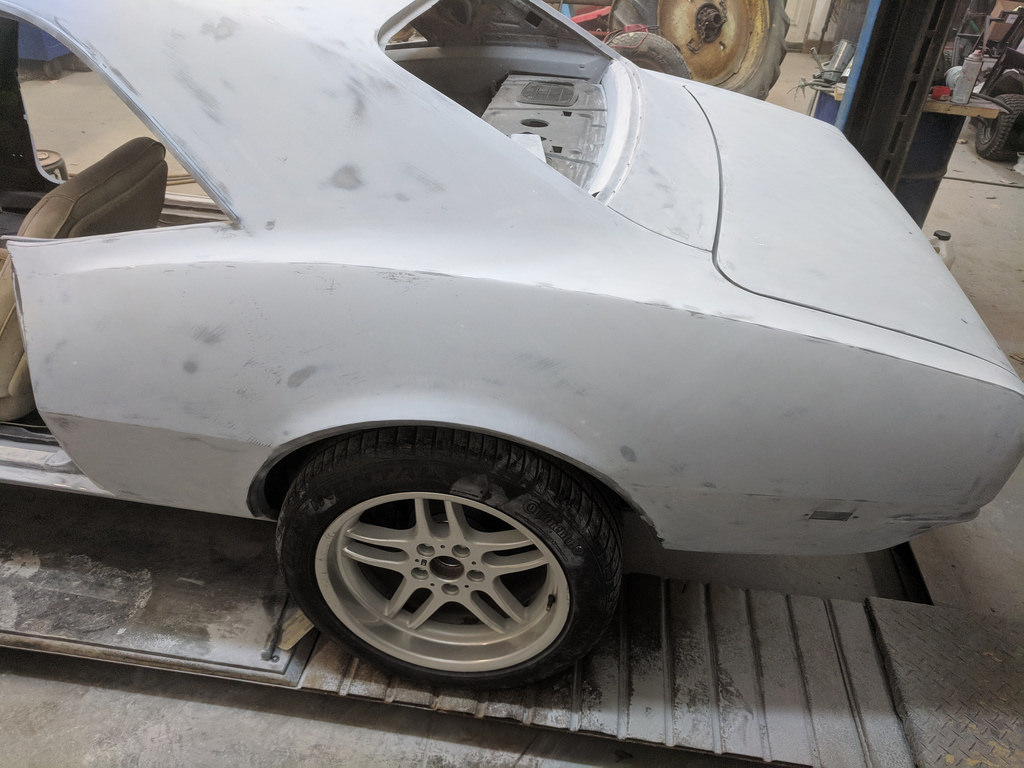
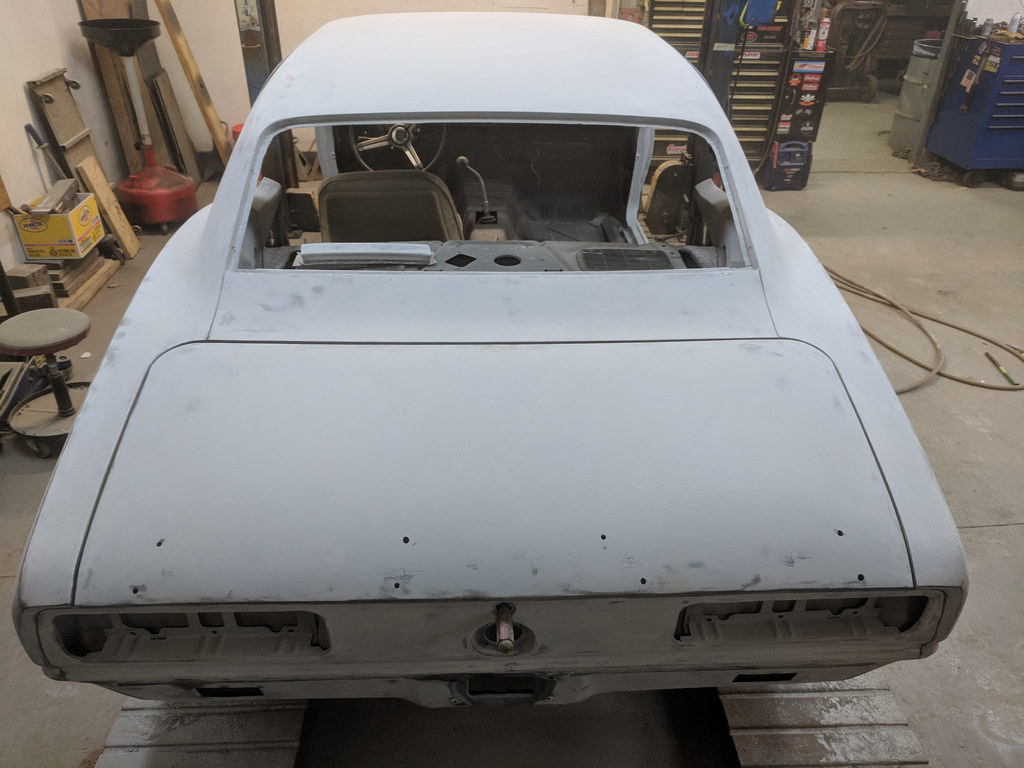
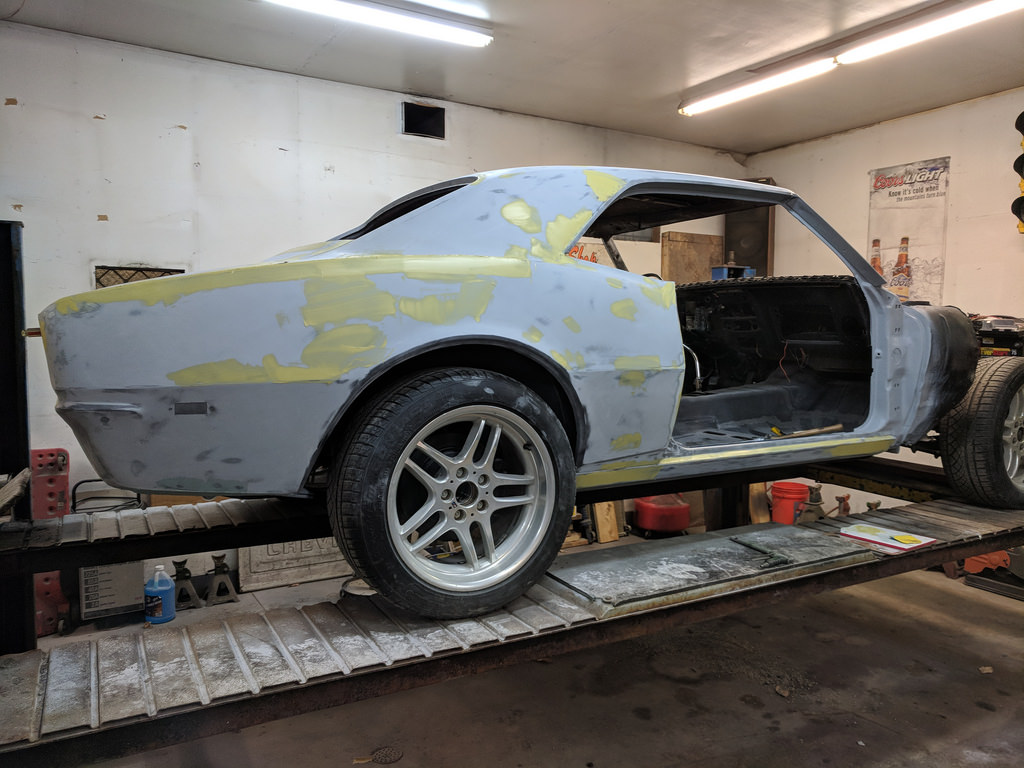
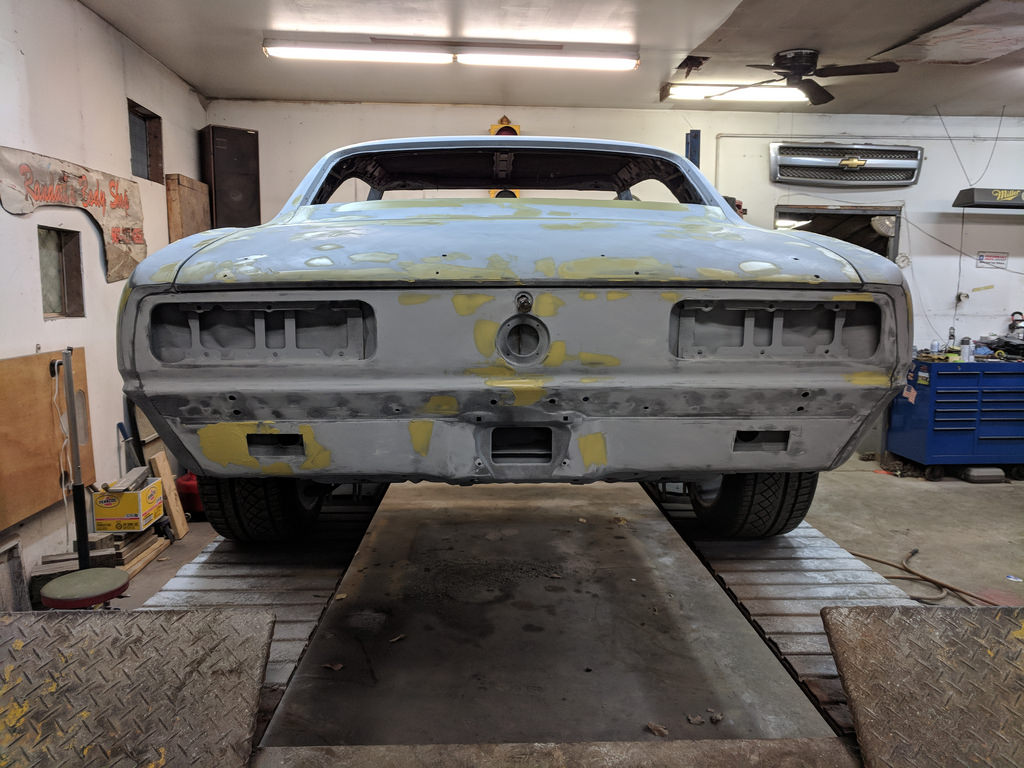
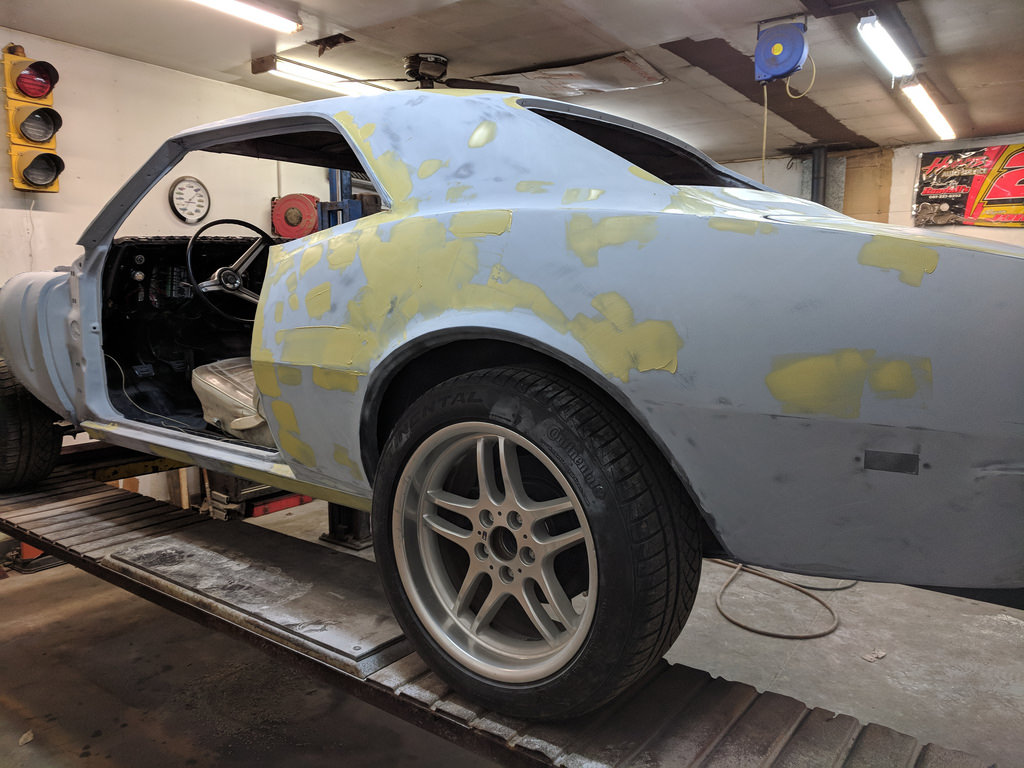
As I was getting close to wrapping it up for the day, I realized that I wasn't going to lay down the primer today. I was a little disappointed because I was really hoping to get the body in primer this weekend, but I also want it done right. I prepped all window channels, scuffed and feather in the door jambs, sanded all surfaces on the roof, both quarters, deck lid and tail panel. As it sits now, Wednesday night when I go back to work on it we will mask, final wax and grease removal and spraying some epoxy! Here is the car as it sits now.

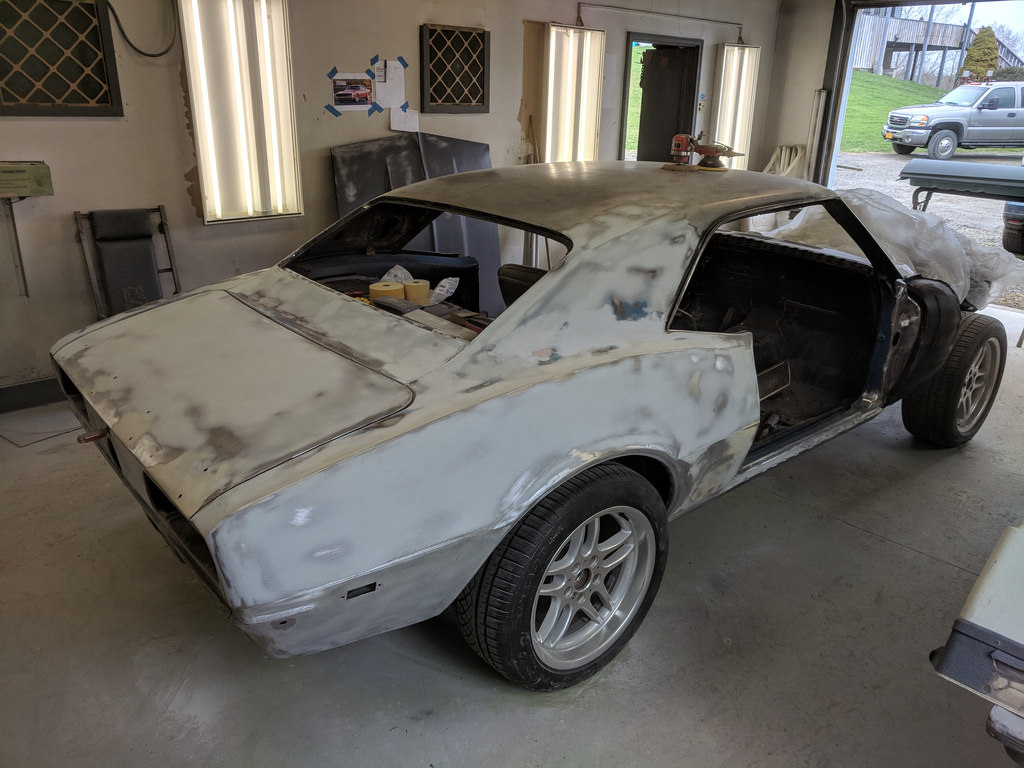
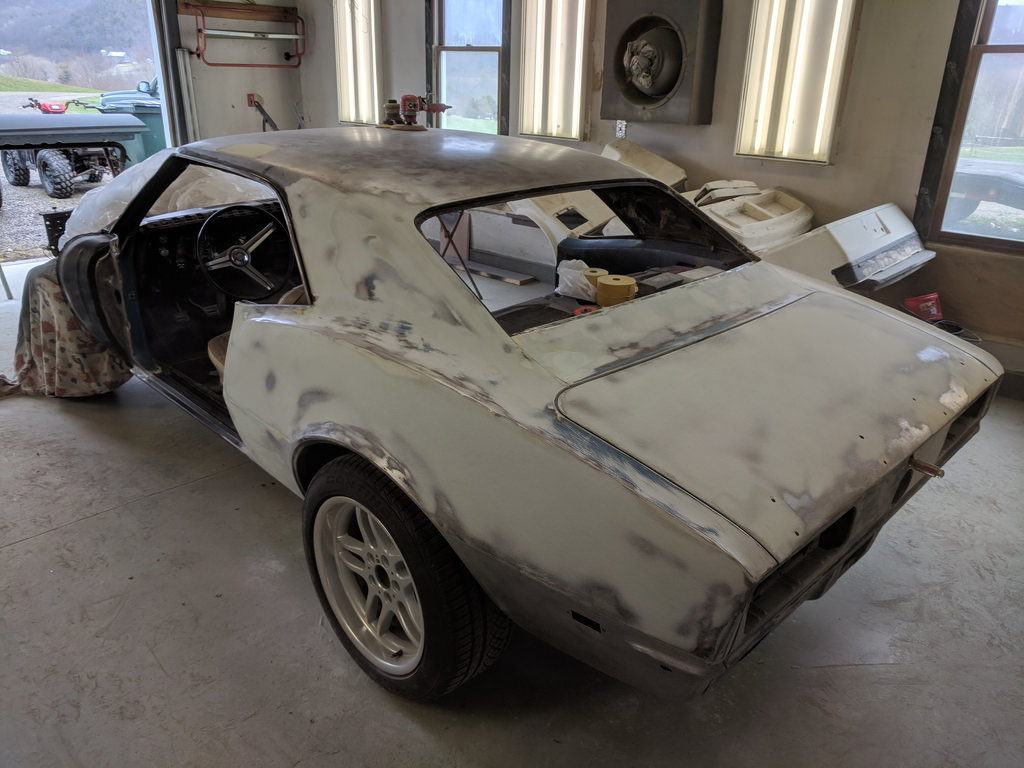
It's very cool knowing that the car is so close to the primer, but I fully realize that there are a ton of tiny imperfections that will need to be fixed before it's ready for the Torch Red and clear. Starting to see the light at the end of the tunnel so that is encouraging, but honestly I'm getting pretty burnt out. I underestimated the time-frame it was going to take to get it into color. I fully anticipated it coming home this weekend from paint. Lesson learned.
To change things up to something a little easier and much more fun, I helped my almost 3 year old do his first oil change! He always wants to help with whatever I'm doing. I told him that we had to wait to put new oil in until the old oil was done dripping out. So he proceeded to pull up a bucket and wait for it to stop dripping. 5 seconds later he was doing something else, but I loved this picture!

In other news, I am in the process of building up that LS1 shortblock that I just picked up and am about 95% sure that I will be swapping my 5.3 for it in the near future. I actually have to pull the motor and trans anyway as I have to swap out the truck oil pan and notch the frame. So, I'm thinking why do it twice? As I was looking through my parts stash, I realized that I actually have the majority of the parts that I can put together a pretty stout motor. Setup is going to be the LS1 shortblock, 799 heads, LS2 cam (same as the 02+ LS6 Cam) with the supporting mods like upgrade pushrods, and valve springs. Should essentially make myself a budget LS6 engine and should make around ~380 rwhp from reading similar setups. I am converting over to a front cam sensor so I can run the LS2 cam if anyone is wondering about that. More on that build to come.
Cheers,
Ryan
1955 Nomad project LC9, 4L80e, C5 brakes, Vision wheels
1968 Camaro 6.2 w/ LSA, TR6060-Magnum hybrid and etc SOLD
1976 T/A LS1 6 Speed, and etc. SOLD
Follow me on Instagram: ryeguy2006a
-
04-30-2018 #302 Registered User
- Join Date
- Mar 2010
- Location
- Rochester NY
- Posts
- 404
coming along nice
Don
Grace - 67 Camaro daily driver with upgrades along the way.
https://www.pro-touring.com/showthre...-Camaro-Driver
04-30-2018 #303
Registered User
- Join Date
- Aug 2014
- Posts
- 435
Great to see it getting close. Do you remind yourself "You aren't building a show car?" Or is that just me? lol Or, are you building a show car? lol
Can't wait to see it in color!
Jay
05-01-2018 #304
Registered User
- Join Date
- Sep 2009
- Posts
- 2,709
Thanks Don.
Jay, I'm constantly keeping myself in check because I'm constantly thinking of new things I want to do to the car. It's definitely not going to be a SEMA build or anything, just hoping for a paint job that can show decent if I go to a cruise in or some local car shows. Mostly I just want to drive it at this point!
1955 Nomad project LC9, 4L80e, C5 brakes, Vision wheels
1968 Camaro 6.2 w/ LSA, TR6060-Magnum hybrid and etc SOLD
1976 T/A LS1 6 Speed, and etc. SOLD
Follow me on Instagram: ryeguy2006a
05-03-2018 #305
Registered User
- Join Date
- Sep 2009
- Posts
- 2,709
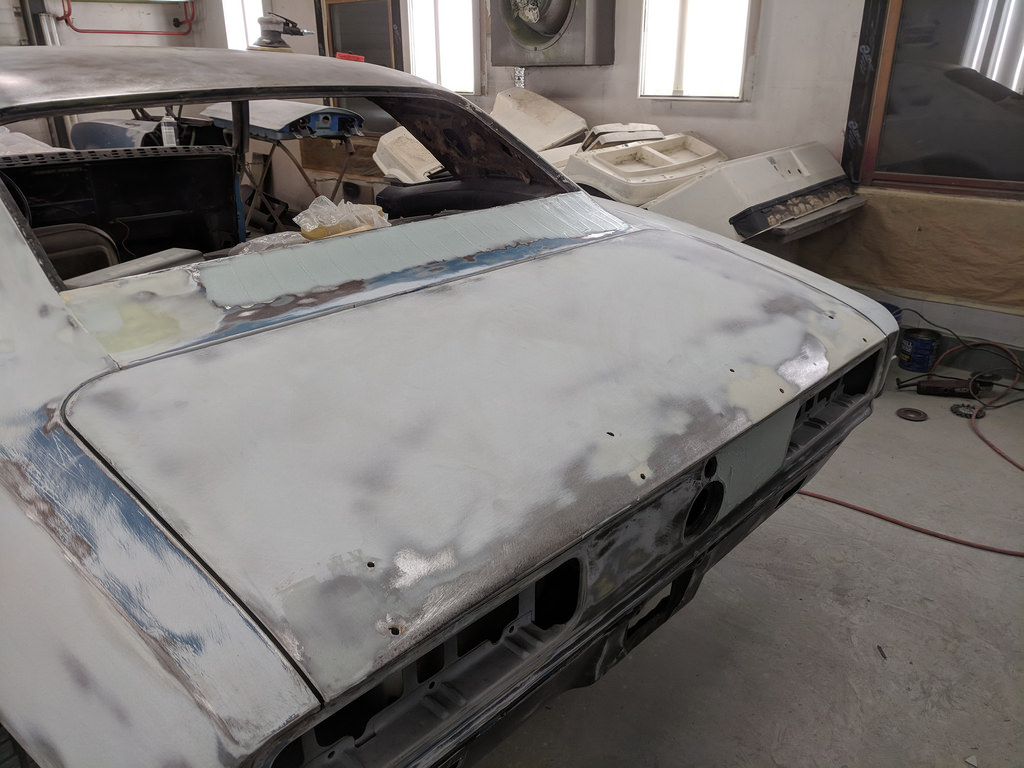
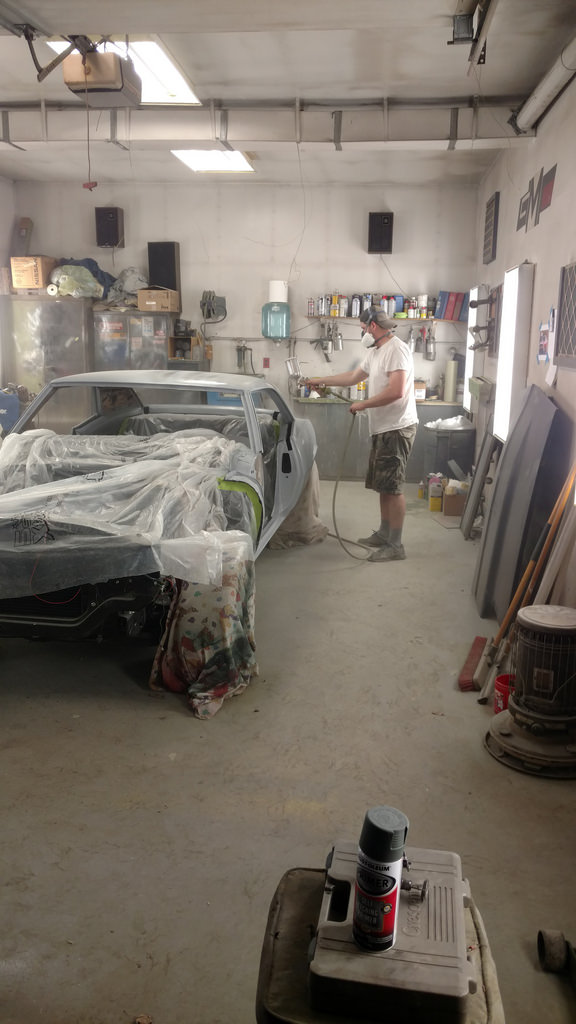
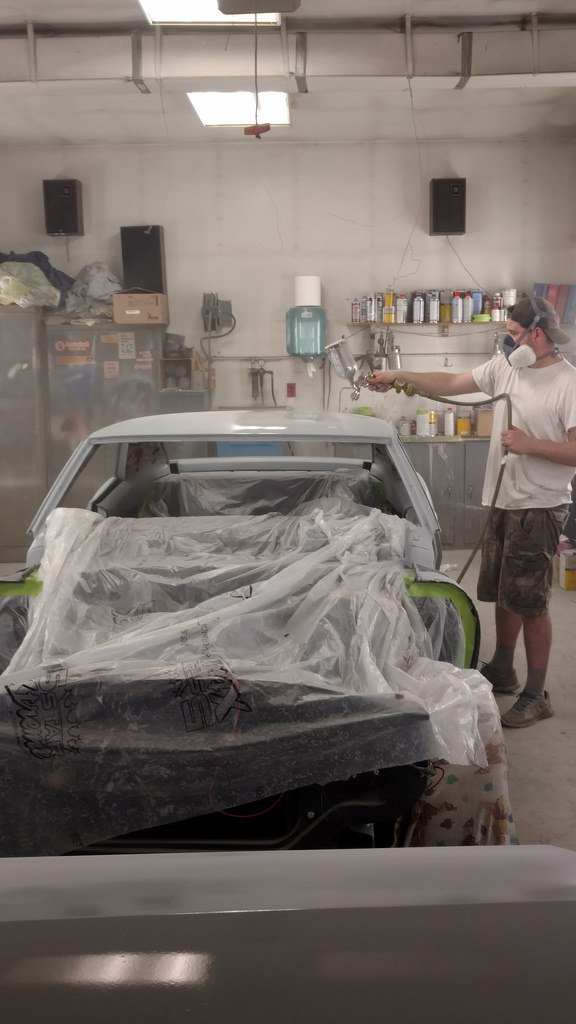
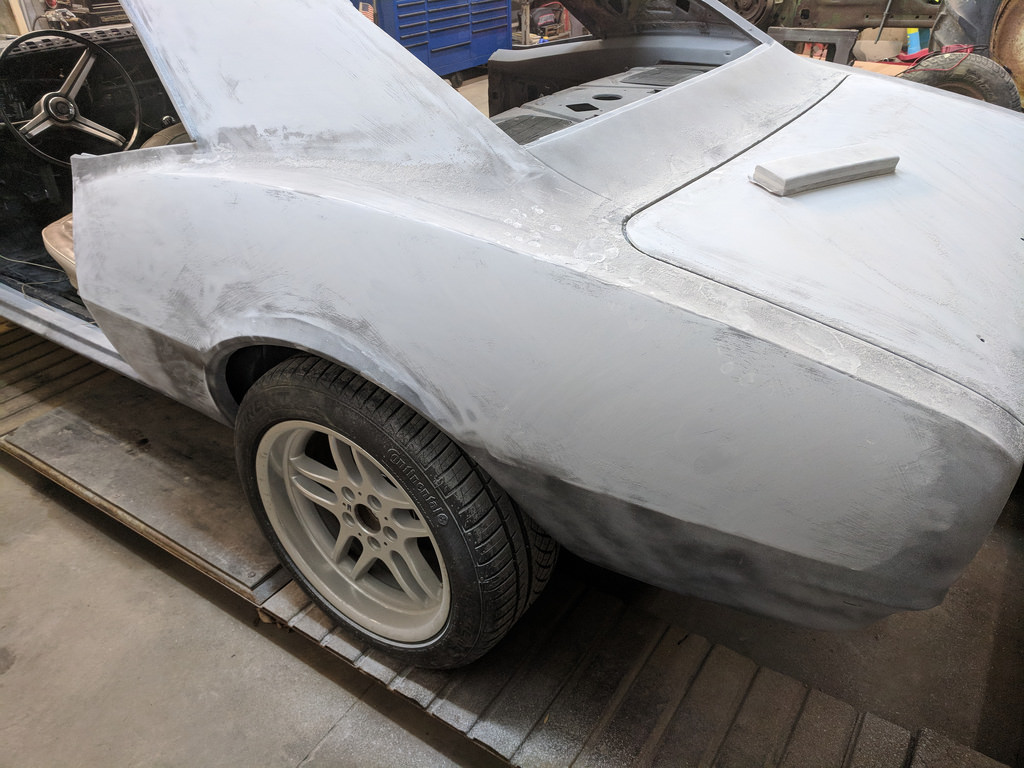
Huge milestone update for me for several reasons. I went to my buddies house last night and we finally got the car into primer! When I got there there was still several area's that needed attention and once those were addressed, we got right to work. I ran over the whole car with 180 grit and a red scotch brite pad then followed up with some wax and grease remover. My buddy mixed up the primer, got the gun set-up and did a few test panels, then gave me a few pointers and said "Here you go, do your thing!"
Here's the car all taped up and masked off.
Then after the first coat of epoxy primer.
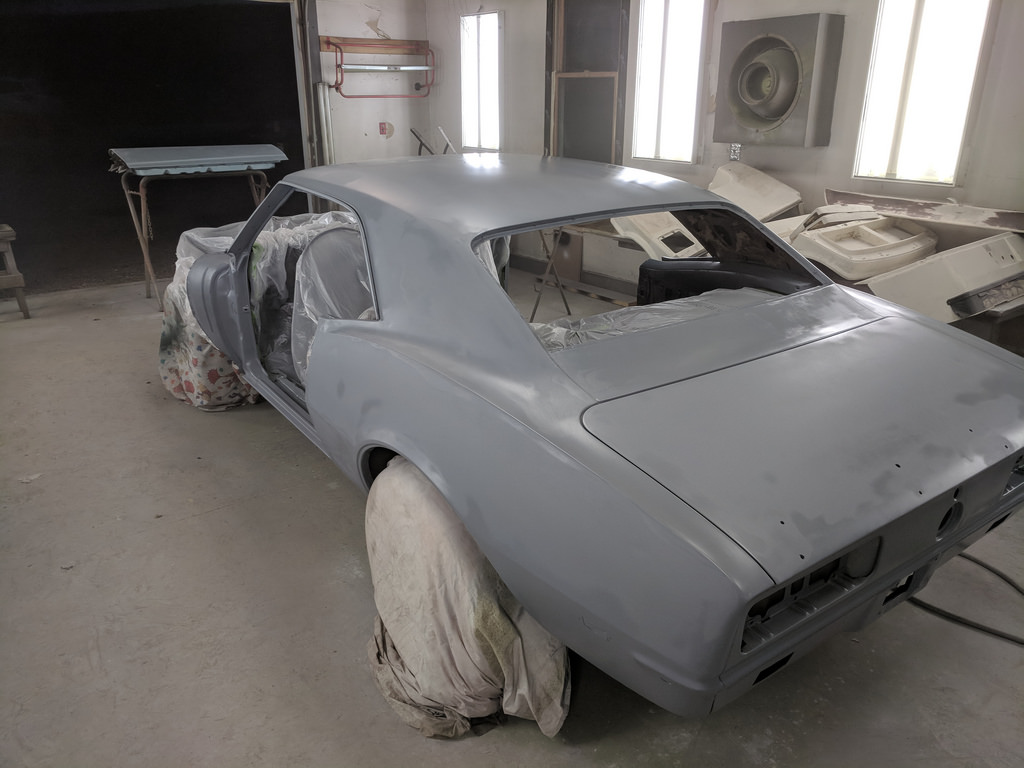
After that we followed-up with one more coat of the epoxy primer. Once that flashed I sprayed on three more coats of the 2k primer. I was into a groove and didn't really notice until I finished up with the third coat that it was all one solid color!

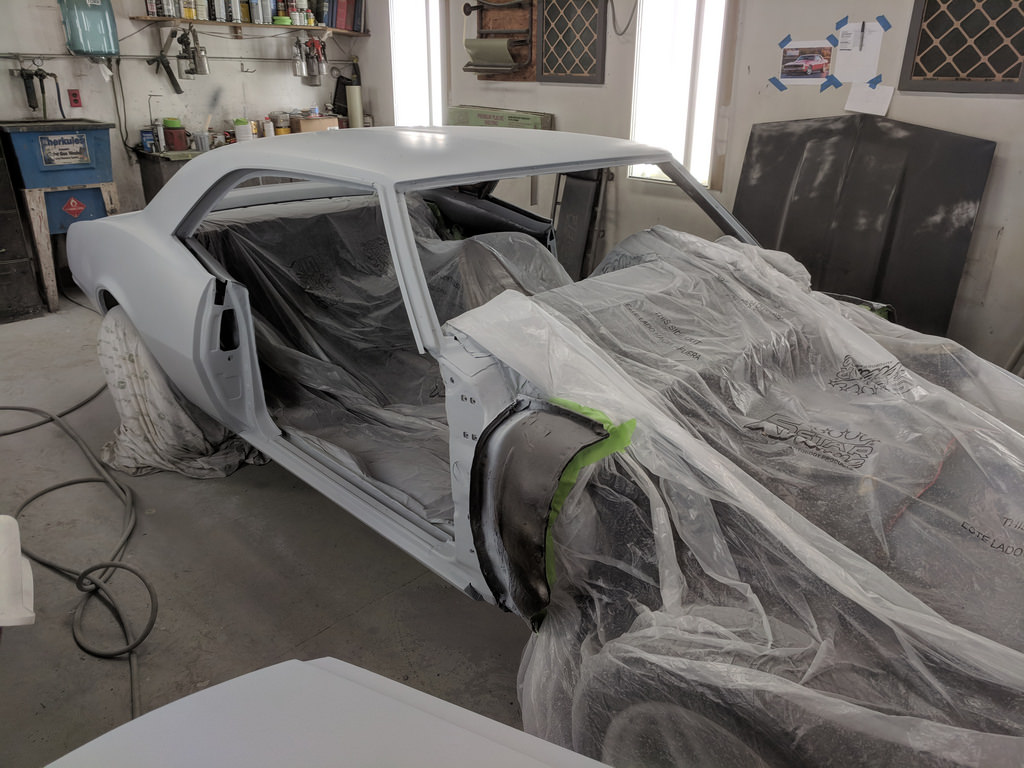
We also hit the doors with 180 on the DA and sprayed those with just the 3 coats of the 2k primer. He didn't feel we needed to use the epoxy on the doors since they already had a good base of the previous color.
After the fumes cleared out we went in and I couldn't stop looking at it. For one it was all one color and the body was looking really good to me, and for two I was the one that sprayed down 95% of it! Yesterday was a great day for me in several ways. I'm looking forward to blocking it out and taking it to the next stage which is paint!
My buddy sent me some action shots of me too.
Cheers,
Ryan
1955 Nomad project LC9, 4L80e, C5 brakes, Vision wheels
1968 Camaro 6.2 w/ LSA, TR6060-Magnum hybrid and etc SOLD
1976 T/A LS1 6 Speed, and etc. SOLD
Follow me on Instagram: ryeguy2006a
05-03-2018 #306 Registered User
- Join Date
- Sep 2004
- Location
- DFW, Texas
- Posts
- 217
Congrats!
My thoughts and ramblings while working on my motor driven menagerie http://mechanicdude.blogspot.com/
05-03-2018 #307 Registered User
- Join Date
- Aug 2017
- Location
- SC
- Posts
- 48
Awesome Ryan, looks good!
Daniel
05-03-2018 #308
Registered User
- Join Date
- Sep 2015
- Posts
- 13
Coming along really well ... Great progress
05-03-2018 #309 Registered User
- Join Date
- Feb 2016
- Location
- SoCal
- Posts
- 475
Awesome! Time to change your sig pic now.
1970 VW Bug - Just your average mid engine Bug
Track toy - 06 Evo - E85 and lots of boost
Newest track toy - 2021 Supra
05-04-2018 #310
Registered User
- Join Date
- Aug 2014
- Posts
- 435
Awesome job! Looks great!
Jay
05-04-2018 #311
Registered User
- Join Date
- Sep 2009
- Posts
- 2,709
Thanks for all of the support guys! Really looking forward to seeing that Torch Red paint! I think I'll wait to change my sig picture until after it's red

1955 Nomad project LC9, 4L80e, C5 brakes, Vision wheels
1968 Camaro 6.2 w/ LSA, TR6060-Magnum hybrid and etc SOLD
1976 T/A LS1 6 Speed, and etc. SOLD
Follow me on Instagram: ryeguy2006a
05-07-2018 #312
Registered User
- Join Date
- Sep 2009
- Posts
- 2,709
I have been trying to make steady progress on the car, but the yard work is starting to pile up as well as that feeling of being burnt out from the project. I'm trying to stay focused on the light at the end of the tunnel and seeing the car in final color! My friend Randy (who's letting me paint the car at his body shop) said that the car is looking pretty good and we should have the car painted in about 2 weeks if we keep up this pace. So that's what I'm trying to target.
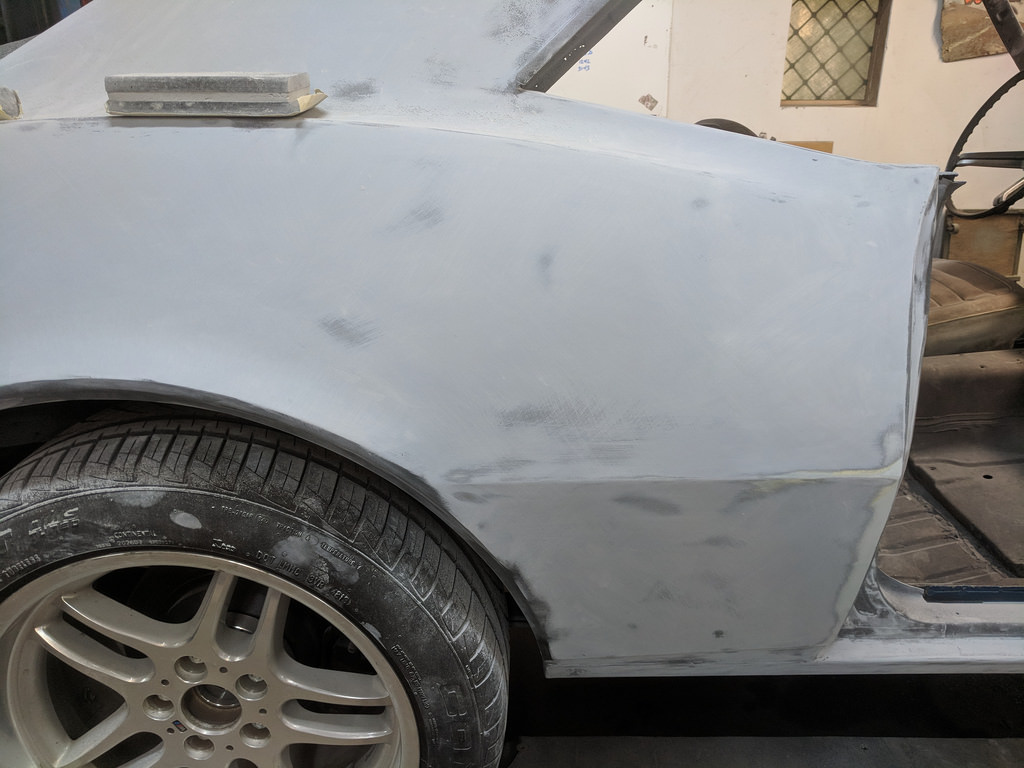
I started by putting a skim coat on the passenger fender on Friday night. After watching Randy do it a few times, I decided to give it a try. Surprisingly enough, it turned out pretty good and only needed one more small coat where the wheel lip was. I then added an icing coat to fill in some of the pinholes.

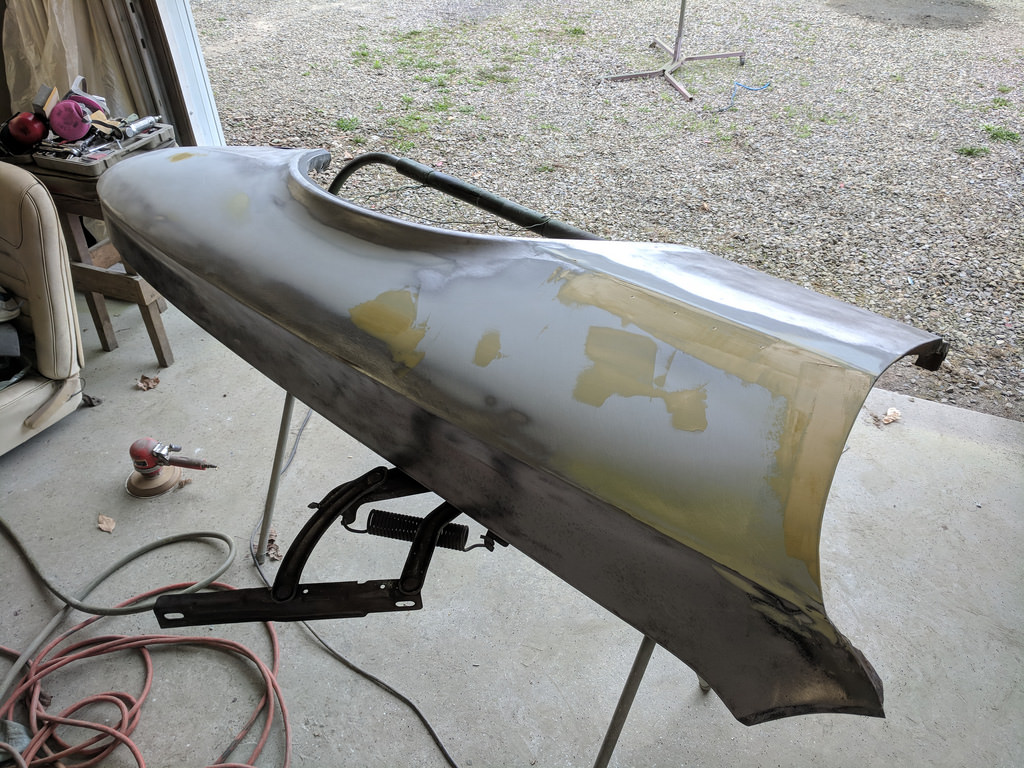
Then I started to look over the other body panels to see what needed to be addressed. I knew that the cowl pieced needed some cleanup as there were some rusty areas on it so I started with that. I broke out the bead blaster and cleaned up some of the areas behind the grill openings where I really couldn't get with sandpaper easily. It turned out really great, although I noticed afterwards that I may have warped 2-3 of them just slightly. I think I will just need to tap them down slightly with a body hammer though. Should be a simple fix.

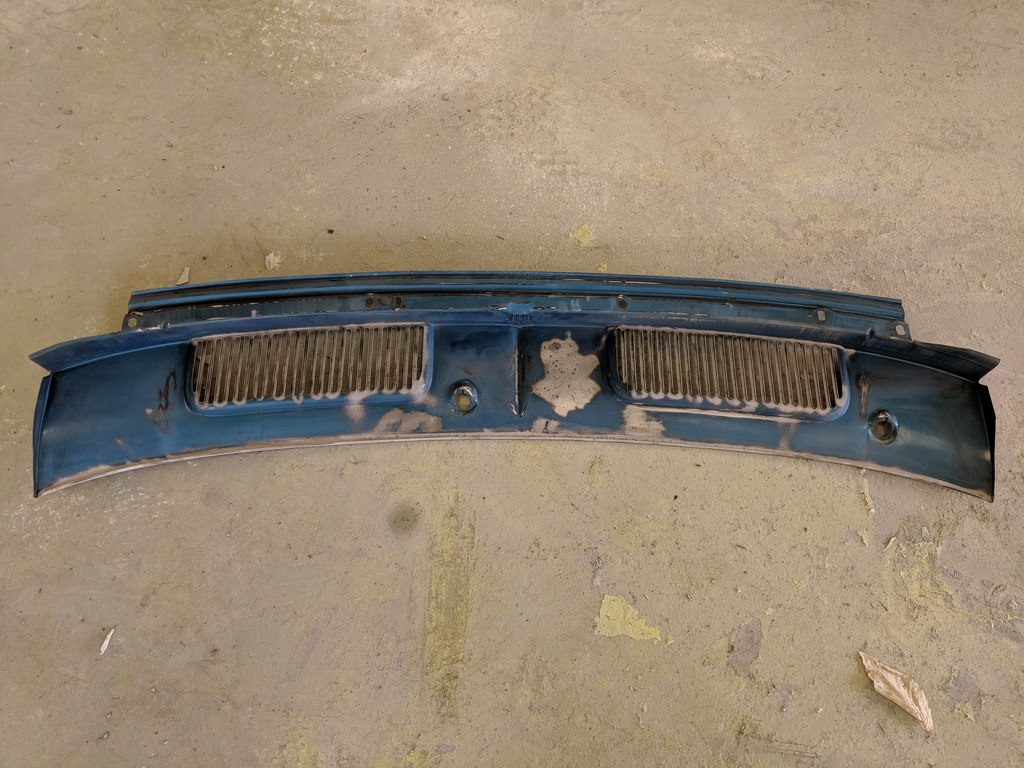
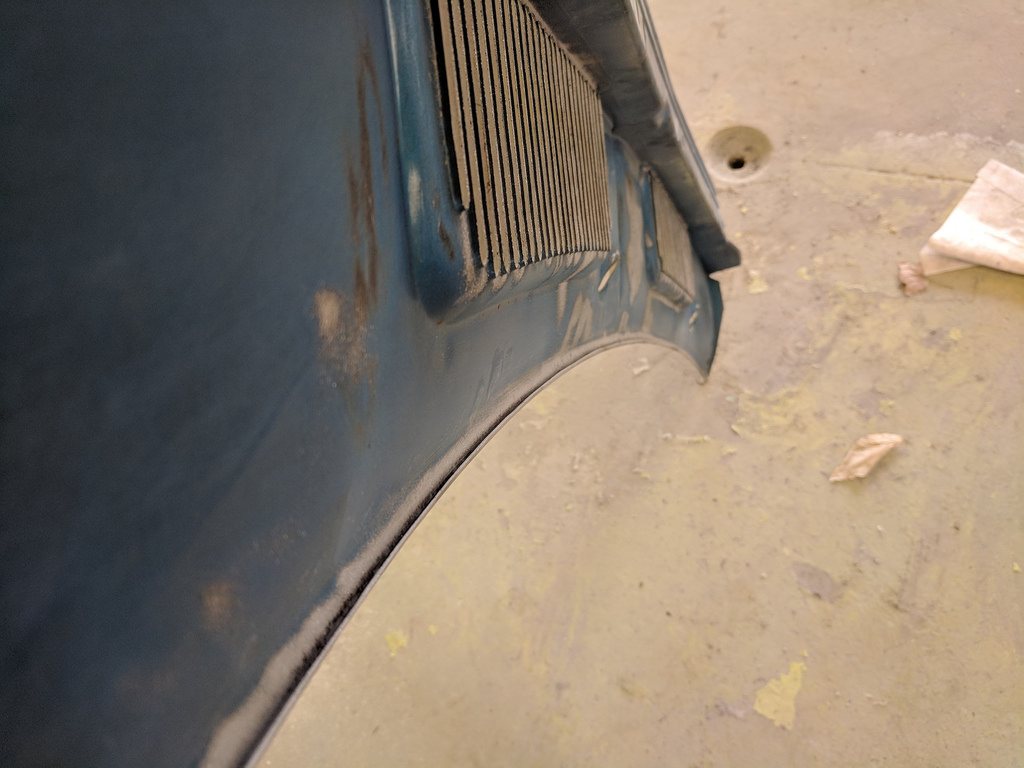
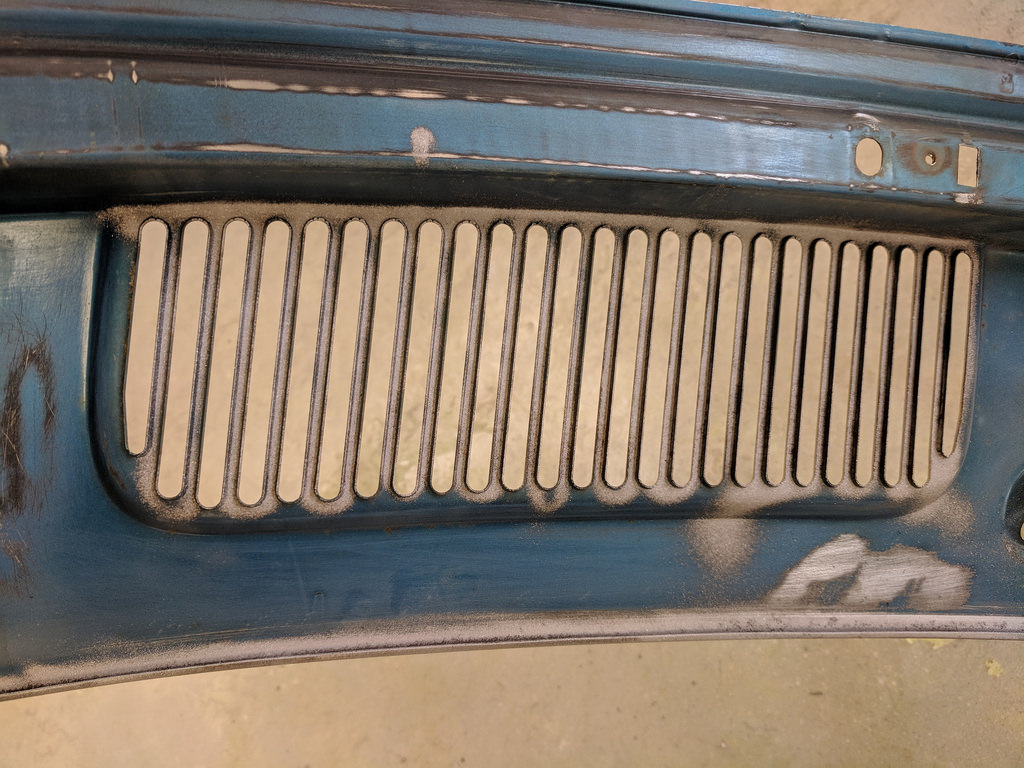
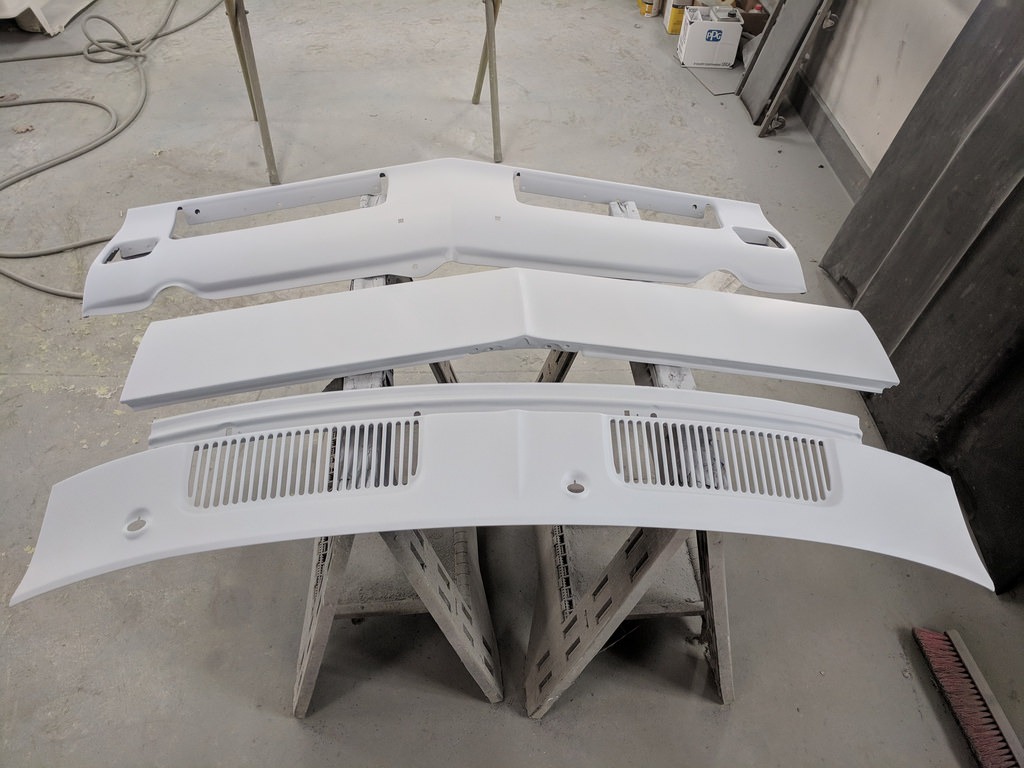
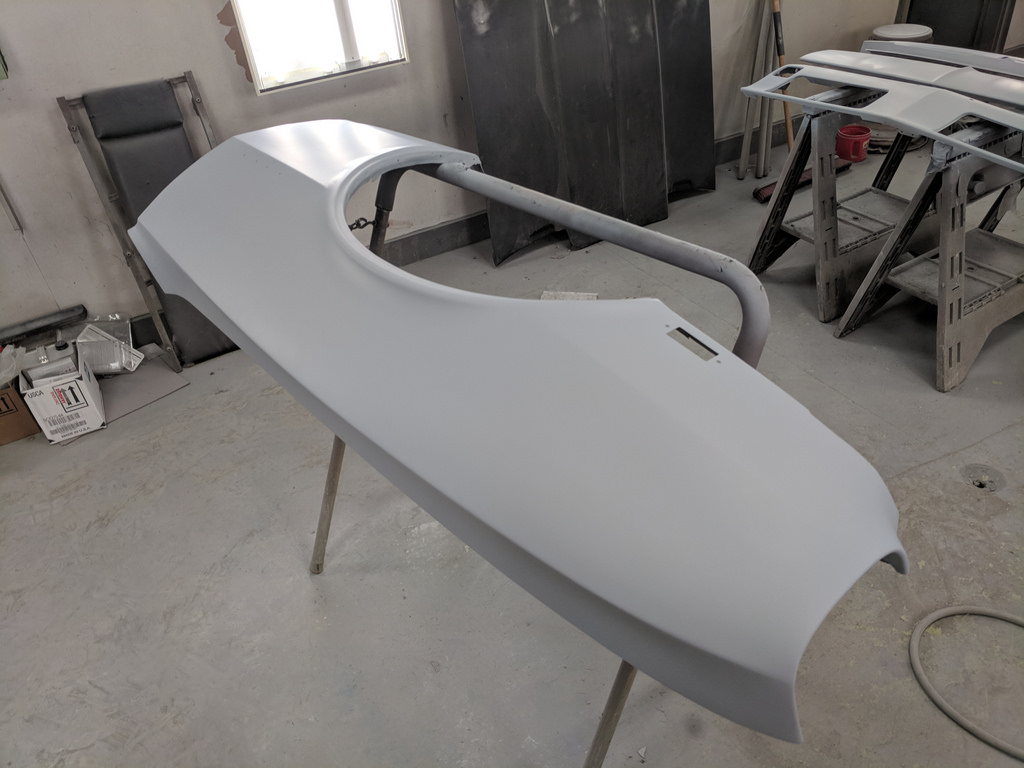
Should be all ready for some epoxy primer now. Then I put some of the extra icing I had on the stamping marks left on the lower valance panel. Otherwise, the upper and lower panels are good to go. Just need to scuff and prime.
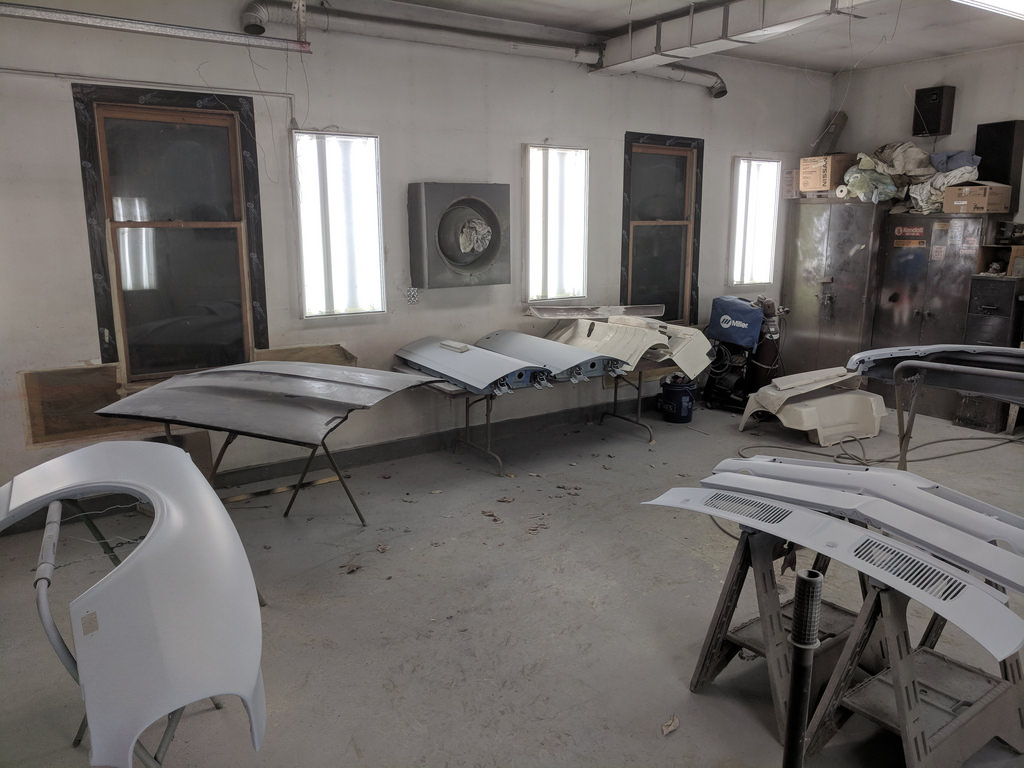
All the body panels are now prepped and ready to shoot epoxy and 2k next time I work on the car. Then we should be able to focus on block sanding and getting all the panels ready for round two of 2k priming.
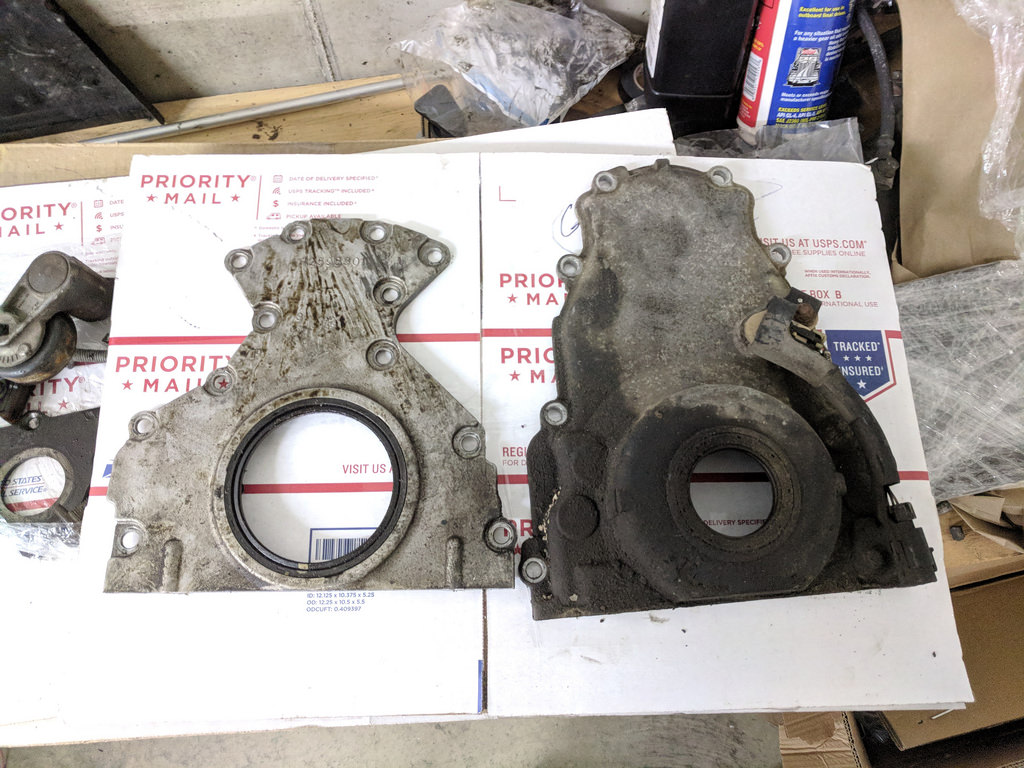
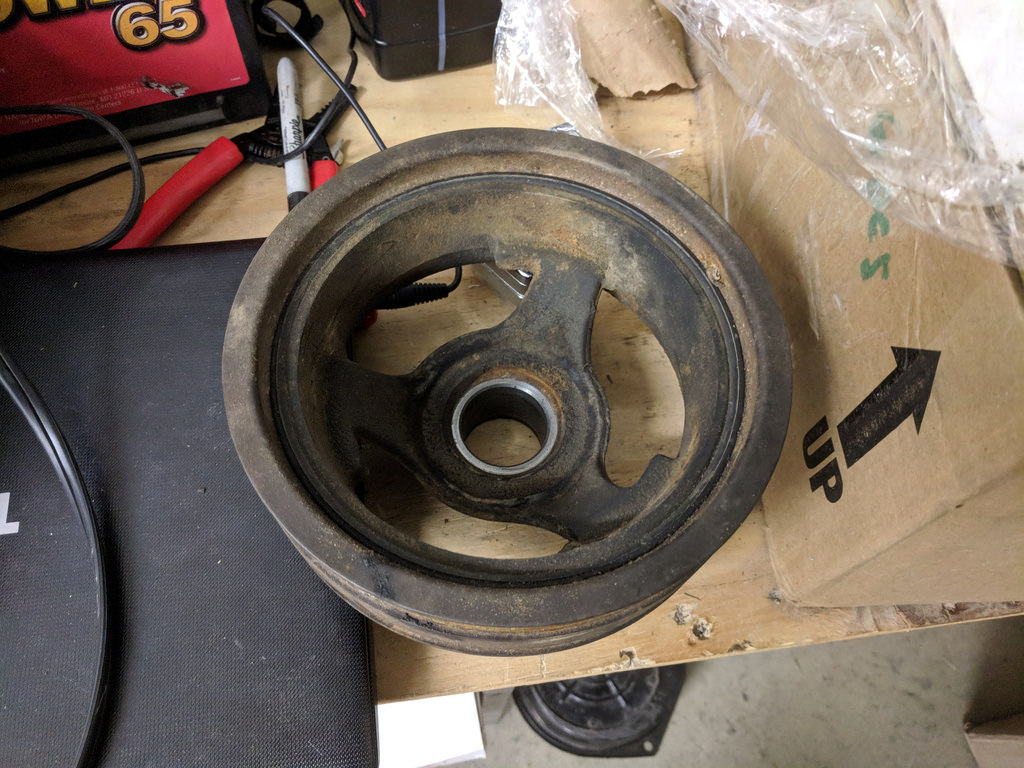
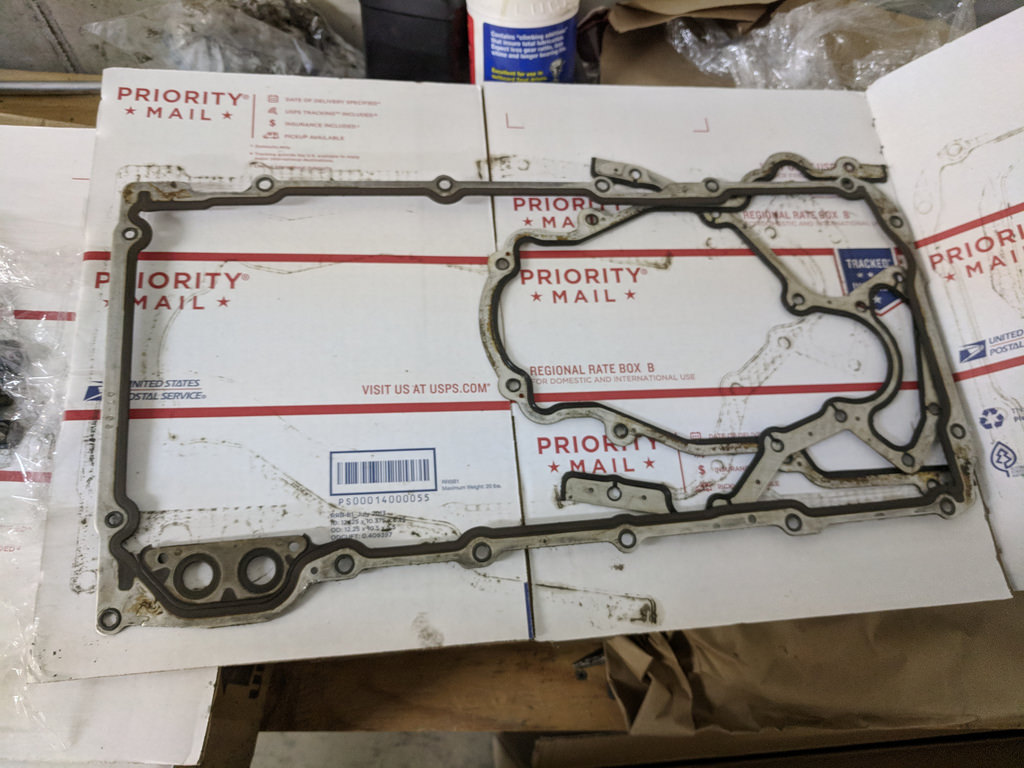
I bought a few parts to get that LS1 shortblock I bought a few weeks ago back together. I picked up an LS2 cam and 1x cam sprocket a long time ago, but still needed a Gen4 timing cover with front cam sensor to complete the swap. Since I needed a timing cover for the motor anyway, I figured it was a good opportunity to convert it over so I could use that cam. The guy I bought the cover from also gave me all of the bolts, covers, truck balancer, re-usable gaskets, and extras for me to put together a complete engine. At this point, I only need a new valley cover gasket, new front and rear crank seals and an ARP crank bolt to have a complete long block. If I decide to swap my 5.3, I will re-use the loaded intake and accessories, then sell the 5.3.

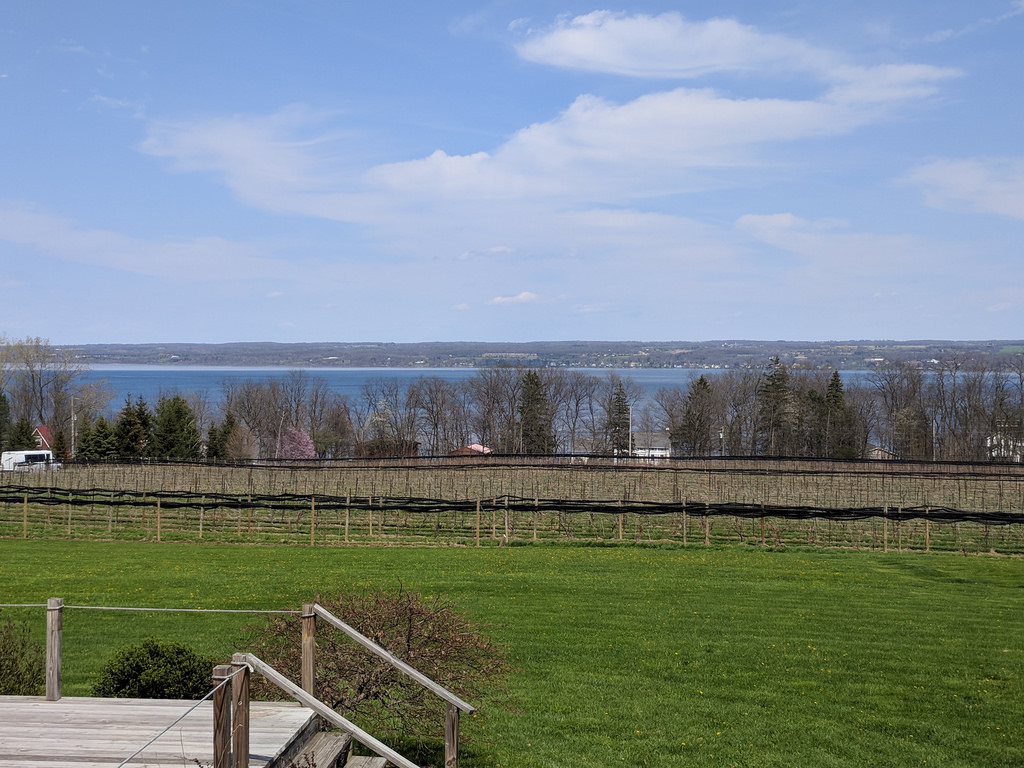
And lastly, I took a break this Saturday and went on a self-guided wine tour. We we went with my sister-in-laws and their boyfriends and had a great time. We couldn't have asked for a better day as it was sunny and 70's. It was great to spend time with her and get out and enjoy the weather. We live in the Finger Lakes region of NY and sometimes take it for granted that we have roughly 40 winery's in about an hours drive from our house, and they all have amazing views just like this.
Cheers,
Ryan
1955 Nomad project LC9, 4L80e, C5 brakes, Vision wheels
1968 Camaro 6.2 w/ LSA, TR6060-Magnum hybrid and etc SOLD
1976 T/A LS1 6 Speed, and etc. SOLD
Follow me on Instagram: ryeguy2006a
05-07-2018 #313
Registered User
- Join Date
- Sep 2009
- Posts
- 2,709
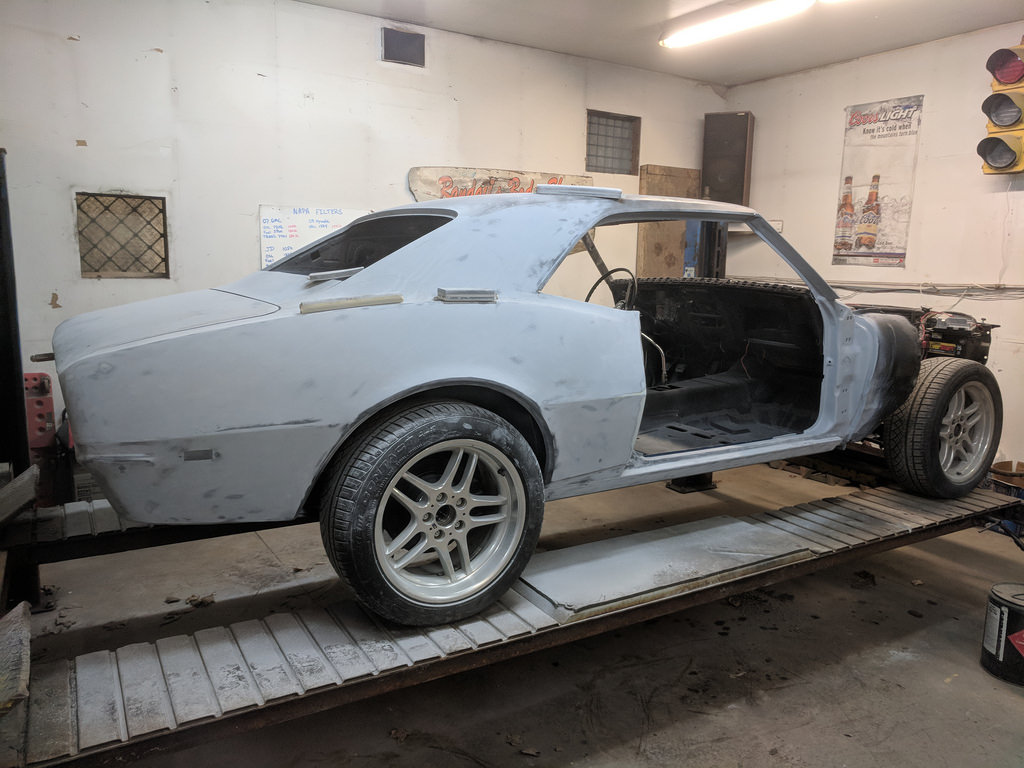
I forgot to add a few pictures of the car on the lift and getting ready to block sand and do some finishing touches on the rockers and lower body. All sprayed with the guide coat, and just waiting for someone to sand it.
1955 Nomad project LC9, 4L80e, C5 brakes, Vision wheels
1968 Camaro 6.2 w/ LSA, TR6060-Magnum hybrid and etc SOLD
1976 T/A LS1 6 Speed, and etc. SOLD
Follow me on Instagram: ryeguy2006a
05-10-2018 #314
Registered User
- Join Date
- Sep 2009
- Posts
- 2,709
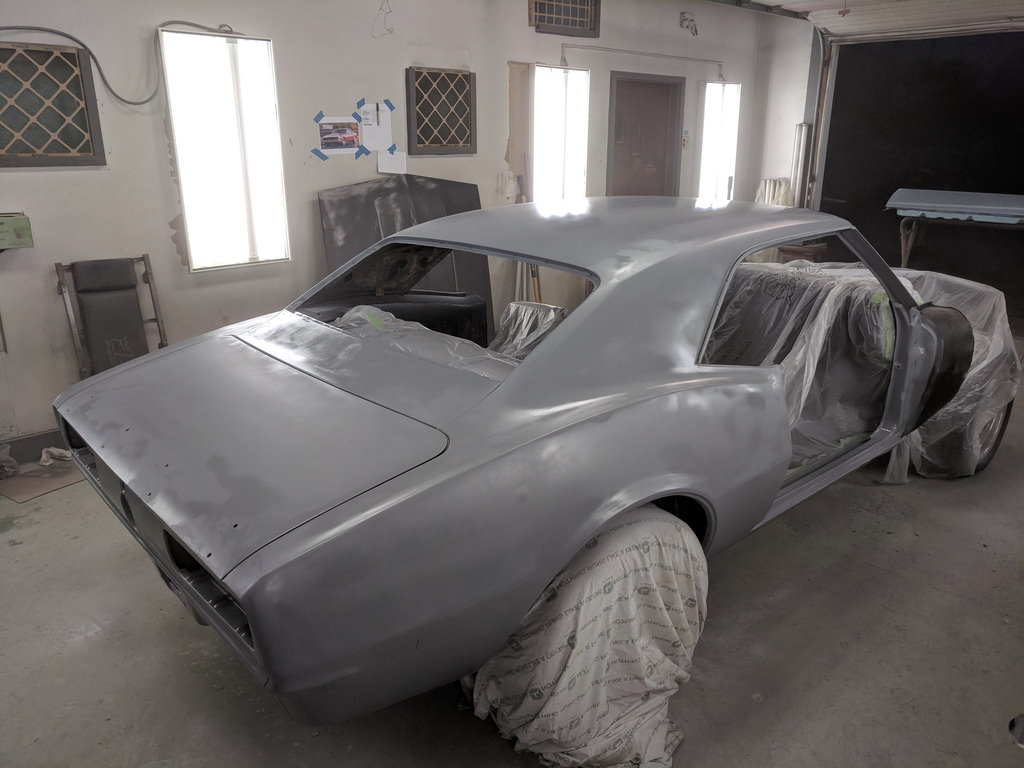
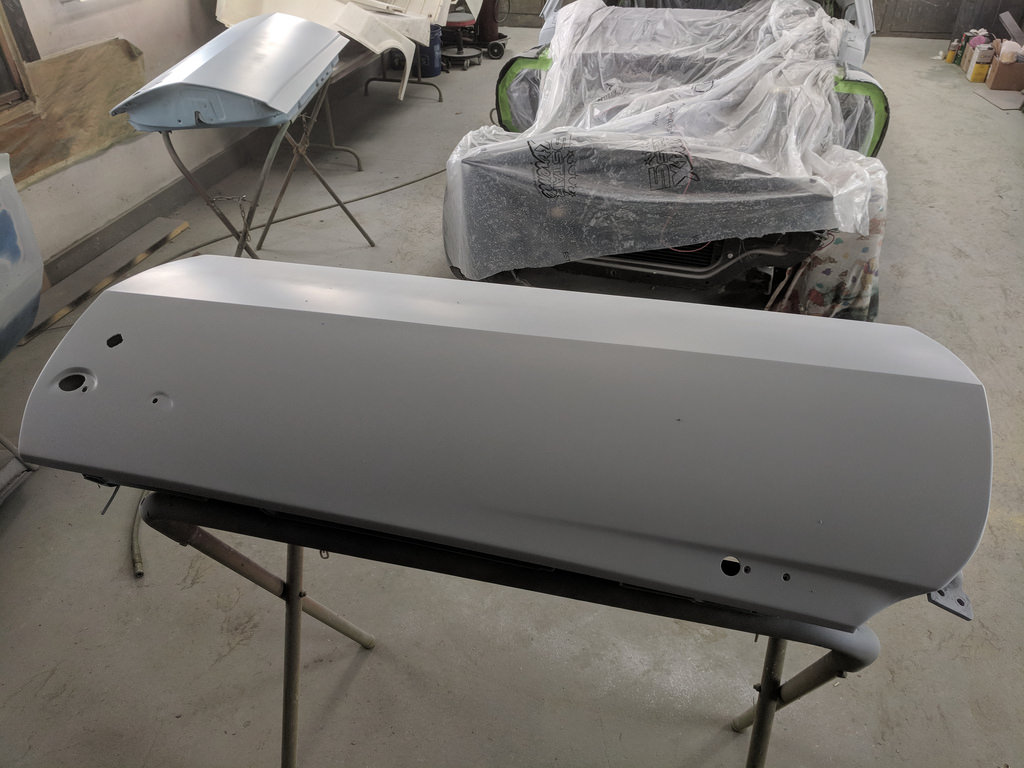
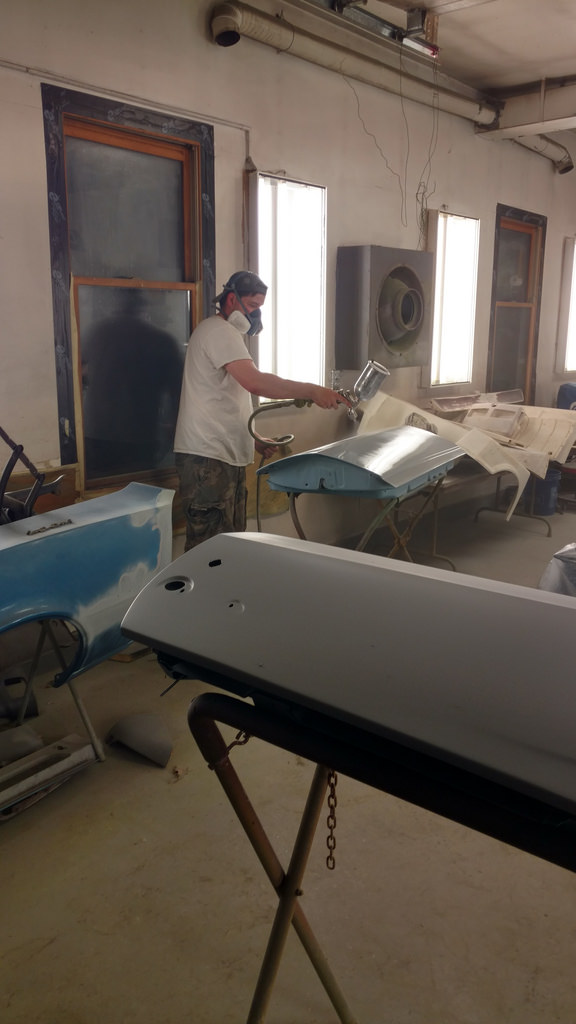
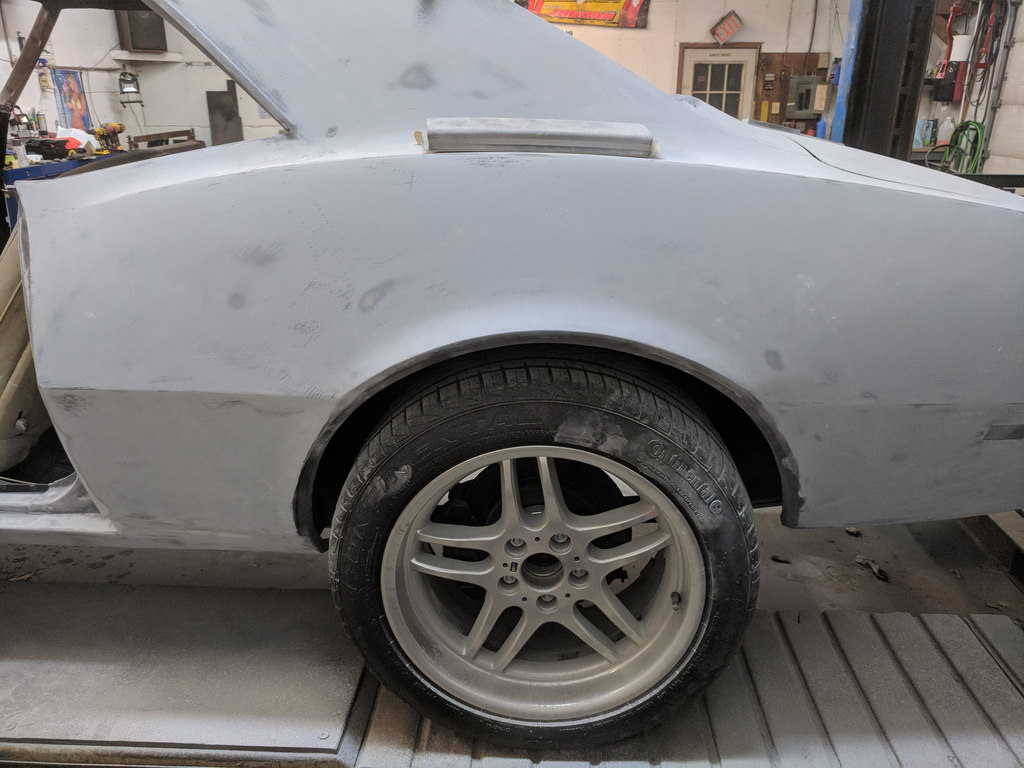
I was very happy with the progress from last night. I finally got the cowl panel and fenders to a point that I could spray on the epoxy primer. I also scuffed up the upper and lower valance panels, and I used the same process of 2 coats epoxy and 3 coats of 2K primer. Initially I could see some small imperfections when spraying the fenders, but they slowly went away and some even disappeared.
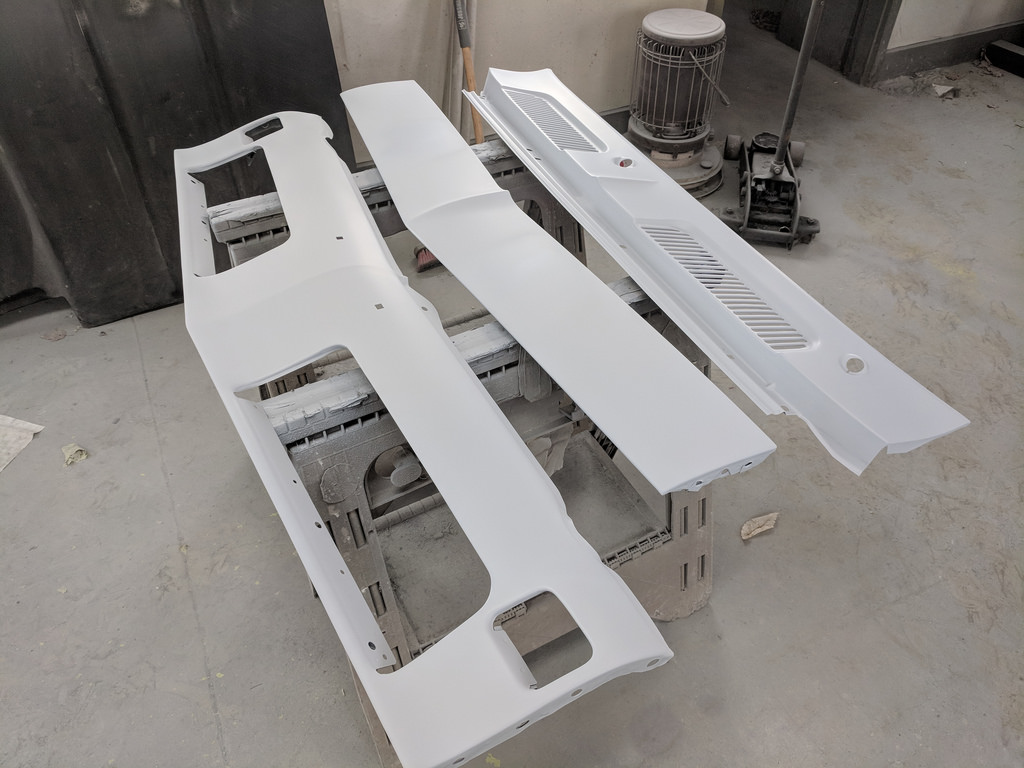

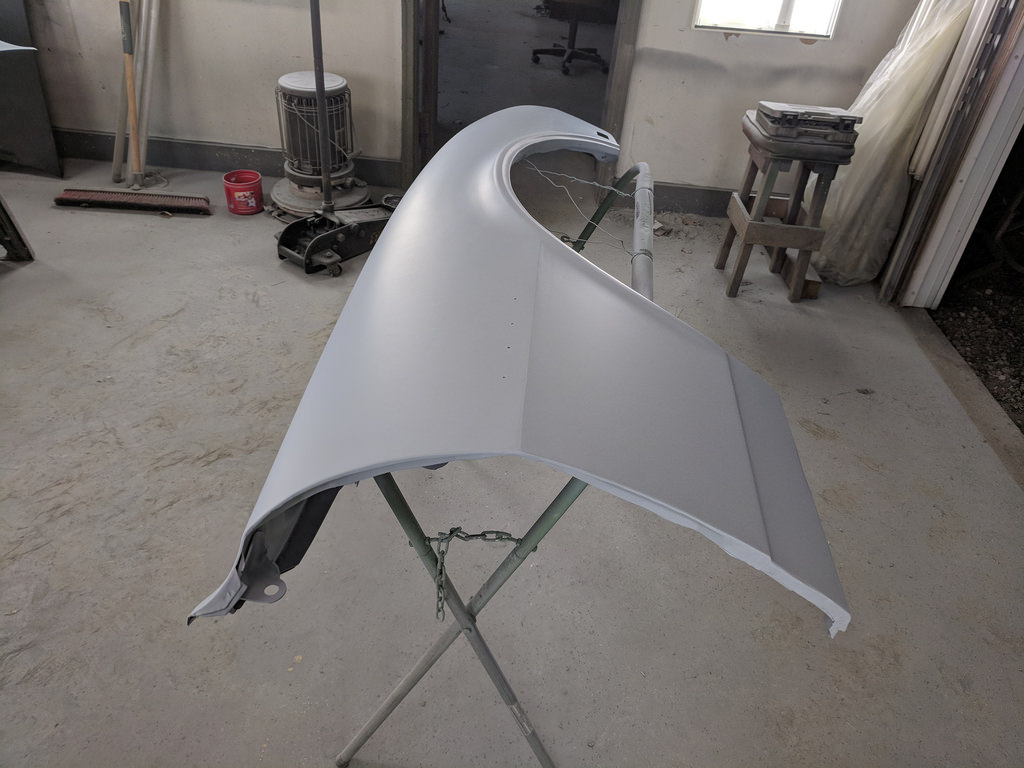
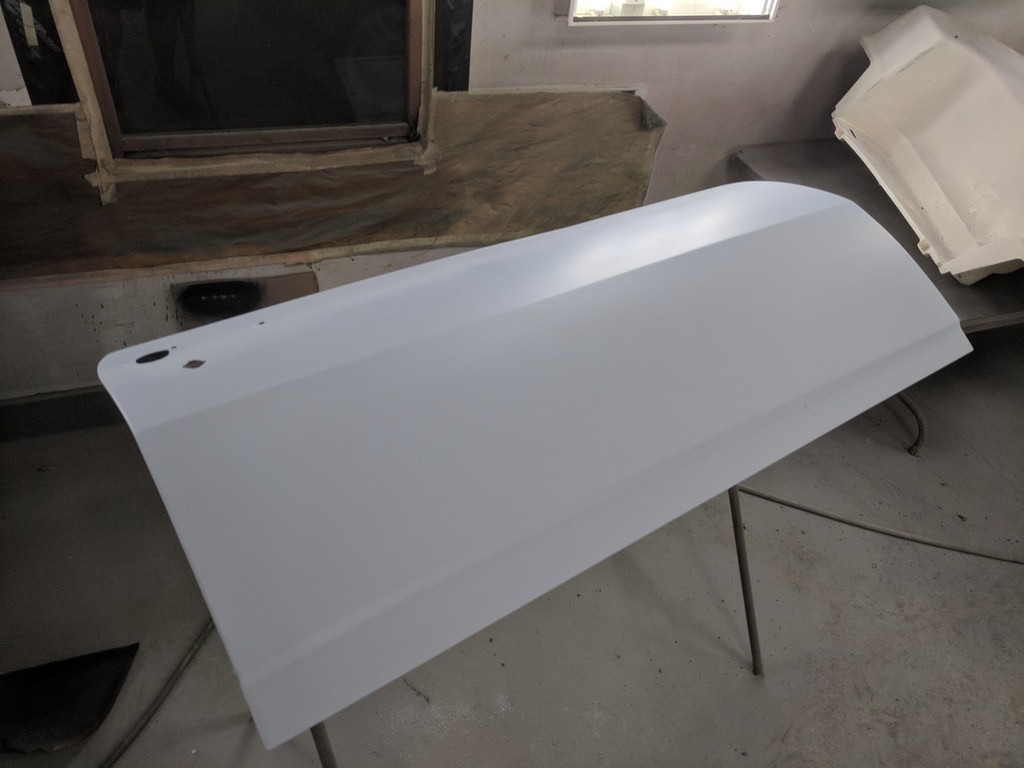
And all the panels that are ready for some guide coat and block sand. I still need to pull the door hinges, bead blast the driver's side, install the rollers/springs and epoxy/2k. The only other panels left are the hood and the lower fender extensions. Getting close now.
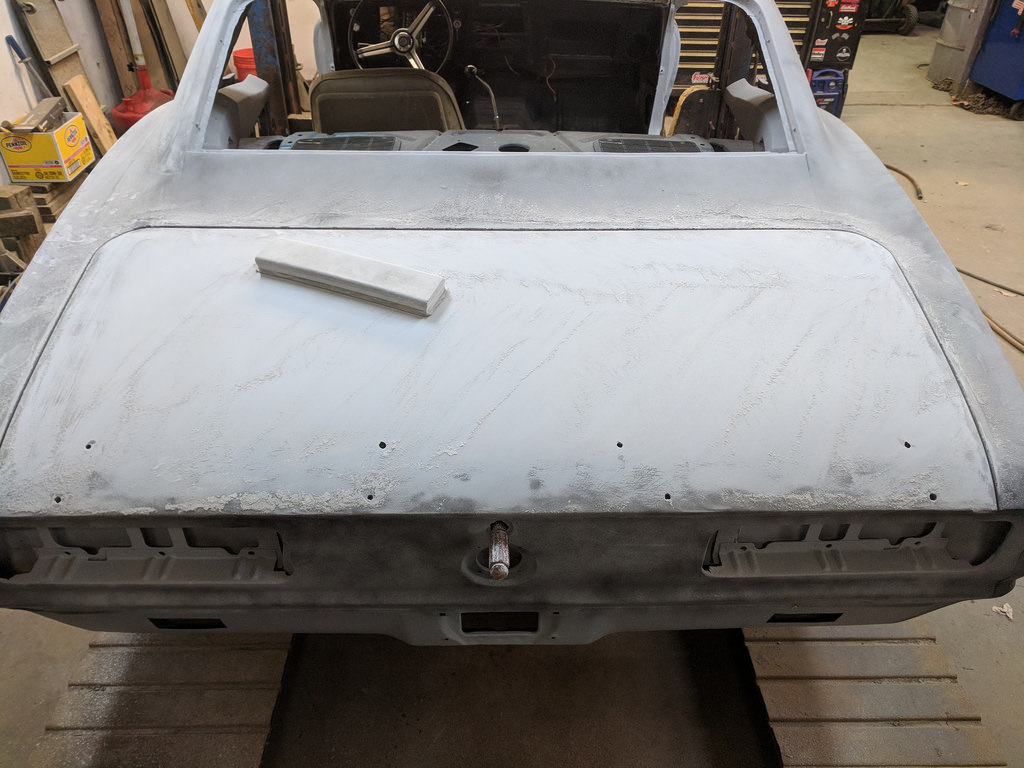
Then while that was drying I turned my attention to the shell. I started on the trunk and driver's quarter. Not much to show other than a lot of sanding. Wow, are my arms sore today!
Then a little more sanding and the deeper scratches are starting to disappear. I started to hit some of the epoxy coat so I decided to stop.
Rinse and repeat for the passenger's side.
Then after both quarters were sanded as far as I dared. All of the little black spots will need to have a little skim coat of filler. Once that cures we can go back and blend it in and re-shoot everything with another round of 2k.
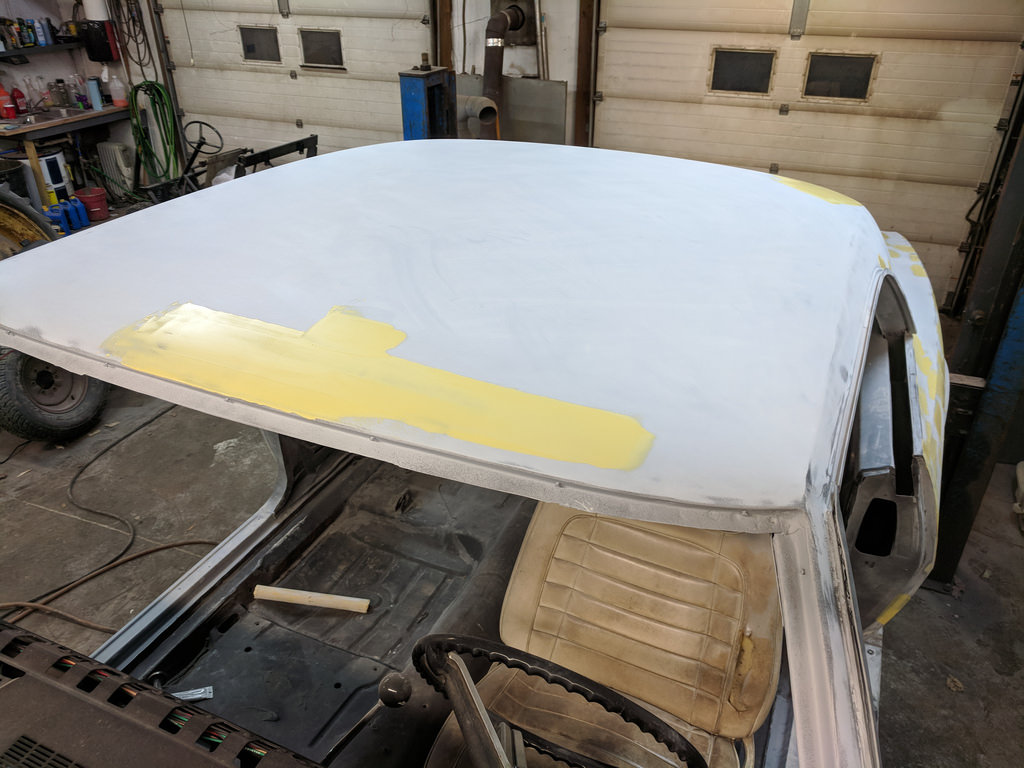
I'm super happy with the way that the roof came out. There was minimal filler on it when we first sprayed down the epoxy and 98% of the blemished sanded out.

And one more of the trunk after a little more sanding. Same story, little skim coat, then sand, then more 2k.
Very stoked to be this far along. If I can keep up this amount of progress, I think I'll be on track to have the color and clear coats in about 2 weeks.
Cheers,
Ryan
1955 Nomad project LC9, 4L80e, C5 brakes, Vision wheels
1968 Camaro 6.2 w/ LSA, TR6060-Magnum hybrid and etc SOLD
1976 T/A LS1 6 Speed, and etc. SOLD
Follow me on Instagram: ryeguy2006a
05-10-2018 #315 Registered User
- Join Date
- Nov 2010
- Location
- Ventura County CA
- Posts
- 556
My arms hurt just looking at that! Looks like it's coming along very well. Much respect to you for doing the bodywork (including all the previous metal repair) and paint yourself. It's going to be a stunner when you get done but more importantly you have done it yourself. Lots to be proud of - great work!
Clint - '70 Nova "restomod" cruiser & autocross family car
05-10-2018 #316
Registered User
- Join Date
- Jan 2012
- Location
- Newton, KS
- Posts
- 303
Very nice work! I wish I was as far along!
1968 Roadrunner 6.1, 6 speed, IRS https://www.pro-touring.com/threads/...-speed-and-IRS
1970 Barracuda 6.1/6 speed project https://www.pro-touring.com/threads/...71#post1243271
05-11-2018 #317 Registered User
- Join Date
- Sep 2017
- Posts
- 63
I love to see cars brought back to life. Great work!
1965 Buick Skylark Sport Coupe V8, Two Door Hardtop - Project
2014 Mercedes Benz C300 Sport 4Matic - Daily
05-16-2018 #318
Registered User
- Join Date
- Sep 2009
- Posts
- 2,709
Thanks for all of the compliments guys.
Before I started any filler work yesterday, I decided to pull the LS6 valley cover off the 5.3 since I will be selling the long block and putting together the LS1 I picked up. The problem is I made a huge rookie mistake. When I loosened the intake, and rather than disconnecting the throttle cable and fuel line I thought it would be faster to just tip it upside down onto the cowl. Big mistake as all the intake bolts fell out. While I was checking to see if all the bolts and washers were there, I found one of the tiny washers was missing! I looked all around and took a magnet to the intake ports with no luck finding it. After probably 45 mins of looking and checking with a magnet, I flipped the intake back over and I was extremely lucky that the missing washer was stuck to the intake. Moral of the story, take the bolts out first before you flip the intake! Hopefully that will help someone else from doing what I did...
I am progressing slow but steady. Doesn't look like much, but I had to walk around the car and literally fill any small imperfection with some skim coat/icing filler. What the car looked like after several hours.

Since the car is on the lift, I took advantage of it and put it up in the air to get to the lower sections of the body. Rockers, lower quarters and etc.
Luckily the roof only had two small sections that needed some filler. Really happy about that as the roof is such a large area and will be a main section that people will be looking at once painted.
It was very humid here and the filler didn't want to cure fully so it was loading up the sandpaper. I decided to call it a night rather than risk making it worse. I moved on to other tasks and sprayed some guide coat and blocked out the fenders. Both turned out pretty good. The driver's side will need more skimming than the passenger side, but there weren't any significant imperfections that need to be filled, just maybe 2 dozen small spots. The lower fender extensions were also stripped and I will shoot them in epoxy once the hood is sanded and ready to prime.
Cheers,
Ryan
1955 Nomad project LC9, 4L80e, C5 brakes, Vision wheels
1968 Camaro 6.2 w/ LSA, TR6060-Magnum hybrid and etc SOLD
1976 T/A LS1 6 Speed, and etc. SOLD
Follow me on Instagram: ryeguy2006a
05-17-2018 #319 Registered User
- Join Date
- Apr 2007
- Location
- Utah
- Posts
- 534
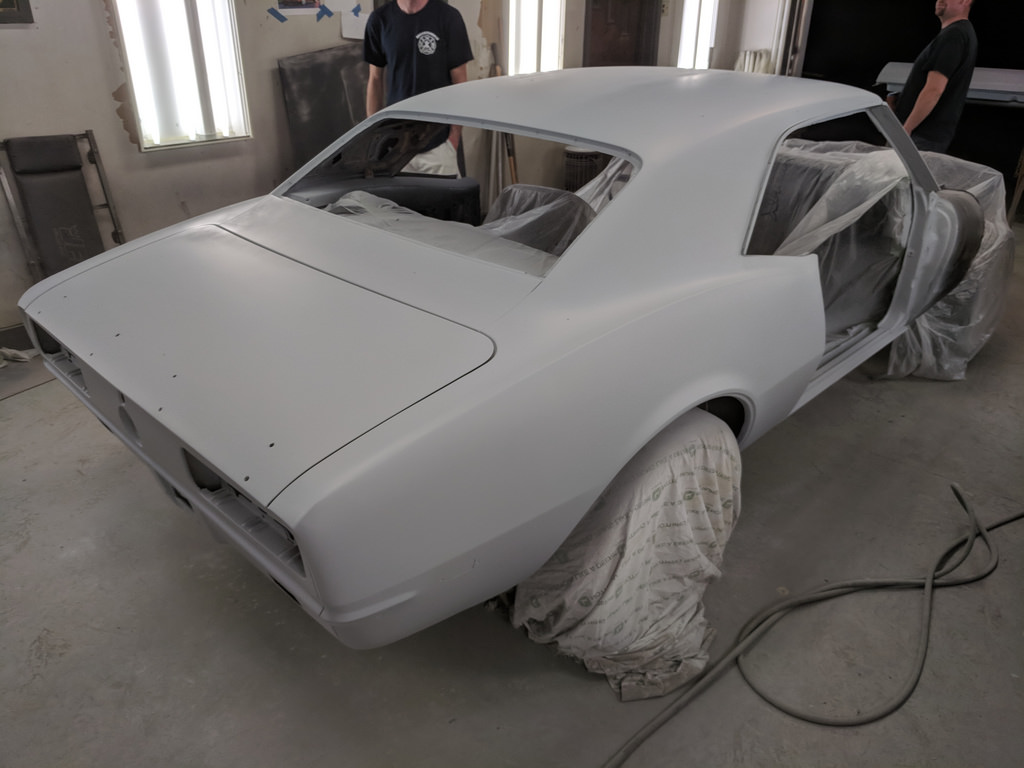
This is all looking great. It is amazing how much the car looks different once it is one color. Keep up the great work.
Sam
Northern UT.
'68 Camaro "Bodacious"
'56 210 2dr "Buckshot"
05-17-2018 #320 Registered User
- Join Date
- Aug 2007
- Location
- Jonesboro, Arkansas
- Posts
- 2,506
A lot of hard work, but well worth it. Your car is looking good, congrats! Before long we're going to see some red paint, then you'll really be happy!
Carl Wilson
1968 Camaro - T-56 6 speed - 383 Stroker, 2014 Mustang GT seats. FiTech EFI, Tanks Inc. Tank with Deutschwerks fuel pump.

 Reply With Quote


