Results 21 to 40 of 78
-
08-13-2014 #21

 Registered User
- Join Date
- Aug 2011
- Location
- Connecticut
- Posts
- 926
 ITS "GULSTRAND" not gulf, With most modern tubular control arms you wont need to do the "gulstrand mod" because the arms are designed to compensate.
 Originally Posted by rickpaw


1967 Firebird "Poor-Boy Build"
New updated thread
https://www.pro-touring.com/threads/...bird-(Updates)
Follow me on Instagram @NaturalLivingMan
-
08-13-2014 #22 Registered User
- Join Date
- Apr 2007
- Location
- Austin, TX
- Posts
- 237
 if I remember right there is about a 150lb difference between a Poncho and a BBC, that is quite a bit in terms of spring coefficients. To the OP, I would research more about the springs, you dont want the car to ride like its got aluminum blocks instead of springs Originally Posted by Buryingthesun
08-13-2014 #23
Registered User
- Join Date
- Aug 2014
- Posts
- 71
I went with the Small Block Springs as that what tech At hotchkis said. Im hoping they did enough of them to know, BUT If it rides like crap they will get an earfull ..
Also the rear sway bar would not only have to drill into the sheet metal behind the rear seat you I would have to grind off the Factory Traction Bar Mount
I didnt get the tubular uppers yet. Hopefully I can hold off on those for a while.
Will for NOT be doing the gulstrand mod.
08-13-2014 #24
Registered User
- Join Date
- Aug 2014
- Posts
- 71
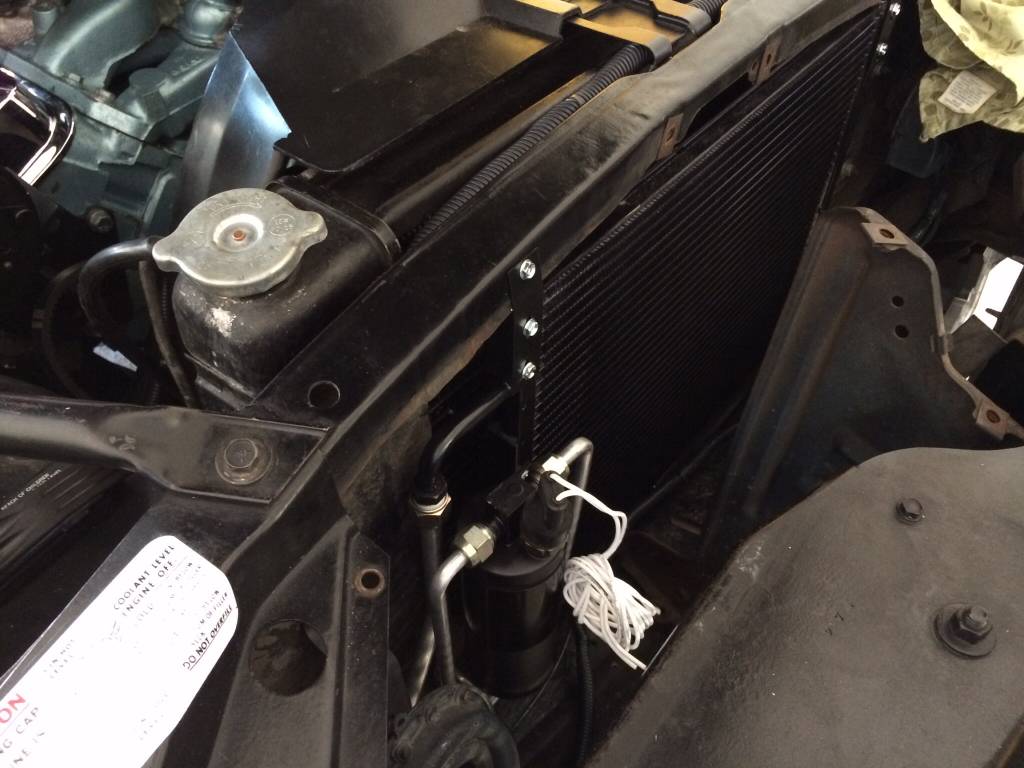
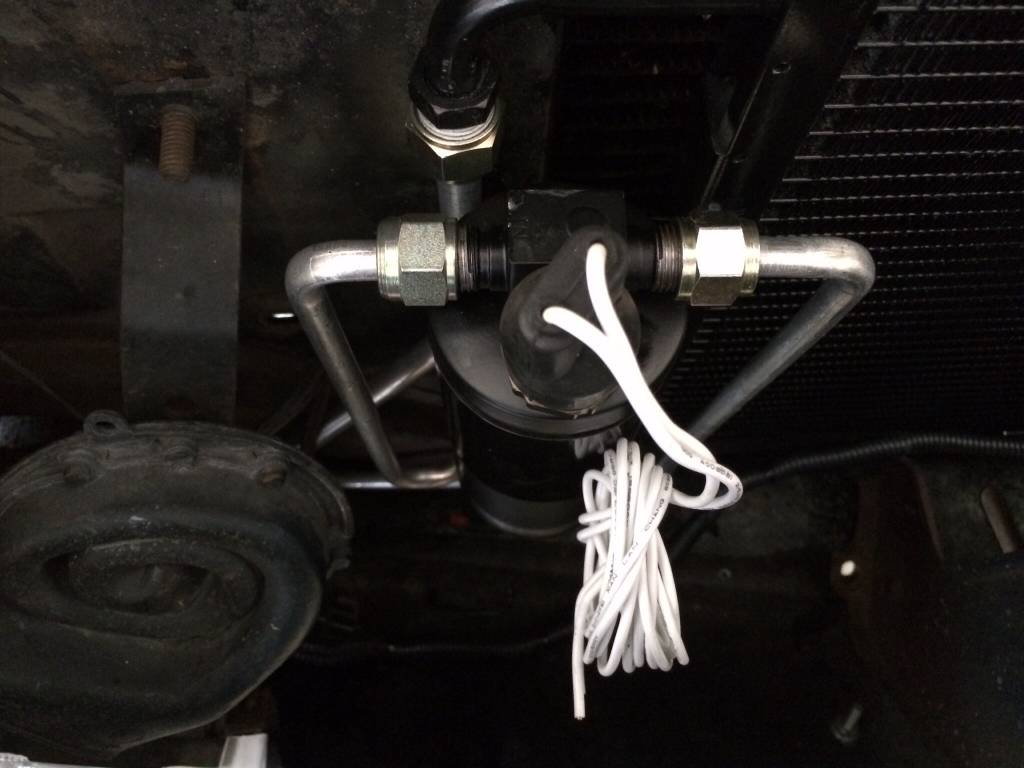
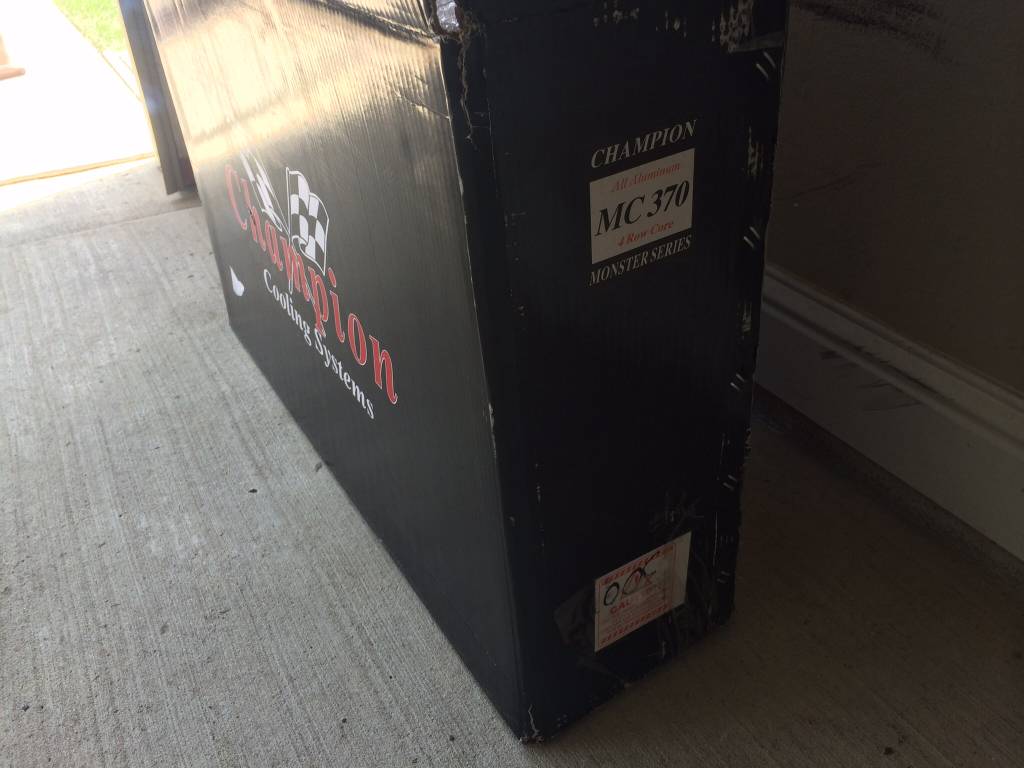
In the meantime I am upgrading the Stock Radiator for A Champion. Just got it in today. This is the one I went with.
1967-1969 CAMARO BIG BLOCK CHAMPION 4 ROW CORE ALL ALUMINUM RADIATOR MC370
CORE DIMENSIONS 17"(H) X 23"(W)
OVERALL DIMENSIONS 19 1/4"(H) X 30 1/4"(W)
HOSE LOCATIONS IN-DRIVER / OUT-PASS
HOSE FITTINGS IN-1 1/2" OUT-1 3/4"
08-13-2014 #25 Registered User
- Join Date
- Jan 2010
- Location
- Louisiana
- Posts
- 81
Originally Posted by salesguy01
I installed a TVS kit in my camaro. The rear sway bar drilling/mounting is pretty straight forward; Though, I did not have factory traction bar mounts to cut off. Here's a pic of the interior after install. I can not say the TVS kit improves my lap time but, I can say it improves my "holy **** I'm about to roll my car"!
08-13-2014 #26 Registered User
- Join Date
- Jul 2006
- Location
- Pensacola, FL
- Posts
- 1,263
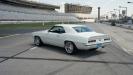
I'm surprised they suggested the small block springs. I use the big block springs on pontiac with iron heads. Here's a pic of my 67 bird with small block springs. It has an aluminum LS1 motor in it. You may need spring spacers or swap to BB springs. Each car is different. Mine does have 18" wheels so you may have slightly more room w 17" and 225 tire.
08-14-2014 #27
Registered User
- Join Date
- Mar 2009
- Location
- Houston, TX
- Posts
- 1,192
I stand corrected. Originally Posted by Buryingthesun
I have Hotchkis small block springs in my 67. With the old iron headed Pontiac engine, the front tires would occasional rub on the inner fenders if I go over dips in the road too fast. When I did the 5.3 swap, the tires rubbings were gone. The lighter 5.3 definitely helped. Originally Posted by Z06vet
Here's a picture of the car with the old Pontiac engine. The ride height is similar to z06vert's red Firebird.
 Tu Ho
Tu Ho
Firebird V2-LS swap
08-14-2014 #28
Registered User
- Join Date
- Apr 2007
- Location
- Austin, TX
- Posts
- 237
whenever the time comes to do front coils, I think Im going with Global west springs for my Pontiac "medium" (haha) blocked car
so far Global is one of the few places that has a specific spring selection for F-bodies with Pontiac V-8s. Most of the others just have the same part number for SBC F-body
08-16-2014 #29
Registered User
- Join Date
- Aug 2014
- Posts
- 71
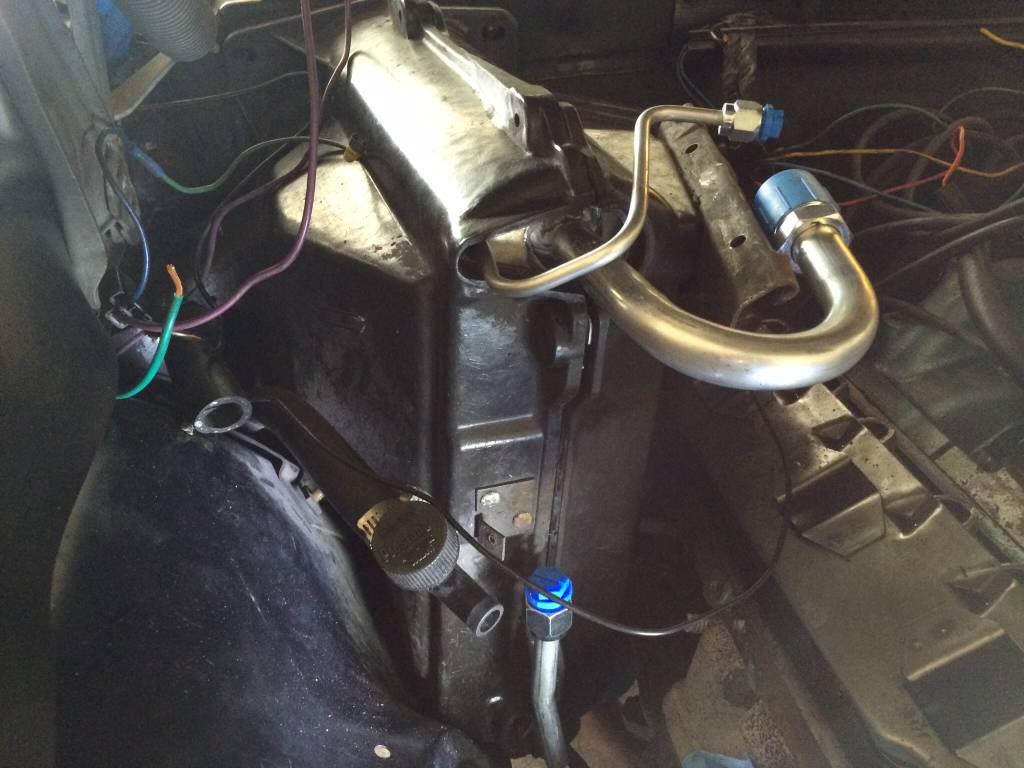
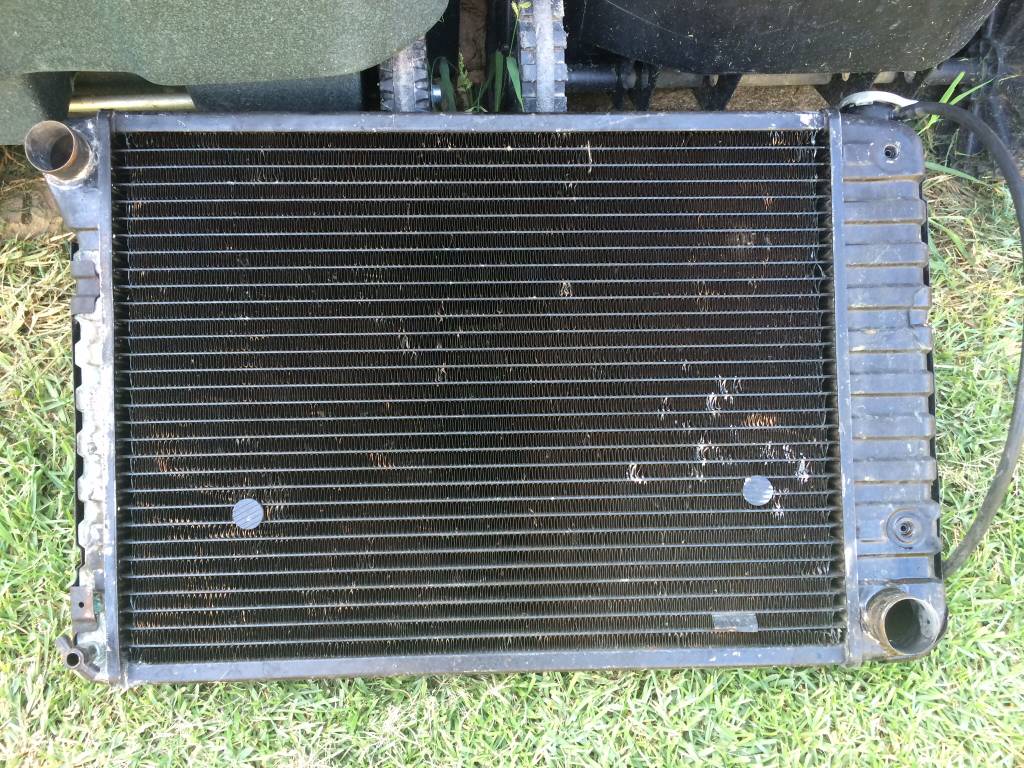
It is the 4 core version
The original came out very easy, only issue was the lower trans line was seated FIRMLY in the radiator. After some persuasion it came out.

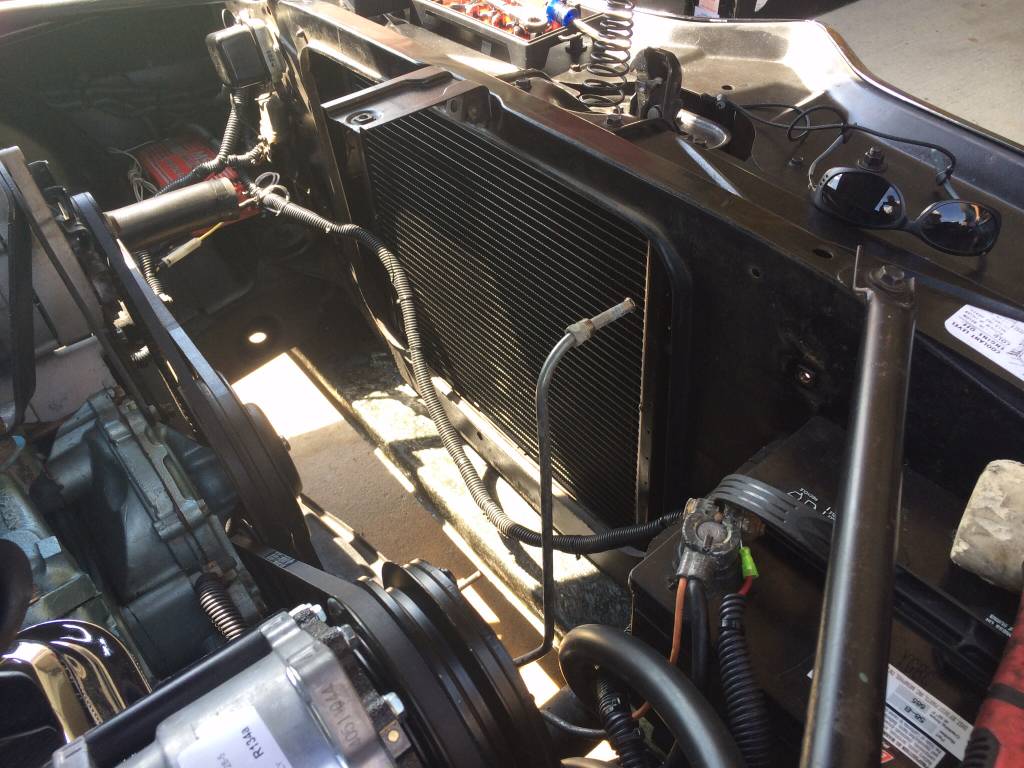
Original Radiator (not throwing it away ha!) Im guessing it could be recored? didnt leak, but sure it had some repairs in the last 47 years.
08-16-2014 #30
Registered User
- Join Date
- Aug 2014
- Posts
- 71
ALMOST done the Rear new Springs and Shocks with the Hotchkis TVS minus Rear sway.
PAIN IN THE ASS!!!!!!!
by myself in the garage with jackstands. No pics of the progress, but a few notes.
Drilling the 5/8th holes for the new u-bolts = PITA!
Removing the old frame bushings = PITA
I still have to drill the shock bottom shock mounts since the Shock bolts are a tad bigger than factory hole.
Front springs dont come in until next week so then I will tackle the front sway bar, shocks, and springs then.
08-17-2014 #31
Registered User
- Join Date
- Jun 2012
- Posts
- 427
i myself got the hotchkis big block springs. it never rubs with the 255mm tires on 18" wheels. rides really firm but I like that, i also got a hellwig 1 1/4 front sway and have 5 leaf springs on the rear and lakewood traction bars. Car stays glued to the road with the iron headed 461 stroker. no issues.
your car being an ac car with smaller tires and carpet and such would prob work out better with the small block springs you got. smoother ride, you know? cause every time i hit a road seam at 90 mph the whole car jars pretty hard but NEVER bottoms out either so its just a matter of whats more important i guess.
08-30-2014 #32
Registered User
- Join Date
- Aug 2014
- Posts
- 71
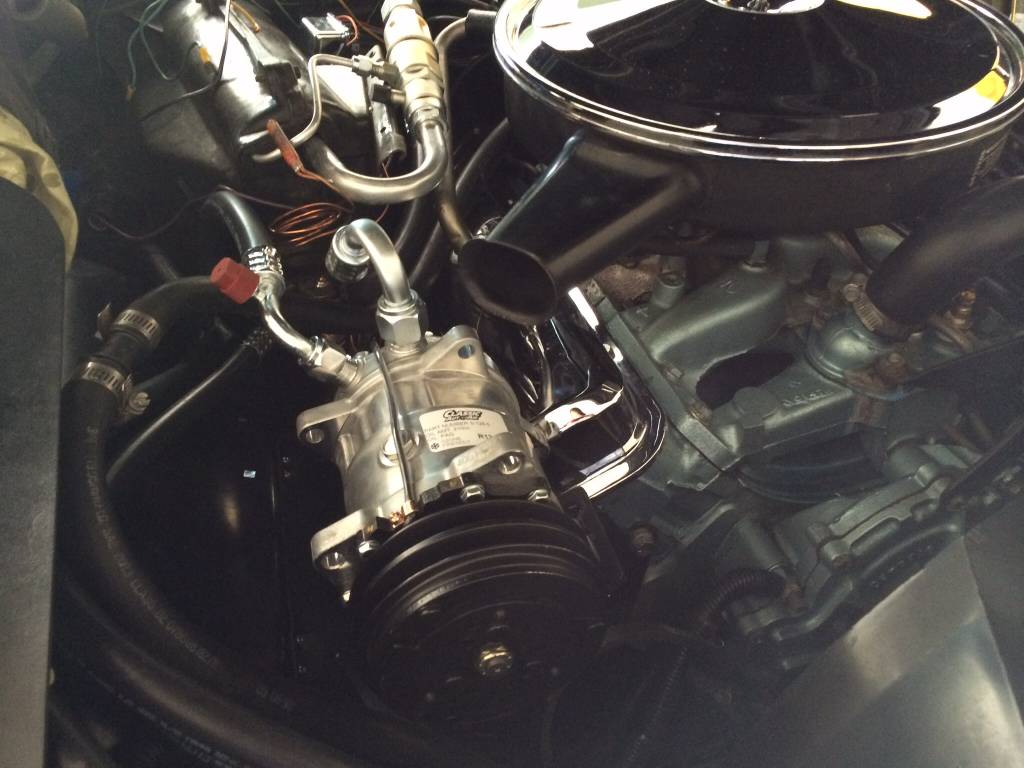
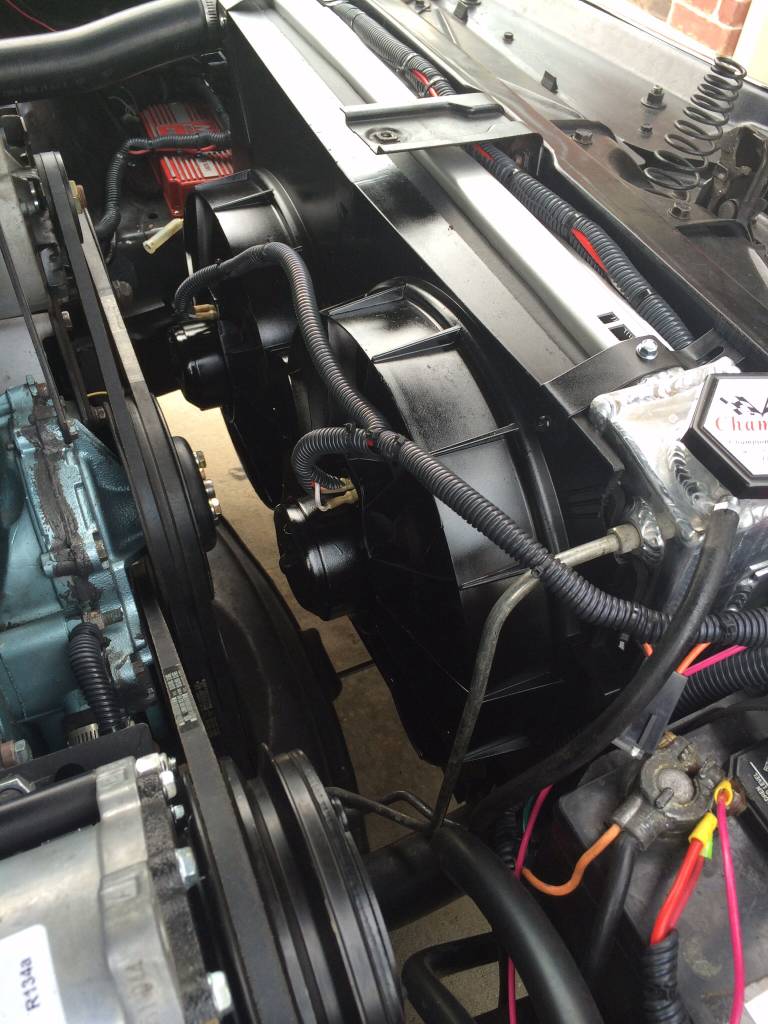
So I was having some issues getting a little hot. Mainly idle and stop and go. Would get up to about 220. Well I had parts from a 2000 Formula I parted out. And remembered I had LS1 Fans!
This so far was true cheapest and best Mod!
Test Fitting

Painted and wired up.
08-30-2014 #33
Registered User
- Join Date
- Jul 2014
- Posts
- 10
Looks good! What kind of wrench is that in the picture?
Originally Posted by salesguy01
08-31-2014 #34
Registered User
- Join Date
- Aug 2014
- Posts
- 71
I picked those Up at Sears, They are Ratchet Wrenches, but you can adjust the position of the box end to get in some pretty tight spots. Only thing I don't like about them is they are thicker than my other set of slimmer ratchet wrenches
08-31-2014 #35
Registered User
- Join Date
- Jul 2014
- Posts
- 10
Thanks. Keep up the good work
09-02-2014 #36
Registered User
- Join Date
- Apr 2007
- Location
- Austin, TX
- Posts
- 237
that looks really good, OEM Originally Posted by salesguy01
02-10-2015 #37
Registered User
- Join Date
- Aug 2014
- Posts
- 71
WELLLLL. After plenty discussion with others and time for reflection. I think the route im going to leave the Poncho motor in. My good friend said it right that now days you almost expect to see a LS motor in these classics at car shows. When you walk up and see a real Poncho motor you actually get taken back.
My current project is a 4l60E to be built and Swap. Then going to do EFI, then later down the road take the motor out to stroke & bore.
So it will still have the heart and the look of factory just with a flare of modern.
02-10-2015 #38
Registered User
- Join Date
- Aug 2014
- Posts
- 71
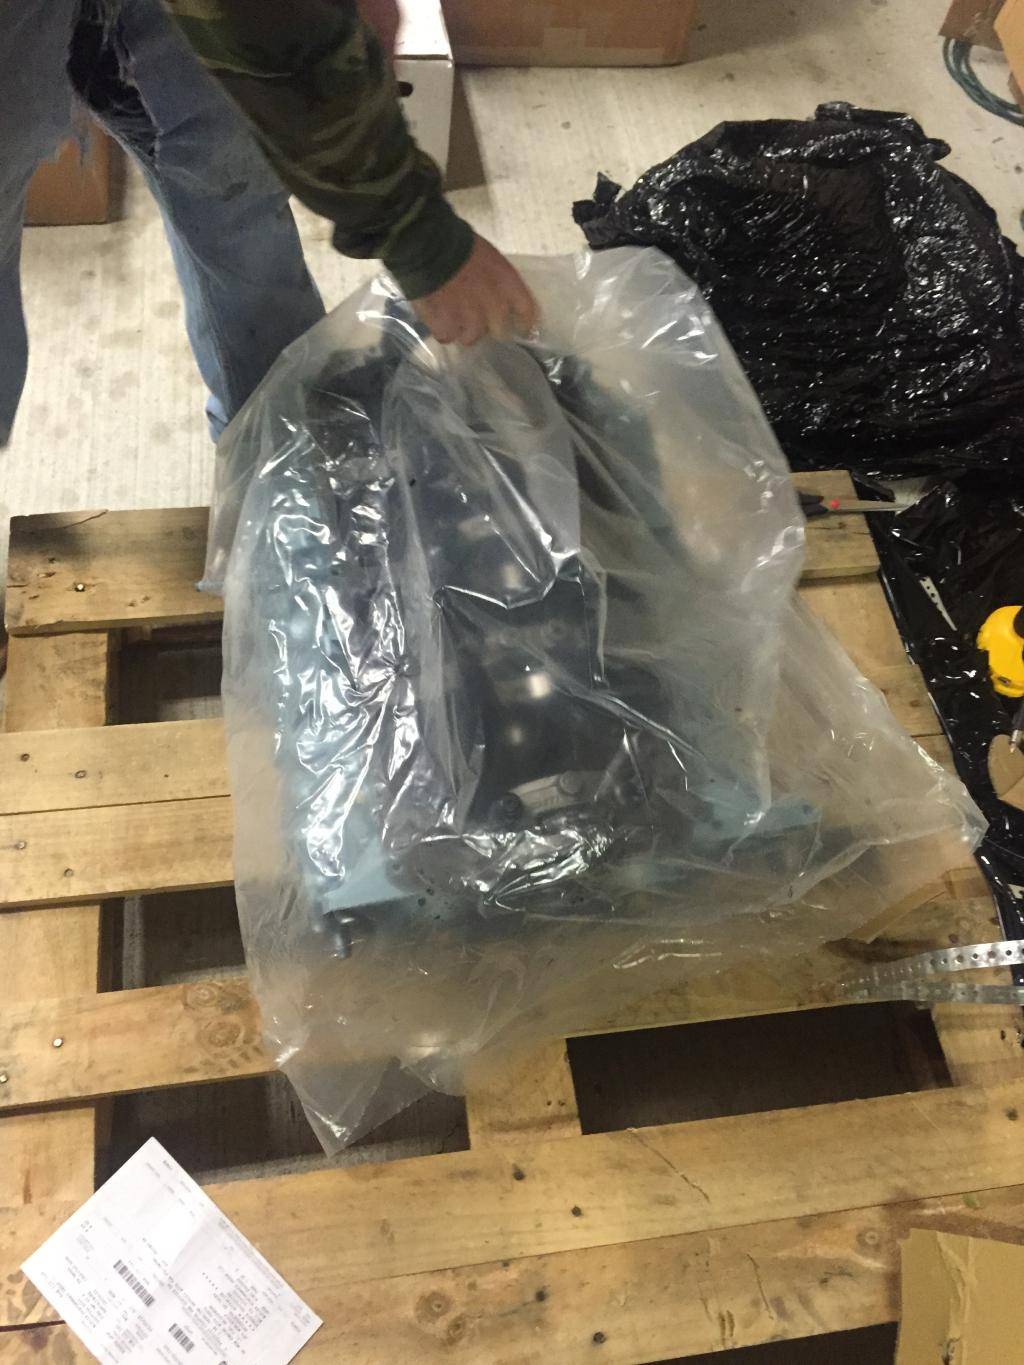
Phew.... Talk About some $$$$$$... All for the best though. I want this engine to last forever and I think the Parts from Butler Will do just that.
Here is what UPS Freight delivered just last week.
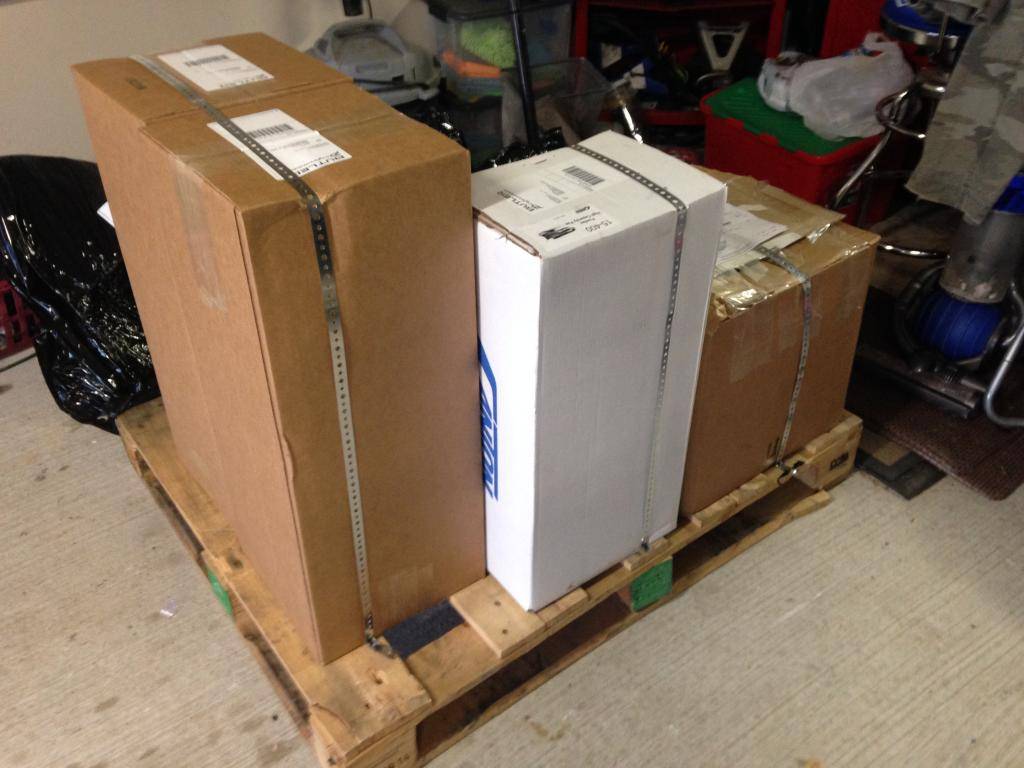
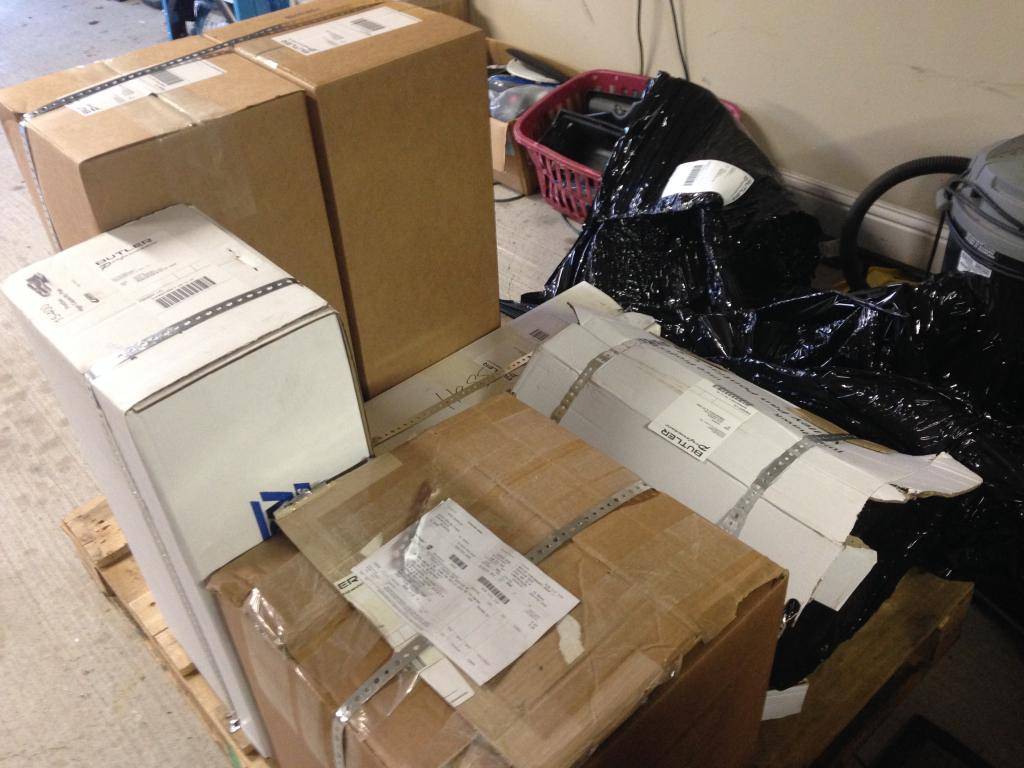
Everything Packed Solid. No Movement on the Crate and condition was just as it left Tennessee.
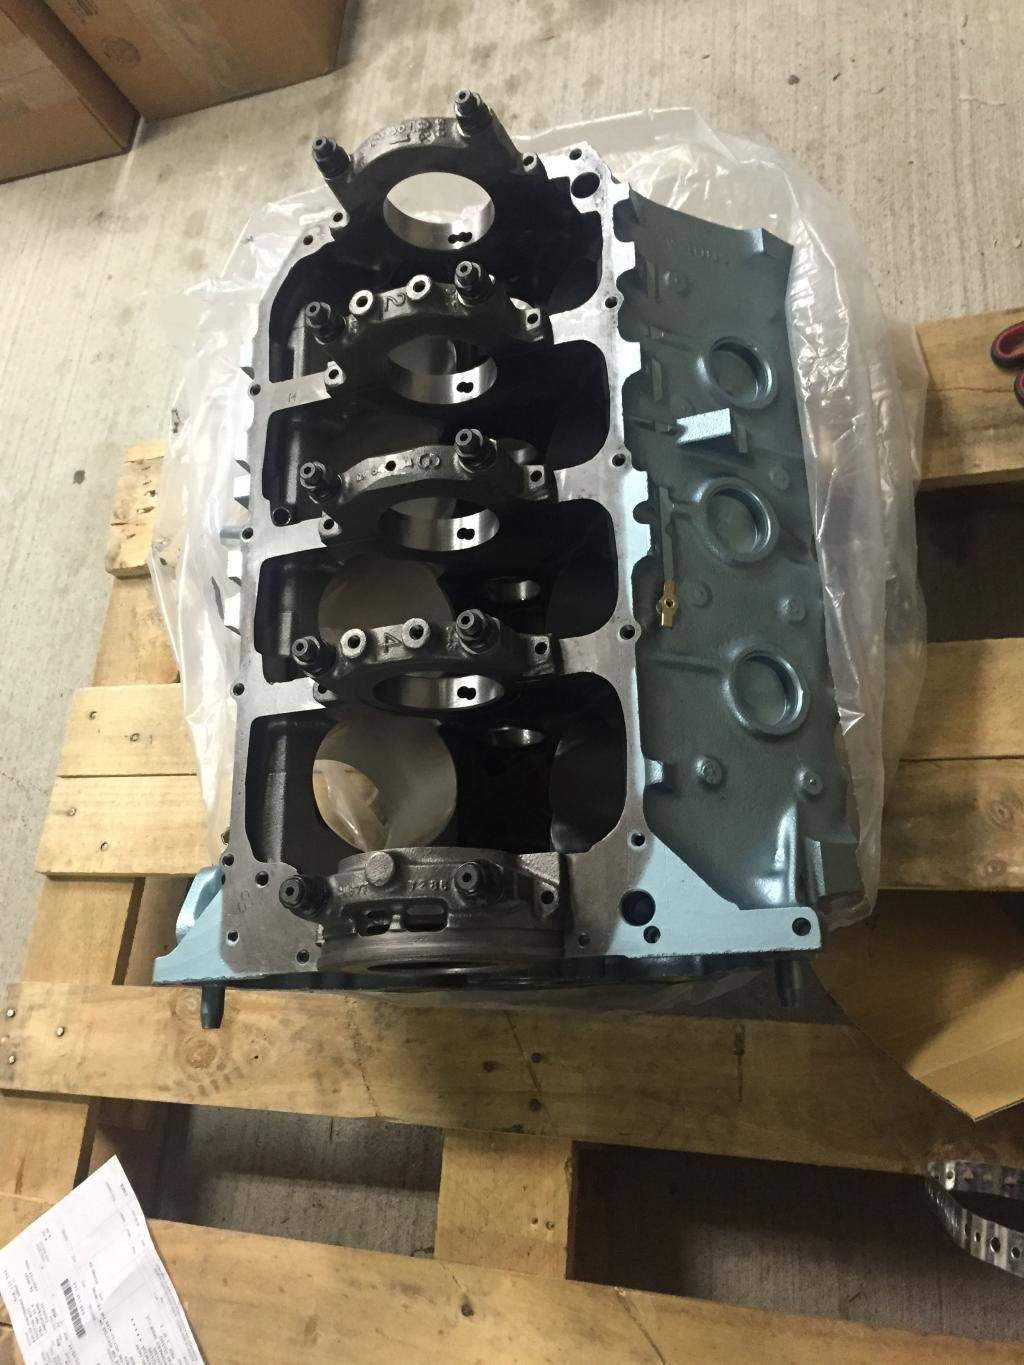
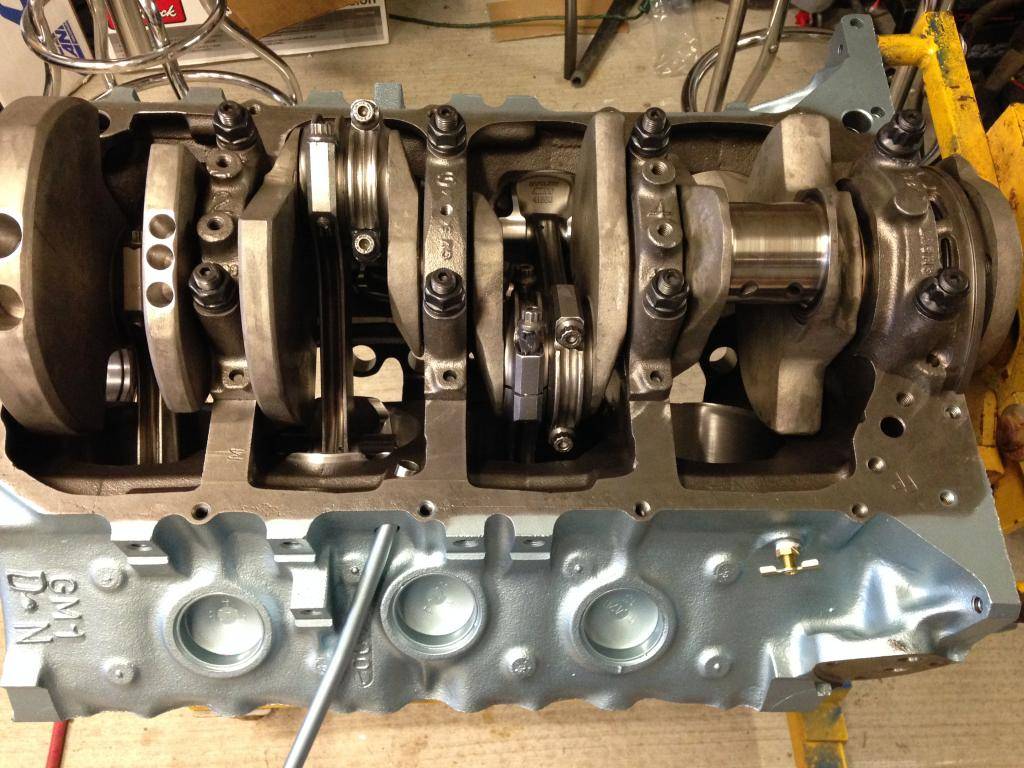
Here are a few Pics of the Block. It is a 71 400 block bored out to 4.180 and will have a stroke of 4.25
Prepped and painted!
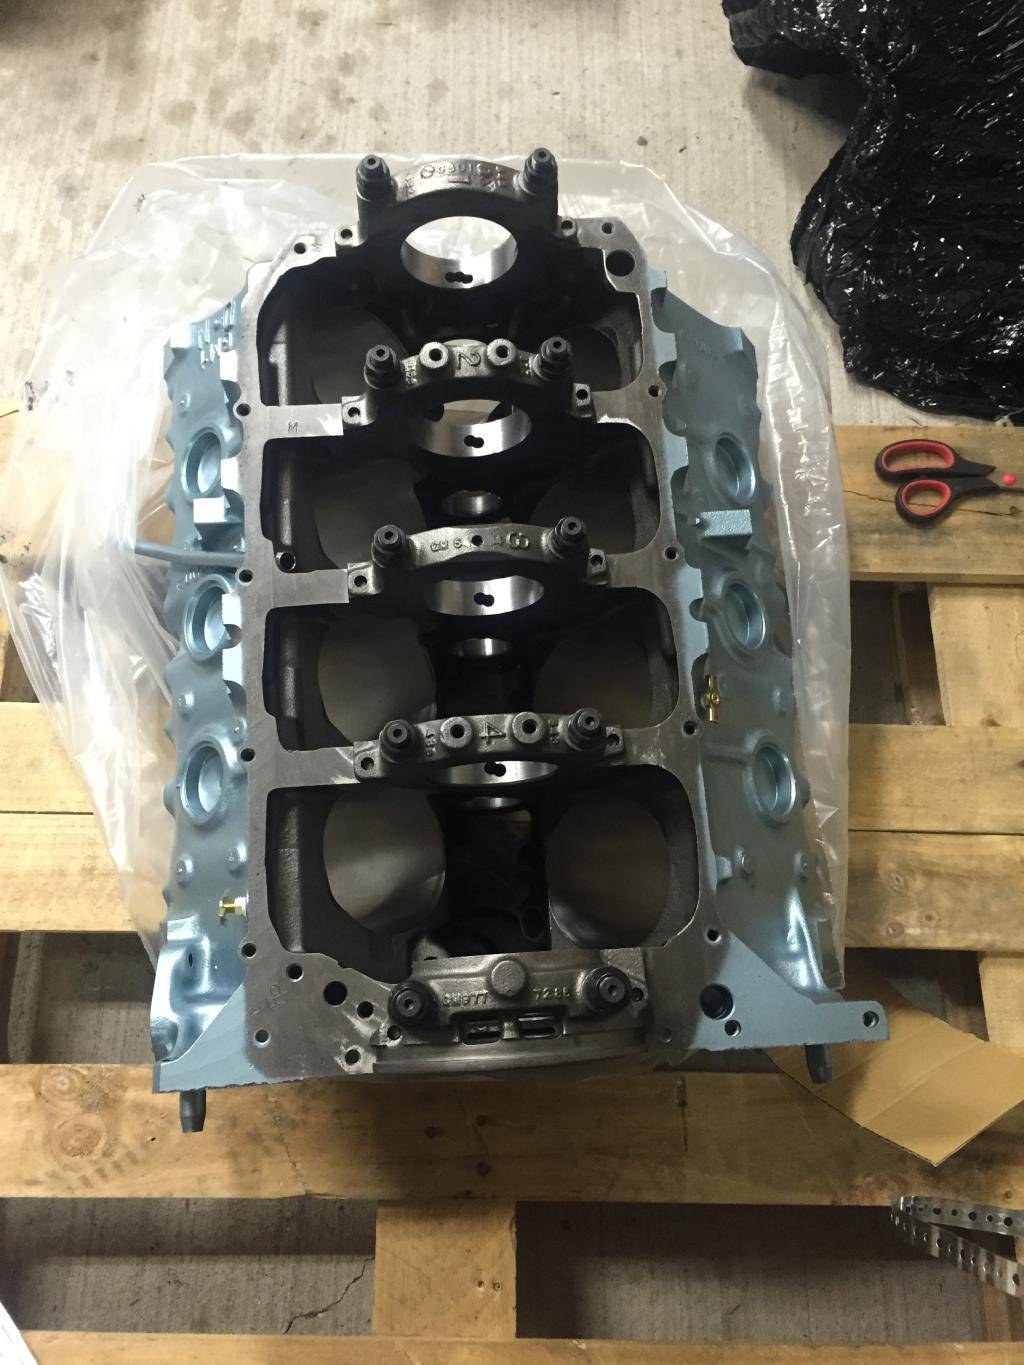
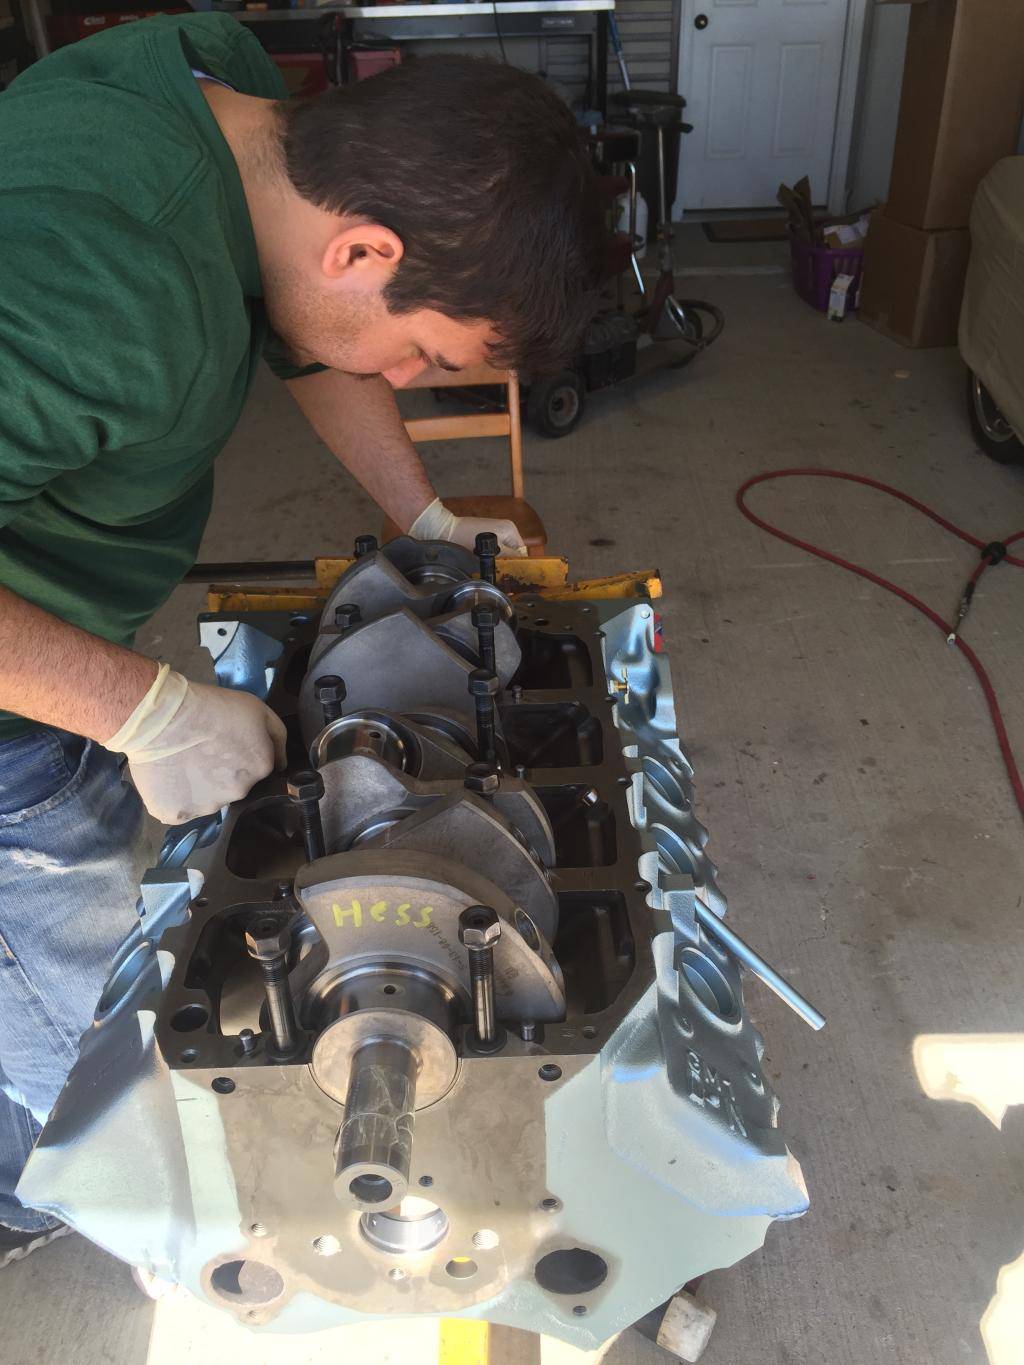
So Over the Weekend I took my time and got started on the bottom end.
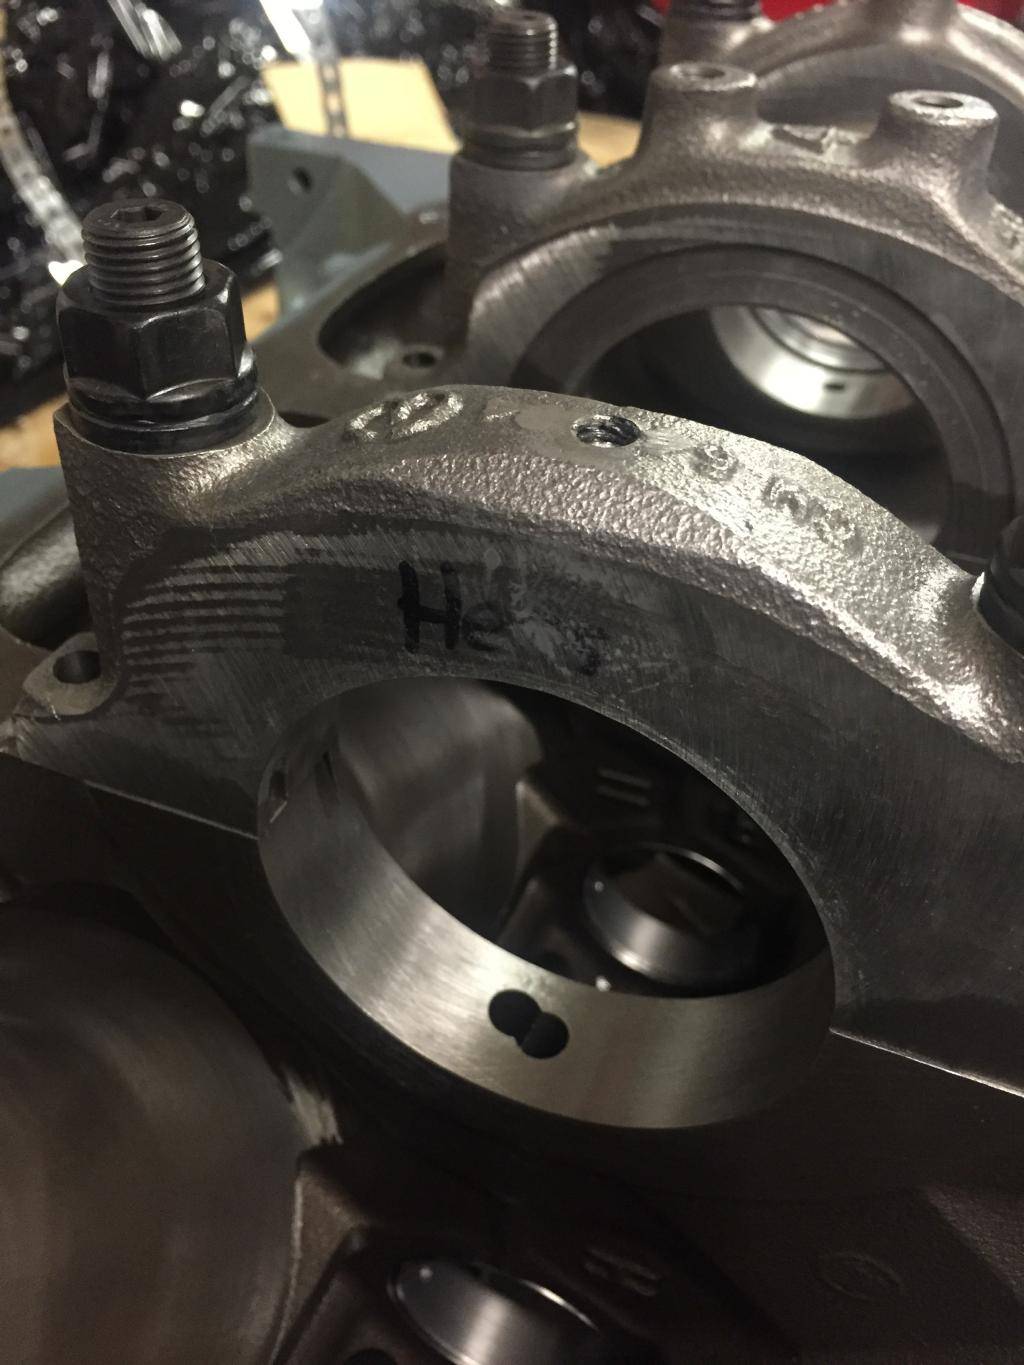
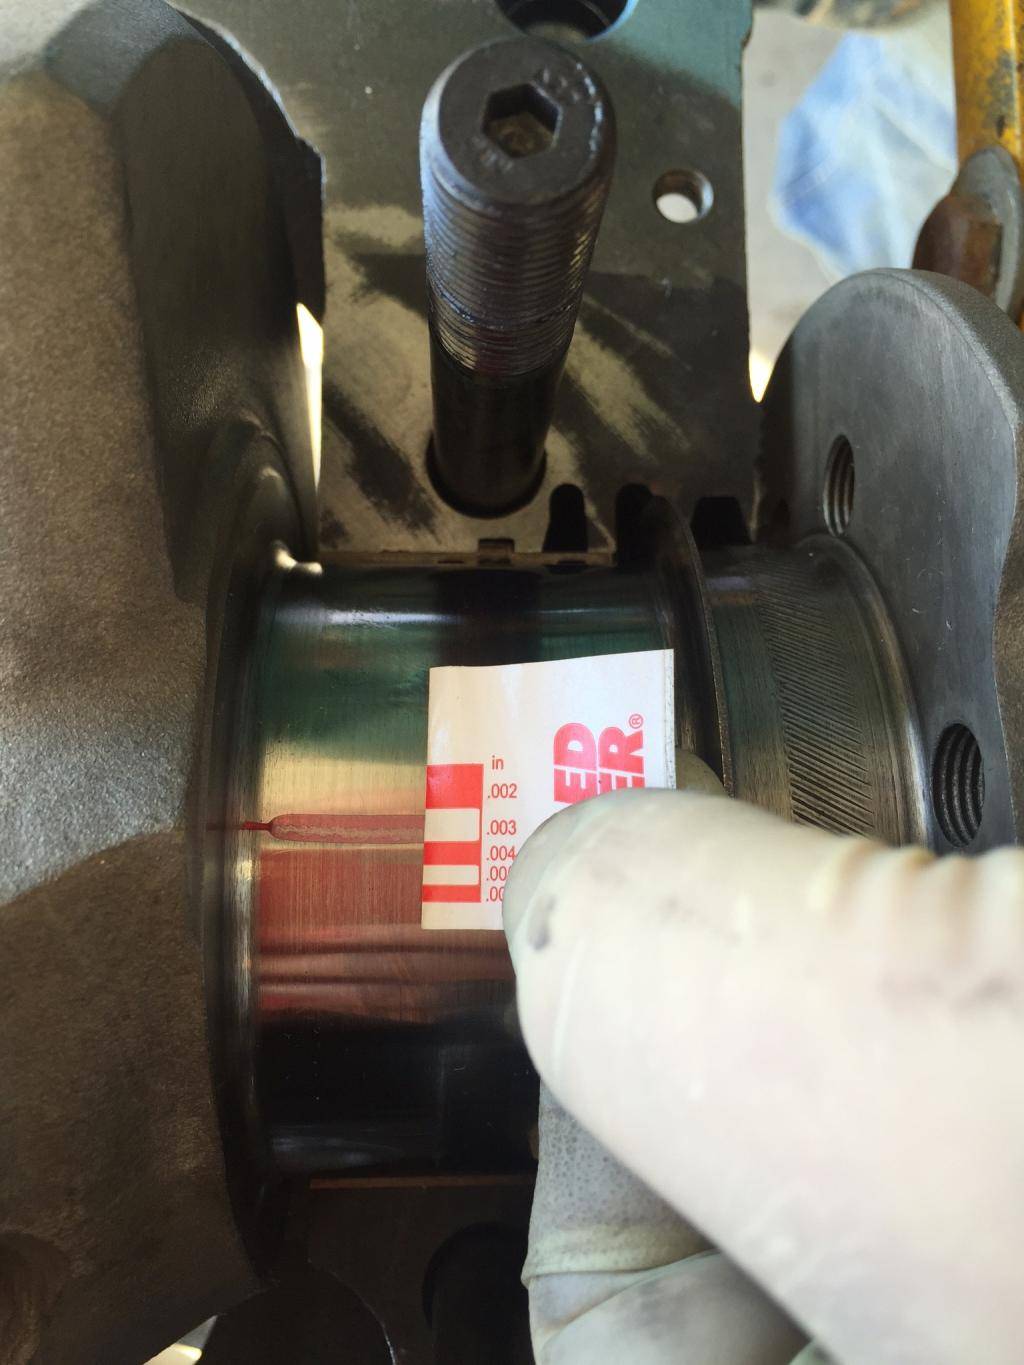
Plastigauge is somewhat controversial, but I did it anyway. On my spec sheet from Butler listed the main bearing clearances i just wanted to verify
Very Nice ARP Studs that I torqued using the ARP Lube to Spec
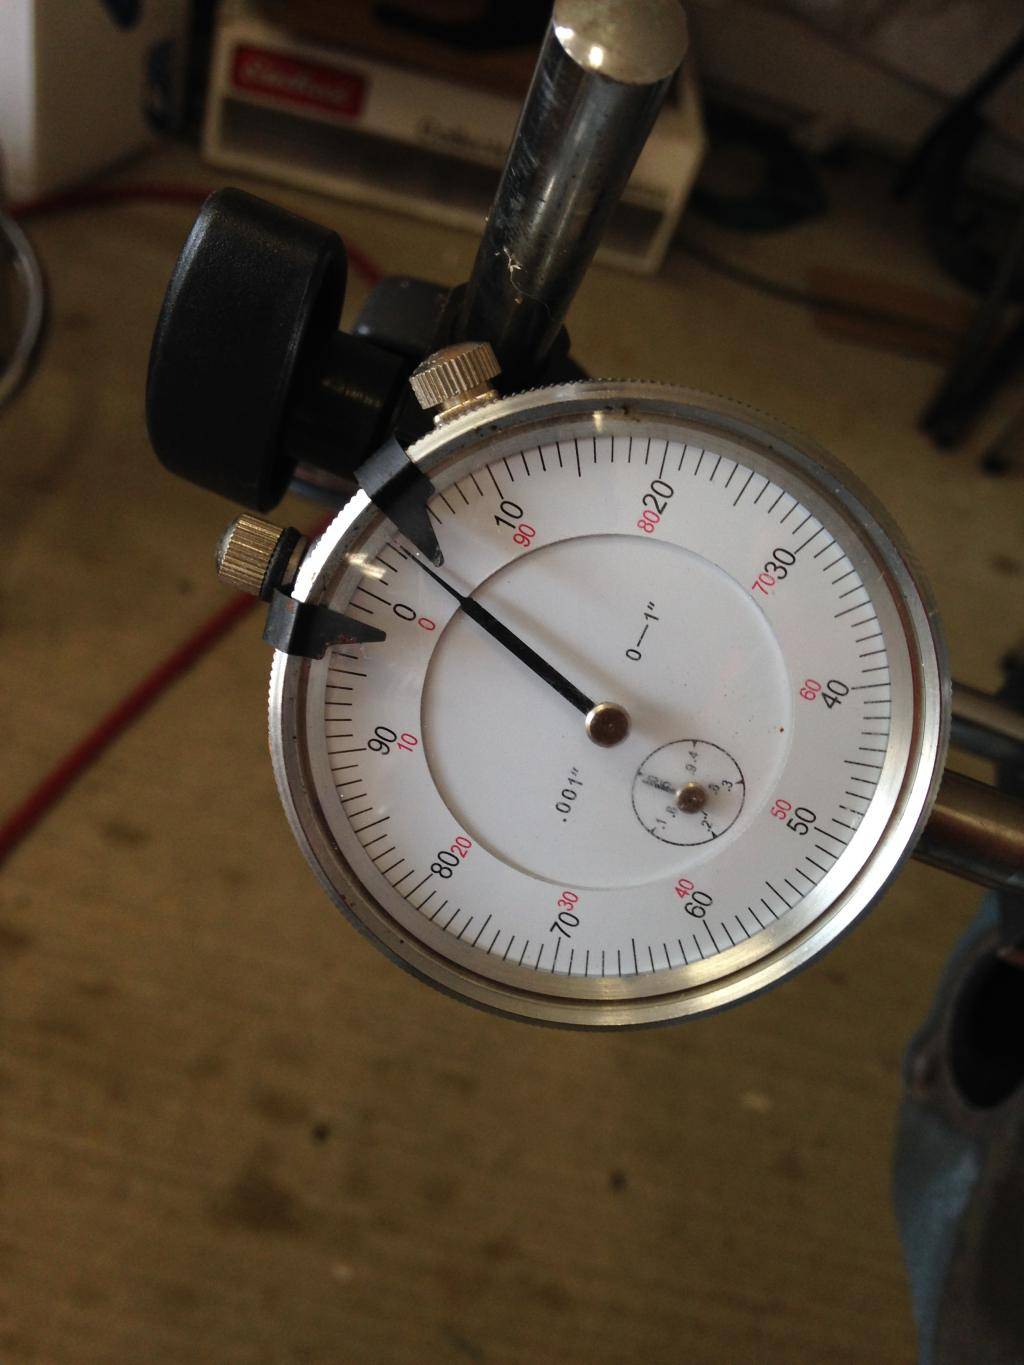
I also Did something that may be overboard, but should be done with a blueprint. Checked Crank Endplay
It was also in Spec
Then I spend some time with the Pistons and Connecting rods. Much research went into making sure They were oriented the correct way. You will see others have made a boo boo and put the rods on backwards. Essentially the Chamfered ends ride against the Crank fillet (I think that what they call it).
I had to take a couple of pistons apart since I had them incorrect. I admit it! Also I BROKE!! two rings and had to order two single piston sets since they dont sell the rings individually.
These Are Ross Forged Pistons with Forged H Beam Rods. These Rods are BIG!
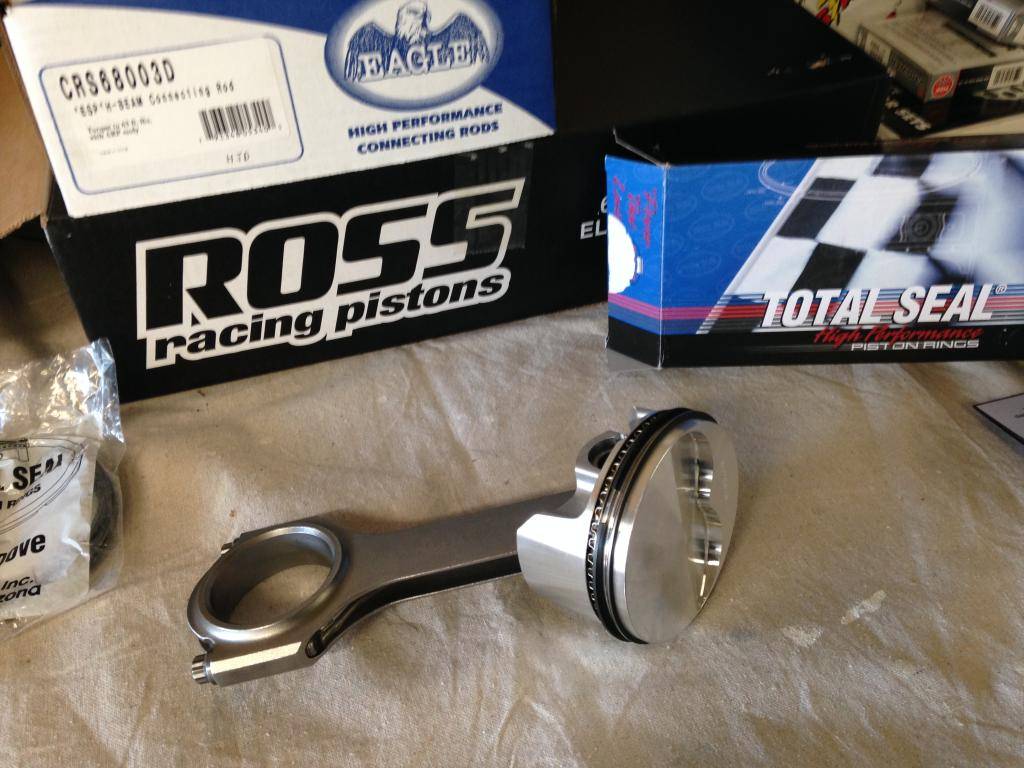
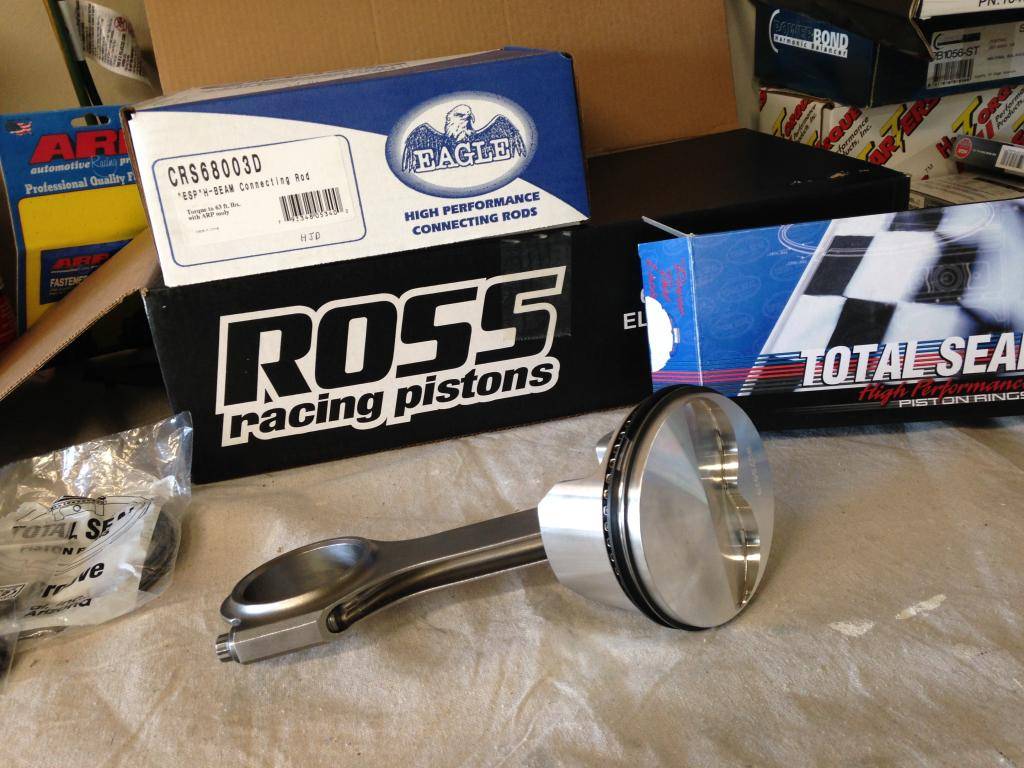
Slid them in and Torqued to Spec with the Correct Orientation of Rods and Pistons making Eyebrows
02-11-2015 #39
Registered User
- Join Date
- Apr 2007
- Location
- Austin, TX
- Posts
- 237
Now thats my kind of UPS delivery!!!
04-20-2015 #40
Registered User
- Join Date
- Aug 2014
- Posts
- 71
Wow, So its been a little bit. Got quite a few things done, but I will start where I left off.
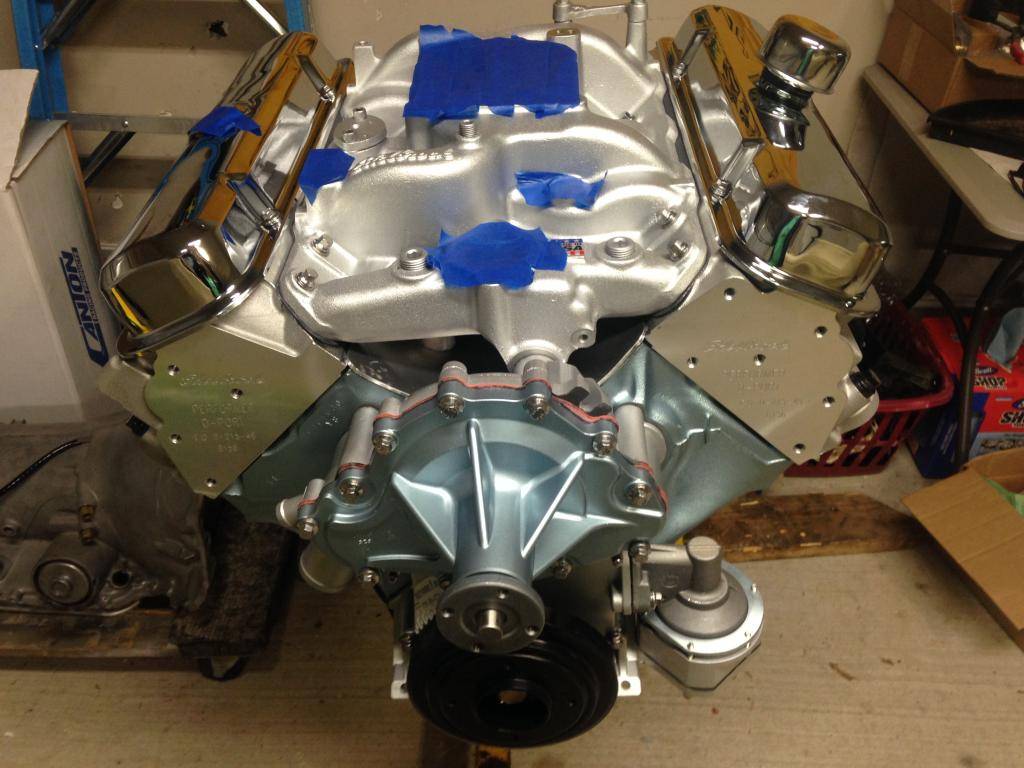
Finished up the short block and all was good!
Put on Edelbrock aluminum 87cc Heads (out the box) , along with an edelbrock performer intake.
High Flow fuel pump. (you have to notch the bottom to clear the timing cover) I didnt do that and had to take it off after I discovered an oil leak.
Here it is on the stand.
 67 Firebird Semi Pro-Touring Build
https://www.pro-touring.com/threads/...0-Build-Thread

 Reply With Quote