Results 1 to 20 of 79
-
05-03-2014 #1
 Registered User
- Join Date
- Nov 2007
- Posts
- 84
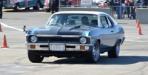
My first true Pro Touring build: 1971 Chevy Nova
The time has come to finally build myself a true pro-tourer. Some of you may have seen my '71 GMC Sprint (El Camino) thread, but that one is more a of a cruiser on a budget with Pro-touring overtones. After being spoiled by the creature comforts and handling of various imports and exotics I've owned over the years, a basic restored car or even simple resto-mod would not do. I considered various cars, but I ultimately decided on a 3rd Gen Nova. I have always been a big fan of the 3rd gen Chevy Nova (my favorite Nova style). I owned one briefly in College, but just as I got it running, I realized I didn't have the funds nor the time to build it how I wanted and sold it. Considering the situation at the time, I had no choice but to sell it. I always had it in the back of my mind that I would own another someday. One day while casually surfing CL, I came up on one.
The asking price was a bit high for a non-SS 1971 Nova but it was very straight, only 2-owners (seller was second owner since '74), very little rust apparent and, aside from a terrible paint job, mostly original.
It also was an interesting car in that it was equipped with original bucket seats, disc brakes, 350 and a 3-speed with Rally wheels.
I made the seller an offer that was quite a bit lower than his asking price but we finally came to agreement and I purchased the car at a much more reasonable price. Regardless, the initial purchase price is only going to be a fraction of the total investment.
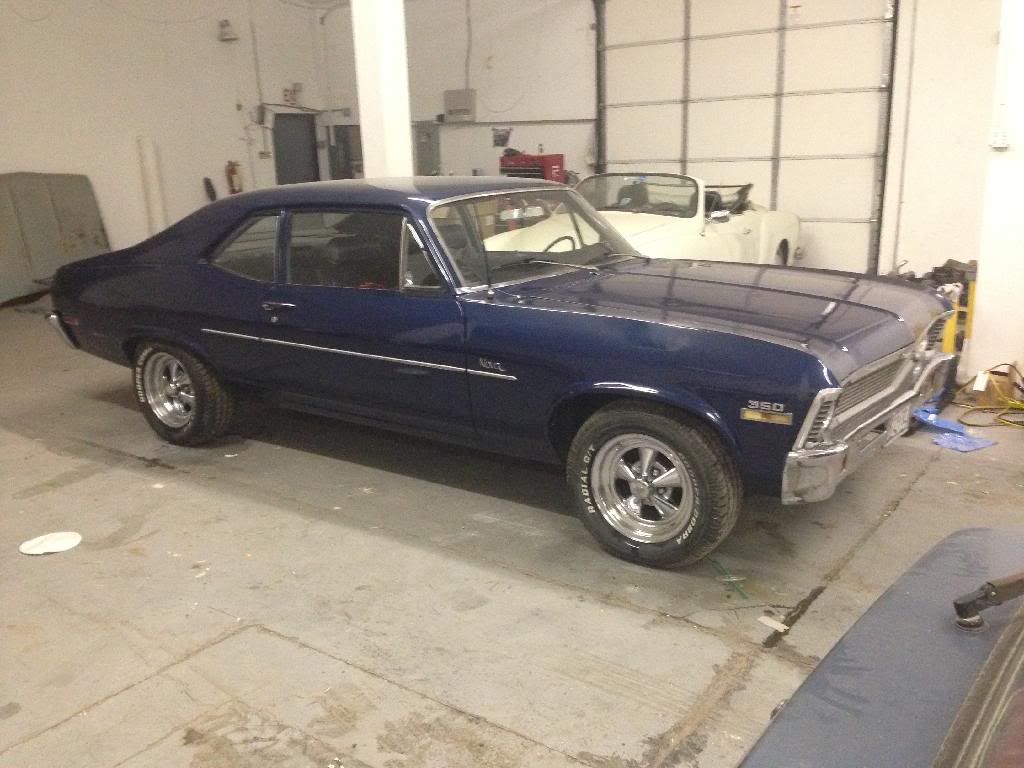
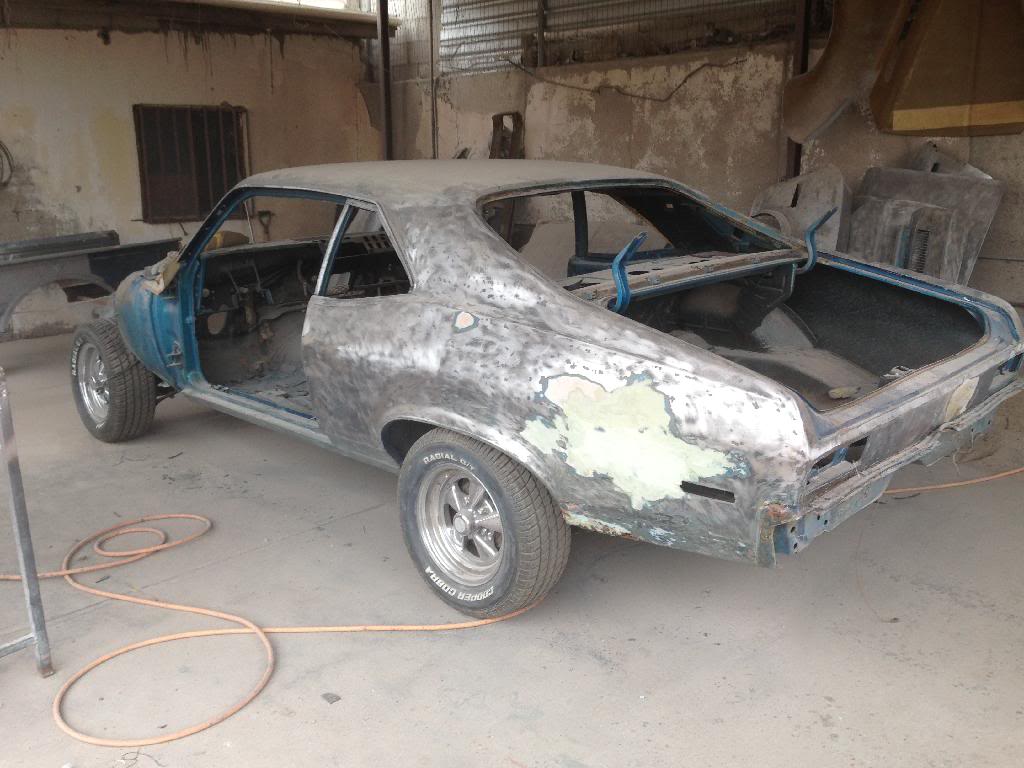
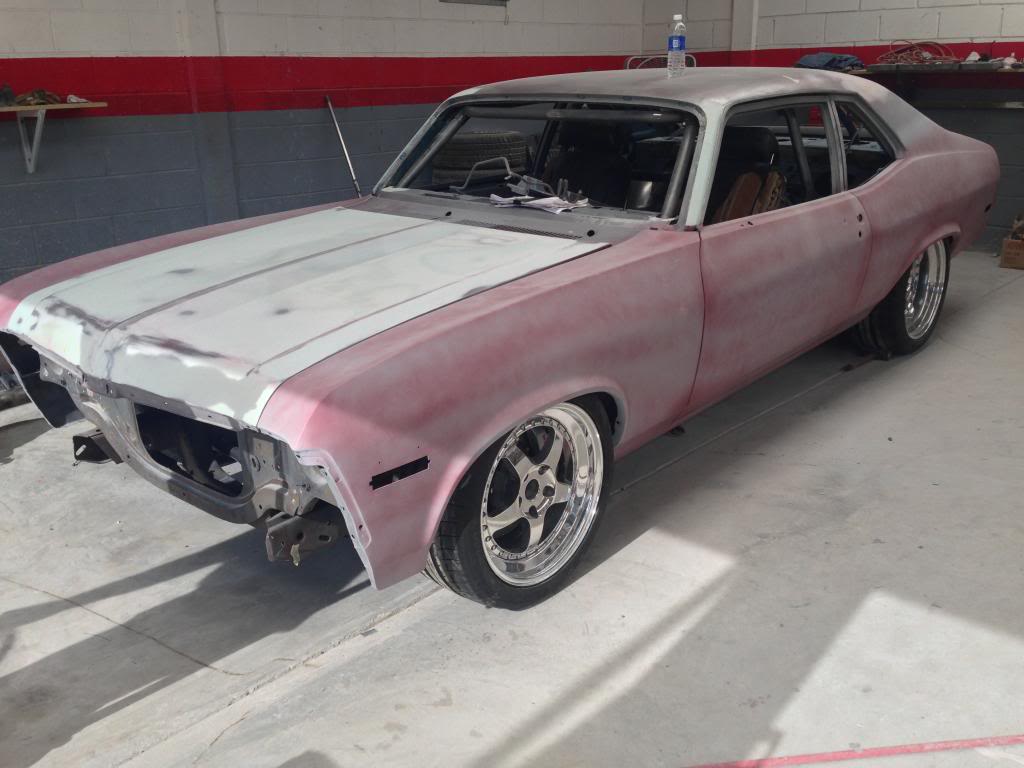
This is as I got it with some cheap modular wheels with mismatched tires:
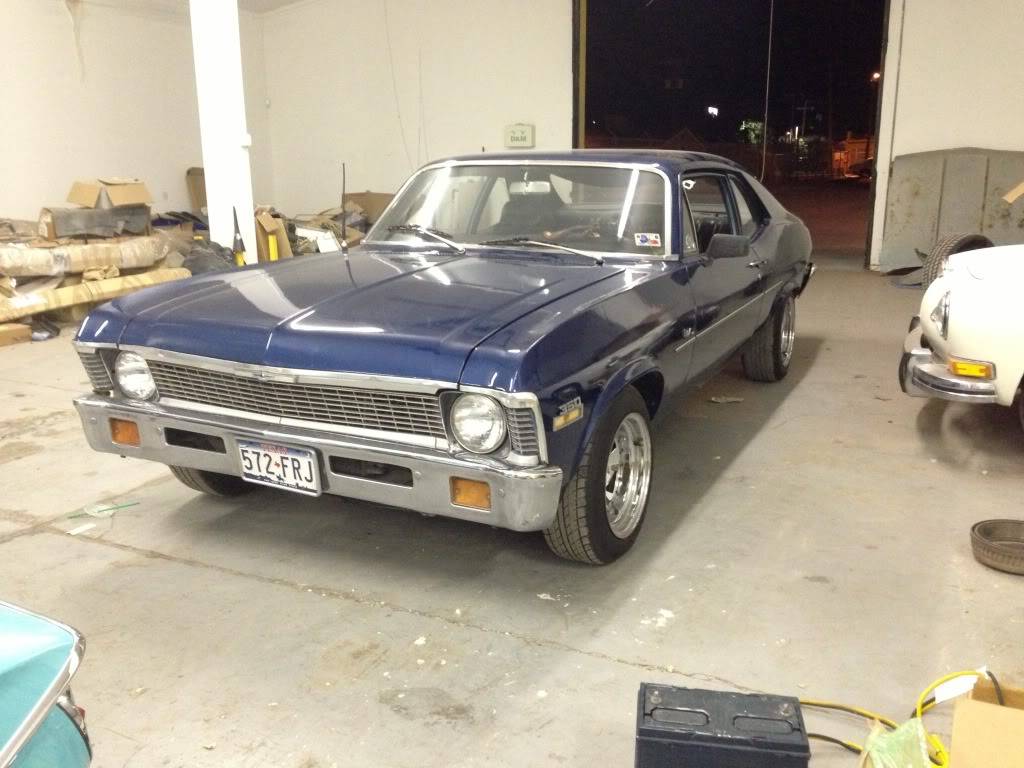
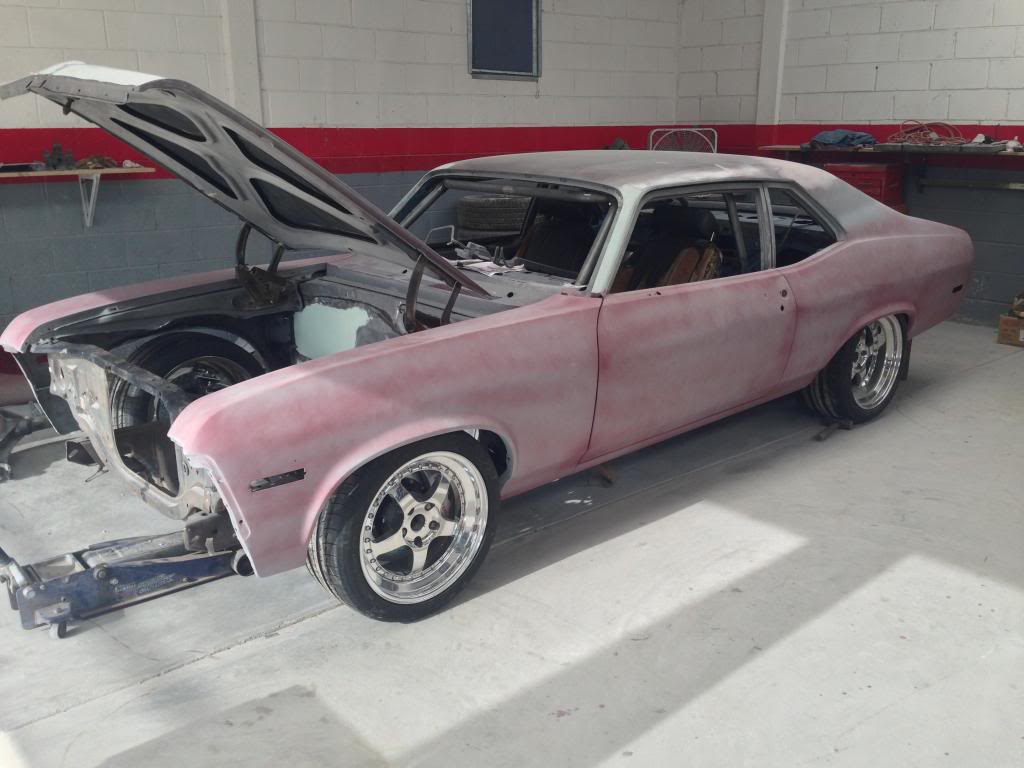
I had some Cragars laying around with fresh tires. I love how these cars look with the S/S wheels so I slapped them on.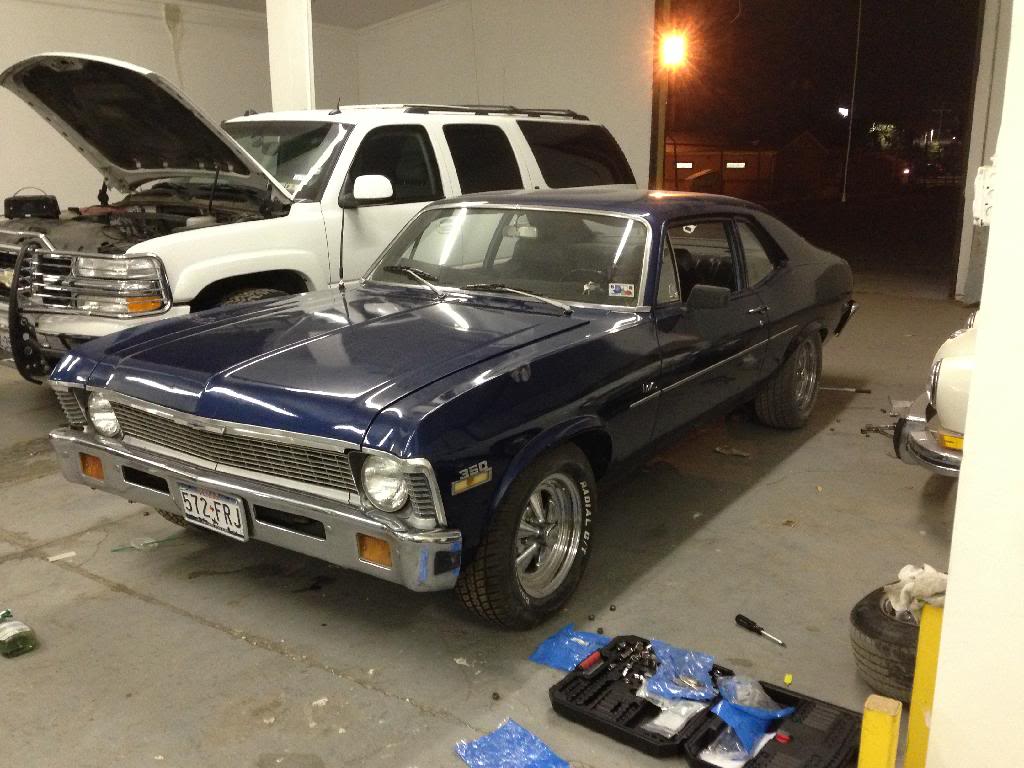
For a second I thought I might just refresh the smoky,leaky 350 and take my time with it.
Nah...
-
05-04-2014 #2
Registered User
- Join Date
- Nov 2007
- Posts
- 84
When I bought this car I had no illusions that I would be doing much work myself. Due to work and family, I no longer have any time left to turn a wrench, so I knew would have to find the right shop to do the work. After dealing with several shops (local and out-of-town) and meeting with disappointment every time, a local shop's name kept coming up. It was Street Toys in Ciudad Juarez Chihuahua Mexico. I knew a friend of theirs quite well and he would constantly tell me to stop messing around with other bs shops and just have them build my next project. He then showed me some cars they built and I was amazed at the attention to detail of the builds. Another motivating factor for me was that it was local.
If you read The Rodder's Journal or frequent the HAMB you'll recognize the name as they restored the Nick Mura Willys truck a couple years back and showed at the Good Guys show in Scottsdale with their restored McMullen Dodge A100.
Being in El Paso, TX my work also requires me to cross the border to work in Ciudad Juarez several days a week. This would make it easy for me to also check on progress so I decided to pay them a visit after work one day.
Jesse "Chuy" Gonzalez was very accomodating during the tour of his shop and the layout and quality of work displayed was second-to-none.
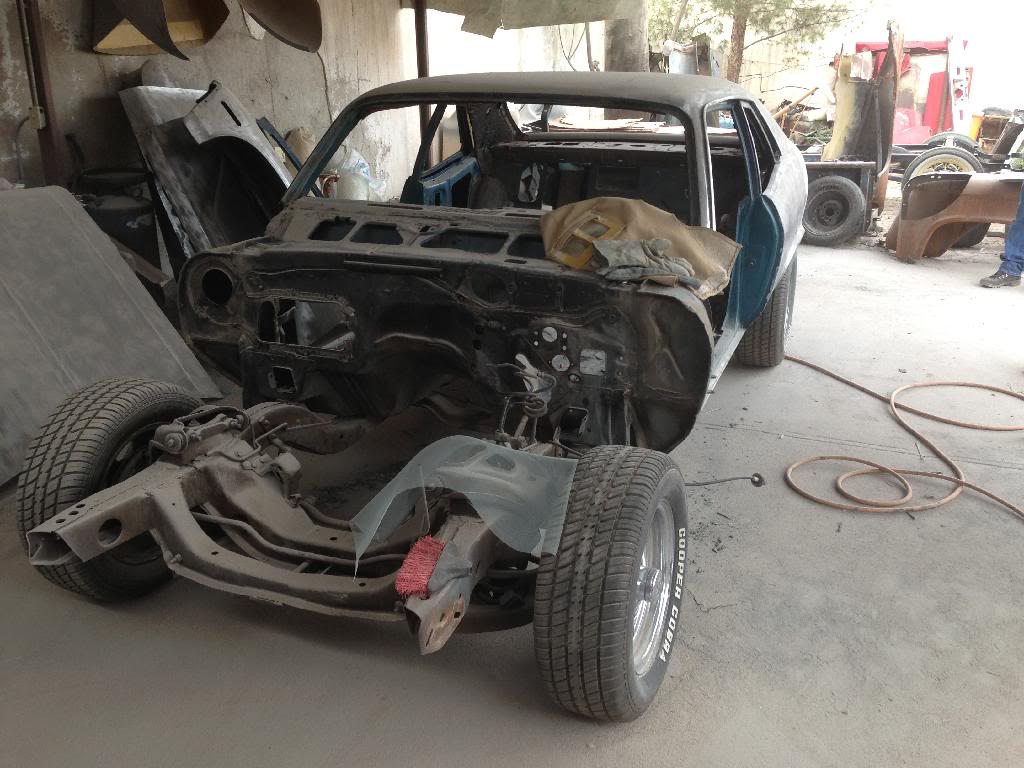
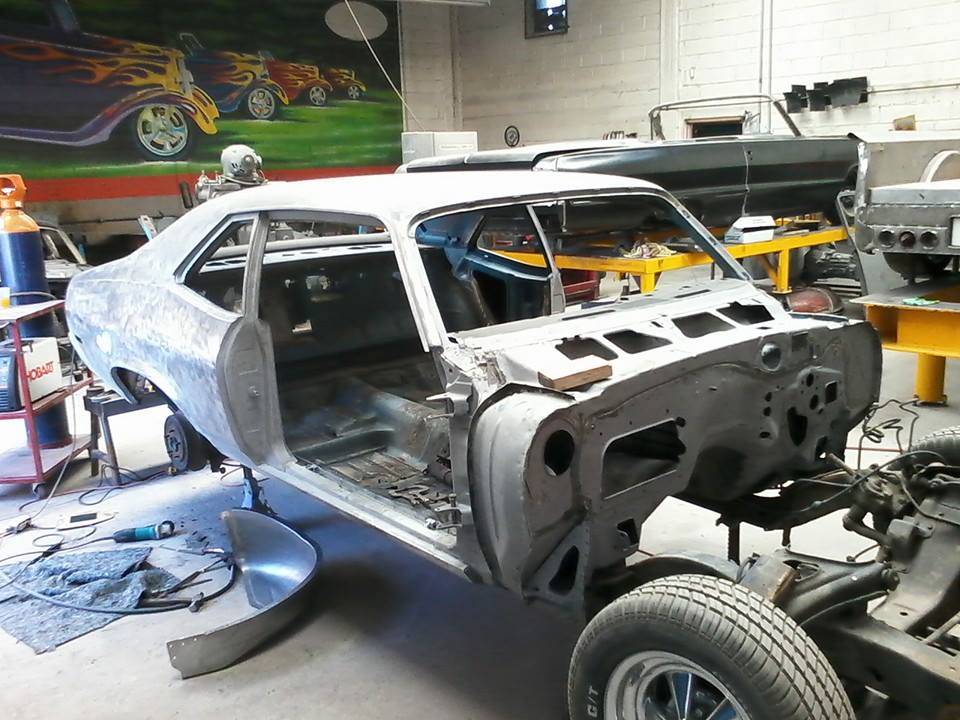
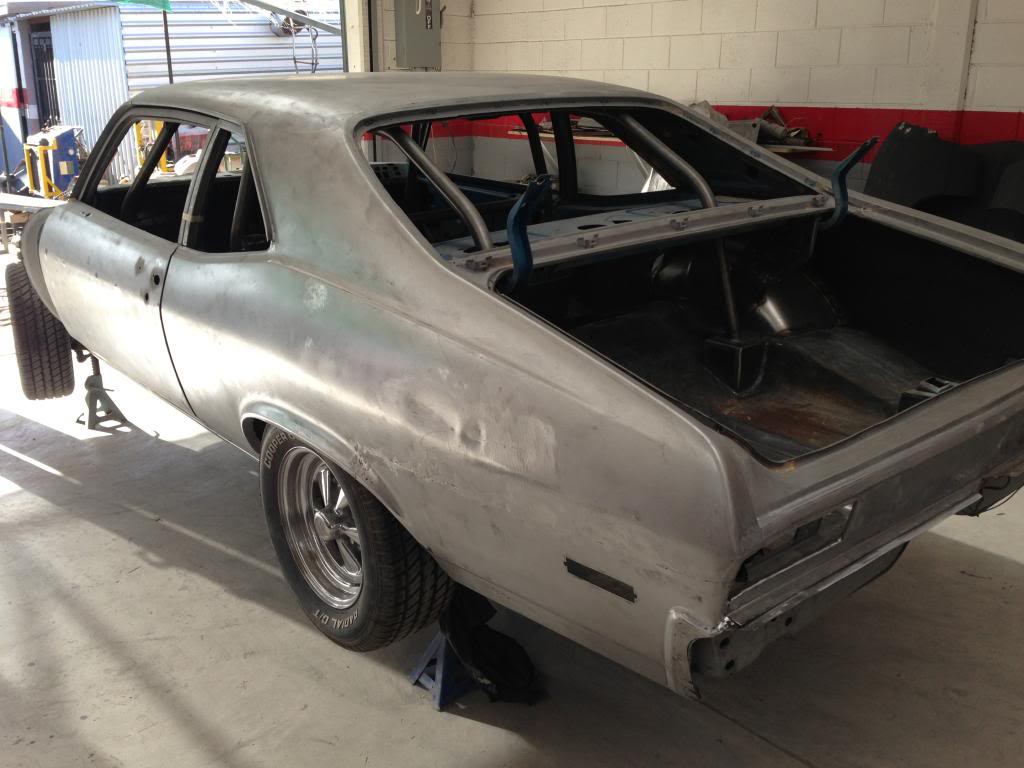
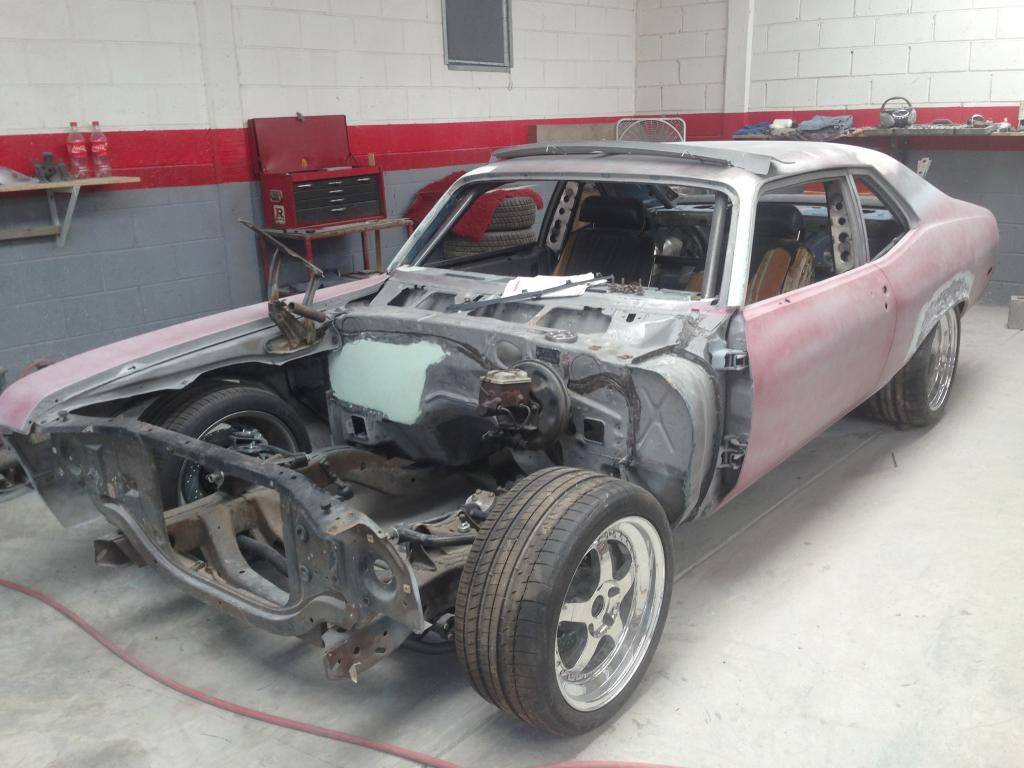
After showing him the car and discussing the scope of the project we came to an agreement and the car would be built in Mexico using mostly US parts, much like many domestic vehicles today, lol. As shown in the first post, the car was quickly stripped with rust repair following. Luckily, my car was literally 98% rust free making the project go by much quicker. The pics below show progress to-date. Updates won't be as frequent, but I wanted to show you guys where we are right now.
Here's some pics Chuy took installing the minitubs:
Minitubs in and suspension mocked up:
Rollcage begun:
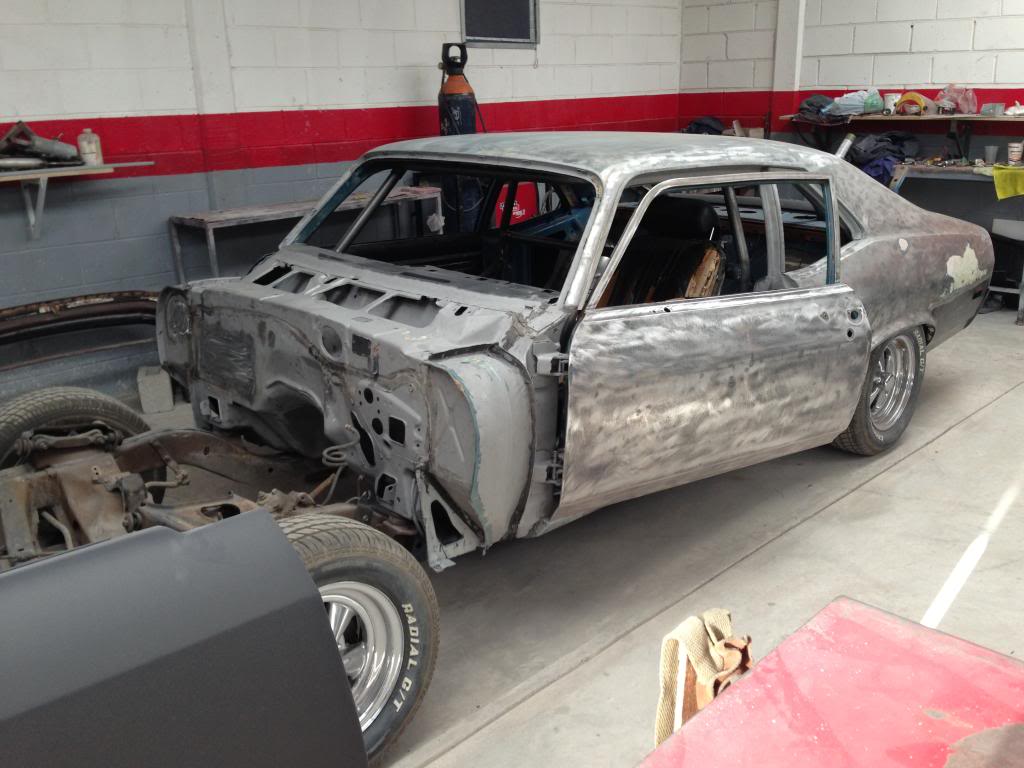
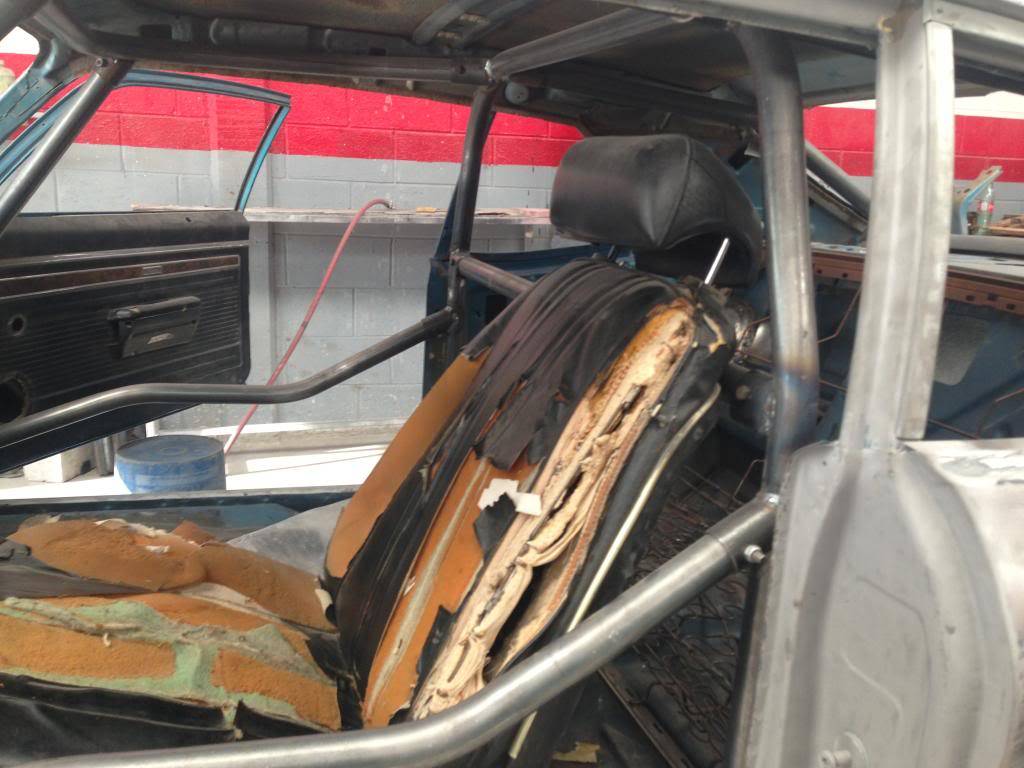
Completely stripped, not a spec of paint or filler on exterior. The dent on the quarter was the worst of all the prior damage.:
05-04-2014 #3 Registered User
- Join Date
- Mar 2013
- Location
- Beaufort,SC
- Posts
- 329

Can't wait to see more of this. I'm at work so I can't see the pics yet.
05-09-2014 #4
Registered User
- Join Date
- Nov 2007
- Posts
- 84
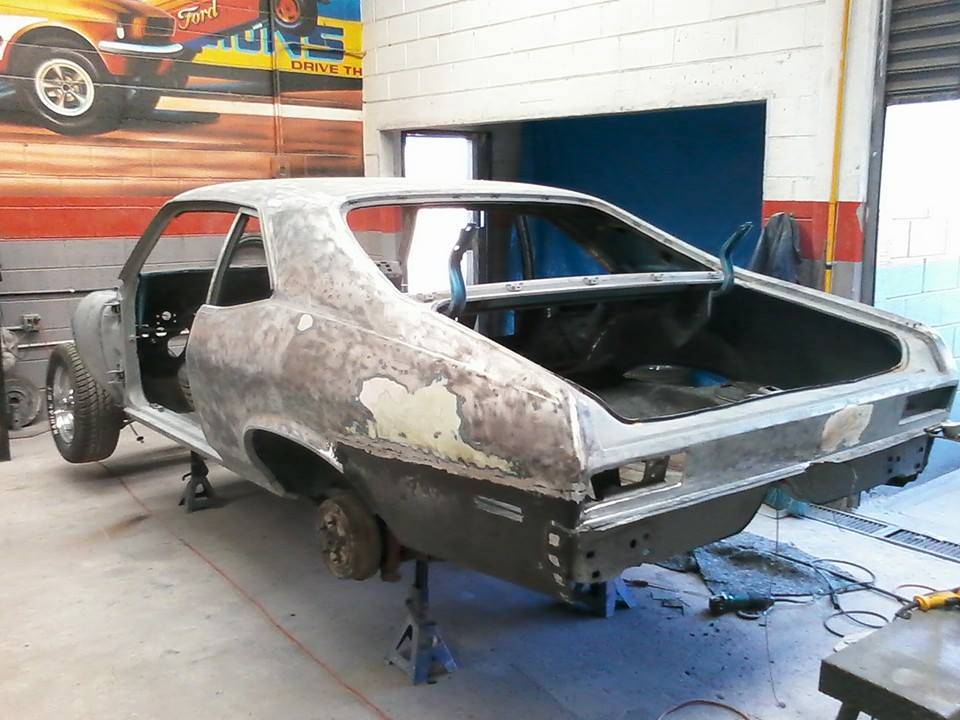
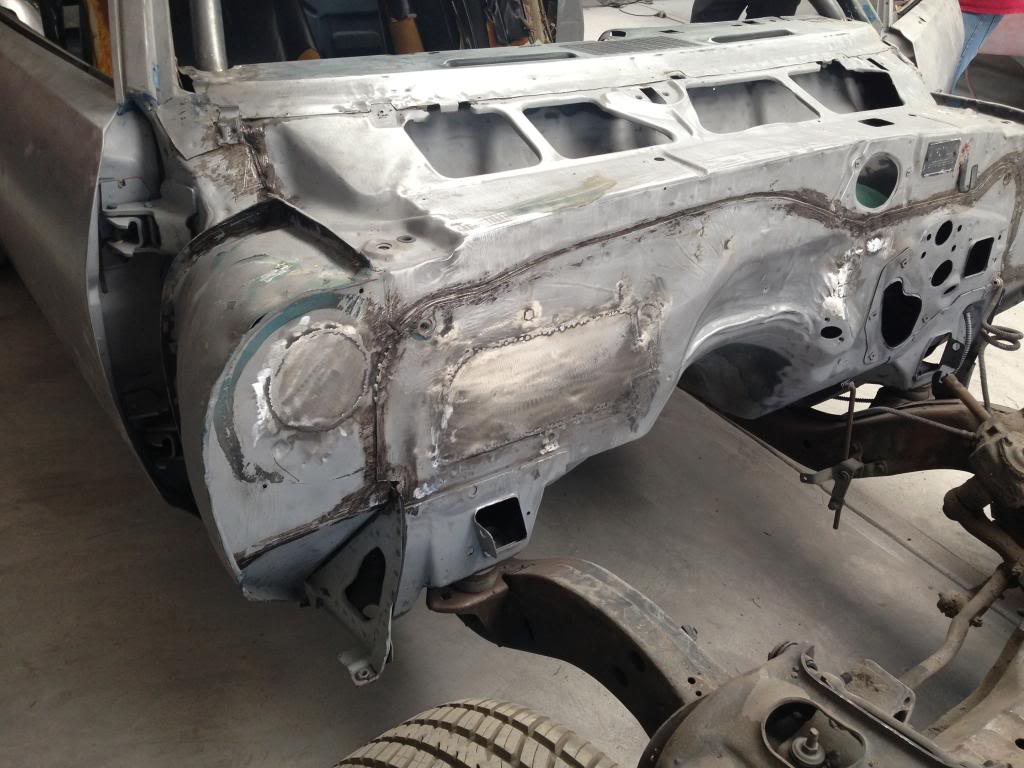
Dropped by Street Toys today to check on progress. There was some more panel beating to straighten some of the smaller dents, but it won't come out too well in pics. Here's the more obvious stuff:
Better pic of the initial firewall work:
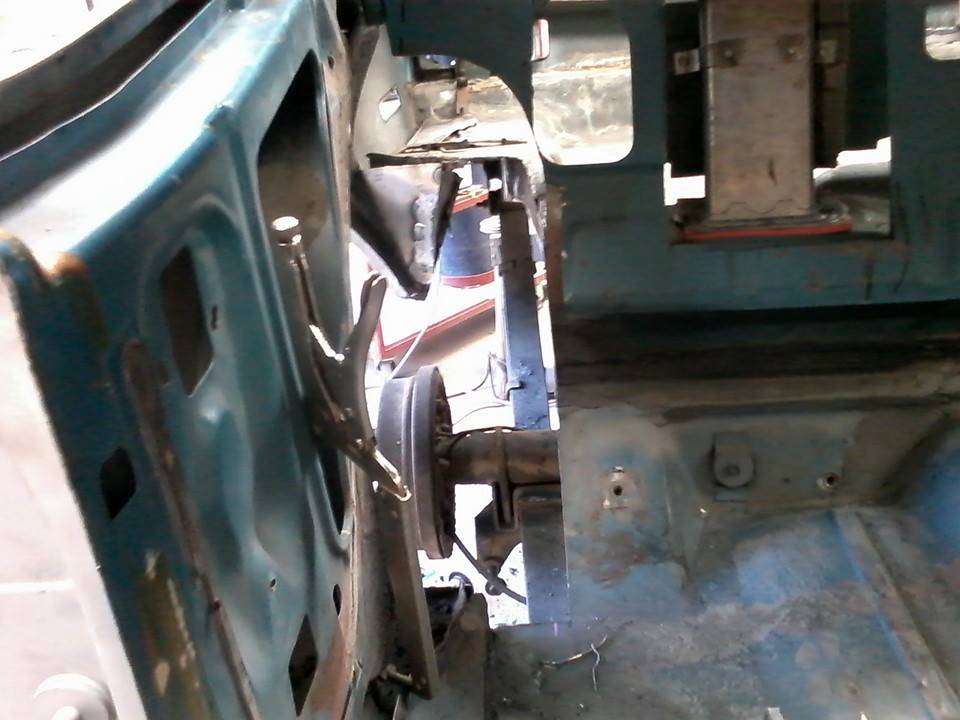
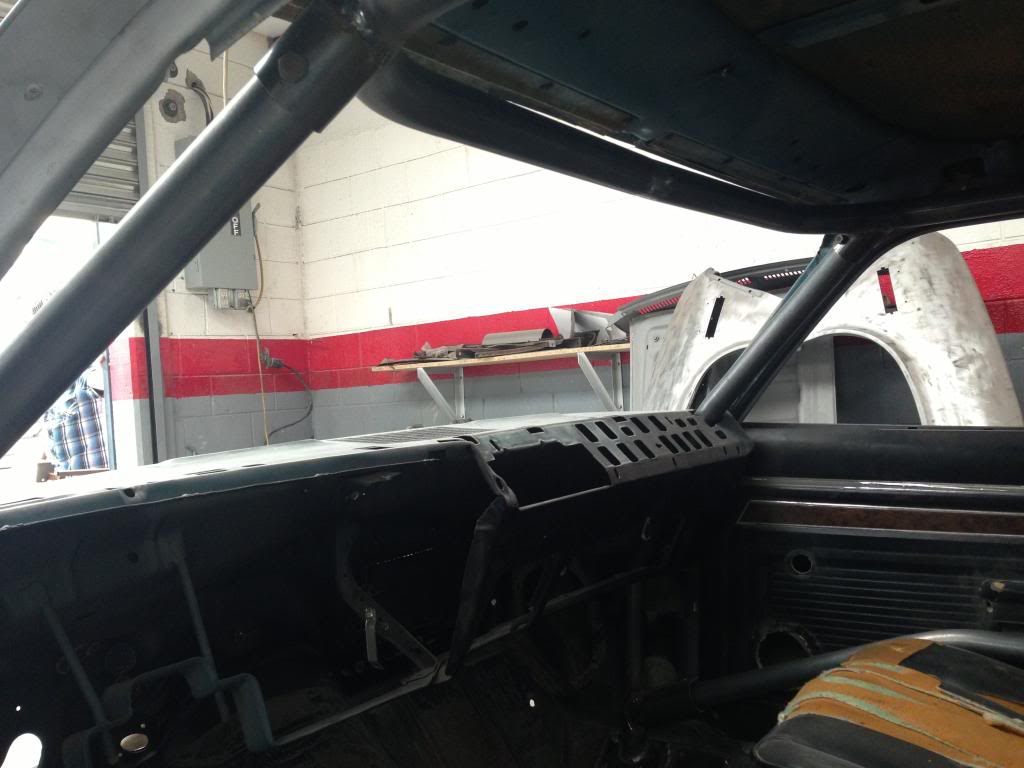
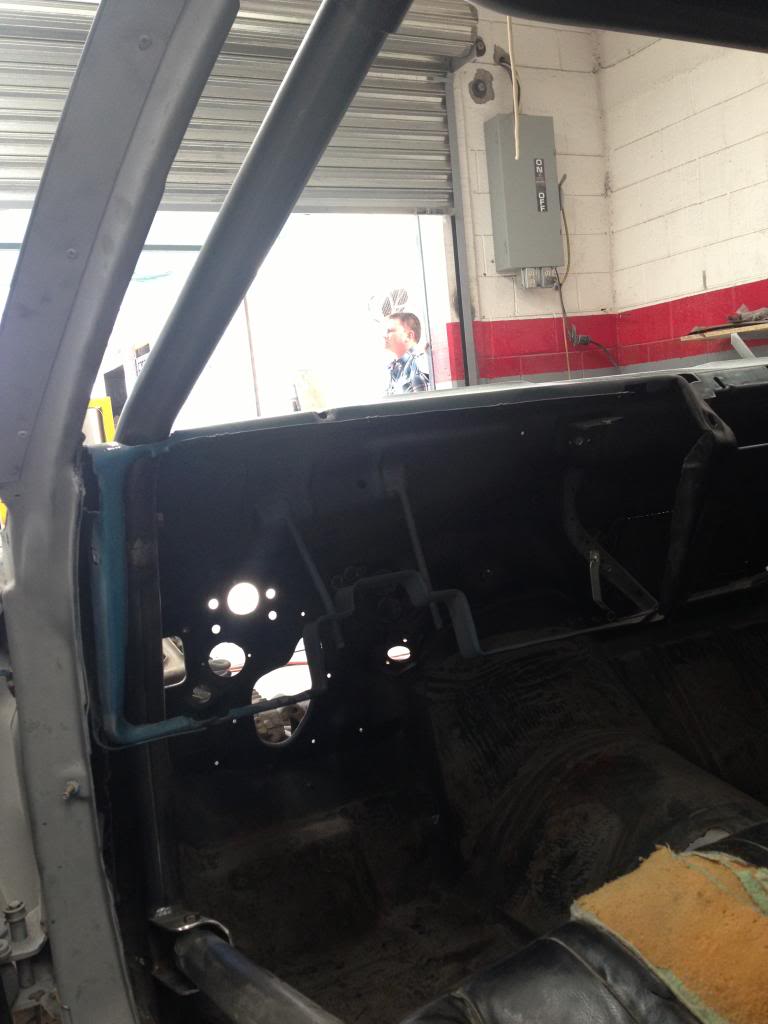
The original rollcage configuration felt a little claustrophobic (you can see in the previous posts) so we went through the dash to give me more left knee room. Looks and feels much better now.:
I also ordered up a set of these in 18x9.5 5.75 bs and 18x11 with 5.5 bs. Front is sized to work with the Tru Turn and the rear end will be a 9-inch cut to fit.

06-03-2014 #5
Registered User
- Join Date
- Nov 2007
- Posts
- 84
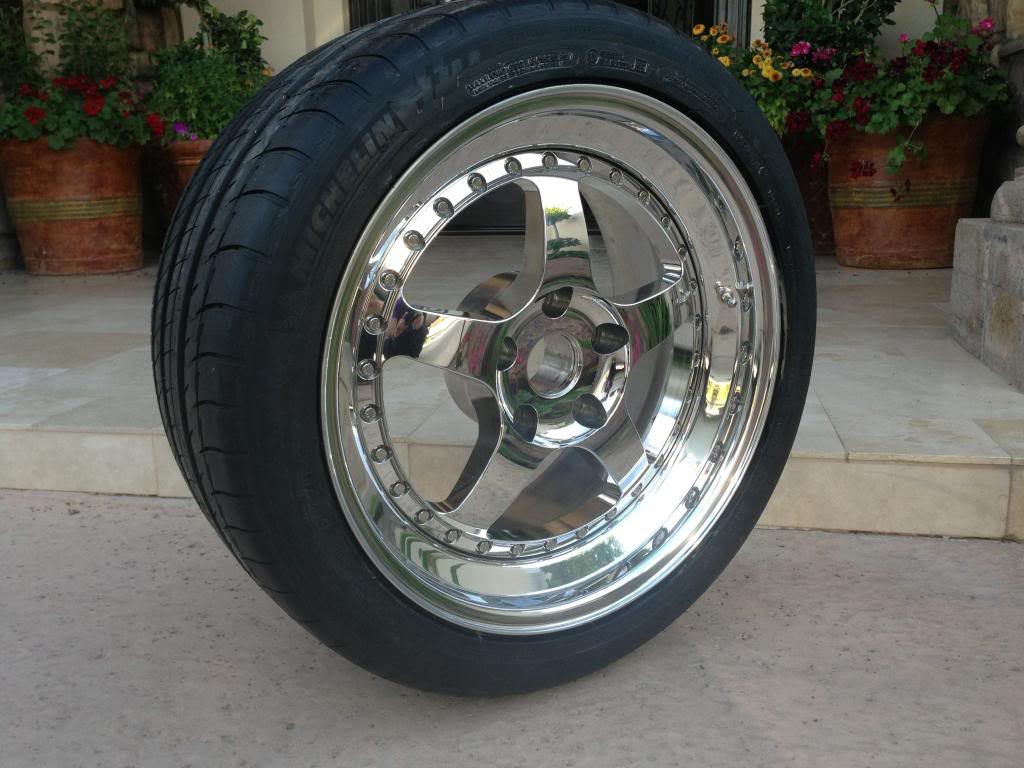
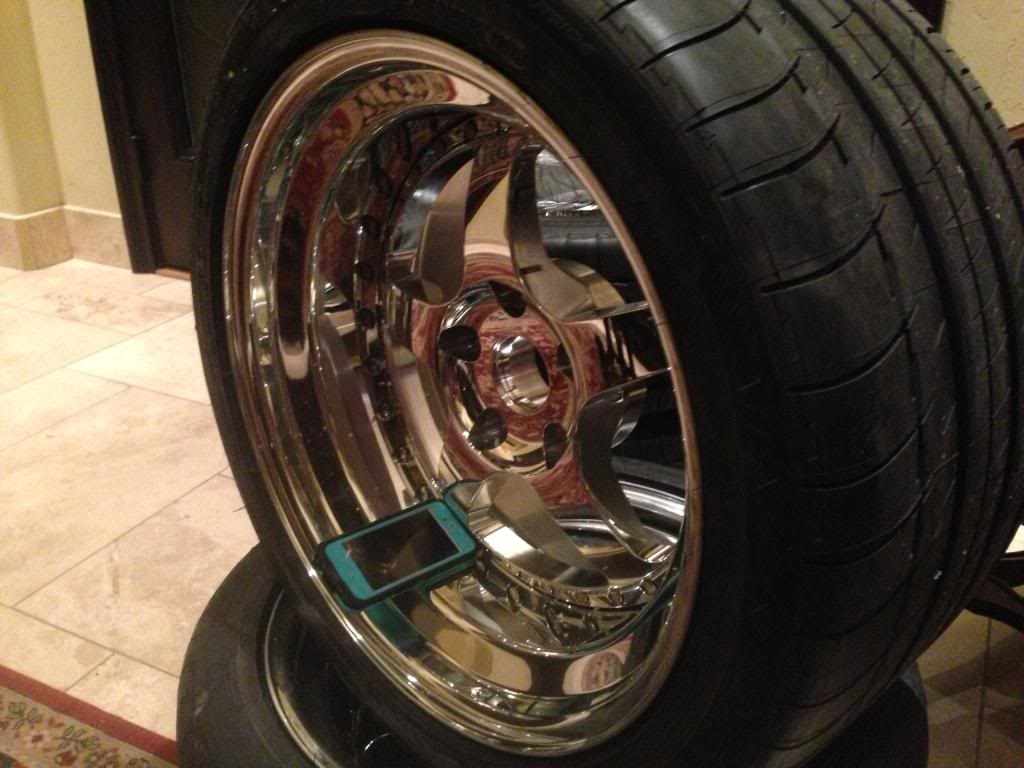
Rims and tires arrived. The rims are CCW K57 in all polished finish. Since this is a street car I didn't want an competition compound and the only option I could find available in the sizes I wanted was the Michelin PS2.
Sizes are 18x9.5 with 275/35/18 in front and 18x11 with 315/30/18 for the rear

06-03-2014 #6 Registered User
- Join Date
- Apr 2009
- Location
- FRANCE
- Posts
- 683

I love the Nova's body !
I want one... But way too expensive in Europe...
Nice work !
Good choice with the wheels.
Gil
06-05-2014 #7
Registered User
- Join Date
- Nov 2007
- Posts
- 84
Thanks, Gil.
Dropped the rims off at the shop and the work doesn't stop. Here's a pic of the guide coat as they continue to get the body straight:

06-22-2014 #8
Registered User
- Join Date
- Nov 2007
- Posts
- 84
Engine/trans combo arrived. LS3/TR6060 from a 2012 Camaro:
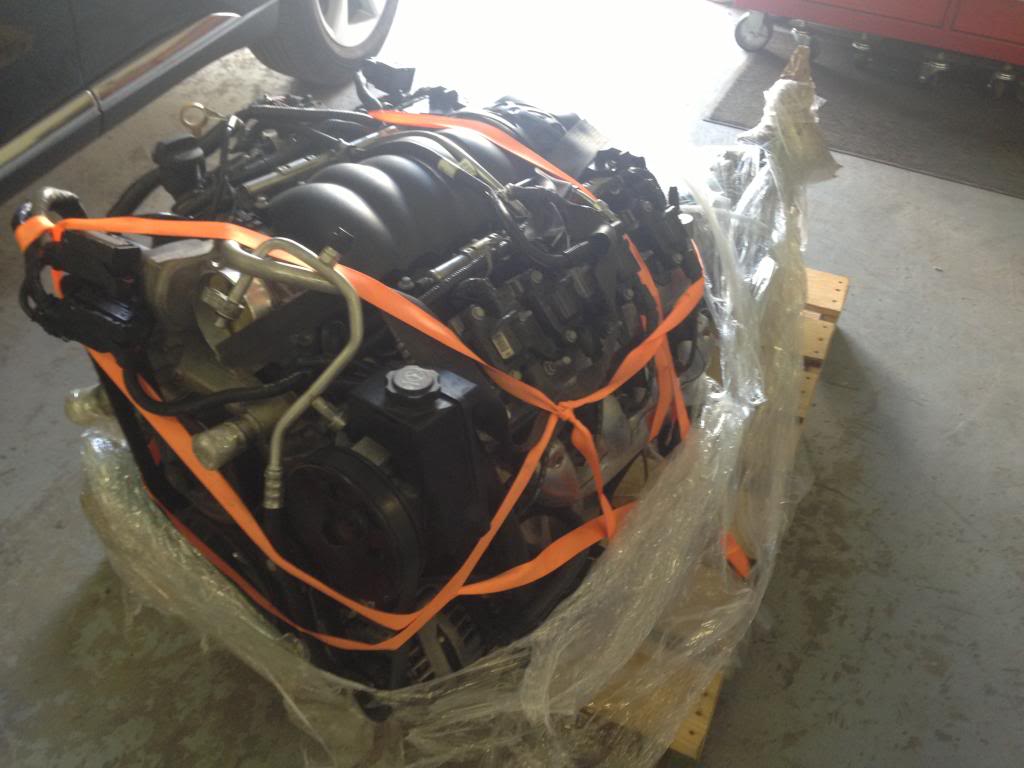
At a minimum, I will be doing a cam, but most likely heads/cam and a supercharger down the road after the car is up and running.
06-26-2014 #9
Registered User
- Join Date
- Nov 2007
- Posts
- 84
Mocking up for wheel/tire clearance. In this pic, it was set a bit low and the clearance for the fronts, even with 5.75 backspace with Tru-Turn setup was not possible due to the fenders.:
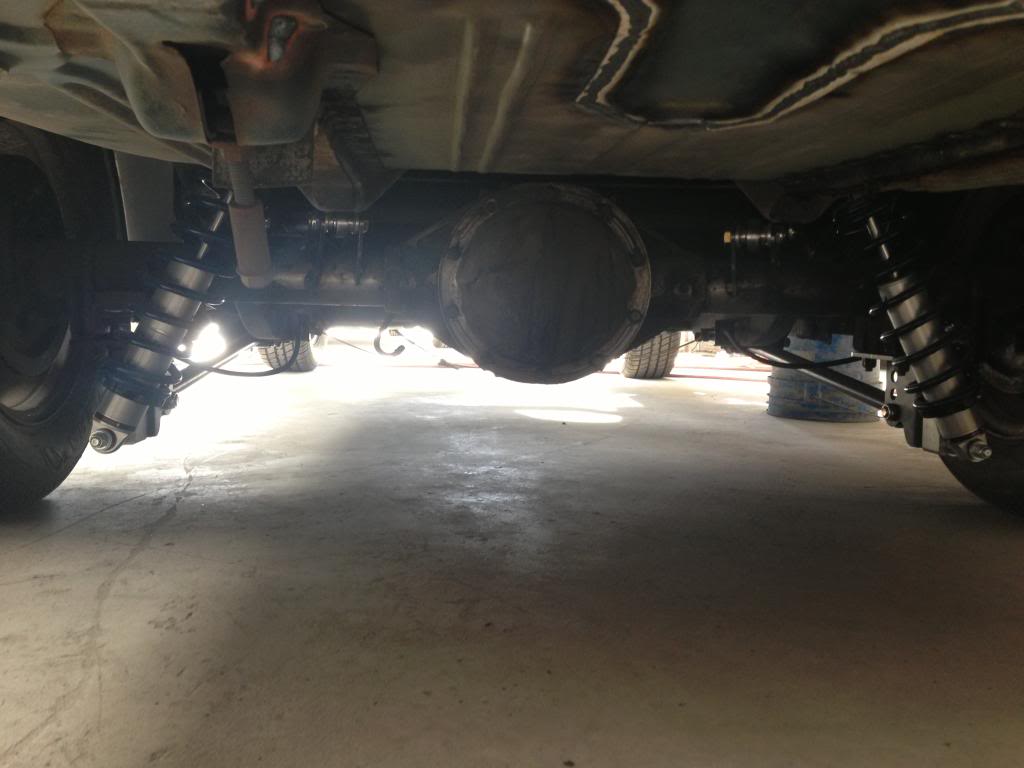
Although I want it to sit low, this height seemed a bit more realistic, although it's still going to take some massaging to clear. Same goes for the rear as I want the wheels to be as far out as possible so the fenderwells need a little more massaging as well. Once we figure that out, we will finalize the measurement for the rear end. Still not sure whether to go with a 9-inch or 12-bolt. :
07-11-2014 #10
Registered User
- Join Date
- Nov 2007
- Posts
- 84
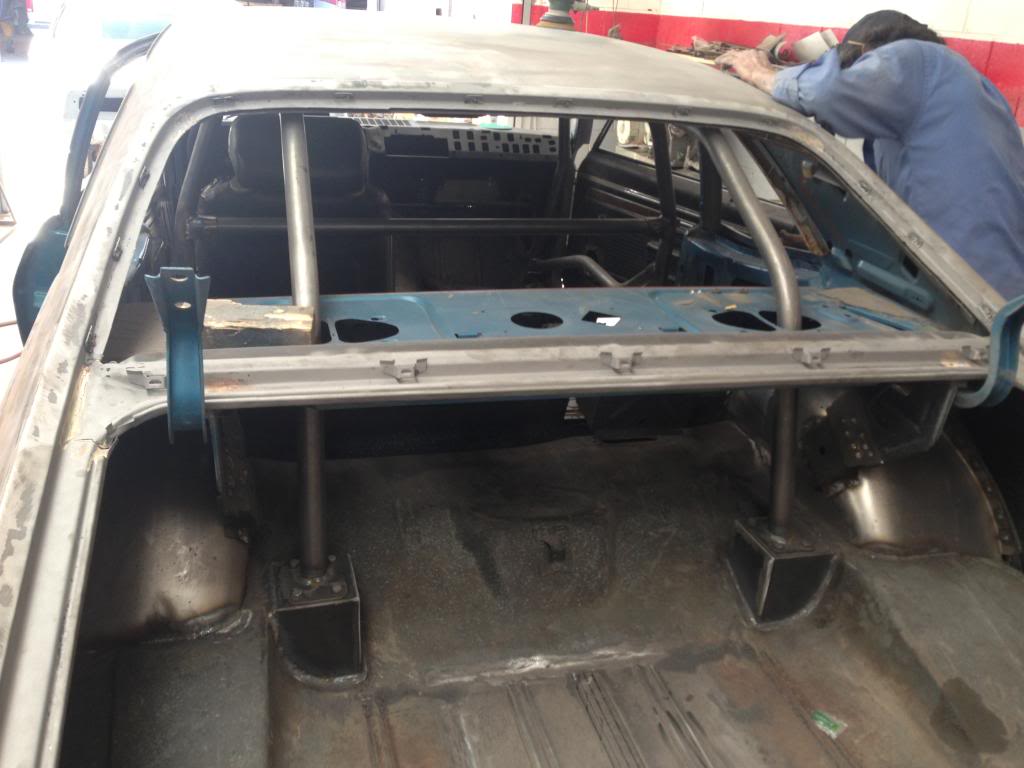
Some more progress. While I really liked the last rollcage layout at first, it blocked out some visibility on upper portion of the windshield and reduced headroom for the back. As the front gave a me a slight claustrophobic feeling and my children will eventually grow to a point where the rear headroom will make a difference, I decided to have them re-do it. Unfortunately, I was in a rush and forgot to take many pictures this time. If you look closely, you'll see the rollcage is now a bit more stealth and I also had them add the gussets/reinforcement plates.:

I wanted the wheels to fit more aggressively but the outer area (where it mates to the fender) of the minitub needed to be re-worked to do so. You'll see the primer removed from the rear wheel openings which was necessary as the minitubs were cut and rewelded on the inside. I can now fit a bigger tire, if I choose to but too late now. I guess I'll just wait until these tires wear out and rebarrel the wheels to 18x12.5 or 18x13 then.
An even bigger challenge is getting the front tires to clear the fenders when turning but it looks like Chuy has come up with a solution I'll post up at a later date.
08-15-2014 #11
Registered User
- Join Date
- Nov 2007
- Posts
- 84
Engine and trans have been mocked up:
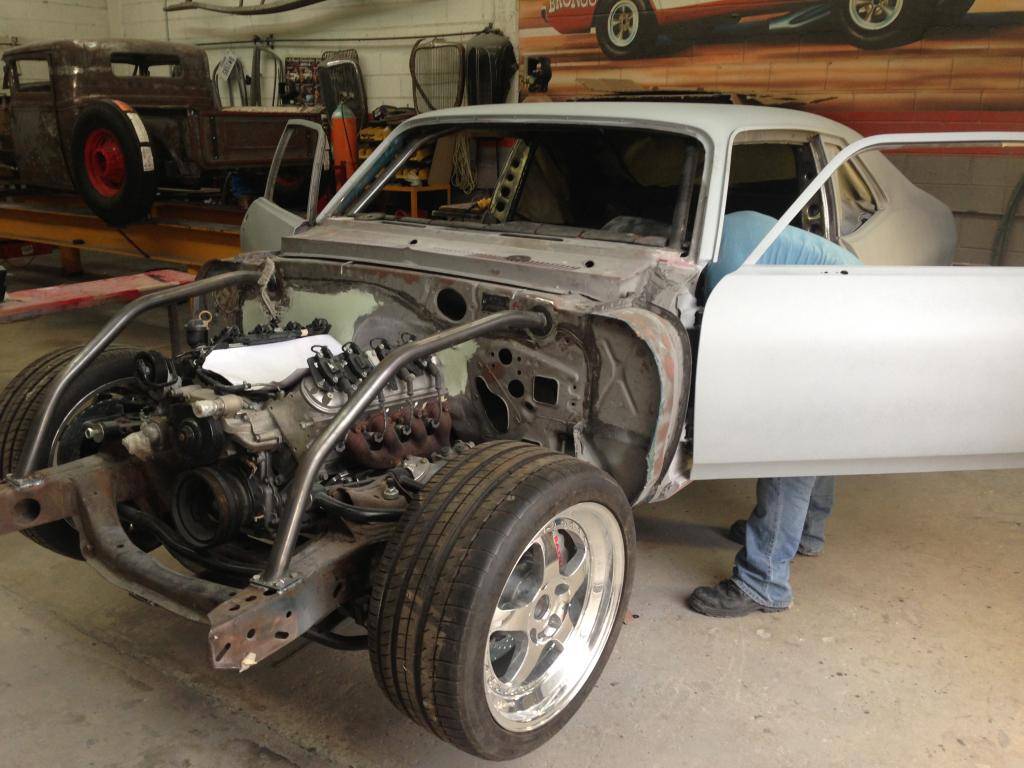
I don't know what to do about the shifter. We're gonna put the steering column back in and figure out what would be most comfortable position. So far, it's mocked up with the OEM Camaro TR6060 setup. I think if I put it 3-4" forward it will work so rather than get a new shifter mechanisim. I may have a simple lever/bracket made to move the stick forward to fall in a more comfortable position, though I'm open to suggestions. While it's not quite a budget build, I'd rather get creative (that's part of the fun!) than just order new parts.

08-16-2014 #12 Registered User
- Join Date
- May 2010
- Location
- WV
- Posts
- 202
very nice build,great job so far.
04-09-2015 #13
Registered User
- Join Date
- Nov 2007
- Posts
- 84
Well after a whole lot of fab, adjustment and unexpectedly long lead times on several crucial components it finally made it to the paint booth. I had a hell of a time picking the color. I was torn between several modern colors available on current cars. At the end of the day, I ended up letting the car make the decision, painting it the original color with info straight from the trim tag. Color code 26: Mulsanne Blue.

04-10-2015 #14 Registered User
- Join Date
- Nov 2006
- Location
- Hildebran, NC
- Posts
- 992
Wow...looks great!!
It is hard to beat factory colors.
04-10-2015 #15
Registered User
- Join Date
- Nov 2007
- Posts
- 84
Agreed. I am going to keep the exterior (minus the rims/tires and lowered stance) 100% original. Interior is going to be done in a stock style as well. Originally Posted by rchaskin

04-22-2015 #16
Registered User
- Join Date
- Nov 2007
- Posts
- 84
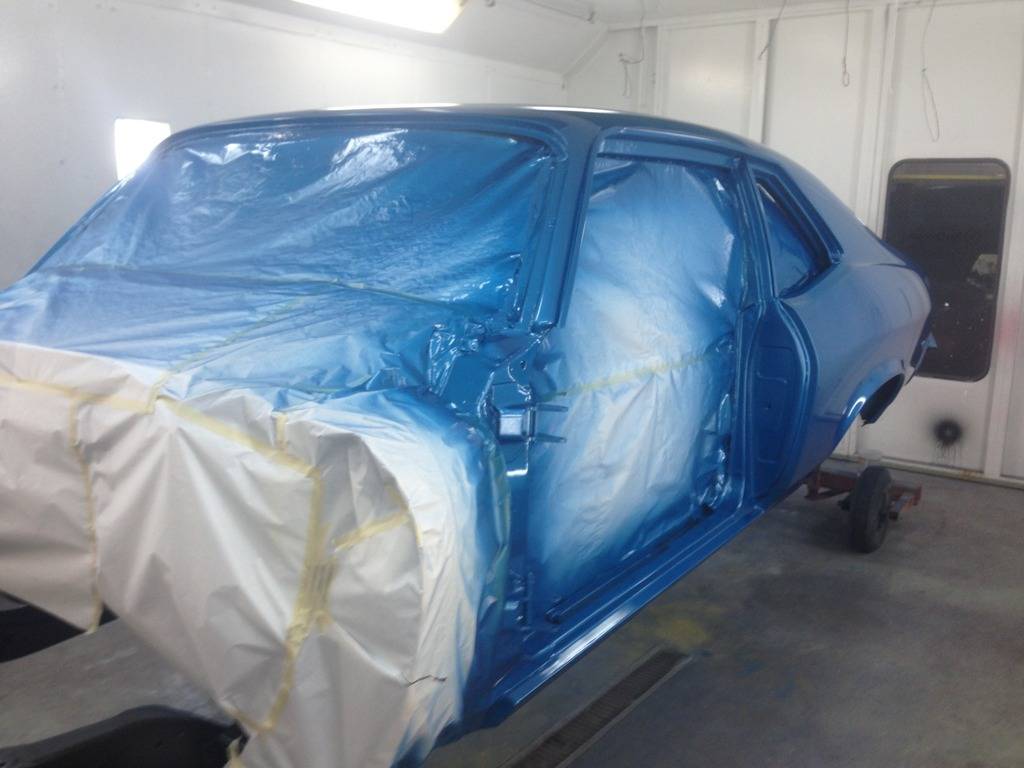
In the booth:
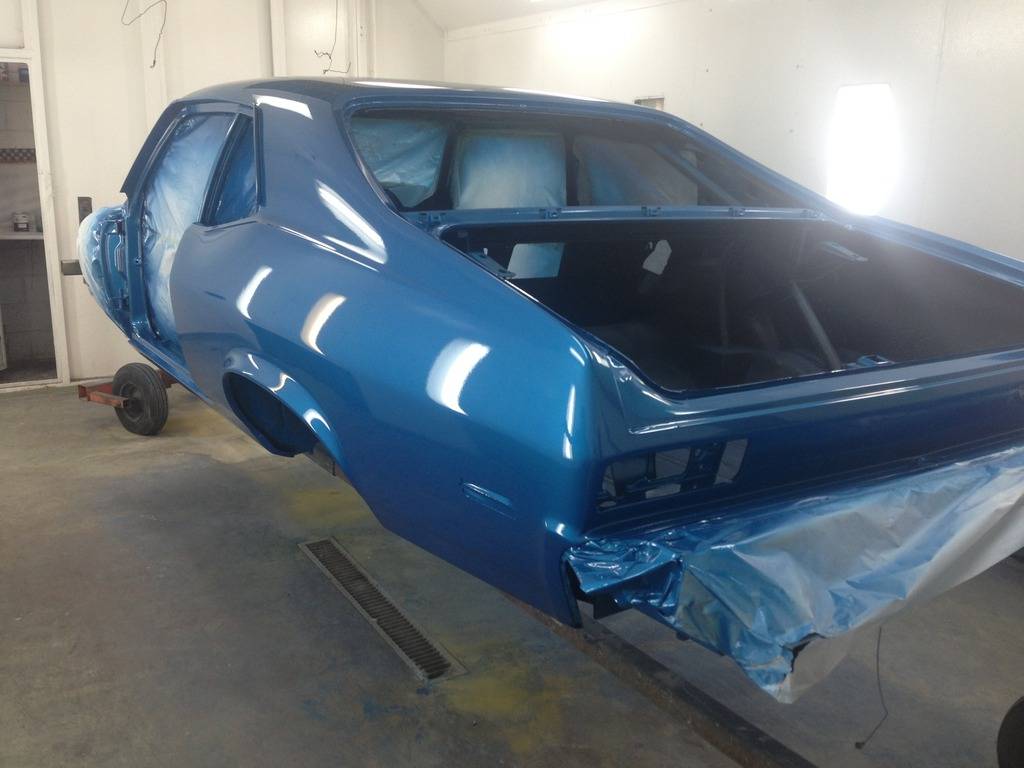
And out:
Sprayed belly with Lizardskin:
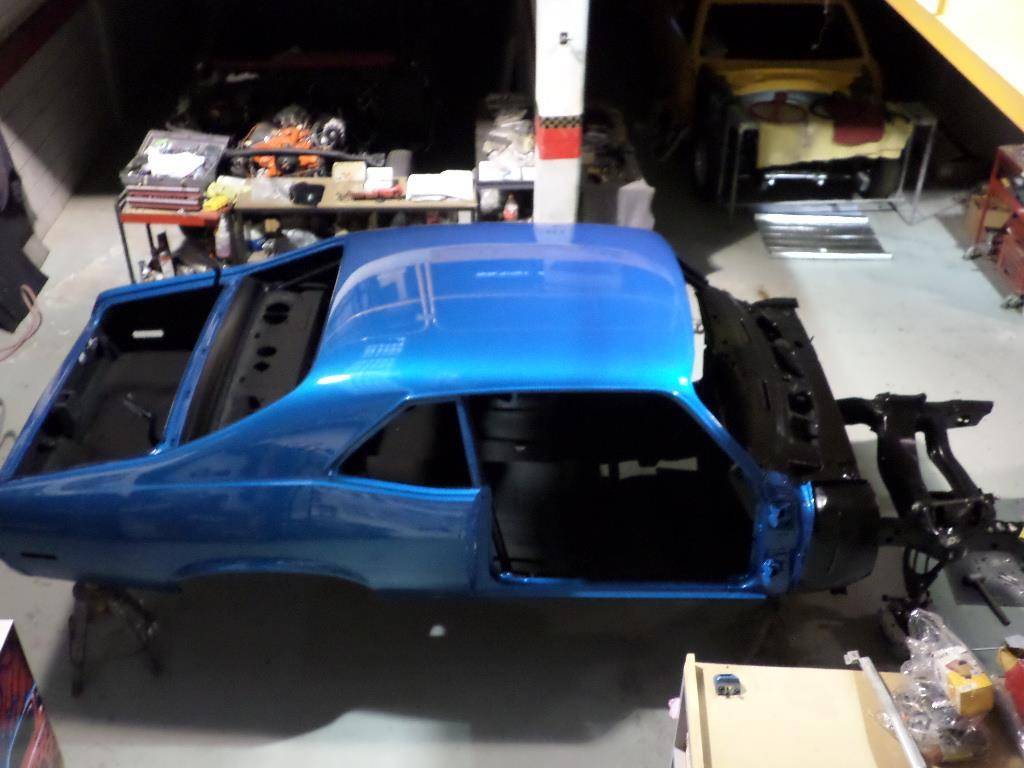
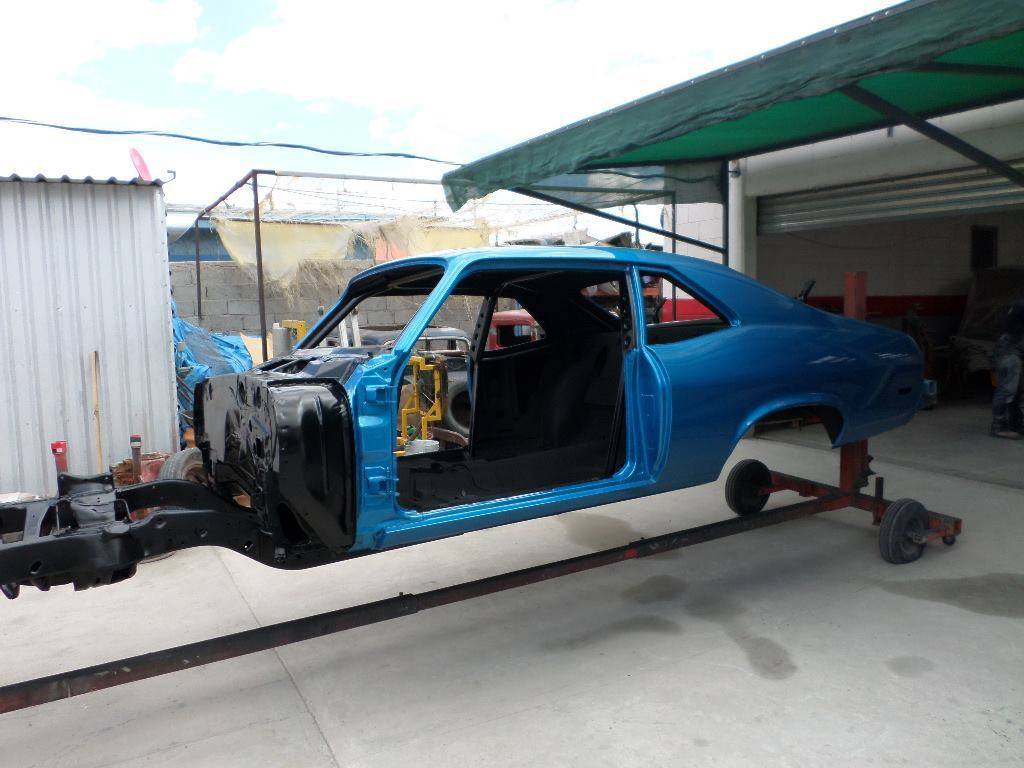
Beginning reassembly:
04-22-2015 #17 Registered User
- Join Date
- Dec 2006
- Location
- Petersham ,ma
- Posts
- 522
Great looking build! I didn't know anyone in Mexico could build cars like that! Lol
04-22-2015 #18
Registered User
- Join Date
- Nov 2006
- Location
- Cincinnati Ohio
- Posts
- 1,060
Upper Control arms are put on wrong.
1972 Nova Ridetech, Forgeline, Falken Tires, Wilwood, Bowler Performance Transmission, Lingenfelter Performance Engineering.
04-23-2015 #19 Registered User
- Join Date
- Jul 2010
- Location
- Rancho Murieta
- Posts
- 54
Great color! This is going to turn out really nice!
93 RCSB GMC Sonoma Tubular Ub Machine UCA's, 3" Belltech coils, 3" Summit Racing leafs, ZQ8 front and rear sway bars,trans am steering box, KYB-Gr2 shocks, 255/40/17 Bridgestone Potenza RE760, Eagle 212 17X8".
04-23-2015 #20
Registered User
- Join Date
- Nov 2007
- Posts
- 84
Thanks, guys. Yes, this shop does amazing work.
Thank you for the observation. What is the correct way? Anything else I should look out for? Originally Posted by Bad94


 Reply With Quote