

Results 21 to 40 of 58
Thread: 1969 Camaro at the Roadster Shop
-
08-09-2011 #21

 Registered User
- Join Date
- Aug 2007
- Location
- Vancouver, BC
- Posts
- 125
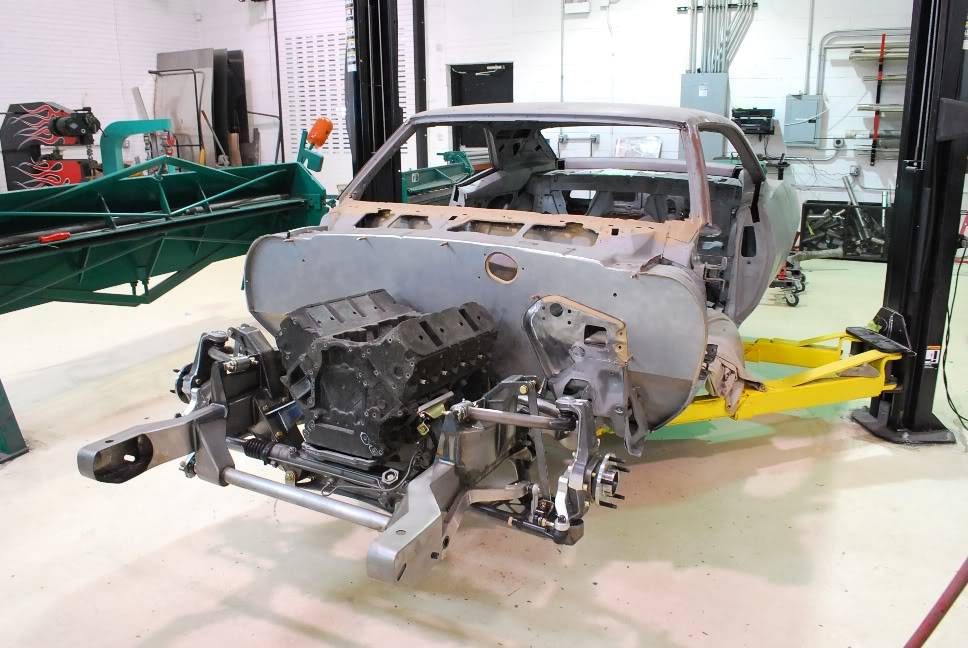
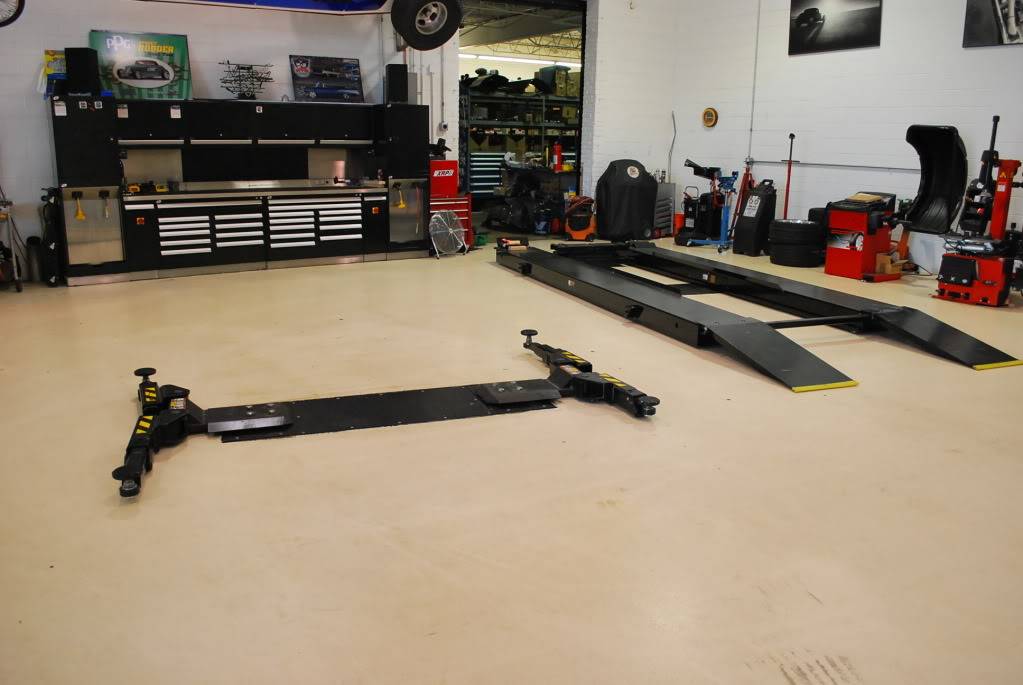
 This pic looks funny, like they're just lying there and with the help of a couple buddies could be moved quite easily.... not so much haha.
 Originally Posted by ROADSTER SHOP

1972 Nova, forged LQ4 with twin 6466's, T56 Magnum, OEM subframe w/ Speedtech front, Chassisworks gLink rear, Ridetech coils & Wilwoods, with a rear floater in the works --> http://www.ls1tech.com/forums/conver...1972-nova.html
-
08-10-2011 #22 Registered User
- Join Date
- Oct 2009
- Location
- Amherst, OH
- Posts
- 524

Subbed!!!
08-10-2011 #23
New to Pro-Touring
- Join Date
- Mar 2005
- Location
- Austin TX
- Posts
- 6
Very cool! Shop and work you guys are doing are both exceptional!
Nick
Broken Bolt Garage1969 Camaro
11:1 496, Richmond ST10 4-Speed 3.55s SpeedTech Pro Touring suspension with AFX spndles
Kore3 C5 13" Front Discs, 79 T\A rear Discs, 18" Forgeline WC3 wheels and BFG KDW tires
http://www.brokenboltgarage.com
08-10-2011 #24
Registered User
- Join Date
- Dec 2007
- Location
- Mundelein, IL
- Posts
- 148
Further progress on the panel replacement.
08-10-2011 #25
Registered User
- Join Date
- Dec 2007
- Location
- Mundelein, IL
- Posts
- 148
Smoothing out the firewall.
08-11-2011 #26 Registered User
- Join Date
- Aug 2004
- Location
- Rustburg, Virginia
- Posts
- 3,436
Looks great...I gotta ask, how do you guys get a bead roller in there to do the firewall with the panel already in place? Wait, I think that I see clecos in the pictures before the bead rolling.
1970 RS/SS350 139K on the clock:
89 TPI motor w/ 1pc rear seal coupled to a Viper T56 via Mcleod's modular bellhousing w/ hydraulic T/O bearing from the Viper, 12 bolt rear w/ 3.73 gearing, SC&C upper control arms, factory lowers with Delalums, C5 brakes at all four corners, Front Wheels 17x8's with Sumi 255/40/17 and Rear Wheels 17x9's with Sumi 275/40/17.
Brief description of the work done so far can be found here: http://www.nastyz28.com/forum/showthread.php?t=112454
08-11-2011 #27 New to Pro-Touring
- Join Date
- Aug 2011
- Location
- GRIFFIN, GA
- Posts
- 8
Originally Posted by robertjra
when you mini tub you can still use the stock fuel tank . it depends on the rear suspention set up you use .
if you use stock style spring you have to use a narrowed tank.
if you use dse quad link style set up , you can use stock size tank.
08-11-2011 #28 Registered User
- Join Date
- Jul 2008
- Location
- ohio
- Posts
- 1,135
the cars looking great as usual you guys make it look so easy
 keep the wheels a spinning and the Beavers a grinning
 (burt reynolds-smokey and the bandit)
04-05-2012 #29 Registered User
- Join Date
- Sep 2011
- Location
- Mundelein, IL
- Posts
- 98
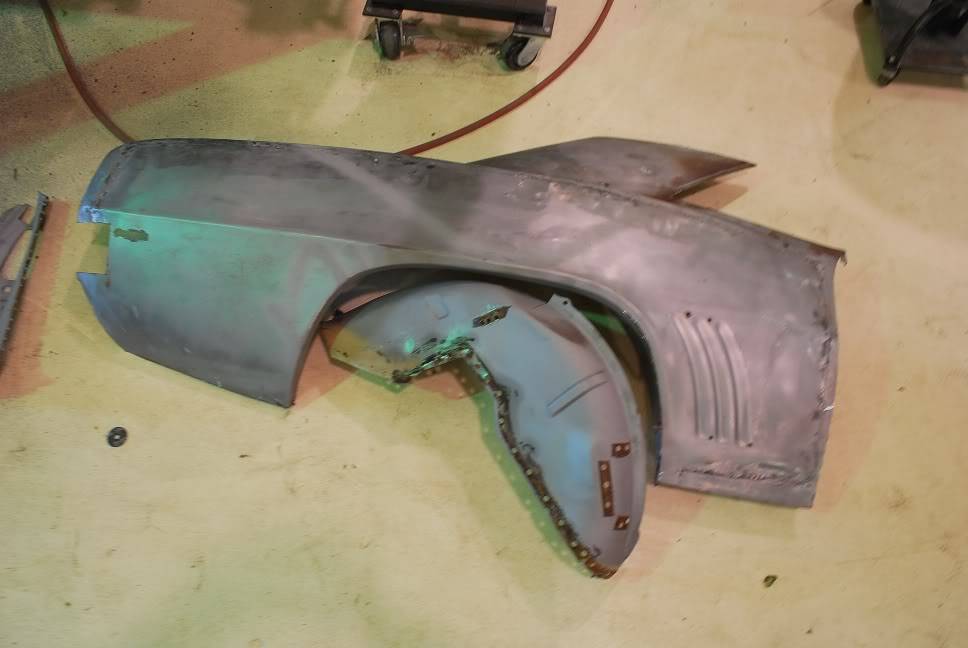
We have made some great progress in the last few months- so time for some updates! Passenger side installed and modified to fit. We widened the mini-tubs and finished the install. Started on to the driver side quarter and fitment. Also fit the front end and completed the driver side inner fender.
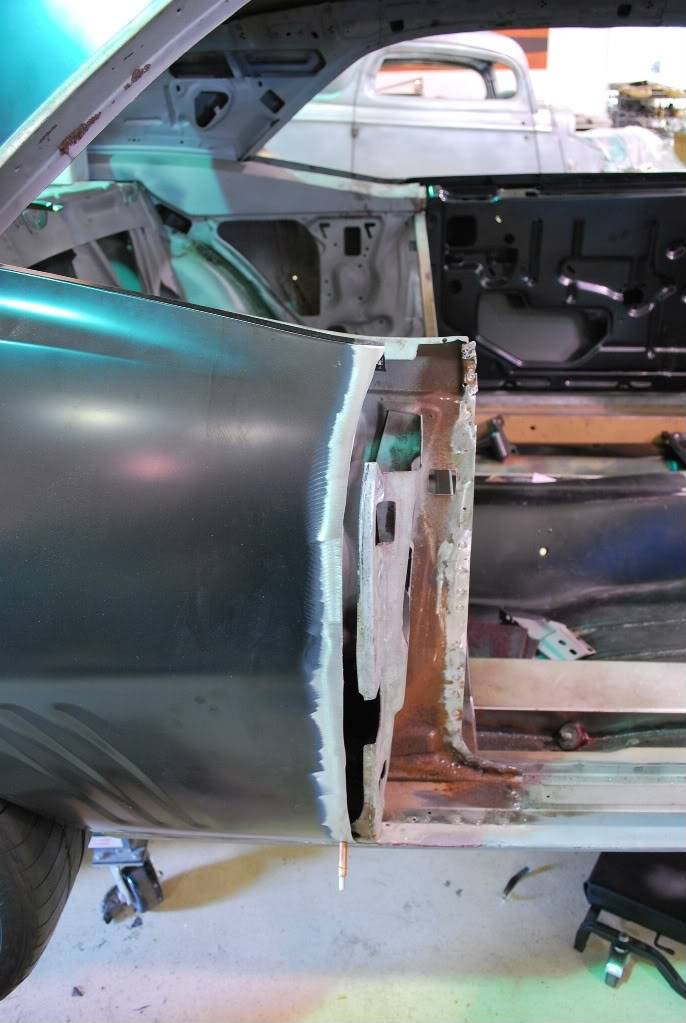
We started by fitting the passenger side quarter and noticed that we could drive a truck between it and the door!

The latch pillar portion was cut off the main quarter and the quarter was then fit where it needed to go. A filler strip added to bridge the needed space.
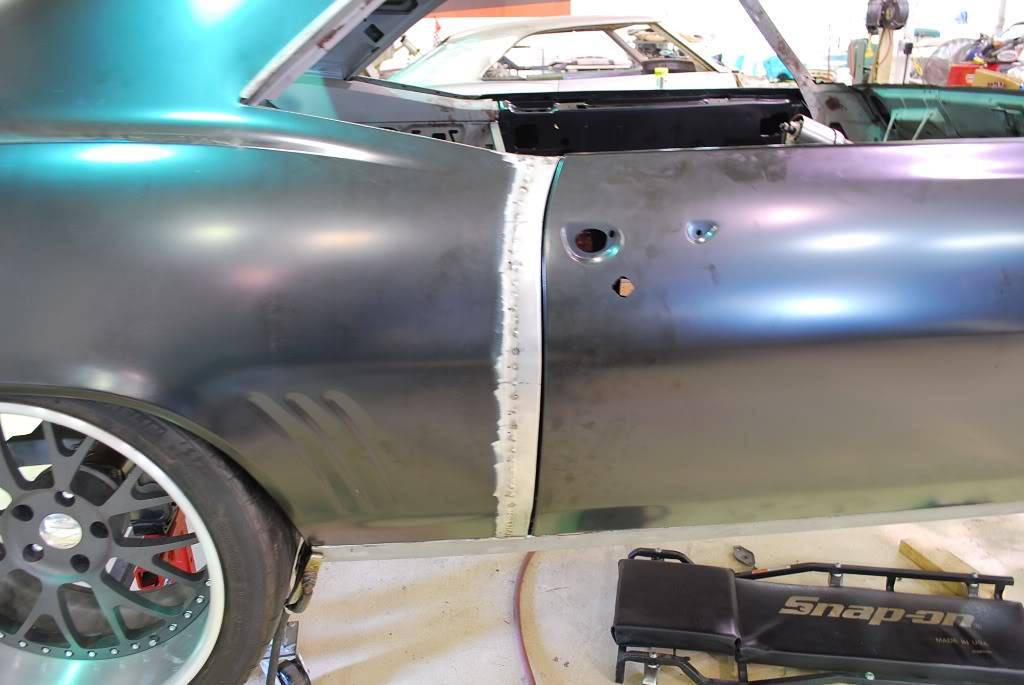
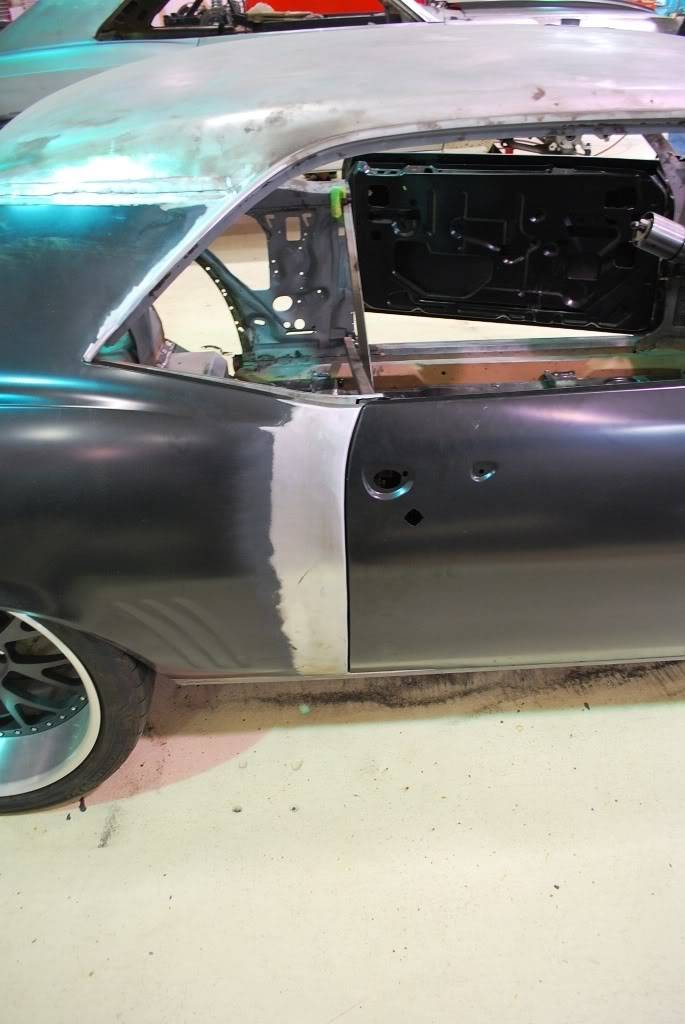
Final welded and metal finished
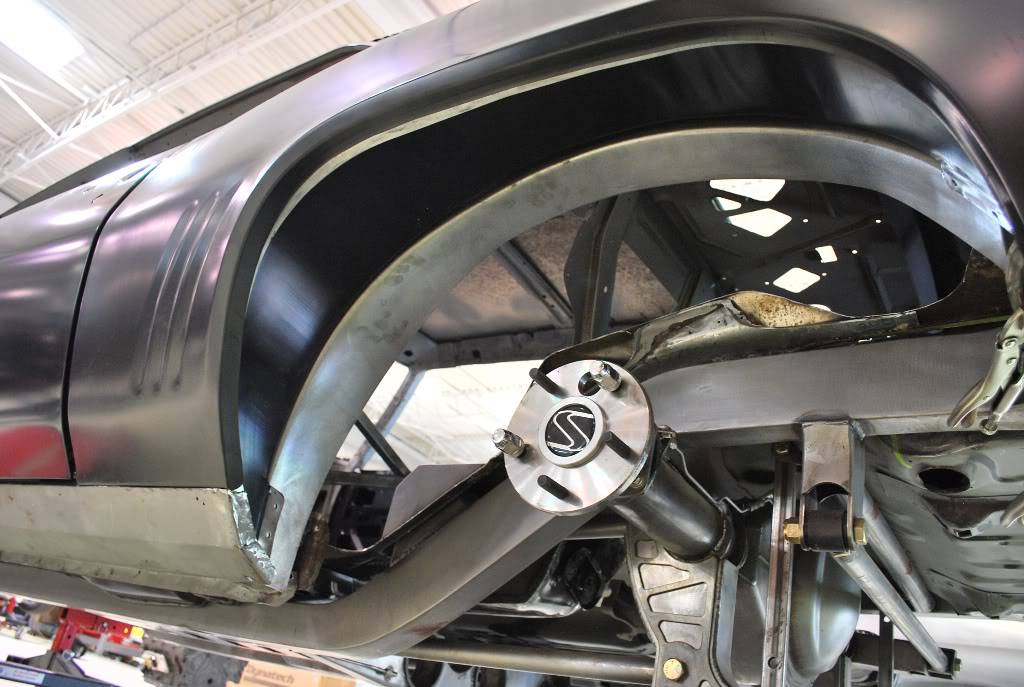
A taller tire and lower ride height in the rear didn't give enough clearance with the standard deep tubs. The tubs were split and widened to allow for the 335 20" PS2's in the back.
04-05-2012 #30
Registered User
- Join Date
- Sep 2011
- Location
- Mundelein, IL
- Posts
- 98
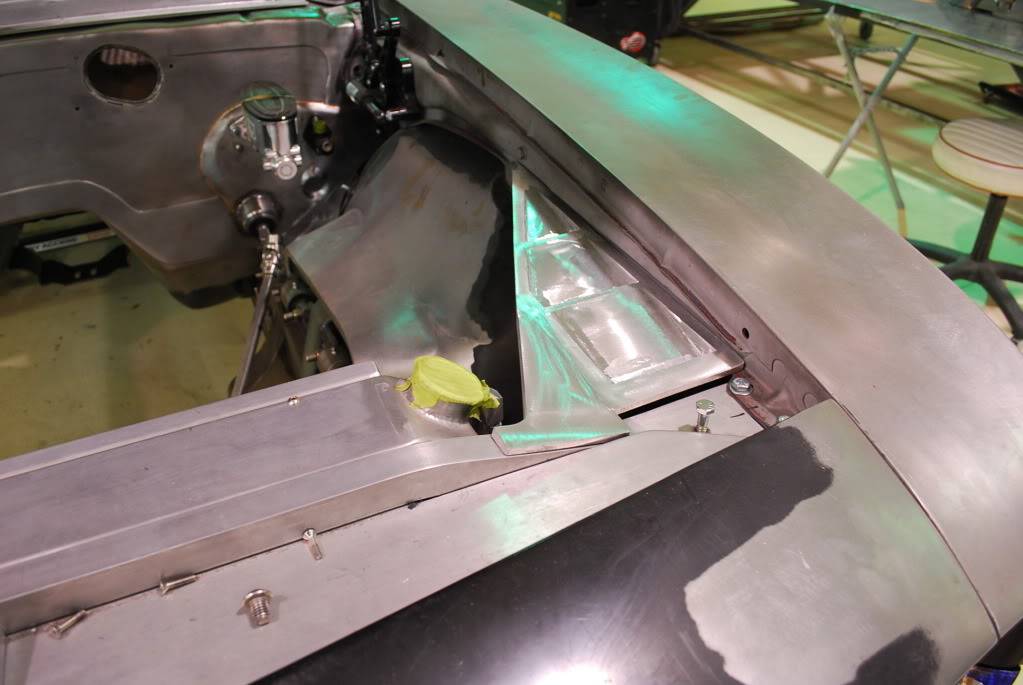
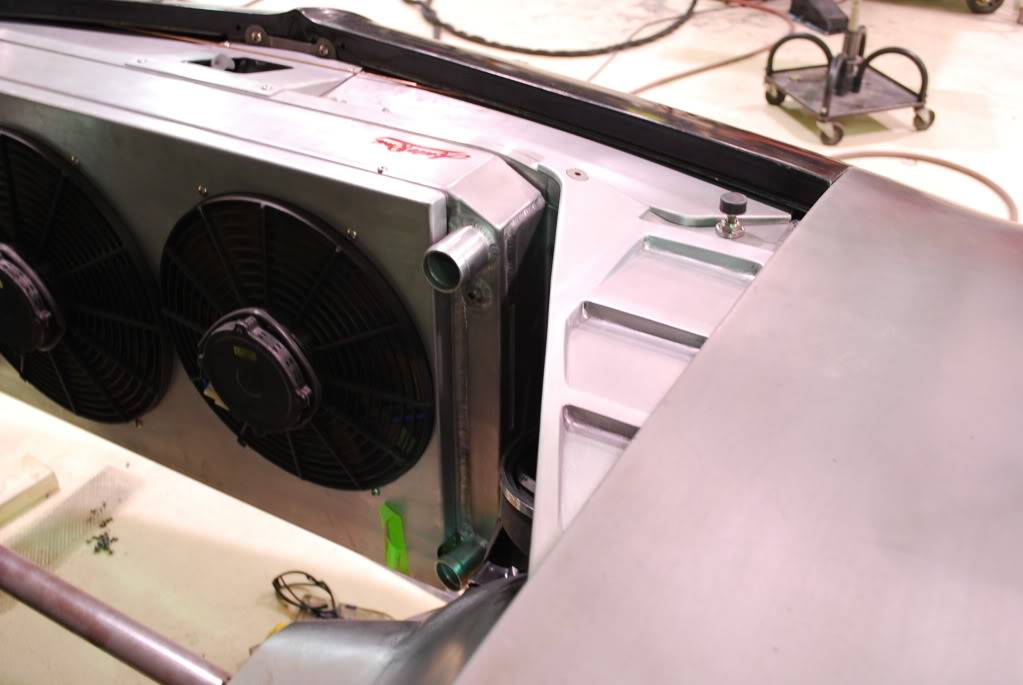
Cleaned up the flange on the inner fender and extended it over the upper shock mount and control arm.
Welding up the seam between the fender and lower valance corner.
04-05-2012 #31
Registered User
- Join Date
- Sep 2011
- Location
- Mundelein, IL
- Posts
- 98
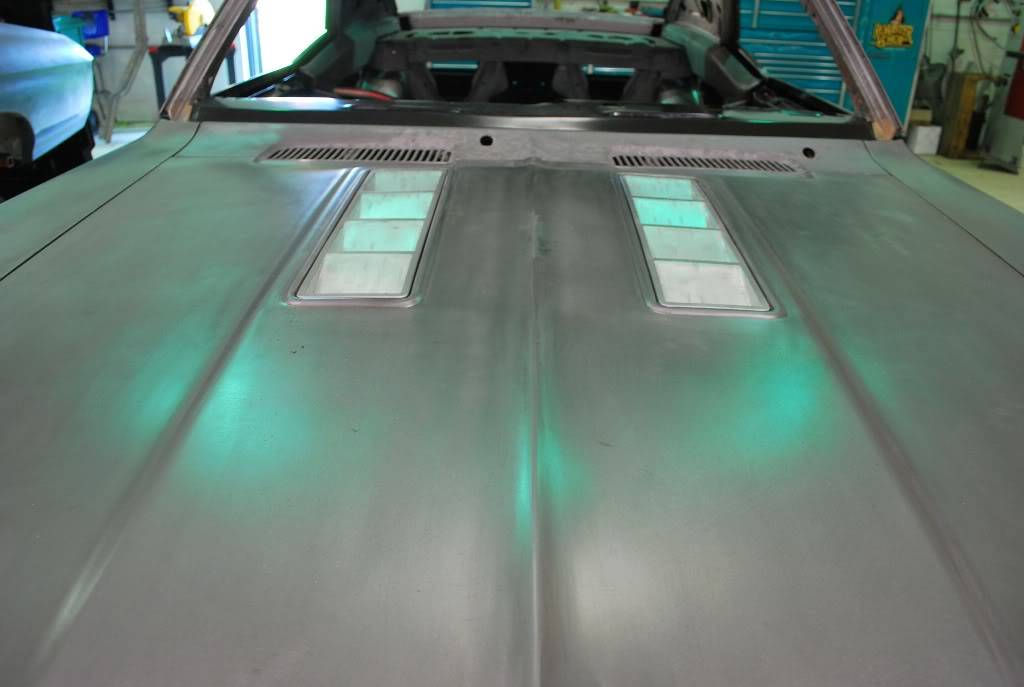
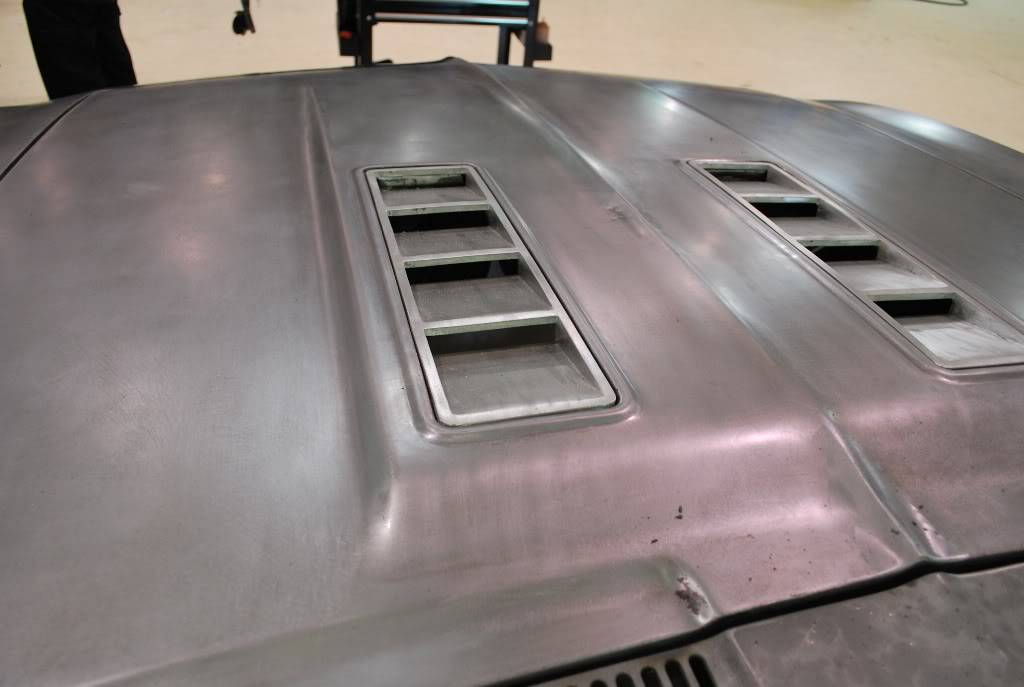
All of the metal work to get the car back to a solid starting point has been wrapped up, so we can now move on to the custom fabrication.
We fabbed up the louvers for the stock hood to give it a more modern look.
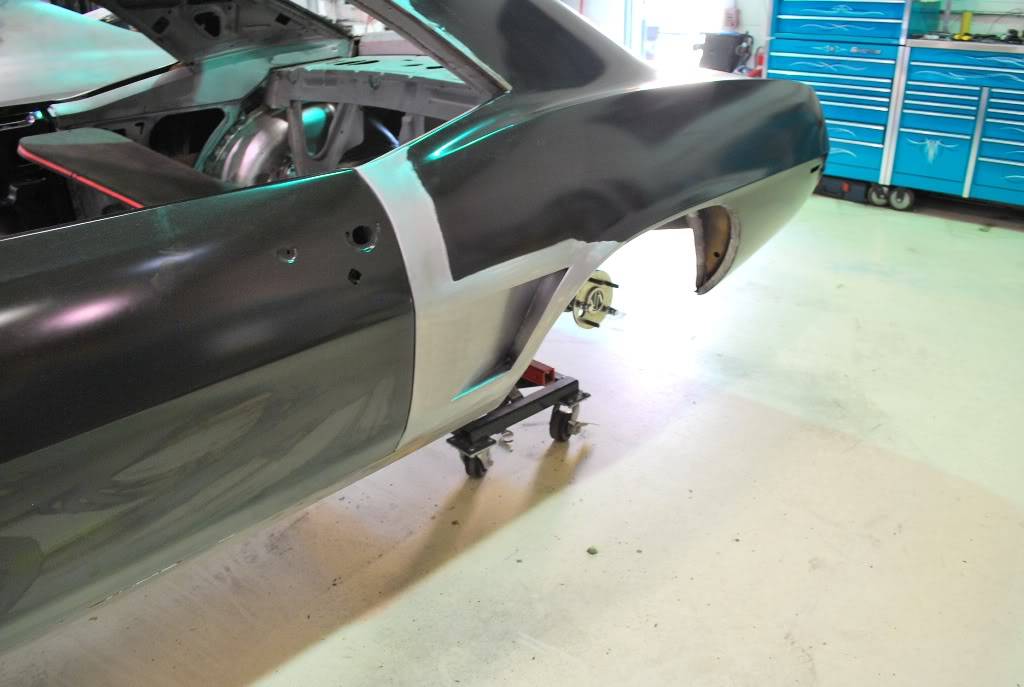
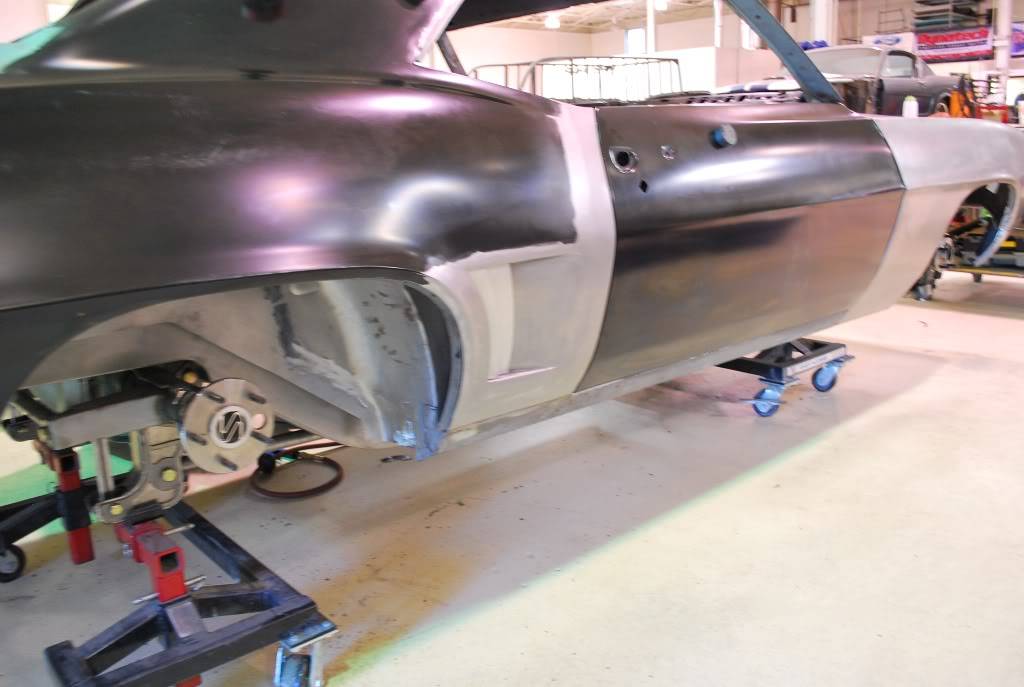
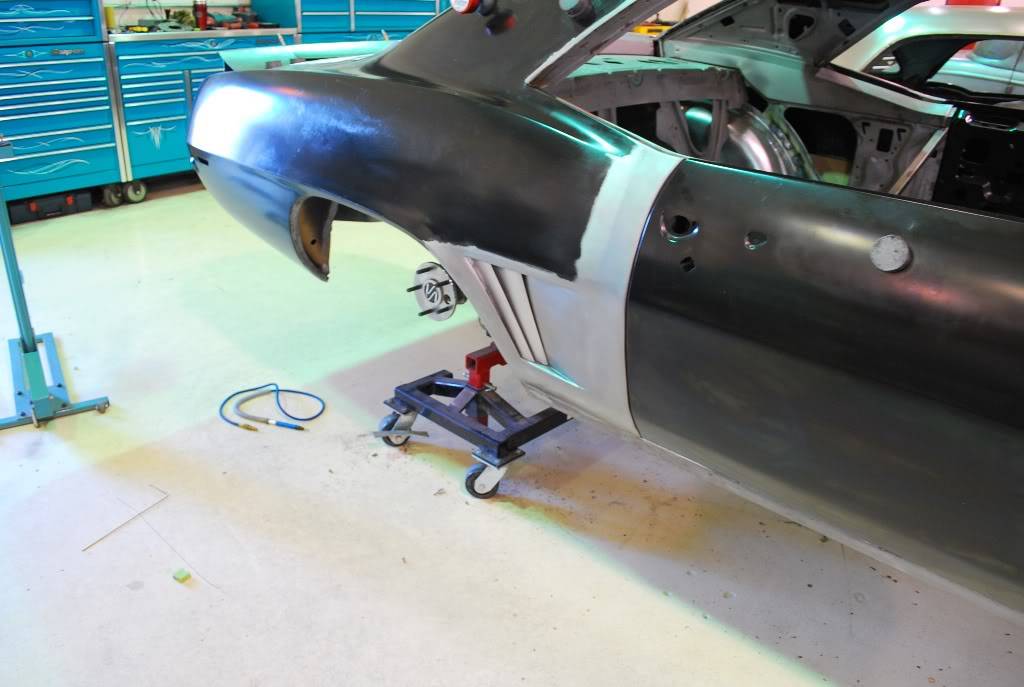
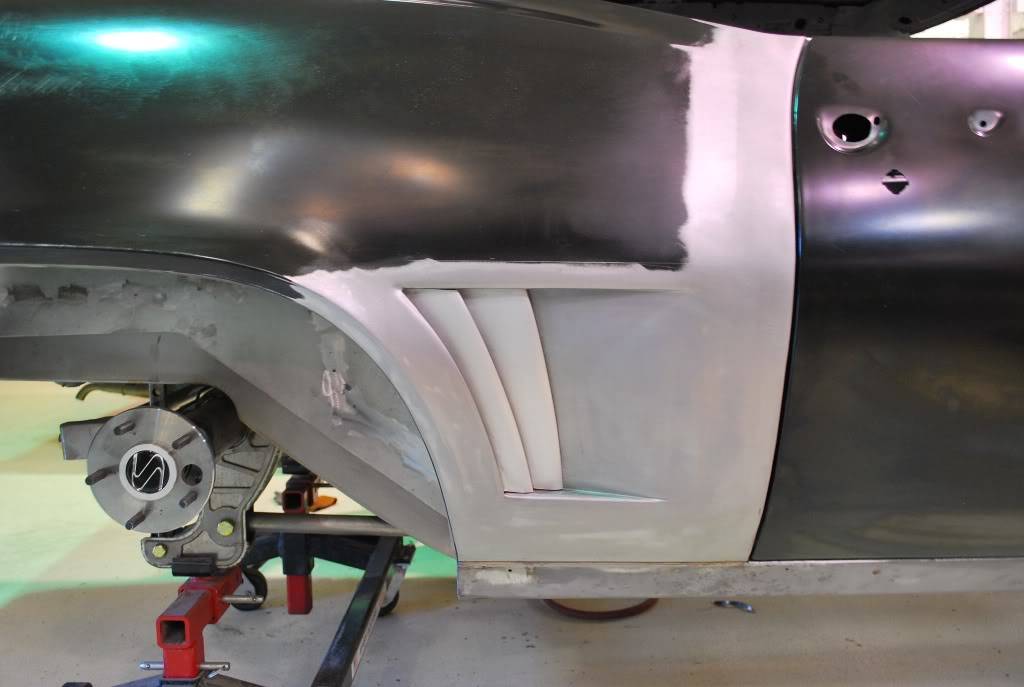
Cut the stock "gills" out of the quarters and have begun the new inset scoop look.
04-05-2012 #32
Registered User
- Join Date
- Sep 2011
- Location
- Mundelein, IL
- Posts
- 98
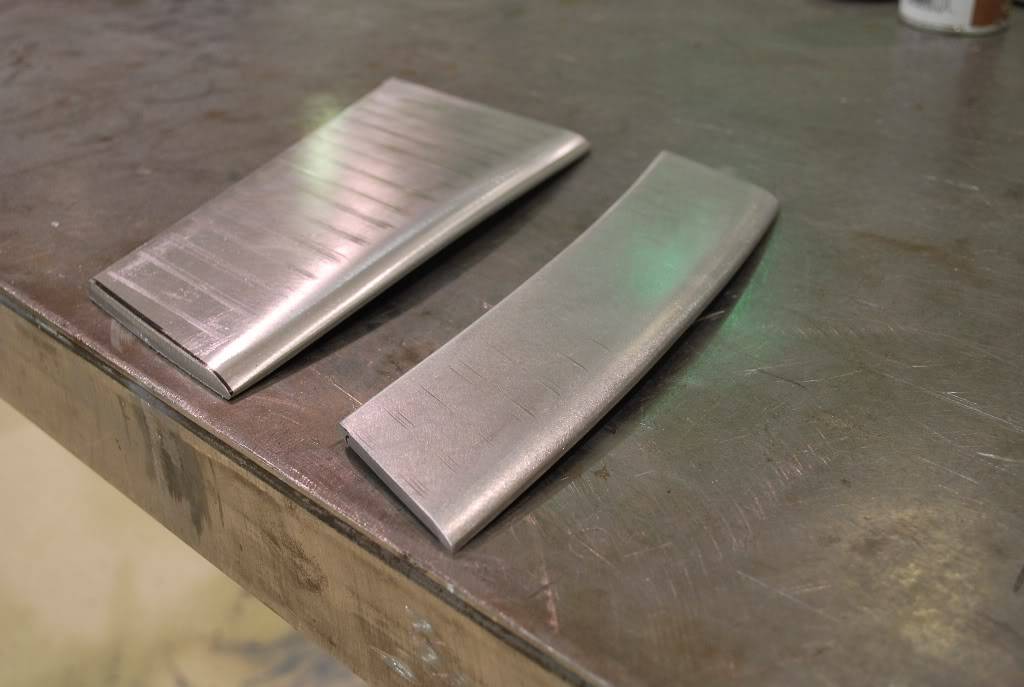
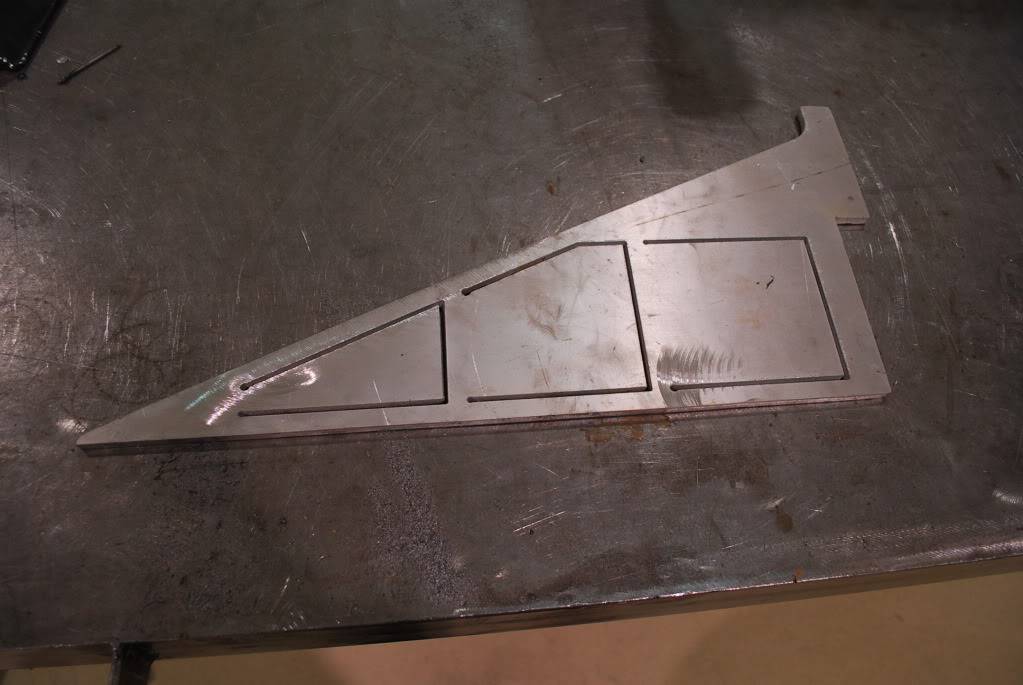
A few shots of the new gills/ fins that will go into the quarter opening.
Started with rough cut aluminum:
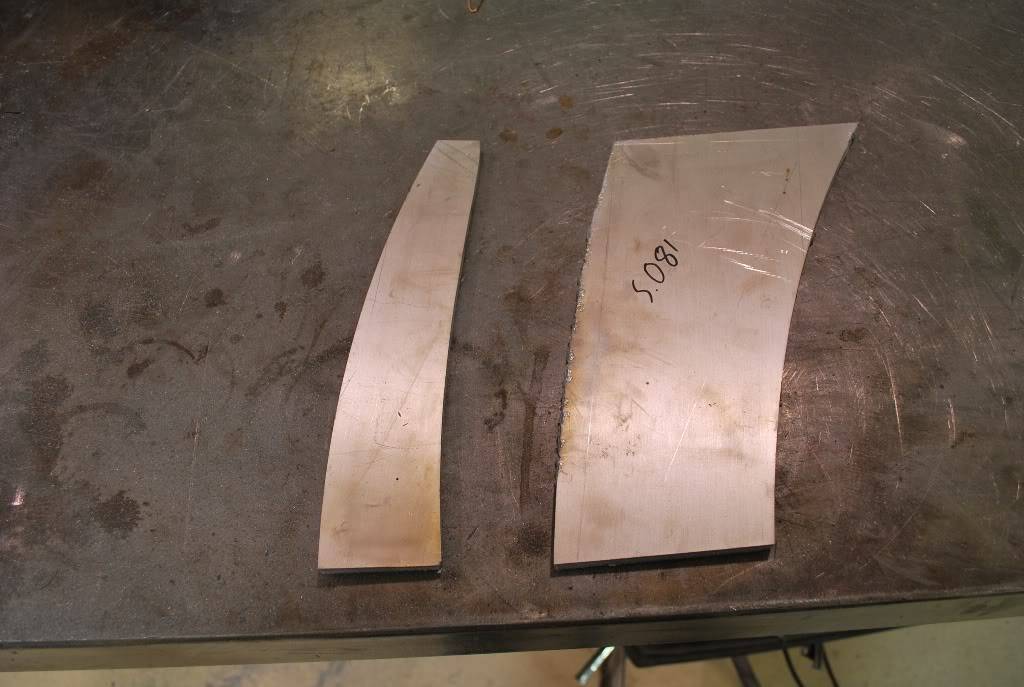
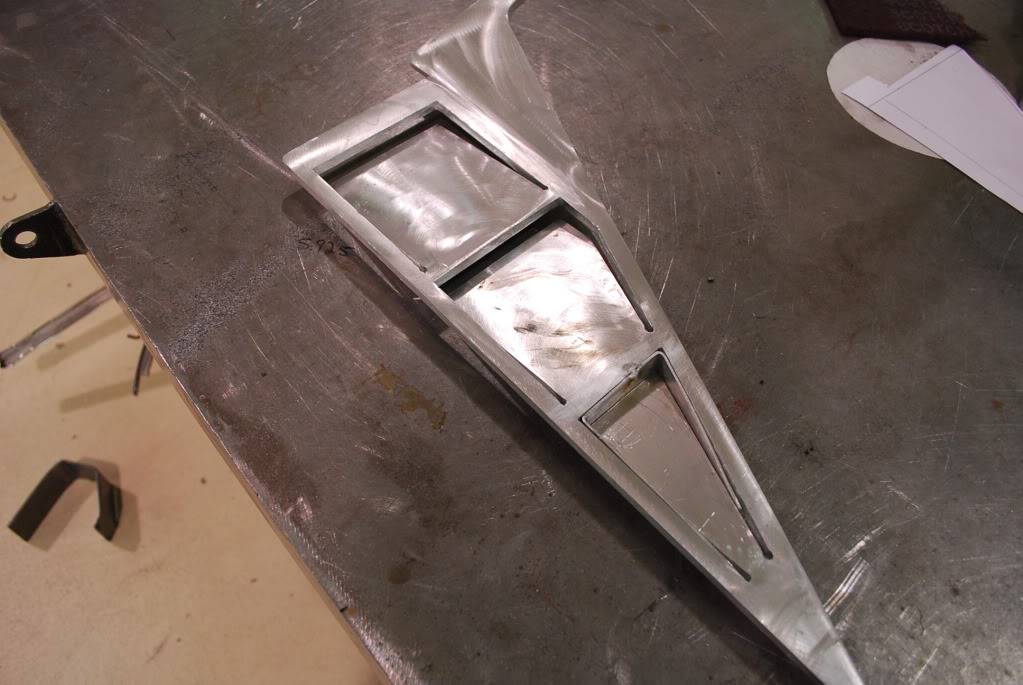
Then began cleaning up and radiusing the edges
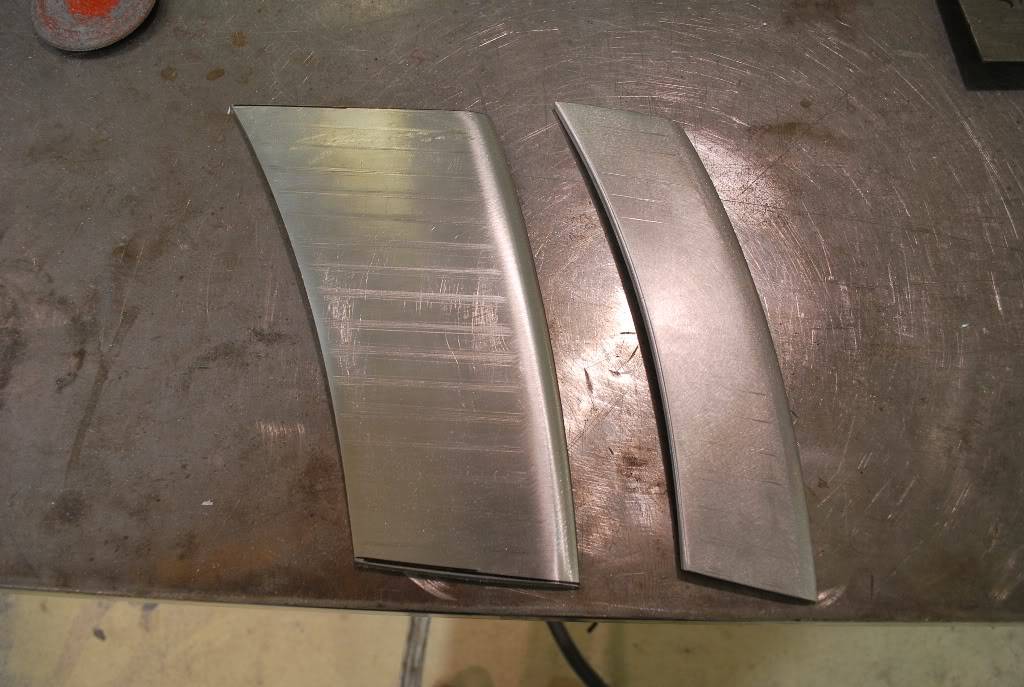
Once the shape was finalized, we went back and subtly curved the pieces to match the curve of the body.
04-05-2012 #33
Registered User
- Join Date
- Sep 2011
- Location
- Mundelein, IL
- Posts
- 98
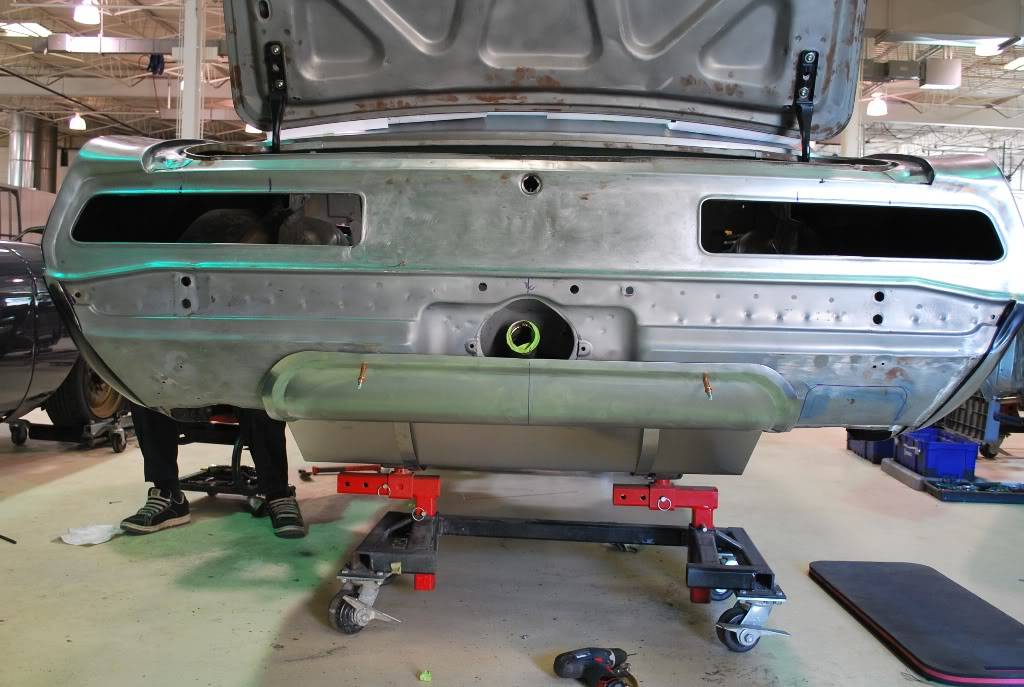
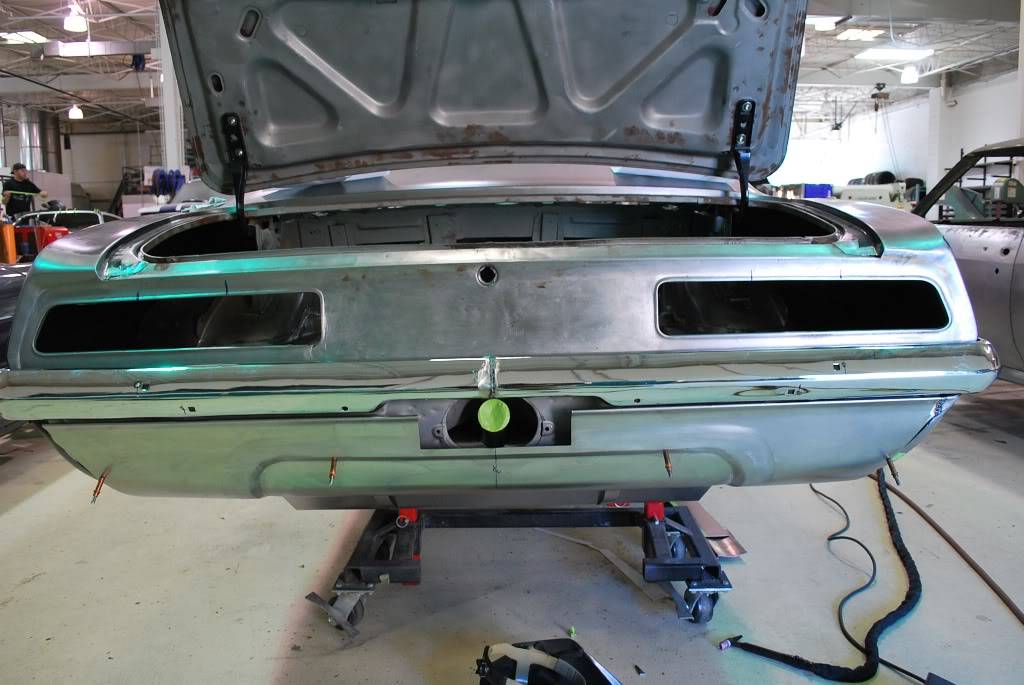
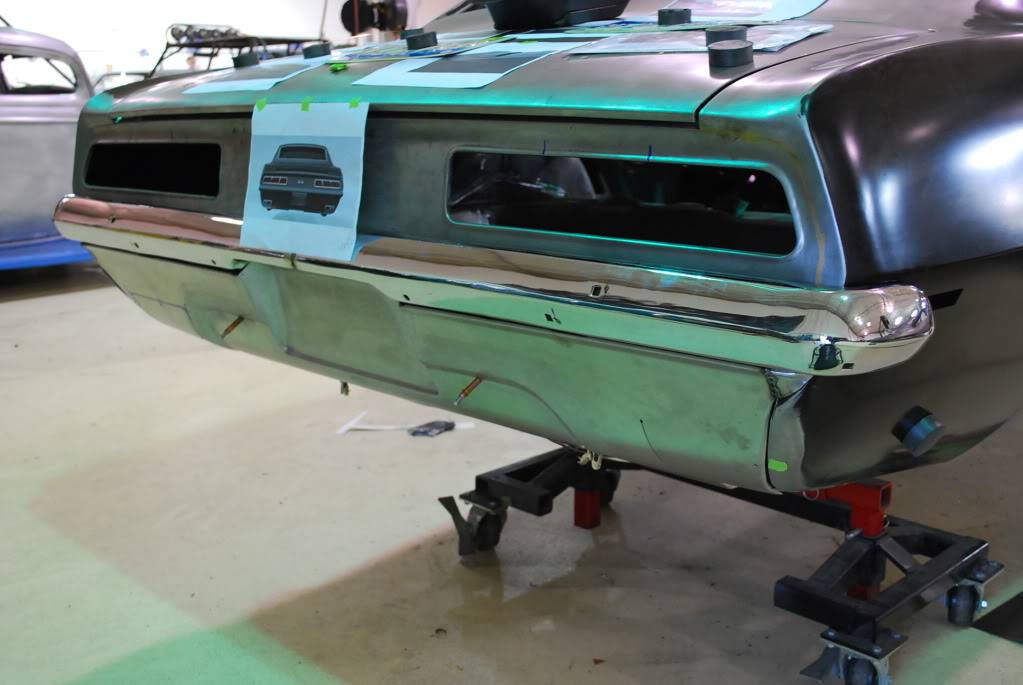
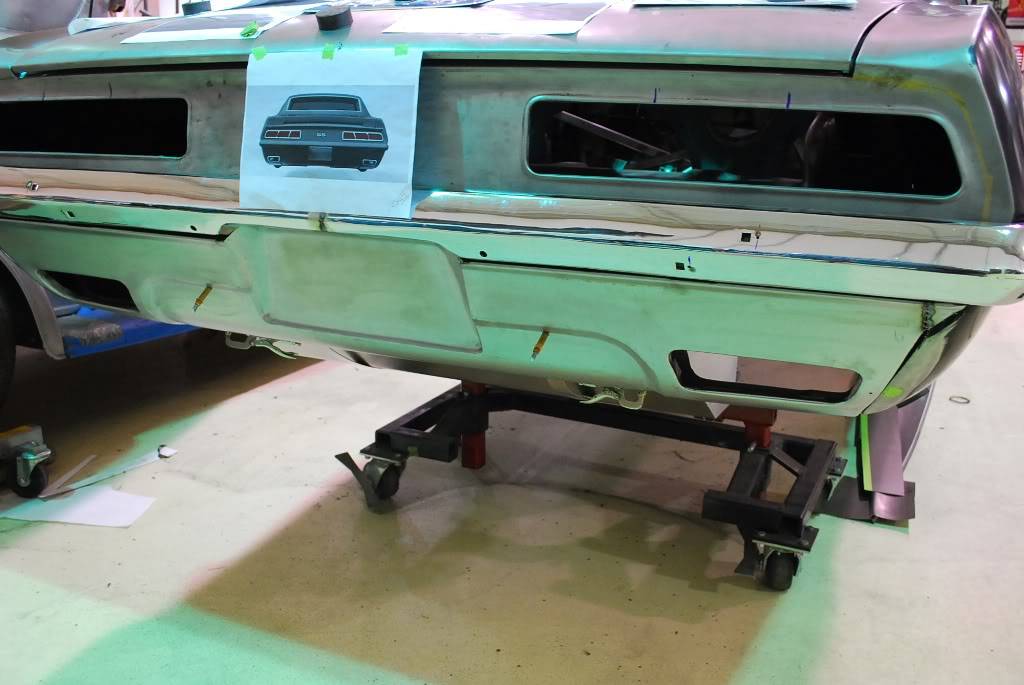
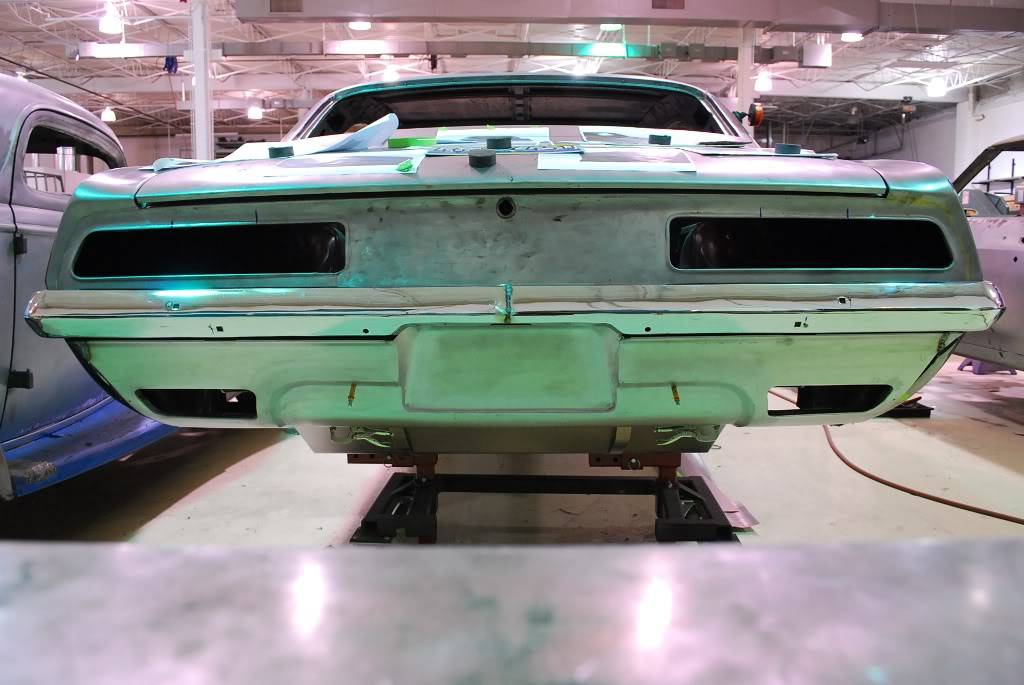
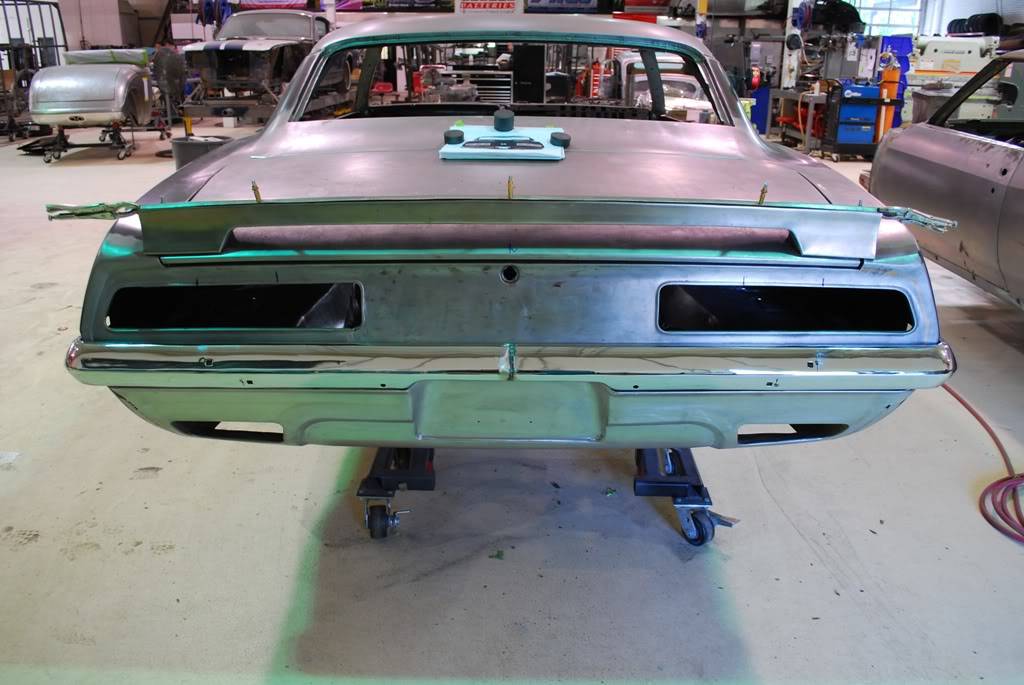
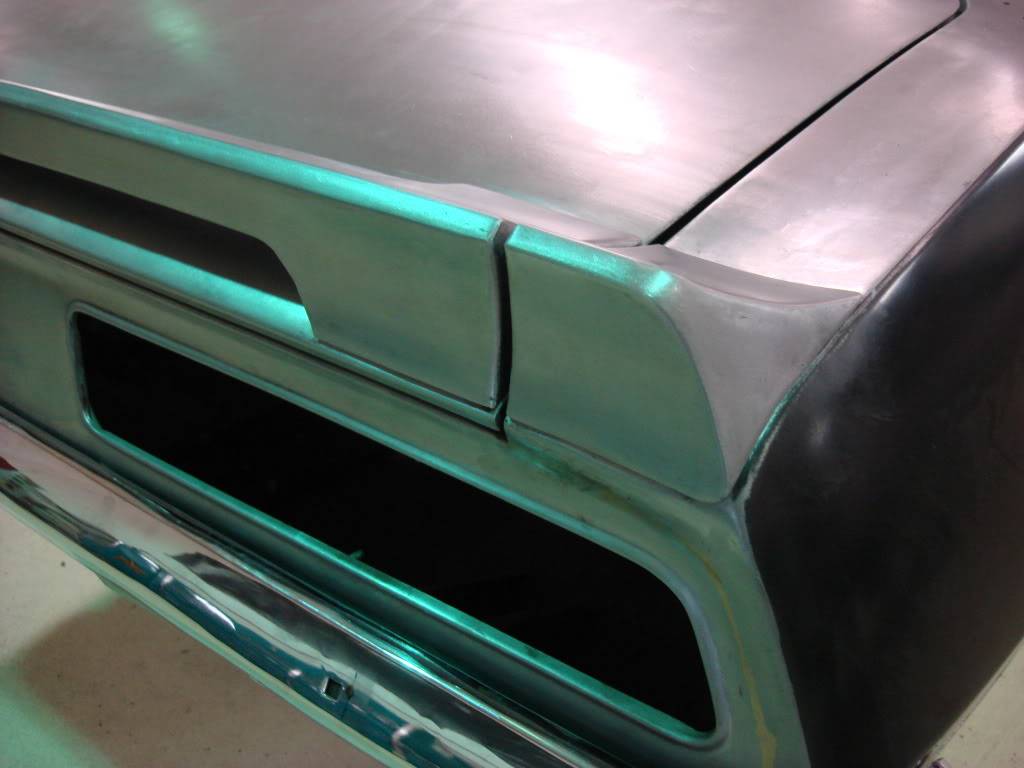
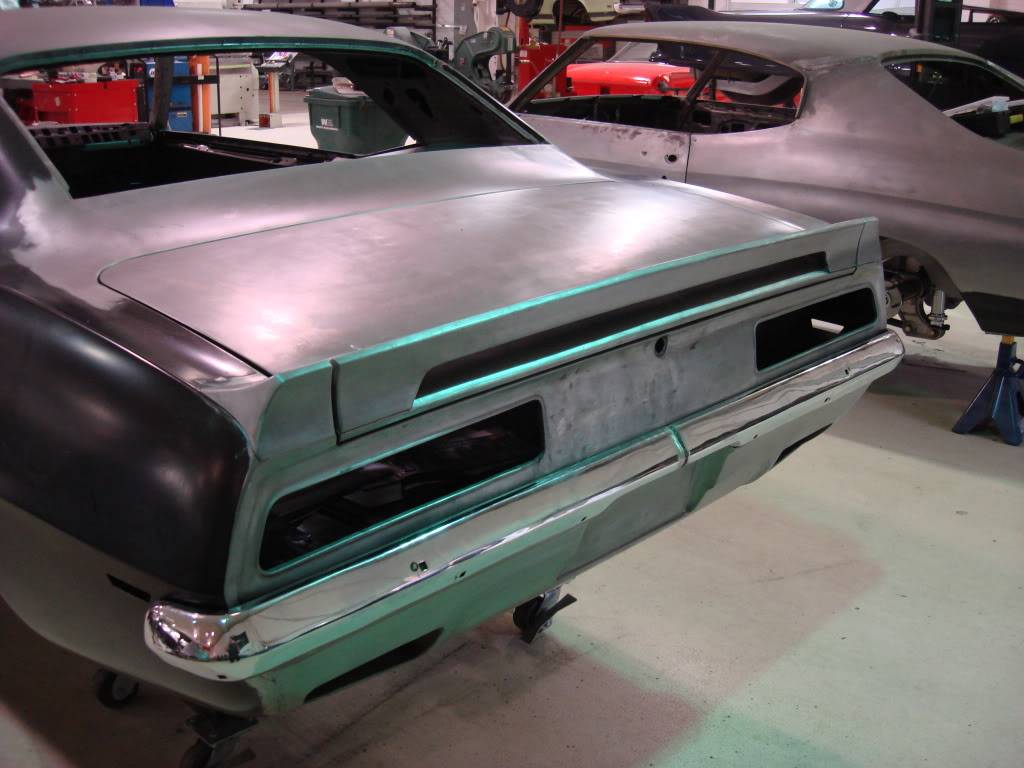
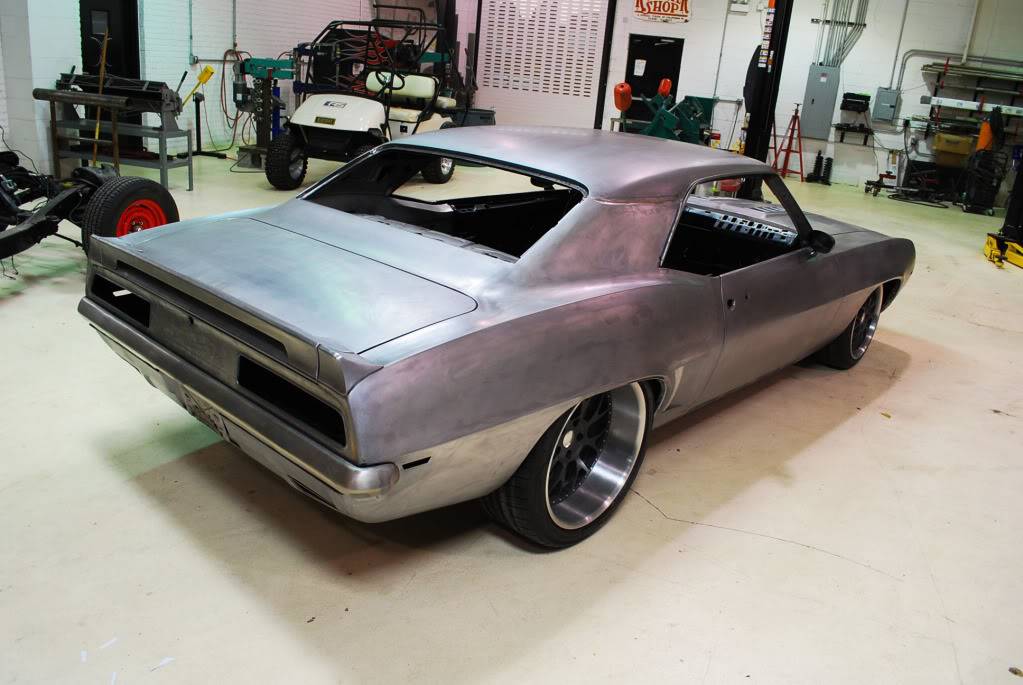
Here is the work on the rear body panel/lower valance
04-05-2012 #34
Registered User
- Join Date
- Sep 2011
- Location
- Mundelein, IL
- Posts
- 98
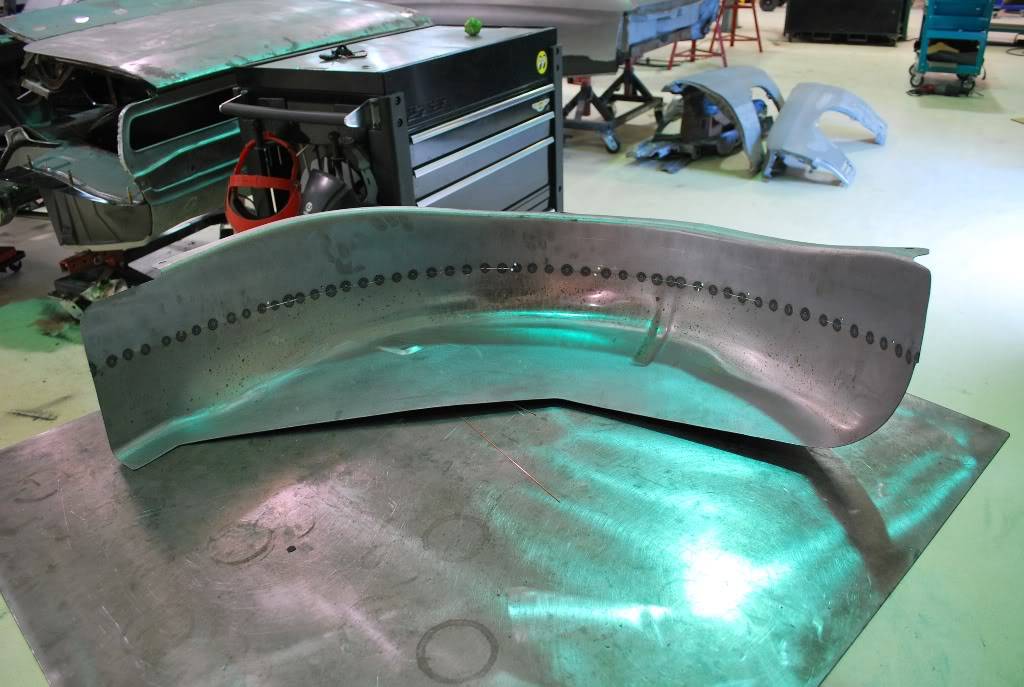
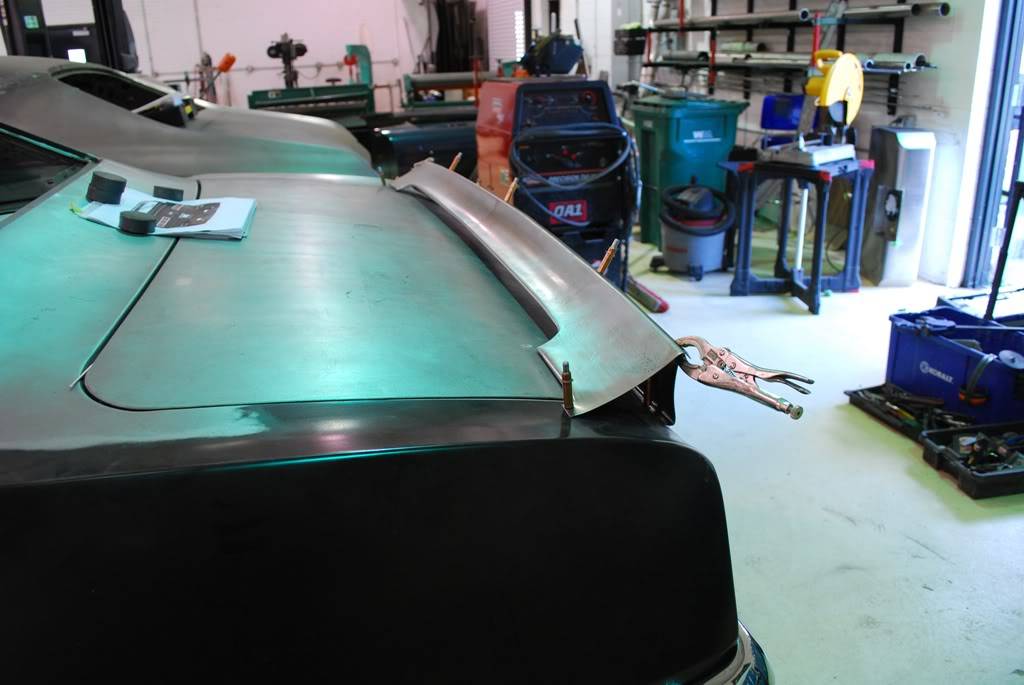
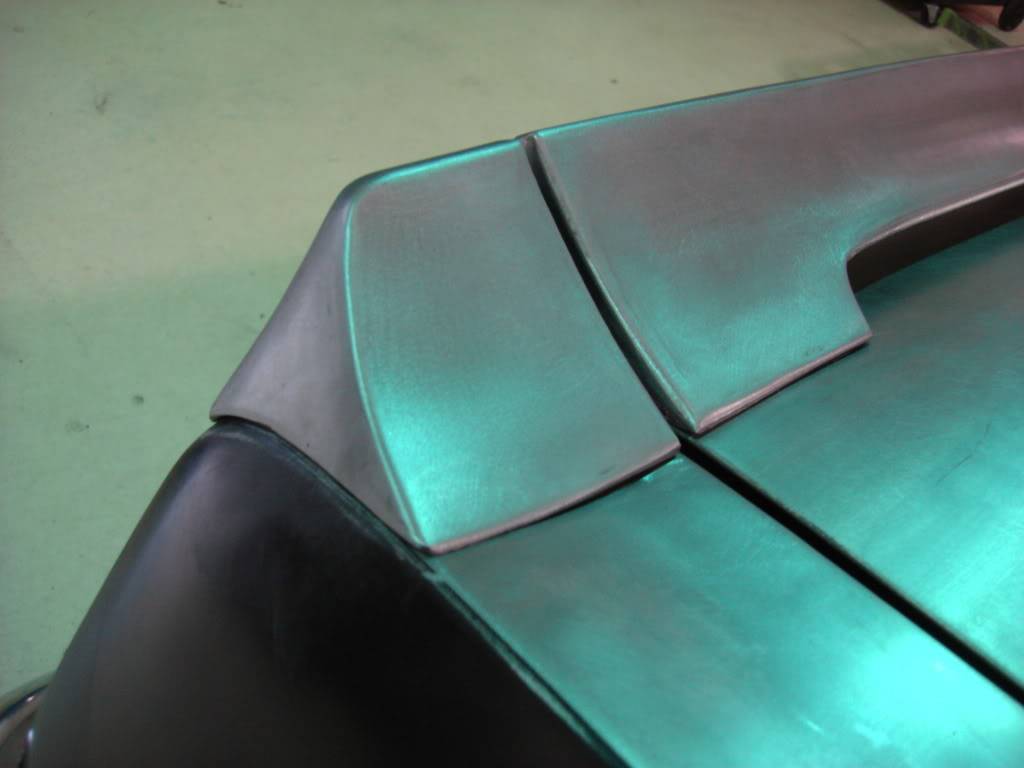
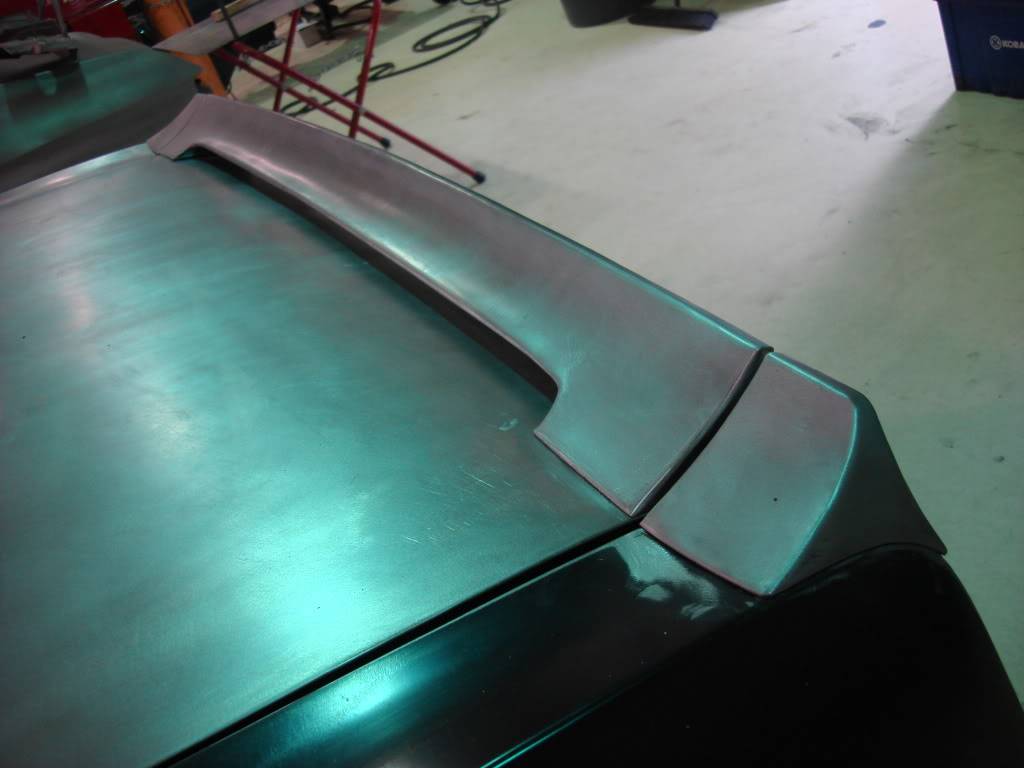
Creating the spoiler: The aim with this piece was to keep a stock 'appearing' spoiler with just enough of a subtle difference to make you look twice!


04-05-2012 #35
Registered User
- Join Date
- Sep 2011
- Location
- Mundelein, IL
- Posts
- 98
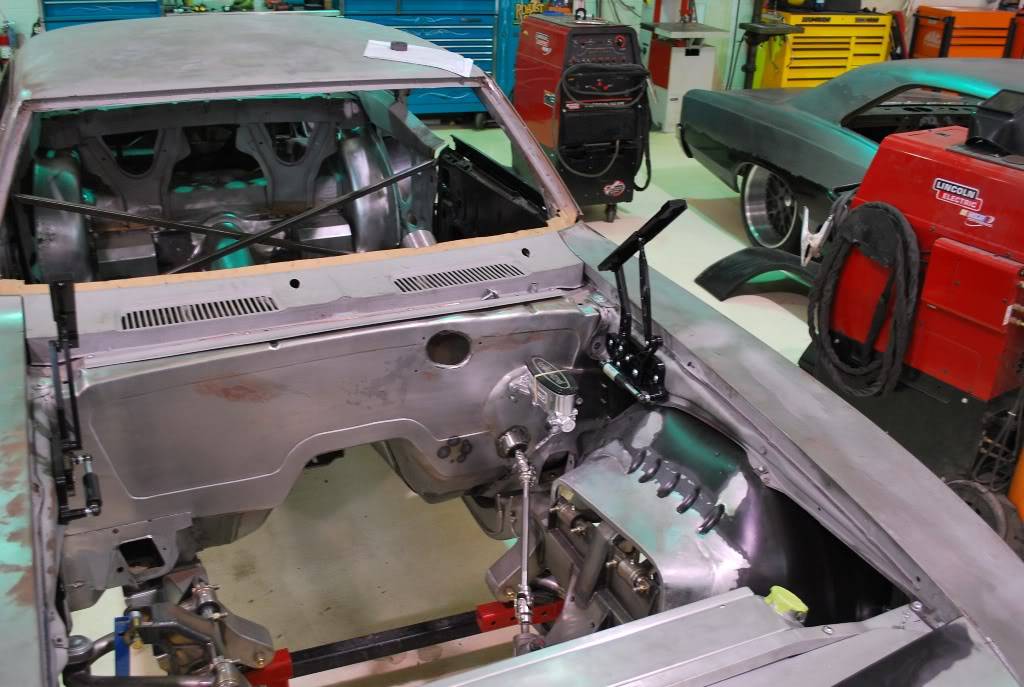
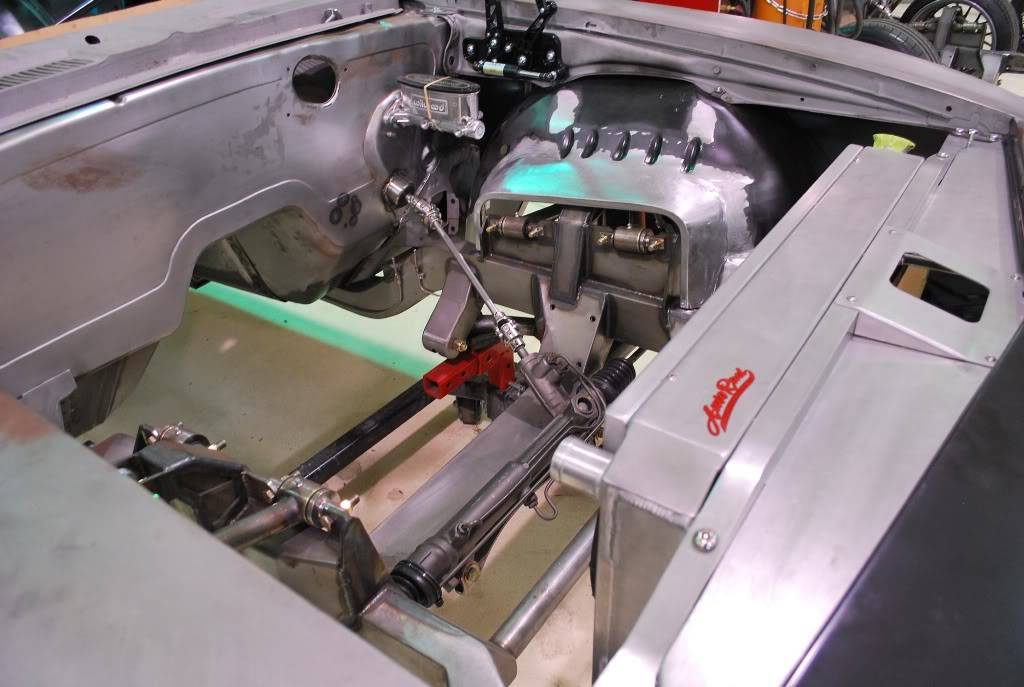
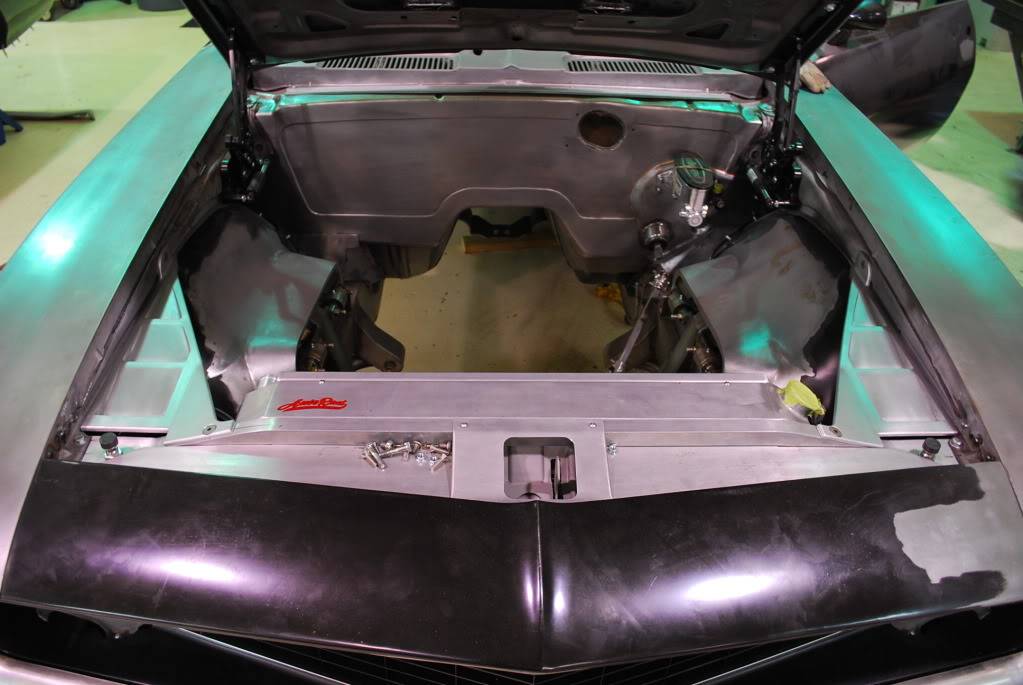
A couple more updates on some of the details on the car -
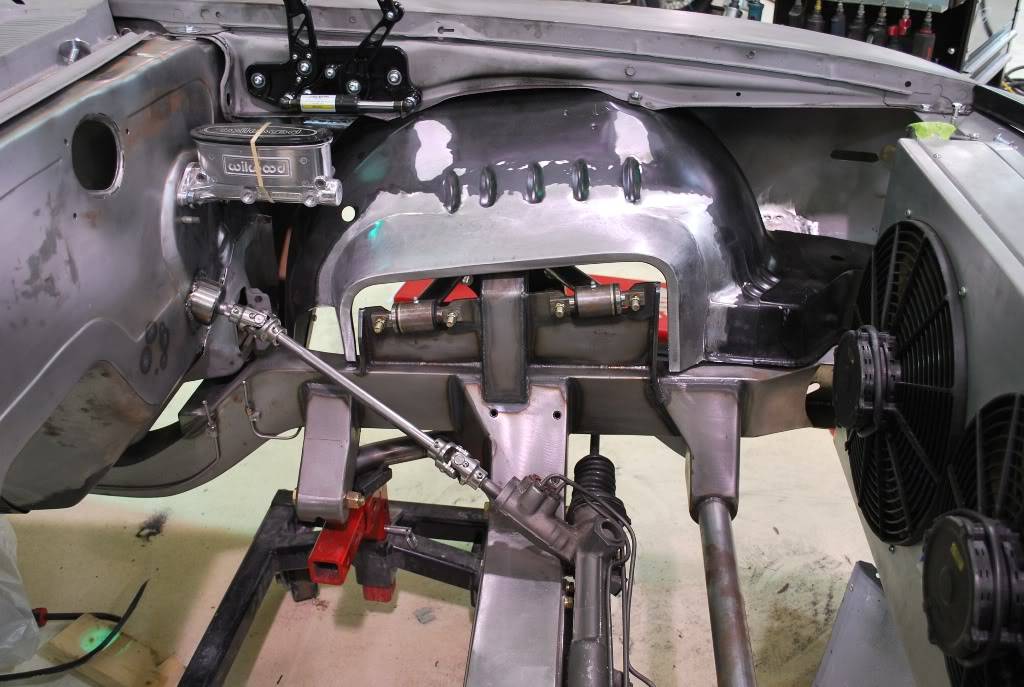
Some under-hood detail:
04-05-2012 #36
Registered User
- Join Date
- Sep 2011
- Location
- Mundelein, IL
- Posts
- 98
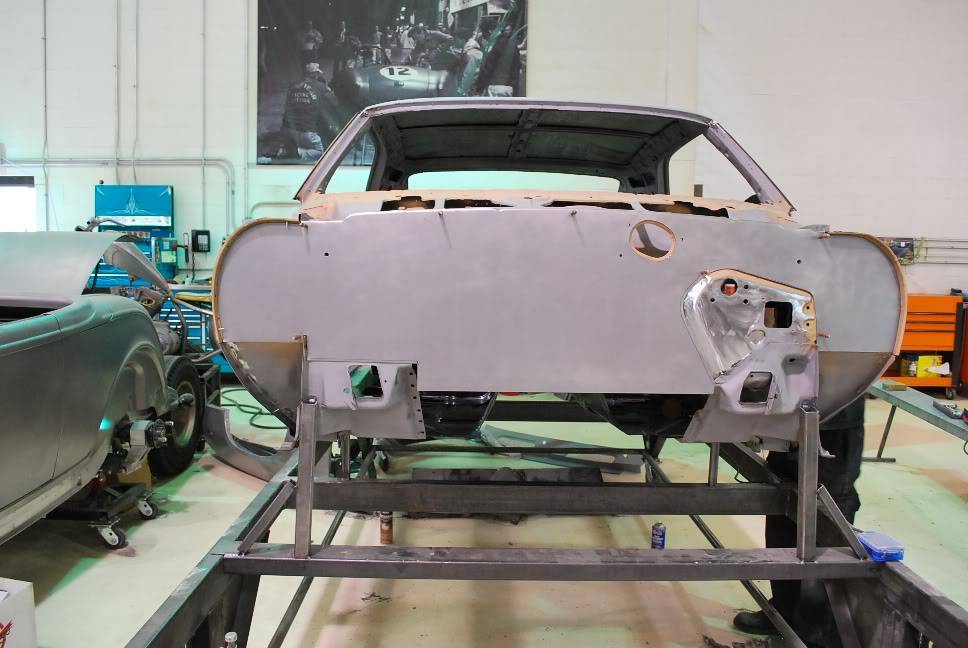
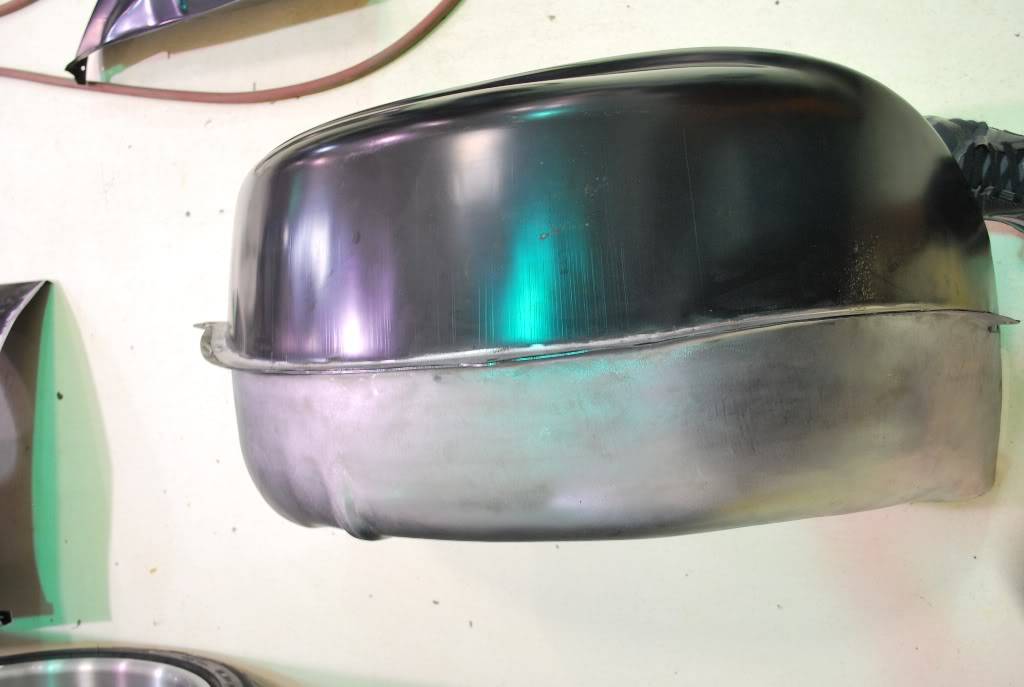
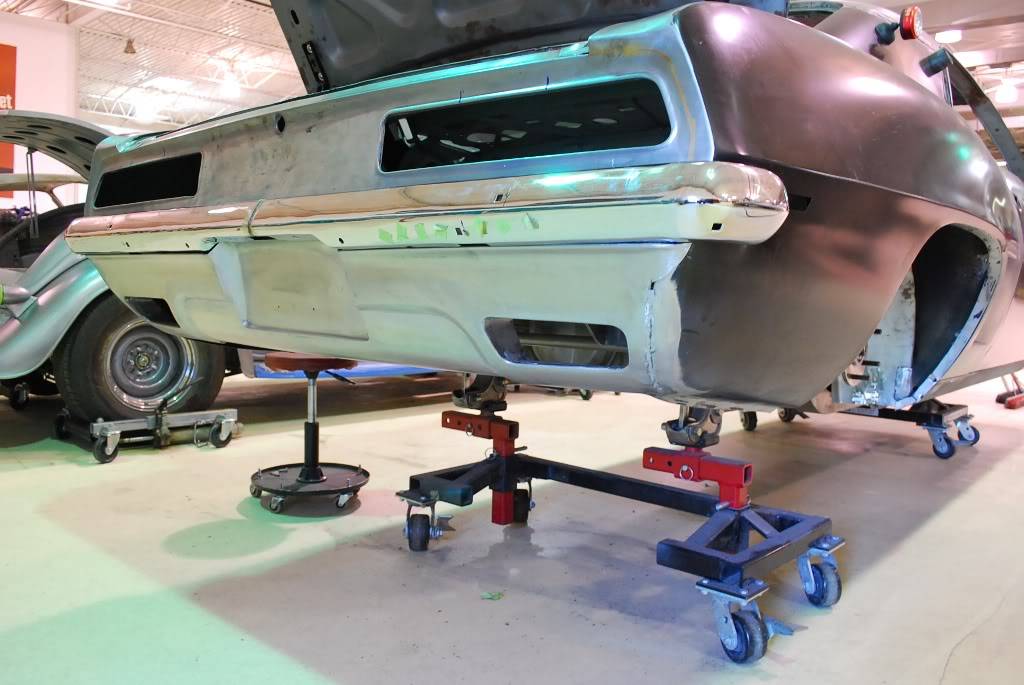
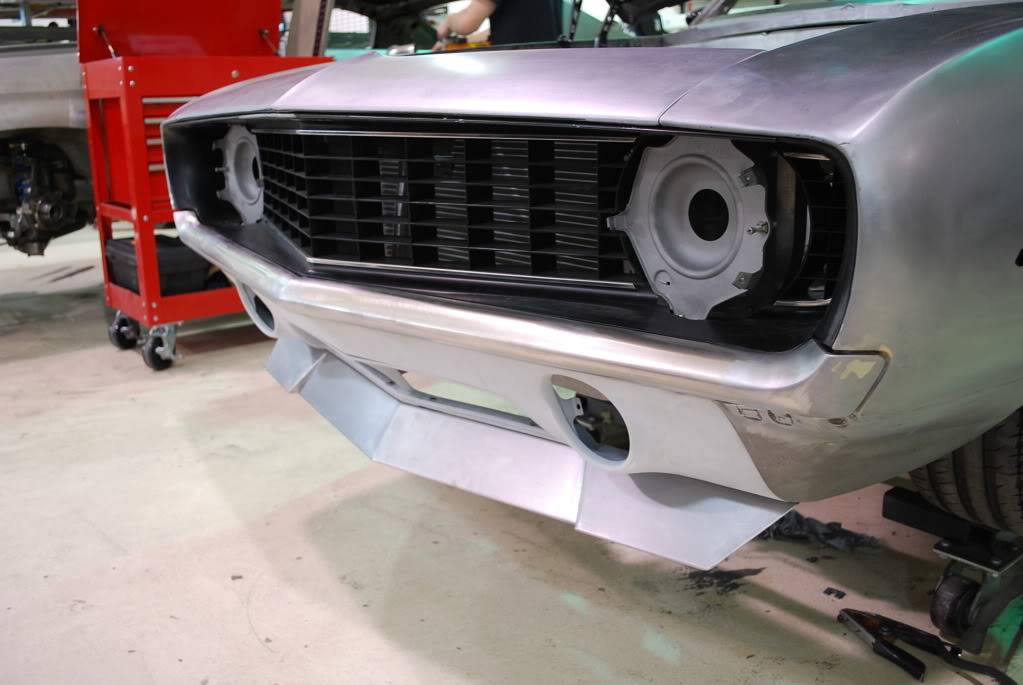
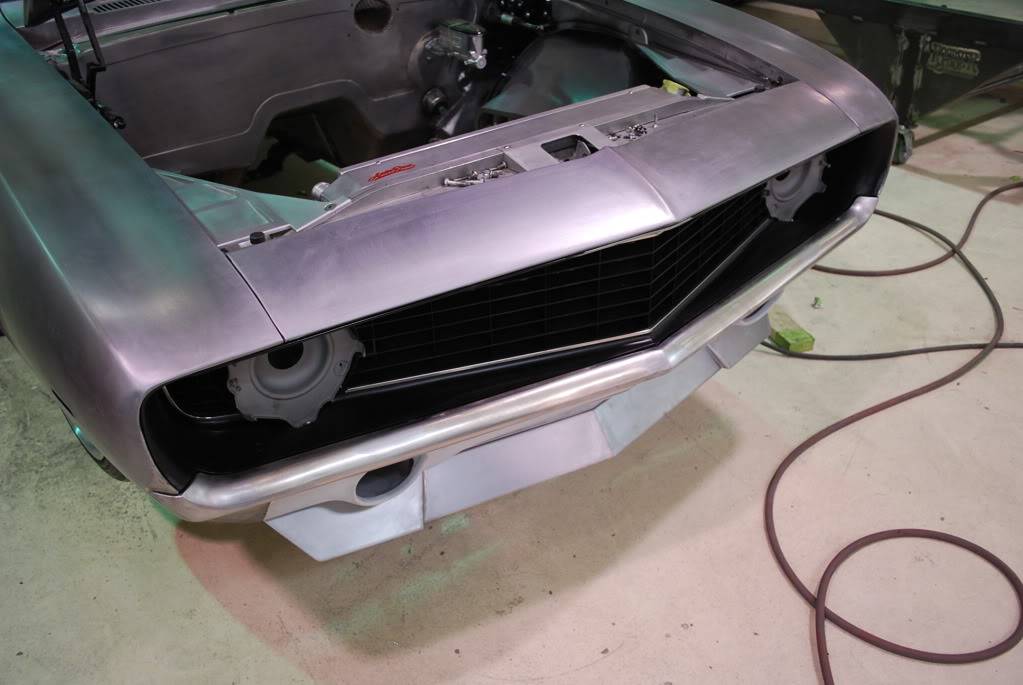
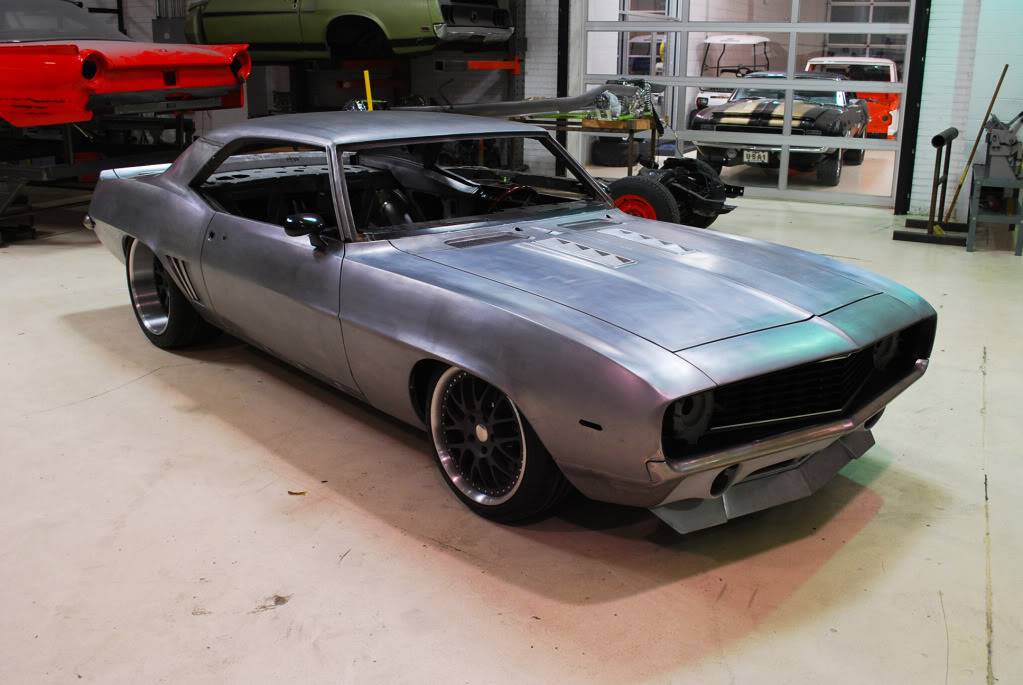
Tucking and shaping the front bumper to fit with the fenders and grille opening.
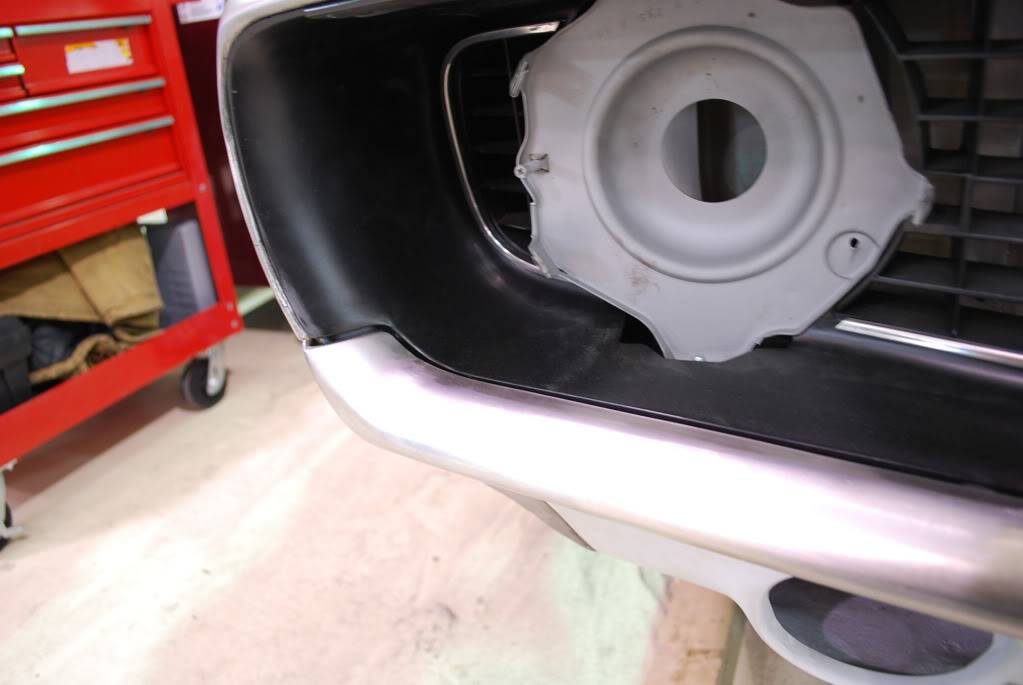
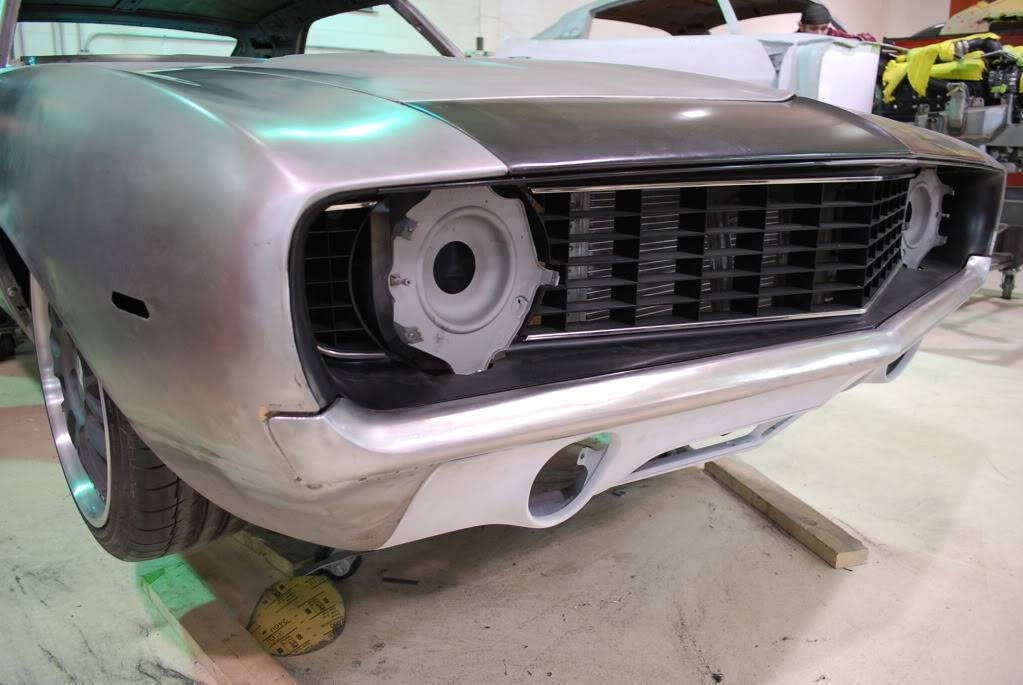
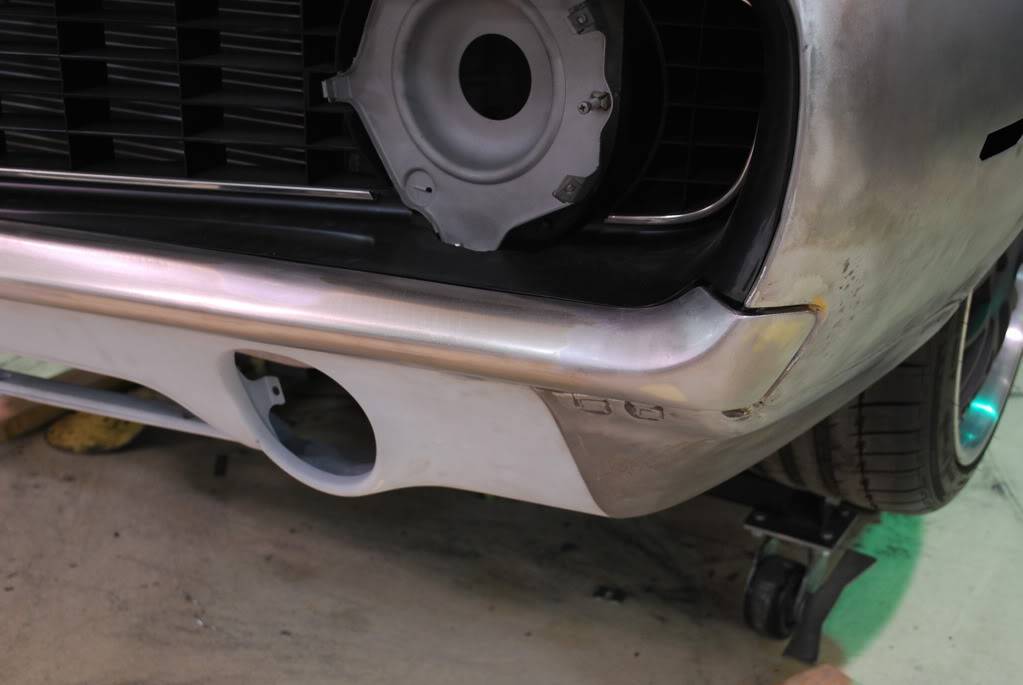
Fabrication of a new front spoiler to compliment the Marquez front valance. Also with the same theme as other areas of the car with a factory-ish silhouette but with a more modern and updated feel to the details.
04-05-2012 #37
Registered User
- Join Date
- Sep 2011
- Location
- Mundelein, IL
- Posts
- 98
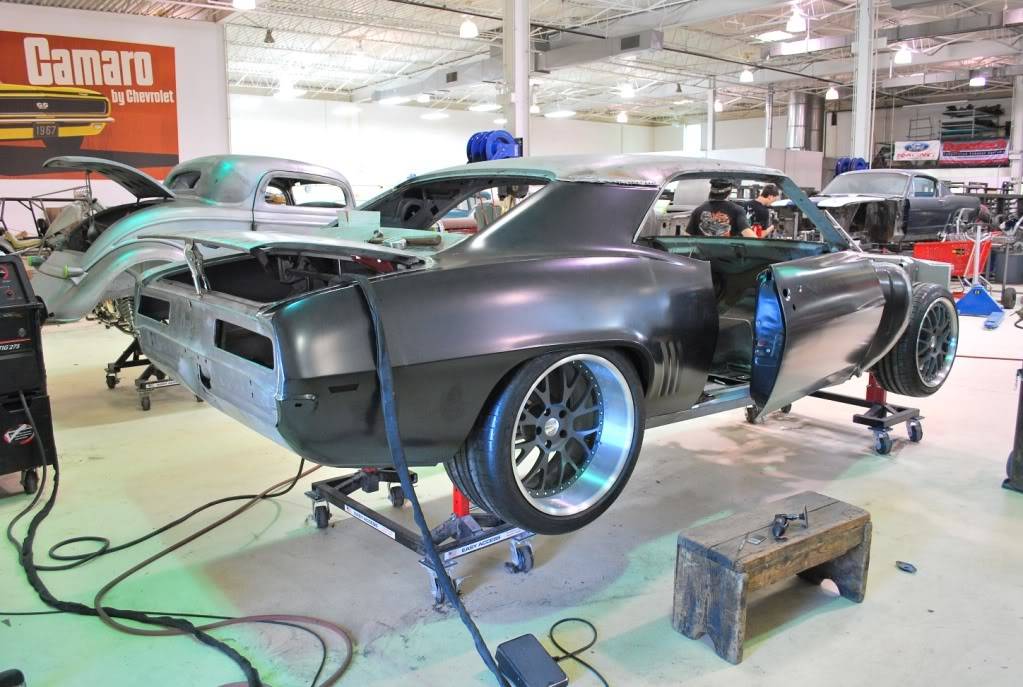
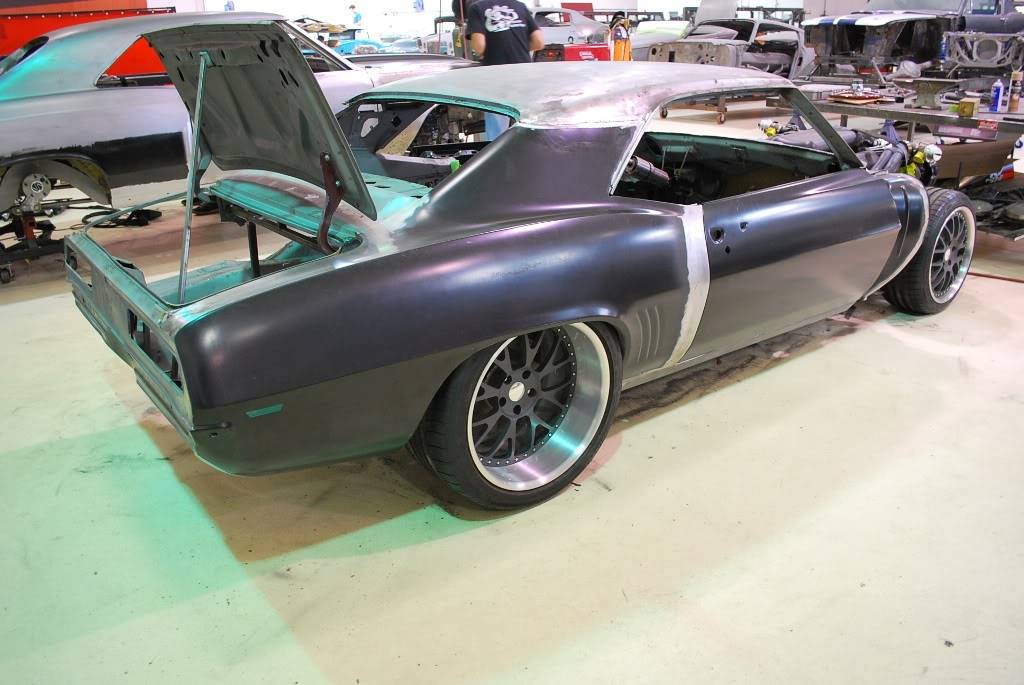
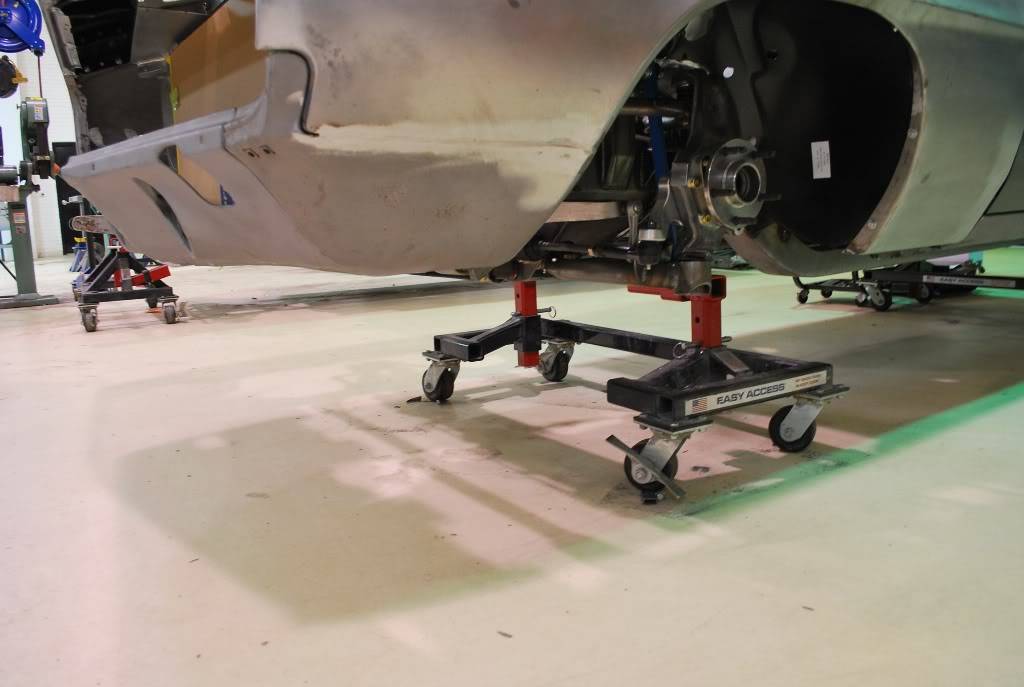
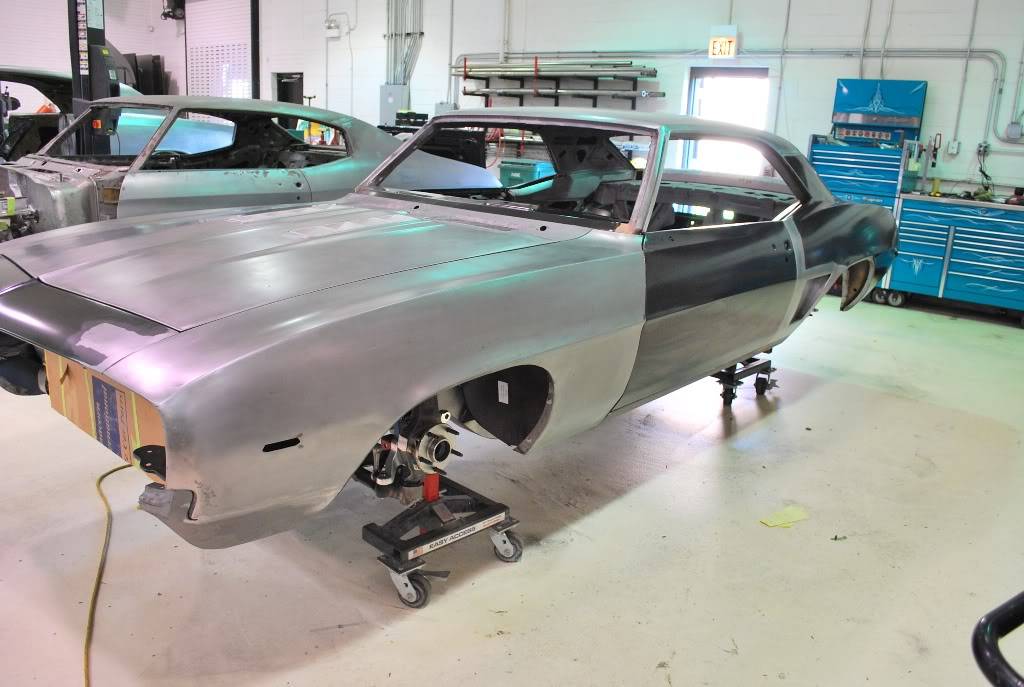
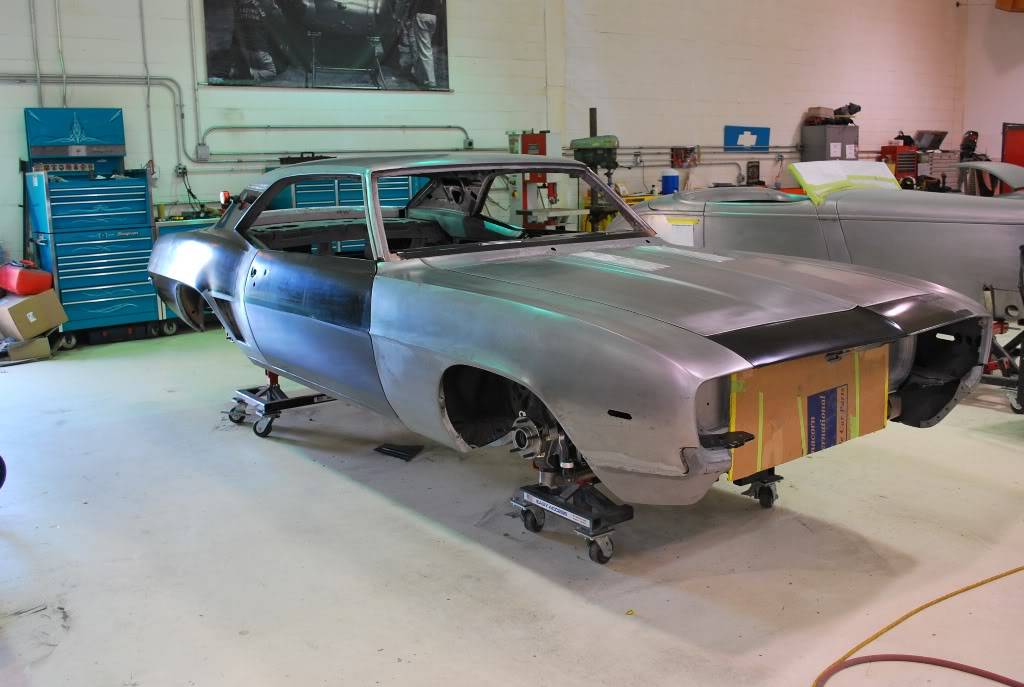
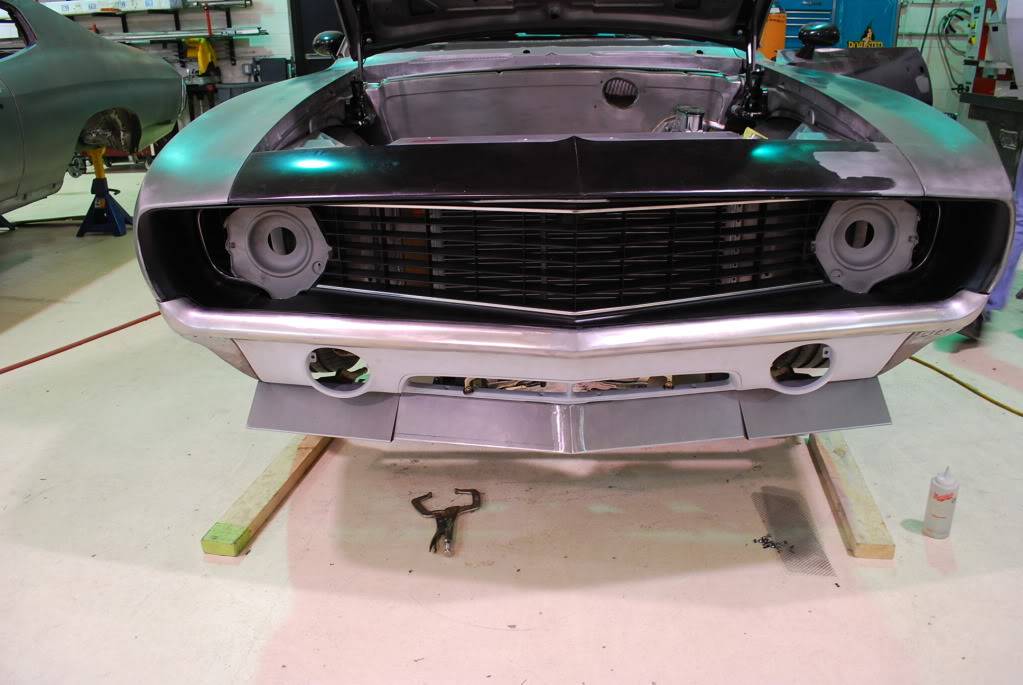
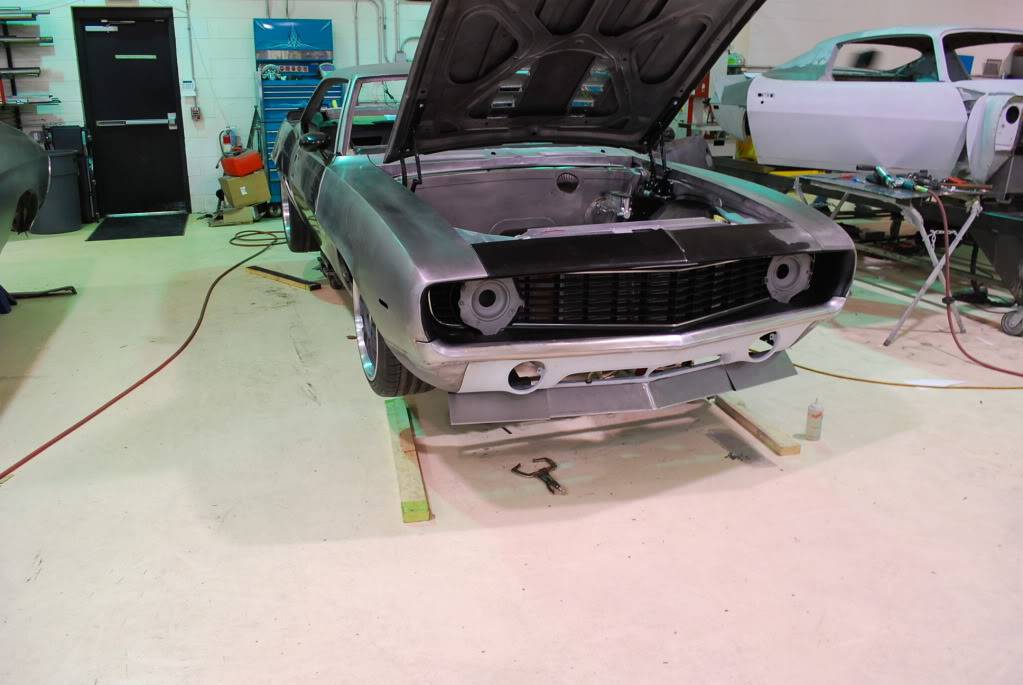
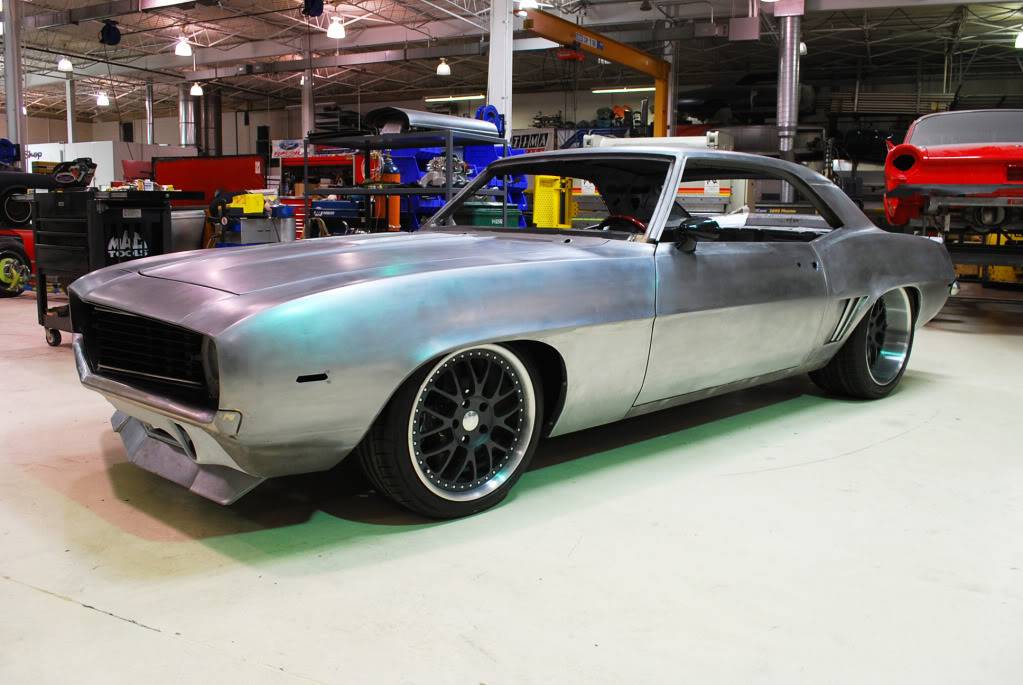
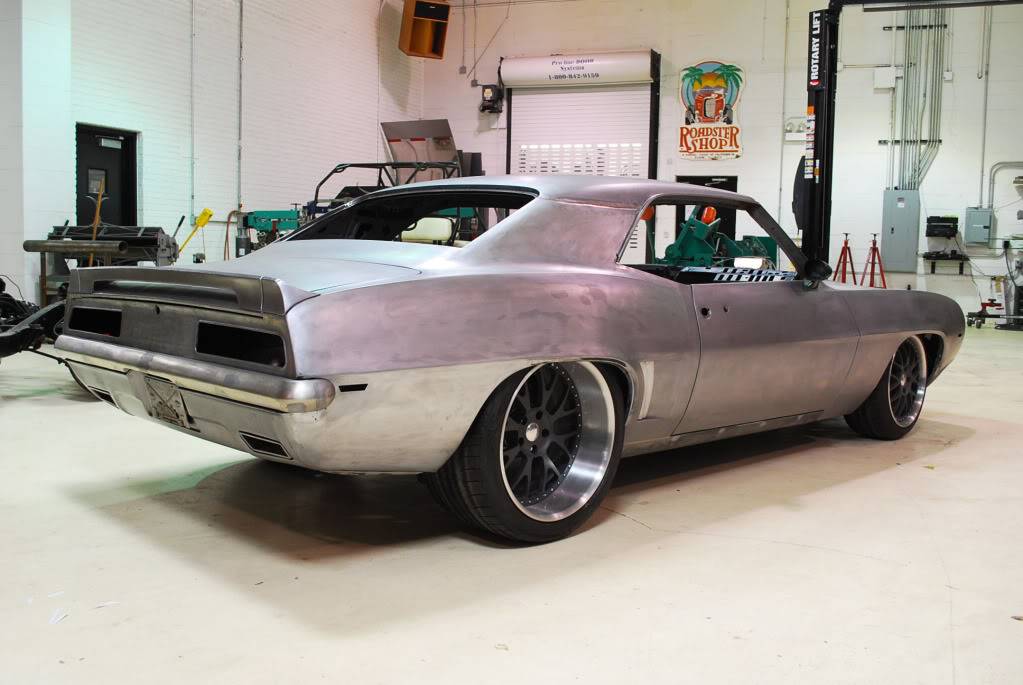
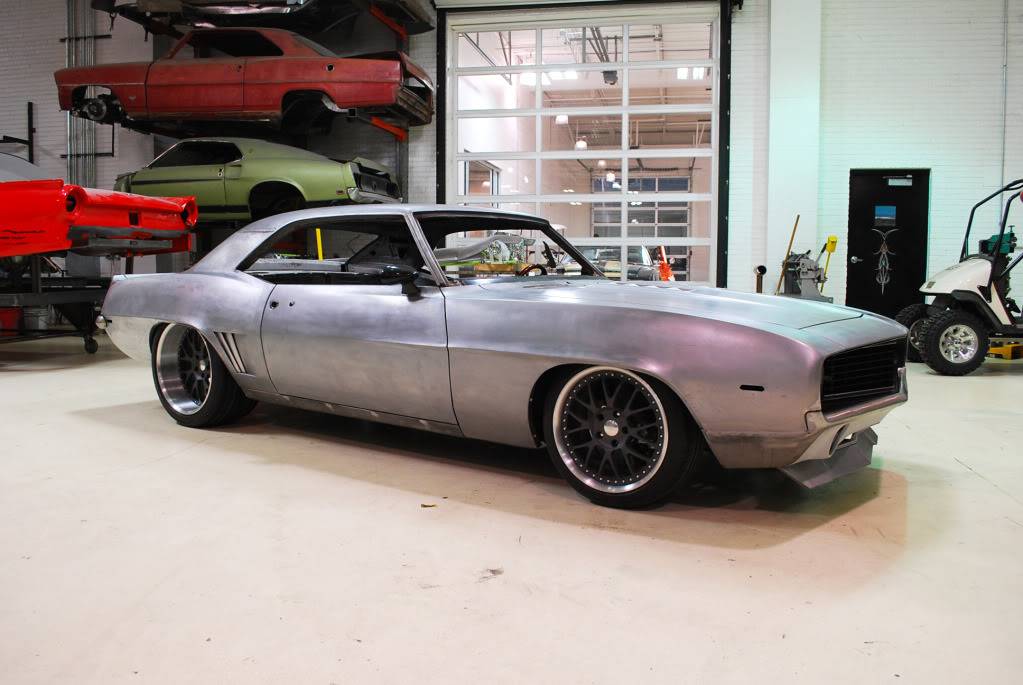
A couple more shots now it's on the ground -
(Actual front wheel will be spaced outward more - these are just rollers)
04-05-2012 #38
Registered User
- Join Date
- Sep 2011
- Location
- Mundelein, IL
- Posts
- 98
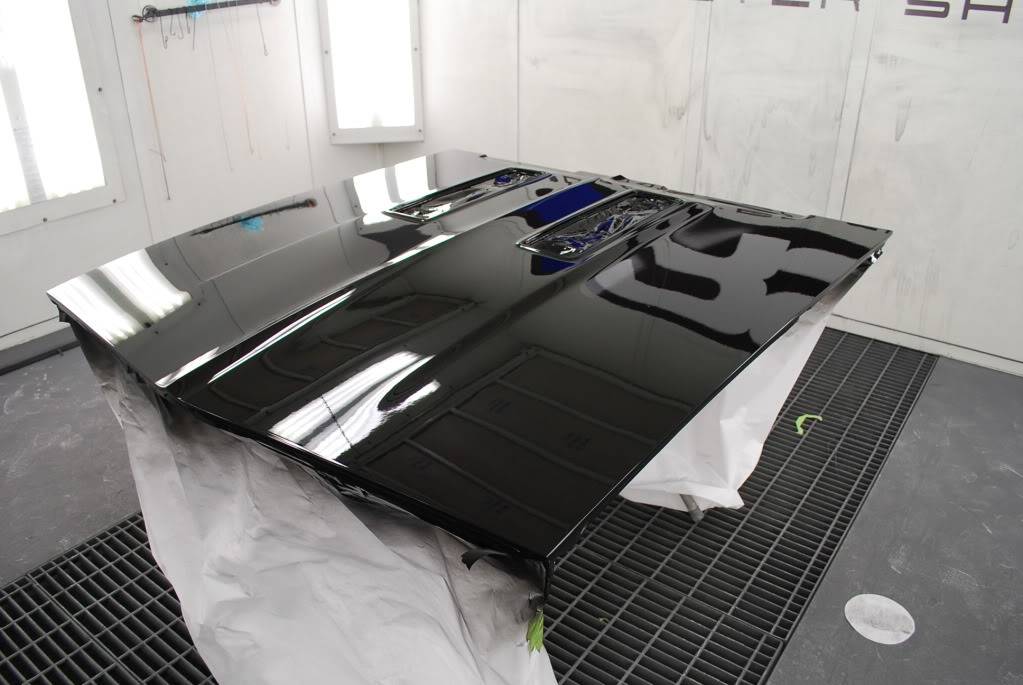
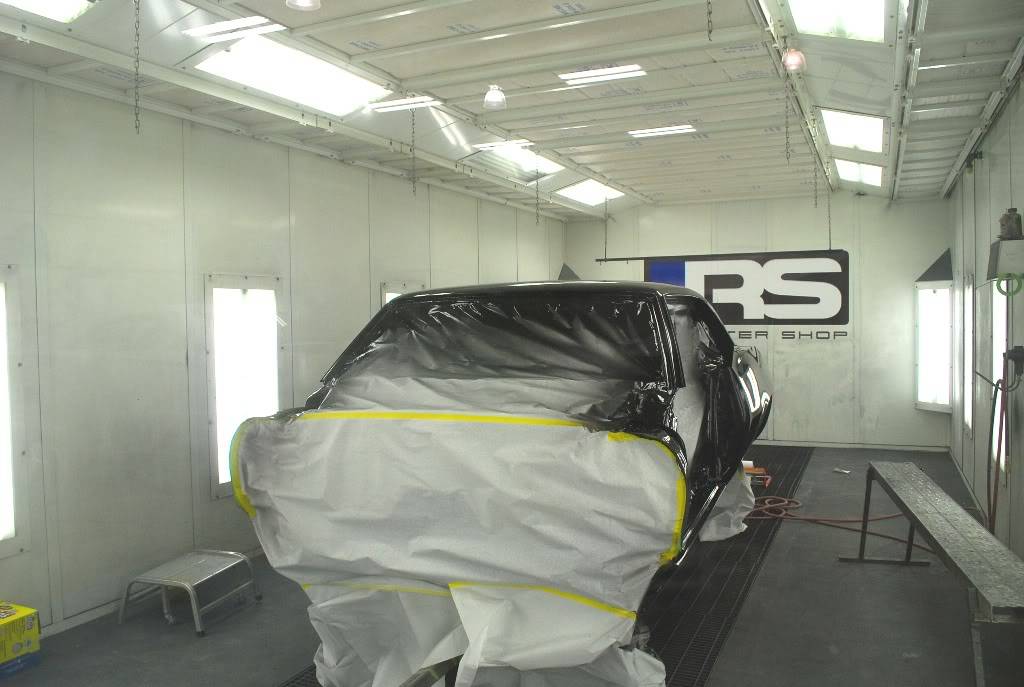
On to body and paint!
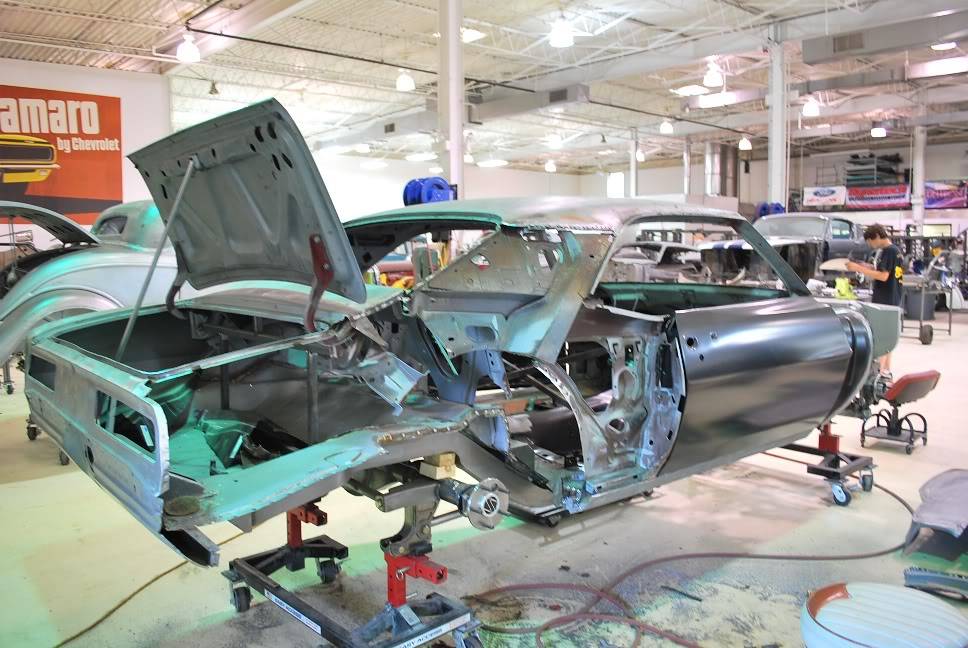
We have stripped the car, metal prepped it, primed everything and have reassembled the car. Body work begins after all of the panels are final aligned.
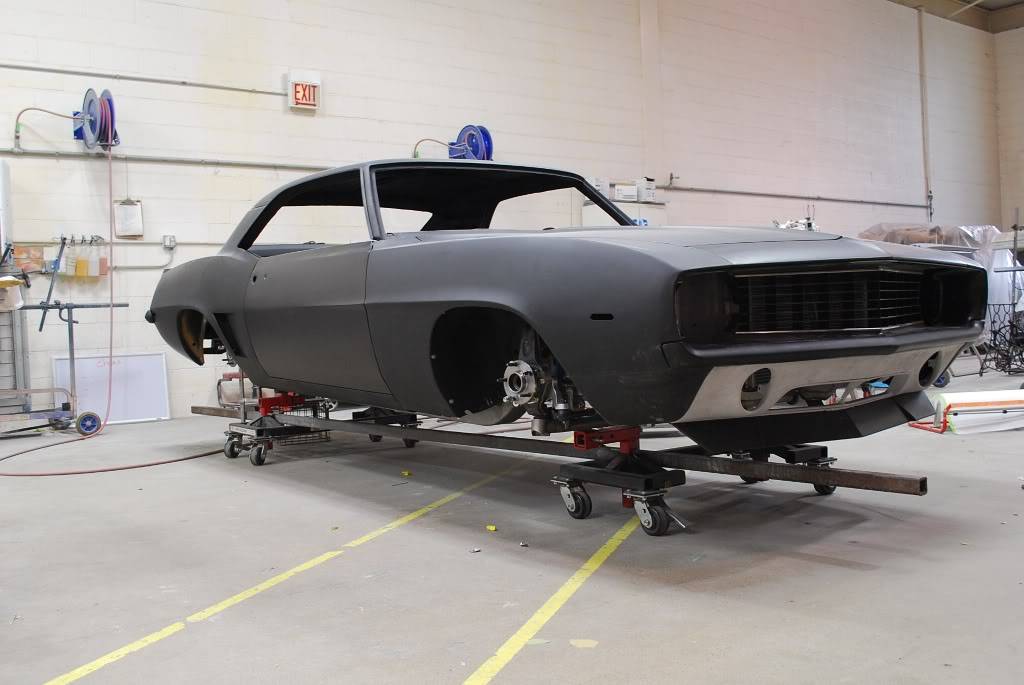
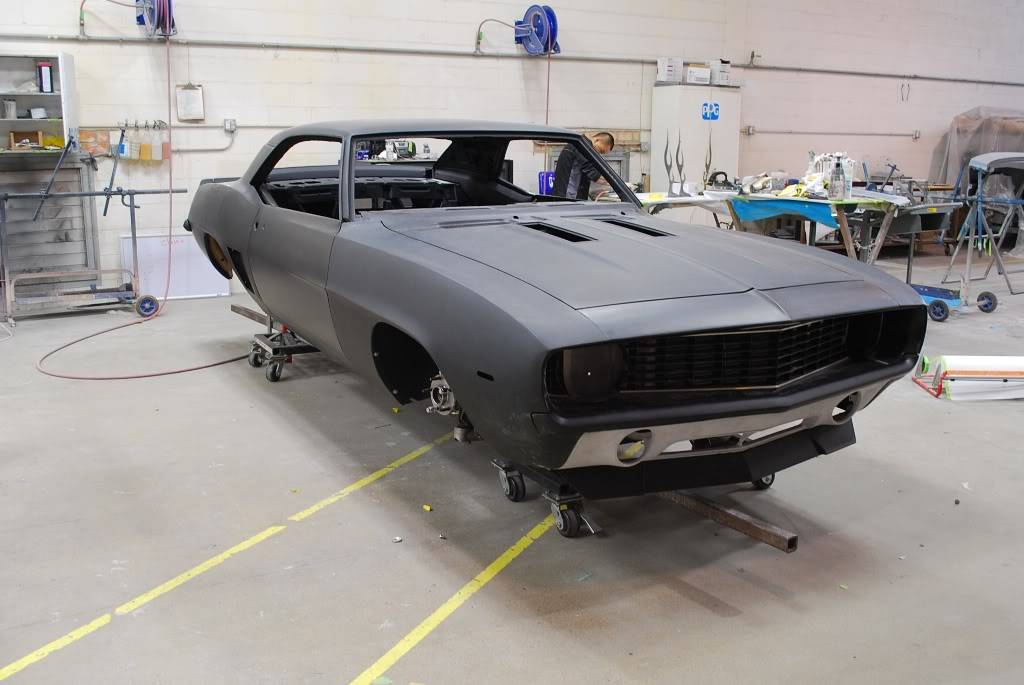
Primed and ready for blocking.

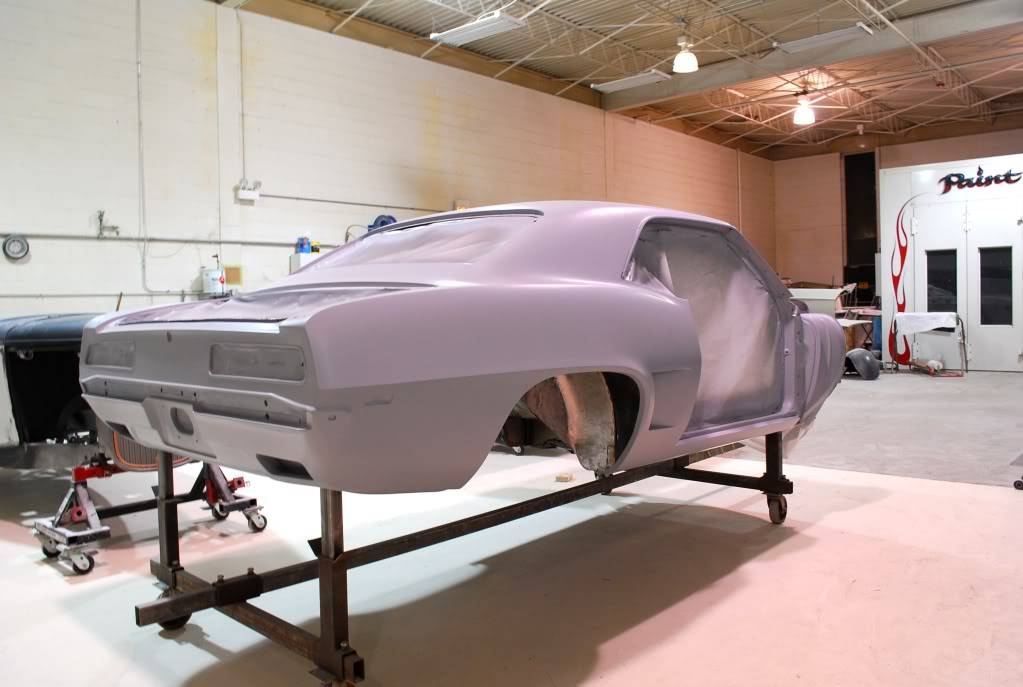
Final prime. Ready for final blocking and then into the booth.
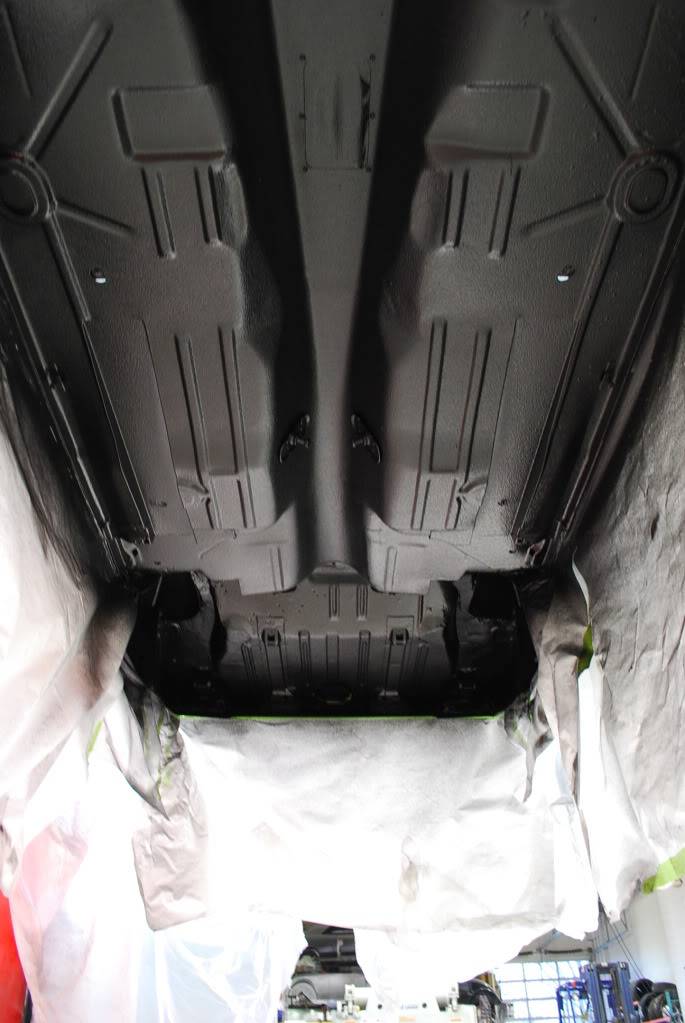
Rhino Linned the bottom of the car for a clean, durable finish.
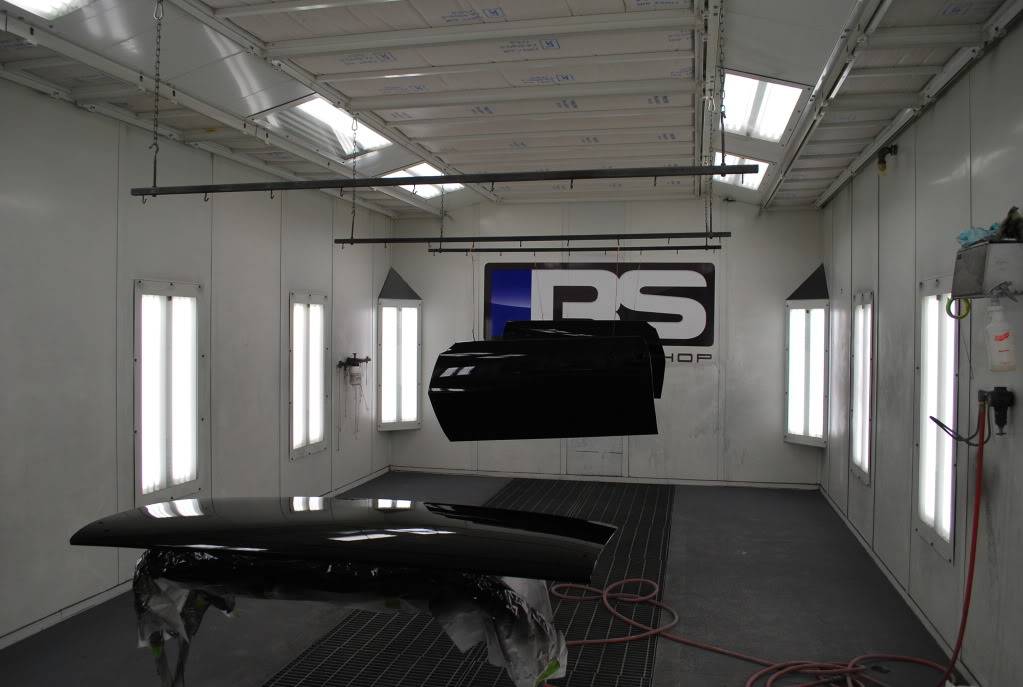
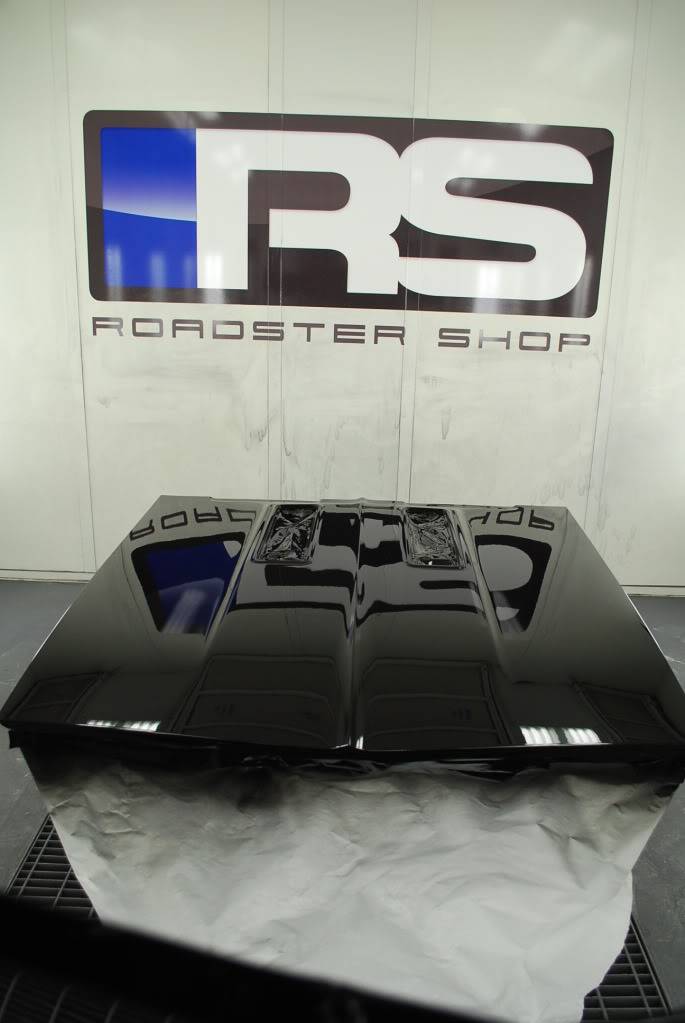
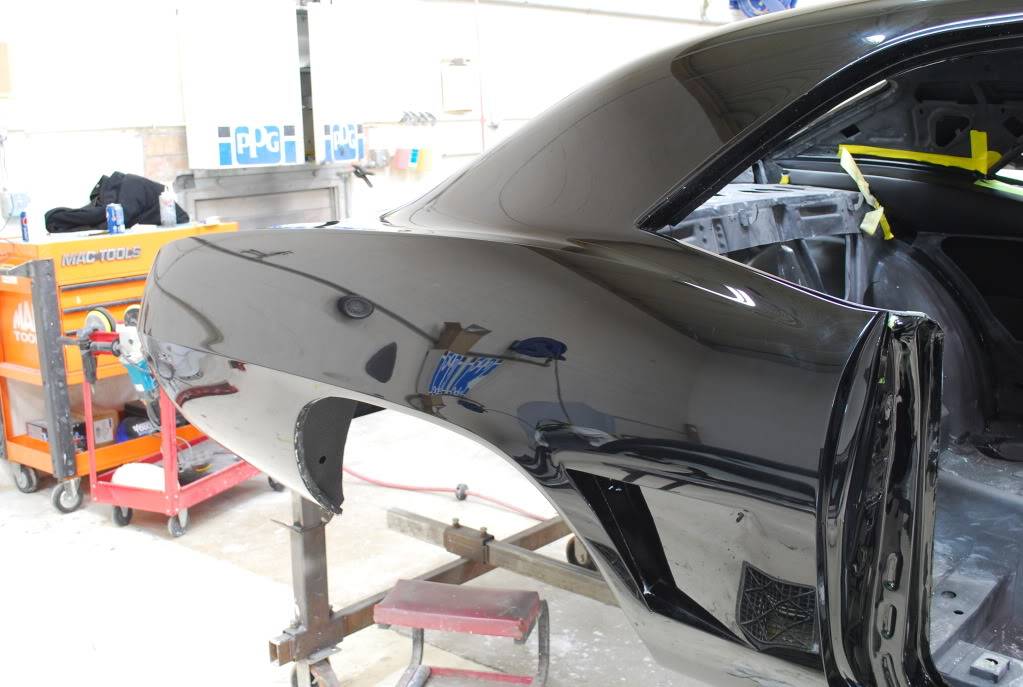
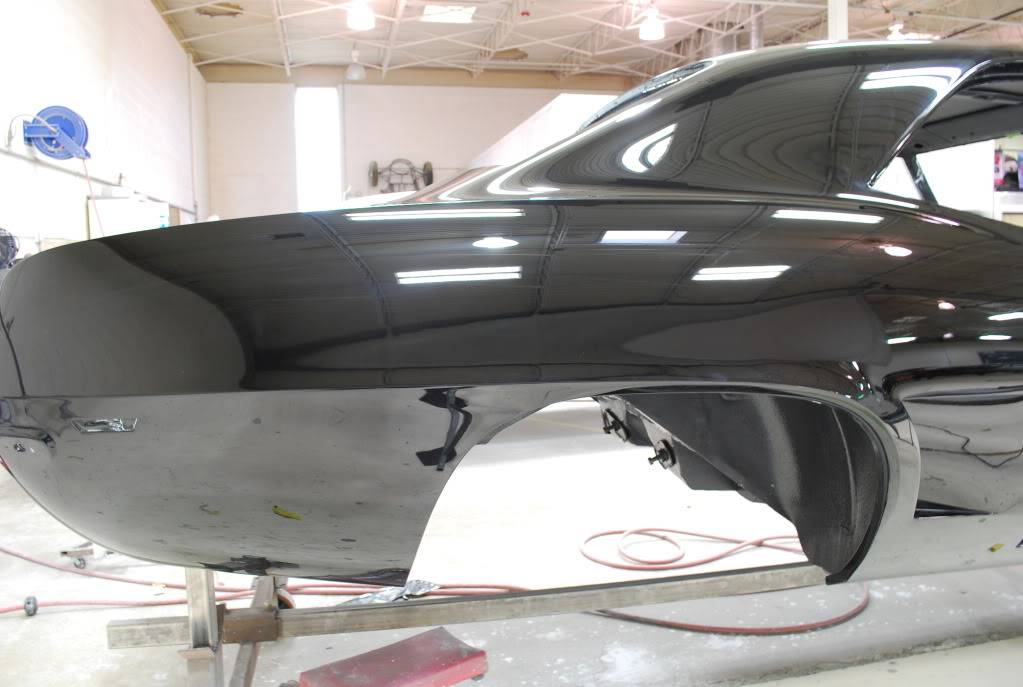
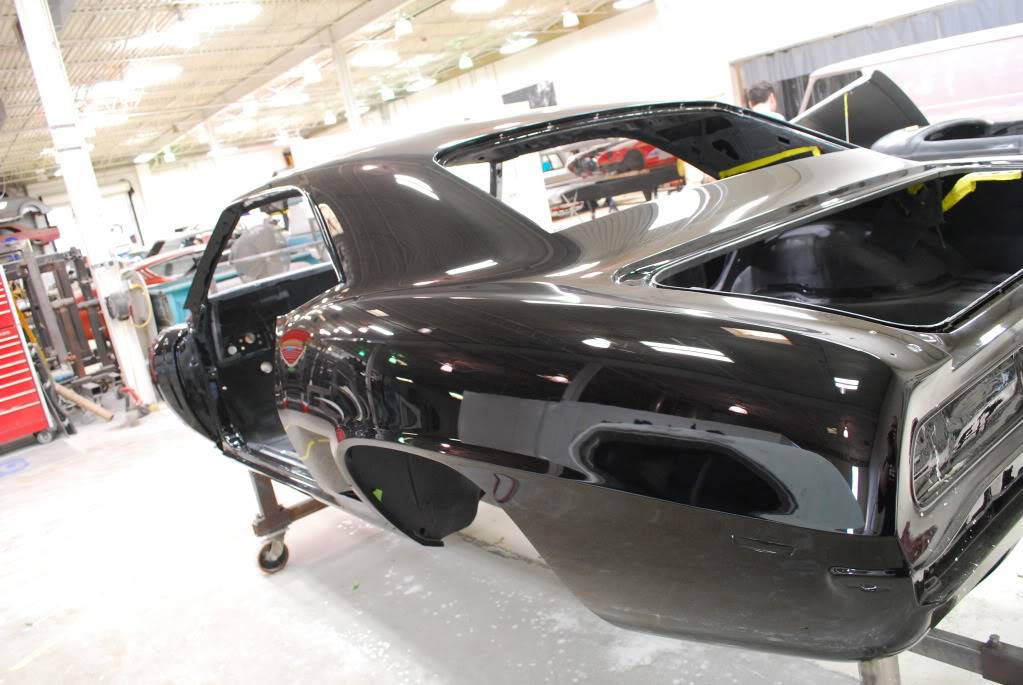
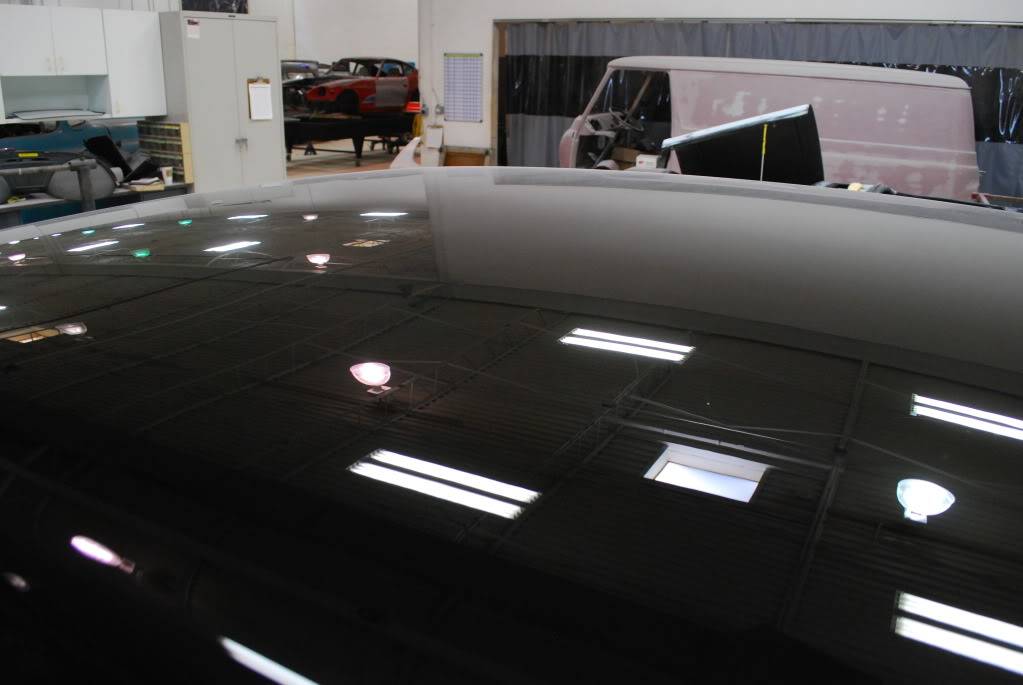
And a few painted panels,
04-05-2012 #39
Registered User
- Join Date
- Sep 2011
- Location
- Mundelein, IL
- Posts
- 98
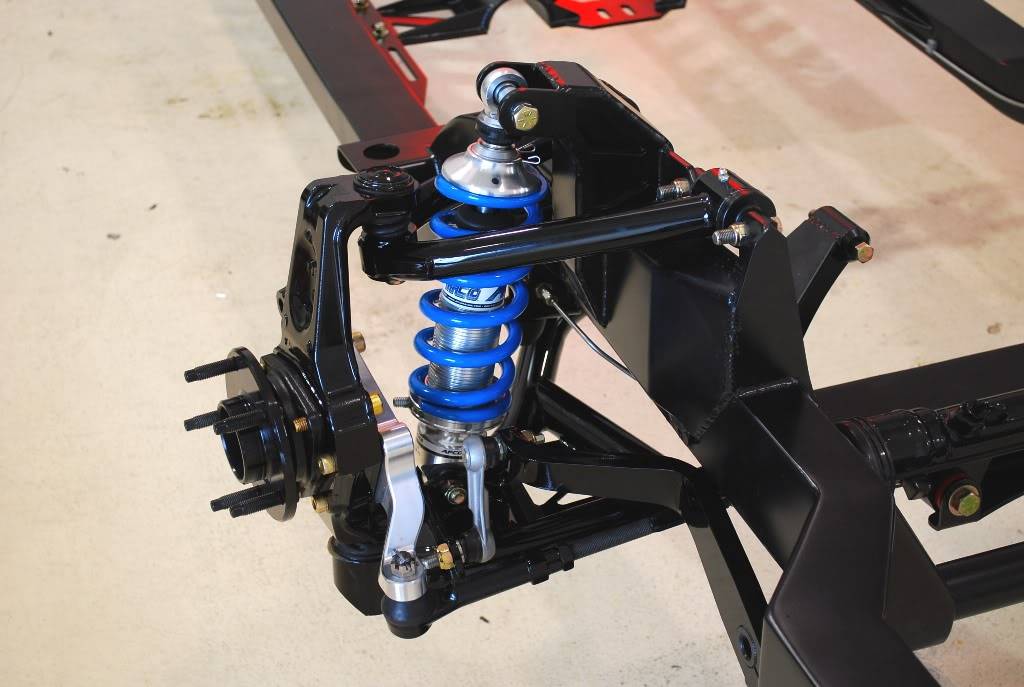
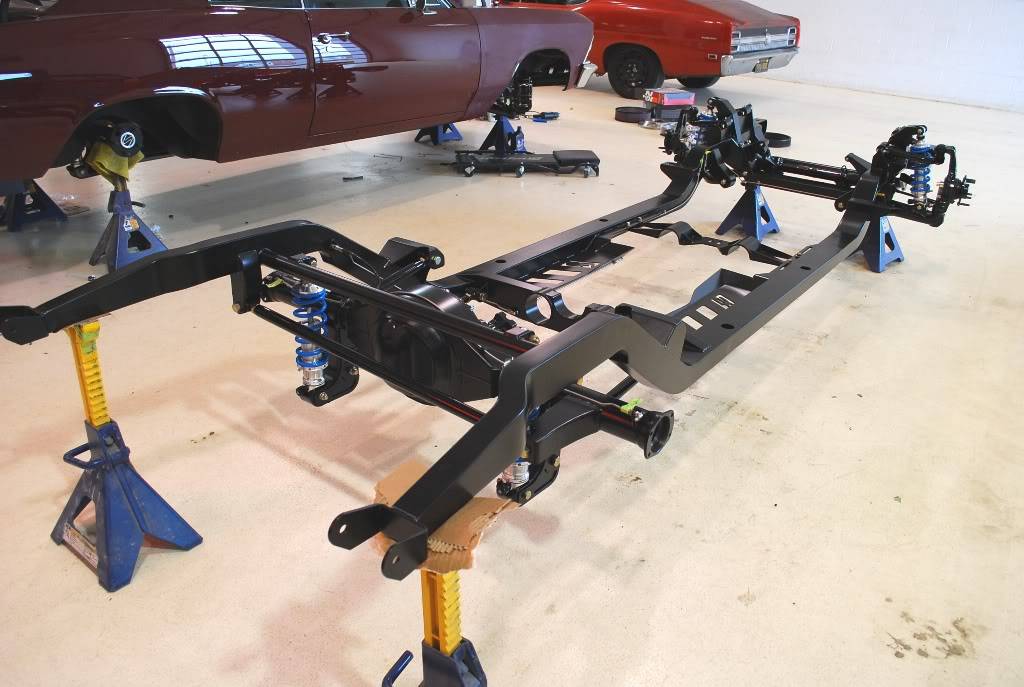
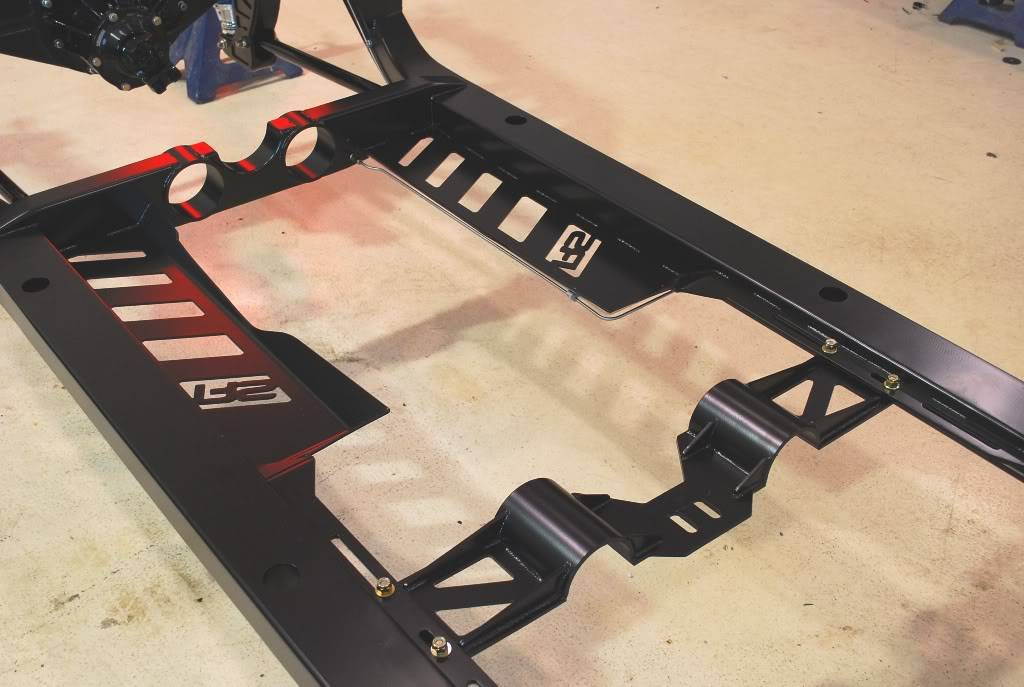
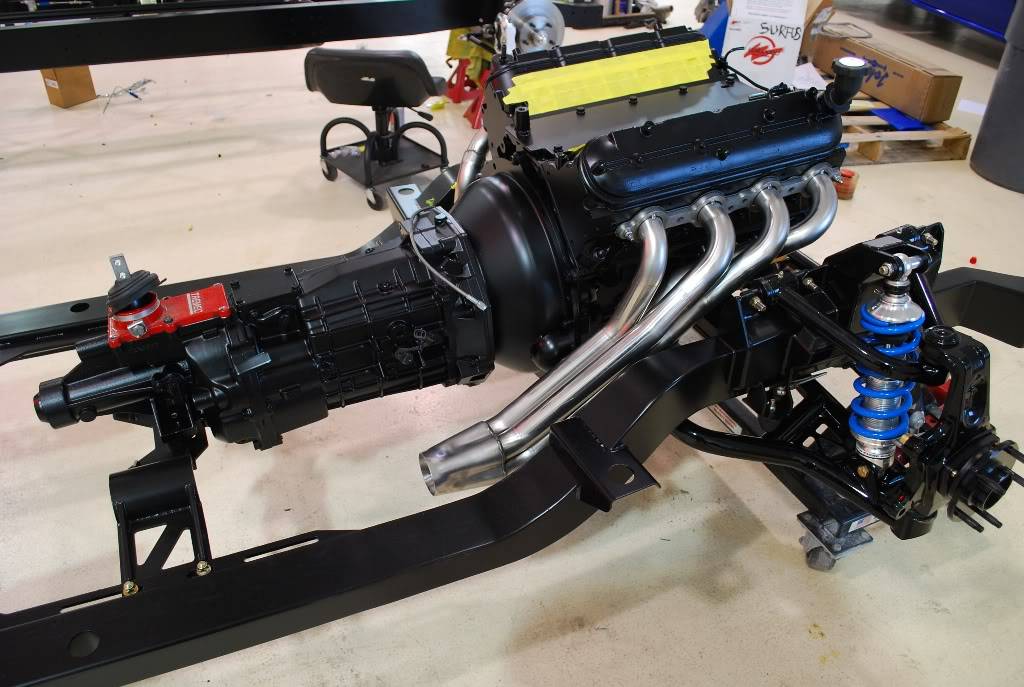
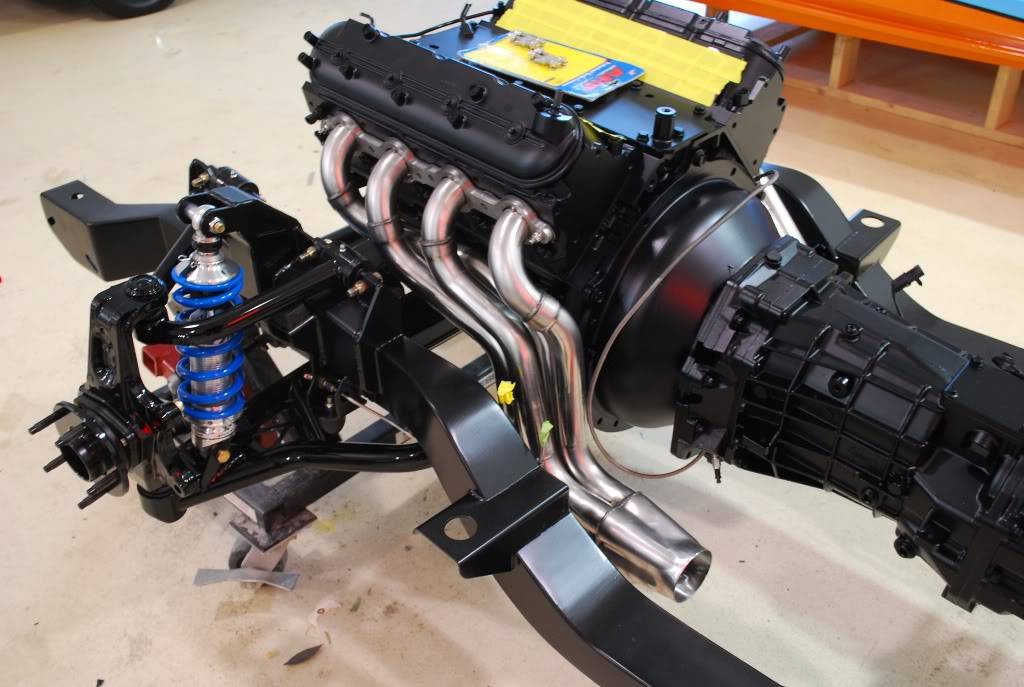
Chassis assembly progress.

04-05-2012 #40
Registered User
- Join Date
- Sep 2011
- Location
- Mundelein, IL
- Posts
- 98
Some paint updates:
Tags for this Thread

 Reply With Quote


