

Results 1 to 11 of 11
Thread: LSX370 Build for my '69
-
04-24-2018 #1

 Registered User
- Join Date
- Jul 2012
- Location
- Traverse City, MI
- Posts
- 574

LSX370 Build for my '69
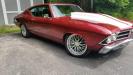
Making a build thread for the LQ4 I bought for my Chevelle. I figured since photobucket killed my car build Id start this and carry it over to a new car build thread. Axe me anything. Critique my build. And please offer advice. Its not really an LQ anything anymore.
(Edit: I have no idea why the pics are so huge. I thought they were auto resized when posting)
Calculated CR on this combo will be about 10.8:1.
Parts are - DSS Racing Pistons, LT4 rods, Clevite bearings, Hastings Rings, 243 heads, PRW rockers, BTR Pushrods, Elgin Cam, Truck intake, SLP dual roller timing chain, Melling 10296 Erl pump
Day 1. This was April of '17. Found an Lq4 with a 4L80e that was advertised as a drop in. Which was kinda my plan all along. Supposed to have all accessories and harness included. Well, it did have all of that stuff included, but the alternator was seized up, the PS pump was full of dirt, the harness was cut up, etc etc. I talked to guy down to $500 since it was a giant piece of poo.
Day 2: The plan was to start tearing it down. However, my wife decided is was a good idea to grow a football sized cyst over the last few years. It was attached to her pancreas. It decided to rupture on this day. This put my plans on hold. I still started the tear down though as I couldn't stay at the hospital. She ended up being ok, just has a huge scar now.
Tear Down pics.
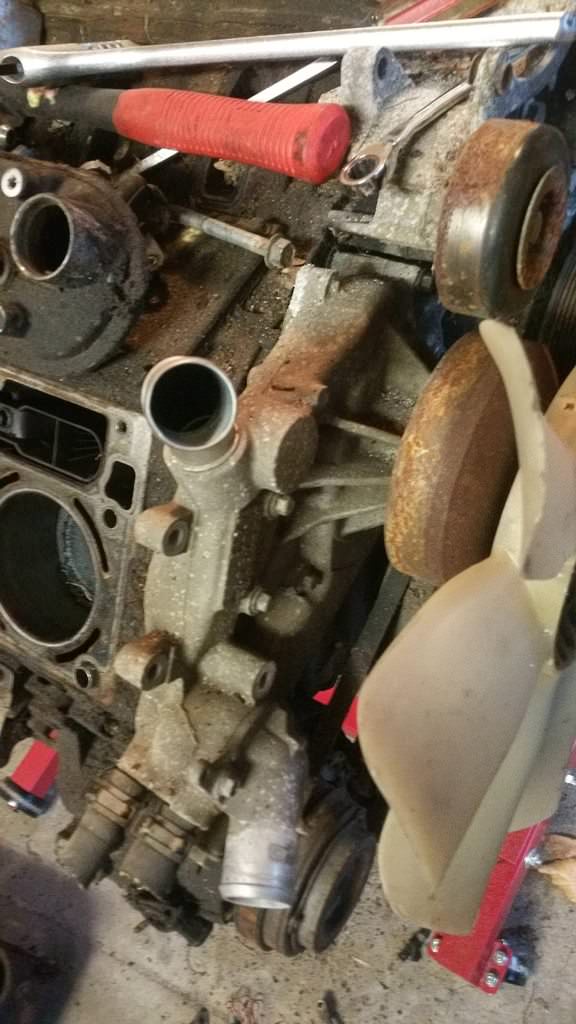
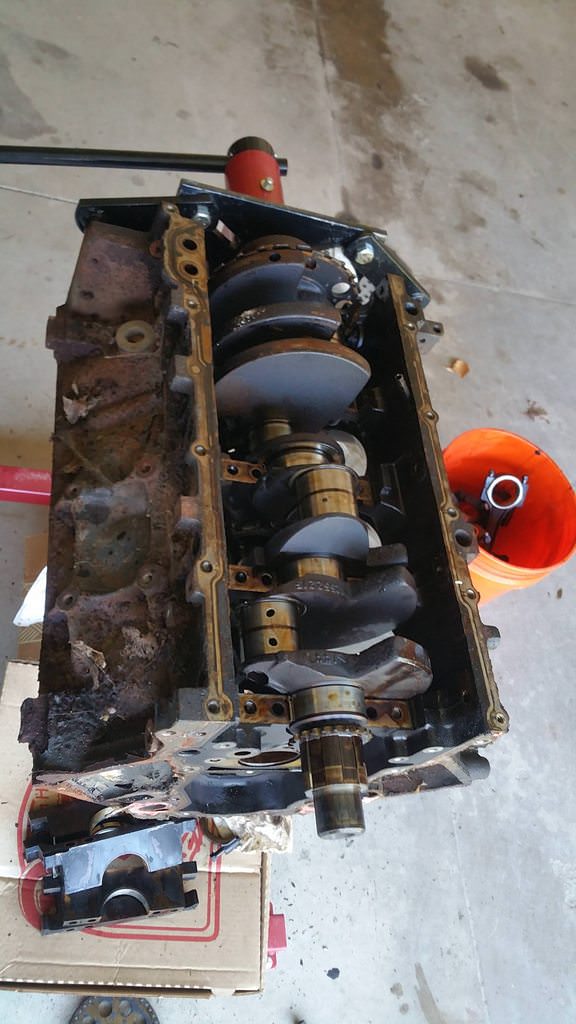

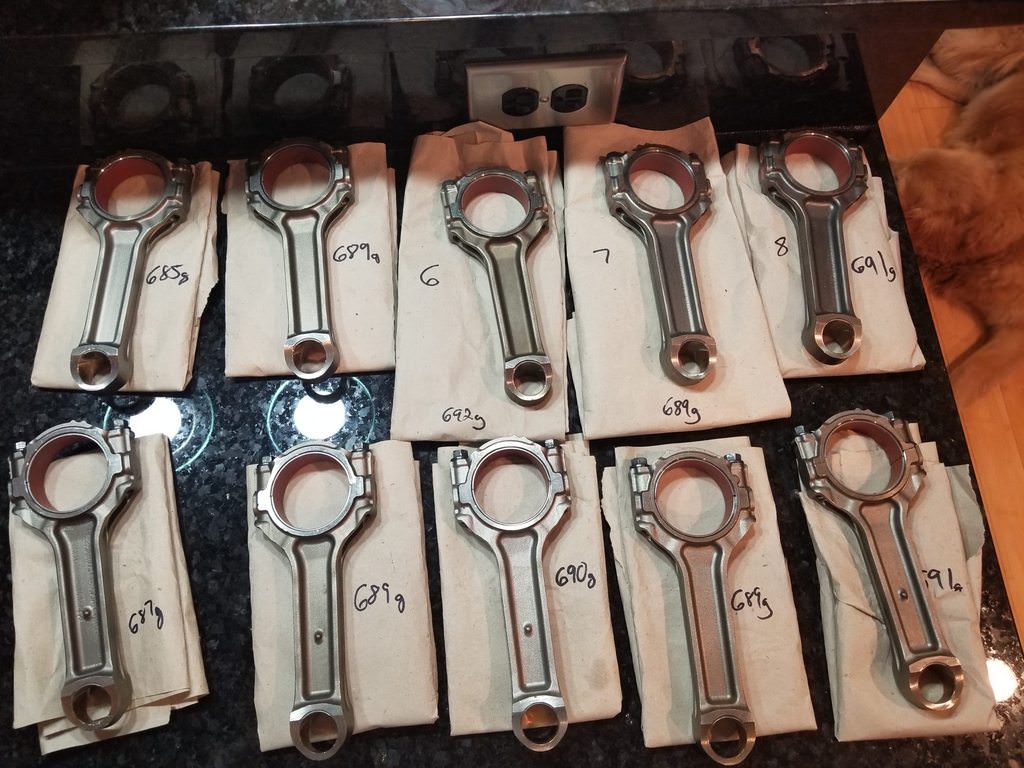
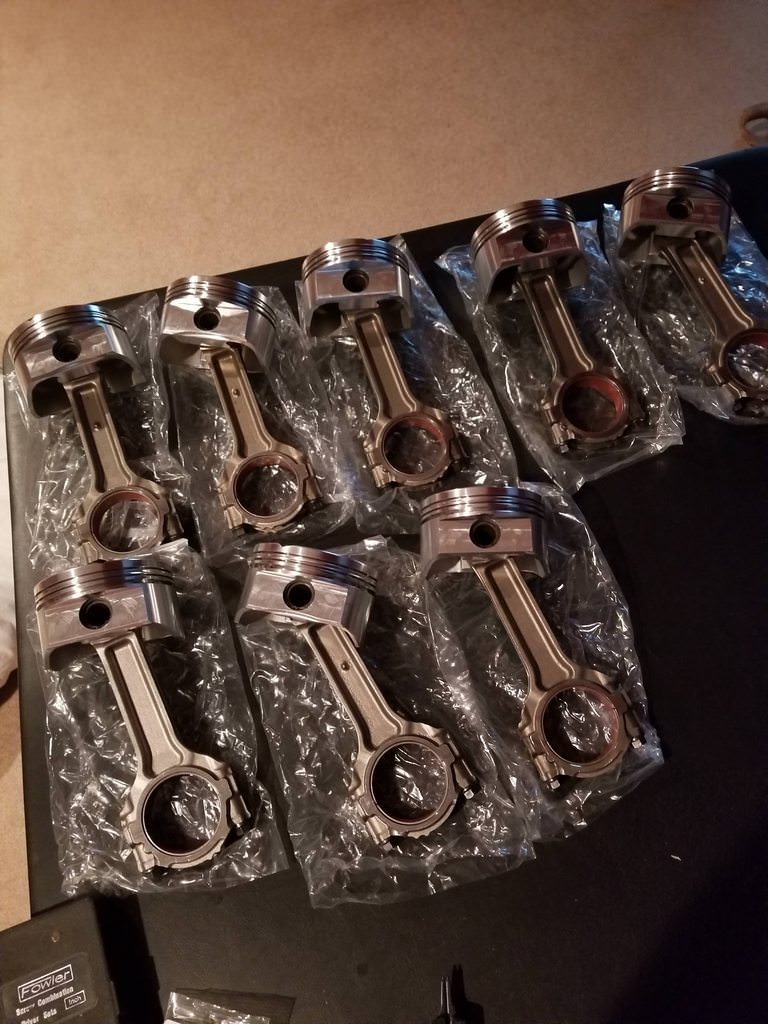
Once I realized how bad it was, I knew I wasn't going to be able to reuse the SBE. Told the machine shop to clean it up and give me a .030 bore for a 370 build. Dropped the block off and the crank for polish. I waffled about which pistons to buy, rods, etc. Initially I was going to go with SCAT forged H-Beams but came across a set of LT4 rods with bearings for $180. Figured if those rods are good enough for the LT4, theyd be good enough for me. Bought those around xmas, the same time I sold the 396. Here are the rods weighed out. They sent me 10, I picked the 8 that were the closest. I sent those in to get sized.
I ended up choosing DSS Forged Pistons. Theyre not coated and that bothers me just a little bit.
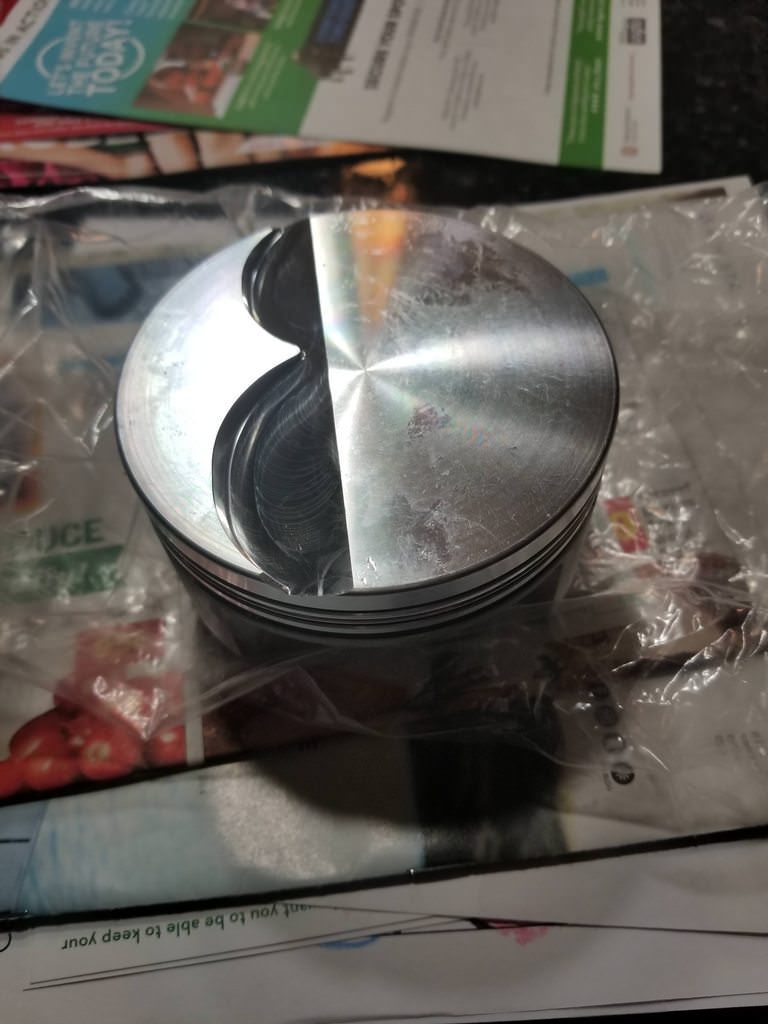
My kid and I assembled rods and pistons a couple days after xmas. She helped me ring them. I used Hastings rings and checked gap prior to install. Only 1 needed filing for my comfort.
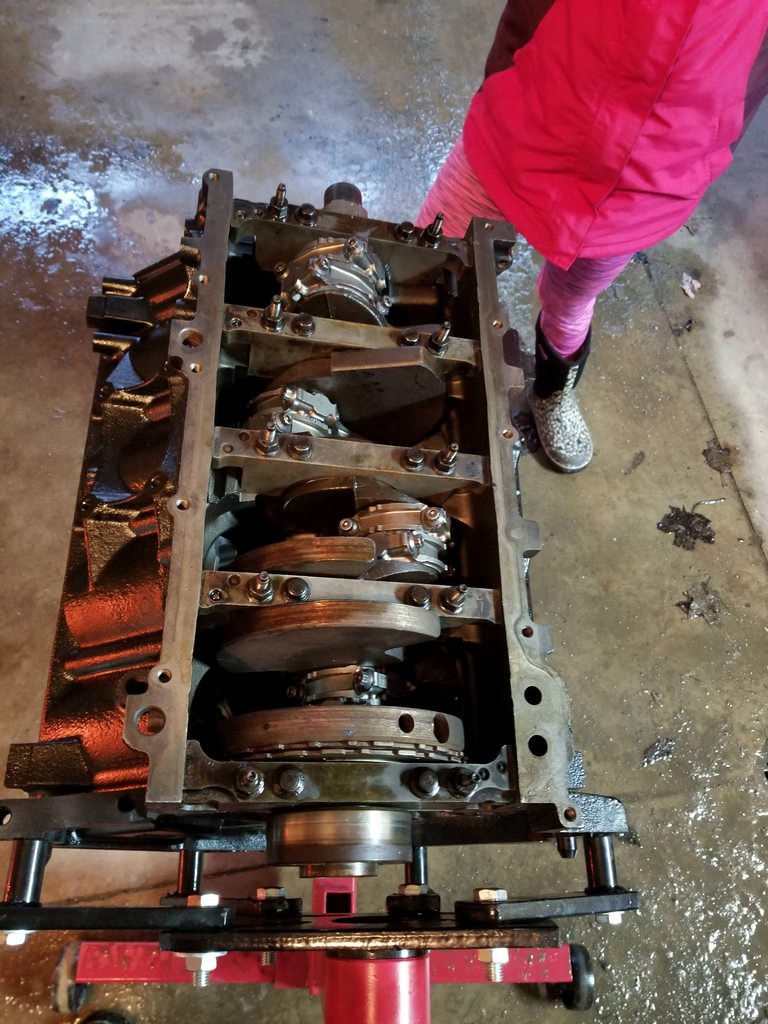
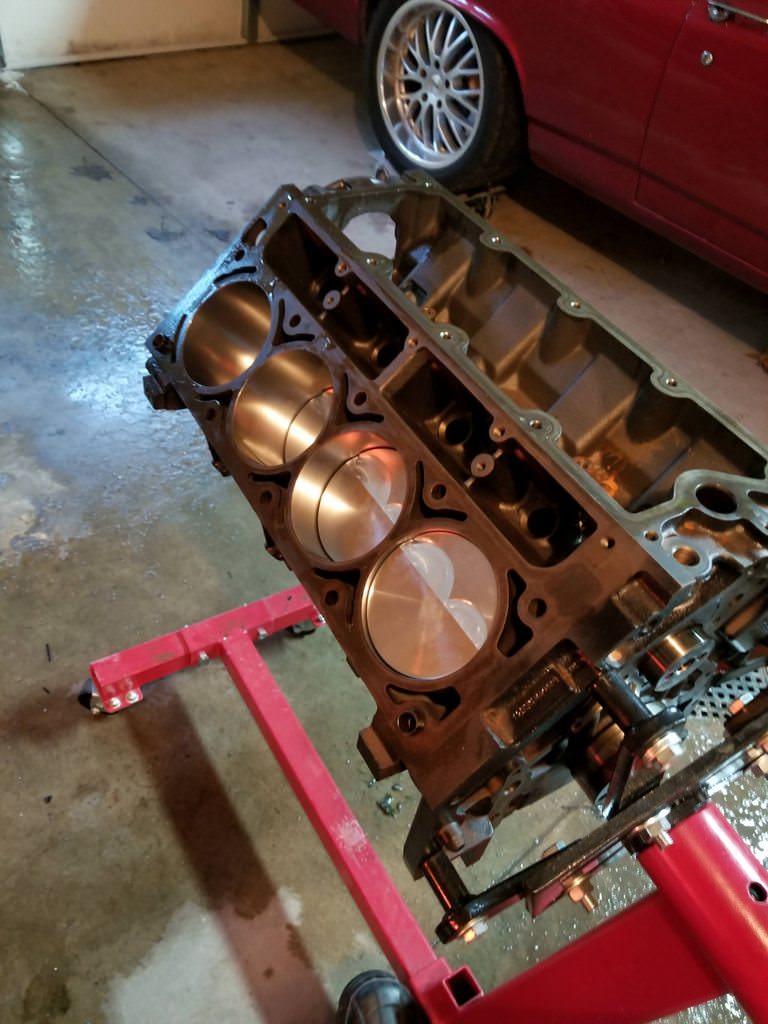
We put them in the block the next week. I used ARP 234-6301 Rod bolts here. My kid helped me torque them down. I was really surprised by her interest in this process.
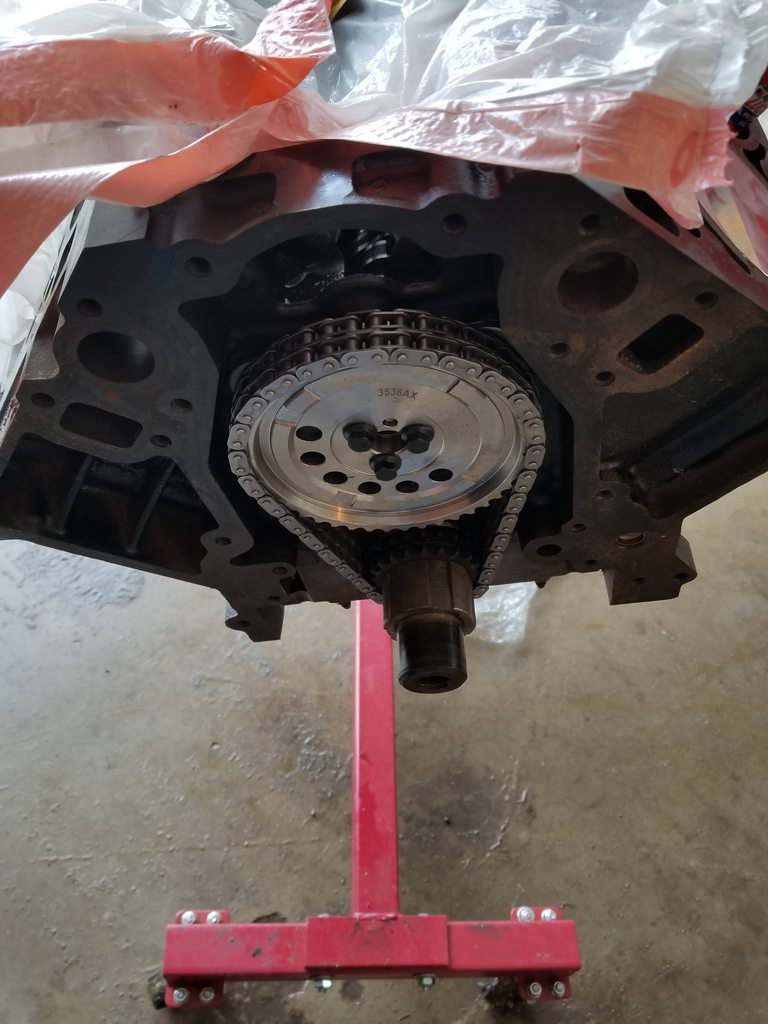
Got a price on a SLP double roller. The cam I initially bought was a .598/.601 232/238 113. Apparently too much on the exhaust side because the valves were touching the cylinders. Switched it out for a .575/.575 228/232 112 lil cute thing. It'll be fine. Everything is fine.
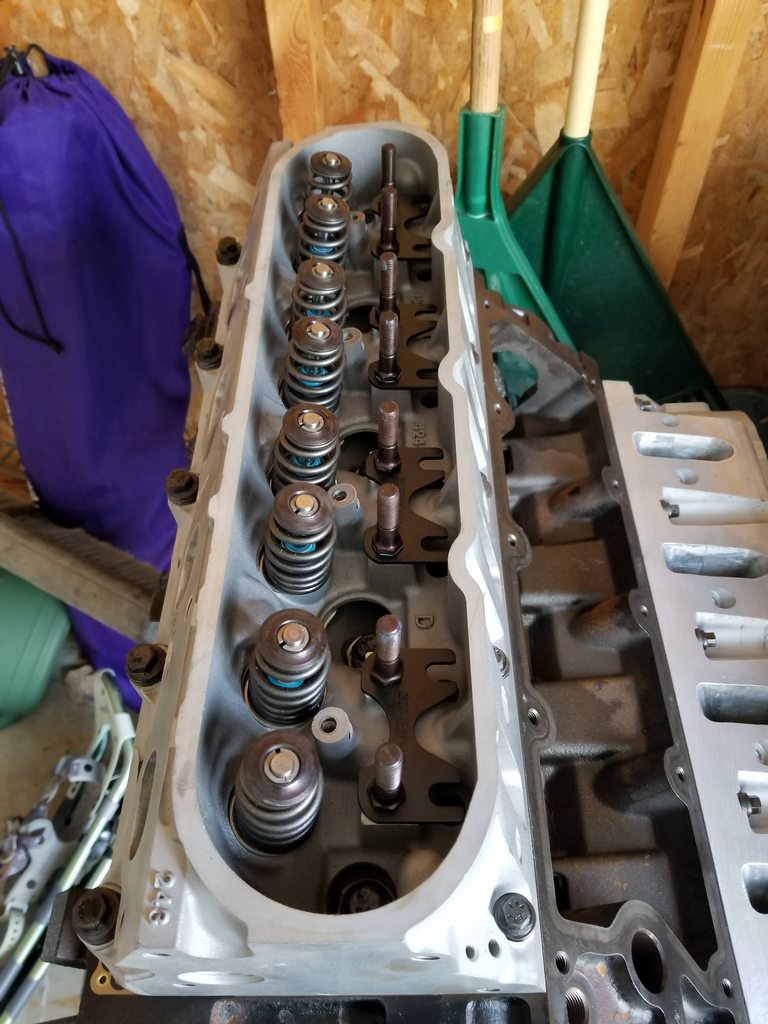
Heads on and lifter guides installed. 243s shaved to 61cc that I bought like 8 years ago for my NBS when I was having head issues. .600 lift PAC 1218. I will upgrade to dual spring eventually just for piece of mind. I'm trying Earls Performance Head Bolts. They say theyre the same material as ARP but 25% cheaper. Shouldve done head studs? Probably.
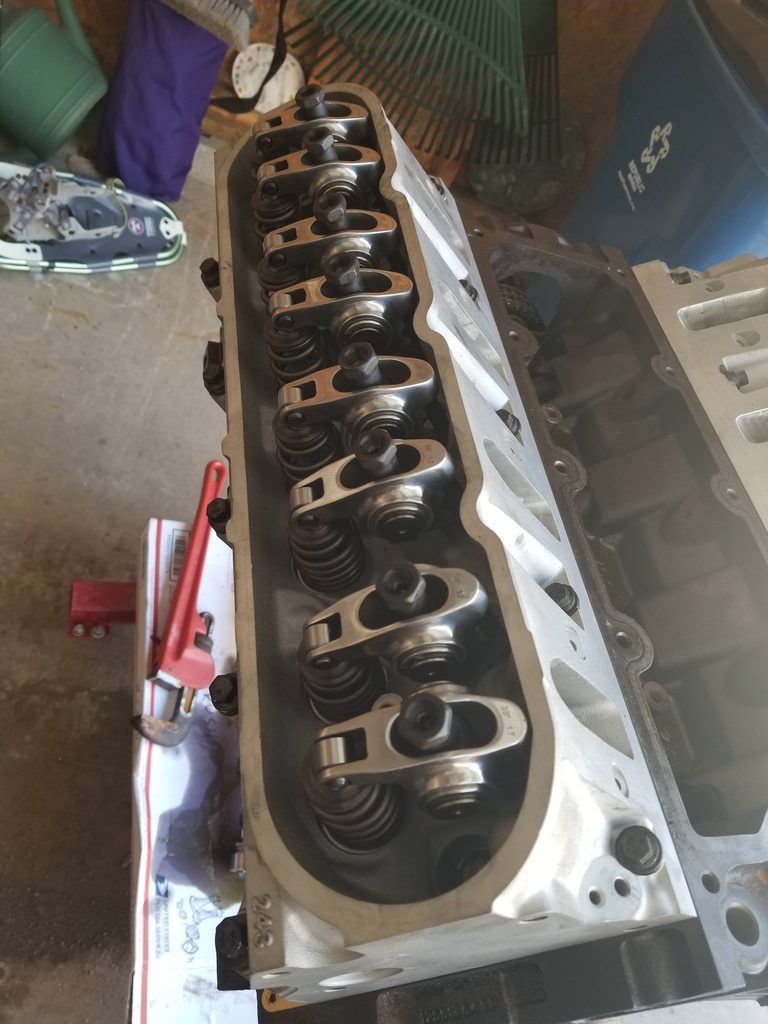
Initially I had a decent sized cam so I wanted to go with roller tip rockers. Theyre not self aligning hence the need for the guides. Theyre PRW 1.7 ratio Stainless. Quite honestly - they look identical to JEGS/Elgin/Speedmaster ****. Here they are installed and 0 lashed with 2 turns on the poly locks for .081 preload. They just barely clear the heads.
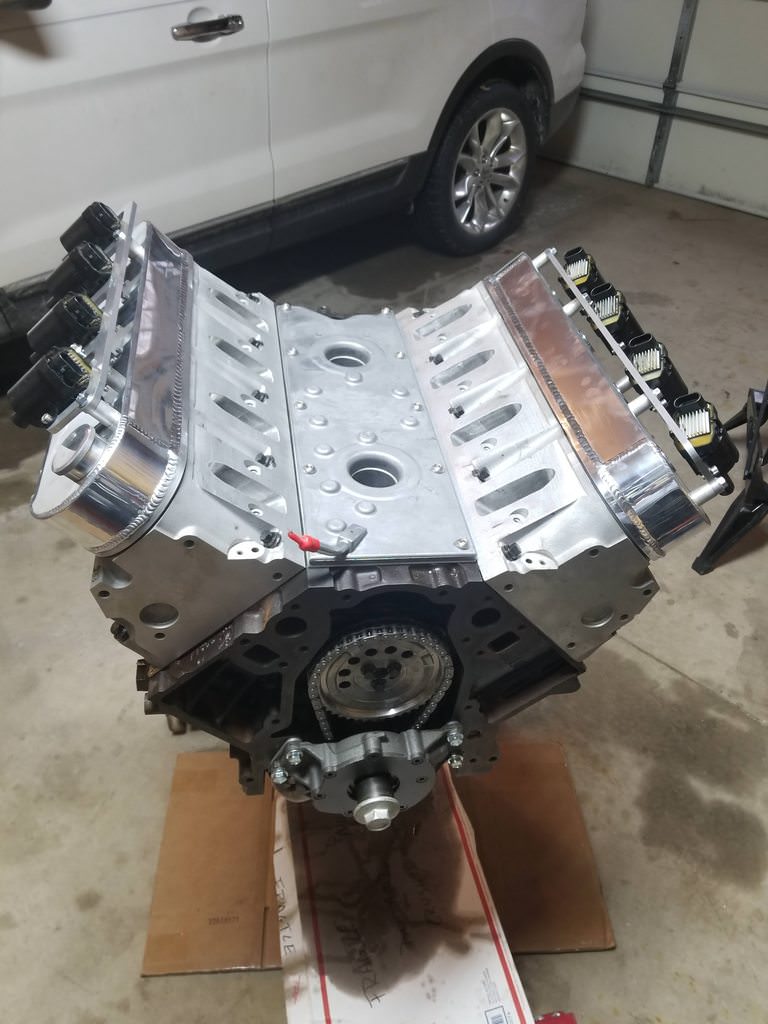
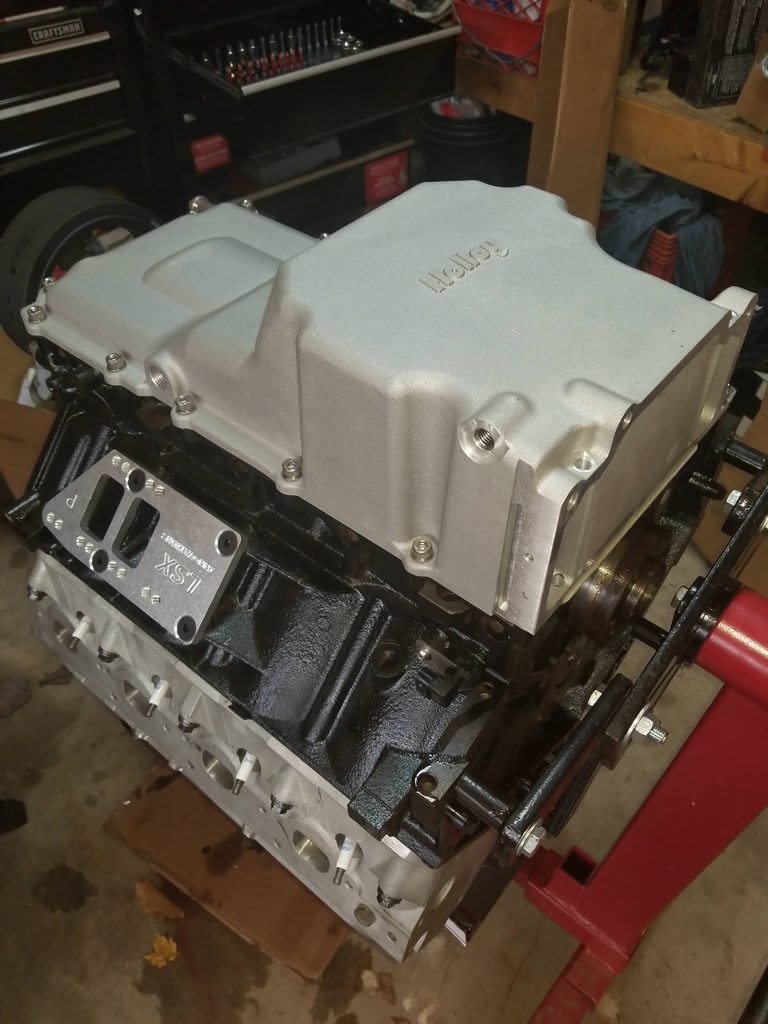
Changing the PCV system to the LS6 style with the LS6 valley cover. This will allow me to have a slightly cleaner catch can routing system. Valley cover on and Melling 10296 installed. Also shown are the aftermarket valve covers, heat sink coils, and billet coil brackets. I only loosely installed them here as I still needed to bathe the valve train but didn't have the pan on yet.
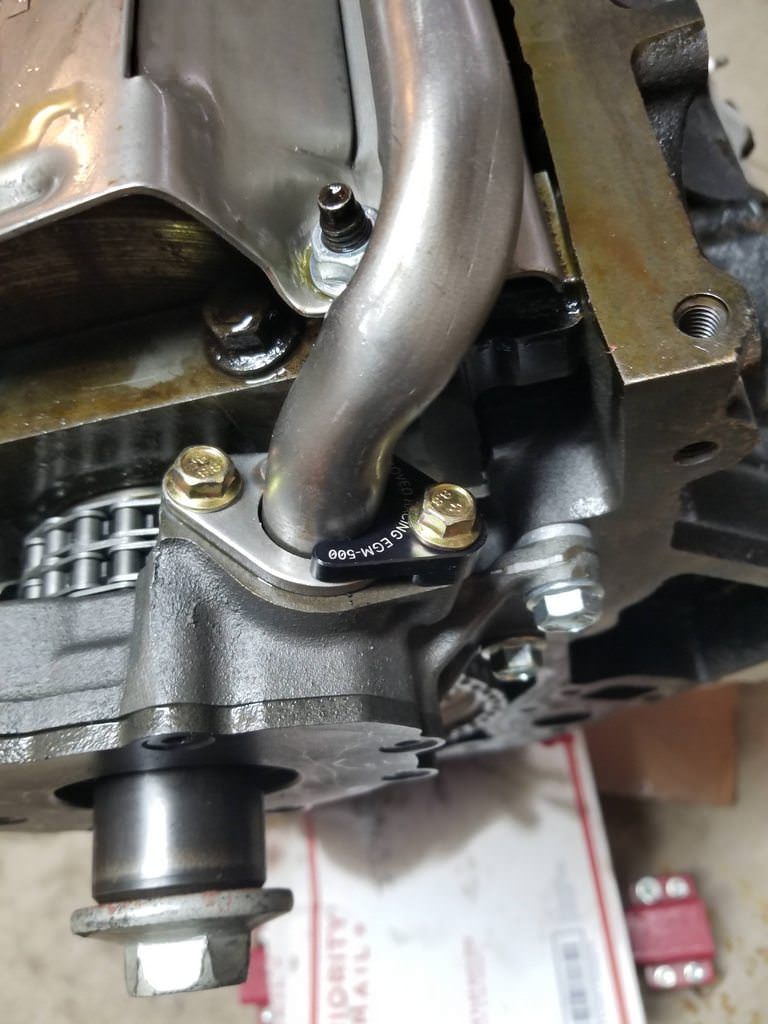
An oft overlooked detail is the oil pick up tube girdle shown here. Almost guarantees proper o ring seating.
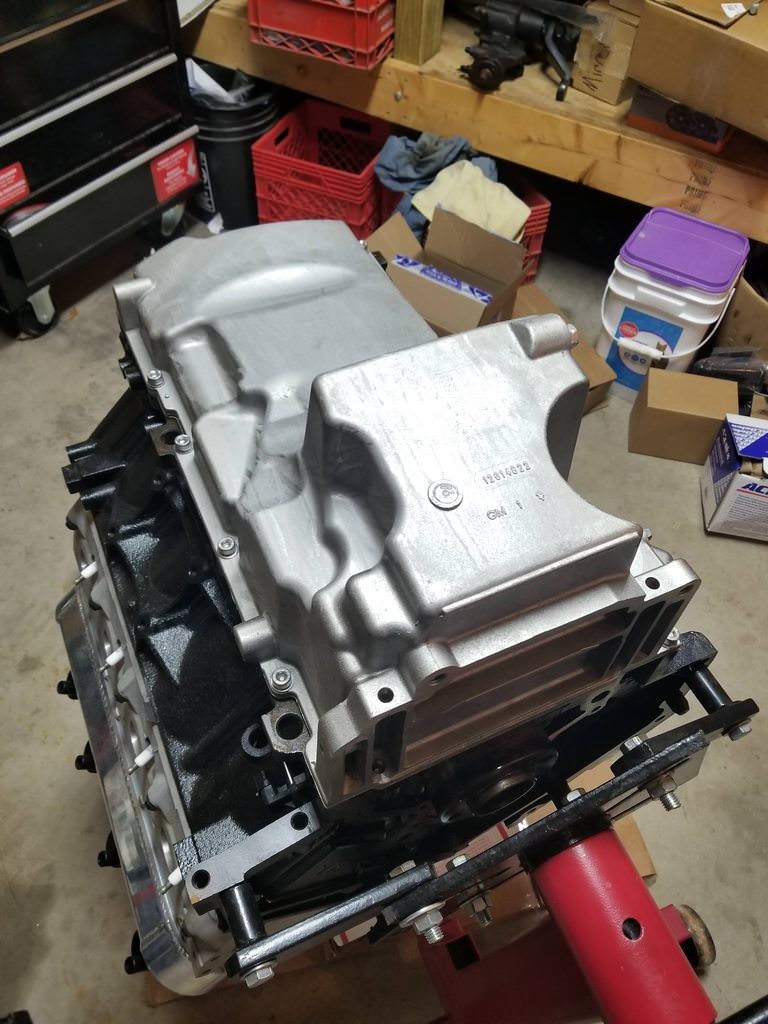
GM Muscle Car Swap pan installed.
Newish Water pump installed and new balanced crank pulley
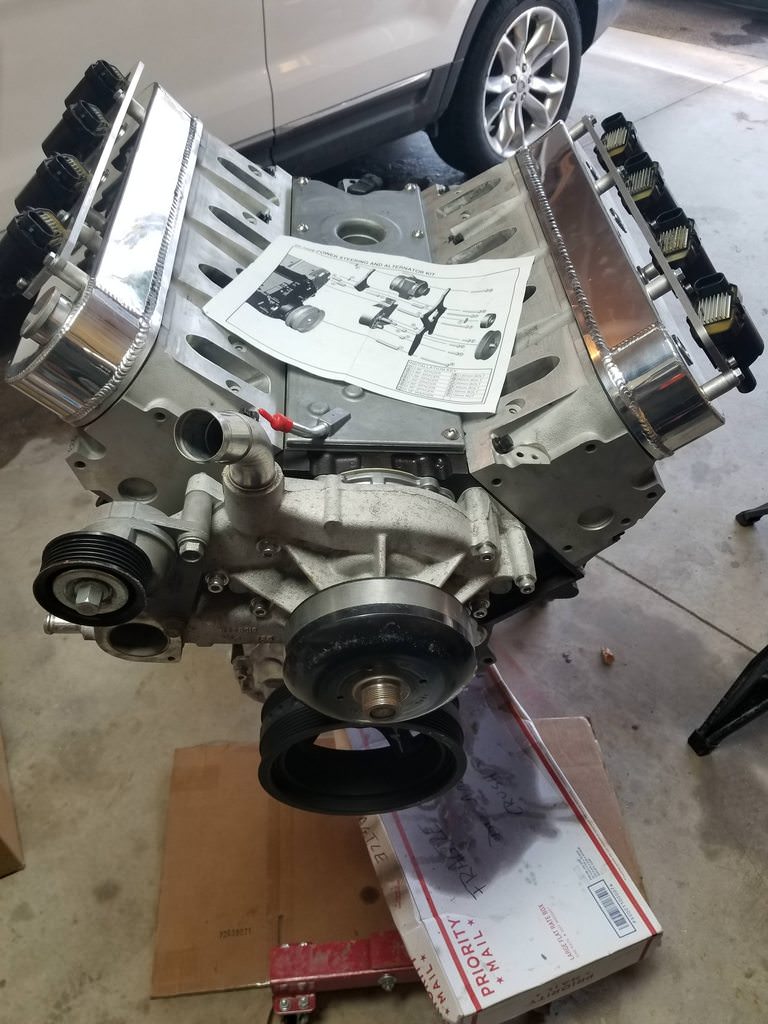
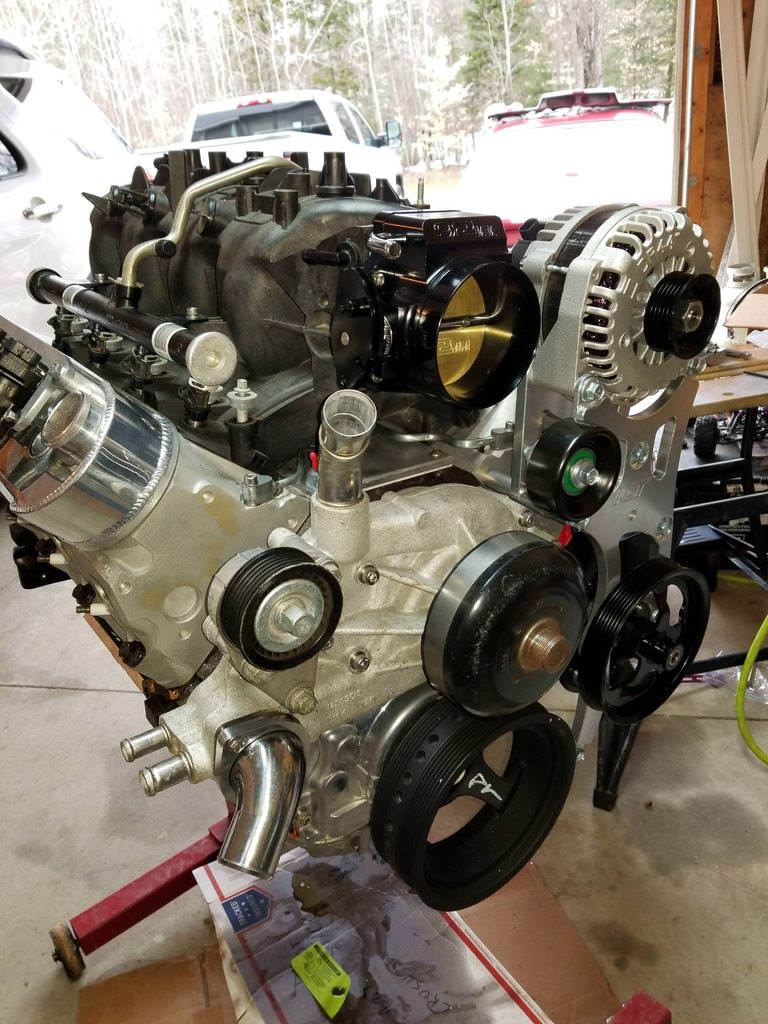
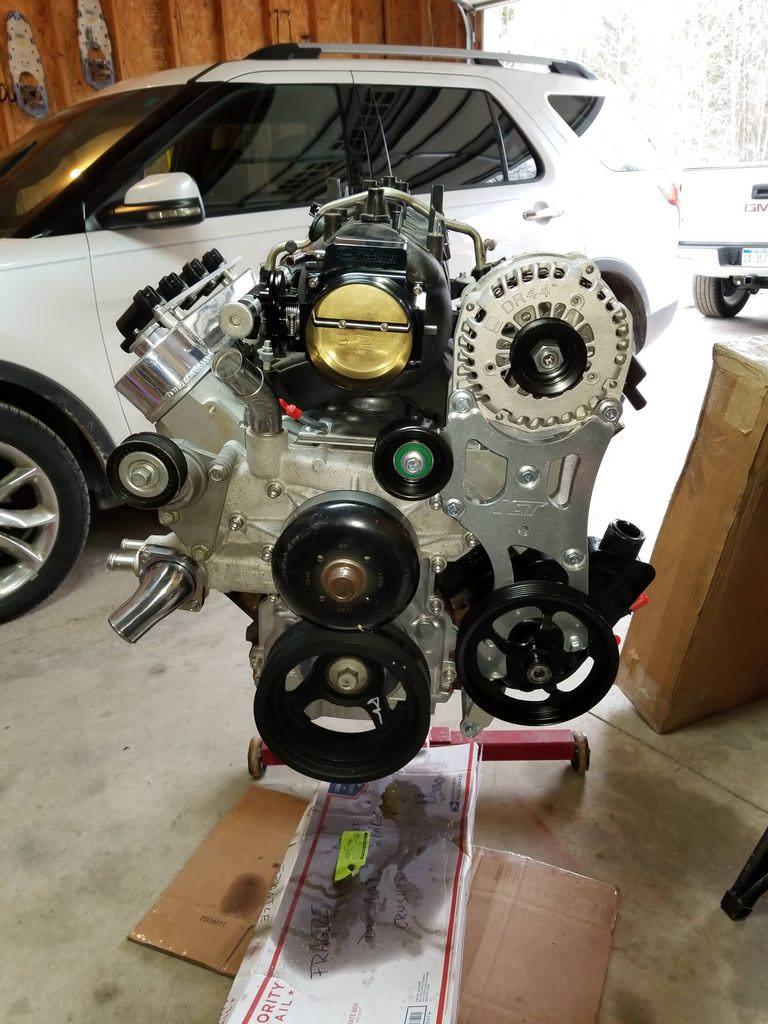
Now we're caught up to the weekend. I bought some billet brackets to mount the alt and PS pump. However, the seller/manufacturer didn't know that they don't allow clearance for the tall valve covers. Set me back a bit.
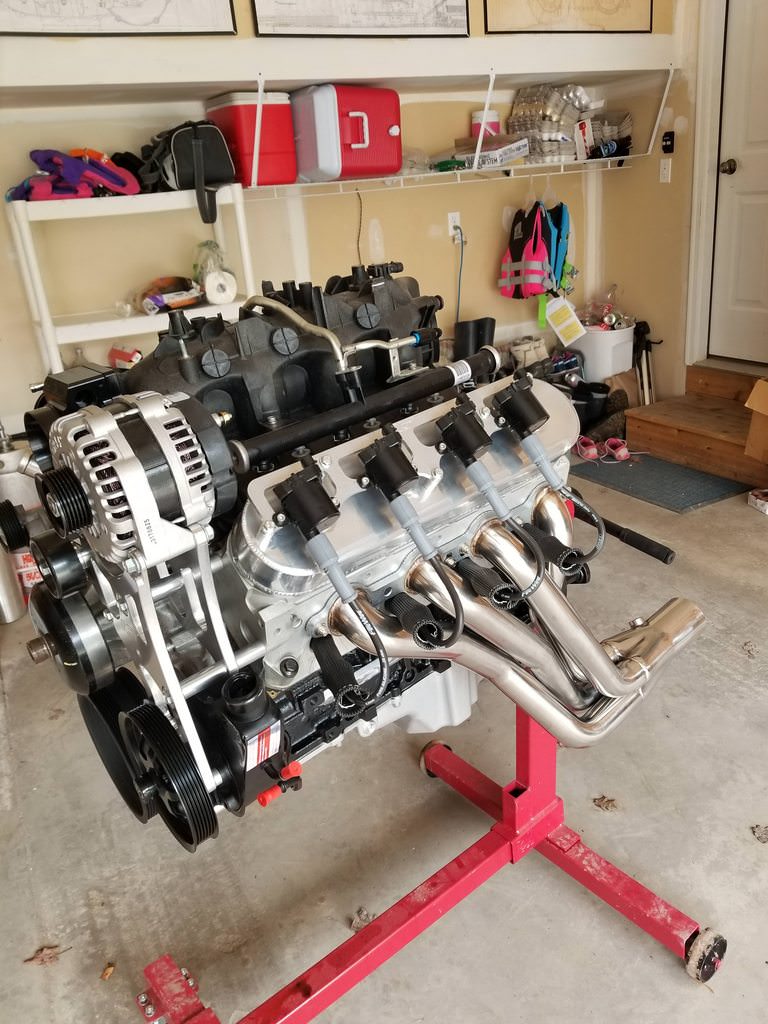
I got anxious yesterday decided to set the intake on with the Warr performance 92mm TB on it. I had to use an adapter but didn't want a smaller TB for when I swap the intakes out. Going with the truck mani for this second. I did swap the stock injectors for 8.1 marine injectors.
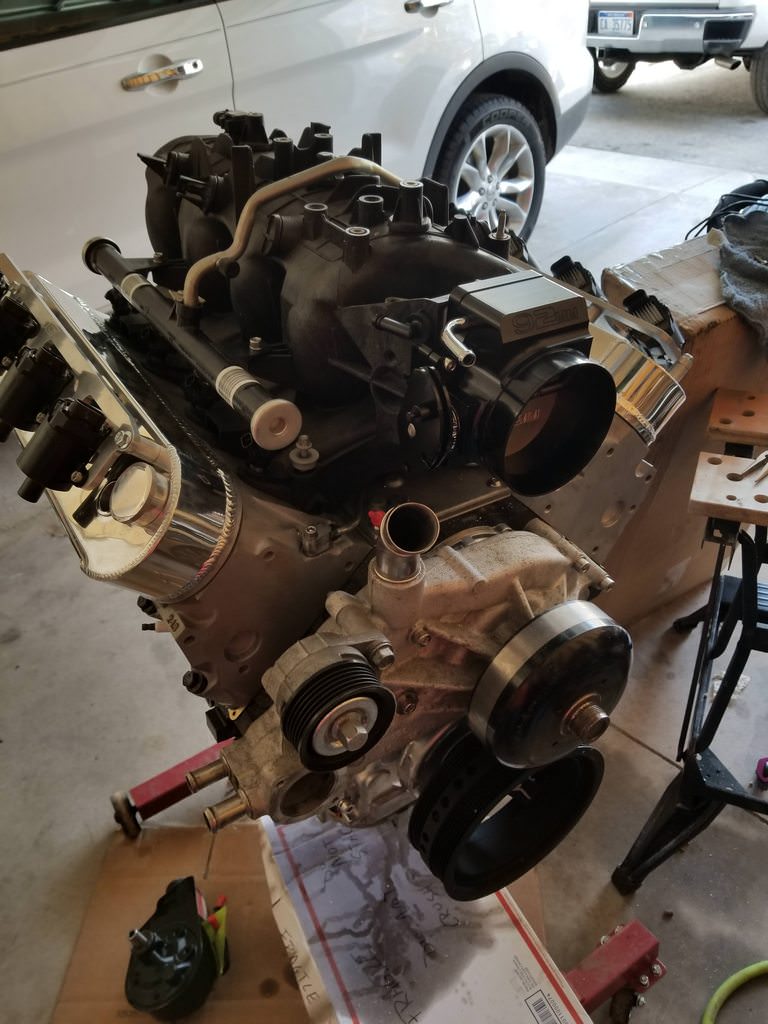
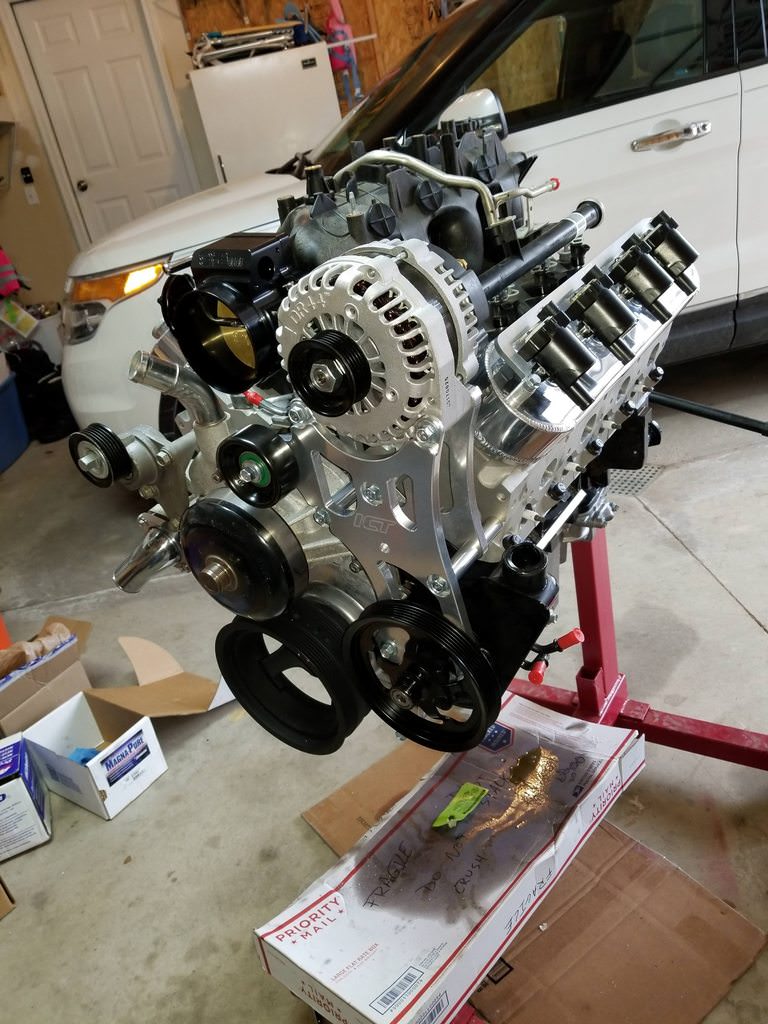
I just received my new acc brackets today along with t-stat and housing. Headers should be here Wednesday.
-
04-26-2018 #2
Registered User
- Join Date
- Jul 2012
- Location
- Traverse City, MI
- Posts
- 574
Apparently the GM Muscle Car pan hangs too low. So I guess I'm looking for a Holley 302-2 or Mast Pan now.
04-26-2018 #3
Registered User
- Join Date
- Jul 2012
- Location
- Traverse City, MI
- Posts
- 574
05-11-2018 #4
Registered User
- Join Date
- Jul 2012
- Location
- Traverse City, MI
- Posts
- 574
Ordered a new pan. Holley 302-3. Also I test fitted my Prothane motor mounts and theyre very sloppy on the frame mounts. Anyone know why that would be? Are there different widths frame mounts for Chevelles for different motor options?
05-11-2018 #5 -Moderator/Sponsor-
- Join Date
- Apr 2001
- Location
- The City of Fountains
- Posts
- 15,975
Why not use the Holley mounts? They use forth gen Camaro engine mounts and custom brackets on the frame side. The Camaro mounts are great and soak up a lot of vibration. The Holley mounts also put the engine as low as possible, which is highly beneficial for best driveline angles, especially on lowered A bodies.
Andrew1970 GTO Version 3.0
1967 Cougar build
GM High-Tech Performance feature
My YouTube Channel Please Subscribe!
Instagram @projectgattago
Dr. EFI
I deliver what EFI promises.
Remote Holley EFI tuning.
Please get in touch if I can be of service.
"You were the gun, your voice was the trigger, your bravery was the barrel, your eyes were the bullets." ~ Her
05-11-2018 #6 Registered User
- Join Date
- Jan 2017
- Location
- pickering ontario canada
- Posts
- 196

I use holly. Fits like a dream
1971 chevelle LSA 700hp -
05-12-2018 #7
-Moderator/Sponsor-
- Join Date
- Apr 2001
- Location
- The City of Fountains
- Posts
- 15,975
Also, for sake of clarity, that is a LS6 valley cover. LS7s are Gen IV engines, so they don't have provisions for the valley knock sensors.
Andrew1970 GTO Version 3.0
1967 Cougar build
GM High-Tech Performance feature
My YouTube Channel Please Subscribe!
Instagram @projectgattago
Dr. EFI
I deliver what EFI promises.
Remote Holley EFI tuning.
Please get in touch if I can be of service.
"You were the gun, your voice was the trigger, your bravery was the barrel, your eyes were the bullets." ~ Her
05-14-2018 #8
Registered User
- Join Date
- Jul 2012
- Location
- Traverse City, MI
- Posts
- 574
Holley 302-3 installed. Has provisions for turbo oil return ports cast in.
Headers fitted with Stage 8 locking header bolts installed (locks not yet installed).
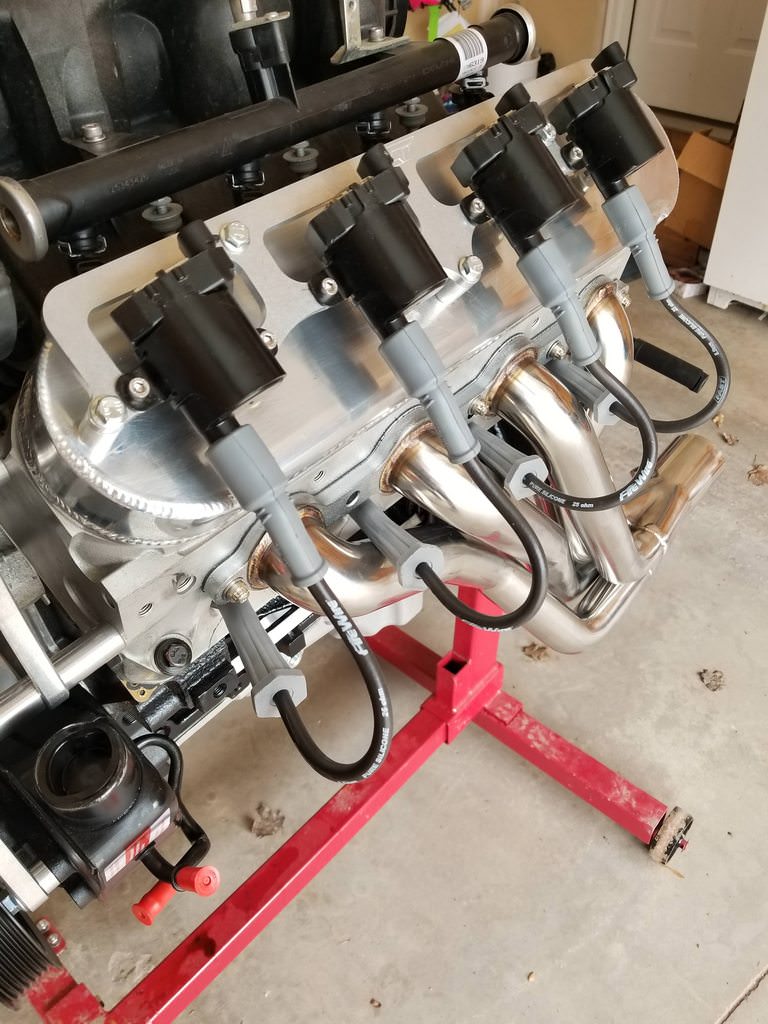
Some of the boots were too close to the headers so I also installed boot covers.
Gotta get the catch can fitted now.Im also going to slide the engine and trans in as a combo so Im rebuilding the trans. I'll update this thread with that progress as well.
06-04-2018 #9
Registered User
- Join Date
- Jul 2012
- Location
- Traverse City, MI
- Posts
- 574
In case anyone is looking - I put it in.
https://youtu.be/on9hHxUUQa0
06-04-2018 #10 Registered User
- Join Date
- Mar 2014
- Location
- Yuma, AZ
- Posts
- 635
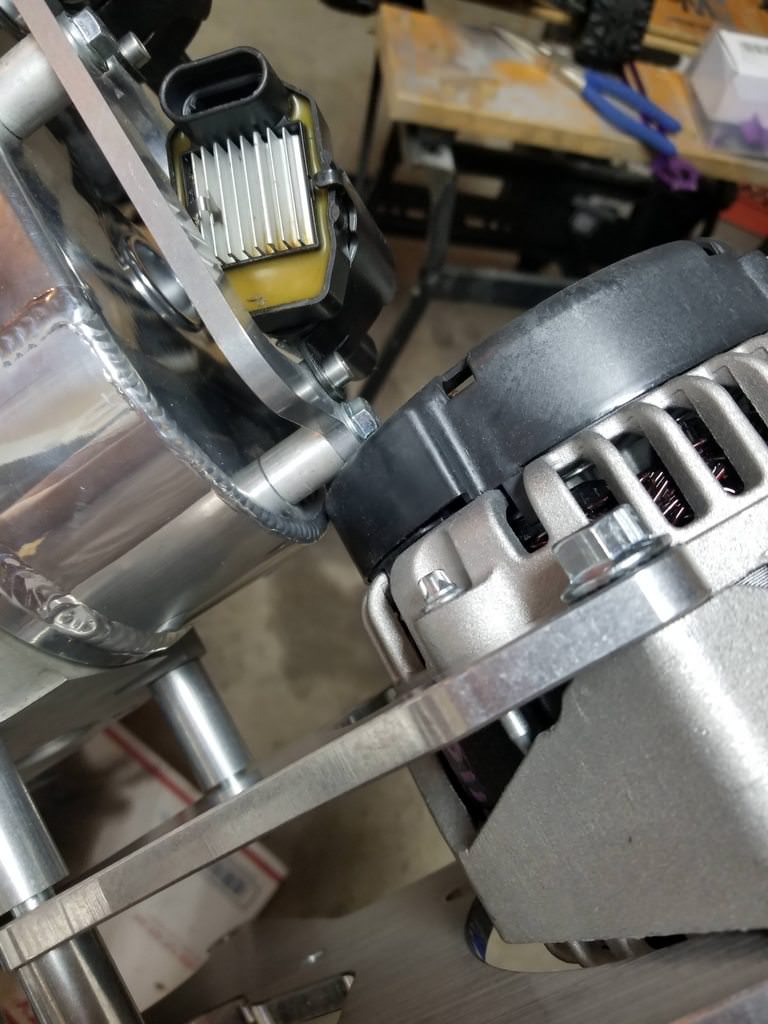
Looking good! Looks like the alternator might be a little close to where the hood will be or is that just the camera angle?
Nelson
1969 Chevelle "Cone Smasher" Family Project
https://www.pro-touring.com/threads/...uot?highlight=
1984 "Rustang" GT, 5.0, 5 Speed Project
https://www.pro-touring.com/threads/...T-(Slow-Build)
06-05-2018 #11
Registered User
- Join Date
- Jul 2012
- Location
- Traverse City, MI
- Posts
- 574
Terrible camera angle. Truck intake sits higher and the hood clears. Don't know by how much, but it clears.

 Reply With Quote


