

Results 1 to 16 of 16
-
03-06-2017 #1

 Registered User
- Join Date
- Oct 2016
- Location
- Say Ya To Da
- Posts
- 12
The Old Goat. 69 that is.........
Hey guys,
I'll play show and tell with ya.
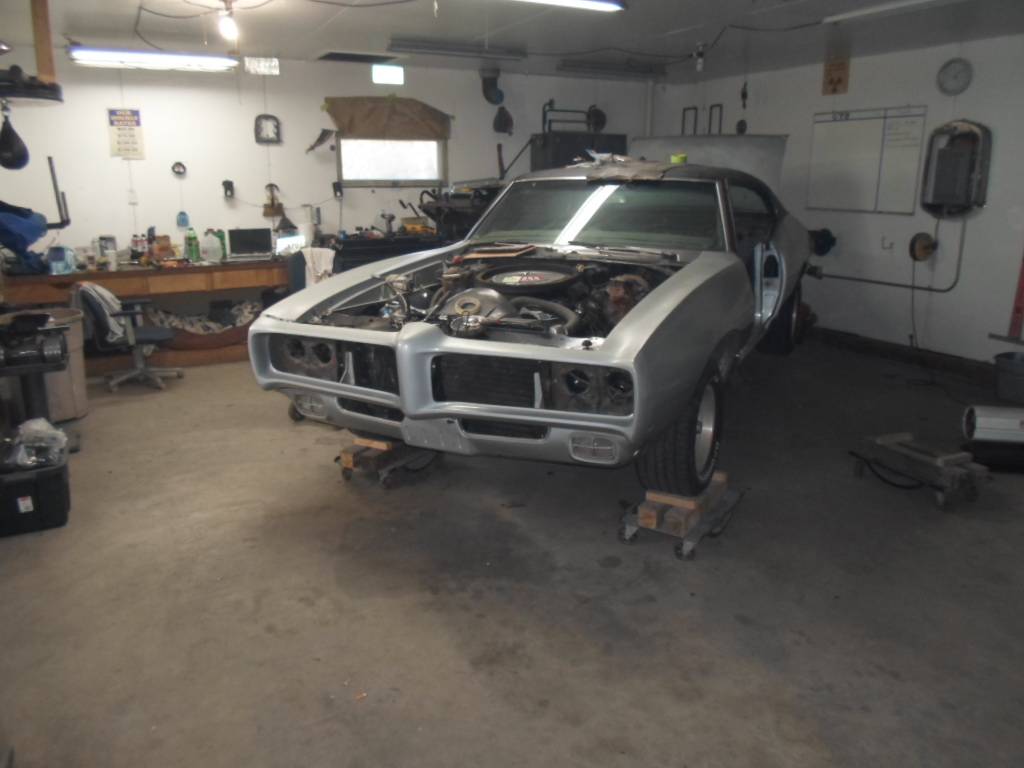

Working on getting the firewall related stuff right now. putting a vintage air unit in and and retaining the factory duct system.
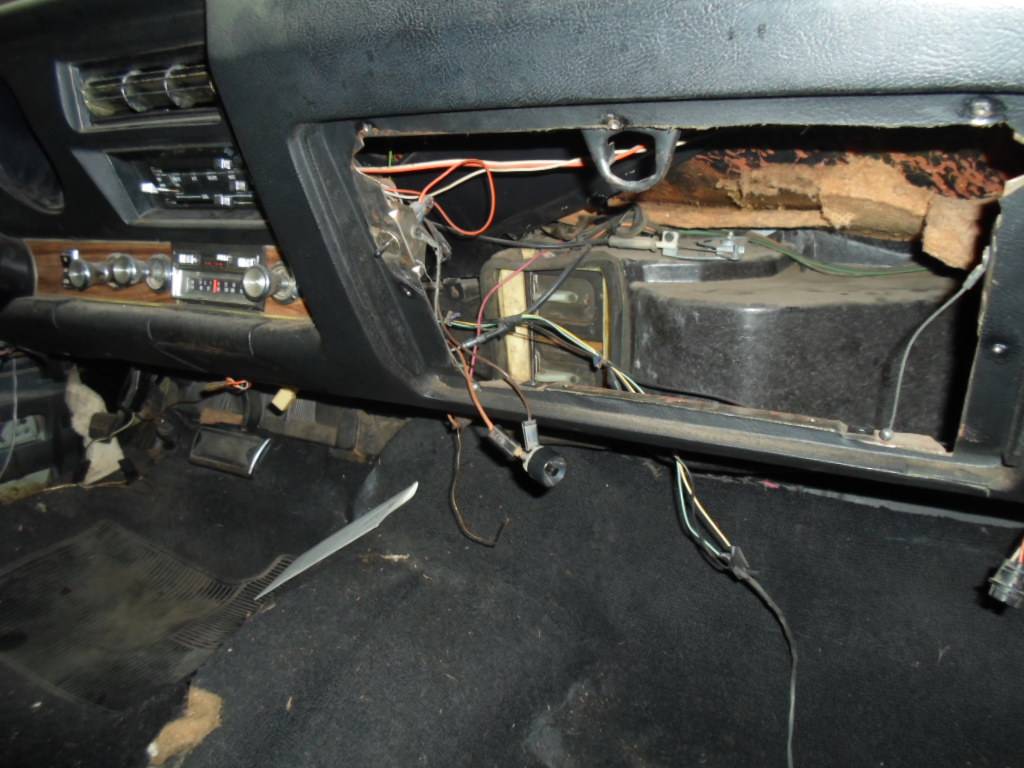
Basically i'm thinking a 90 degree style situation to flood the manifold with air and the factory scoops on the inside will take care of distribution.
I guess i couldn't handle 4 holes coming out of the evap. and 5 holes coming out of the dash, like a square peg and a round hole. I'll just have Apollo 13 playing in the background when i do the final fit up, lol.

My game plan is slow and steady wins the race with this project. Over all "Theme" i'm going for is as if Mark Stielow did the suspension, Rad Rods did the engine compartment, wiring and pluming. The body and interior would be finished off at a concours restoration shop.
-
03-06-2017 #2
 Registered User
- Join Date
- Apr 2013
- Location
- Louisville, Ky
- Posts
- 43

Do you have any plans, like engine/trans, brakes, suspension, paint, ect. you can share. I'd love to hear them.
Anthony Hammond
-
03-06-2017 #3
Registered User
- Join Date
- Sep 2004
- Location
- Fresno, Ca
- Posts
- 379
Ram Air exhaust manifolds- NICE!!
-
03-06-2017 #4
Registered User
- Join Date
- Oct 2016
- Location
- Say Ya To Da
- Posts
- 12
Ram Air exhaust manifolds- NICE!!
Thanks for noticing.....
In 2003 a ring land broken between oil and 2nd ring on #8. Wasn't noticeable cruising around but, when you opened it up it was like a scene from the last James Bond episode. I put in .030 over 9.5 to 1 Keith Black Hyper. pistons, comp XE274H cam, roller tip rockers and pushrods. stock rods got rebuilt, balanced and ARP bolts installed. Heads got hardened seats, valves and valve job.
Engine - This go around i'll tear it down to inspect the bearings, clean up castings and repaint. engine color either stock or aluminum, sticking and lasting is my main concern. Manifolds will be port matched. i have worked in a foundry cleaning castings for the past 4 years so, lets just say i'm way more comfortable grinding on a chuck of iron nowadays. Roller cam of some sorts, 1000-4000 rpm is where it spends 95% most of its time so, aiming toward that range. Edelbrock victor EFI intake, F.A.S.T throttle body and XFI 2.0 with traction control is on the list. already have F.A.S.T dual sync distributor, coil, ignition box and a Tanks tank with Aeromotive phantom in-tank pump.
Exhaust - already has 2.5" ram air manifolds and PYPES 2.5" exhaust on now.
Transmission - Leaning toward 200r4, maybe 4l60e.
Rear end - the factory 8.2 with aftermarket axles, posi and girdle should be fine for my needs.
Suspension - Coilovers and ATS AFX spindles so far, front and rear control arms will be of that caliber.
Brakes - Kore3 C5 brakes all around, Hydroboost and im trying to figure out why i wouldn't put in ABS from a 95 Impala SS
Rollers - 255/45-18 all around with Rally 2ish wheels.
Paint - Palladium Silver base/clear for the body and i'm gonna try black base with a medium flake and flat clear on the roof to mimic a vinyl top. if i don't like it i will have a top put on. not like i'm not going to paint the roof any way, might as well do an experiment.
-
03-07-2017 #5
Registered User
- Join Date
- Oct 2016
- Location
- Say Ya To Da
- Posts
- 12
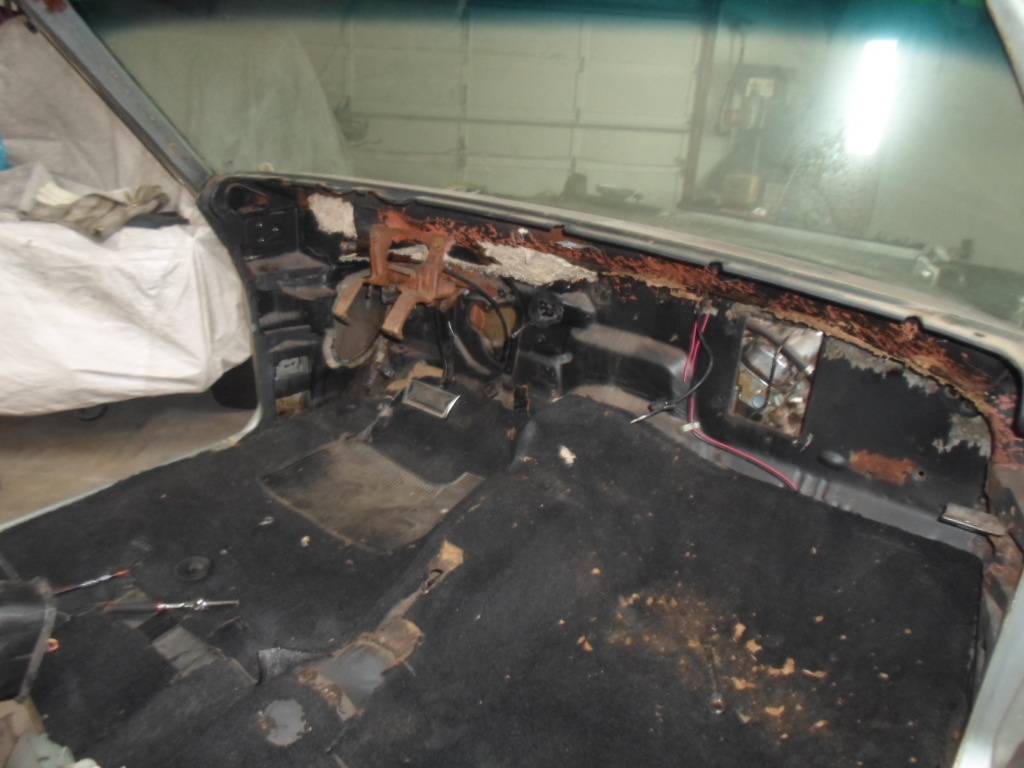
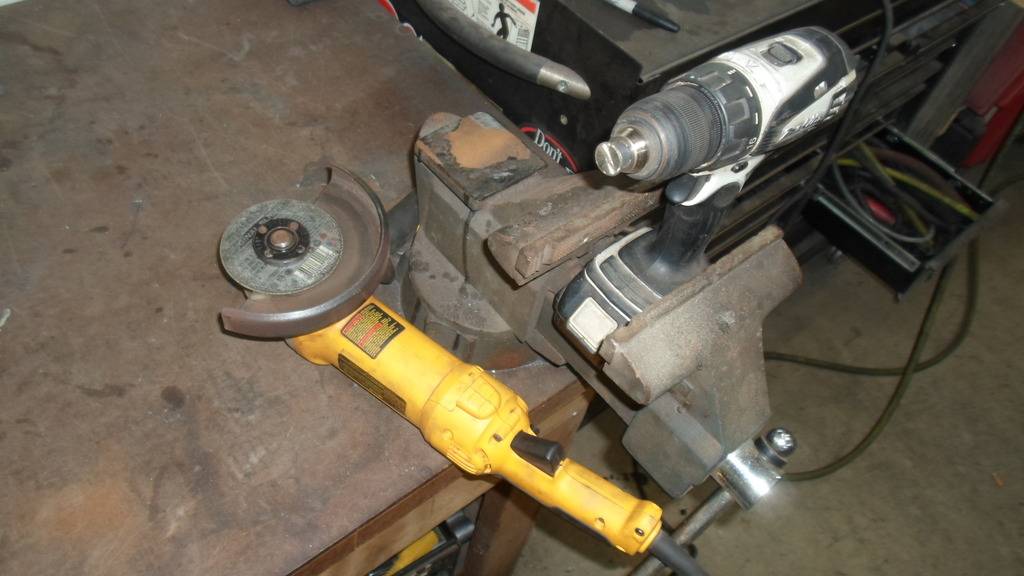
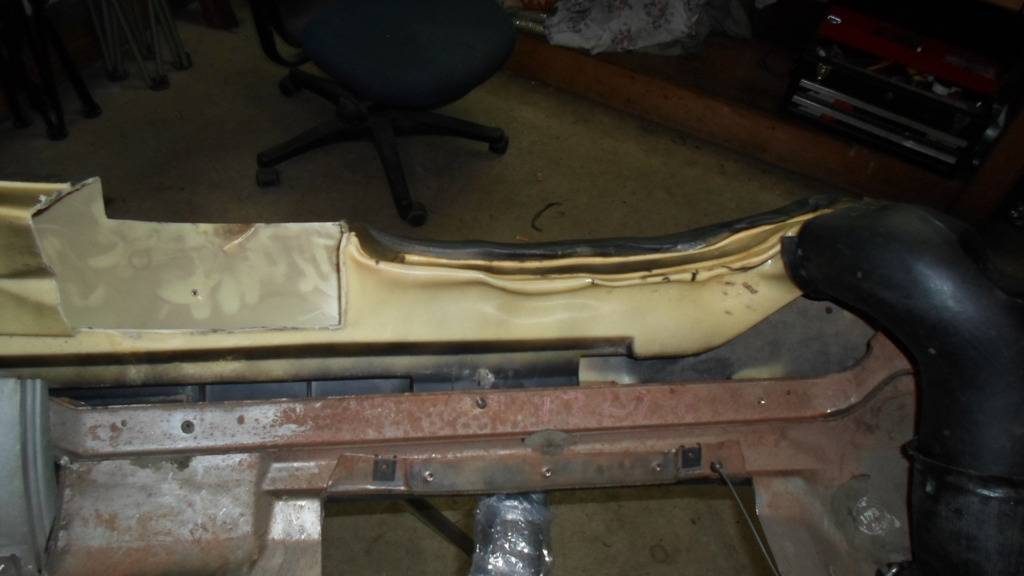
"Machined" off the hex off 4 flange bolts for the forward evap. mount to the inside of firewall.
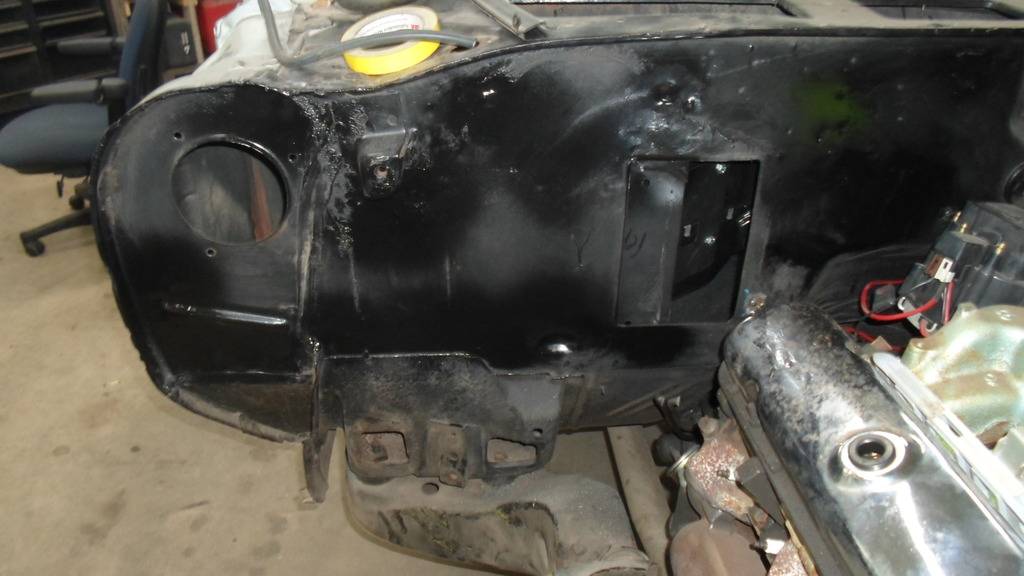
got the evap. welded in and all holes filled. the circles i had backers for, x's just filled hole. took extra care to make it look like those holes were never there, at the same time, keeping all the beauty marks the general left on the firewall.
Bracket for aft evap. mount.
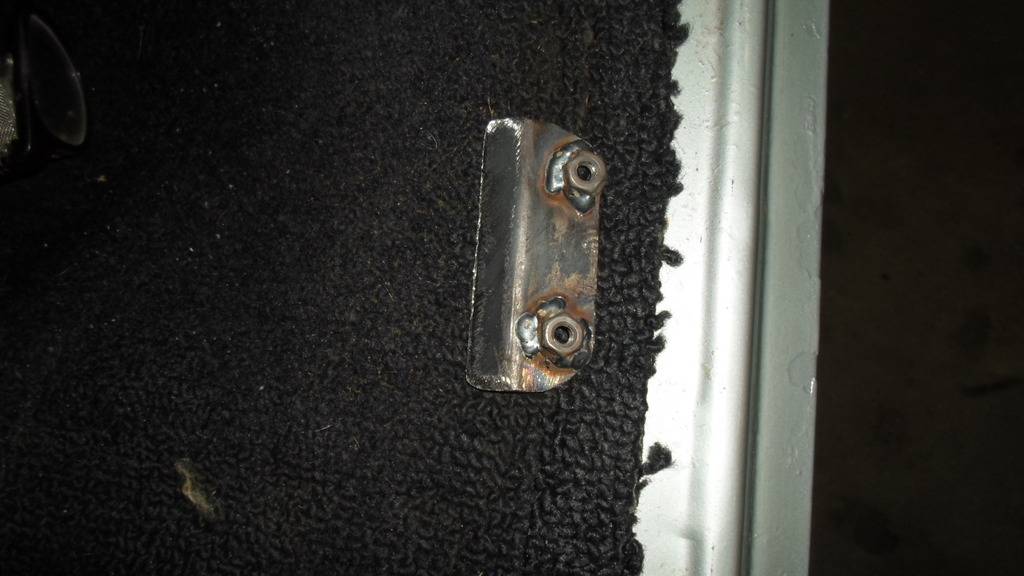
is now a bolt in deal.
now on to the duct work. looks tight but doable. we'll see........
-
03-11-2017 #6
Registered User
- Join Date
- Oct 2016
- Location
- Say Ya To Da
- Posts
- 12
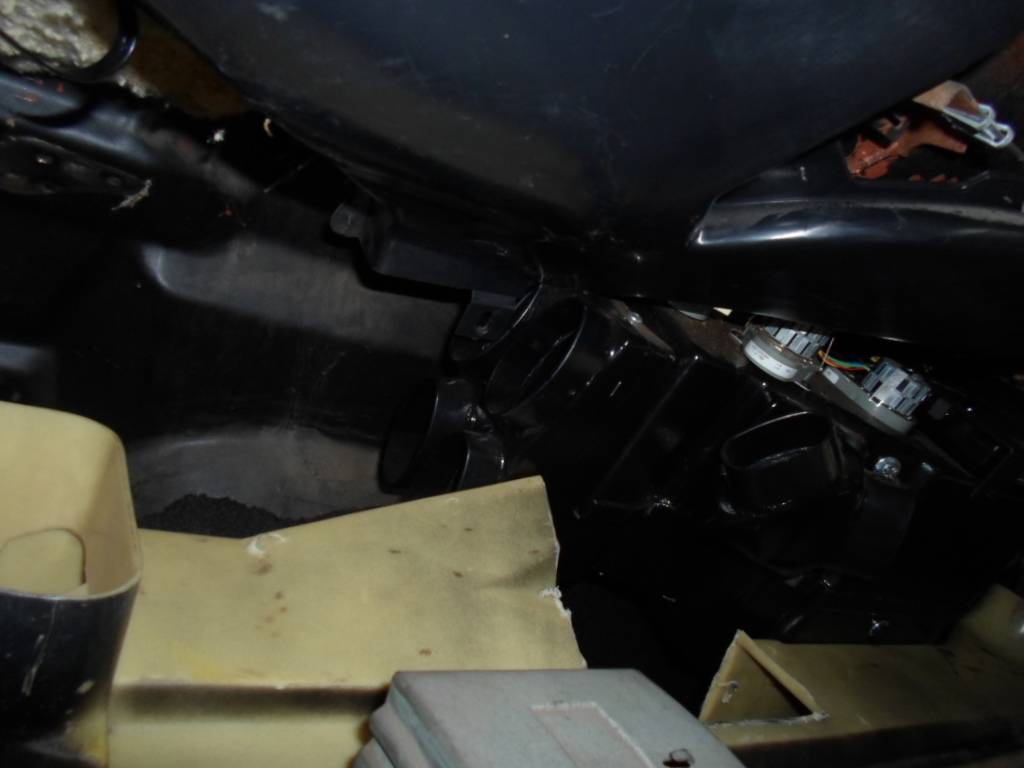
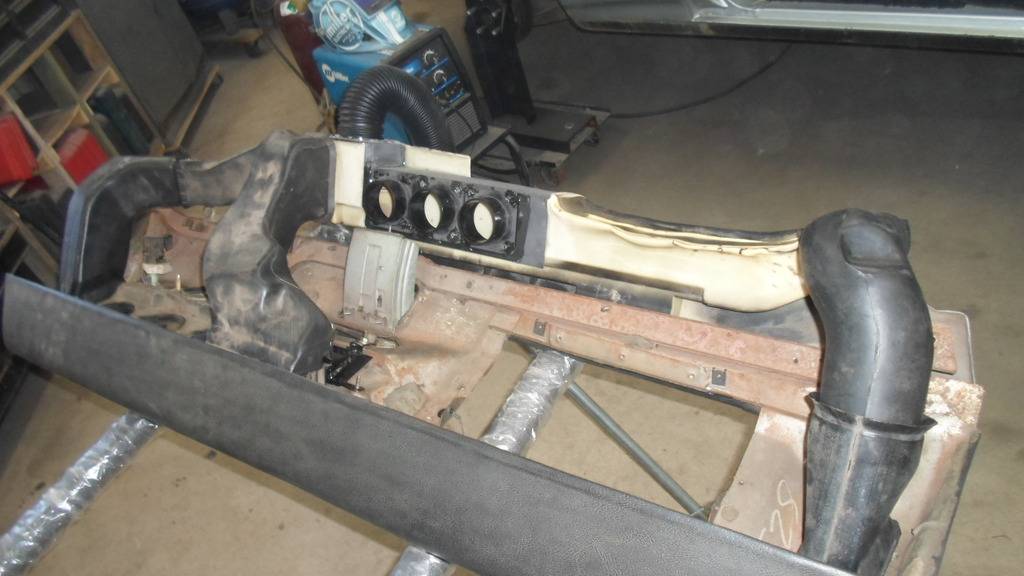
i got the duct in front of the evap. about 95% there. a heat gun, a body dolly and some patients is all it took. The process was easier, but took longer than i thought. Looks good enough to order an ABS sheet to box in the rest and some 2.5" duct flanges.
Before i start gluing stuff together i wanted to run an experiment. i have 2 different mystery injection molded plastic parts that i need to attach to ABS. I scuffed up some scraps with 80 grit and gorilla epoxied everything to everything.
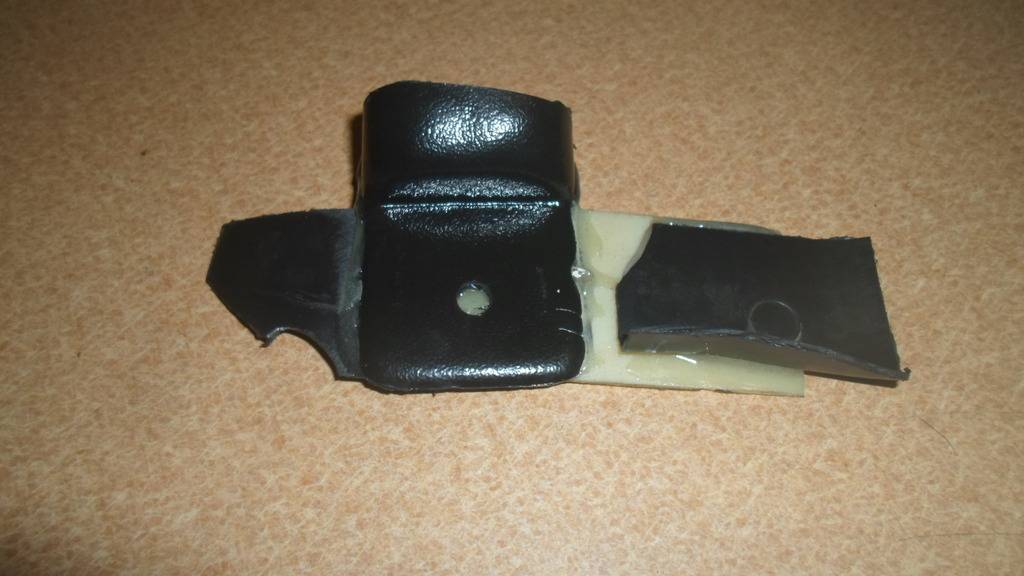
it seems to be holding good so far. i have it in the freezer right now and will warm it up until it gives one way or another. i'm thinking if the parent material softens up before it dis-bonds i am good to go. What would you think the top end air temp would be coming out of the evap?
-
03-11-2017 #7
 Registered User
- Join Date
- Apr 2004
- Location
- Cedar Rapids, IA
- Posts
- 999
subscribed
Some times I'm fast sometimes I'm half-fast
-
03-12-2017 #8
Registered User
- Join Date
- Oct 2016
- Location
- Say Ya To Da
- Posts
- 12
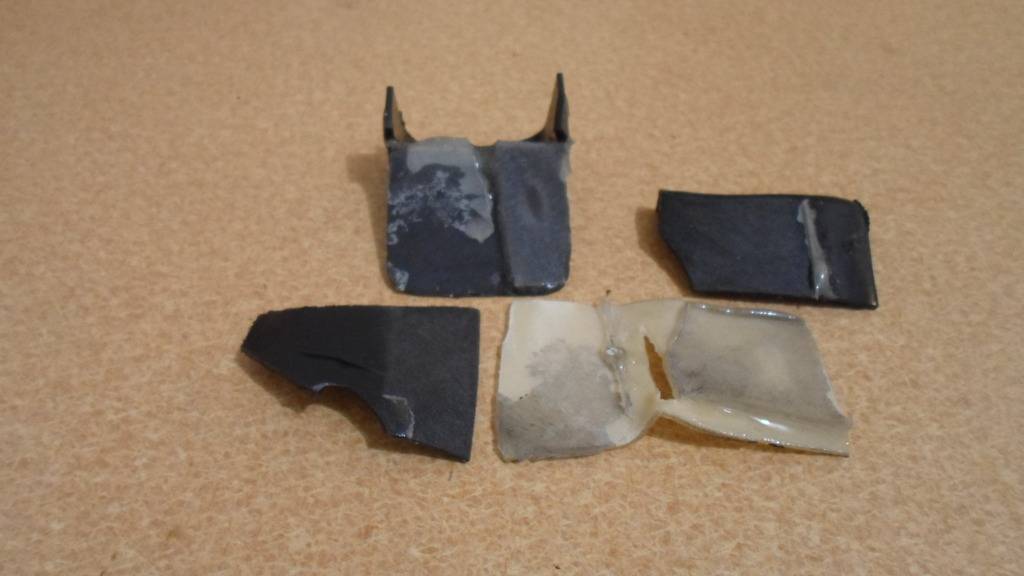
test results are in. the plastics started melting way before dis-bond. went from freezer to about 160 degrees. it only separated after it cooled and it took a decent effort to pop them apart. i still will look in to the smallest x-mas tree clips i can find for piece of mind in say 8 years.
-
03-23-2017 #9
Registered User
- Join Date
- Oct 2016
- Location
- Say Ya To Da
- Posts
- 12
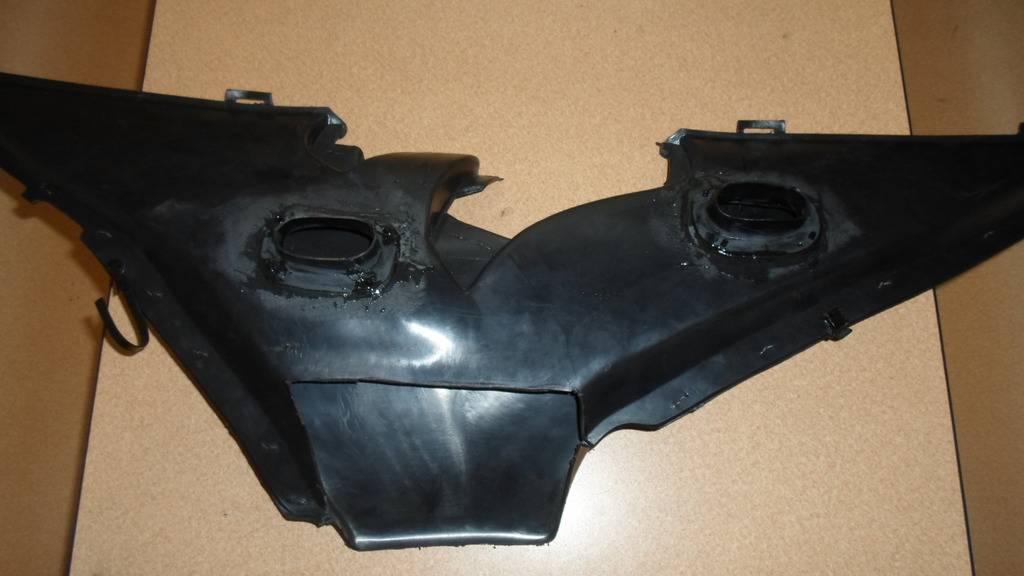
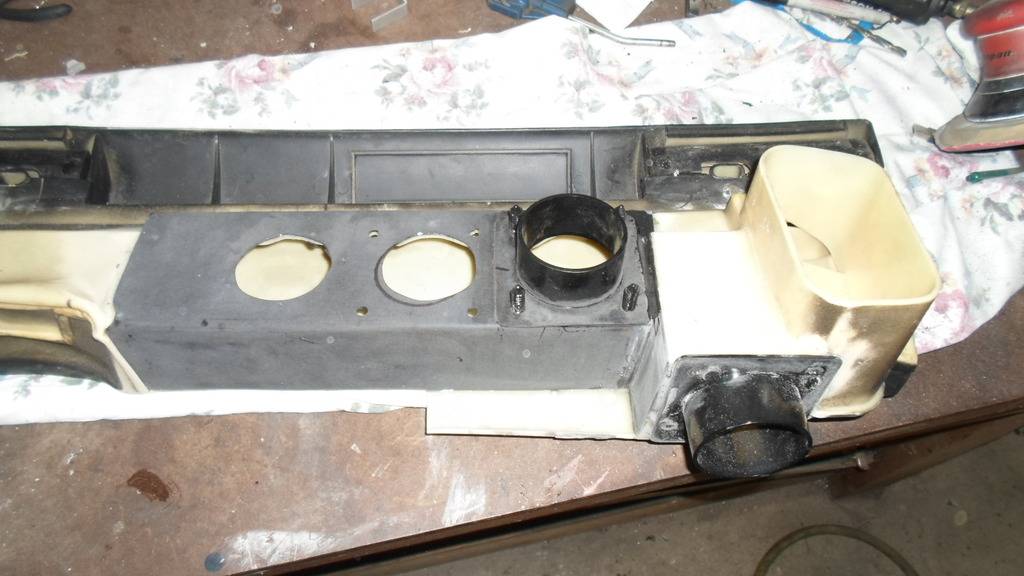
been working on ducts. just have to close off the bottom and the defrost is done. used GM weatherstrip Christmas tree clips from the back to give it more of a mechanical attachment.
-
03-24-2017 #10
Registered User
- Join Date
- Oct 2016
- Location
- Say Ya To Da
- Posts
- 12

03-31-2017 #11
Registered User
- Join Date
- Oct 2016
- Location
- Say Ya To Da
- Posts
- 12
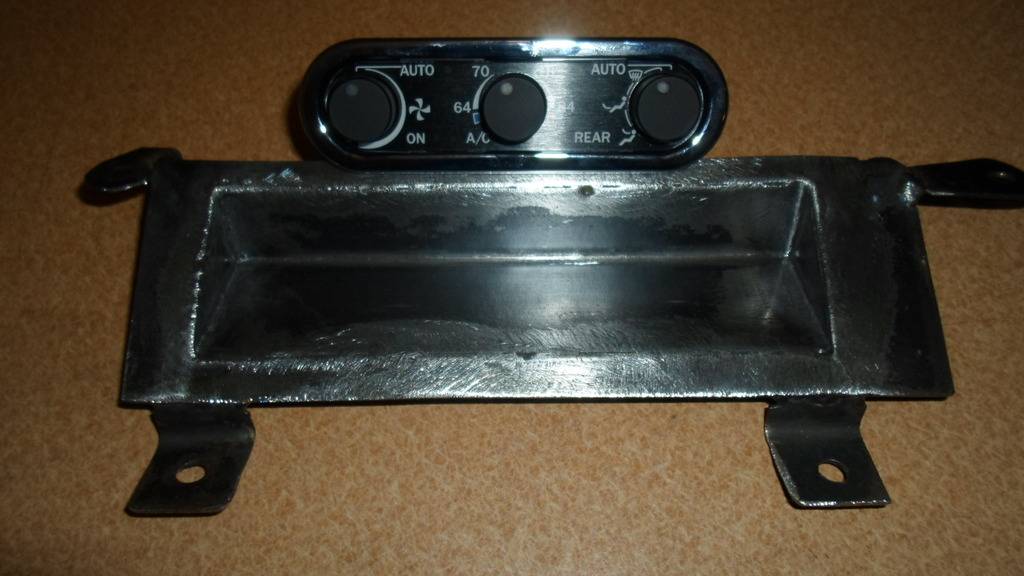
proof of concept for the heater control mount.
05-07-2017 #12
Registered User
- Join Date
- Oct 2016
- Location
- Say Ya To Da
- Posts
- 12
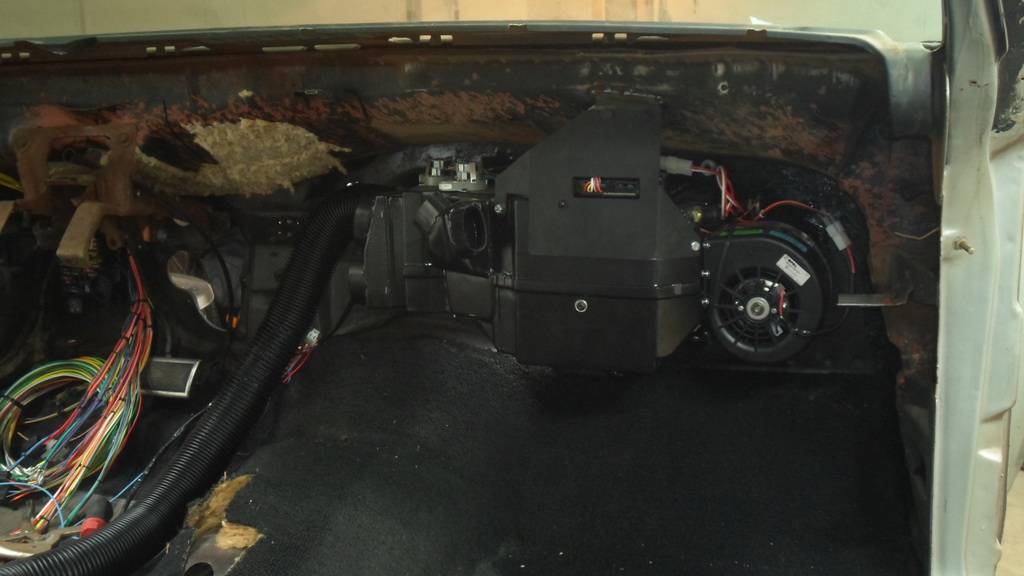
I'm gonna call this a success.
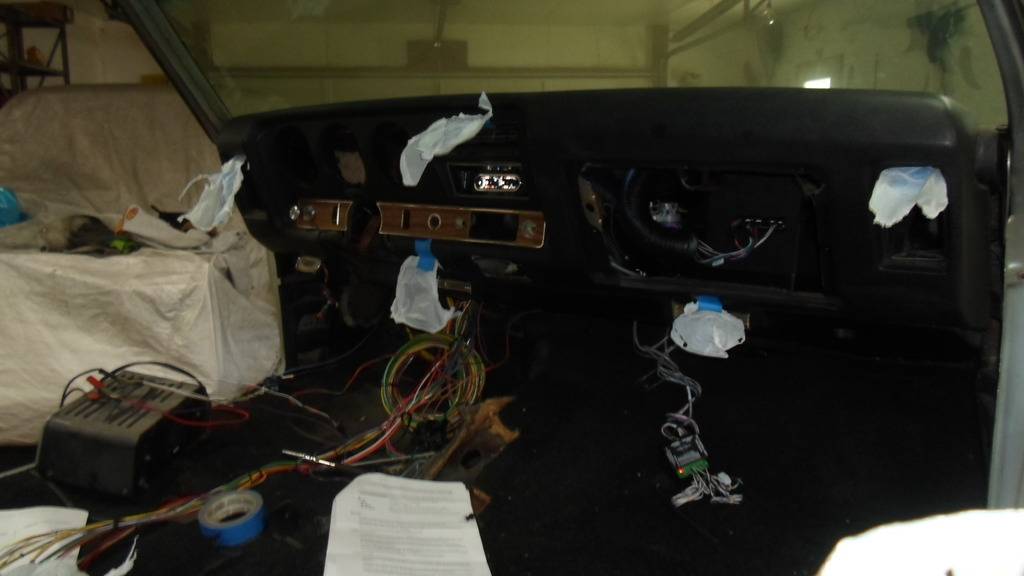
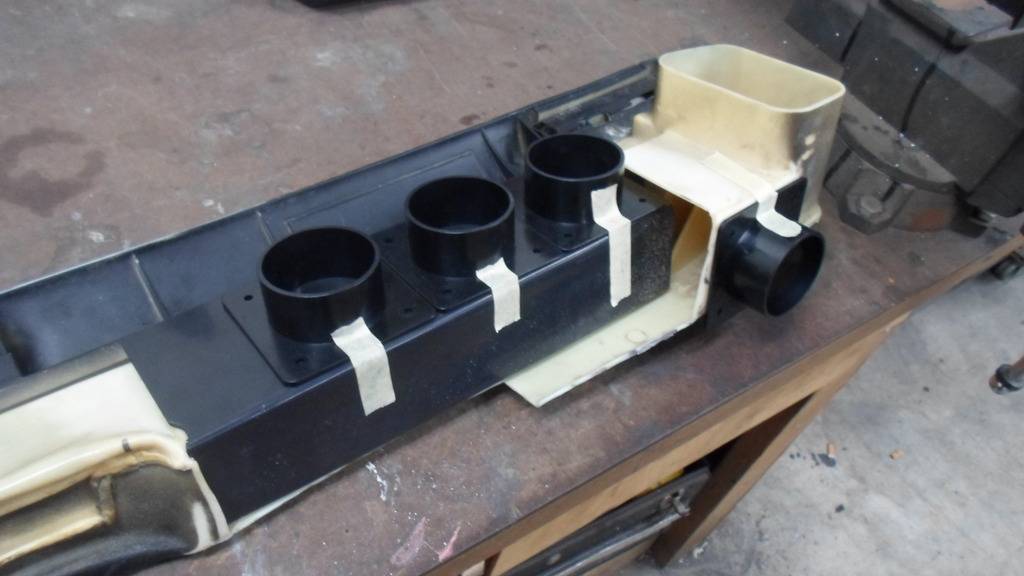
 I'm gonna claim there has never been another digitally climate controlled 1969 GTO using factory duct work.
In my trolling in the internet I never remember seeing anything like that. Opinions??
05-08-2017 #13 Registered User
- Join Date
- Jun 2005
- Location
- Manassas, VA
- Posts
- 124
Wow, I should have looked here before I started! As stated on the PY forums, mine's for a 70-72 GTO, and I tried to use as much of the OE duct work as I could. I used sections of old duct, and cut pieces off spare parts from the VA Chevelle kit, to close it all up. All I have left is the hose adapters, and was thinking of going in from the back. Any idea if there's enough room to do so? I'm going to mock it up this weekend, but would be nice to know ahead of time.
I still have to do the defrost stuff too, and was thinking of making it much shorter than you did. I will use a double 2" hose adapter, thinking it will have more space that way, but will post once I finish so all have a reference.
.HWYSTR455 on PY
1971 Lemans Sport 461 bottle fed daily driver
1971 Trans Am 474 blown EFI pro tour car
1972 442 W-30 clone
05-08-2017 #14
Registered User
- Join Date
- Jun 2005
- Location
- Manassas, VA
- Posts
- 124
]Another option is to use the VA 71-72 Cutlass kit, it has vent adapters that attach to the side dash vents for hose, but the center one you would have to fab something. For the lap vents, I was just going to use the Cutlass lower dash piece, I've mocked it up, would require very little to no fab.
This is what the Cutlass lap vent/lower dash piece looks like:
HWYSTR455 on PY
1971 Lemans Sport 461 bottle fed daily driver
1971 Trans Am 474 blown EFI pro tour car
1972 442 W-30 clone
05-08-2017 #15
Registered User
- Join Date
- Oct 2016
- Location
- Say Ya To Da
- Posts
- 12
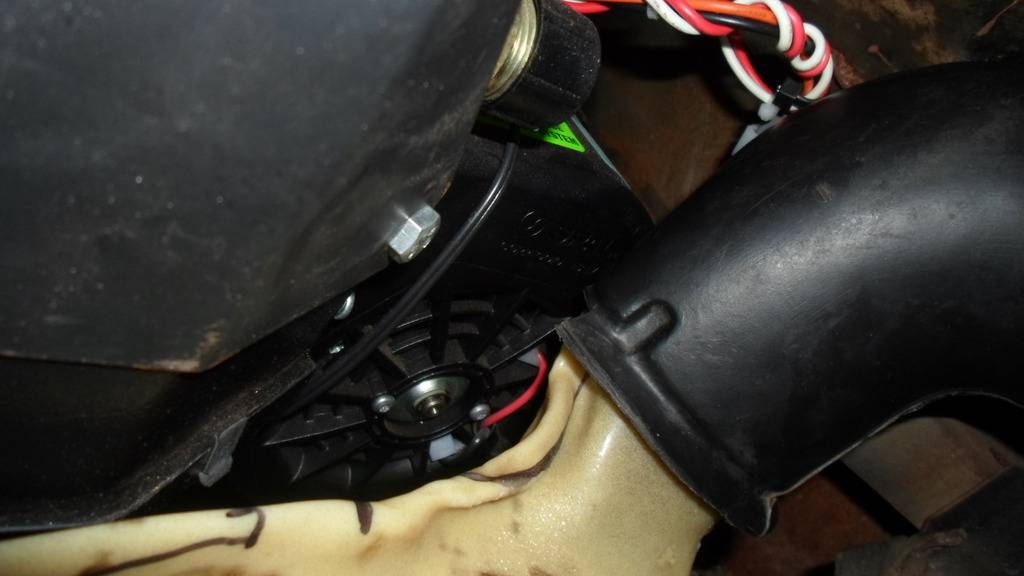
I skimmed your build thread (i will be giving it some more attention soon) i didnt see what kind of evap case you were using but, the biggest thing i see is on the long part above the passengers knees. i had to heat and bend a few inches to clear the bulge in my case. on the upward part of the passangers duct needs to be moved in an inch or so, else it chokes off the fan.
i did the defrost that way so the angle of the duct connector would be at a "45" degree angle to simplify the hose routing. i didn't need any of the space behind it for anything and both exits are connected together like factory as an attempt to equalize pressure and flow, like flooding the main duct with air and letting the gm engineers take over from there.
i cant get any good pics of the hose routing now but, its pretty tight in there. i had to take that dash assembly out at least 30 times before i got every thing back there (minus the hoses) 1/8" clearance. the plastic i used was just ABS from Amazon and tools were heat gun, angle iron and a few body dollys.
05-09-2017 #16
Registered User
- Join Date
- Jun 2005
- Location
- Manassas, VA
- Posts
- 124
It's a GENIV unit, and I have a firewall smoothy plate. I did relieve the area you're talking about, it's just not that noticeable in the pics. I mounted the case as far to the passenger side as I could, so mine is in a slightly different area than yours. I basically used the mounting position for the Cutlass.
Also added a pic of the case duct manifold, which has more outlets than the Chevelle one.
And finally, I added a pic of the original duct work as a reference.
Another note to mention, I used the Classic Auto Air condenser mounting brackets for the Perfect Fit kit for 69 GTO. If you look at that kit, they use the factory duct adapters. They also have a DER control panel that fits directly into the dash and is programmable, wonder if that would work with the VA case.
Build thread, dang, I've neglected that! I need to get some updated info there, but I've been super busy lately with work and all. I will get around to that soon, check back. I just about have all the stuff for the EFI and will start mounting that all here shortly.
.HWYSTR455 on PY
1971 Lemans Sport 461 bottle fed daily driver
1971 Trans Am 474 blown EFI pro tour car
1972 442 W-30 clone
Tags for this Thread


 Reply With Quote


