
Results 21 to 40 of 104
-
09-27-2016 #21
 Registered User
- Join Date
- Sep 2015
- Posts
- 171

Getting there. I have to say the smell from mig welding is horrible. Maybe its just me. I do have a respirator, but I am not sure how good its doing since I have a beard.

-
09-27-2016 #22
Registered User
- Join Date
- Sep 2016
- Location
- LA - Lower Alabama
- Posts
- 560
Sorry if I missed this, but what is the gray coating on the floor pans?
09-28-2016 #23
Registered User
- Join Date
- Sep 2015
- Posts
- 171
I believe its an epoxy primer. It was on there when I got the car. Originally Posted by AU Doc

09-28-2016 #24
Registered User
- Join Date
- Sep 2015
- Posts
- 171
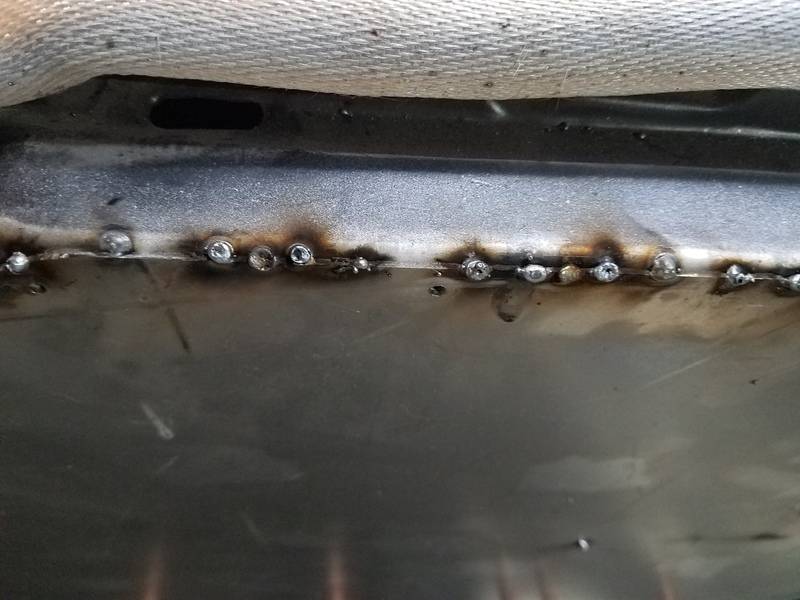
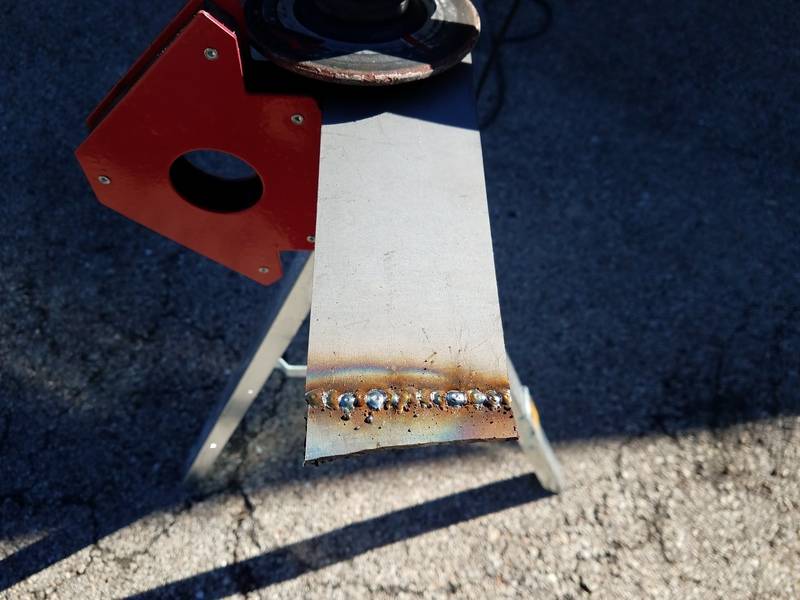
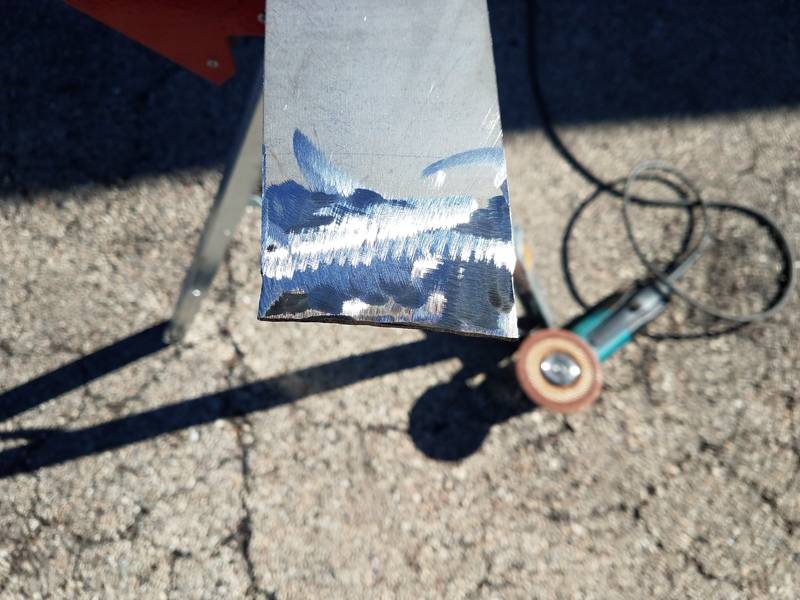
Alright everyone, I have a feeling these welds are not good. Here is a picture of them, I feel like something is wrong here and I am sure its user error. Here is picture of some tac welds.
Still learning and I can see in some of the spots I am not actually connecting the body to the panel being welded on. Are there any other glaring mistakes I should try to fix. I know I have to go back to those welds and add to them. Does it look like its running too hot, too cold, not enough wire, or too much wire? Again just learning as I go along. I am using shielding gas, as 75%/25 mixture. I forgot to mention, I am using weld thru primer on the back of the panel and also the fire wall.
09-29-2016 #25
Registered User
- Join Date
- Sep 2015
- Posts
- 171
Alright, I brought the welder into the shop and it was doing the same thing for them. They think the inverter went bad on it. They replaced it will a sealed brand new unit.
12-02-2016 #26
Registered User
- Join Date
- Sep 2015
- Posts
- 171
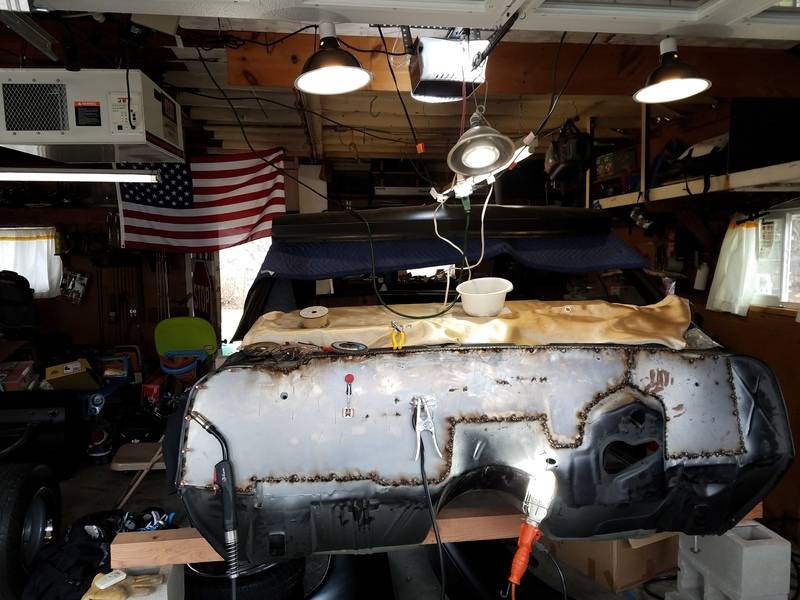
Not too much to update here. We took the body off the frame last night, a bigger job then I had anticipated. One jack could go high enough, no engine hoist, pretty sure my rafters wouldn't support the body either. Took some time but we got there. Still working on the firewall..Slow but sure, been sick a bunch.

01-03-2017 #27
Registered User
- Join Date
- Sep 2015
- Posts
- 171
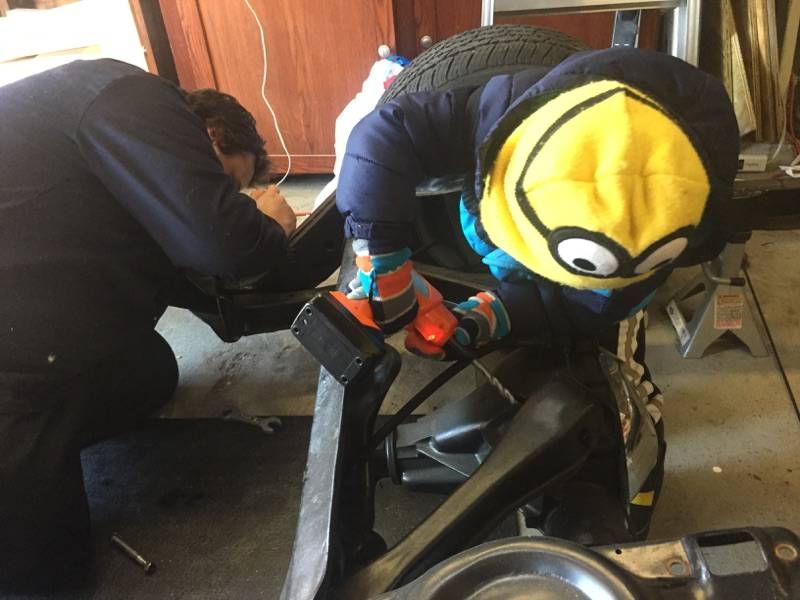
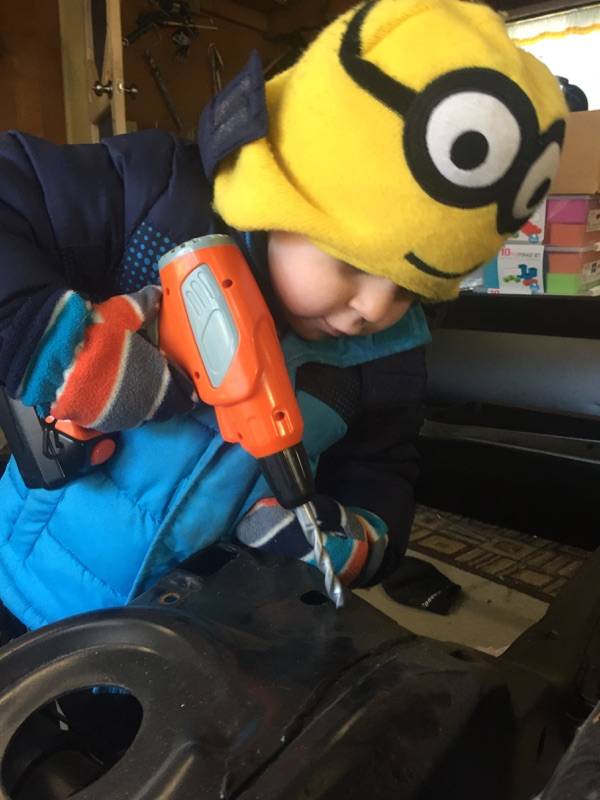
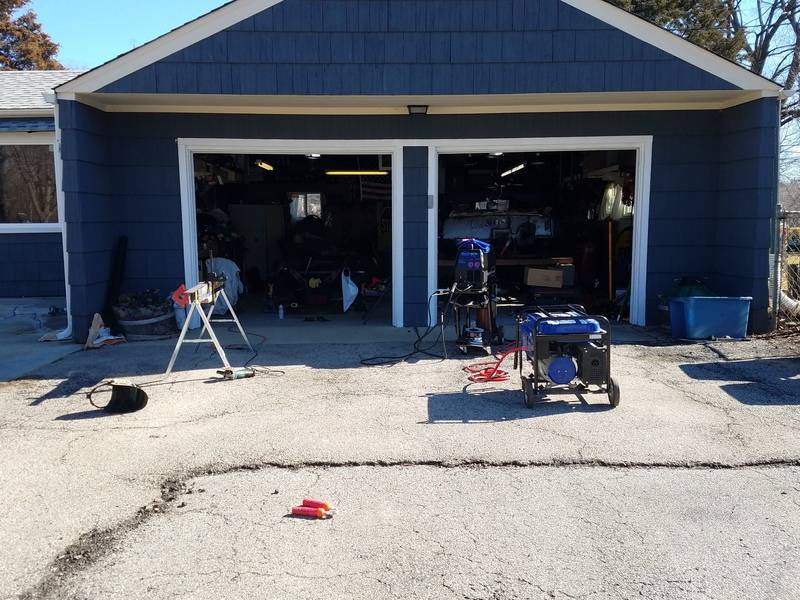
Well, picked up the hellwig frame FX kit. I started taking down all suspension components. We were able to get them all off yesterday. This way when I finish putting the kit on I can send it off to be powder coated. My welder is 110/220v welder, I don't have 220 in my garage so I will be borrowing my neighbors portable generator to do the welding with 220v. My youngest son who is 3 asks me to work on the chevelle with him all the time. Here are some pictures from yesterday, he even has his own tool box. I have to check it every time we leave the garage since I know he will put my tools in his tool box.
Not sure I will get much done as its currently feels like -8 outside. I need to live where its warmer.
02-14-2017 #28
Registered User
- Join Date
- Sep 2015
- Posts
- 171
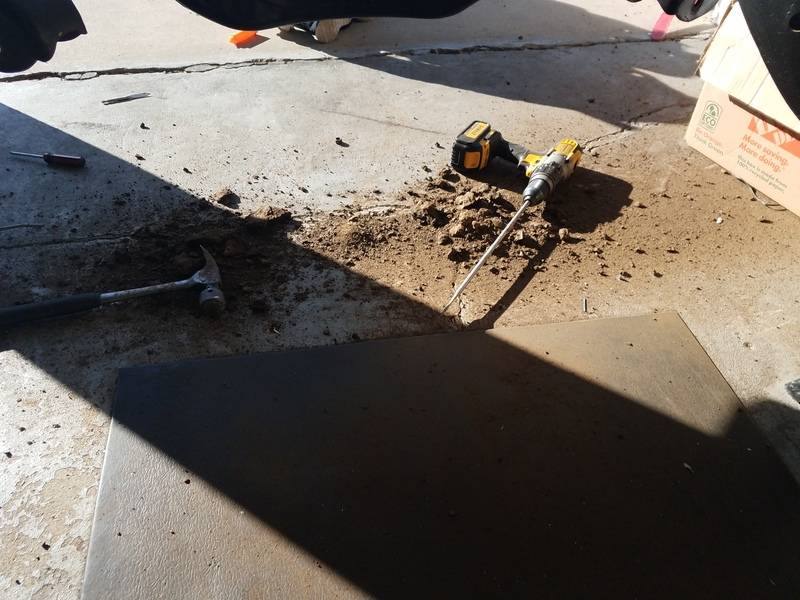
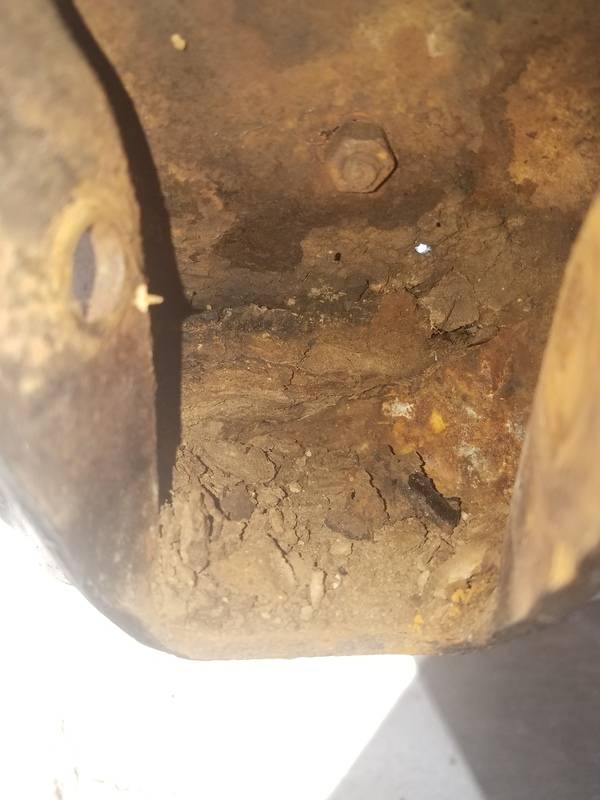
Was able to work on the car just a bit this weekend. The flu hit our house and hit it hard. I was able to mostly get the firewall tacked on. Any suggestions for grinding or what disc to use with a grinder. I also started prepping for the ABC frame boxing. I am going to borrow my neighbors generator and connect my welder up to it to give me the right setting to weld them in on the frame.
Side note, this thing must have been blasted through a field or something. The amount of crap I found inside the front crossmember is insane. I had to use a hammer and chisel to knock it all out, also used my drill with a foot long bit on it. Here is a picture of the crap that fell out, not even all of it.
Beer can for reference.

02-14-2017 #29
Registered User
- Join Date
- Nov 2012
- Posts
- 346
Gee, that's unreal!
You're going to have to go roto-rooter on that._______________
1969 Camaro
1966 Skylark
1964 Lemans
1960 Biscayne
Steve
02-14-2017 #30 Registered User
- Join Date
- Jul 2011
- Location
- Prescott, AZ
- Posts
- 206
Is subscribing to the danger zone the same as being in it? We hope so. In all seriousness, though, it looks like you have a great start going, and a helpful little minion. We're excited to see the cars future!
02-15-2017 #31
Registered User
- Join Date
- Sep 2015
- Posts
- 171
I couldn't believe the amount of crap packed into that crossmember. Maybe this car lived it's life as a rally cross racer at some point. Originally Posted by Zoomin
Thanks for the comments. I'll be contacting you in the future for a clutch as I plan to run a t56 with this setup, well, thats the plan as of now. Originally Posted by Centerforce
02-15-2017 #32
Registered User
- Join Date
- Jul 2011
- Location
- Prescott, AZ
- Posts
- 206
Feel free to shoot us a PM whenever you are ready. We are always happy to help! Originally Posted by wyattroa
02-19-2017 #33
Registered User
- Join Date
- Sep 2015
- Posts
- 171
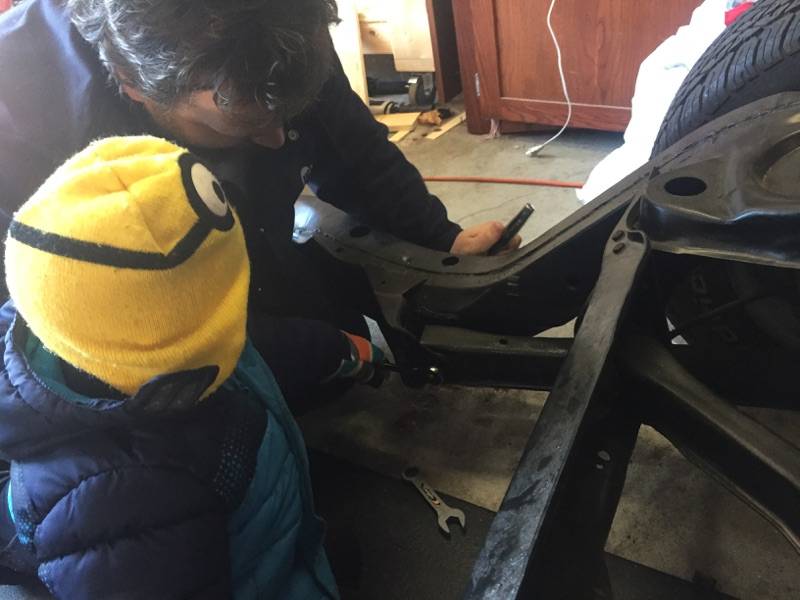
Got some more done today, not much since I am watching 3 little boys at the same time. Its around 70 degrees here in Chicago, which is absolutely crazy for February. Figured I would give the garage a little clean too. I made an adapter for my welder, this way I can plug my 3 prong into the 4 prong generator I am running for the 220V.
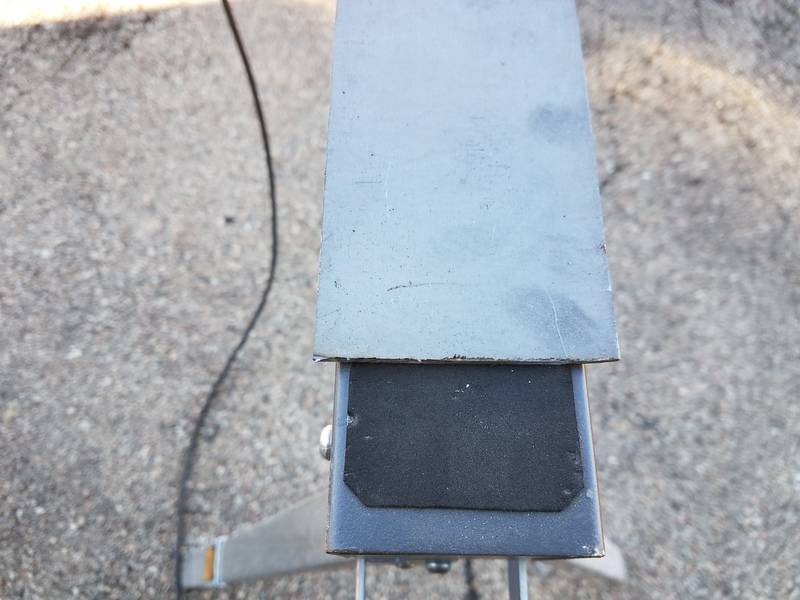
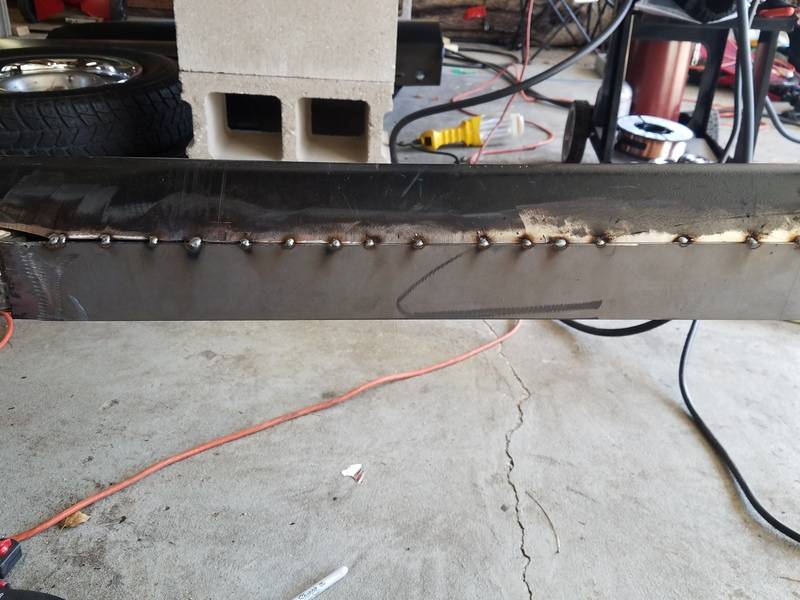
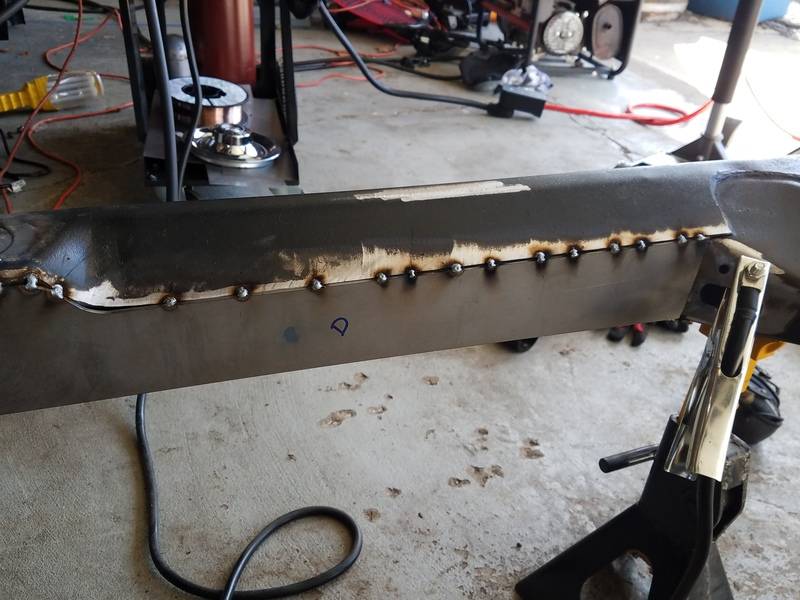
The driver side ABC frame boxing kit was too long towards the front. I cut a bit off the front and welded it onto the rear of the piece. I then was able to get some tack welds down to hold the piece in place. Mind you, I just started welding this past fall, so they are not the greatest looking welds.
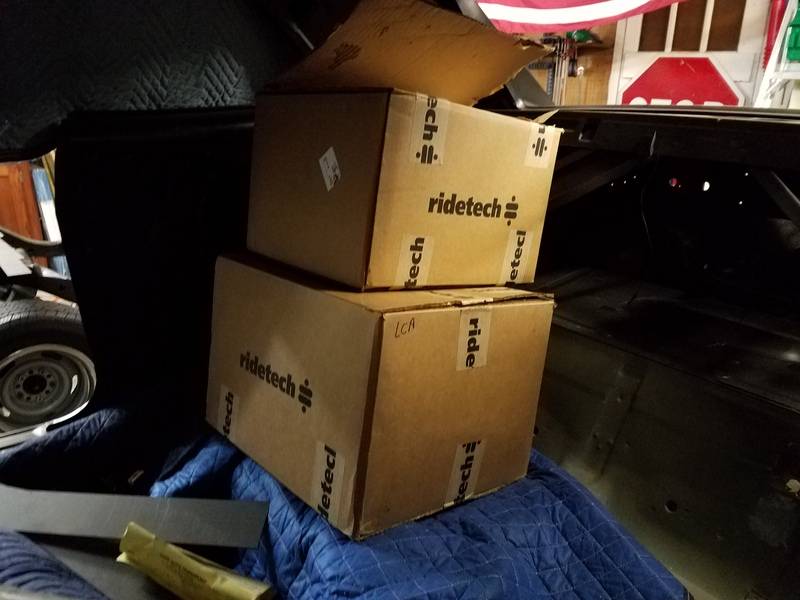
Also got some new parts in the mail. My wife ended up getting me ridetech upper and lower control arms for my birthday and Christmas.
02-19-2017 #34
Registered User
- Join Date
- Mar 2008
- Location
- Wichita, KS
- Posts
- 375
hey, before you have what happened to mine when welding in the frame boxing kit, weld in some steel bar from one side to the other, I had to winch my frame rails back together after i did mine, it stunk! Also you should try the flapper disks in 36 grit to cut down your welds if you haven't tried already, they work much faster and end up looking nicer too! i'm digging it, keep going!
67 GTO, LS2, T56
WILWOOD, FORGELINE, RIDETECH
02-19-2017 #35
Registered User
- Join Date
- Sep 2015
- Posts
- 171
It's not shown in the picture, but I have some iron welded in to hold the form. Took the measurement and everything was dead on. I'll pick up some flap disks and give them a go. Originally Posted by 67goatman455
Robert
02-19-2017 #36
Registered User
- Join Date
- Oct 2016
- Posts
- 2
What happened to the hellwig fx kit? I see that you went with a abc performance boxing kit insted why?
02-19-2017 #37
Registered User
- Join Date
- Sep 2015
- Posts
- 171
Originally Posted by chevhell
I did have the hellwig kit. The kit I got ended up having the wrong items in the box so I sent it back. I went with the abc kit instead due to ease of installation. I didn't want to have to deal with adding in another body mount. I don't have an easy way to put the body on and off the frame in order to line up the mounts how they should be. Might be a mistake to go with the ABC kit, but many people have used it and it works out very well for them.
02-19-2017 #38 Registered User
- Join Date
- Nov 2006
- Location
- Ma.
- Posts
- 5,567
I just went back and re read it from the beginning, nice job Robert I'm enjoying you build thread.
Wayne
Car FINALLY home !!!!!! lol
Project FNQUIK https://www.pro-touring.com/showthre...ghlight=FNQUIK
02-20-2017 #39
Registered User
- Join Date
- Oct 2016
- Posts
- 2
Thats funny for saying the wrong kit was in the box, i order the 64-67 a body kit. The kit i got didn't fit at all, the first piece you put on was not even close. The extra body mount didn't fit. My car is a late 67 chevelle. I made a call the hellwig and talked with them about the kit i have, how the parts fits, i emailed them pictures. The guy at hellwig was stumped so he went to the engineer and talked to him and two days later thay were both stumped. The only thing thay could come up with is that my middle frame rails are from 68-72 abody, or something like that. So thay sent me some parts from a 68-72 kit and i was able to make my kit work. I would like to know if your car/ hellwig kit was like mine, or was it just totally worng. Thank you
02-23-2017 #40
Registered User
- Join Date
- Sep 2015
- Posts
- 171
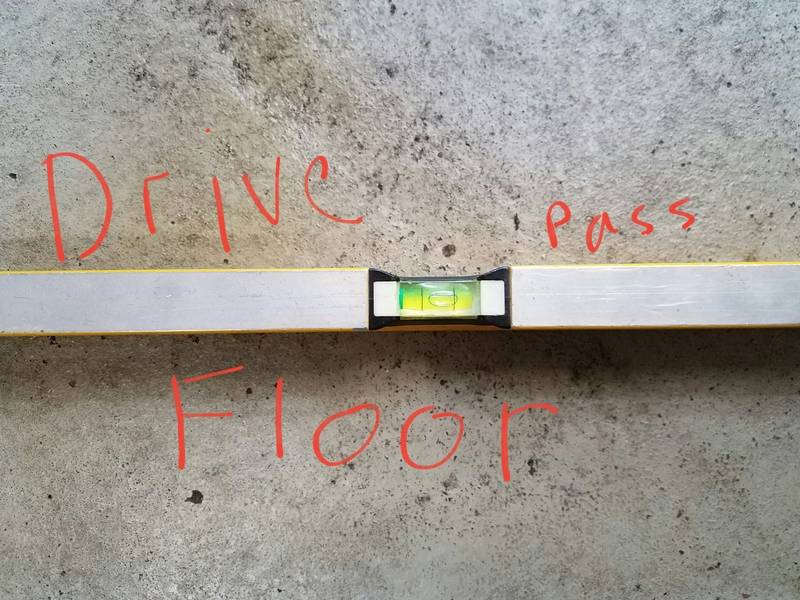
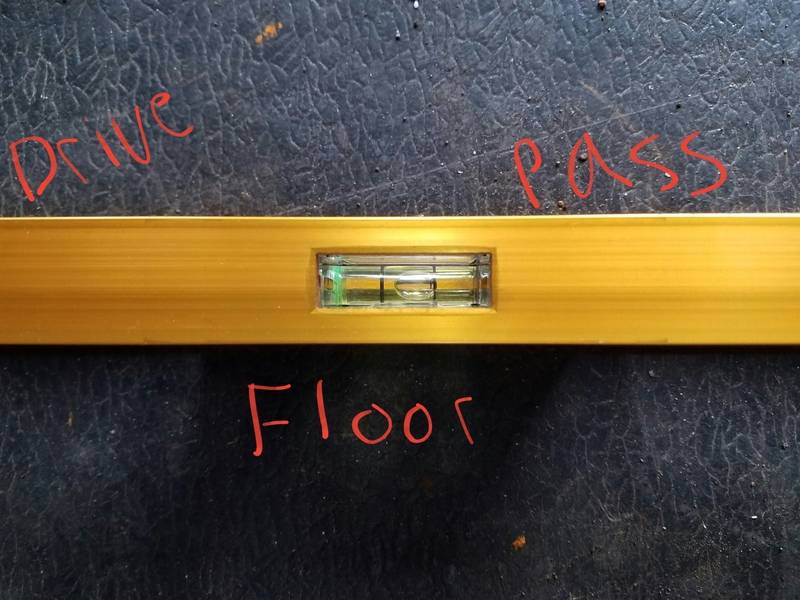
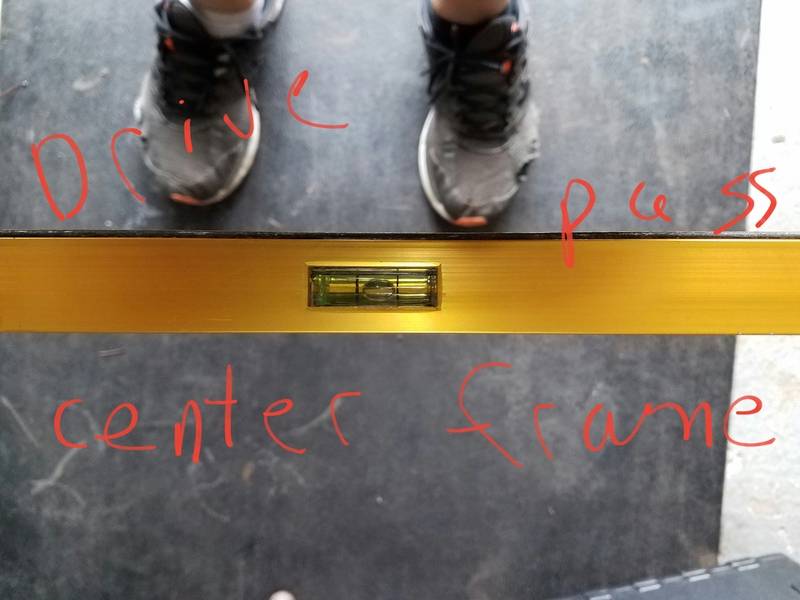
I have some quick questions for the masses out there. I am wondering if I should be concerned or if I have a problem, might just be my floor. As some saw in the previous posts, I am putting in an ABC frame boxing kit. Before doing any welding I made sure to check the frame was level and it was. I have not been running any long beads when welding in the frame boxing kit, just doing tack welds as to not build up heat and warp anything. I even checked my measurements using the picture from this link and they are dead on.
http://www.chevelles.com/forums/45-c...66-malibu.html
But I noticed some stuff that has me worried.
In the first set of pictures, you can see how un even my floor is, it has a slope to the passenger side.
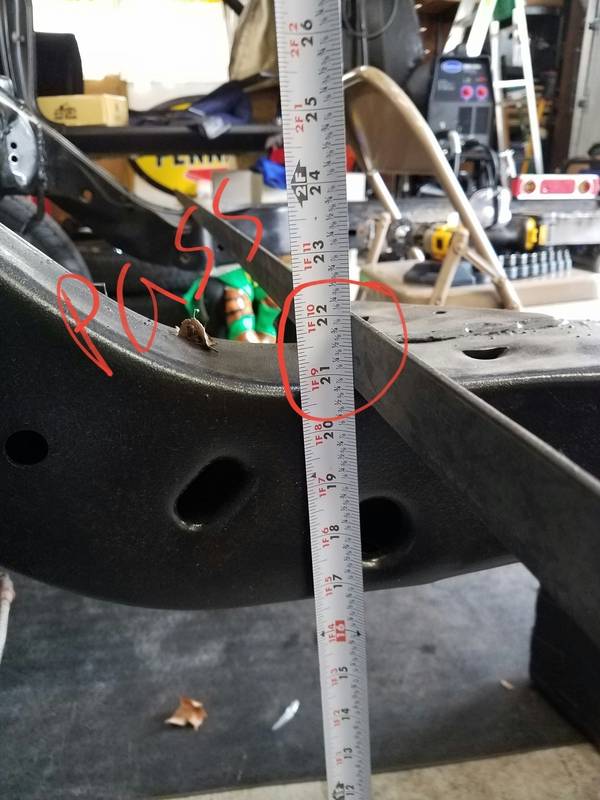
Here in the next two pictures, I show the measurements right by where the lower control arm connects to the chassis. There is a half inch difference in height. I want to assume this is due to the floor being lower on the other side, but I am not convinced.

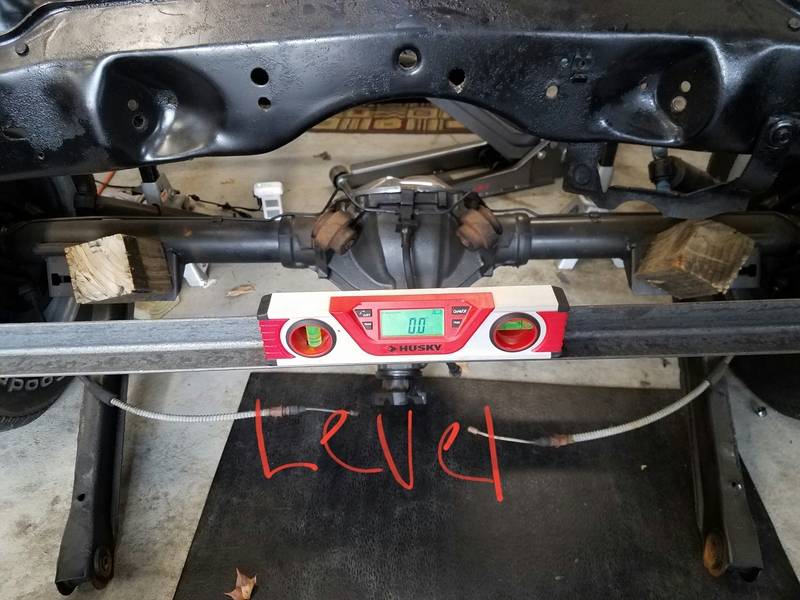
The series of next pictures show the chassis is level from drive side to passenger side. The driver side measures to the top of the angle iron at 22.5", the passenger side measure to 22". I would think this should throw my level readings off, but as you can see in the rest of my pictures the frame is sitting level.


 Reply With Quote


