Results 161 to 180 of 394
-
01-21-2018 #161
 Registered User
- Join Date
- May 2017
- Location
- Sacramento, California
- Posts
- 40
If the intercoolers are there, you will need to direct air over them too.
Putting the radiator in the back looks like a bad idea, watch the roadkill episode with the Mazdarati that did similiar, it didn't work very well.
Another idea particularly because you have such a big truck is to mount the radiator above the engine, and put vents into the hood,
and duct around it so incoming goes through radiator and out. Might need to make flex hoses so you can move it too, maybe even mount
it directly to the hood, think i've seen that done too.
-
01-21-2018 #162
 Registered User
- Join Date
- Dec 2005
- Location
- Maryville, TN
- Posts
- 839
Ah ha, I see it now! I was thinking those first pictures must have been messing with me. Originally Posted by Max Power

Super cool, and definitely an impressive amount of work so far!
-
01-22-2018 #163
 Registered User
- Join Date
- Feb 2005
- Location
- Minneapolis, MN
- Posts
- 195

I like the rear mounted radiator, that's what I was going to recommend. Lots of the desert racers use them, as do the drifters these days. There are plenty of ways to make it work. I think a big part of success is adding another pump. Your engines water pump wasn't meant to push it with that much increased restriction in the system.
-
01-22-2018 #164

 Registered User
- Join Date
- Sep 2009
- Posts
- 2,706
The speed that this build is moving at is incredible! Nice work. Good luck with your engineer and keep us posted.

1955 Nomad project LC9, 4L80e, C5 brakes, Vision wheels
1968 Camaro 6.2 w/ LSA, TR6060-Magnum hybrid and etc SOLD
1976 T/A LS1 6 Speed, and etc. SOLD
Follow me on Instagram: ryeguy2006a
-
01-22-2018 #165
Registered User
- Join Date
- Dec 2014
- Posts
- 188
 I think it will work. It's going to take a bit of problem solving but I think it's doable. Originally Posted by cornfedbill
Ahaha, sweet. Cheers! Originally Posted by Bob in St. Louis
I had planned to track air under the grill through ducting through the intercoolers and into the wheel arches. Just like the factory setup on the RS6. I still have the factory plastic ducts but they may or may not be suitable. Originally Posted by nimblemotorsports
I can understand why the radiator fitted in the tub of the Mazda didn't work. They had no air flow at all going to it at all. What was amazing was that when they were going around the track with just two of their side of the road ducting installs, it was maintaining a manageable running temp. That was reassuring to see. If done properly, it should work fine.
I expect my bonnet will sit just above the air intake on the engine. It is not fitted at the moment but can be seen on that photo with the intercoolers still fitted. It's a large alloy and plastic setup with carbon covers.
The wind tunnel video was interesting. The passage through the grill and out through the bonnet was very streamlined. The air coming out was nearly as neat as the stream going in.
Much appreciated, bald guy. Cheers! Originally Posted by 67SSDan
One of my mates works in a performance shop and was talking to their radiator supplier (PWR) and he pretty much said what you've just said word for word. I think he's going to suss it out a little more for me, the layout and components, so it'll be interesting to get his professional advice as well. Originally Posted by brawls43
Thanks very much! The count down is on now to see the engineer. I'm starting to make a list of things I want/need to discuss and doing more looking at it, contemplating, then doing anything hands on at the moment. Originally Posted by ryeguy2006a
I'm also going to discuss air bag suspension with him. It's an expense I'm not keen on spending on it but seeing as I can't use the stock suspension, something needs to be done and this might be best.
-
01-23-2018 #166
 Registered User
- Join Date
- Jun 2014
- Location
- Perth, West Oz
- Posts
- 24
Ahh good to get my update fix on this thread - loving the innovations / dream / outside the box attitude
-
01-23-2018 #167
Registered User
- Join Date
- Dec 2014
- Posts
- 188
Cheers, Stealth. Much appreciated! Originally Posted by Stealth 69
I wish I had more to update on at the moment.
-
01-23-2018 #168
 Registered User
- Join Date
- Aug 2008
- Location
- jacksonville,fl
- Posts
- 970
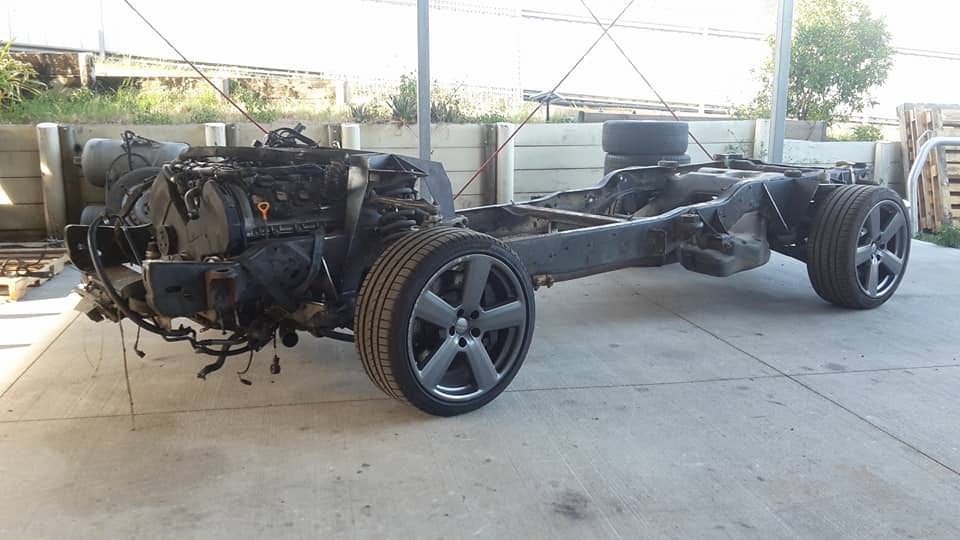
Didn't really notice till seeing your chassis out in the open, but audi's engine placement definitely sits pretty far forwards in relation to the front wheels & moving it back sure doesn't look like any kind of any easy option with the suspension & steering. There are quite a few street rods over here I see pictures of that don't have a radiator up front which a looked into years ago. I think as brawls stated, another pump should help make a rear mount work. I saw a v-8 trike before where the tubular frame was actually part of the radiator hose system for the rear mounted radiator. So you got options.
On the fuel tank height issue, you think a little frame trimming & reinforcing will get you the needed clearance?
-
01-23-2018 #169
Registered User
- Join Date
- Dec 2014
- Posts
- 188
Moving the engine back is not an option. The front wheels are driven from a trans axle. Moving the engine back moves the wheels back too.
Yes, I think 50mm clearance in the chassis would be enough to bring the front of the tank up to clear the drive shaft. Another option would be to section out the tank and plastic weld that.
01-23-2018 #170
Registered User
- Join Date
- Aug 2008
- Location
- jacksonville,fl
- Posts
- 970
I'd guess the tank is probably a polyethelyne which epoxy will stick to though welding is best. Hot air welding with ribbons (strips) would probably be the best method. Polyvance is the best known place for plastic welding supplies and technical information here.
https://www.google.com/search?source....0.uITTHAnke3Y
Polypropylene is 2nd most likely material & is weld only.
You can make your own welding ribbons if needed from from donor material thin enough to flex.
01-24-2018 #171 Registered User
- Join Date
- Jun 2012
- Location
- N. Shore, Ma
- Posts
- 337
You could try a heat gun to just push in those two corners instead of cutting and welding the plastic?
Eric
Building 1969 GTO - Roadster Shop chassis, LQ9 w LS3 heads and rebuild parts from TSP, Bowler prepped Magnum T56 6 spd, 3 Link Strange 9" w Speedway Floater Hubs, Wilwood 14" F - 13" R brakes, 275.18 - 345.19
https://www.pro-touring.com/threads/94970-69-GTO-Build
01-25-2018 #172
Registered User
- Join Date
- Dec 2014
- Posts
- 188
I hadn't thought of heating it and reshaping it but I like that idea. I had a look at it today and could instantly see a possible issue.
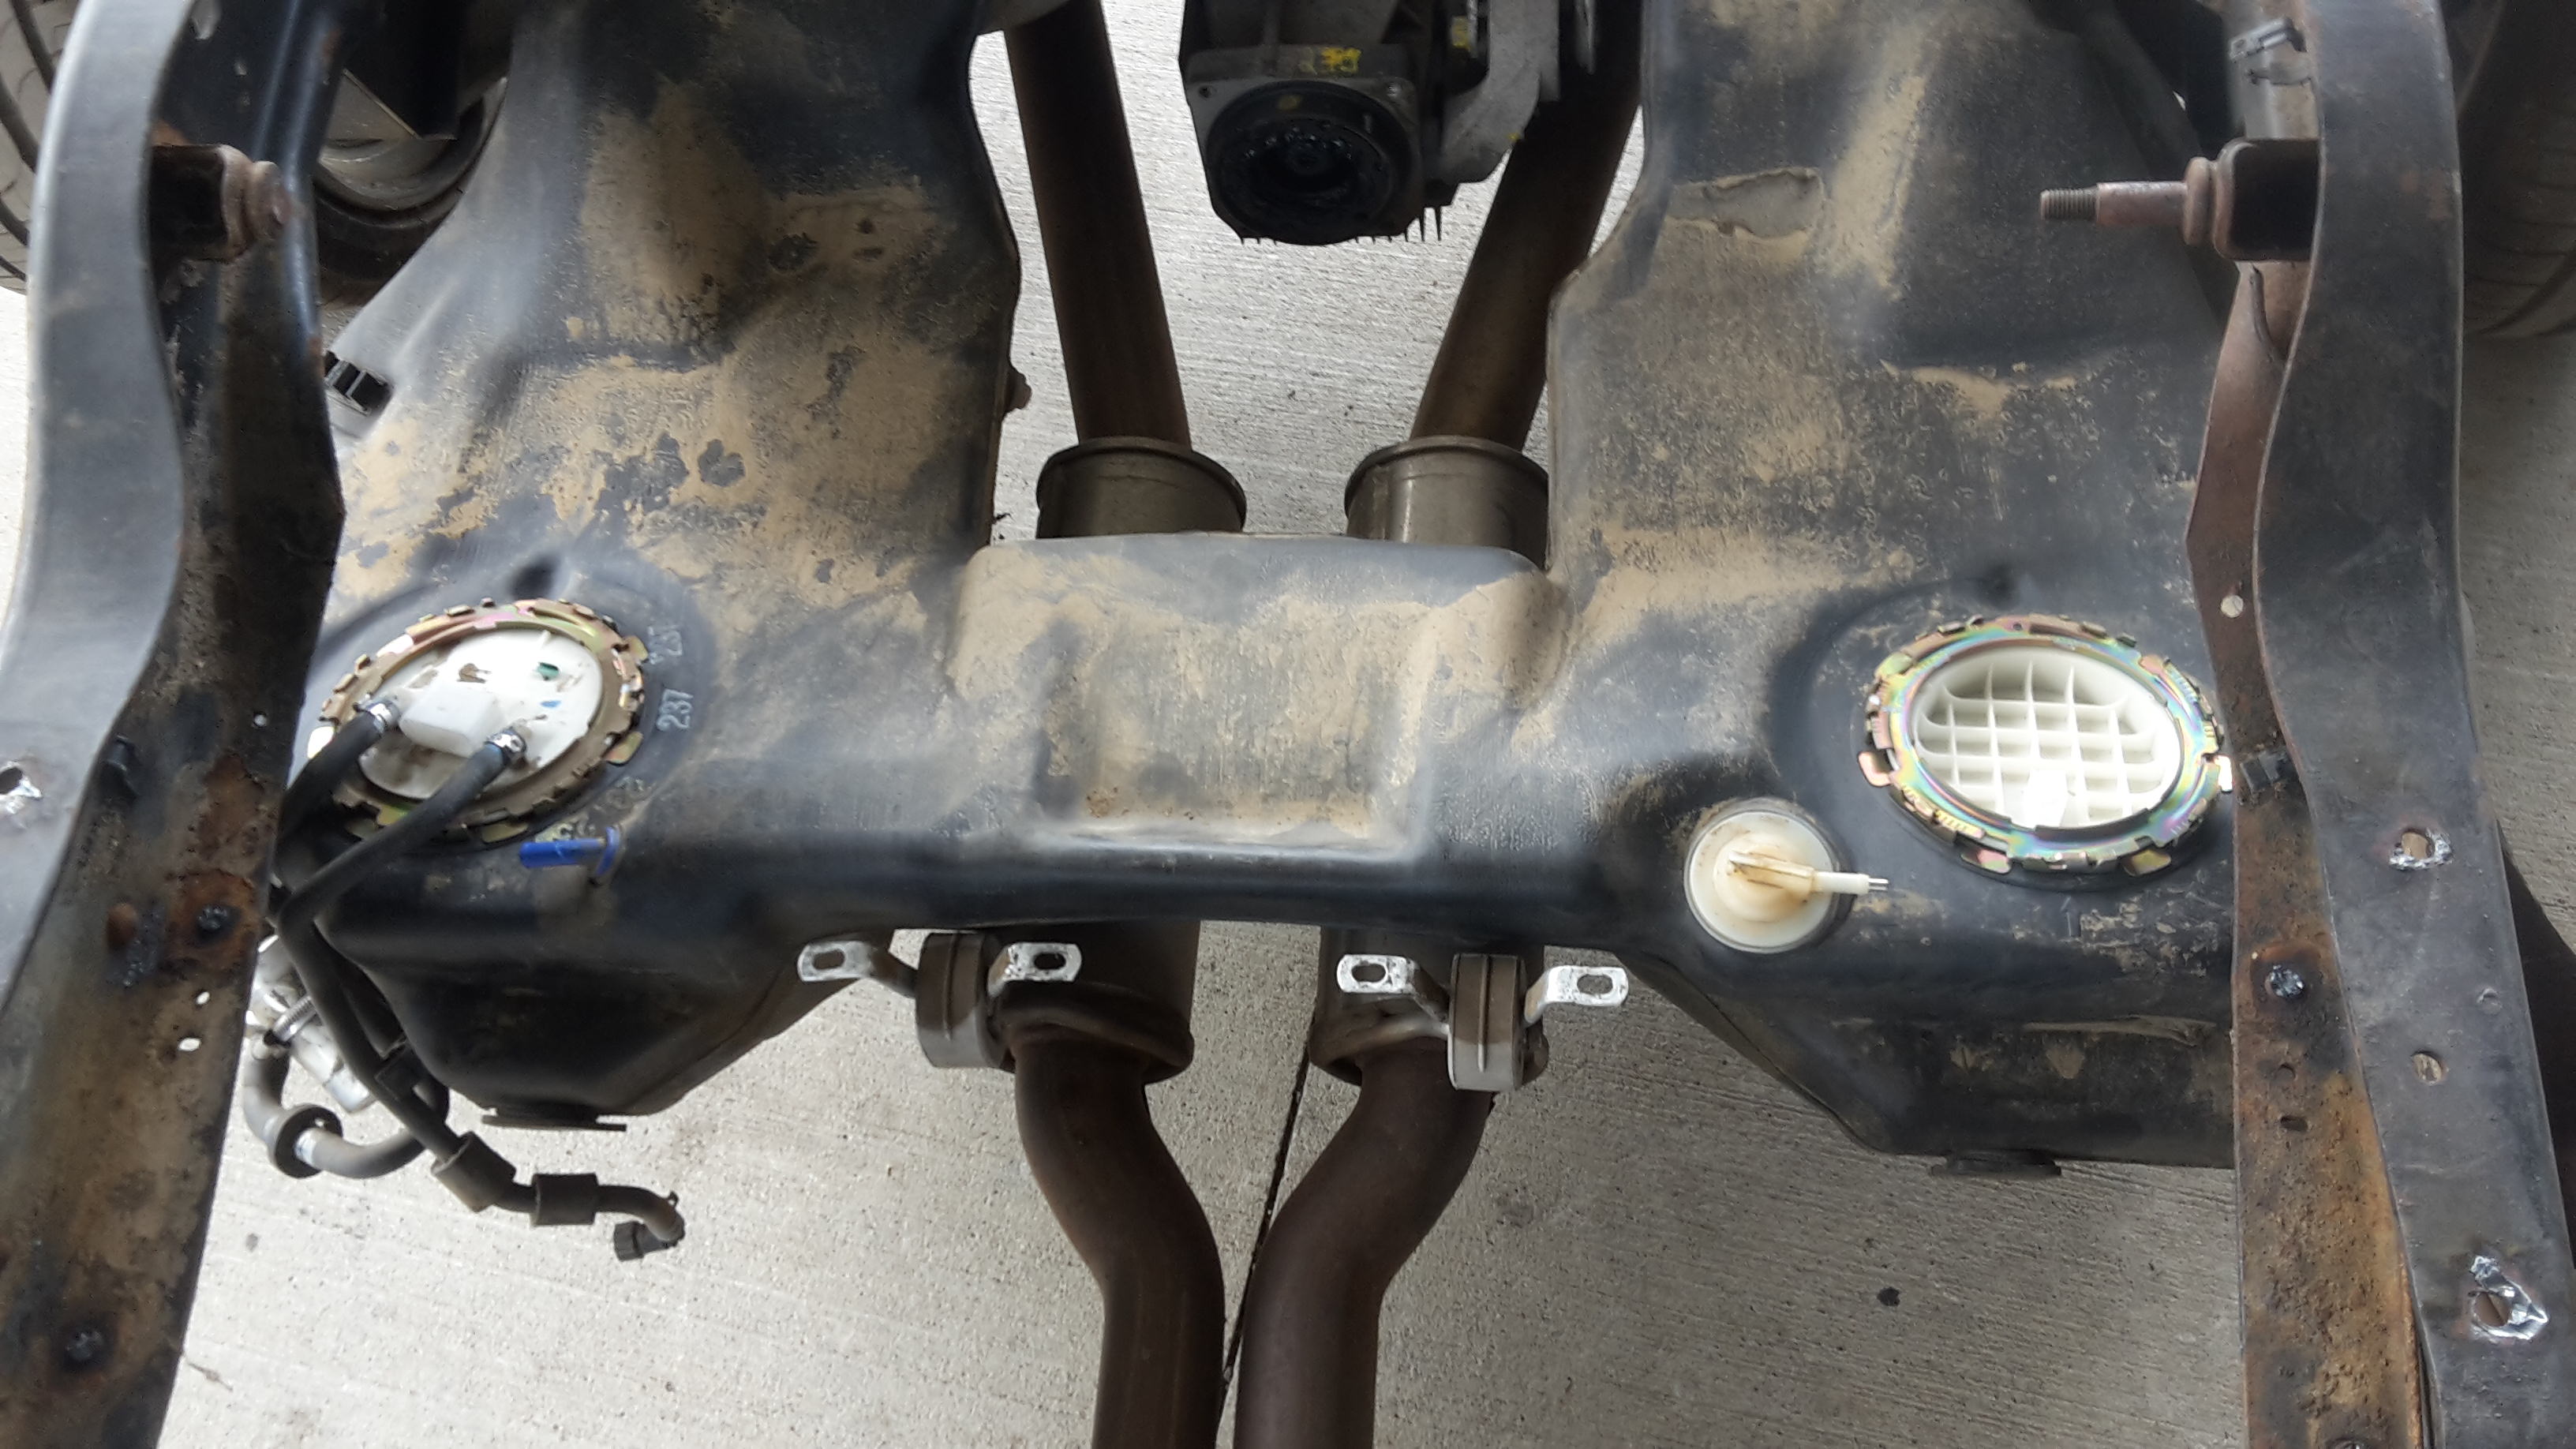
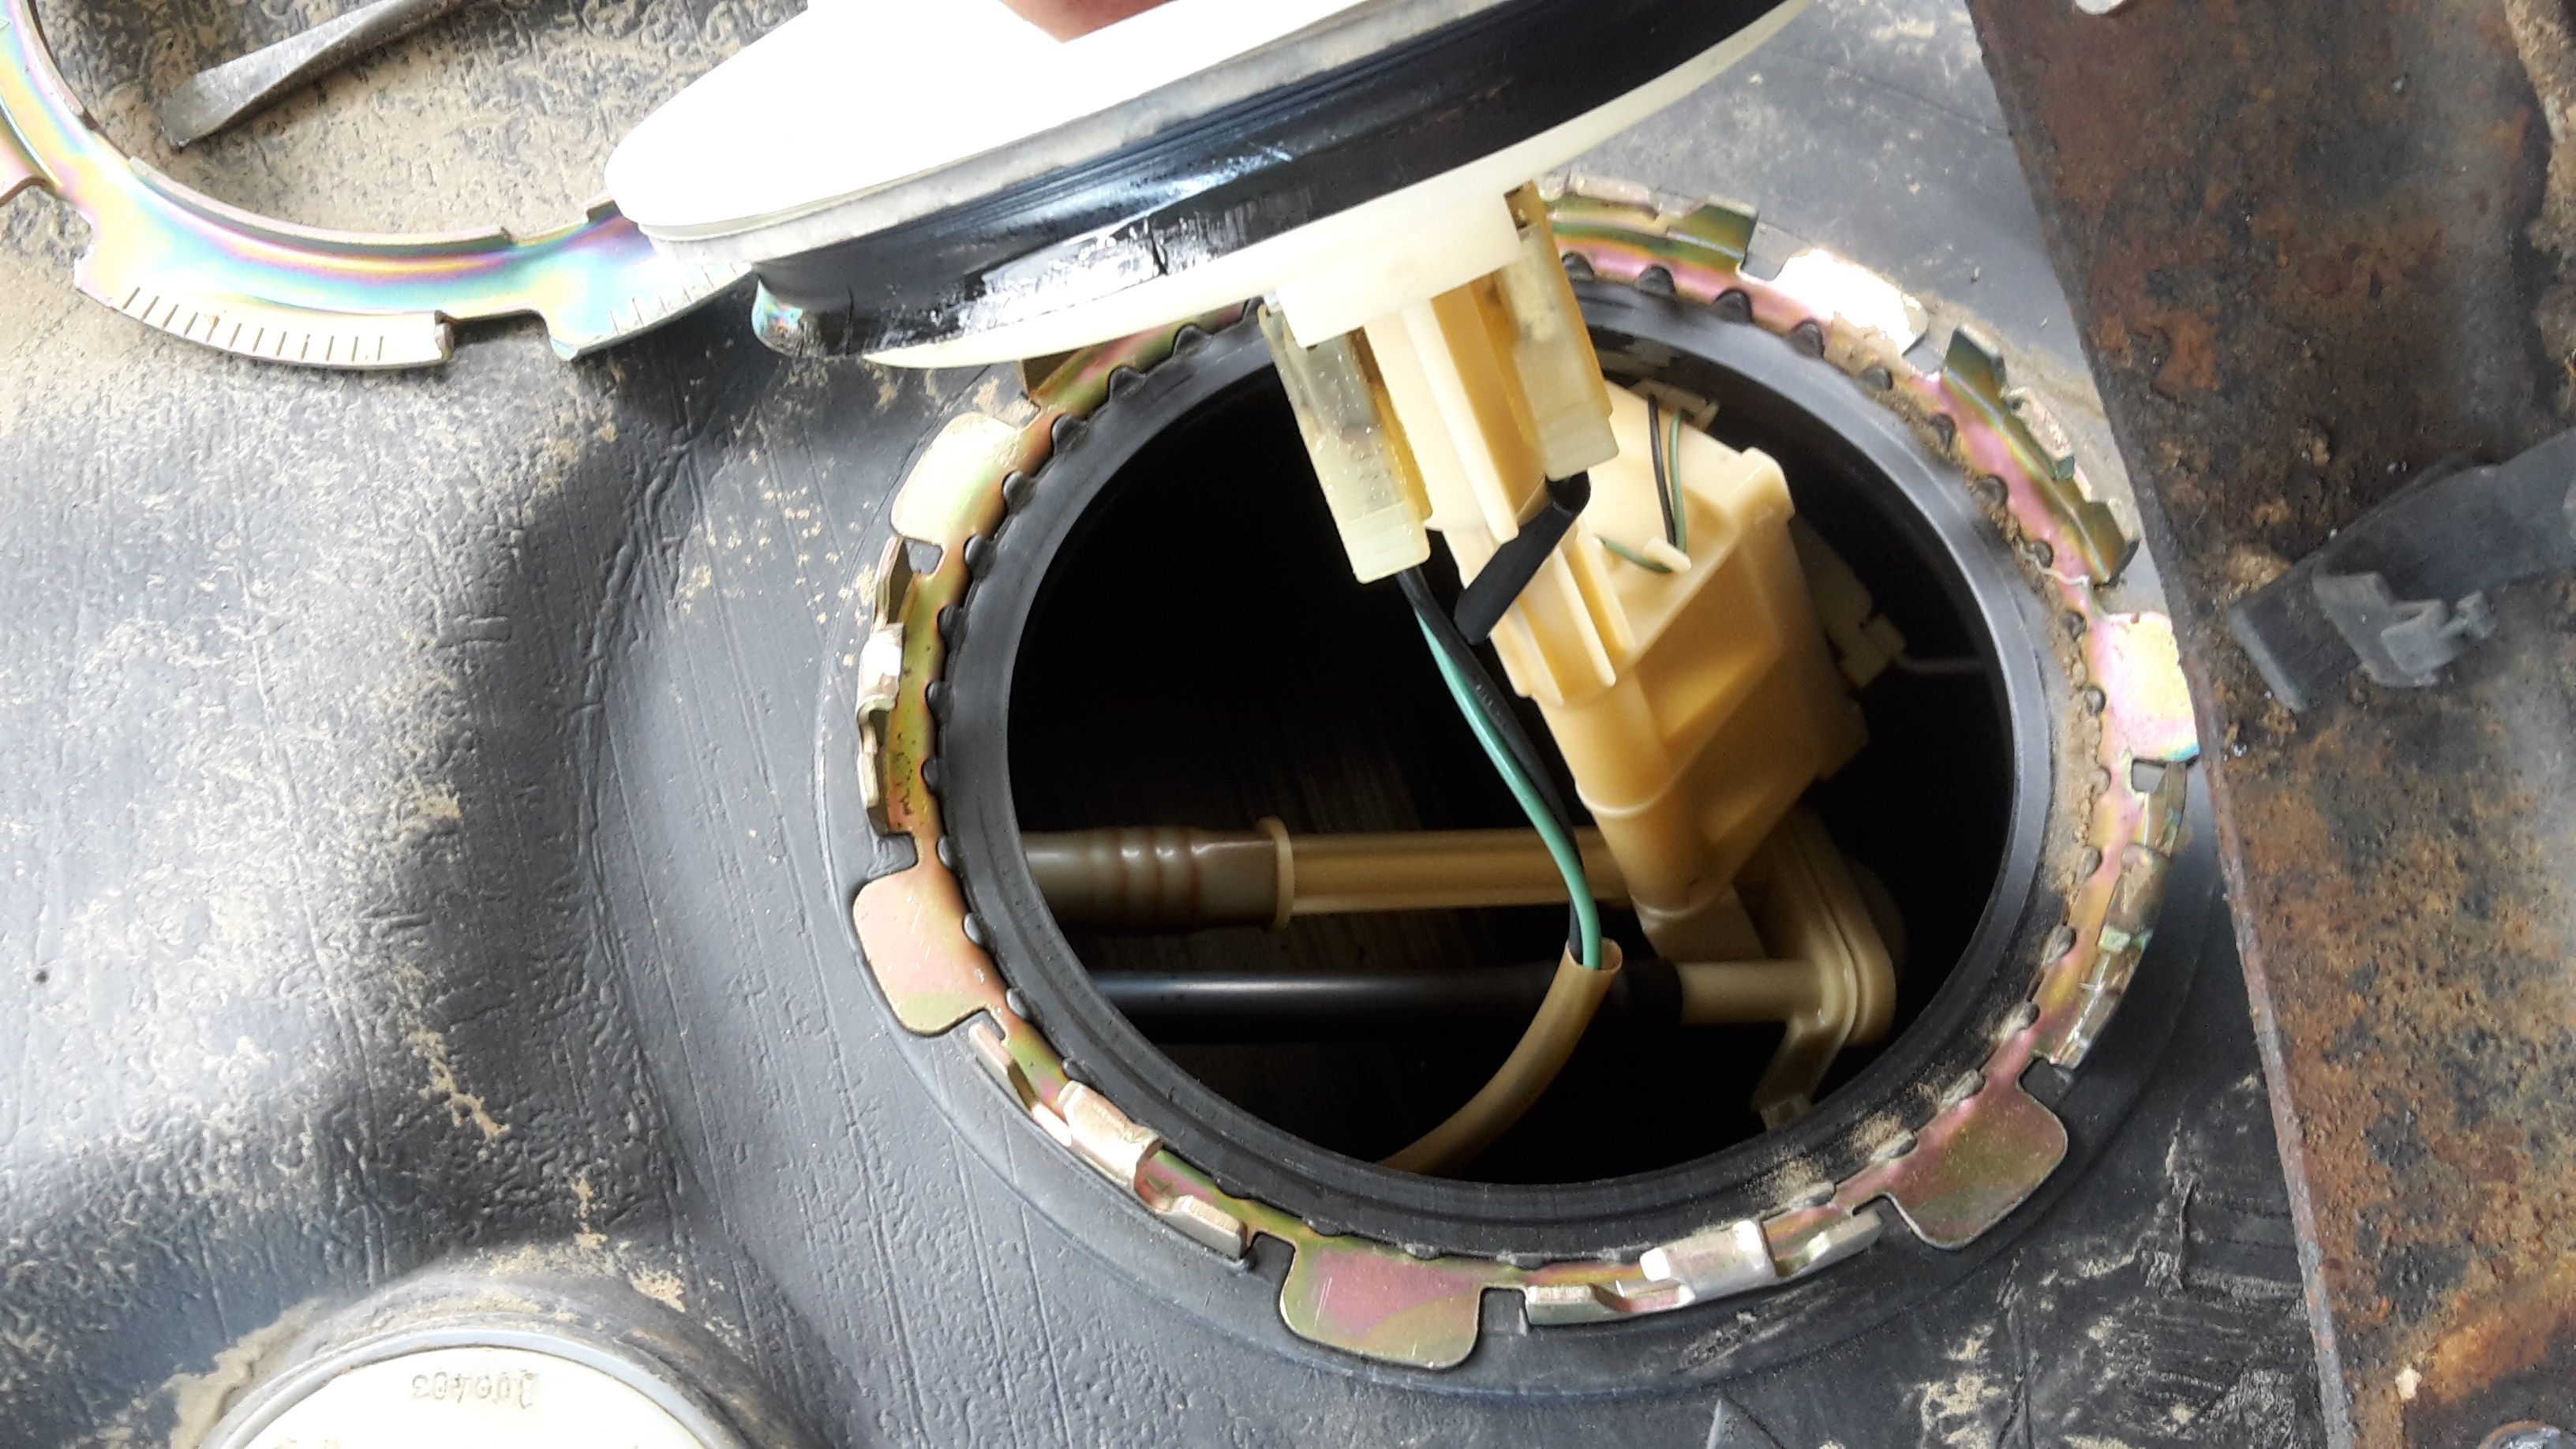
So I opened the lids to see what could be effected. The left side was the fuel level. Changing the angle of this by heating the above area could and most likely will effect the fuel level reading but that I could live with. The assembly is spring loaded so that if the lid was closer to the base of the tank, the unit would just compress.
The right side, which I thought I photographed, was the fuel pump side. The base of the fuel pump is fixed to the base of the tank. The top section, the lid, is only connected to the base by hoses and wiring. So changing the angle or closing up the space would not effect this either. I think heating and moulding it is going to be the way to fix the issue.
01-25-2018 #173
Registered User
- Join Date
- Mar 2012
- Posts
- 288
Do you have to stick with that tank for some reason? Why not put the pump and sending unit into a tank that fits the chassis?
01-25-2018 #174
Registered User
- Join Date
- Nov 2017
- Posts
- 129
Alot of guys on these old frames use a 22 gal 70s mustang tank in the back half. They cut the support beam and make a mount to fit it.
Here is some info
https://www.ford-trucks.com/articles...-a-1953-f-100/
01-25-2018 #175 Registered User
- Join Date
- Sep 2017
- Posts
- 63
This build is amazing! I'll be staying tuned for your progress.
1965 Buick Skylark Sport Coupe V8, Two Door Hardtop - Project
2014 Mercedes Benz C300 Sport 4Matic - Daily
01-25-2018 #176
Registered User
- Join Date
- Jul 2012
- Location
- San Francisco, CA
- Posts
- 45
Just stumbled across this build! OMG..... you are a nut job.... in a good way

Can't wait to see this drive! Maybe take it skiing when finished!69 Chevelle 1000hp turbo LS, T56 Mag, JRi coilovers, Watts/torque arm 9", 14" Wilwoods, Recaro CTSv seats, cromo cage, a/c, p/s, built by Coffey Fab Nashville, TN.
93 RX-7 1200hp turbo LS9, T56 Mag, 8.8", 9.3@163mph + 197mph 1/2 mile
01-25-2018 #177
Registered User
- Join Date
- Dec 2014
- Posts
- 188
Originally Posted by grendel
It's mainly to utilise what I already have and to not create any possibility of an upset to the Audi electronics. That's basically it. Otherwise yeah, going a Mustang tank would be fine. I have one here out of my 69 fastback. Originally Posted by JRANGER
Originally Posted by skylark guy
I appreciate it guys, thanks! Originally Posted by gnx7
01-25-2018 #178
Registered User
- Join Date
- Mar 2012
- Posts
- 288
Stick all the Audi electronics in a tank that fits the chassis. You'll have more headaches with that Audi tank than it's worth.
01-25-2018 #179
Registered User
- Join Date
- Dec 2014
- Posts
- 188
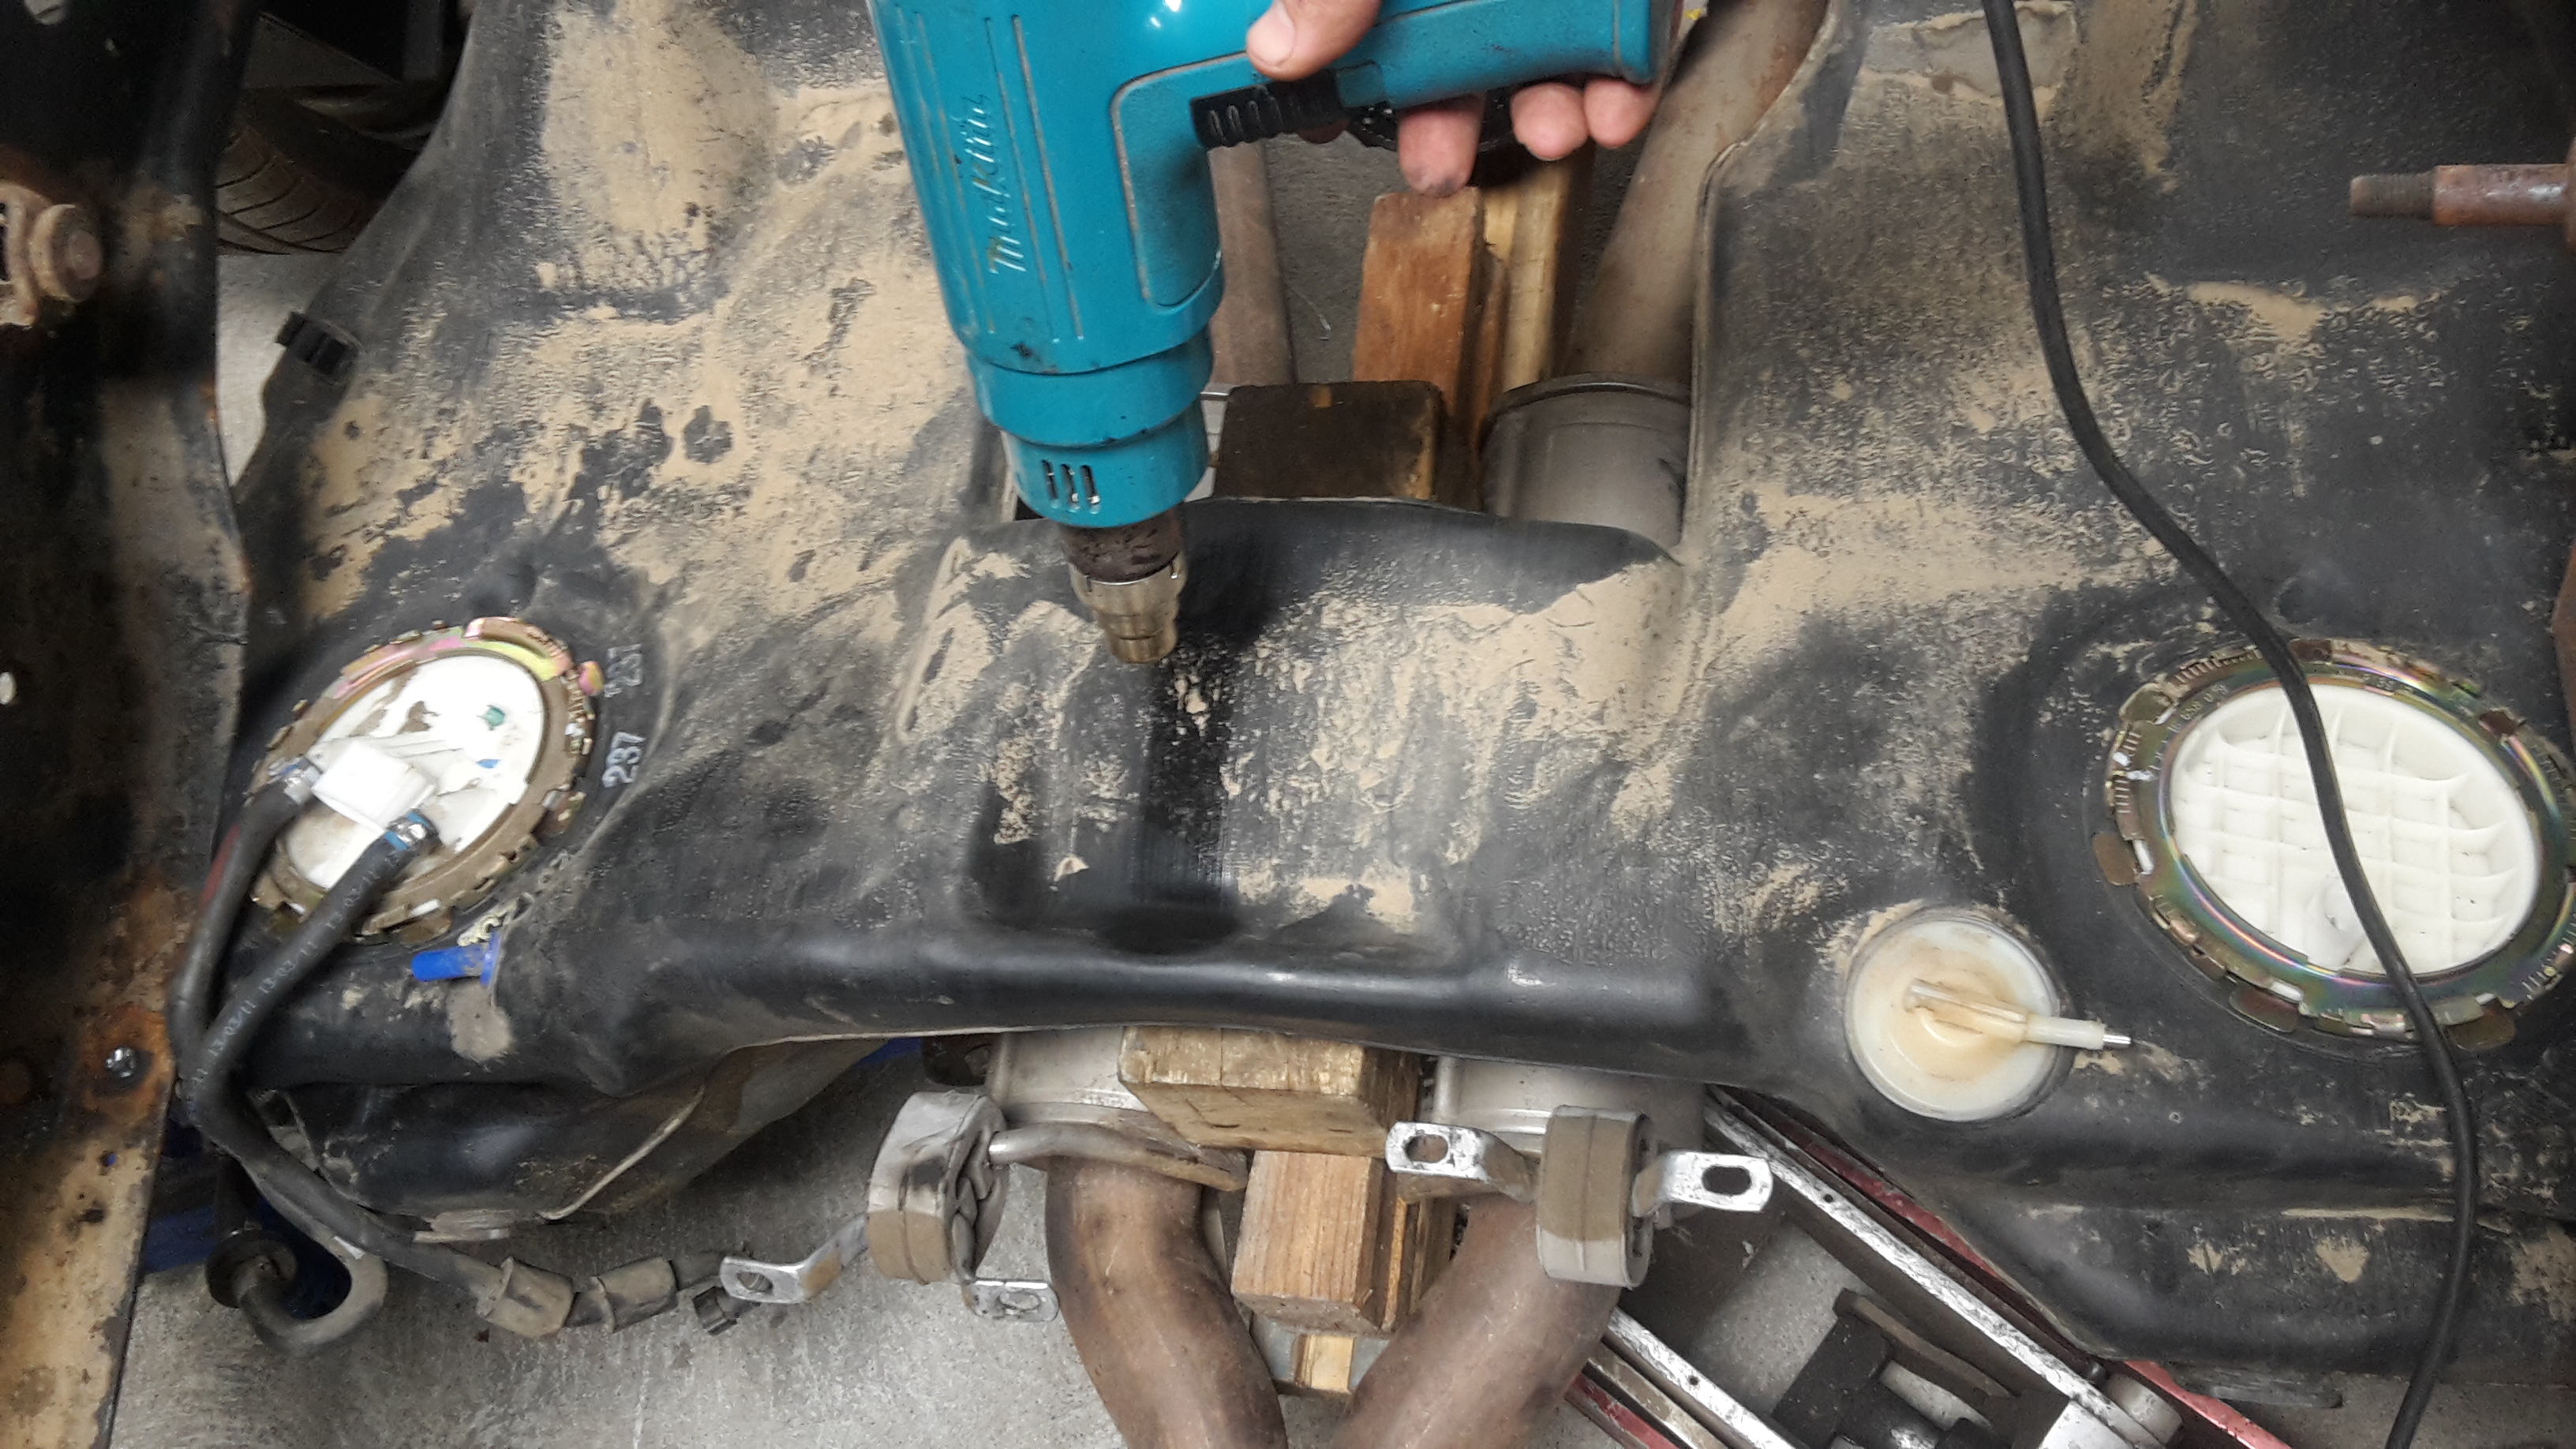
I've had the heat gun on it this morning, I think I've got it sorted. A bit more playing and I'll know how it goes.
01-25-2018 #180
Registered User
- Join Date
- Dec 2014
- Posts
- 188
The tailshaft is in and bolted up. The tank is just held in with straps at the moment until I make its mounts. But I'm onto them now.
I had to drop the diff out to get the tank support in.

Plenty of clearance.
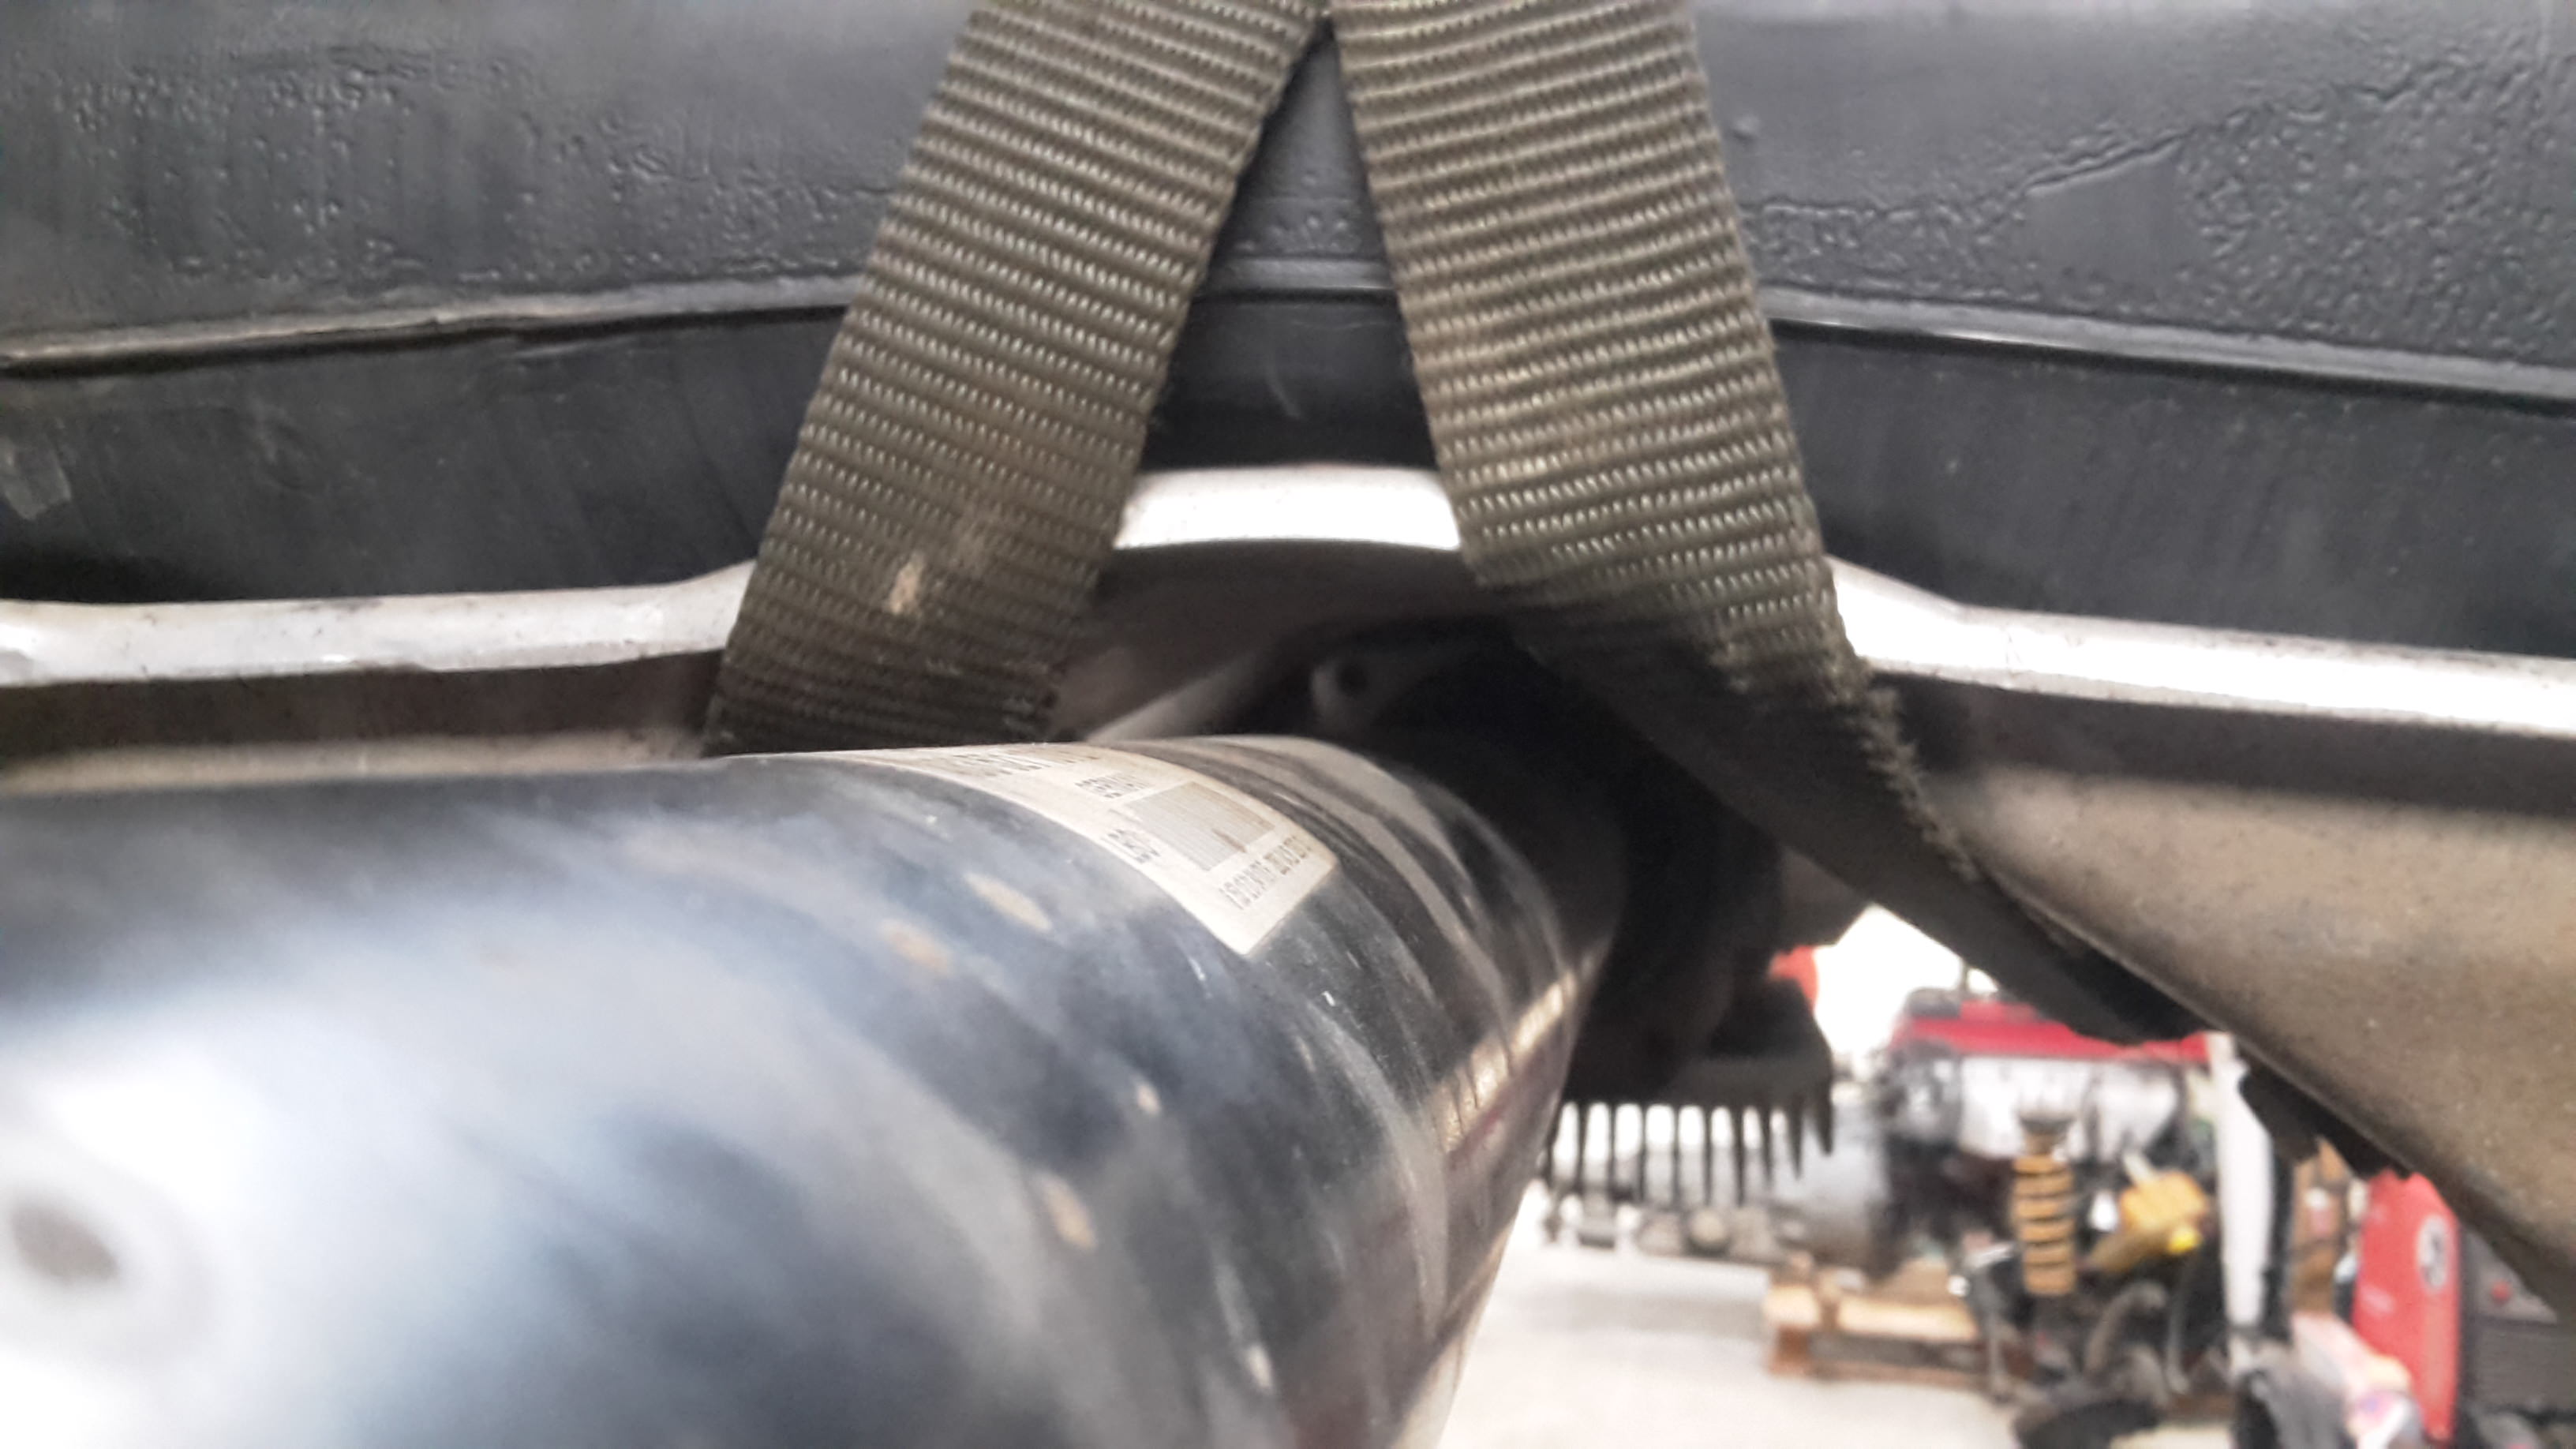
I flattened the areas under the chassis rails a bit on both sides but most of the clearance came from sharpening the angle in the centre above the tail shaft. I did this by heating the top area and jacking it up from underneath stretching the top.

 Reply With Quote