

Results 221 to 240 of 394
-
02-23-2018 #221
 Registered User
- Join Date
- Dec 2014
- Posts
- 188

Thanks, Widetrax! Using skate board wheels is definitely using what you have on hand. Good thinking!
Another slow week here, I haven't been around much which has limited time in the shed. I've also been taking advantage of the weather too when it is a bit cooler to go riding which is always enticing.
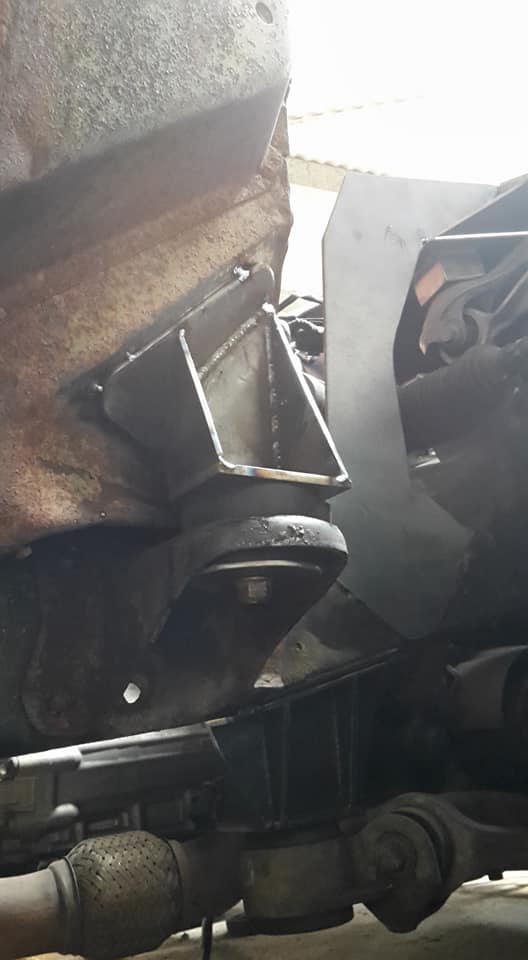
I've just finished putting together the front cab mounts using the original Bronco chassis mounts. I'll complete the welding and tidy them up once the rest of the cab is sorted. I mig welded the insides of these for simplicity and time saving. There's a bit of splatter to clean up but thought the time spent tig welding them was wasted time.
-
02-26-2018 #222 Registered User
- Join Date
- Dec 2017
- Posts
- 61
I like the mounts. They look good.
1951 Ford F1, 1967 RS Camaro, 1979 Firebird Formula, 1979 Trans Am/LS swap.
03-10-2018 #223
Registered User
- Join Date
- Dec 2014
- Posts
- 188
Progress has been a little slow of late. Anything worth while of noting hasn't really happened. I've been on the road quite a bit then we had a lot of rain and my shed flooded. Thankfully this time it didn't go through my house.
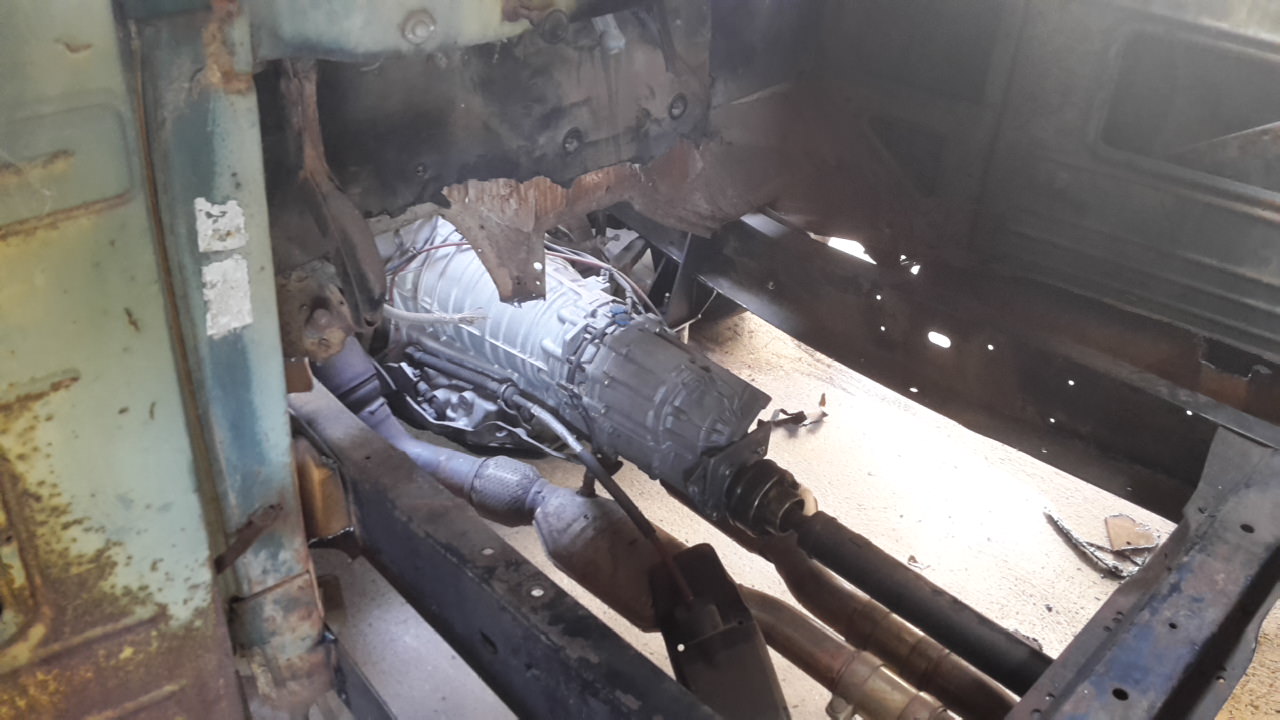
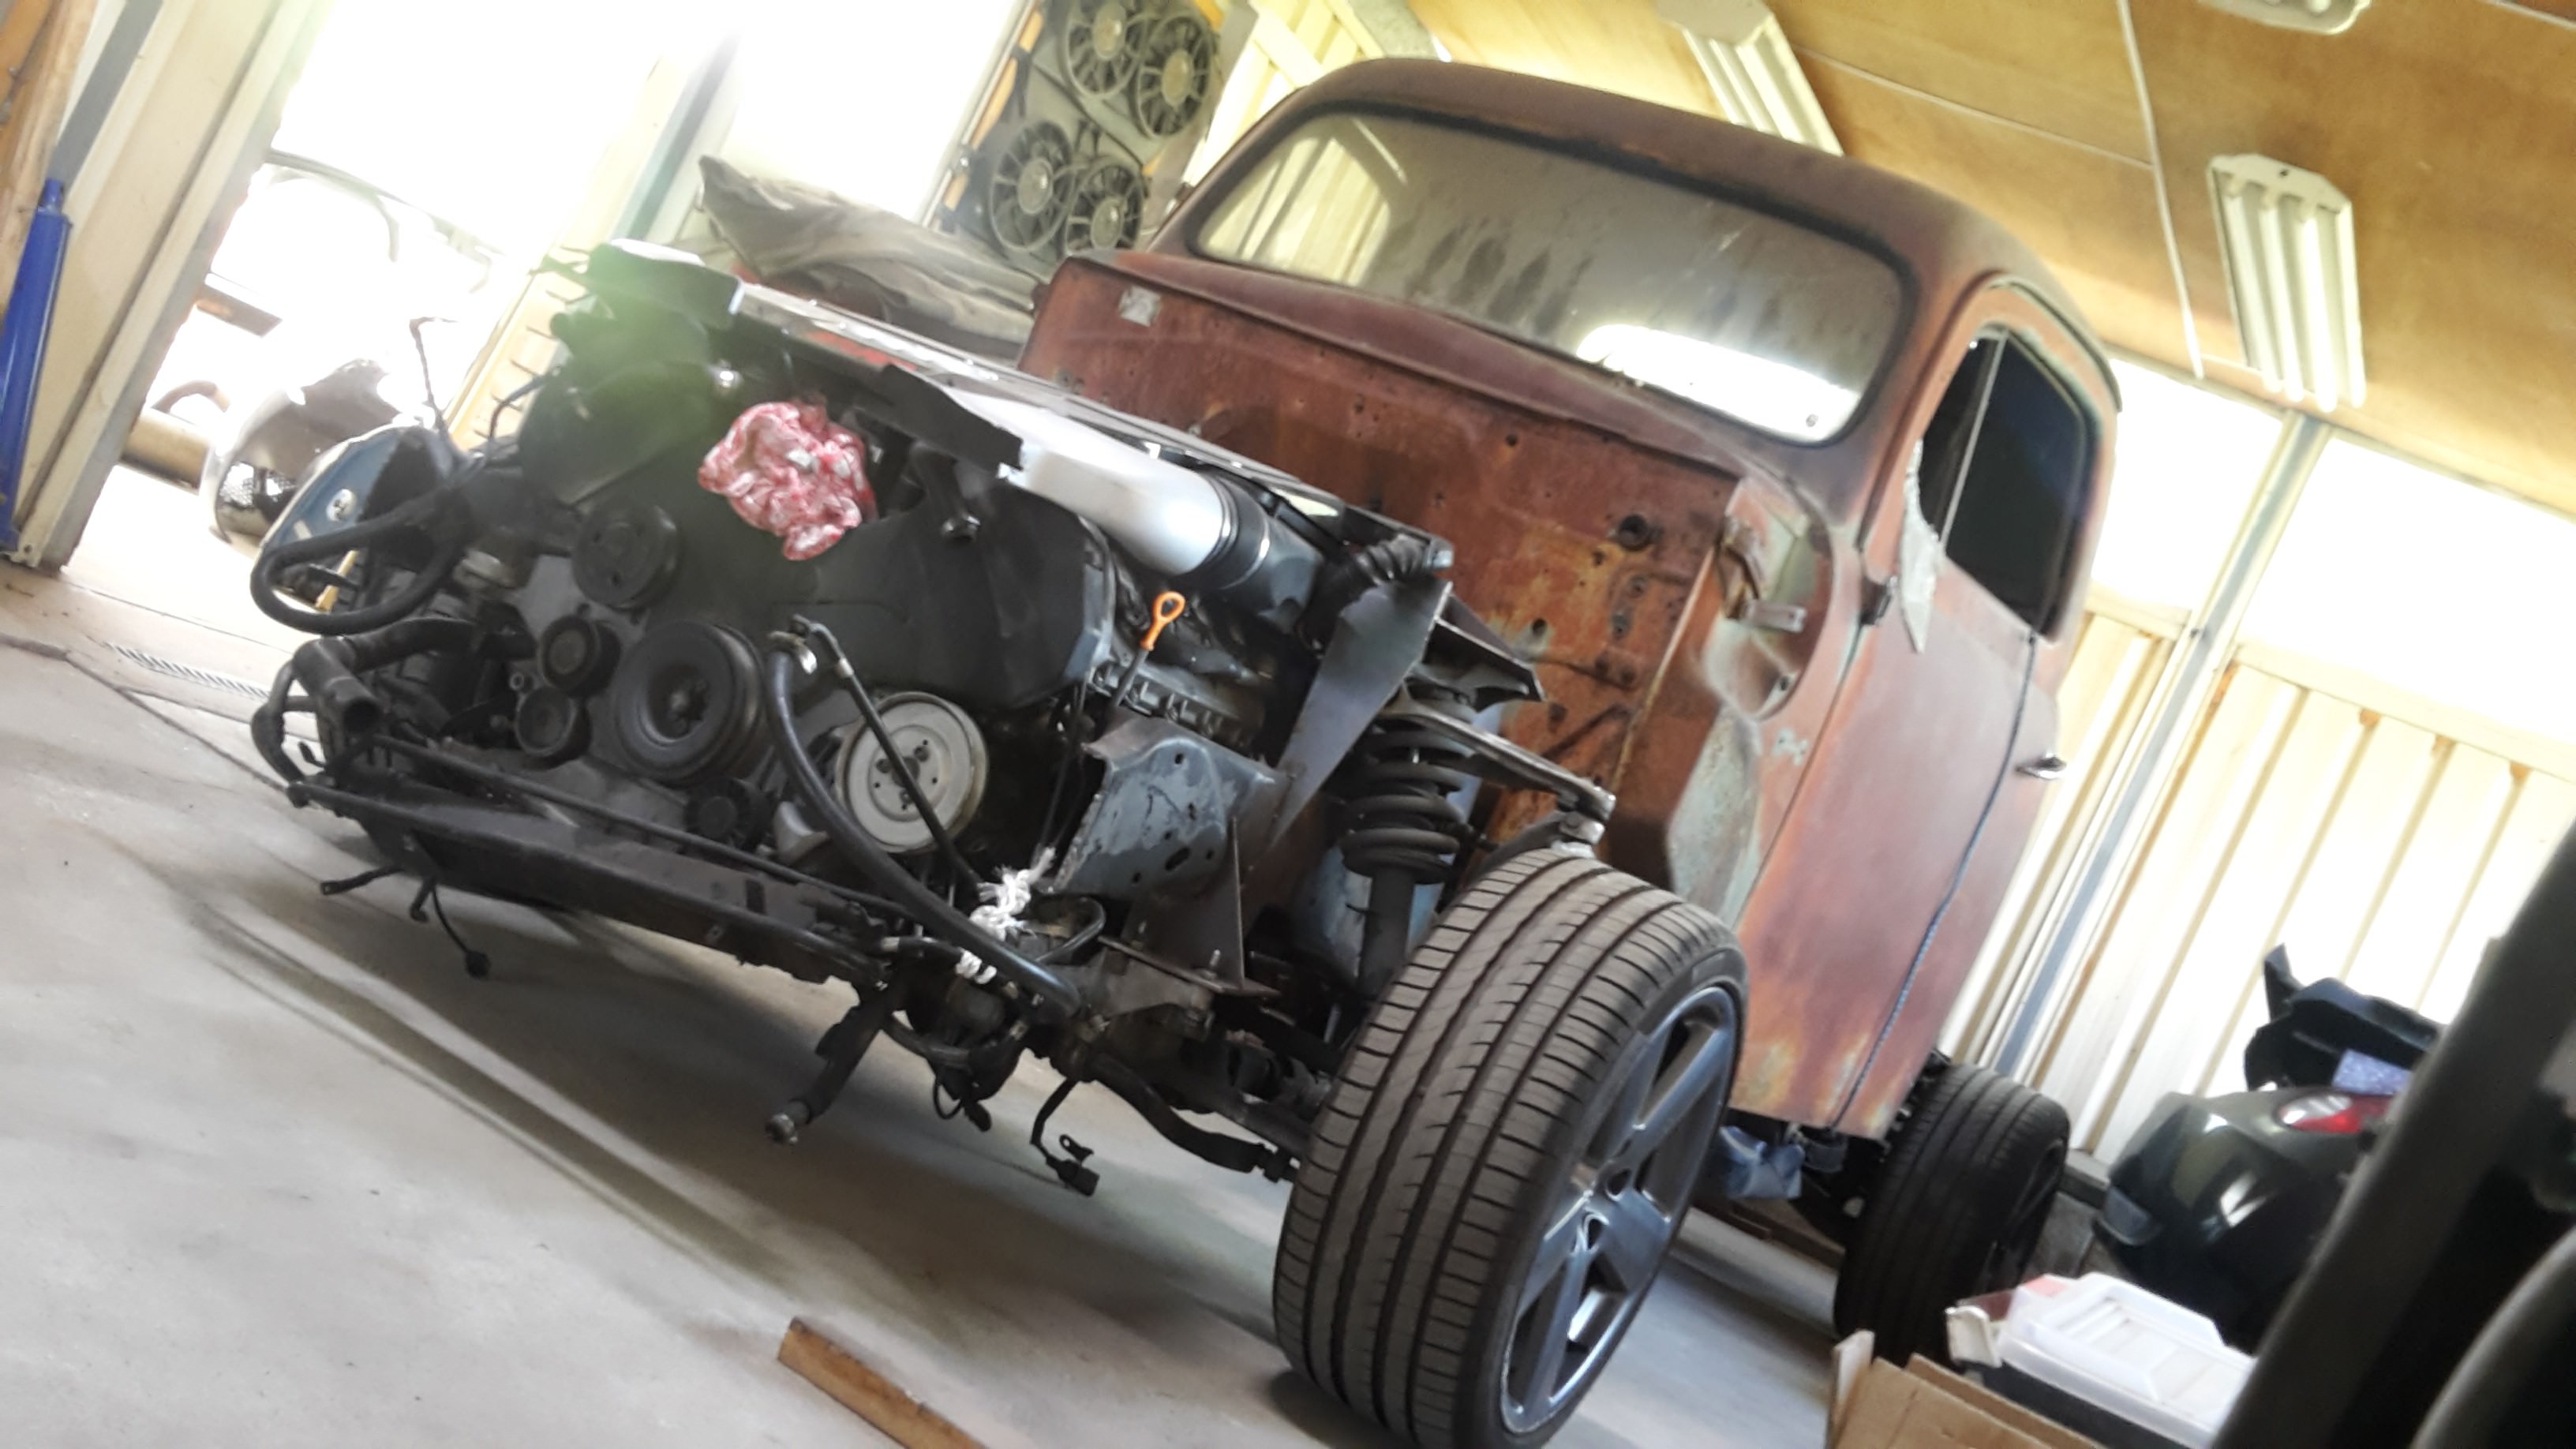
I've been tinkering and that is about it. I had to make some pins for the door hinges, even though they are only around $2 each to buy, shipping them to Aus was going to cost about $40 so not worth it. I've also been making more of the polyurethane cab mounts and working out how they are going to fit. I started out with just removing the front section of the floor, the area that was rotted. But slowly I took more and more until it was all gone. The section between the A and B pillar on the US drivers side was completely stuffed and no longer joined. The other side is not much better. So all that came out. I also took my time taking pieces out of the rear to lower the back of the cab to where it needed to be to be level to the chassis. It now looks like this.
I haven't removed the firewall yet, I'll get the floor frame done first.
Here I had tacked in a new piece to support the bottom of the door pillars. This side door was hanging far too low. I was able to straighten it up to nearly where it needs to be but I'll keep working on that as new metal goes in.
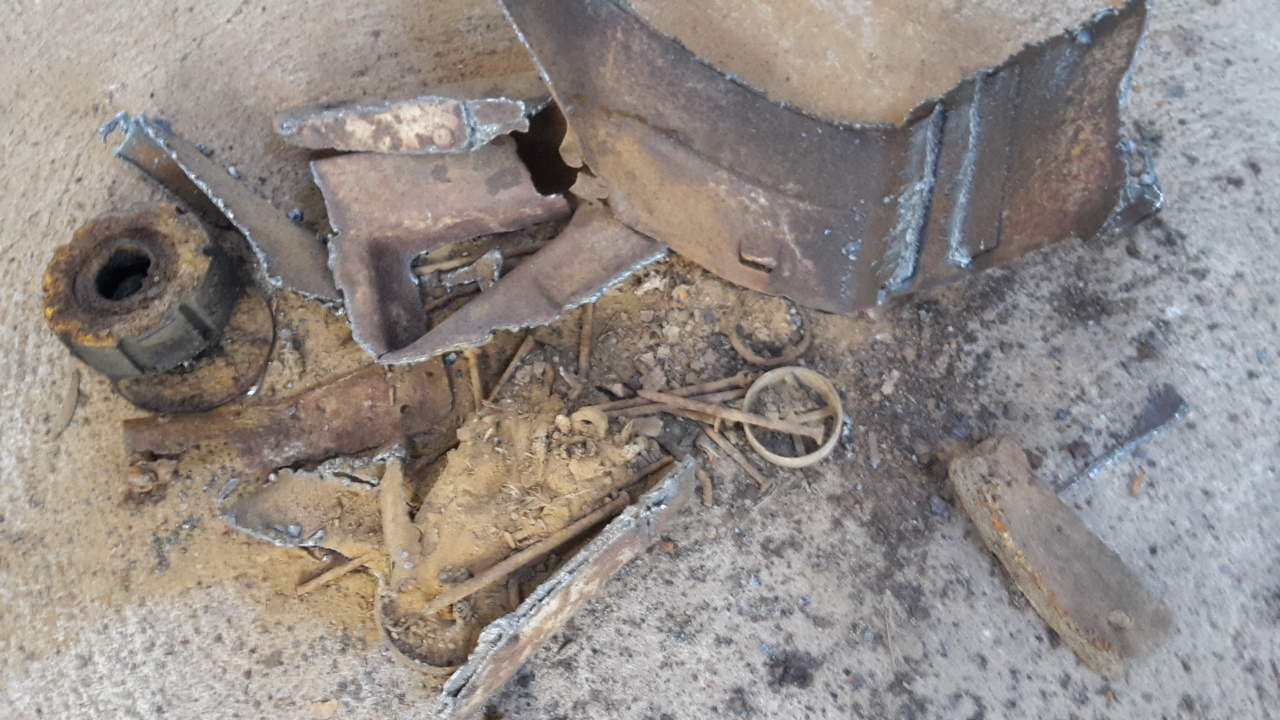
Most of this is what came out of one cab corner. No wonder they like to rust in these areas.
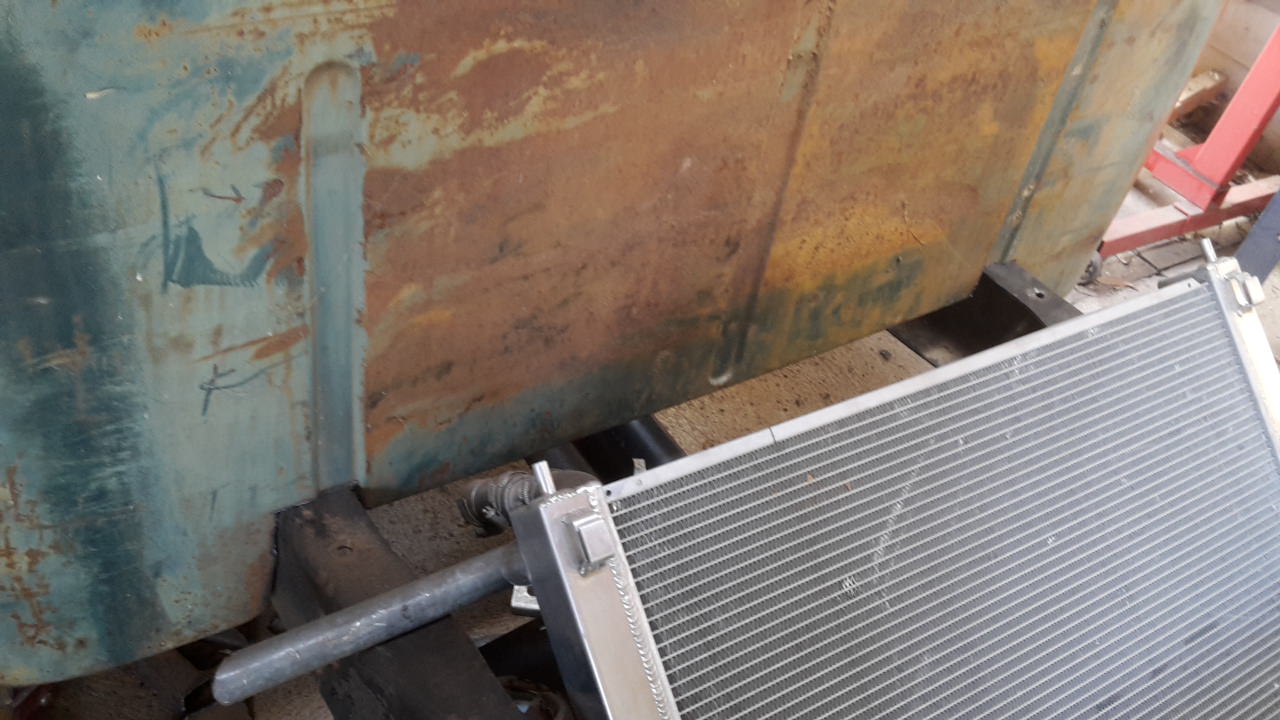
I also blew apart the front end. It wasn't going to work keeping it as one piece.
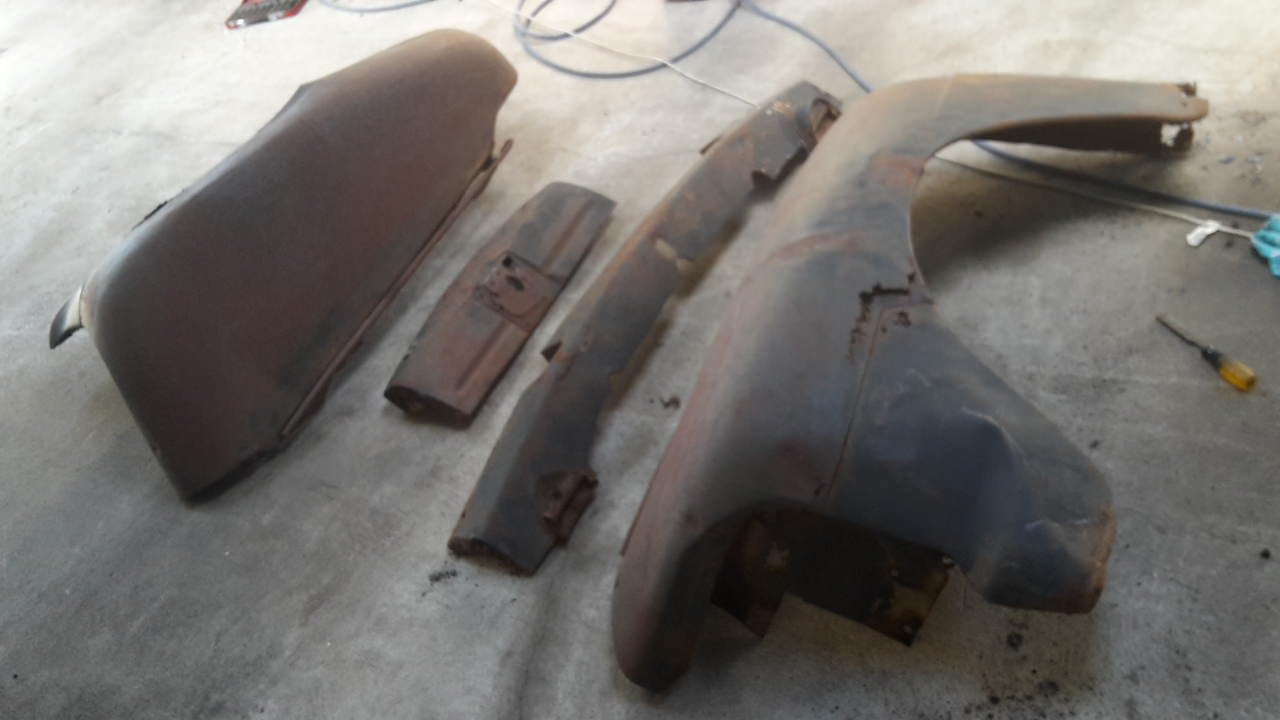
As she sits
03-10-2018 #224
Registered User
- Join Date
- Feb 2014
- Posts
- 767

I like the nails, those were a nice touch. haha
03-10-2018 #225
Registered User
- Join Date
- Dec 2014
- Posts
- 188
Haha! Can you imagine how old they could be? Considering the cab is almost twice my age, it's most likely that they are way older than I am.
03-10-2018 #226
Registered User
- Join Date
- Feb 2014
- Posts
- 767
Yea, no kidding! So funny.
Some guy spilled his tool box over and there ya go. Like a little time capsule.
03-28-2018 #227
Registered User
- Join Date
- Dec 2014
- Posts
- 188
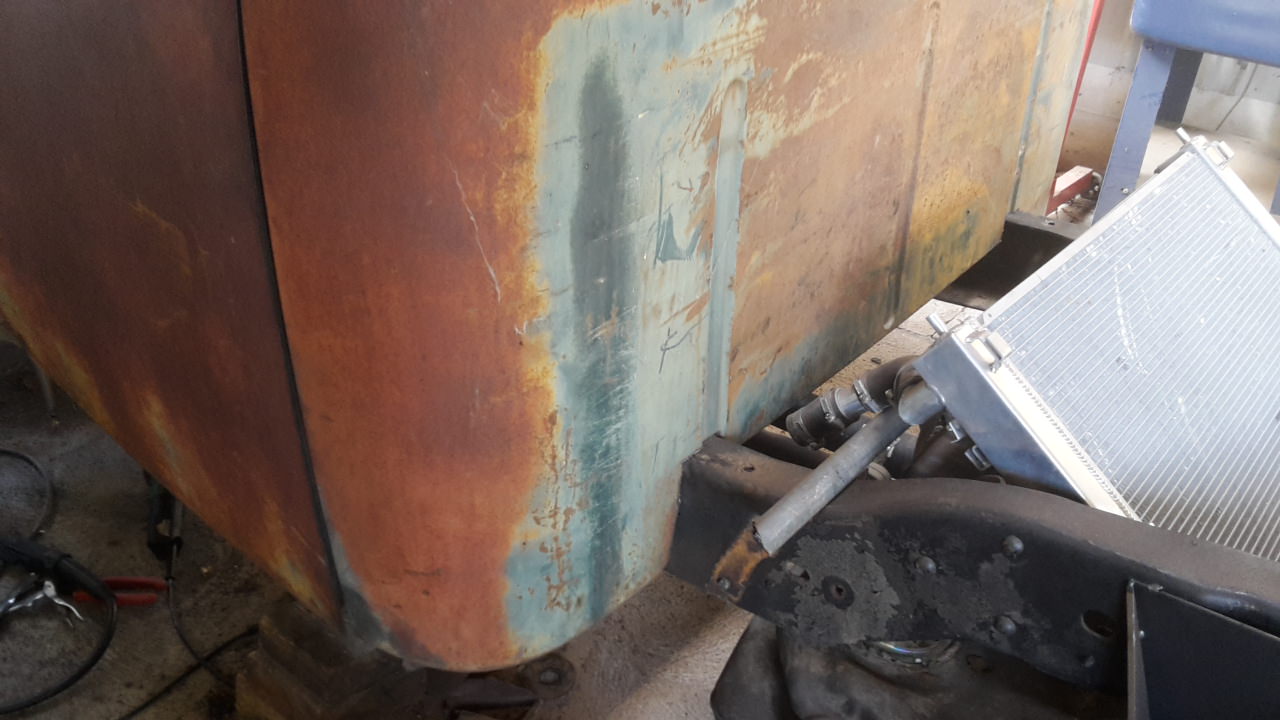
Progress has still been slow but life has been hectic. We've also had to deal with a lot of rain and flooding. While everything is now starting to dry out, anything and everything that was bare metal now of course has a nice layer of surface rust. What do you do, I guess it''s better than everything washing away.
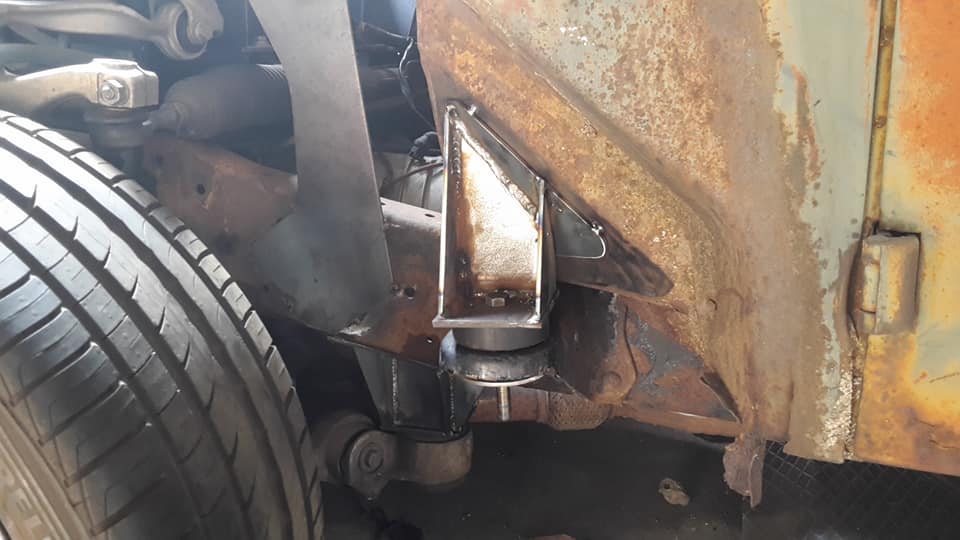
I had to make more cab mounts for the rear of the cab, they are the same as the fronts. I had a heap of rot in this mount which I cut out and patched.
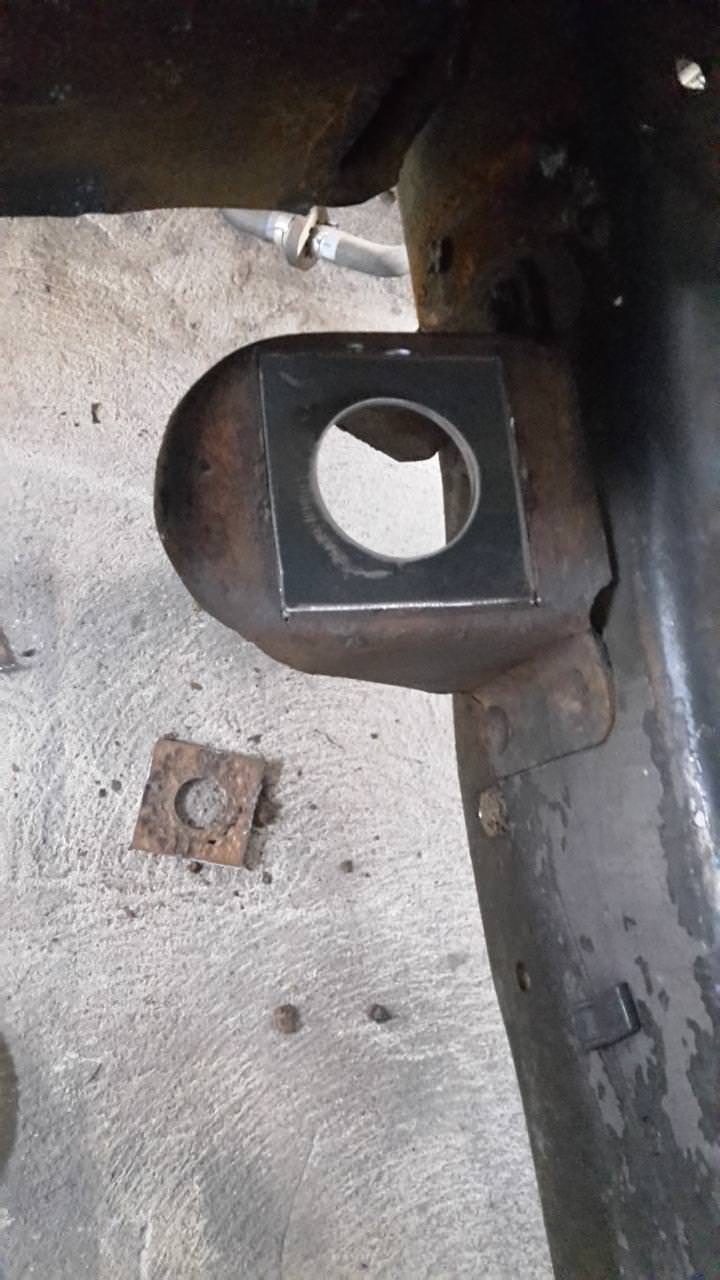
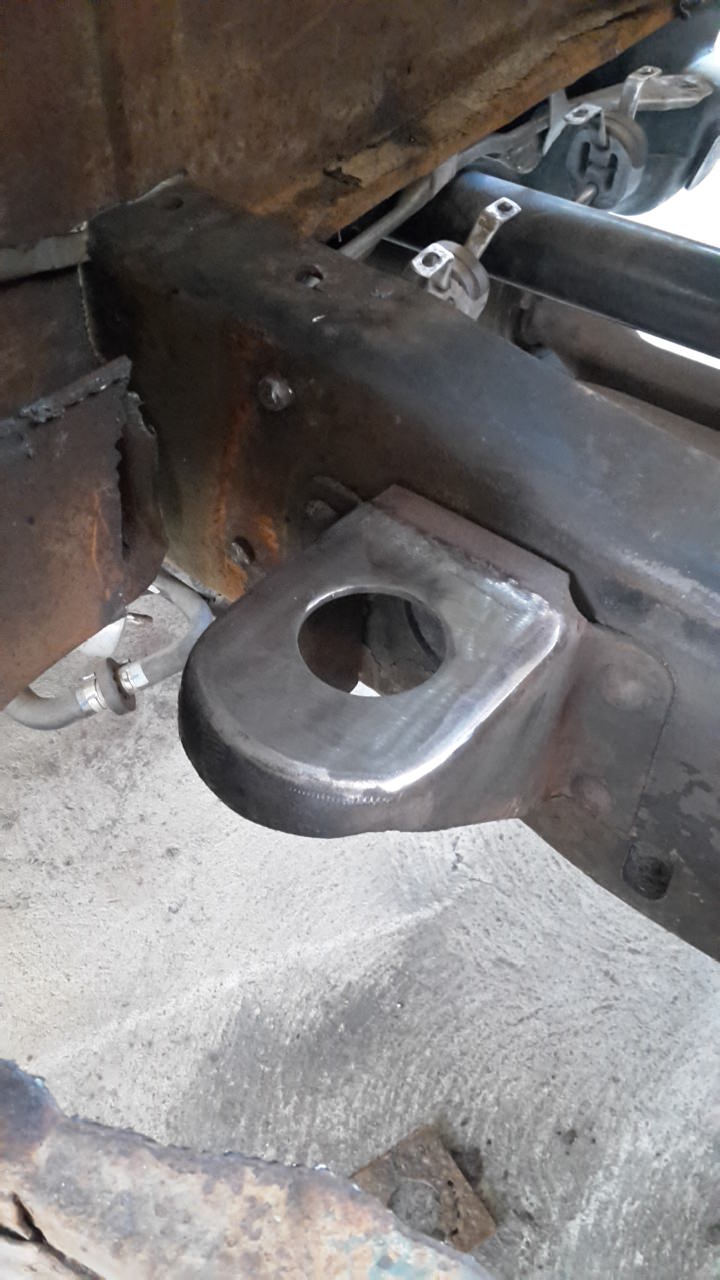
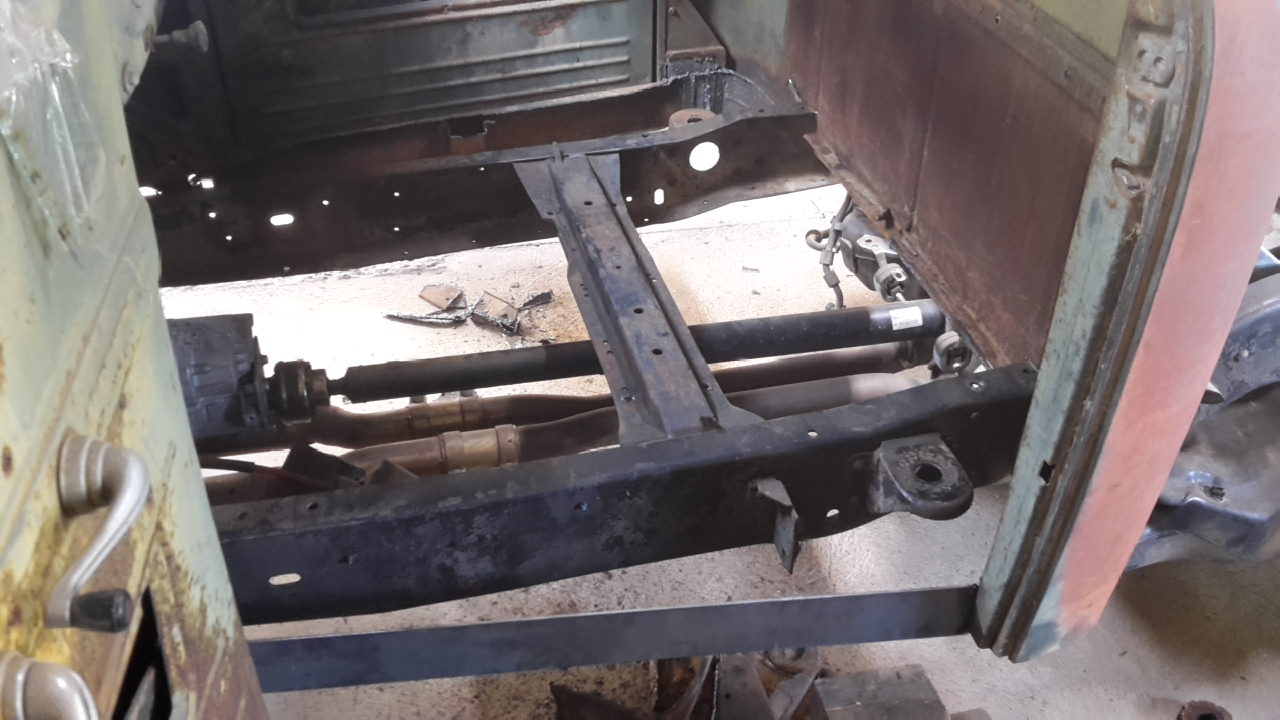
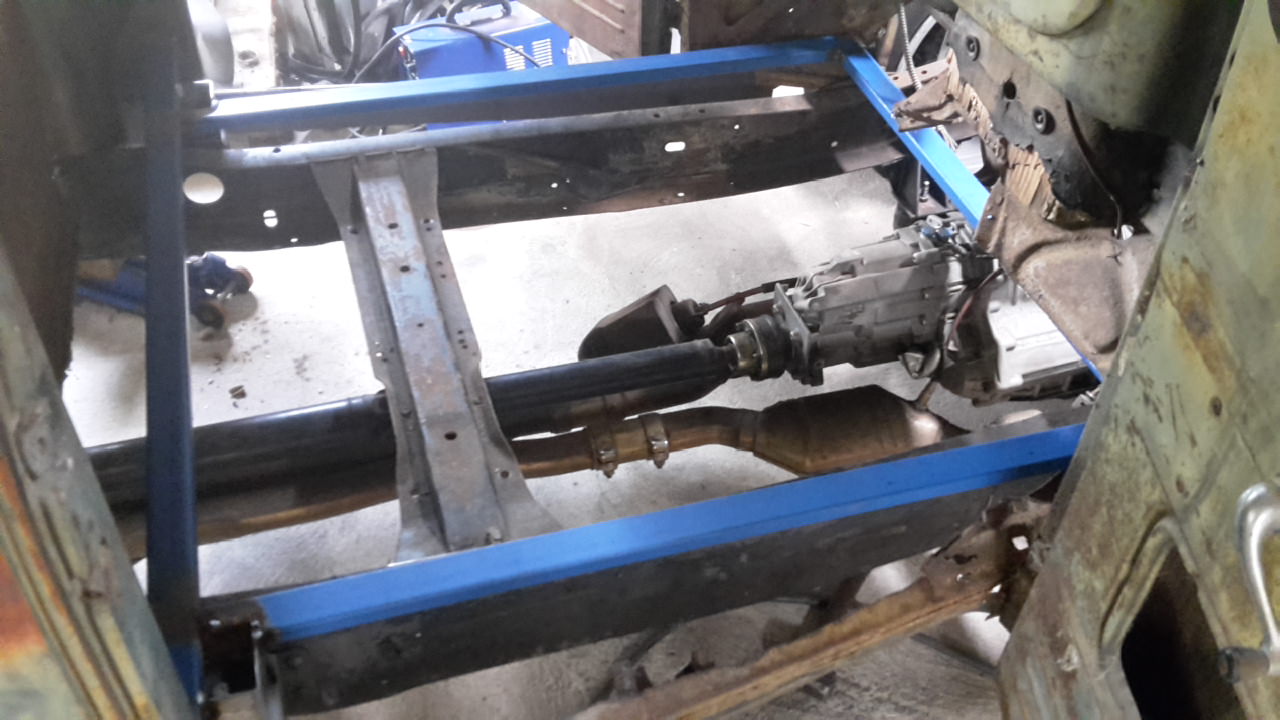
With the cab floor so close to the mount, I was never going to be able to access the top of the bolt from the under side so I decided to make them accessible from inside the cab. I boxed out the mount with some 90x90mm rhs and brought that up to the new floor level. I tied these together and then to the rear sides of the cab with a length of RHS

I've now tied the rear cab mounts to the front cab mounts and framed it out. I'll add some further bracing in the middle once I work out the front of the seat base position. Next is to cut out the old fire wall and start working out steering column and pedal locations.
03-28-2018 #228 Registered User
- Join Date
- Aug 2008
- Location
- jacksonville,fl
- Posts
- 970
Somewhat similar situation for many of us. You have a really good run for a while with a project, then in one way or another, Life just gets in the way. Then any progress is good progress. And yea, now you're working on rusty fabricated stuff.
You got a little fan club in the US cheering for you, so soldier on mate.
03-28-2018 #229
Registered User
- Join Date
- Dec 2014
- Posts
- 188
If there is something that doesn't take 5 minutes, it's fixing rust. It get old pretty quick.
Thanks, JL. I'll keep plugging away.
03-30-2018 #230
Registered User
- Join Date
- Jun 2017
- Location
- Edgewater Co.
- Posts
- 150
I heard you on that, I'm done with anything other that "minor" (of course, even minor is a pain...) rust repair... Oh yeah, your "out of the box" project is cool... Originally Posted by Max Power

Joe
03-30-2018 #231
Registered User
- Join Date
- Nov 2017
- Posts
- 129
LOL! I oddly like rust repair as long as it isnt structural. Then again, i hate external rust...Ive replaced so many floor panels at this point its not funny but im also starting to like 3m 8115 panel bonding. Just used it on a Eleanor Body kit on my 65 Mustang and it could be handy and less grinding/welding issues for things like quarter patches or cab corner Originally Posted by Motoracer838
03-30-2018 #232
Registered User
- Join Date
- Dec 2014
- Posts
- 188
Thanks, Joe! Originally Posted by Motoracer838
Is there such thing as "minor rust"? I don't think I've ever seen one small thing stay small, there's always other stuff hiding.
03-31-2018 #233
Registered User
- Join Date
- Dec 2014
- Posts
- 188
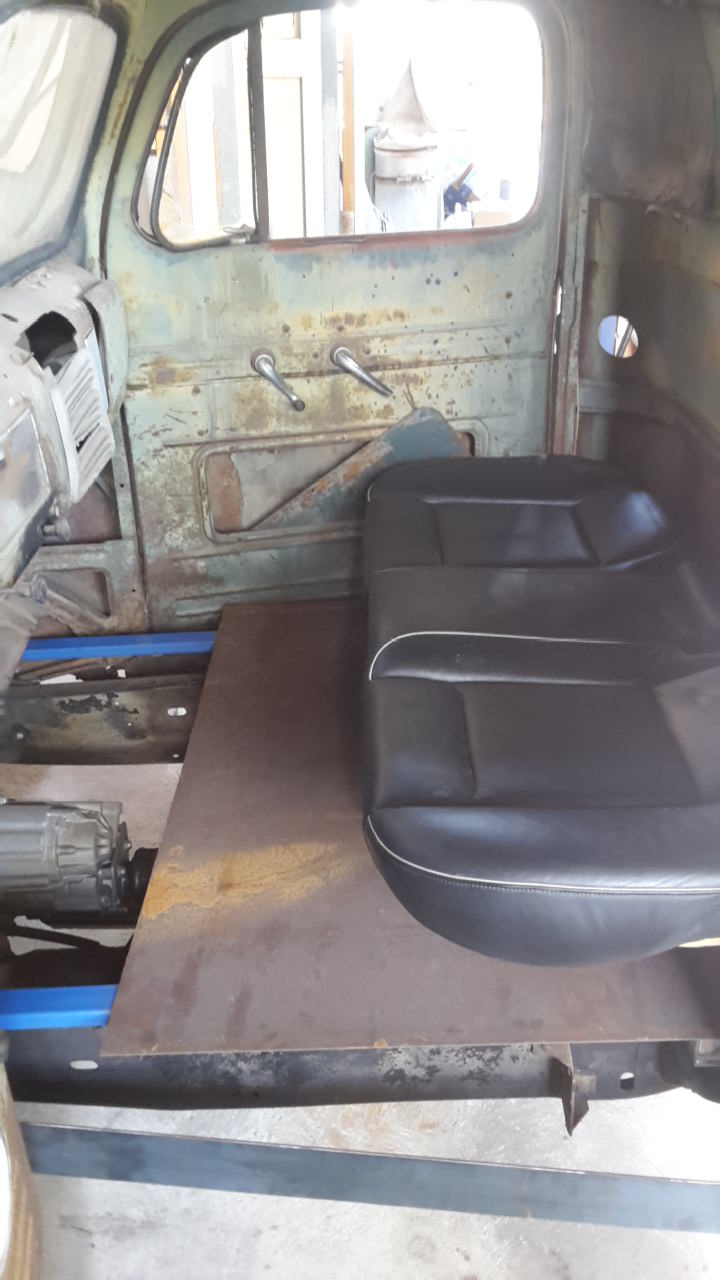
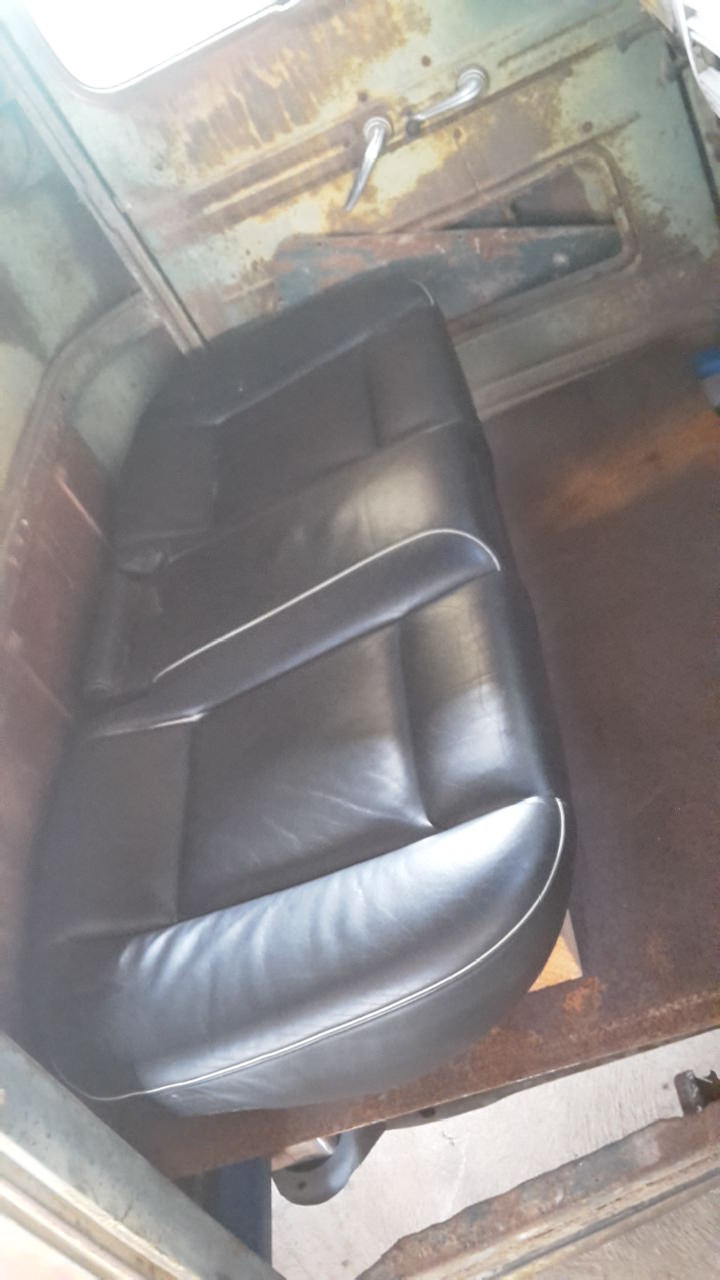
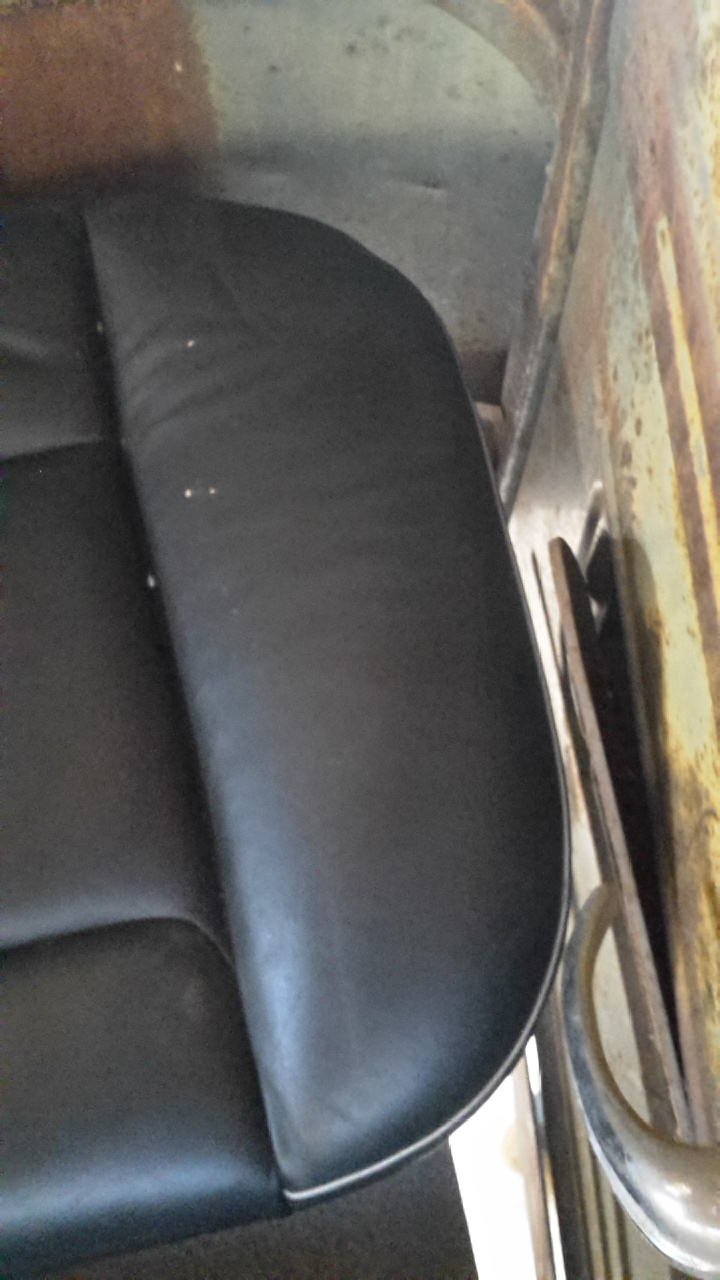
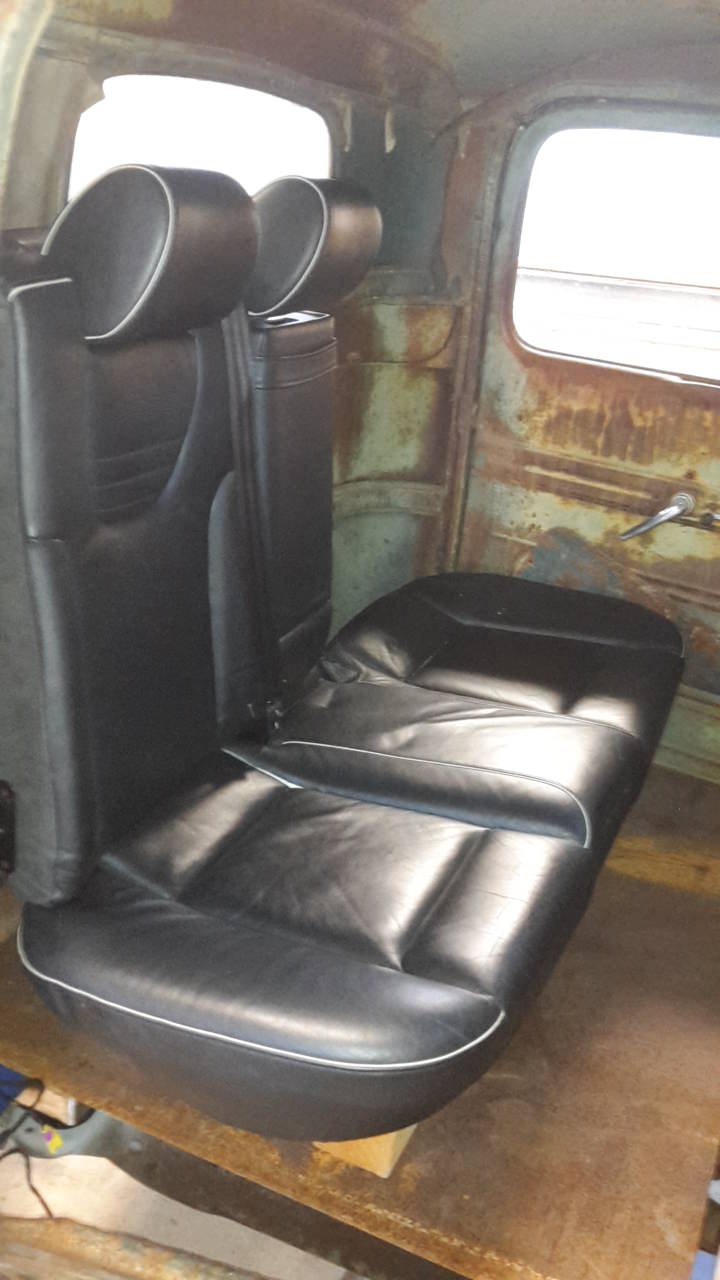
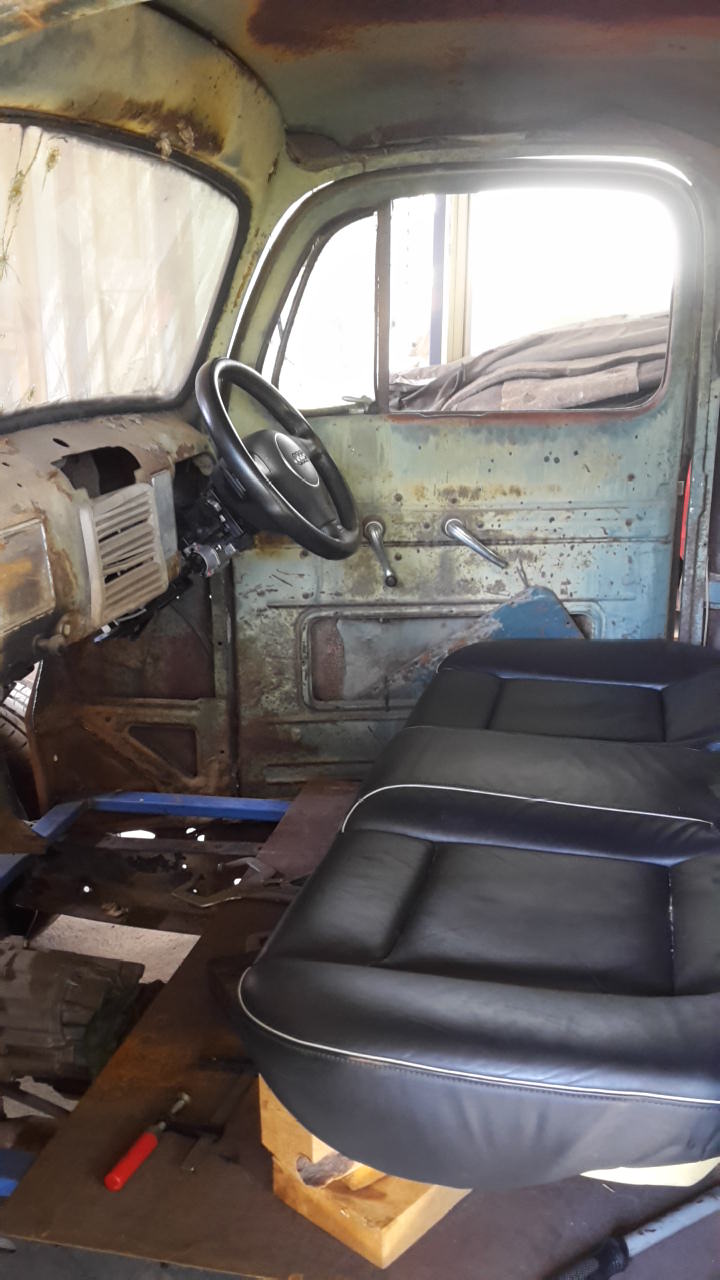
Today I sat the seat base in the see if it will fit. It will, awesome! And there is room to spare either end, even better.
I've just got some sheet steel sitting on the floor frame to support it along with some blocks to work out the height.
I'm happy as this means I can definitely make it a 3 seat truck using the Audi Recaro seats.
03-31-2018 #234
Registered User
- Join Date
- Dec 2014
- Posts
- 188
04-10-2018 #235
Registered User
- Join Date
- Dec 2014
- Posts
- 188
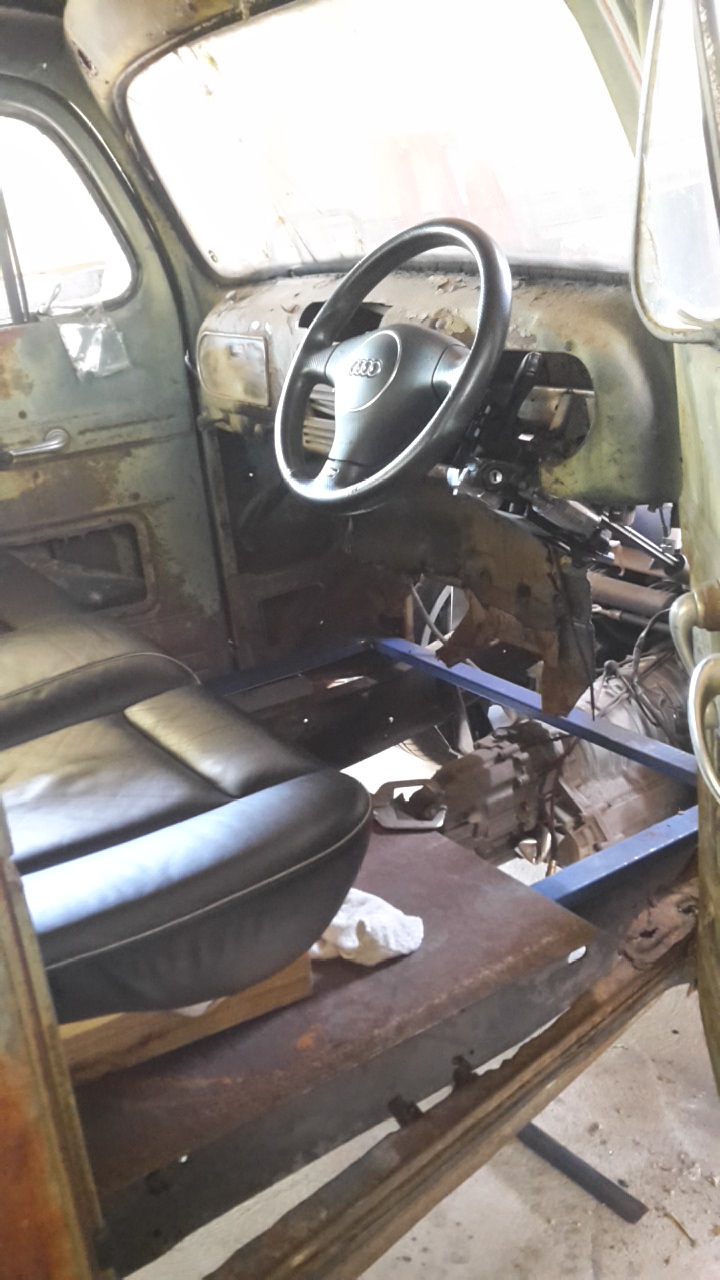
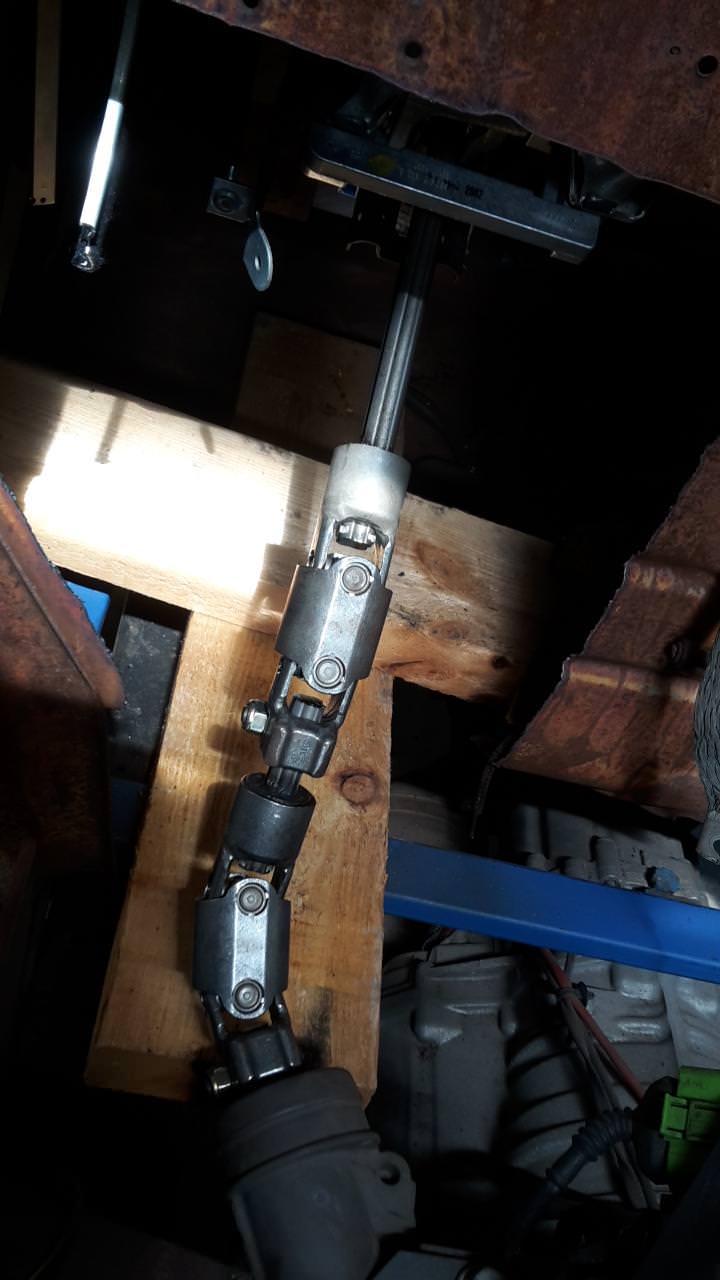
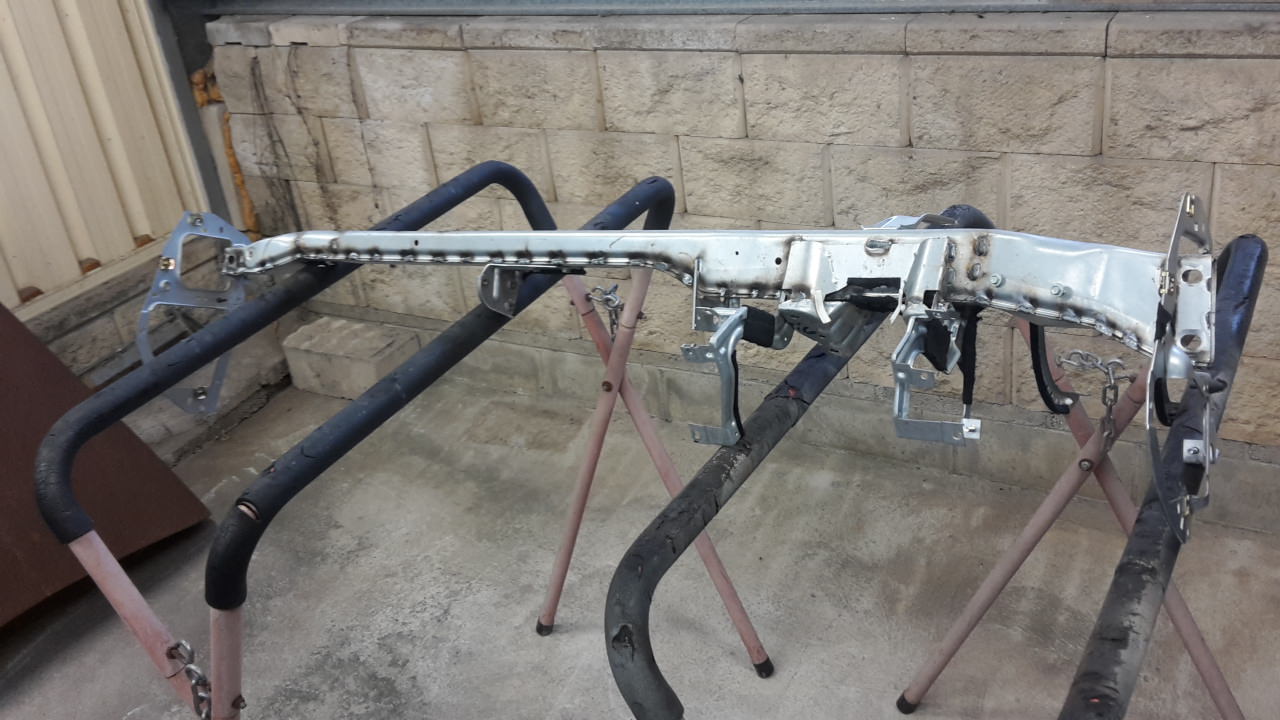
This has taken quite a bit of trial and error to get this steering column in but I have it now. I had to wait for another steering shaft to arrive as I needed to extend the existing shaft about 100mm. This also allowed me to get the steering wheel in a slightly better angle to the seating position. Anywho, it's in.
Here's what I did with the shaft. I brought the same unit as the existing shaft and cut it down. It slipped into the end of the uni well. I just need to fab up a support for it to brace it.
This was the original Audi dash support which I removed and cut down to fit under the F1 dash. It's now welded in place and braces the Audi steering column perfect.
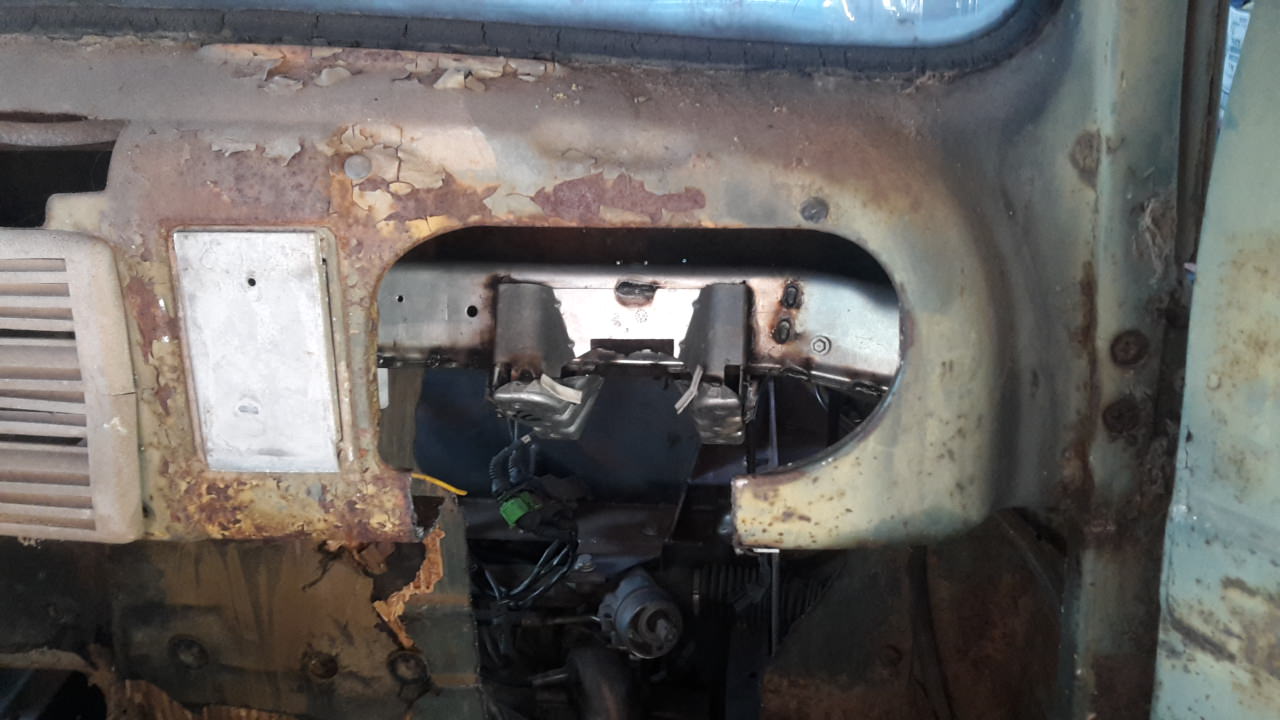
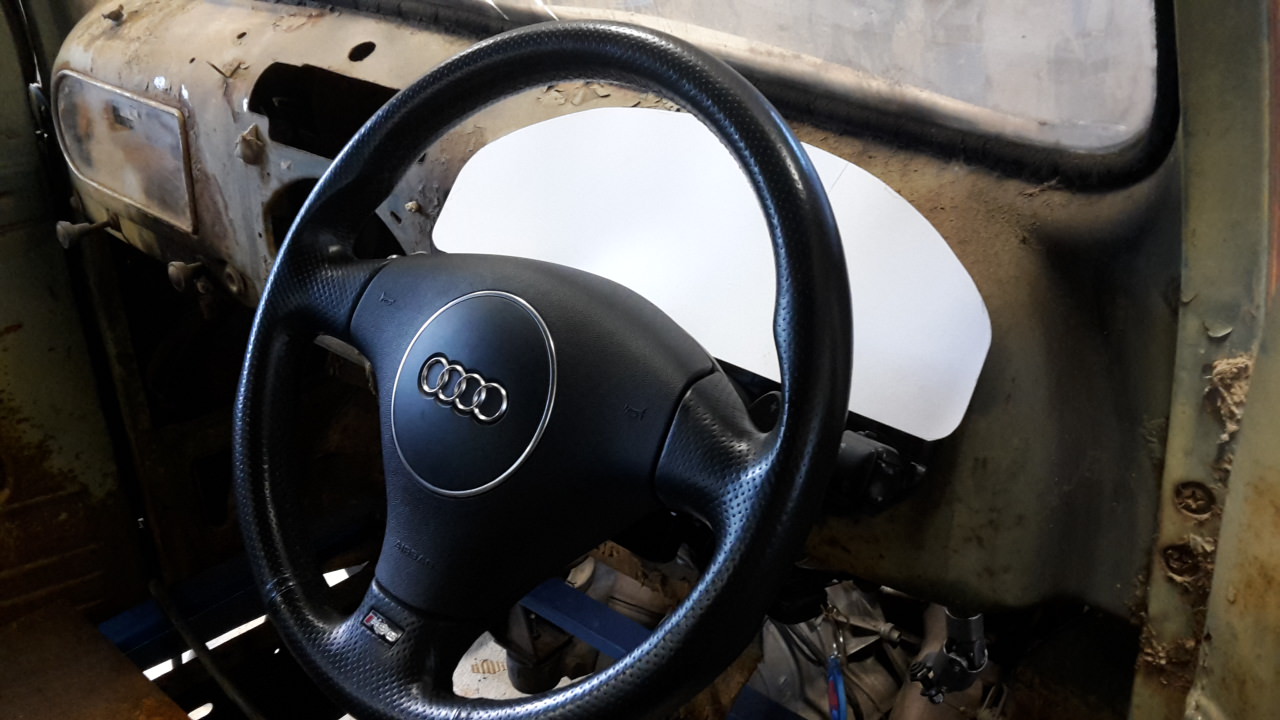
Fitting the Audi dash cluster is going to get tricky. So I made a template to work out if it'll fit. I think it will but it's going to be tight.

04-11-2018 #236
Registered User
- Join Date
- Nov 2017
- Posts
- 129
wow nice work
04-11-2018 #237
Registered User
- Join Date
- Aug 2008
- Location
- jacksonville,fl
- Posts
- 970
Nice progress as usual, too bad you got the steering wheel on the wrong side.

04-11-2018 #238
Registered User
- Join Date
- Dec 2014
- Posts
- 188
Well actually...it's on the right side...see what I did there...hehe
Thanks guys!
04-13-2018 #239
Registered User
- Join Date
- Sep 2017
- Location
- Livermore, CA
- Posts
- 4
I just finished reading this thread and I'm thoroughly impressed by your ingenuity and fab work. I can't wait to see this thing rip up the streets. Keep up the great work!
04-13-2018 #240
Registered User
- Join Date
- Dec 2014
- Posts
- 188
Thanks, Cookie. I appreciate it!

 Reply With Quote


