

Results 61 to 80 of 394
-
12-07-2017 #61
 Registered User
- Join Date
- Nov 2008
- Location
- Tampa, Florida
- Posts
- 60

This is awesome! Subscribed....
-------------------------------------------------------------------------------------------
Current project:
https://www.pro-touring.com/threads/...ect-53-Bel-Air
-
12-07-2017 #62
Registered User
- Join Date
- May 2008
- Location
- Merewether
- Posts
- 43

F&&k yeah! Love to see this thread, can't believe I haven't seen it until today. I'm based in Newcastle so it's good to know there are other pro touring enthusiasts nearby.
-
12-07-2017 #63
Registered User
- Join Date
- Dec 2014
- Posts
- 188
Thanks guys!
I'm not too far from you. Hopefully next year you'll see it on the streets. My parents are in Speers Point so I get down that way every so often. Originally Posted by MrBlonde

-
12-08-2017 #64
Registered User
- Join Date
- Dec 2014
- Posts
- 188
The tops of the shock mounts are stepped, by 35mm.
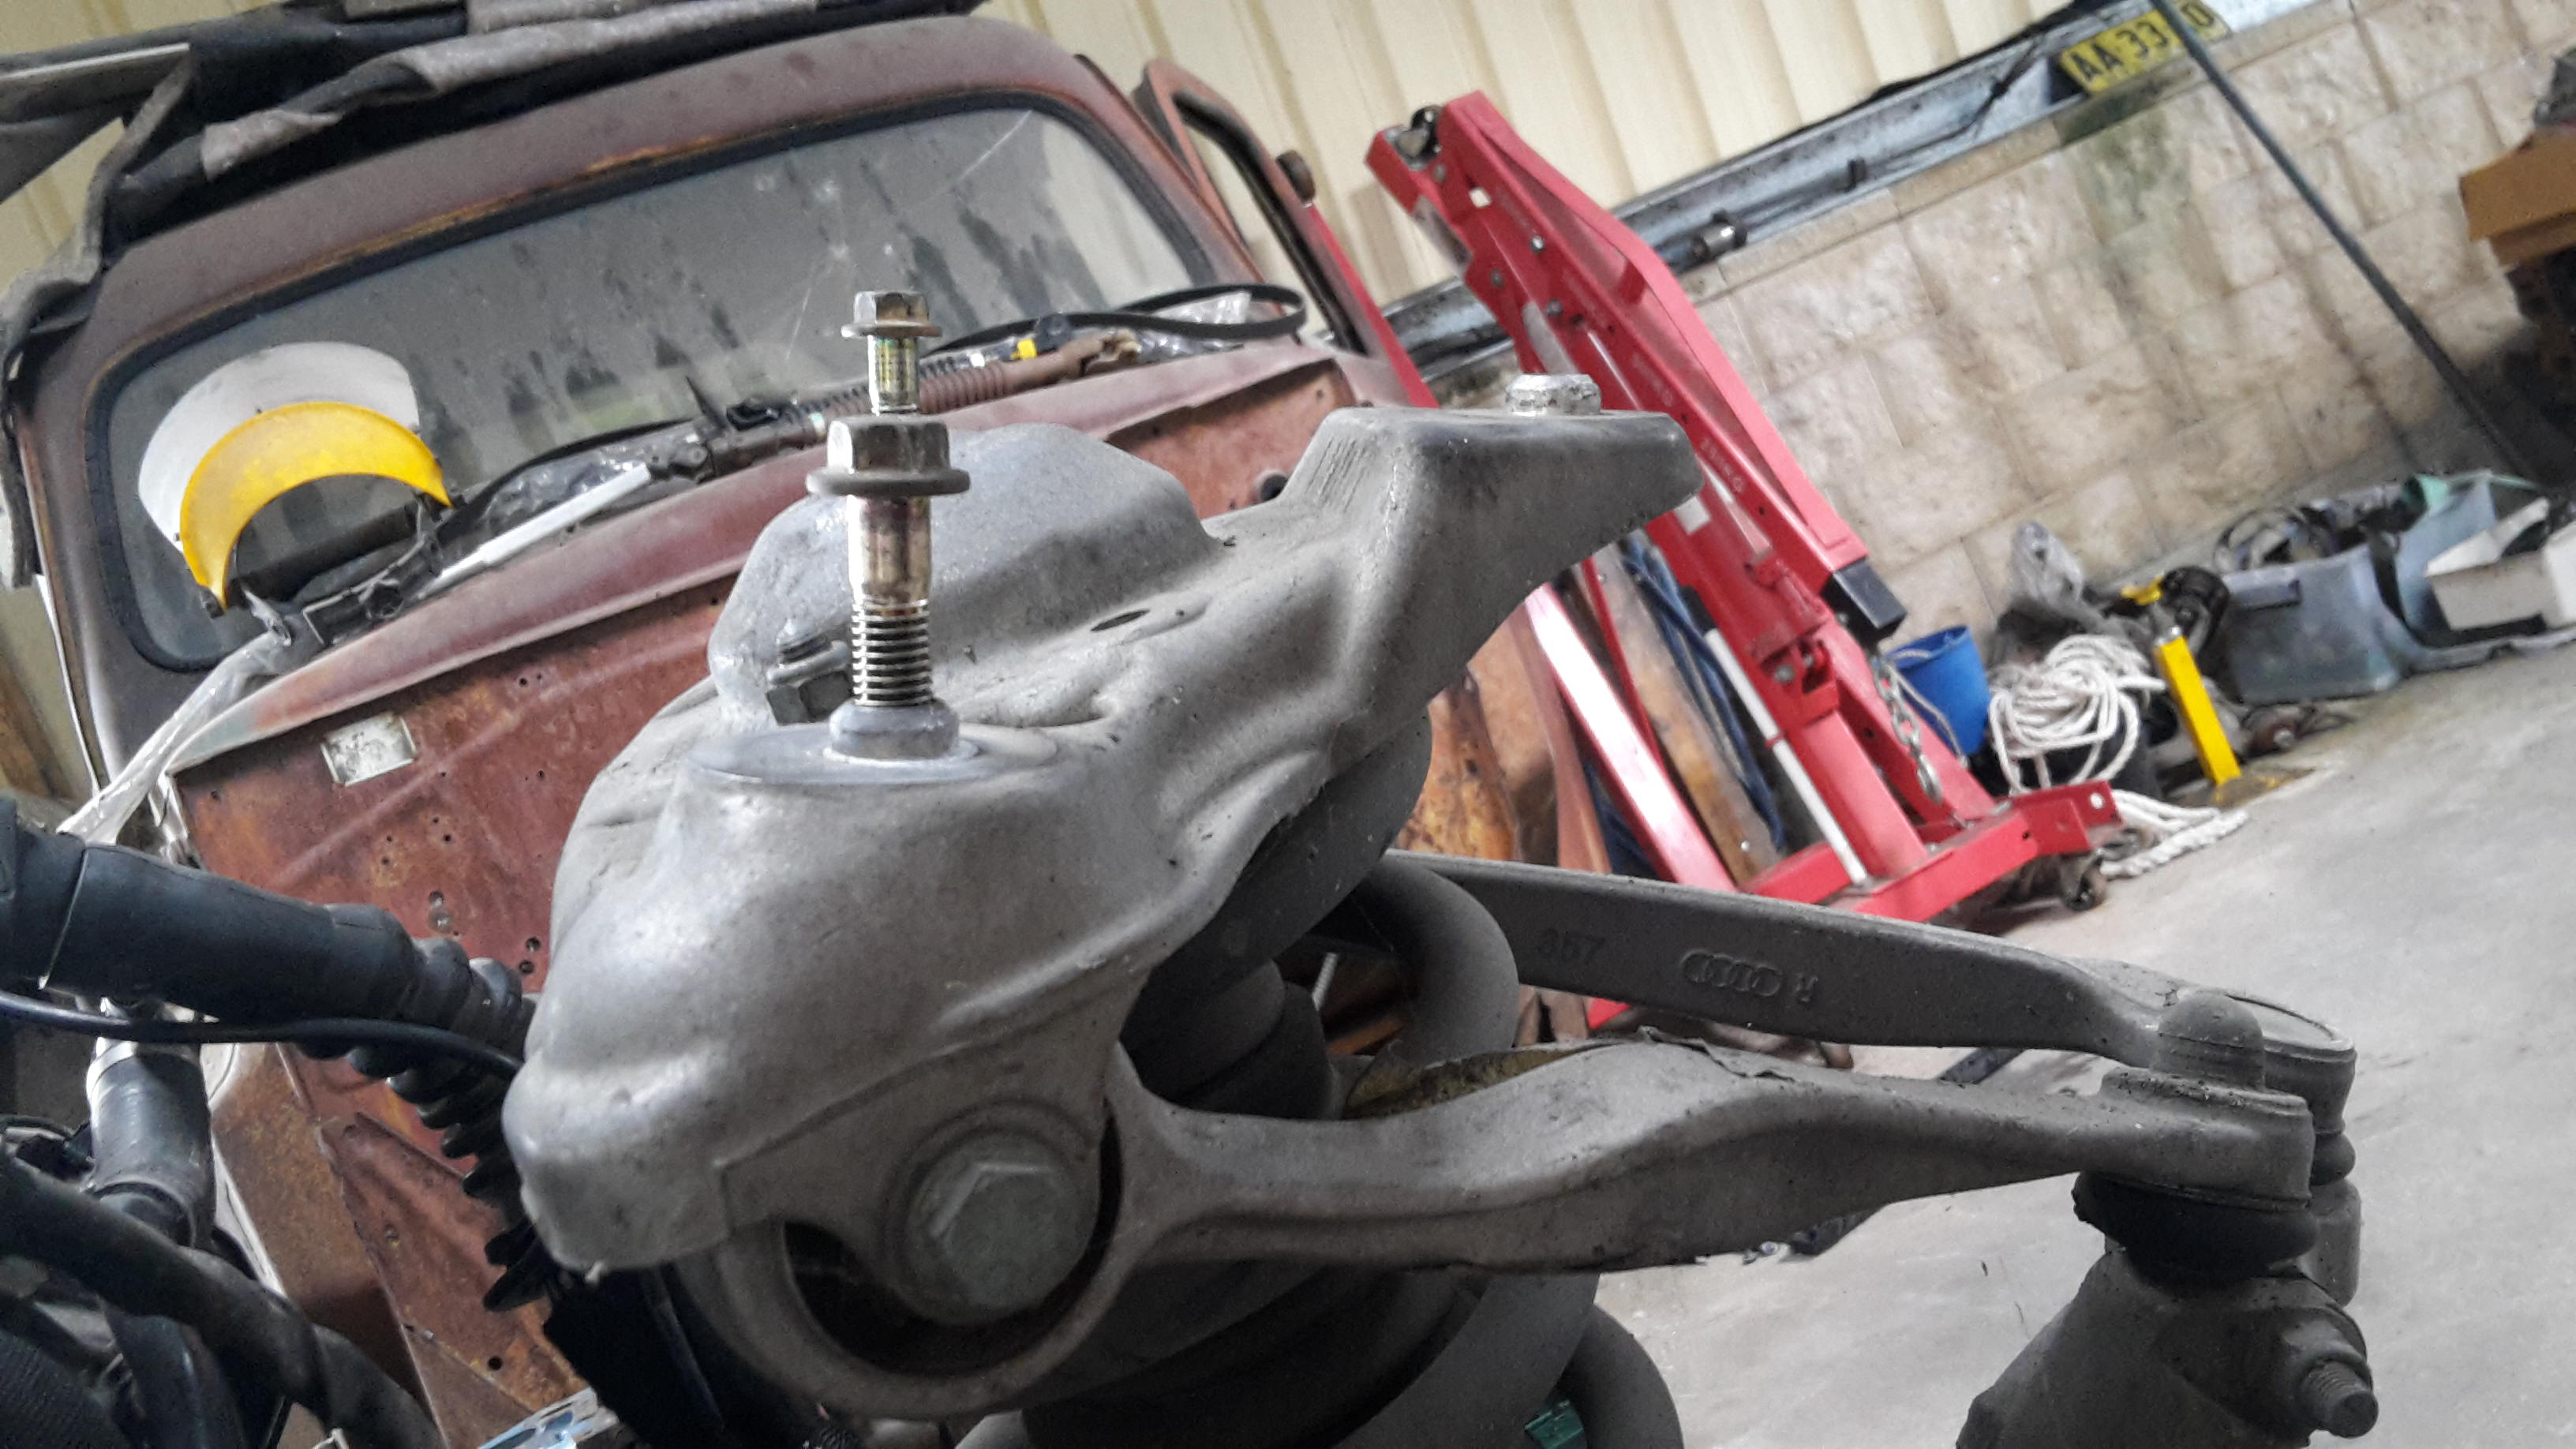
and they a 16mm step around the thread to locate them into position. I started out with some 5mm plate and drilled a 16mm hole.
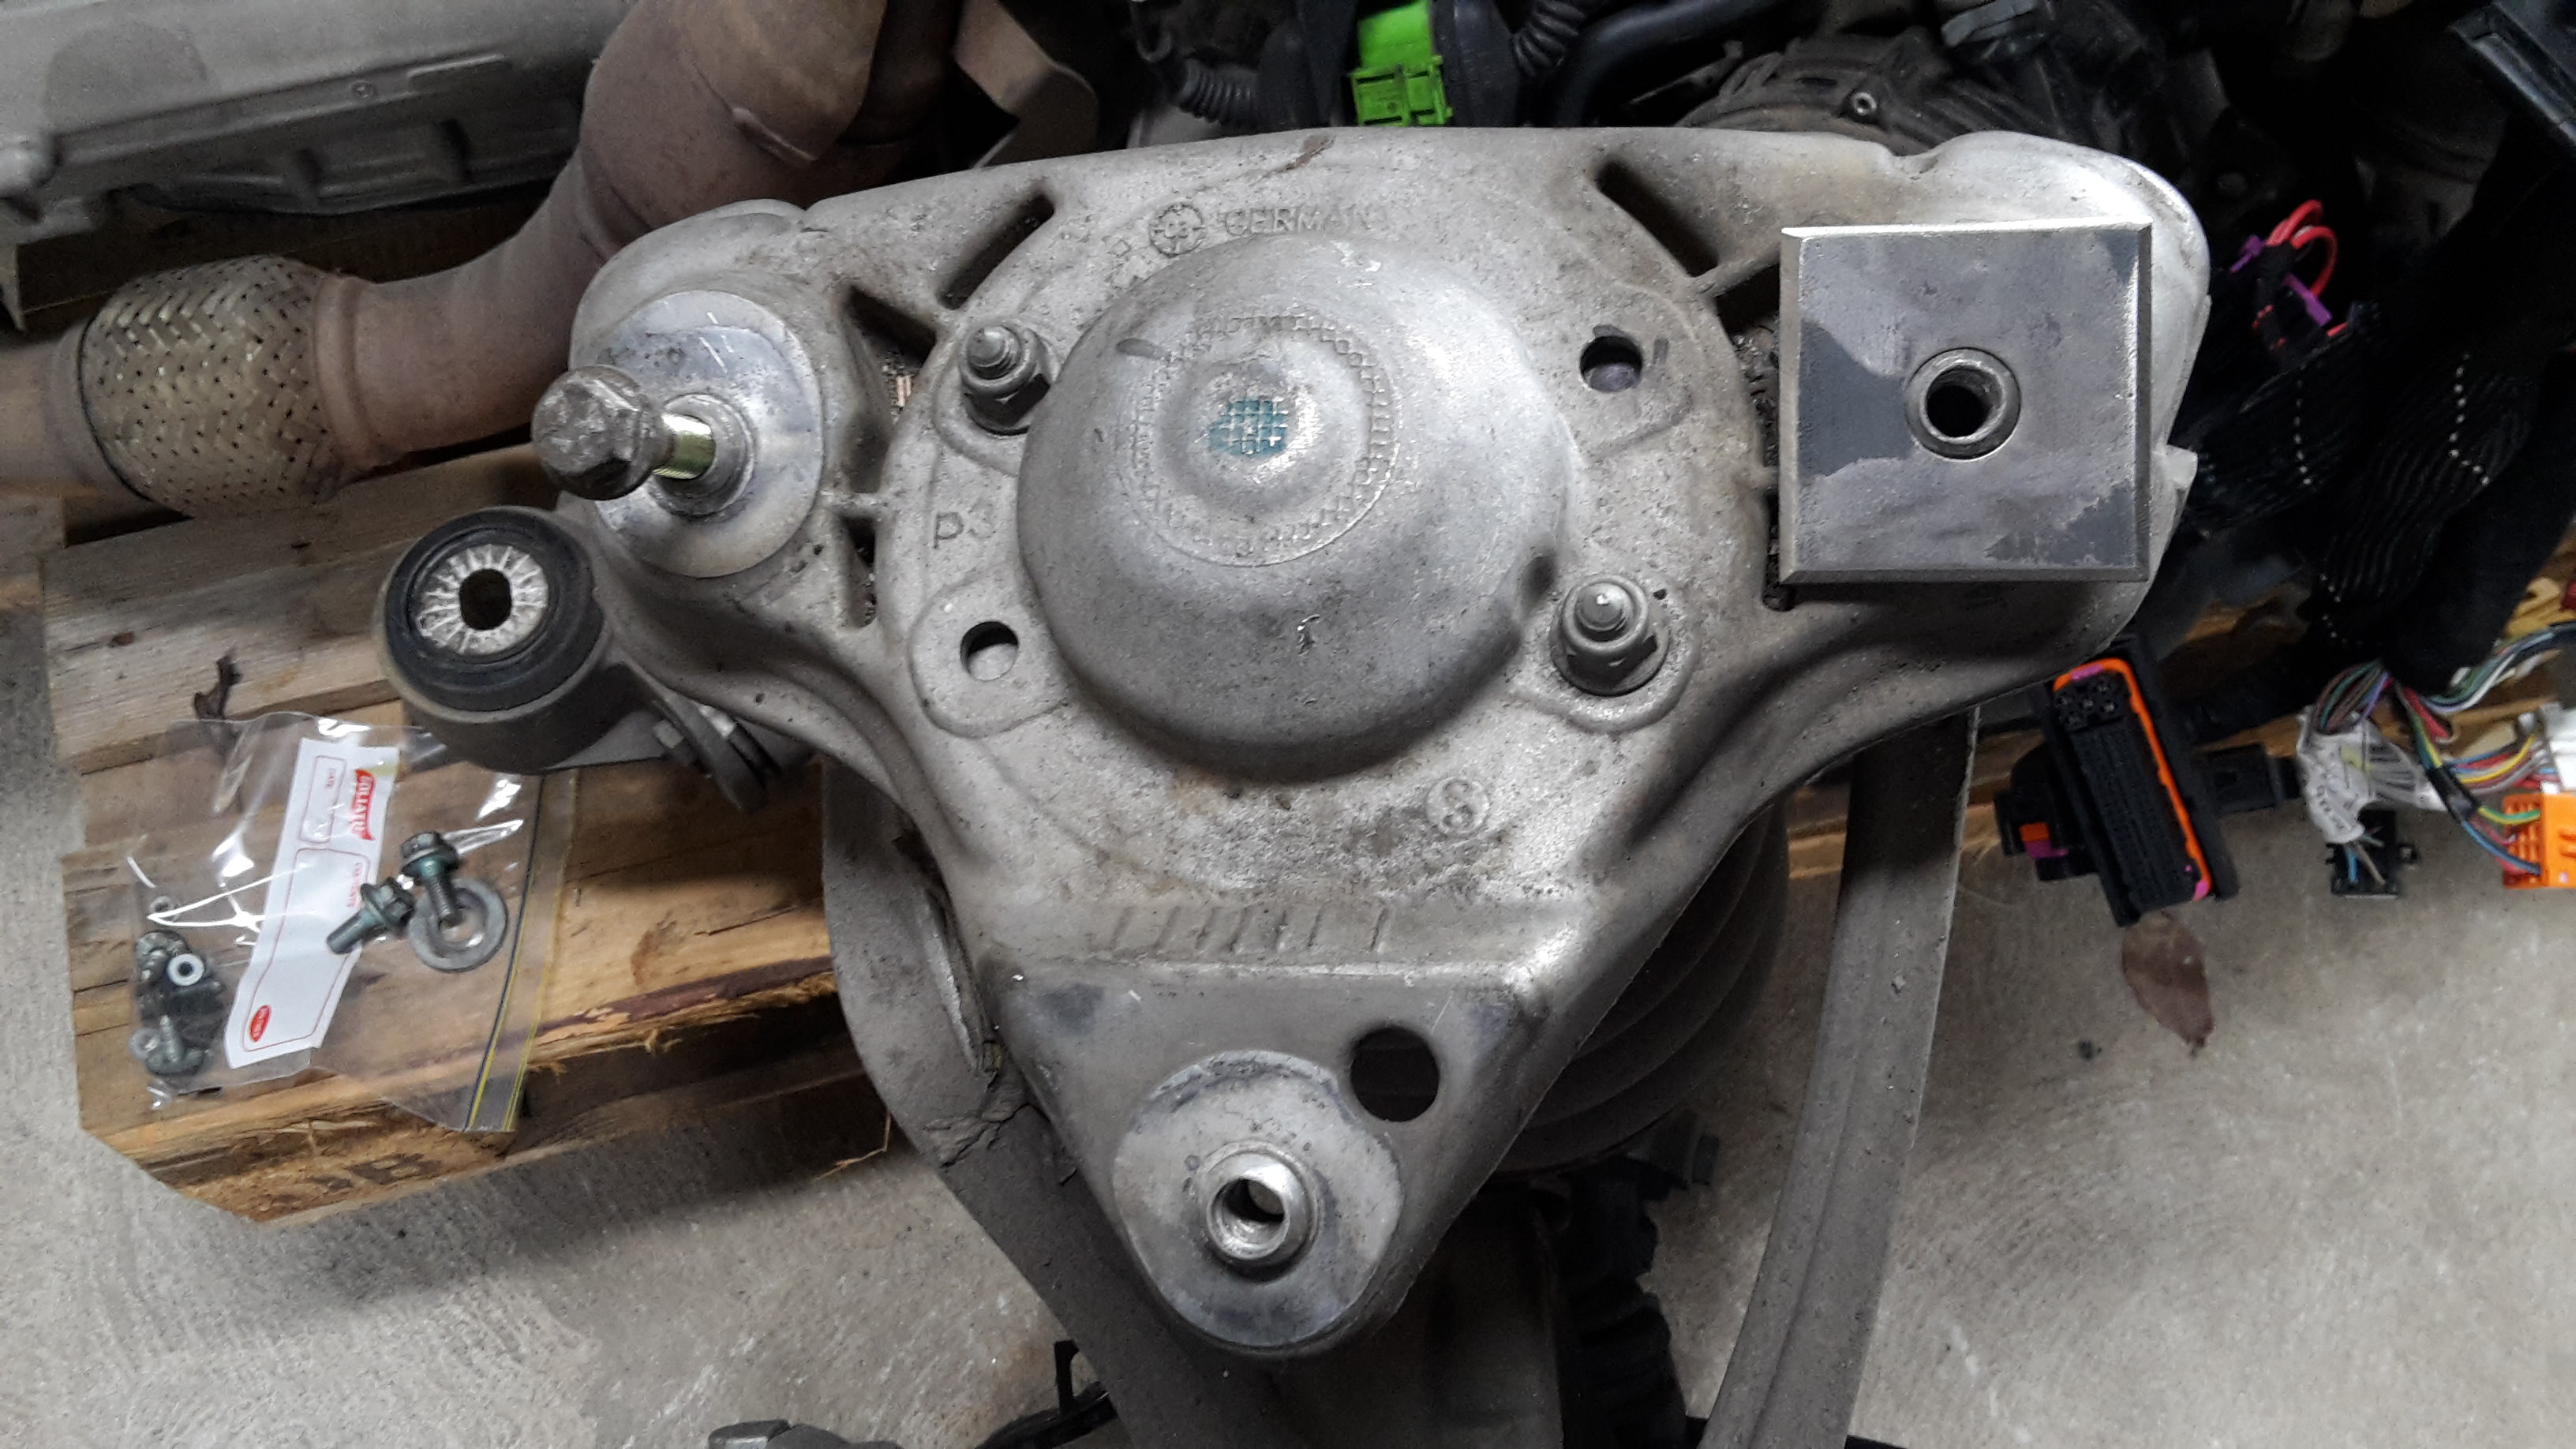
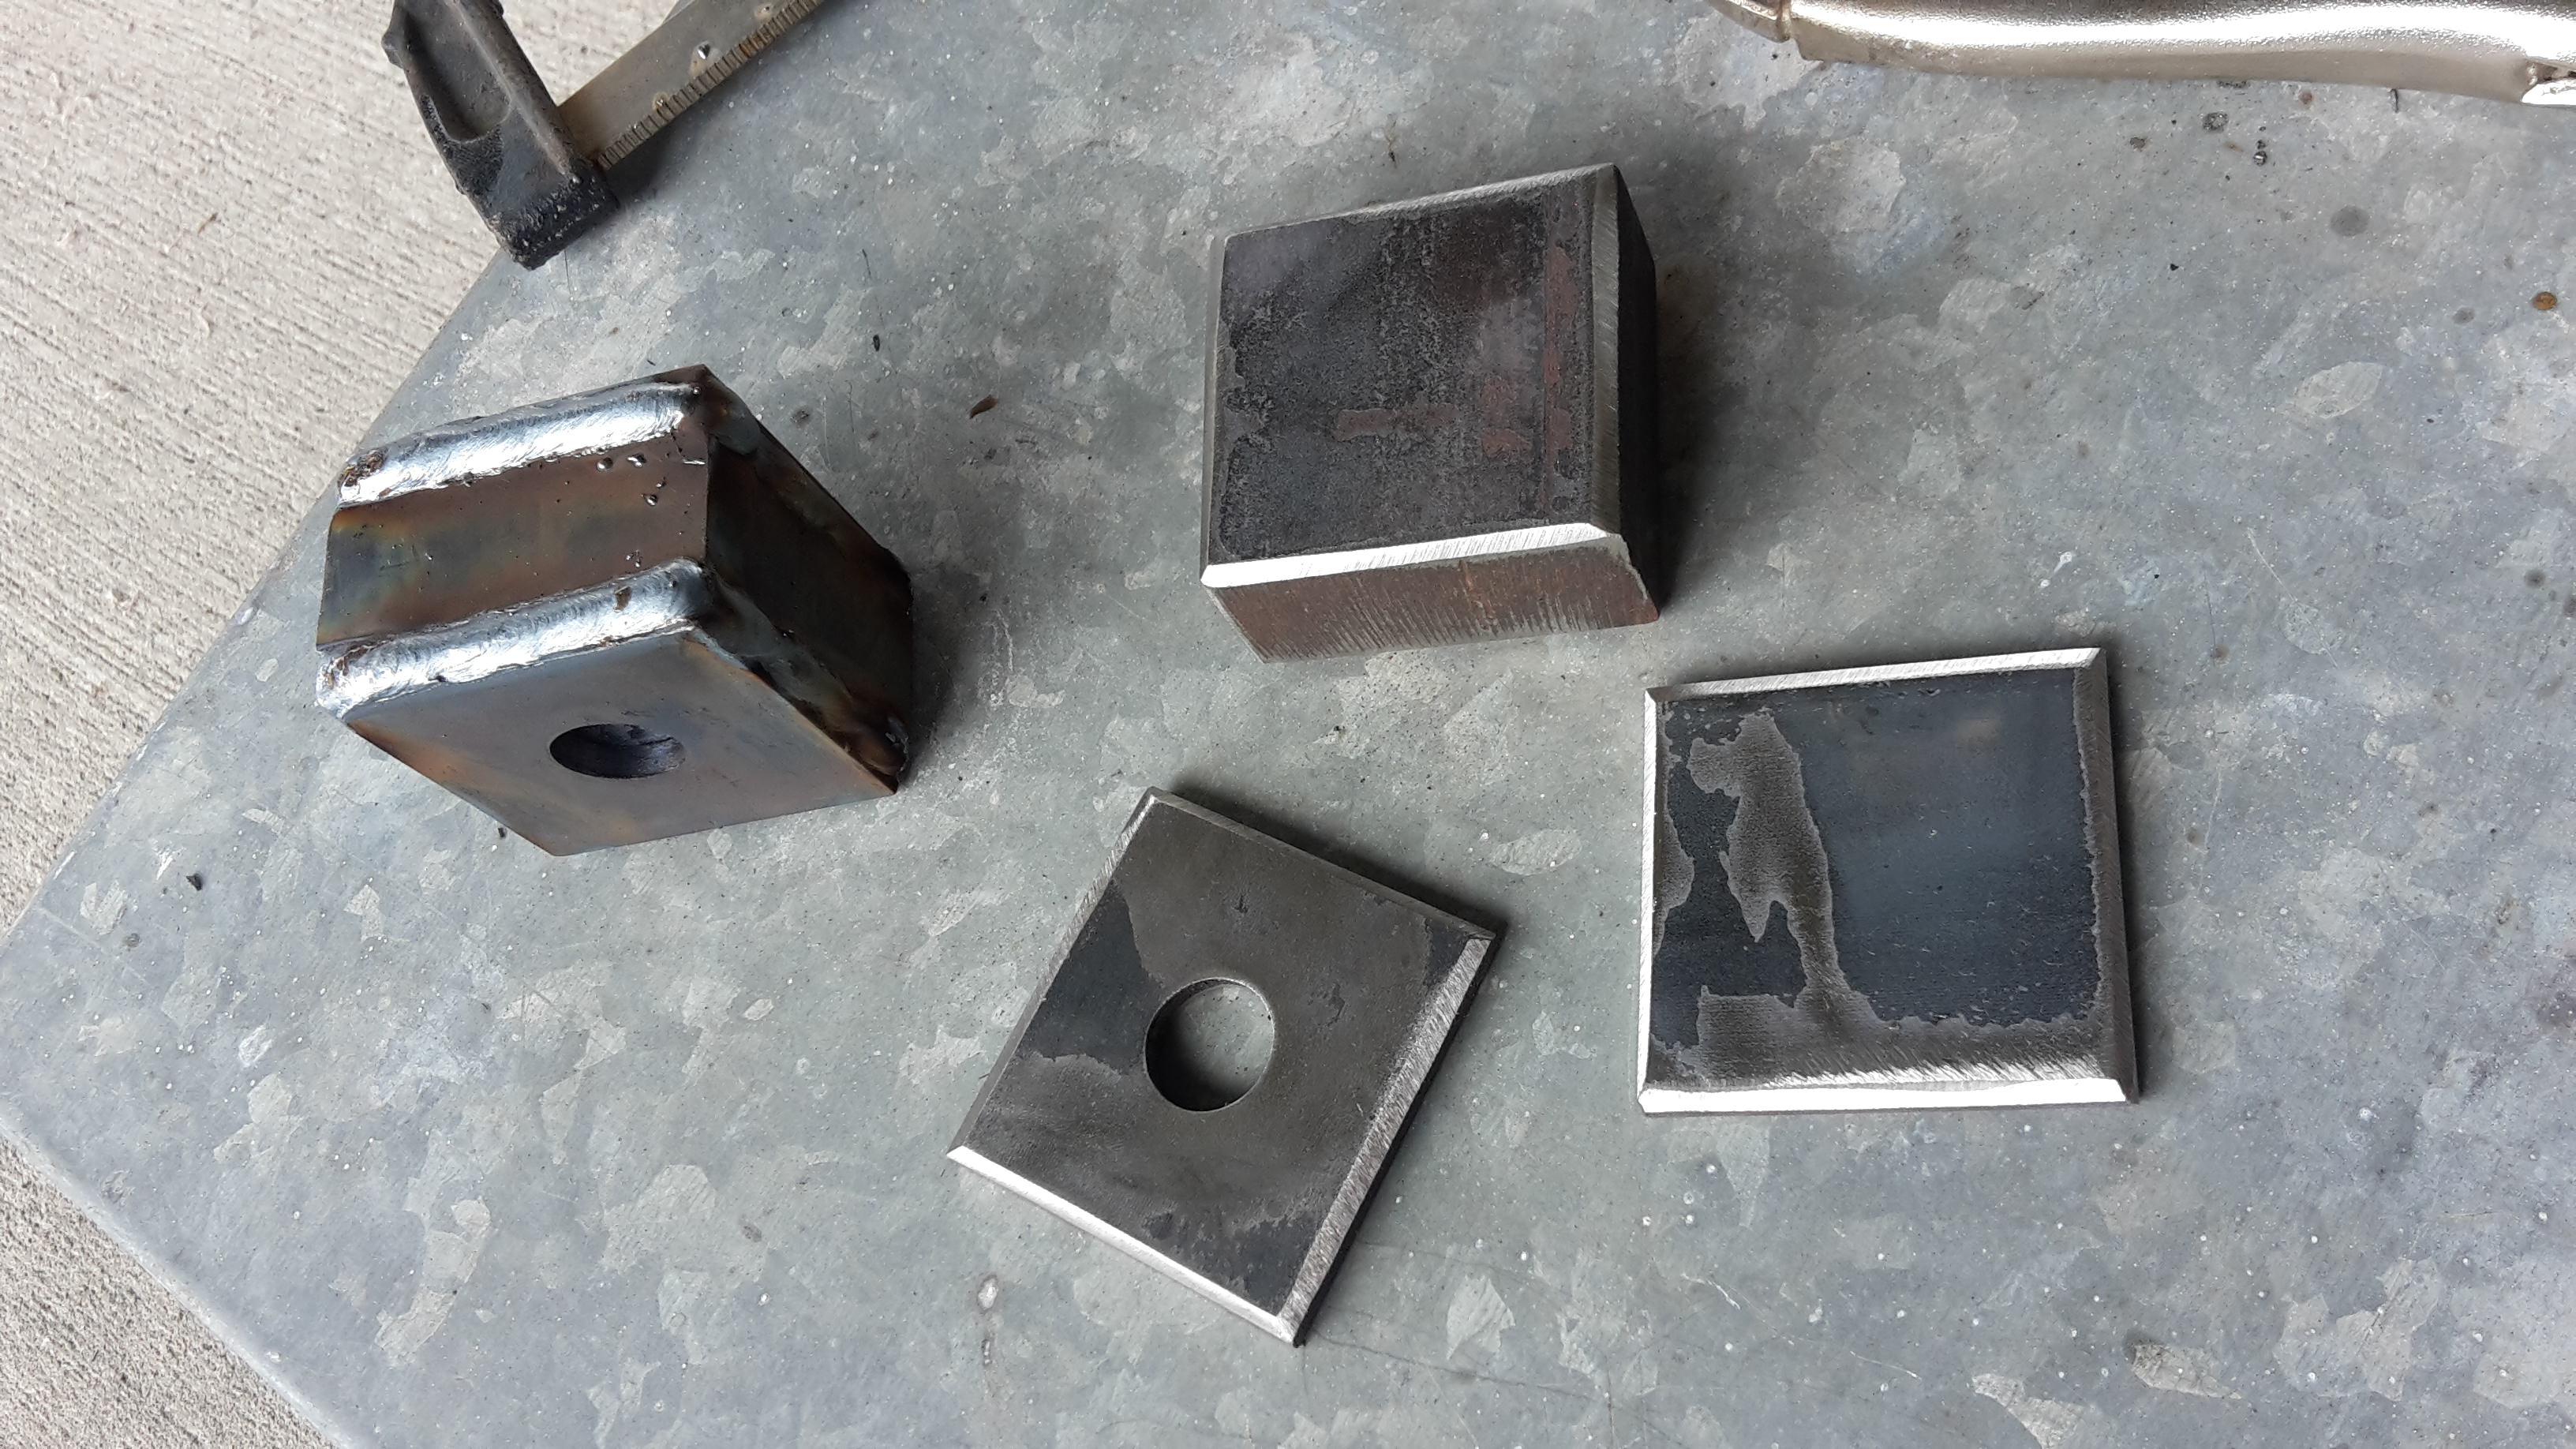
To bring the two inner bolt locations up to be on the same plane as the outer bolt, I thought I'd make a 35mm spacer from some 25mm stock that I had with a piece of 5mm plate either side. Here's one set cut out on the right and another set welded up on the left.
Both sets now welded and one set smoothed down.
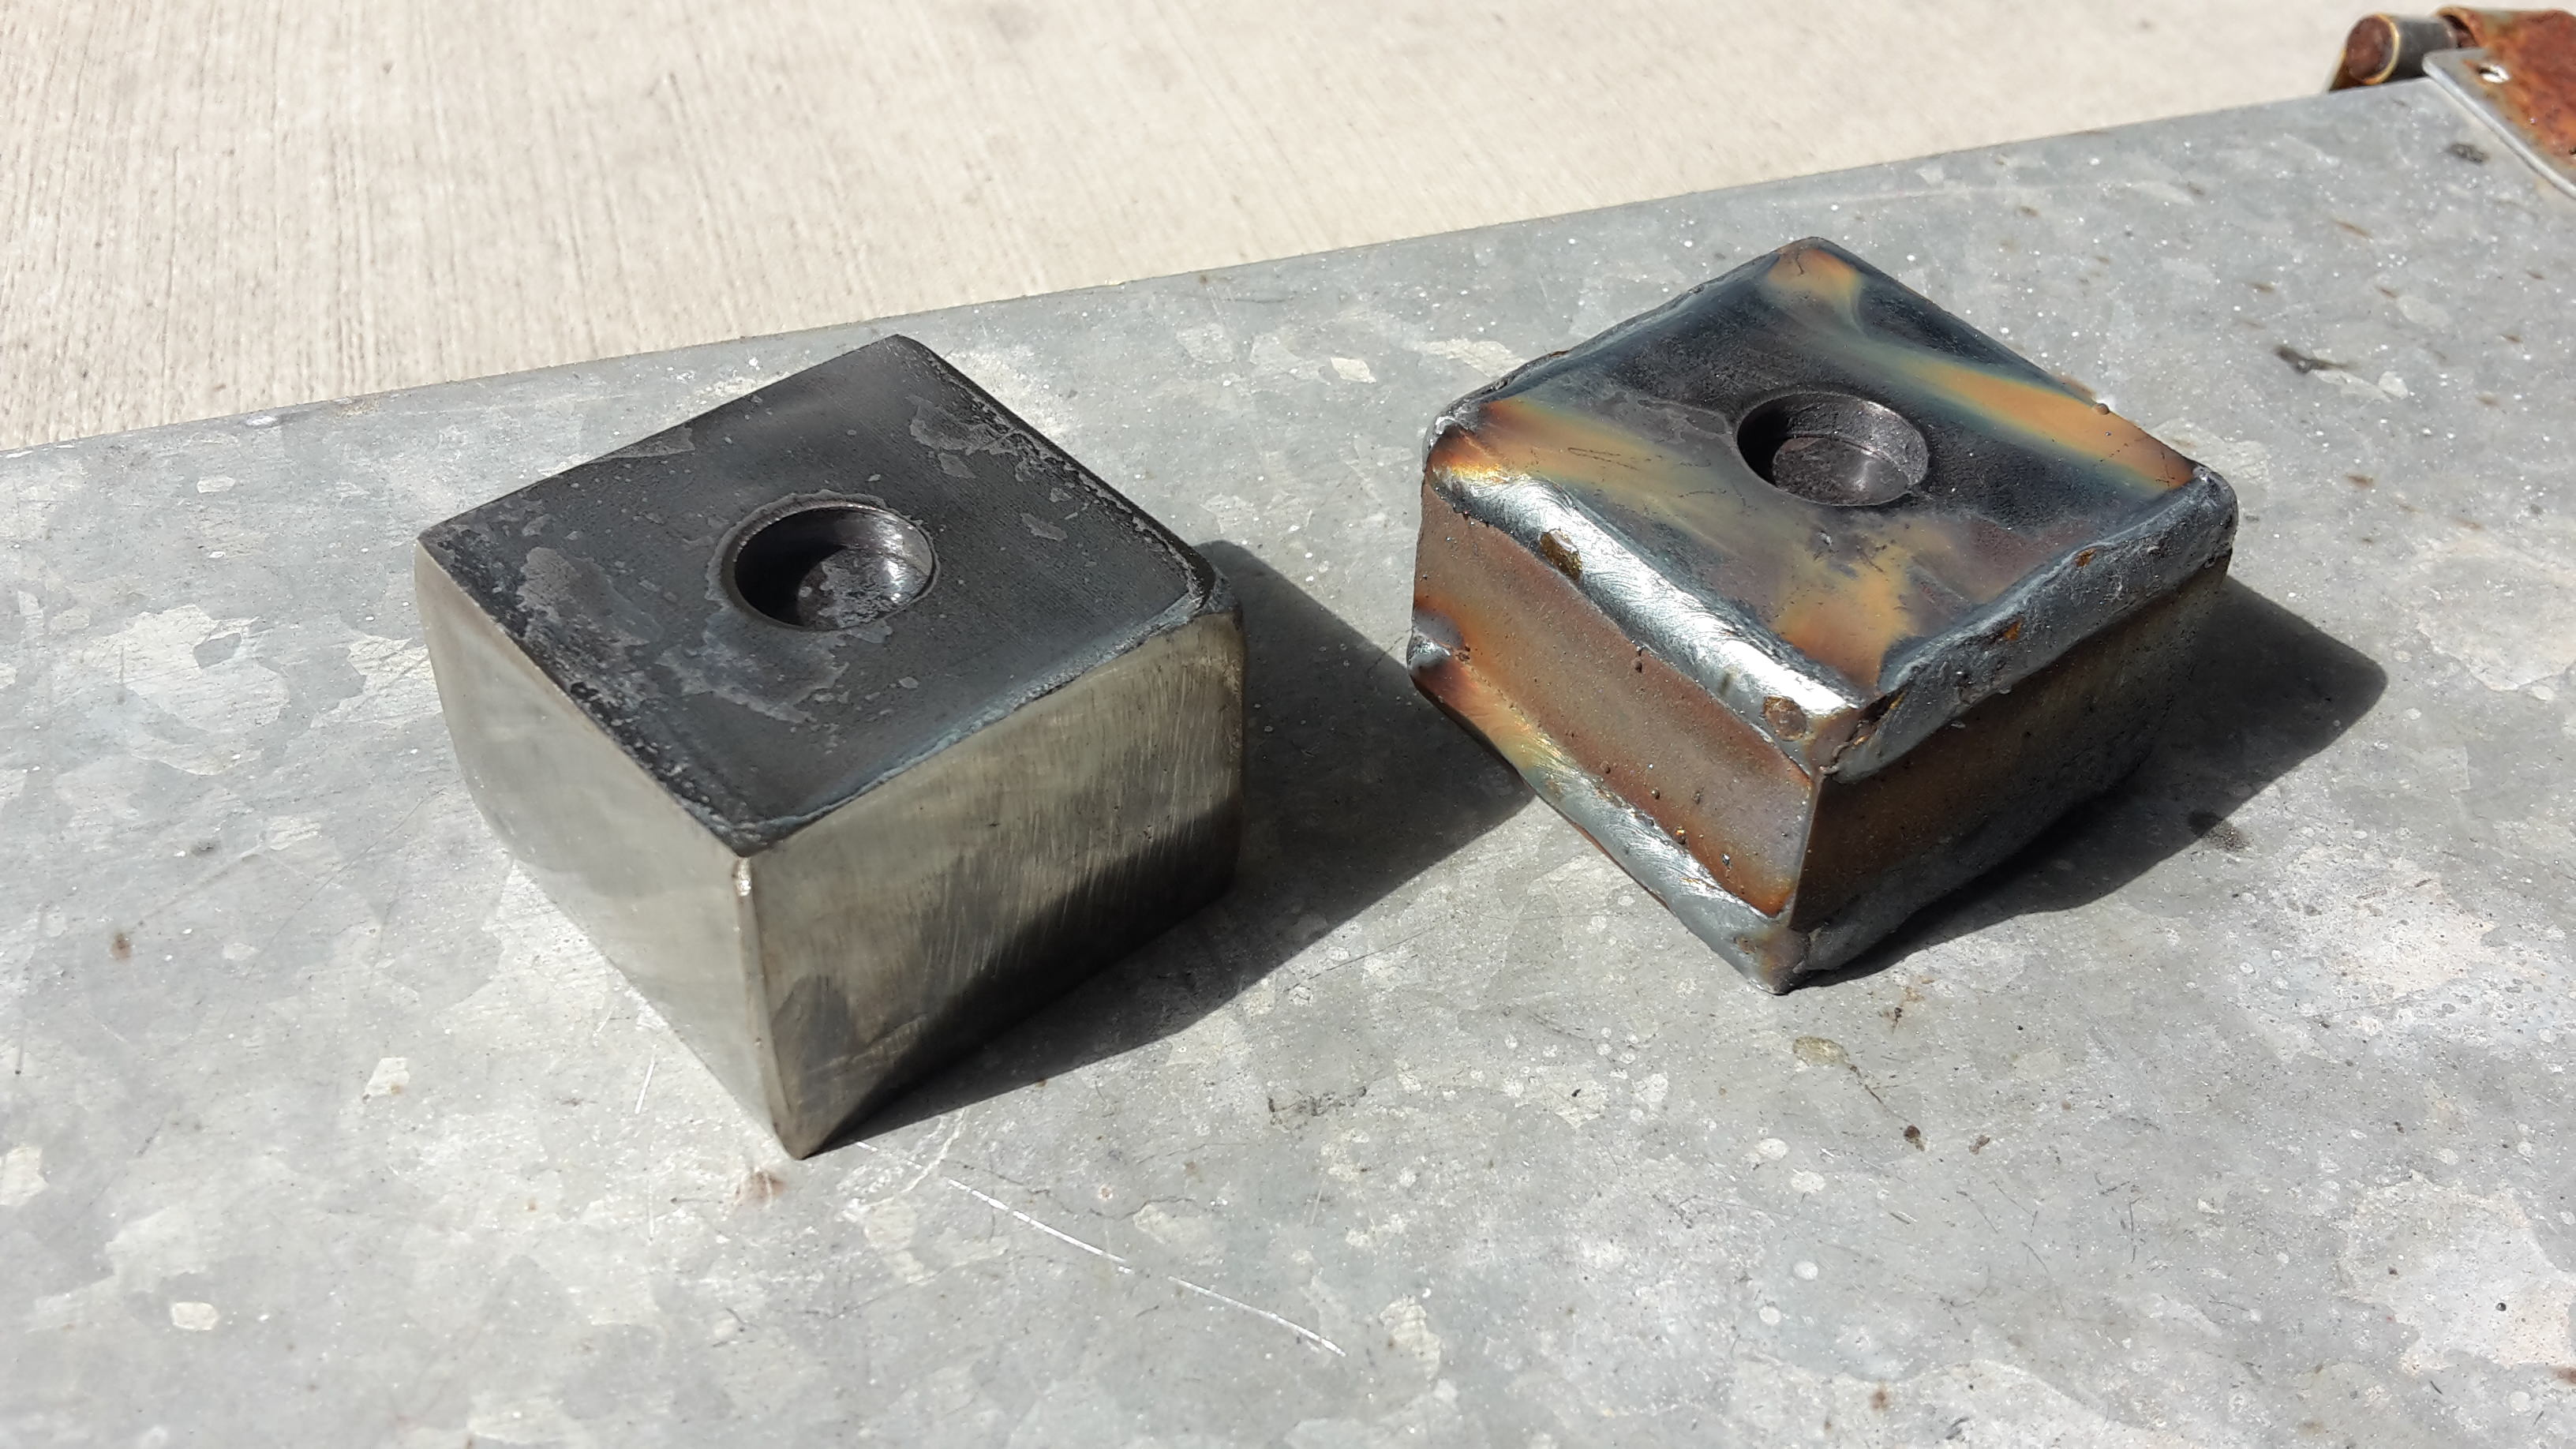
Here they are in place. Next step is top make the top plate to join all three.


-
12-08-2017 #65
 Registered User
- Join Date
- Sep 2009
- Posts
- 2,709
Are you telling me that there isn't any company out there that makes an Audi RS6 to 1950 Ford rear IRS adapter plates?? What is this hot rod world that we live in coming to, haha.
In all seriousness, this build is incredibly well executed and you fabrication skills are top notch. I love tuning in for progress updates.
1955 Nomad project LC9, 4L80e, C5 brakes, Vision wheels
1968 Camaro 6.2 w/ LSA, TR6060-Magnum hybrid and etc SOLD
1976 T/A LS1 6 Speed, and etc. SOLD
Follow me on Instagram: ryeguy2006a
-
12-08-2017 #66
 Registered User
- Join Date
- Nov 2006
- Location
- Ma.
- Posts
- 5,567
Are you telling me that there isn't any company out there that makes an Audi RS6 to 1950 Ford rear IRS adapter plates?? What is this hot rod world that we live in coming to, haha
Ryan, I love it ! and I agree nice work.Wayne
Car FINALLY home !!!!!! lol
Project FNQUIK https://www.pro-touring.com/showthre...ghlight=FNQUIK
-
12-08-2017 #67
 Registered User
- Join Date
- Dec 2017
- Posts
- 61
I have been lurking for years and this is the thread that made me have to register... I do have a soft spot for the F1 as I have 51 and have been collecting parts for it. Your skills are top notch!
-
12-08-2017 #68
 Registered User
- Join Date
- Aug 2008
- Location
- jacksonville,fl
- Posts
- 970
Coming along nicely mate. My thoughts on tig welding unless it's something you need to show off a perfect nonstop row of penny's on, all that doesn't really matter. You look to have good penetration & a stronger weld than mig could have gave you, so what more is needed than that. Looks plenty good enough.
I'm stuck at home for a few days after having hernia surgery today, so I might try to do you one of my pencil drawings I do once in a while. that's really why I asked about you style direction.
So just a flatbed? Statebody siderails?? Your audi wheels? Slightly low ride height with just a little rake (back higher than front)? I'm not a super practiced Chip Foose, but I'm not too bad for the little practice I do. Not as good as some computer or marker & airbrushed over drawing , but ok.
-
12-09-2017 #69
Registered User
- Join Date
- Dec 2014
- Posts
- 188
Thanks for the kind comments, guys. I appreciate it! I'm always learning as I go so it's great to hear positive feedback. And if you guys find the shop that sells RS6 to F1 adapter kits, point me in the direction. Haha, I love it!
Sorry to hear that you've had some health issues, JL. My Dad is due to have some very similar surgery next month. Hopefully yours went well and that you are back on your feet soon.
That would be cool to see your ideas put on paper. Yes, just a flatbed and I'm not sure on any details until I gather materials later. I'm wanting to use weathered timber boards, like something from an old barn, not cracking and falling to pieces but grey and showing its age. I still want the tray to be usable but I want it to look old like the cab and front.
It will definitely be low, it's just the nature of the RS6 setup. From what I can work out, as you see it sitting on the jig, the chassis will be about 150mm or 6 inches lower once it's on its wheels. And it will sit level. If I have to drop the cab over the chassis, I expect I will, so that the wheels sit nicely in the wheel arches, then so be it.
I'd like to find some sidebaords but that may be tricky. I'll keep my eye out but I wont be paying the silly money that some people are chasing.
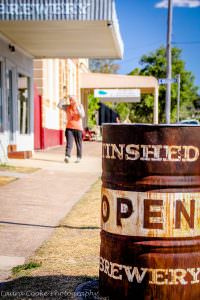
And yes, I will be using the RS6 wheels. They need to be that big to fit over the brakes. They are not an offensive looking rim, quite subtle I think for a modern alloy. But I had an idea that maybe at a later date I could have them painted in a patina to match the cab. I've got a mate that owns a brewery and he had this drum painted to use as his OPEN sign. I think it looks great and it was all painted, it was a shiny blue drum beforehand. It's the same colour as my truck parts too.
I'm interested to see your interpretation of what I can see in my mind. I"m not an artistic guy, I struggle to get my ideas on paper, so I look forward to it. Cheers!
-
12-10-2017 #70
Registered User
- Join Date
- Aug 2008
- Location
- jacksonville,fl
- Posts
- 970
Here's a link to a truck with pretty similar patina to your parts & probably a similar stance. Its the farm truck one.
http://www.trucktrend.com/cool-truck...-custom-truck/
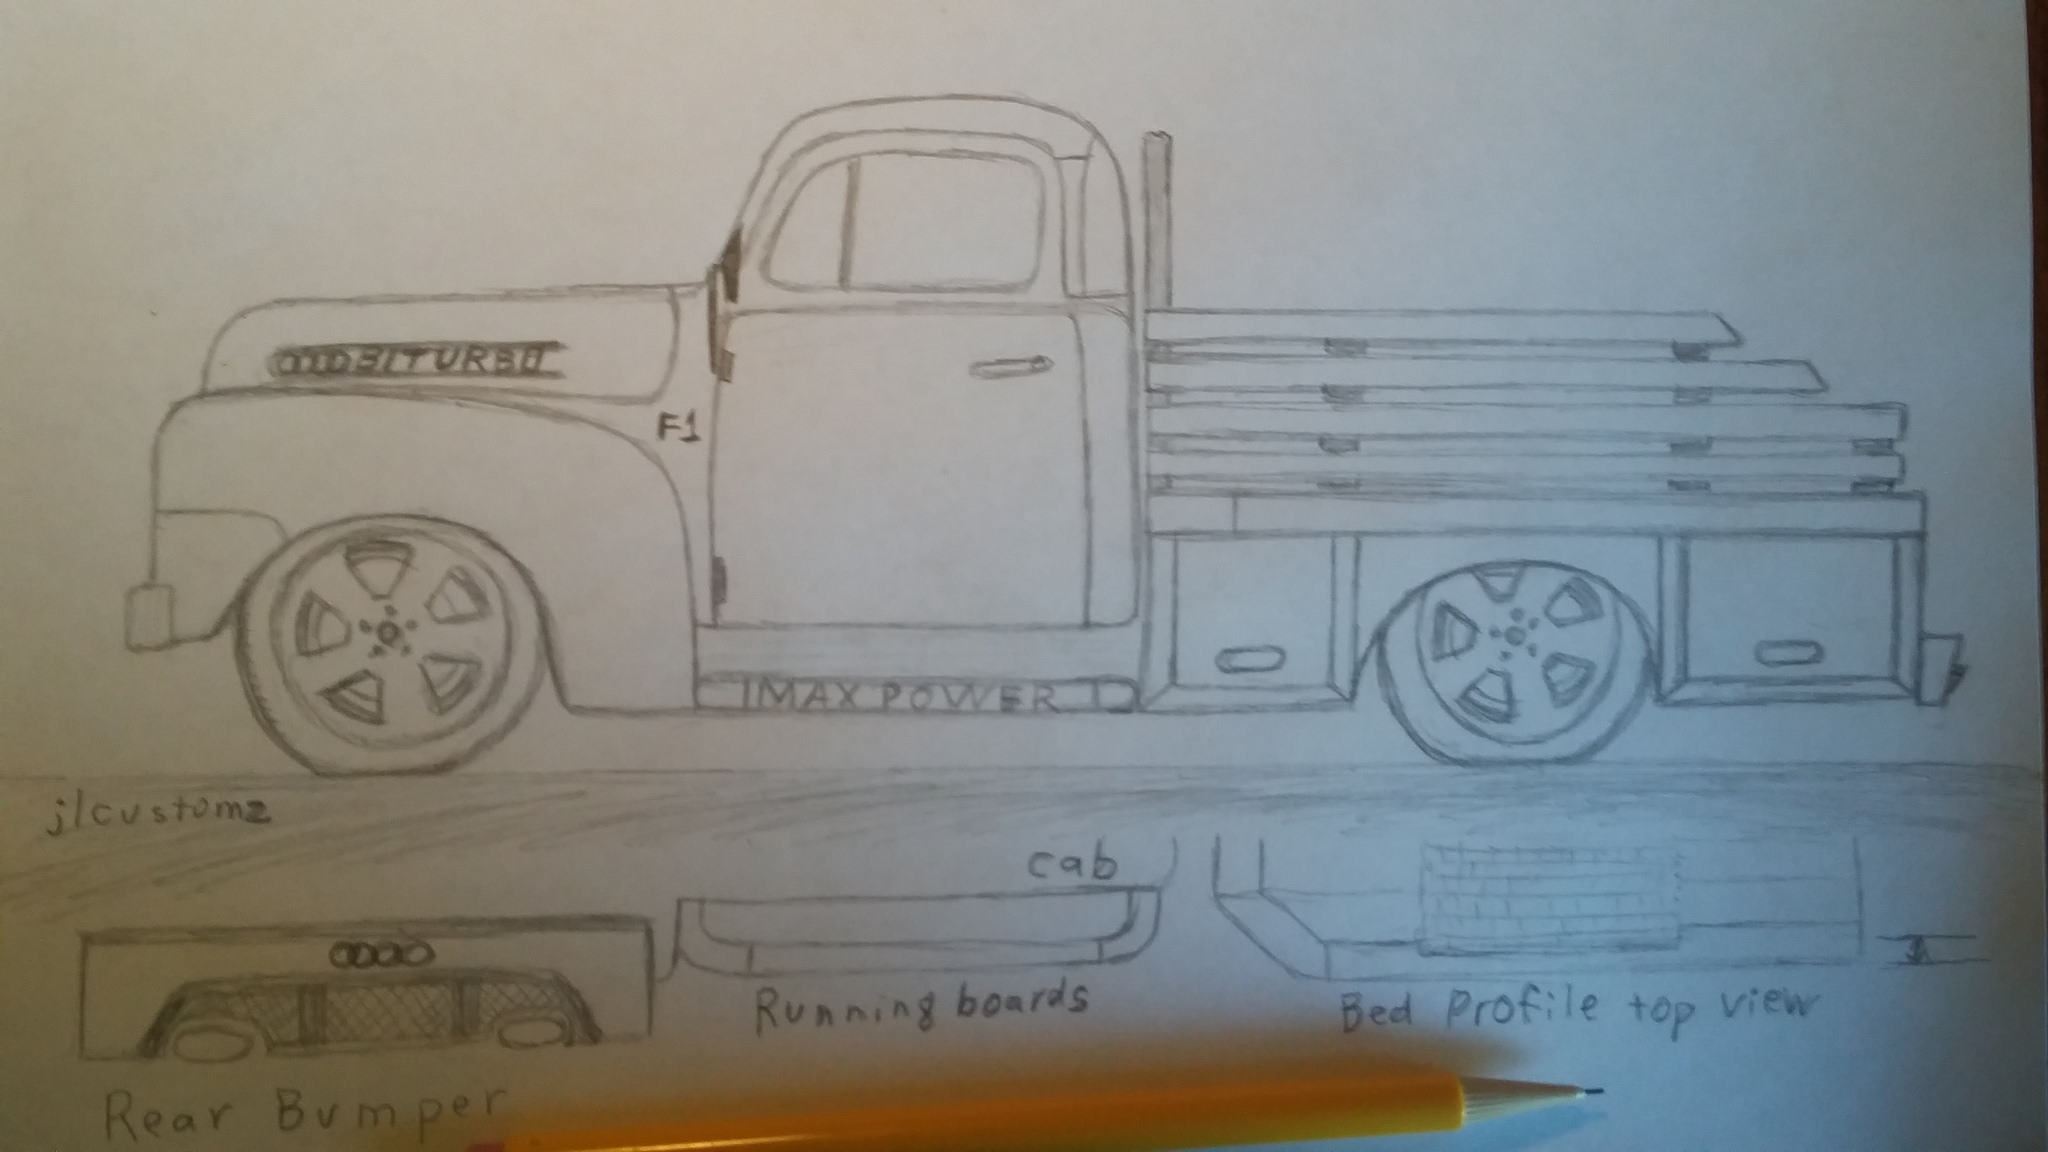
Got you a drawing done this morning while I couldn't sleep. Combined thoughts from several pictures I pulled up online. Kinda just did what I thought would look cool & that you could fab up from what I've seen so far of your skills. Pencil drawings don't give you all the detail that I see in my head so I'll explain some. For running boards, I pictured using 3" round pipe for the outer edges with radiused bent ends. You could lay flat metal on top of them. The flatbed itself will be wider than your wheels & angle back in to meet the cab width 8 to 12" from the front . Rather than an ugly open frame under the bed I drew a rectangular metal framework with heavy gauge sheet metal in between. Wheel opening is just a cutout in the flat sheet metal. Possibly diamond plate steel. 2 rectangular running lights pictured. Drew a metal frame behind the cab which would protect cab from cargo. Drew 4 wood slats with the top 2 being shorter & angle cut based off a pic, just thought it looked cool. You really need a back bumper, so I'm picturing one being handmade from steel with a little curve like the Audi AND using the Audi bumper diffusor & exhaust tips , just like the original car. Drew your wheels in . Not sure about my proportioning of them & my wheel sketches are always a little shabby. Think your wheel color idea would be perfect.
I'll get the drawing posted later when I can see straight. Trying to get my flicker link to work, this photobucket site change this year got me screwed up. Have to take a camera pic of drawing to upload it.
EDIT, couldn't get into my flicker account, just tried google.
https://photos.app.goo.gl/DXsMDrUz8AyXjakC2
 20171210_114329 by joe leleux, on Flickr
-
12-11-2017 #71
Registered User
- Join Date
- Dec 2014
- Posts
- 188
Cool! Thanks, Joe!
I had never thought of the slat bed sides. You've got that one ticking over in my mind.
I like the pipe idea for the side steps. That would be an easy way to fab them up. Wouldn't be hard either to scuff them up and get them to look weathered.
You're right about the stance on the truck in the link. That's pretty much how I think mine will sit. At first though I thought the wheels were photoshopped into the image. I don't like them on it. But I've never been a fan of those sort of wheels on any car.
There's definitely going to be a lot of empty space under the bed sides, in front of and behind the wheels. I'm not sure what I'll do there. I think that'll come once it starts getting built. Maybe a tool box or it could be a good way to hide the battery. The battery is rear mounted in the RS6 so that would not be hard to adapt.
I don't mind your concept with the bumper but I really want everything externally to look like old and ratty like it was dragged out of the paddock. I think it'll only be the wheels of the Audi that you see externally.
Great work, Joe. I like what you've done!
Cheers, Ash
-
12-11-2017 #72
Registered User
- Join Date
- Aug 2008
- Location
- jacksonville,fl
- Posts
- 970
Glad to help. Some of my ideas come in somewhere between not being able to sleep & still able to hold my head up, which is when this was done. Figured you'd like the bed slats in the cut back way I did them, all full length looks like you stole a picket fence from an old house.
Figured you'd like the fill in under the bed. Just wasted ugly space if left open. Plenty of options on how to make it look & if functional boxes or just flat metal. Functional is good for a truck. The running board idea is just too easy & less work than if someone gave you some rusted originals to repair.
The rear bumper idea is more opinionated, but figured I'd throw it out there as just a hint of new poking through. I'll probably toss up some other ideas there. Could just have a rustic wood beam for the bumper & take a 2" round pipe, heat it up, & woodburn in the Audi symbol.
Here & there I might just give you links to pictures that may interest you, maybe just in a pm.
-
12-13-2017 #73
 Registered User
- Join Date
- Feb 2005
- Location
- Minneapolis, MN
- Posts
- 195
Got messing around on an FRS6 logo for you. Had been mulling it awhile, and I think the font would work with either style, but it sort of depends on if you end up running the 1950 style logos or the 1951-2 style logos.
Idea:
1950 Style
1951-2 Style
-
12-13-2017 #74
Registered User
- Join Date
- Dec 2014
- Posts
- 188
Feel free to shoot away with any ideas you may have. I always find it interesting hearing other people thoughts. And I'm not one to get upset about getting off track in a thread. If anything, I'm the one doing it. haha Originally Posted by jlcustomz
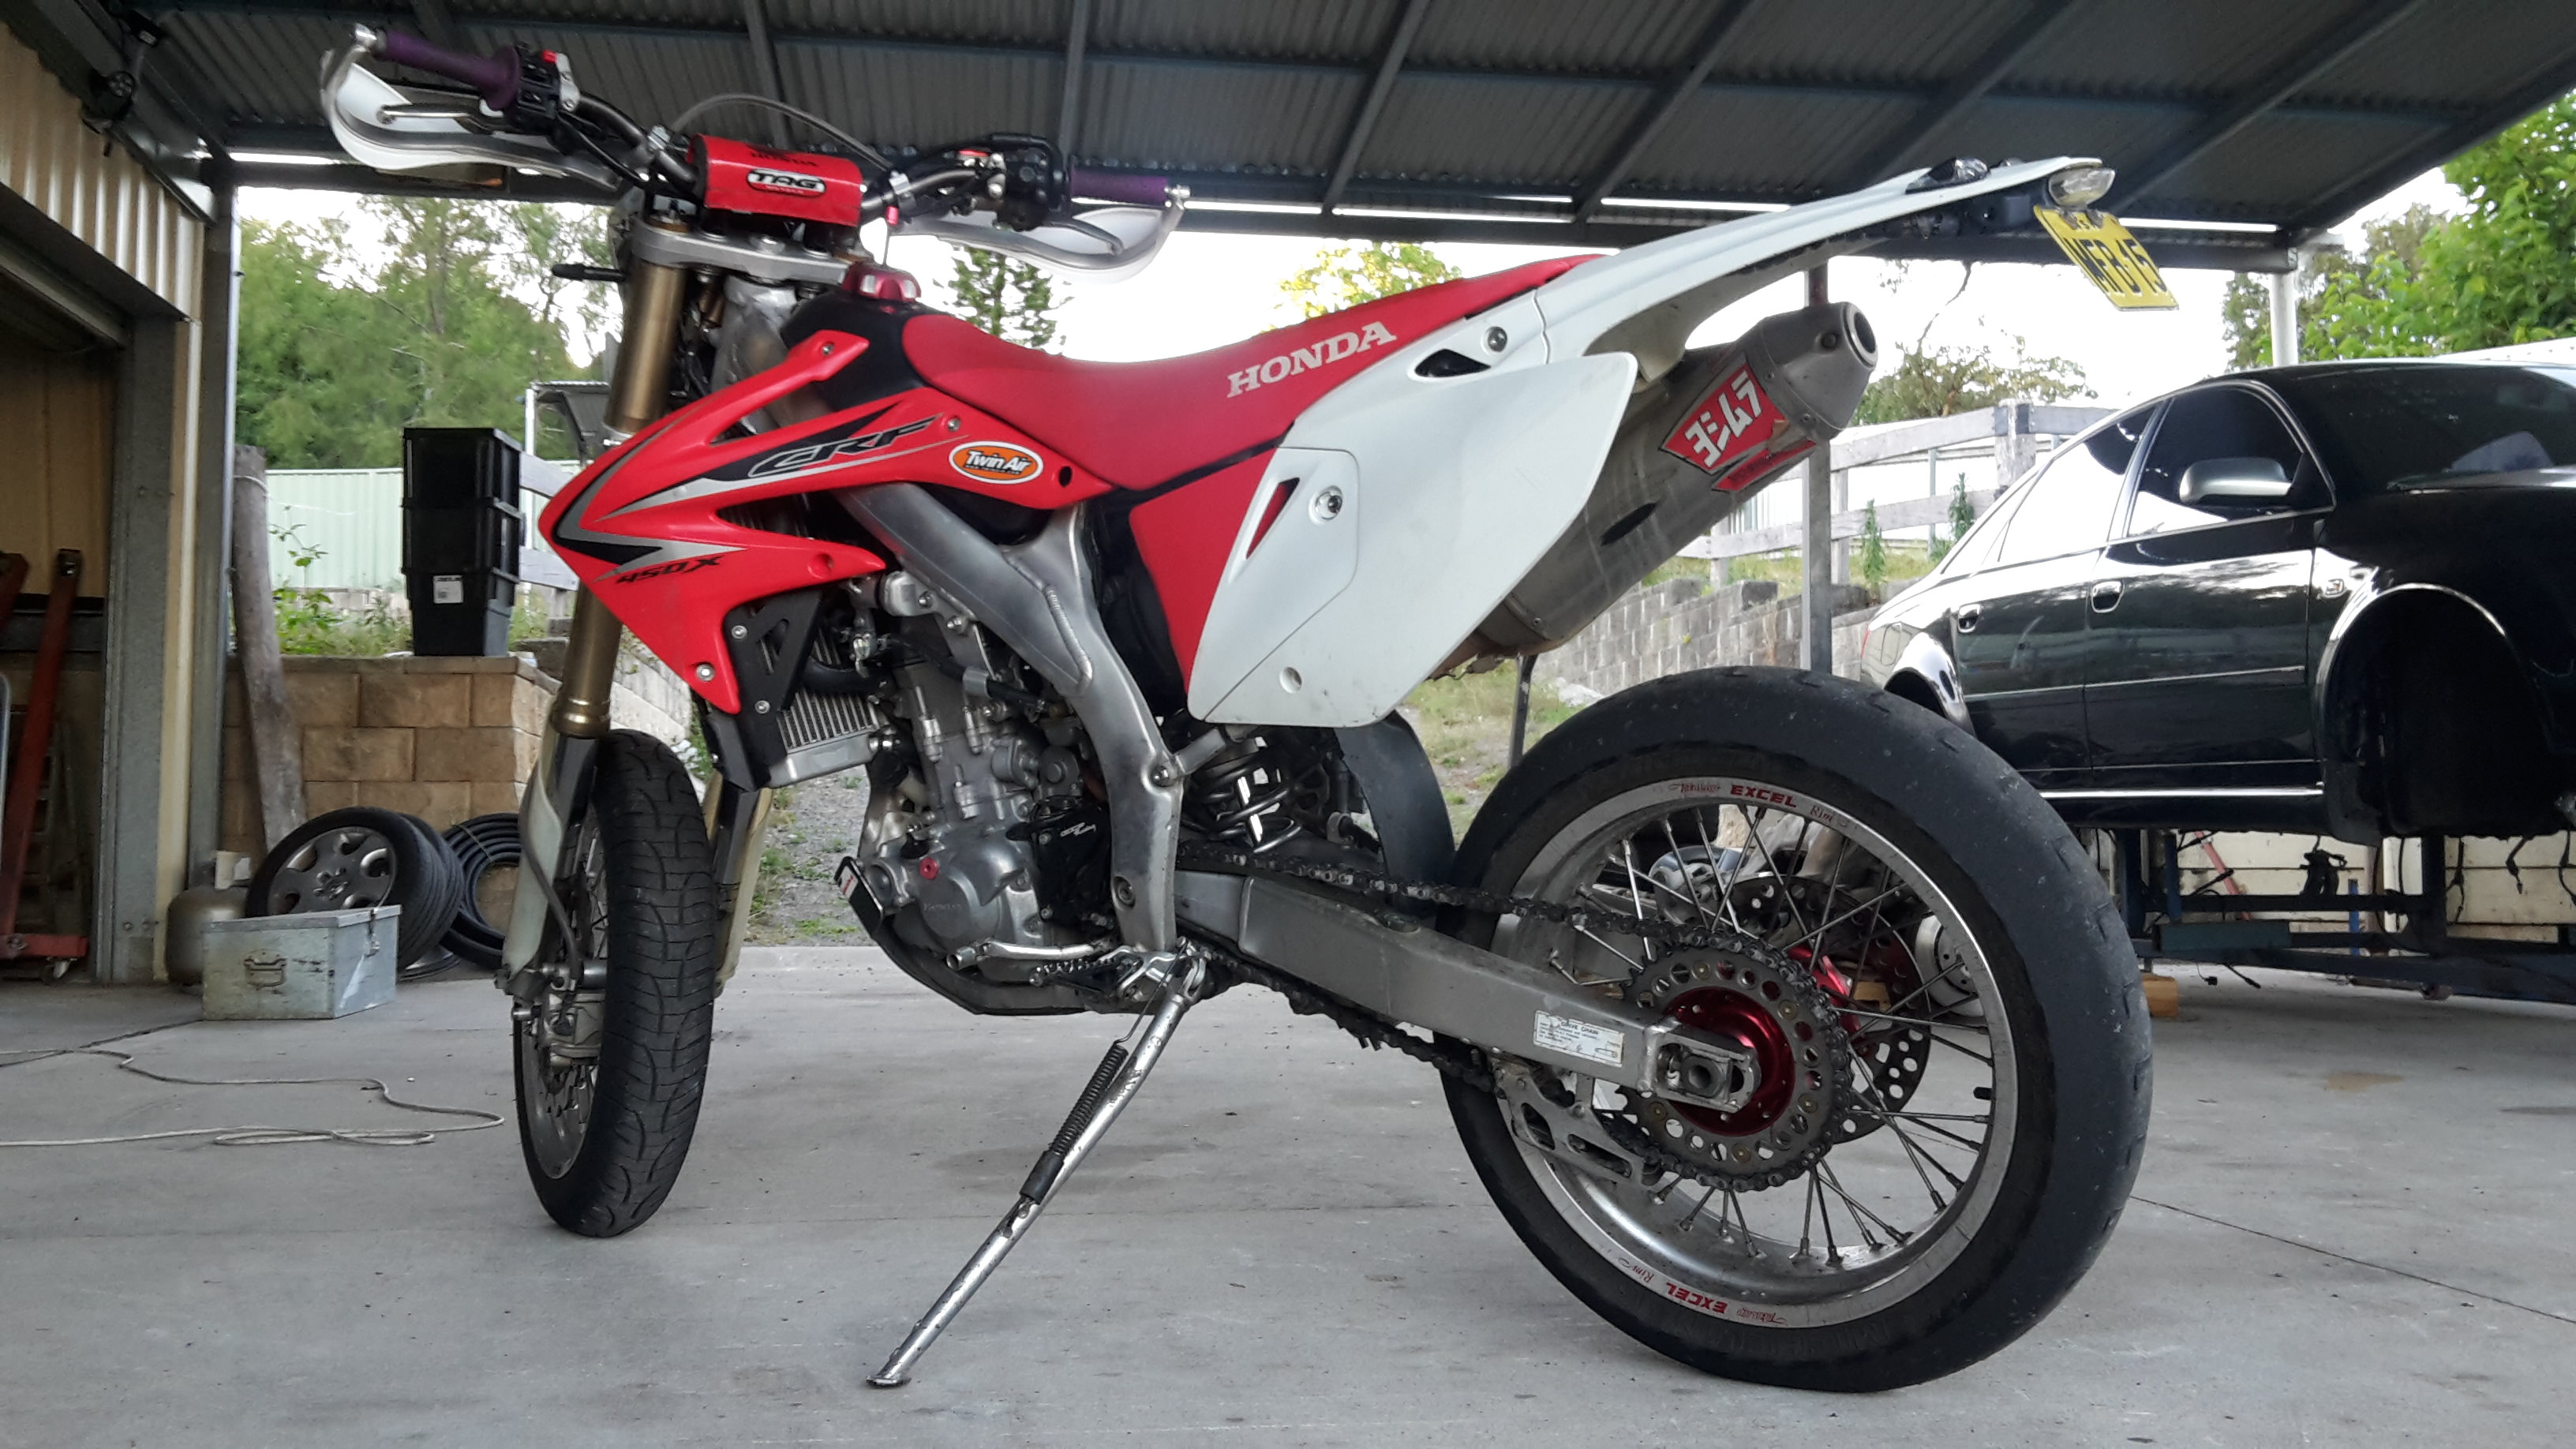
There's a lot of old farms in my area so I may even stumble across some old tool boxes or army storage containers or something that would look cool under the bed sides. I'm still not sure how big the bed will be, I won't get a good idea until the cab is located into position. I'd really like to be able to carry my motorbike around. Even if it is angled corner to corner.
I was thinking about this the other day too while doing something else. Our Falcon cars here have a very similar sized font to the front badge on the RS6. It just isn't slanted like the RS6 lettering is but it doesn't look too out of place. Originally Posted by brawls43
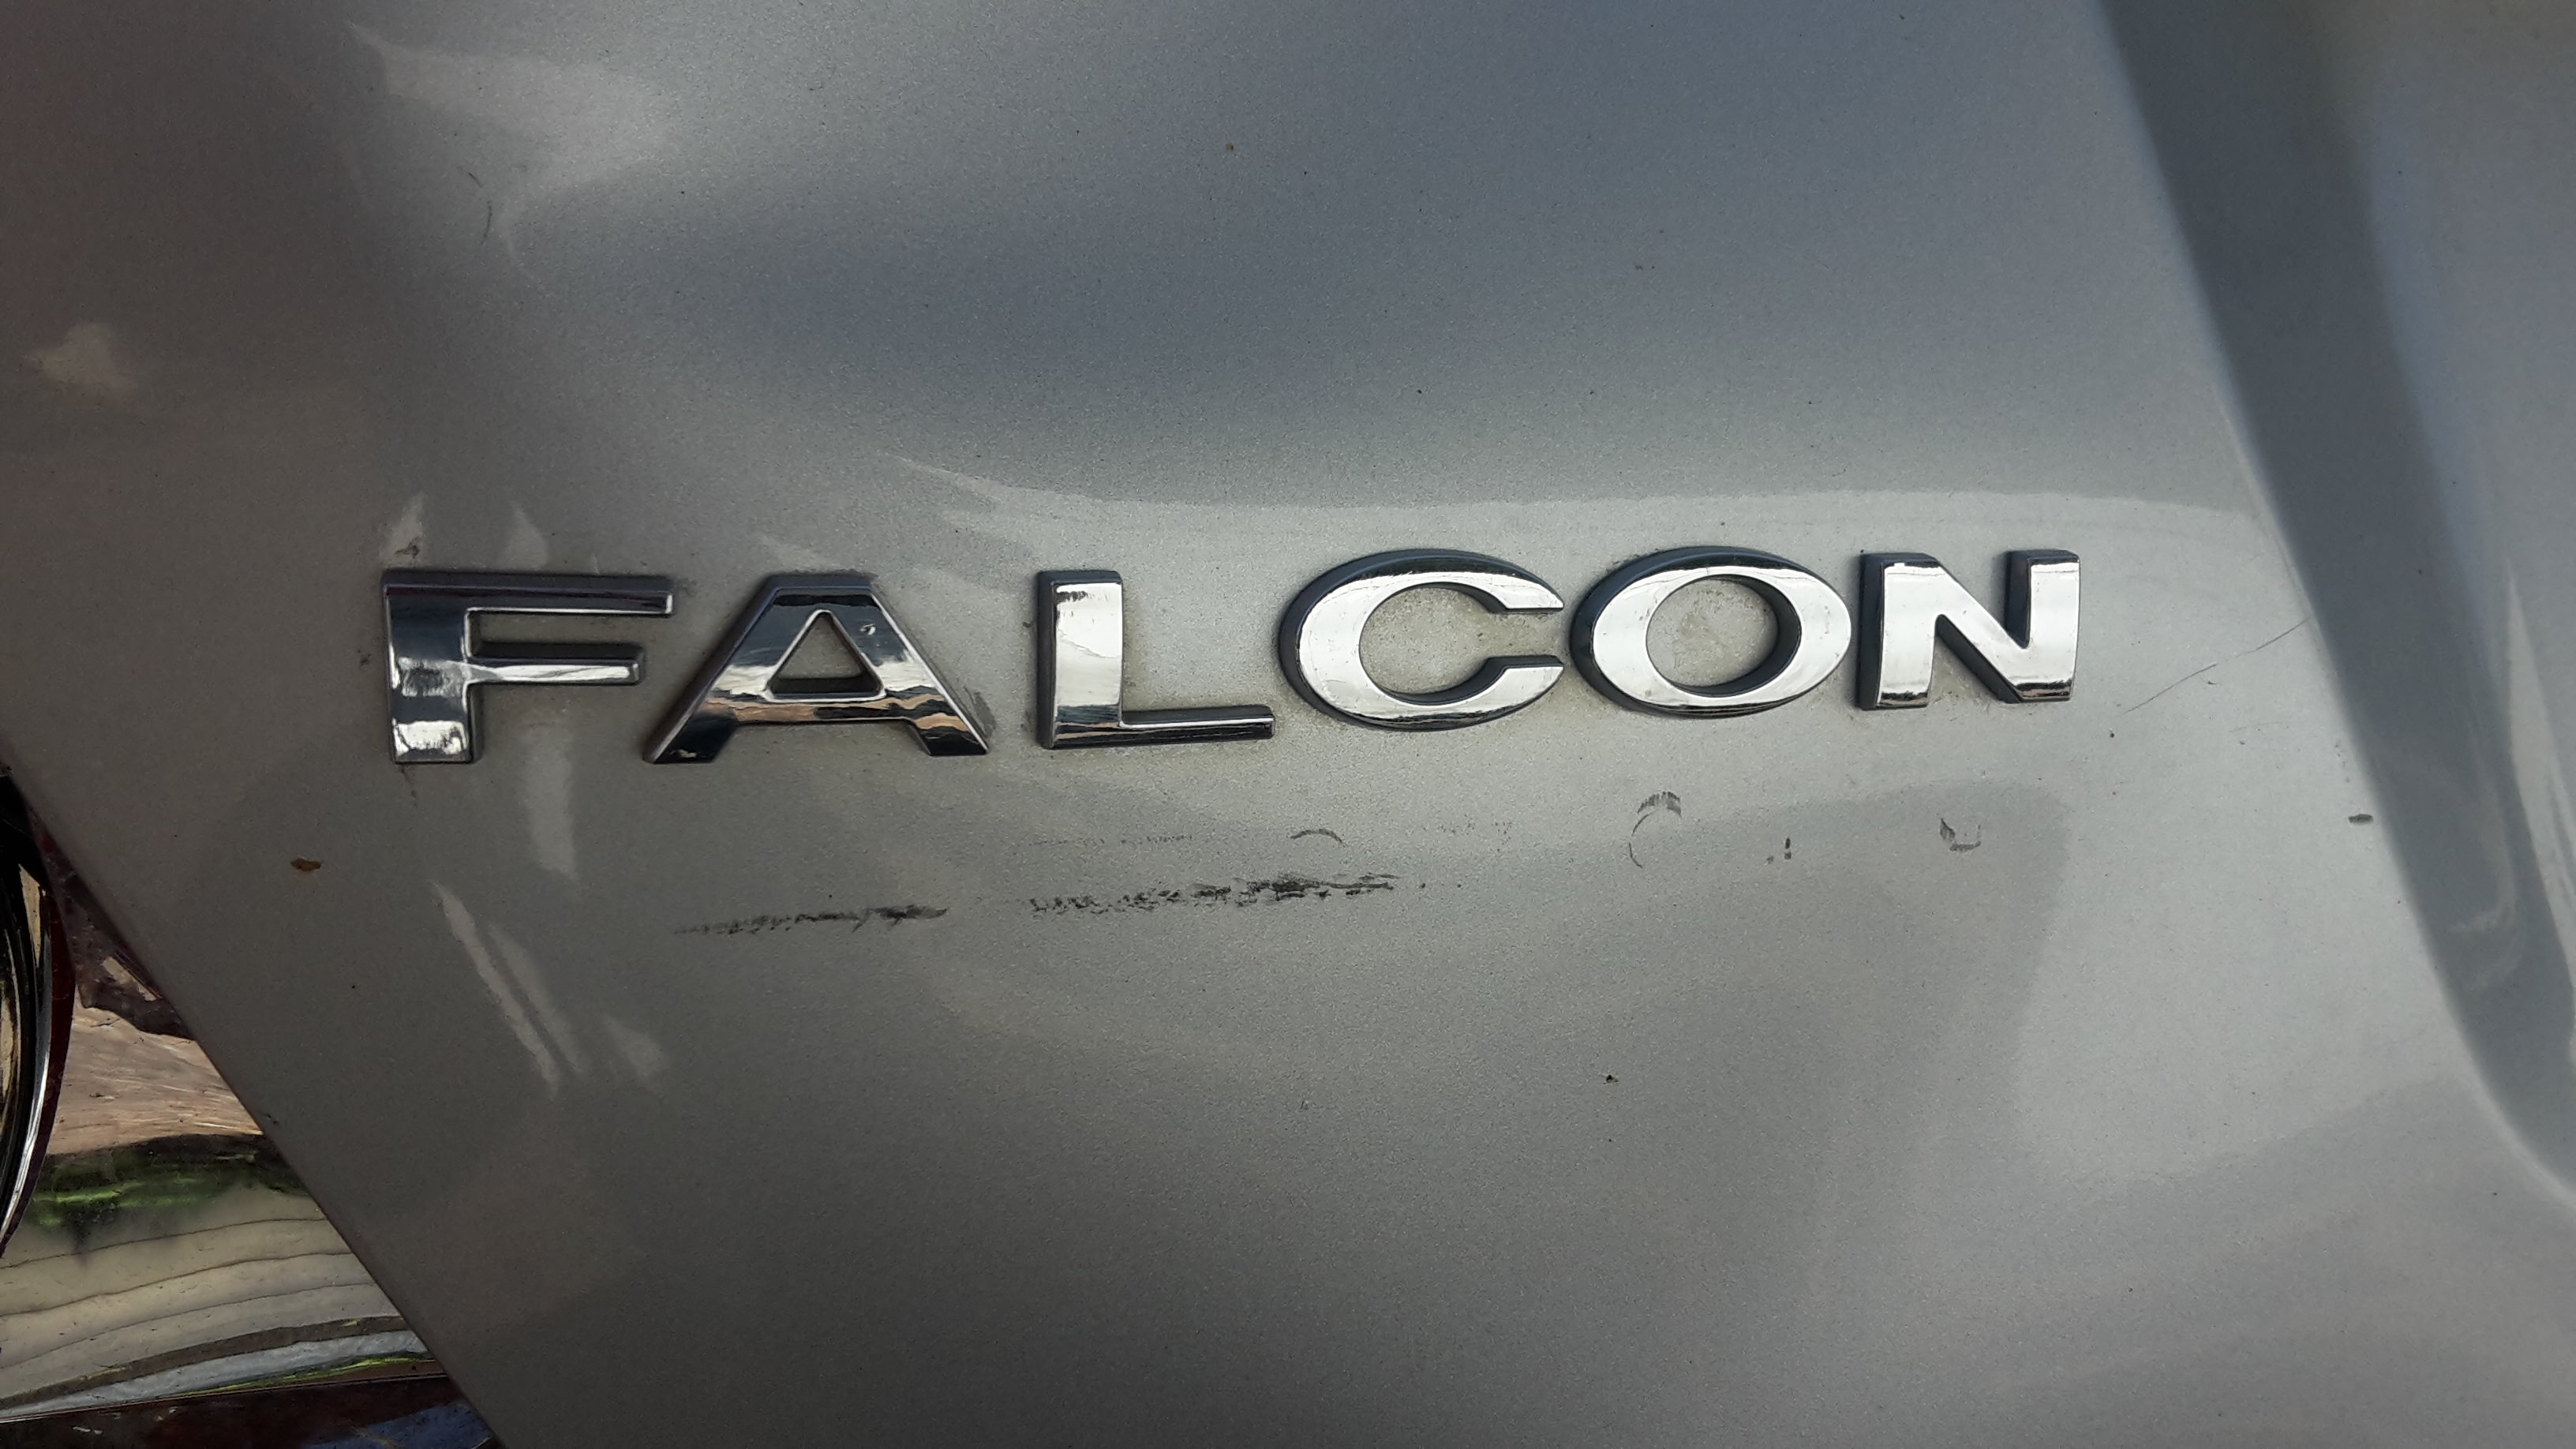
Here I just held the F into position with some bluetac to get an idea
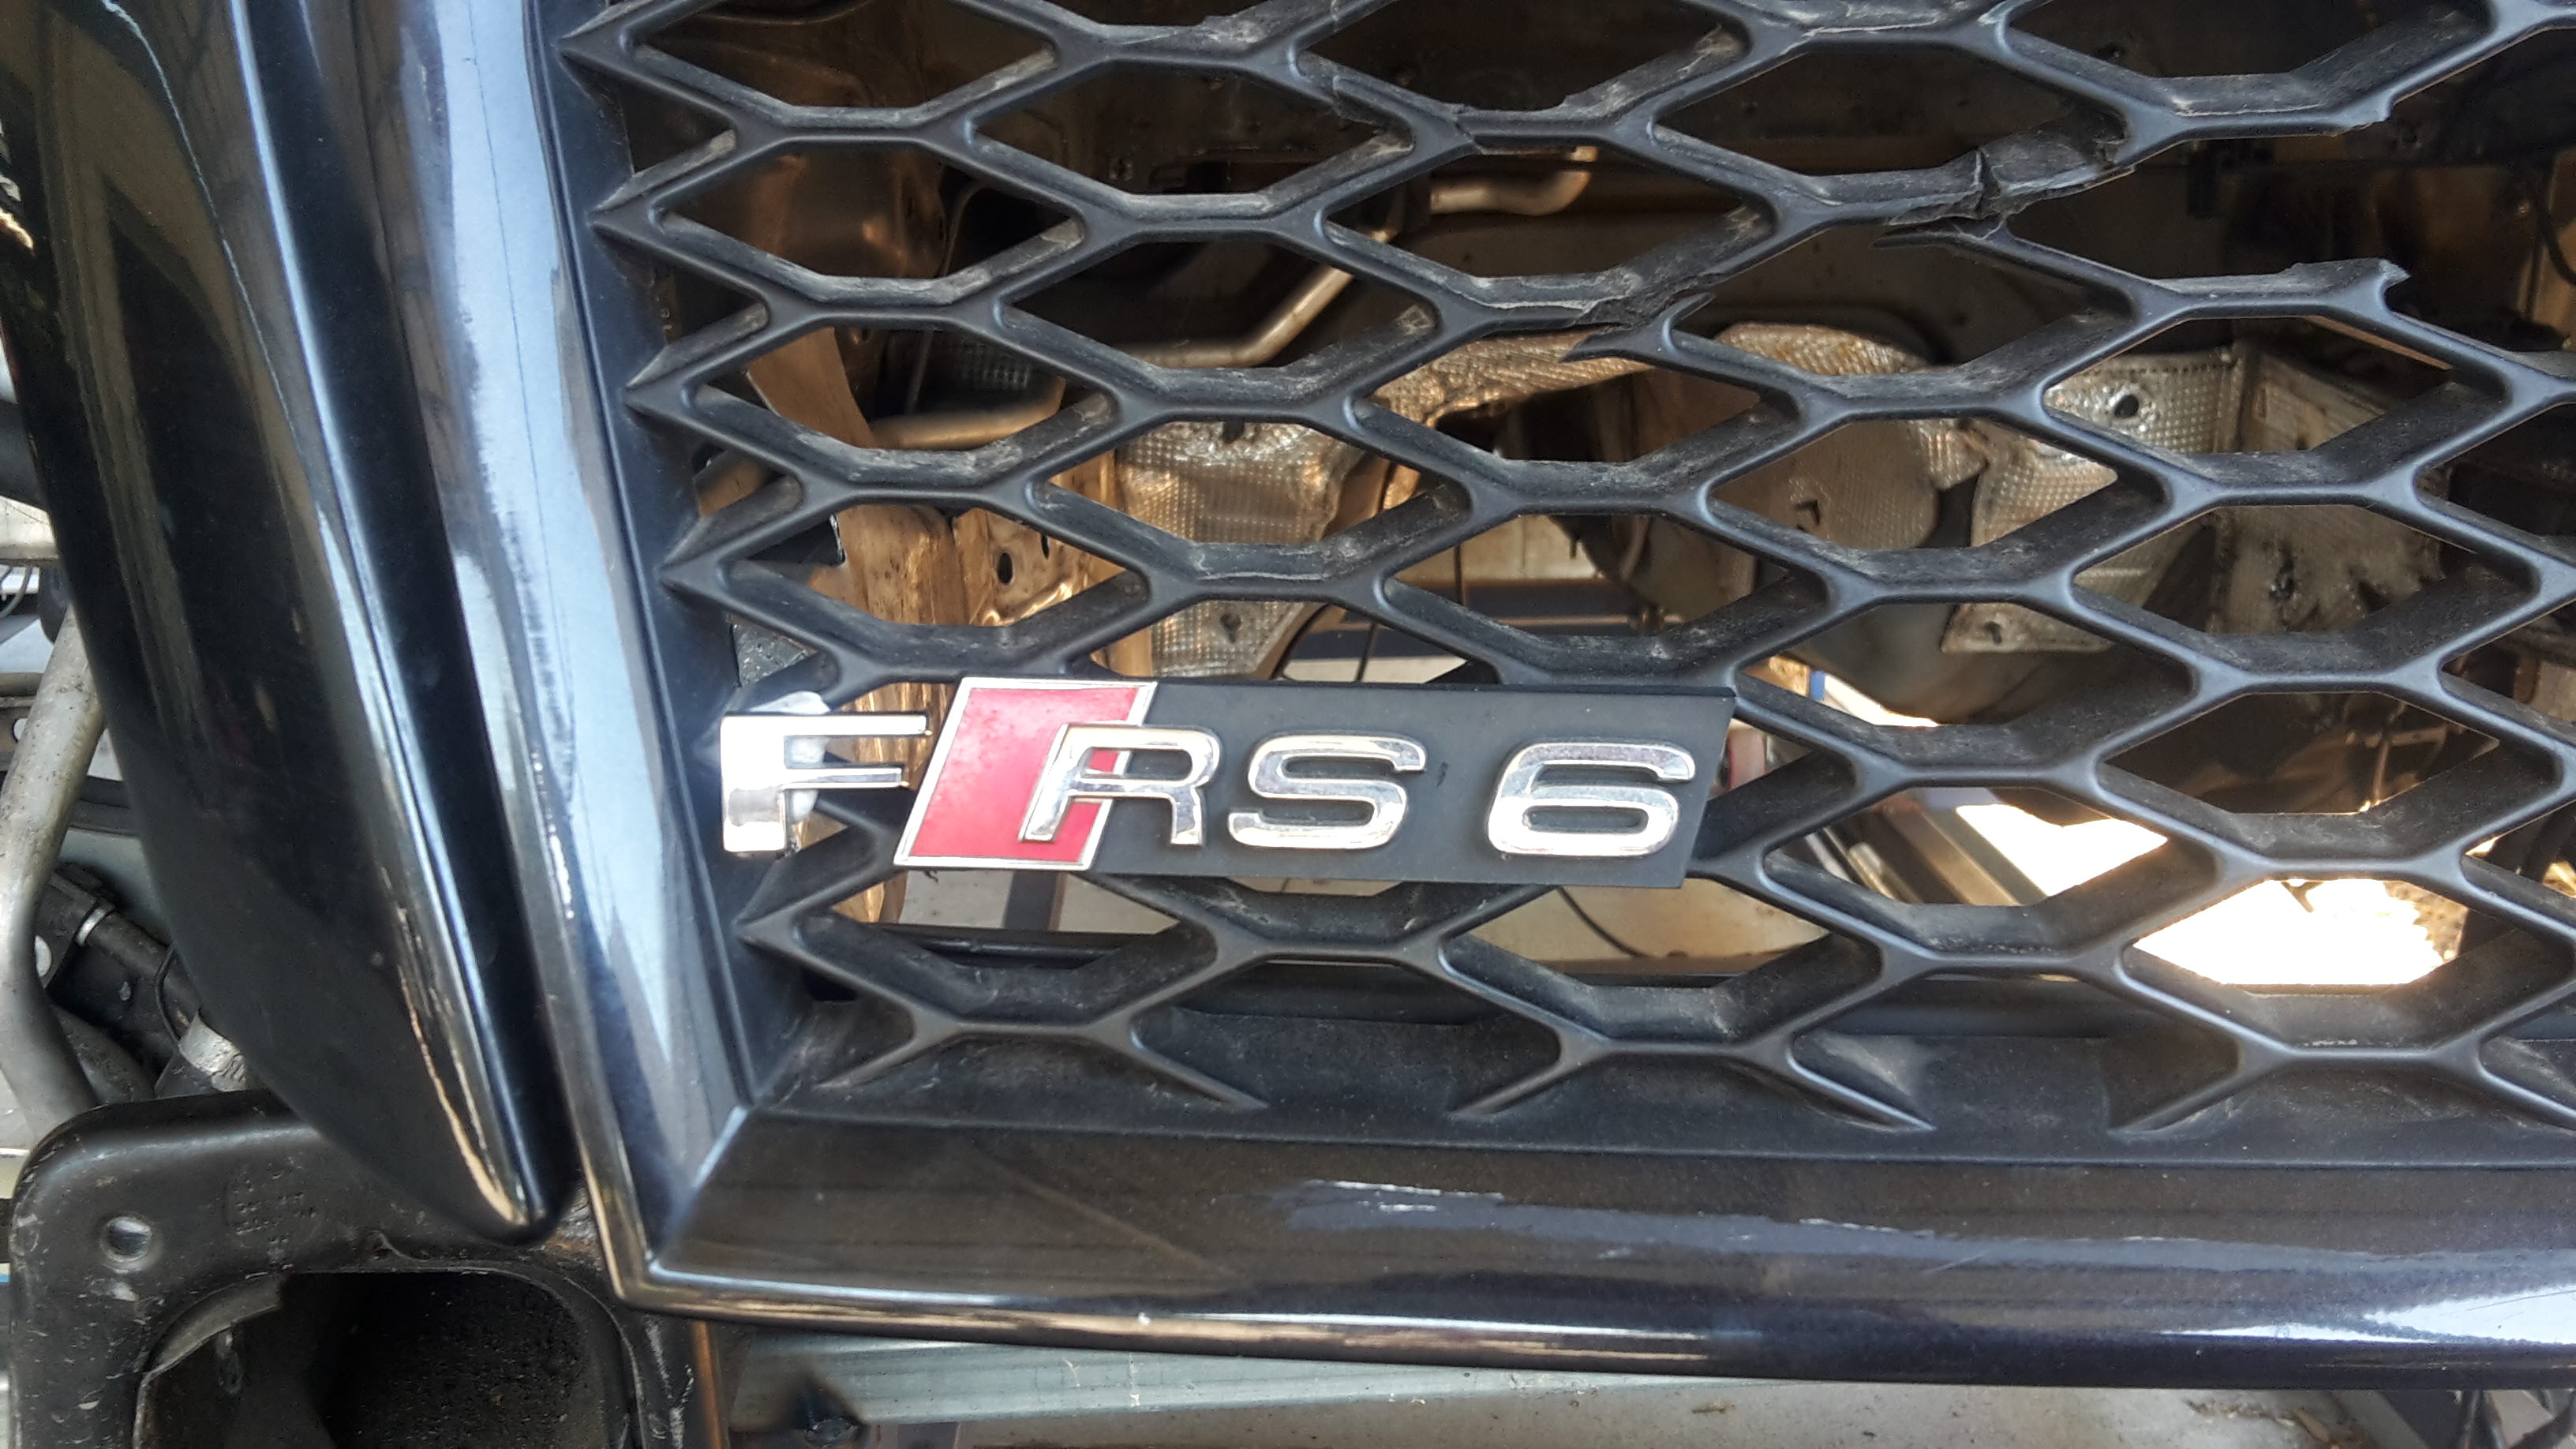
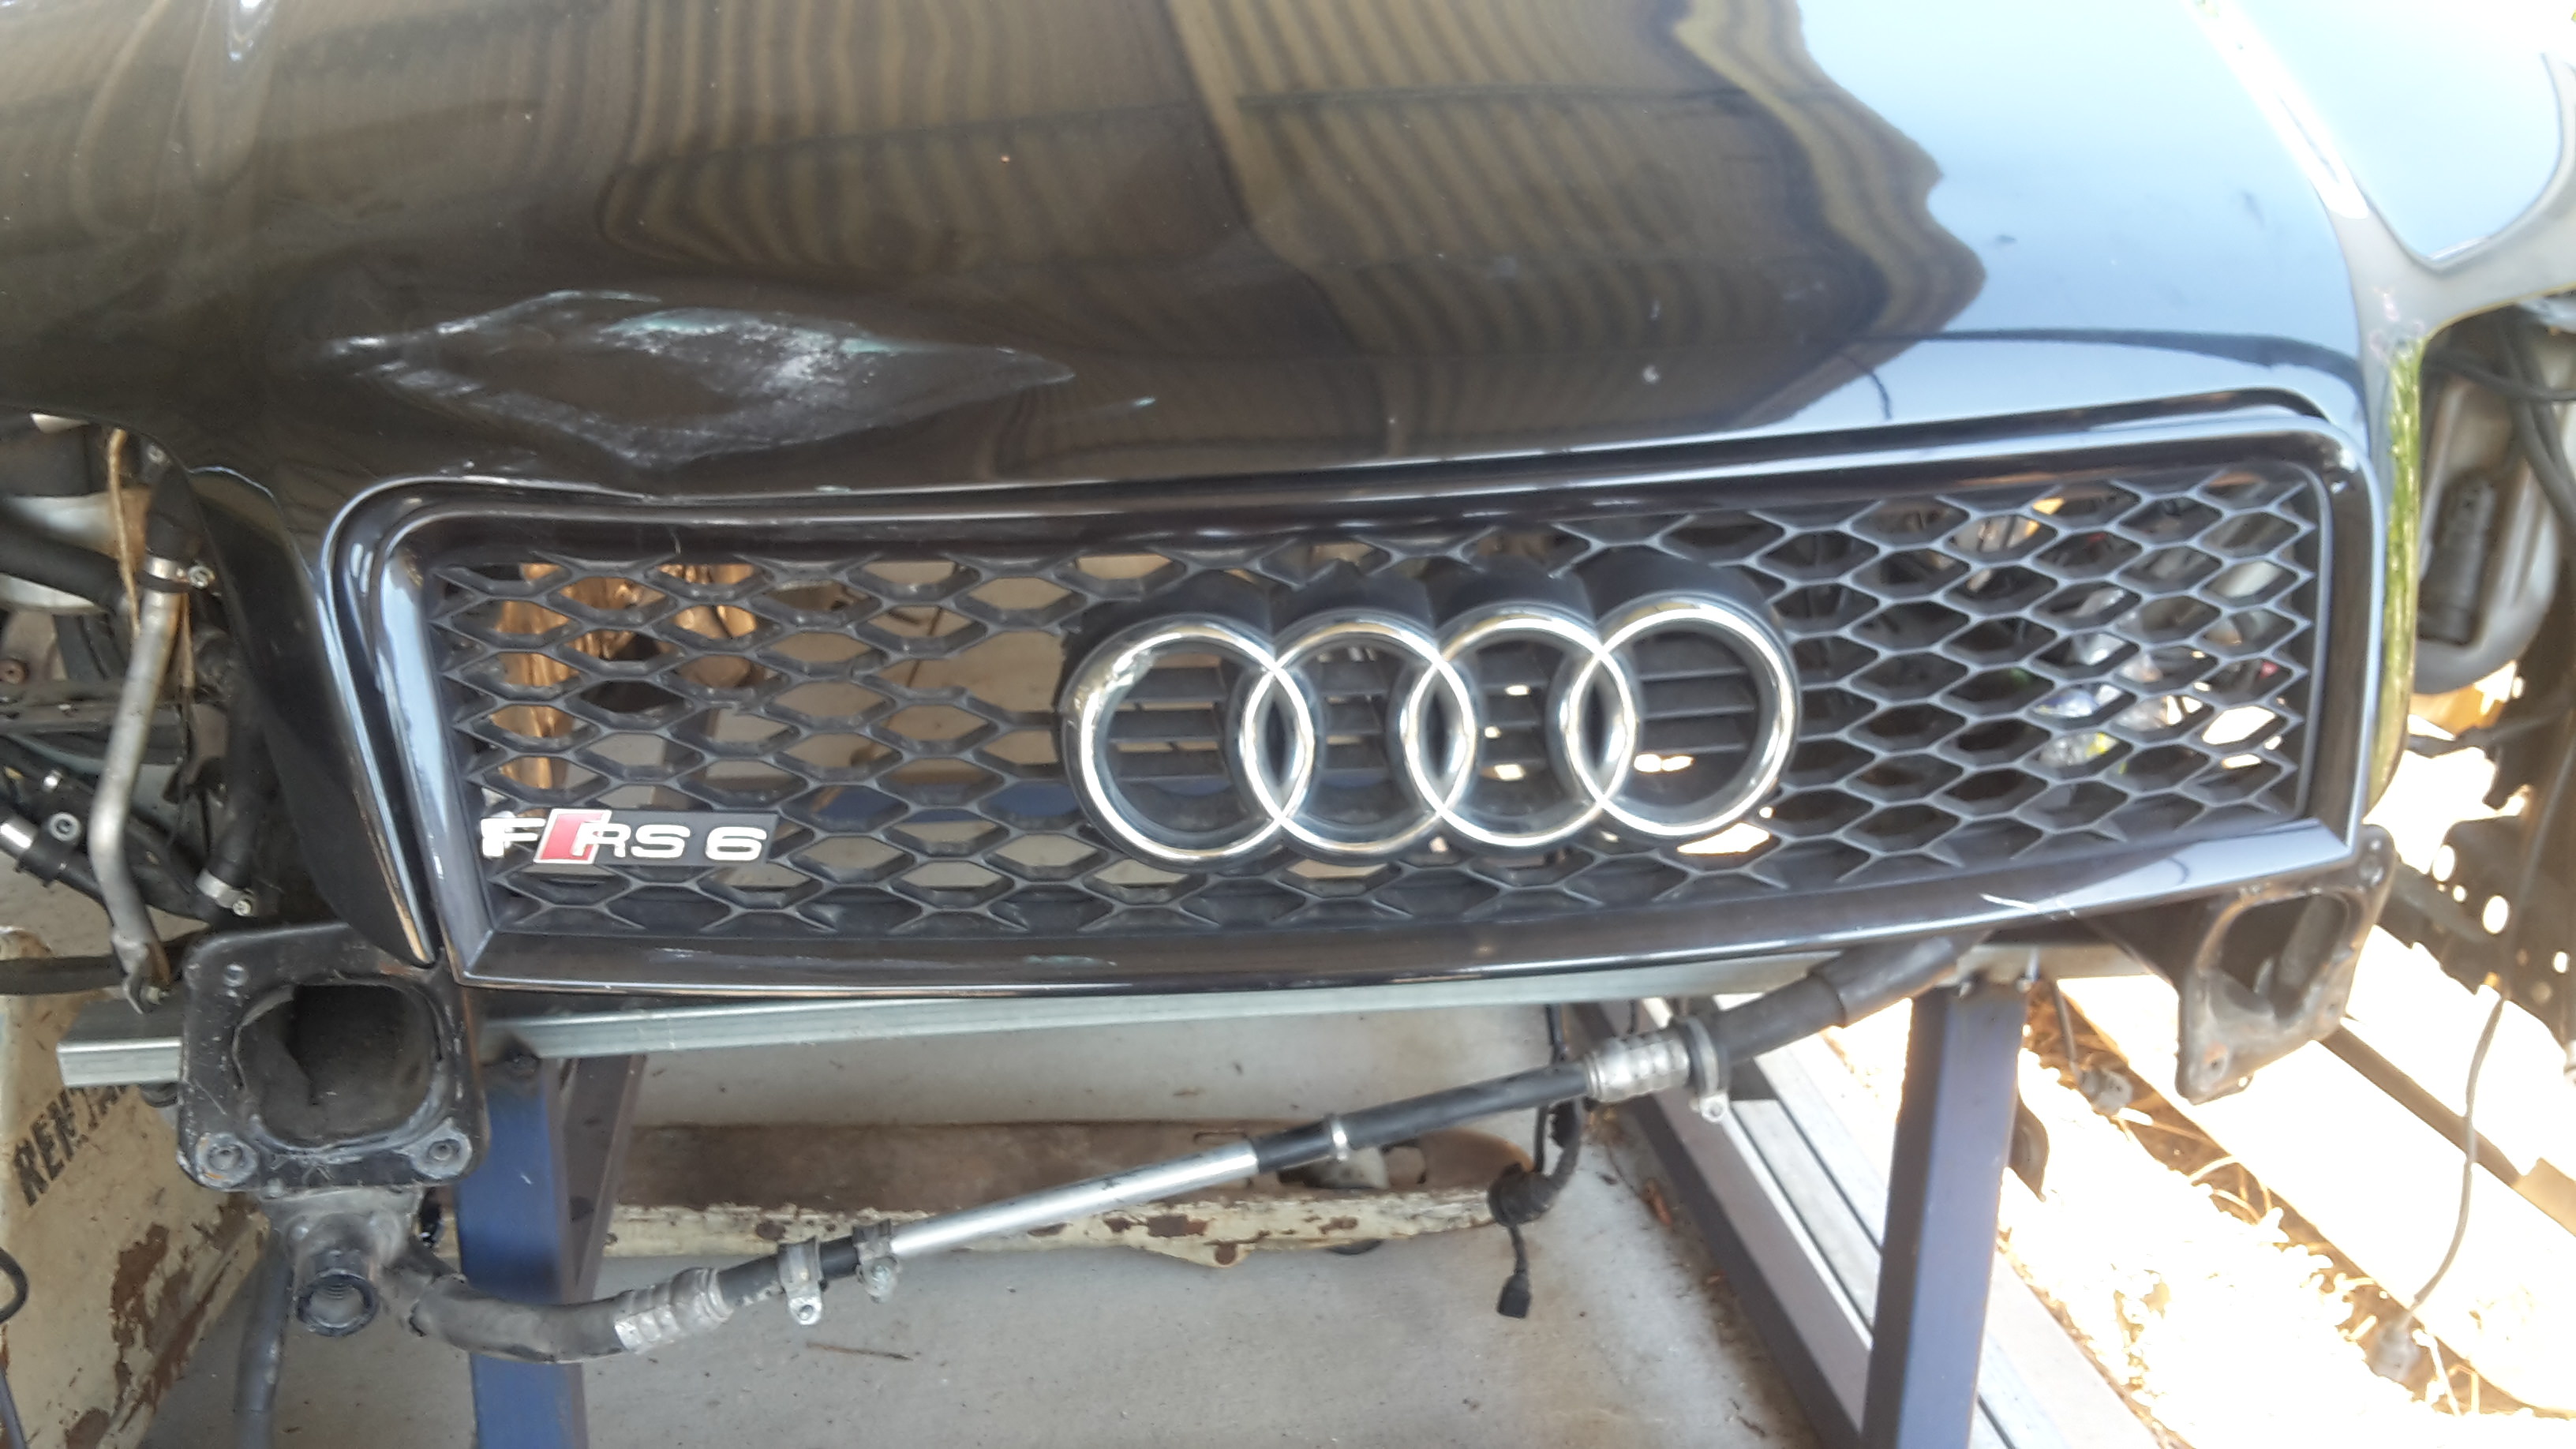
The rear badges though are much larger

I really don't mind the font and colour you have used in the rendering. I wonder if 3D printing that out in a similar coloured plastic would work?
-
12-14-2017 #75
Registered User
- Join Date
- Feb 2005
- Location
- Minneapolis, MN
- Posts
- 195
Yeah, my idea for modeling it would be to 3D print it. If going with the 1950 style, I could add the 2 pegs to push it in, and connect the letters. 3D printing the 1952 style would be a lot more work, I think that trim is quite a bit longer. Some places can even print metal, and some can do partial metal, could be cool.
12-14-2017 #76
Registered User
- Join Date
- Nov 2017
- Posts
- 129
Yeah, you can have it CNC as long as you use the right format for their CNC software. Would be really cool in metal Originally Posted by brawls43
12-14-2017 #77
Registered User
- Join Date
- Feb 2005
- Location
- Minneapolis, MN
- Posts
- 195
3D prints can make molds if you want to cast it yourself too. Could do a brass casting then chrome it even. And yes, could transfer it to a .dxf file for cnc milling as well.
12-14-2017 #78
Registered User
- Join Date
- Dec 2014
- Posts
- 188
I think you guys have said it now, CNC. I have a mate that does CNC. Next time I catch up with him I'll have a chat.
I haven't done much in the last week as I had to repair the clutch in my daily driver and now since then it has been very hot. It was still 47°C here at around 6pm yesterday. Today is meant to be cooler so am hoping to get some more done.
12-14-2017 #79
Registered User
- Join Date
- Dec 2017
- Posts
- 61
It's snowing here! I had to put my plow on and clear a few driveways today. It's a balmy 15*F (-9C).
1951 Ford F1, 1967 RS Camaro, 1979 Firebird Formula, 1979 Trans Am/LS swap.
12-14-2017 #80
Registered User
- Join Date
- Aug 2008
- Location
- jacksonville,fl
- Posts
- 970
See no reason why you couldn't fit a bed long enough for the bike. I'm out of touch with modern bike dimensions, but even a 6' bed should be able to fit 2 of your bikes. One little thought I just had since you're likely to have a wood plank bed floor anyways is to design 1 board to clamp or lock into place & easily be pulled off & used as a ramp. That way you always have a ramp with you. Could also have a board hinge up sideways for under access if that could have a use.
On letters , if plastic chrome may suffice, there are plenty of decent universal aftermarket letters available. At local parts chain stores over here, pilot is one name brand , letters are about 1 1/4" tall, less than 2 dollars each in stock, so you may see something in your area.https://www.google.com/search?q=plas...w=1607&bih=766
CNC stainless or aluminum would be cool though. I refer to stainless as poor man's chrome as any good grade can be polished to mirror finish & stay looking that way.
A few googles for ya.
https://www.google.com/search?q=plas...w=1607&bih=766
https://www.google.com/search?tbm=is...h=766&dpr=0.85
https://www.pinterest.com/pin/245868460879375856/

 Reply With Quote


