

Results 1 to 20 of 62
Thread: project moth ball.... 71 nova ss
-
01-04-2015 #1

 Registered User
- Join Date
- Dec 2006
- Location
- Petersham ,ma
- Posts
- 522
project moth ball.... 71 nova ss
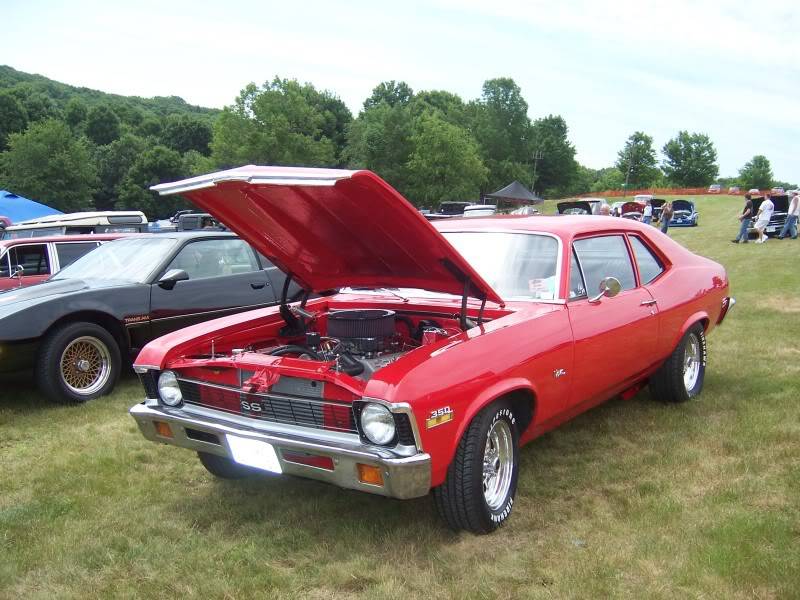
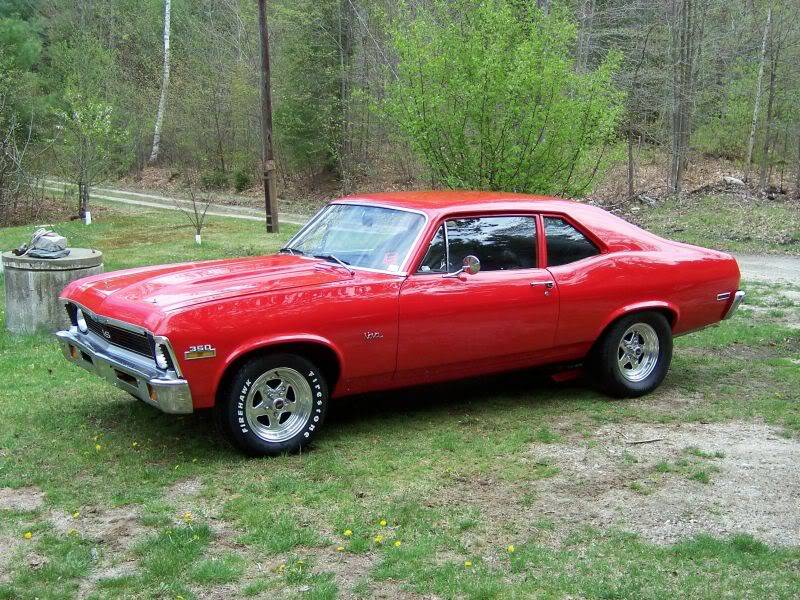
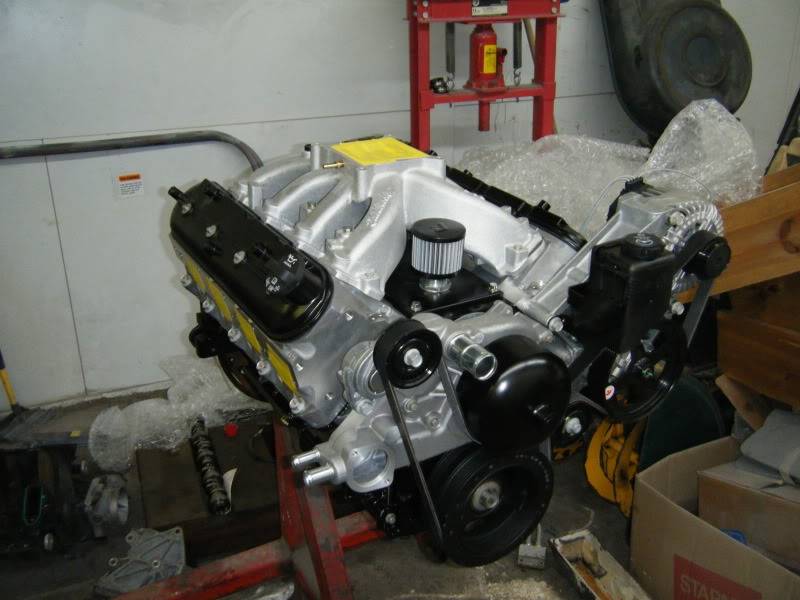
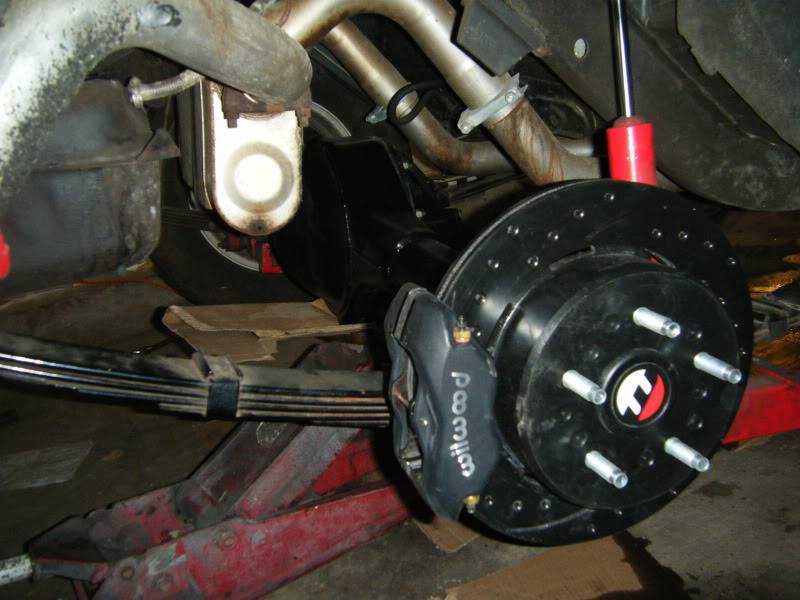
Ok guys so here's the run down I am back on track with my nova. I have owned my nova since I was 15 and was once my daily driver in high school. It been through many stages in it life . Any way short story is in 08 I took the small block / 6 speed/ 12 bolt out and built a 9" with a strange center Detroit Tru track 4.10's, Moser axles and 12" will wood disk brakes. I kept the d&d built t56 a d built a 6.0 lq4 with ls3 heads and carb intake. Smoothed the fire wall and that was it. ...it's been sitting since collection dust.
It been bothering but I've been so busy running my body/mechanical shop I just didn't have the time to finish it and I've been really wanting to pro tour it. So in august I got I touch with dale at schwartz performance and Matt classic bowties for the remainder of my major parts. Dale hooked me up with a full ride tech stage 2 coil over suspension front and rear, 13" front brakes and master by willwood to match the rear and aaw wire harness. MCB hooked me up with dse mini tubs , and weld in sub frame connectors .
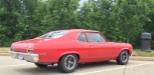
Here is how she looked before I took it apart in 08
Here's the 6.0 I built and set in 08
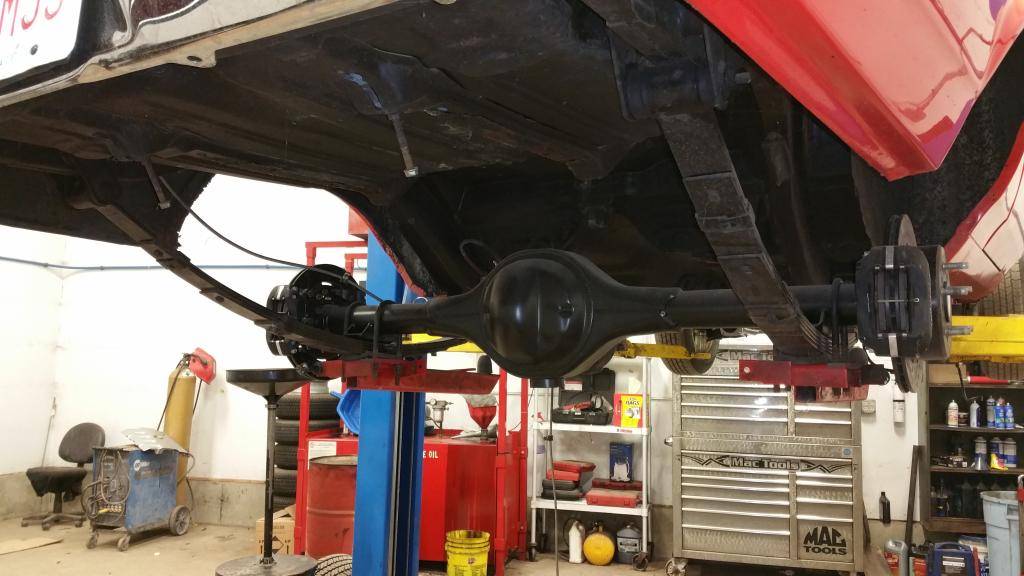
9"Rear end
And until recently this is how it's been sitting since....

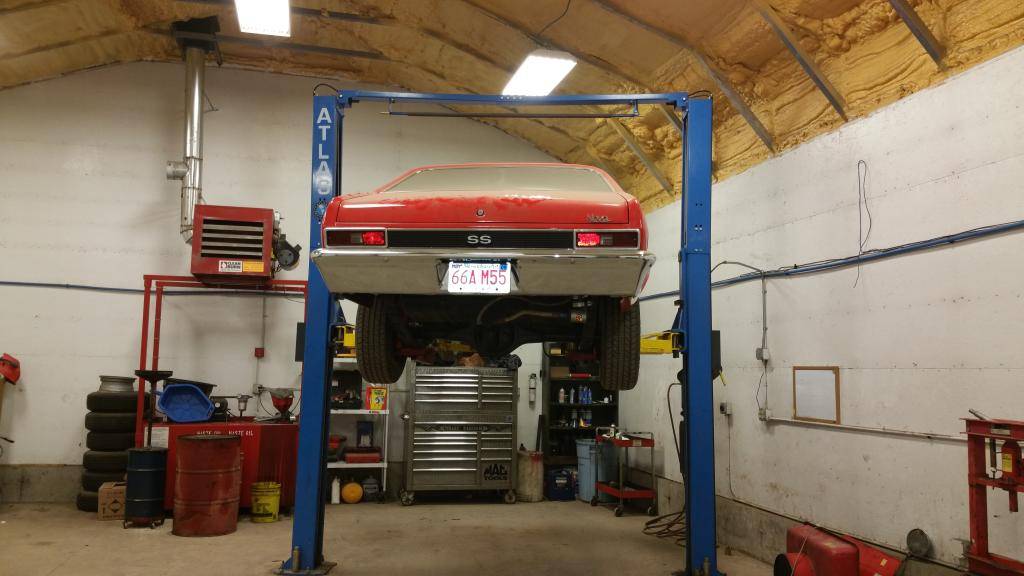
Fast forward to this weekend ..got her up on the lift
Next fuel tank and stock leafs need to go....
Lotta parts!
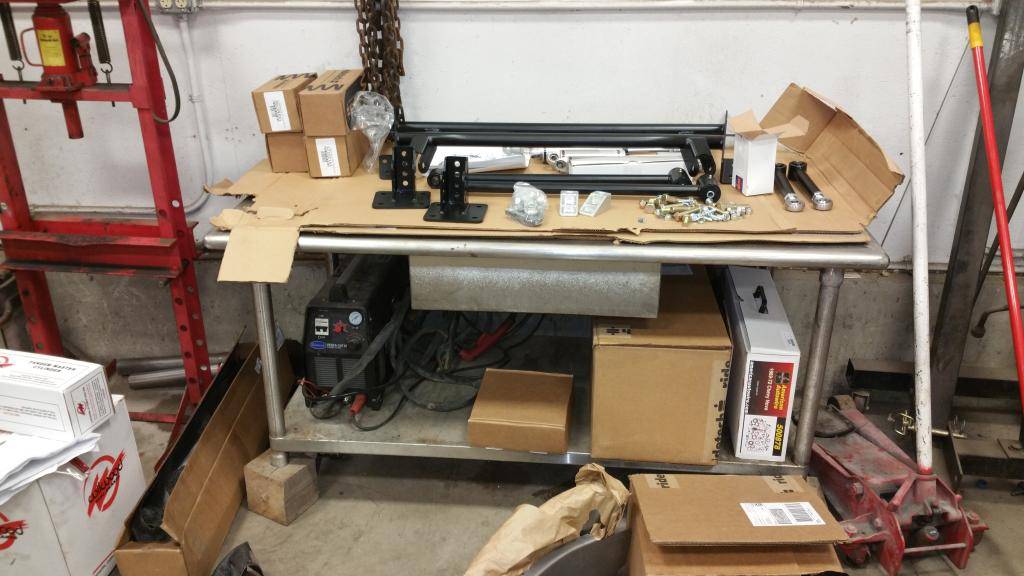
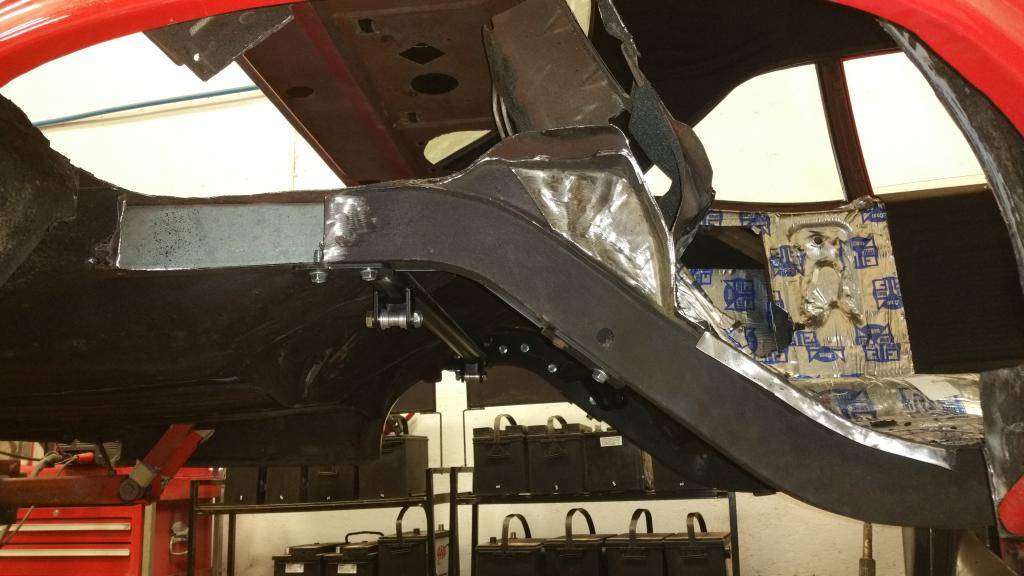
Start of the ridetech air bar install
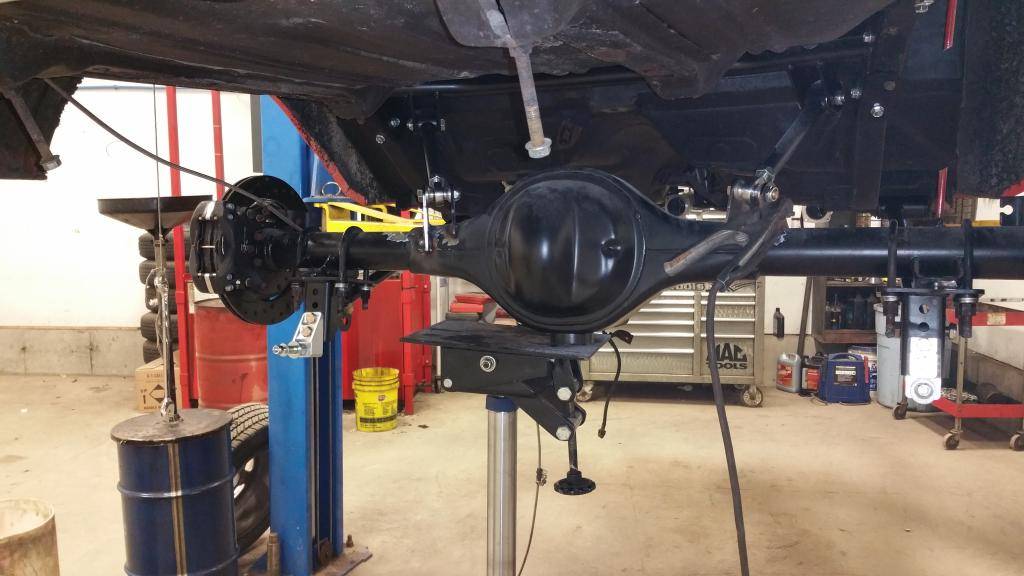
And finally rear suspension done....
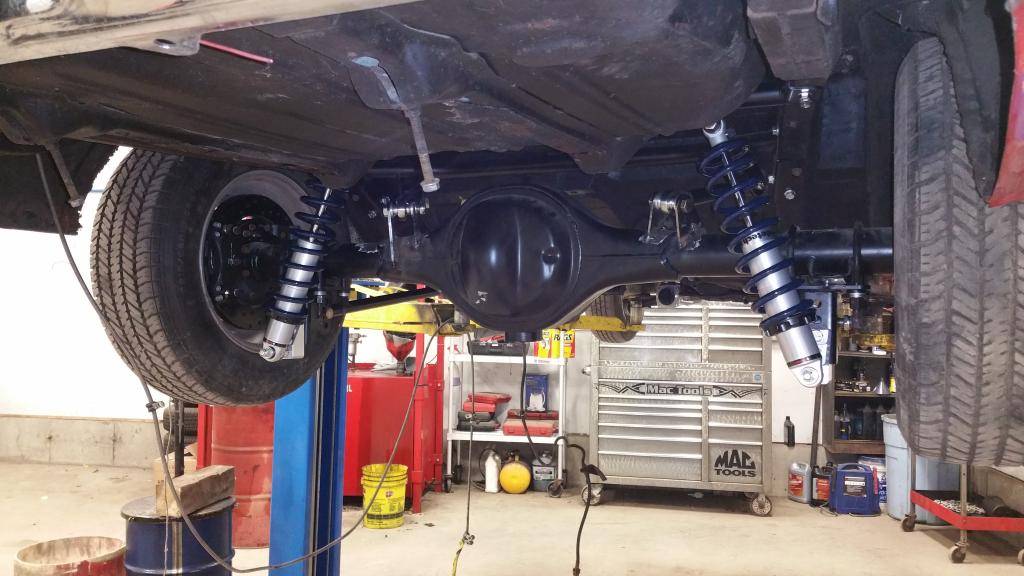
Back on the ground....sitting much lower!
So far that's it....my plan this week is to get the dse sub frame connectors in hopefully then next week end get the sub out and get it on the rotisserie and start the mini tub install.
What you guys think? Friend of mine says I should change the color but I'm on the fence it's been red for so long .... that's a minor decision at this point any way...lol
-
01-05-2015 #2
Registered User
- Join Date
- Jun 2013
- Location
- San Diego
- Posts
- 275

I vote keep the red.
From the pictures it looks like its in great shape.
01-05-2015 #3
Registered User
- Join Date
- Dec 2006
- Location
- Petersham ,ma
- Posts
- 522
I am partial to the red ...just because its been red since 1993...
the car is in pretty good shape , it was last done over in the mid 90's, worst part is the doors they have a few small bubbles ....it will be getting new doors.
01-06-2015 #4 Registered User
- Join Date
- Jan 2010
- Location
- Sunset, Texas
- Posts
- 79
I vote for red.
01-07-2015 #5 Registered User
- Join Date
- Apr 2010
- Location
- PHX, AZ
- Posts
- 71
glad to see you back at it after sitting for so long! I'd get everything else taken care of before tackling paint/body. Besides, it looks like it's in much nicer shape than mine!
01-08-2015 #6
Registered User
- Join Date
- Dec 2006
- Location
- Petersham ,ma
- Posts
- 522
To me paint is the easy part ( I own a body shop)...which sounds ds good but it's a busy collision shop so it's always tough to find time to work on my own stuff lol.
I decided to lay off on my other usual winter activities like snowmobiling and hunting to get her done.
02-01-2015 #7
Registered User
- Join Date
- Dec 2007
- Posts
- 134
Hmm this feels familiar. Nice car! Subscribing.
72 Nova. Just trying to make a modest little driver.
Phil Collins build thread - 6.0 LS / T56 magnum
https://www.pro-touring.com/threads/...or-all-my-life!
02-01-2015 #8
Registered User
- Join Date
- Dec 2006
- Location
- Petersham ,ma
- Posts
- 522
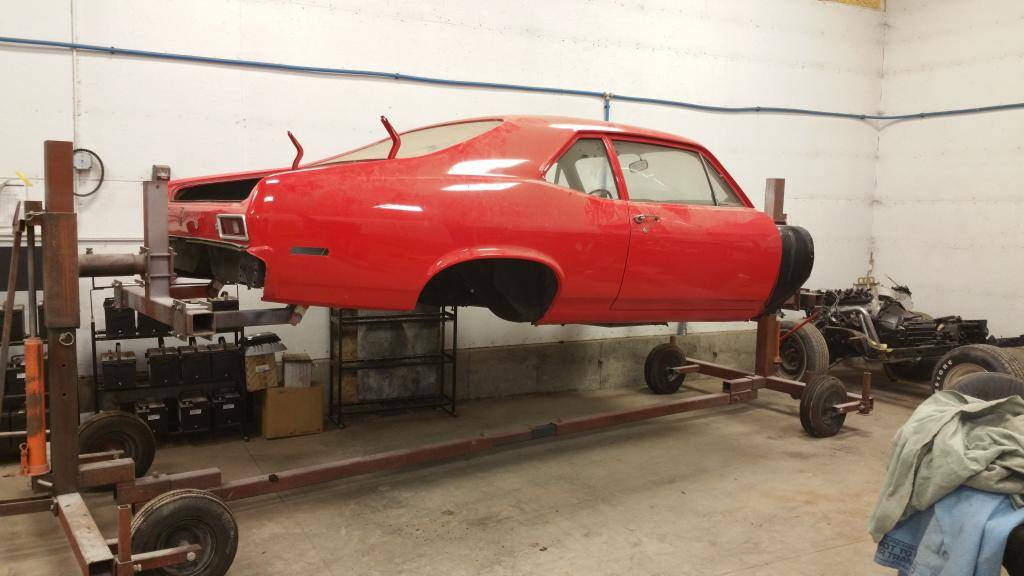
Another quick update ....been working on the nova pretty steady.
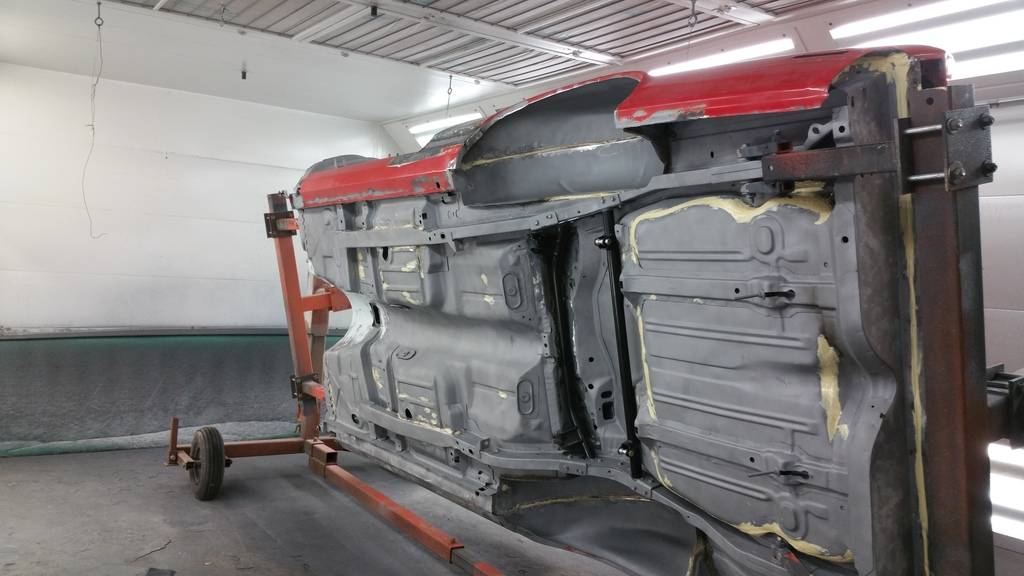
Stripped down and on the rotisserie
Got the dse sub Fram connectors in ( sorry no pics). Next time for dse mini tubs
.....out with the old

Notch time.....
All in mostly...still have to do some welding on the drivers side.

02-01-2015 #9
Registered User
- Join Date
- Dec 2006
- Location
- Petersham ,ma
- Posts
- 522
Let me tell you ...coming from a body guy these mini tubs are kinda a pia...very time consuming for 3"!
02-20-2015 #10
Registered User
- Join Date
- Dec 2006
- Location
- Petersham ,ma
- Posts
- 522
So Making great progress. Been at it when ever I can in between collision work and out regular towing and mechanical stuff.
Finally done with welding of the mini tubs and the sub frame connectors.
[URL=http://s78.photobucket.com/user/deerslyr1/media/20150207_134027.jpg.html] [/URL
[/URL
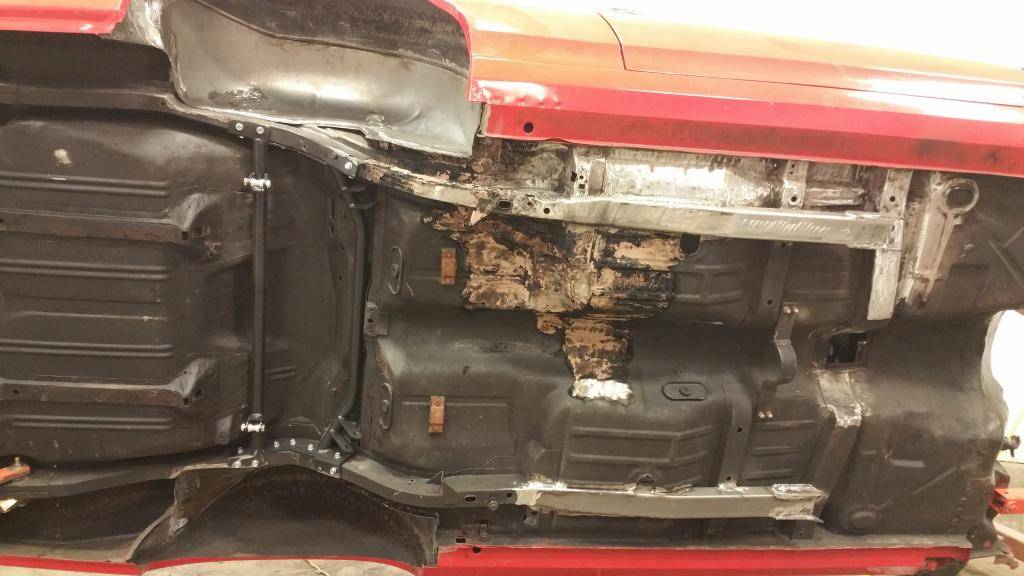
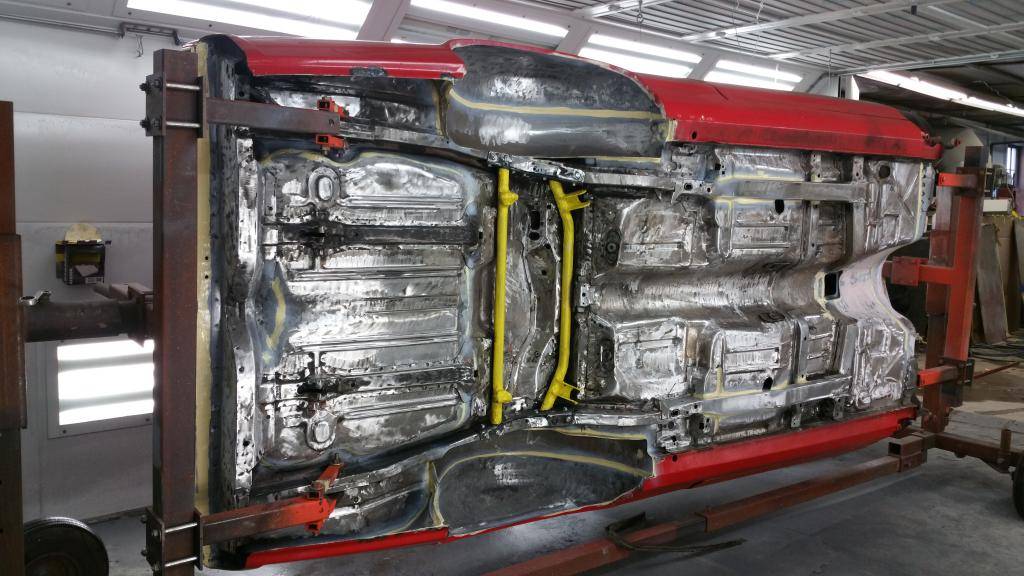
Next was the worst....stripping off the old undercoat. About 20something years ago I had the cars floor pans sandblasted I then etch primed and undercoated....as u know undercoat doesn't do well with fuel oil and heat so off it comes....no such thing as sprayable bedliner back then. The old undercoat was still very soft and would clog anything I threw at it in short order. So torch to the rescue .....lightly run over it and it peeled off/dried out enough that I could grind it off.
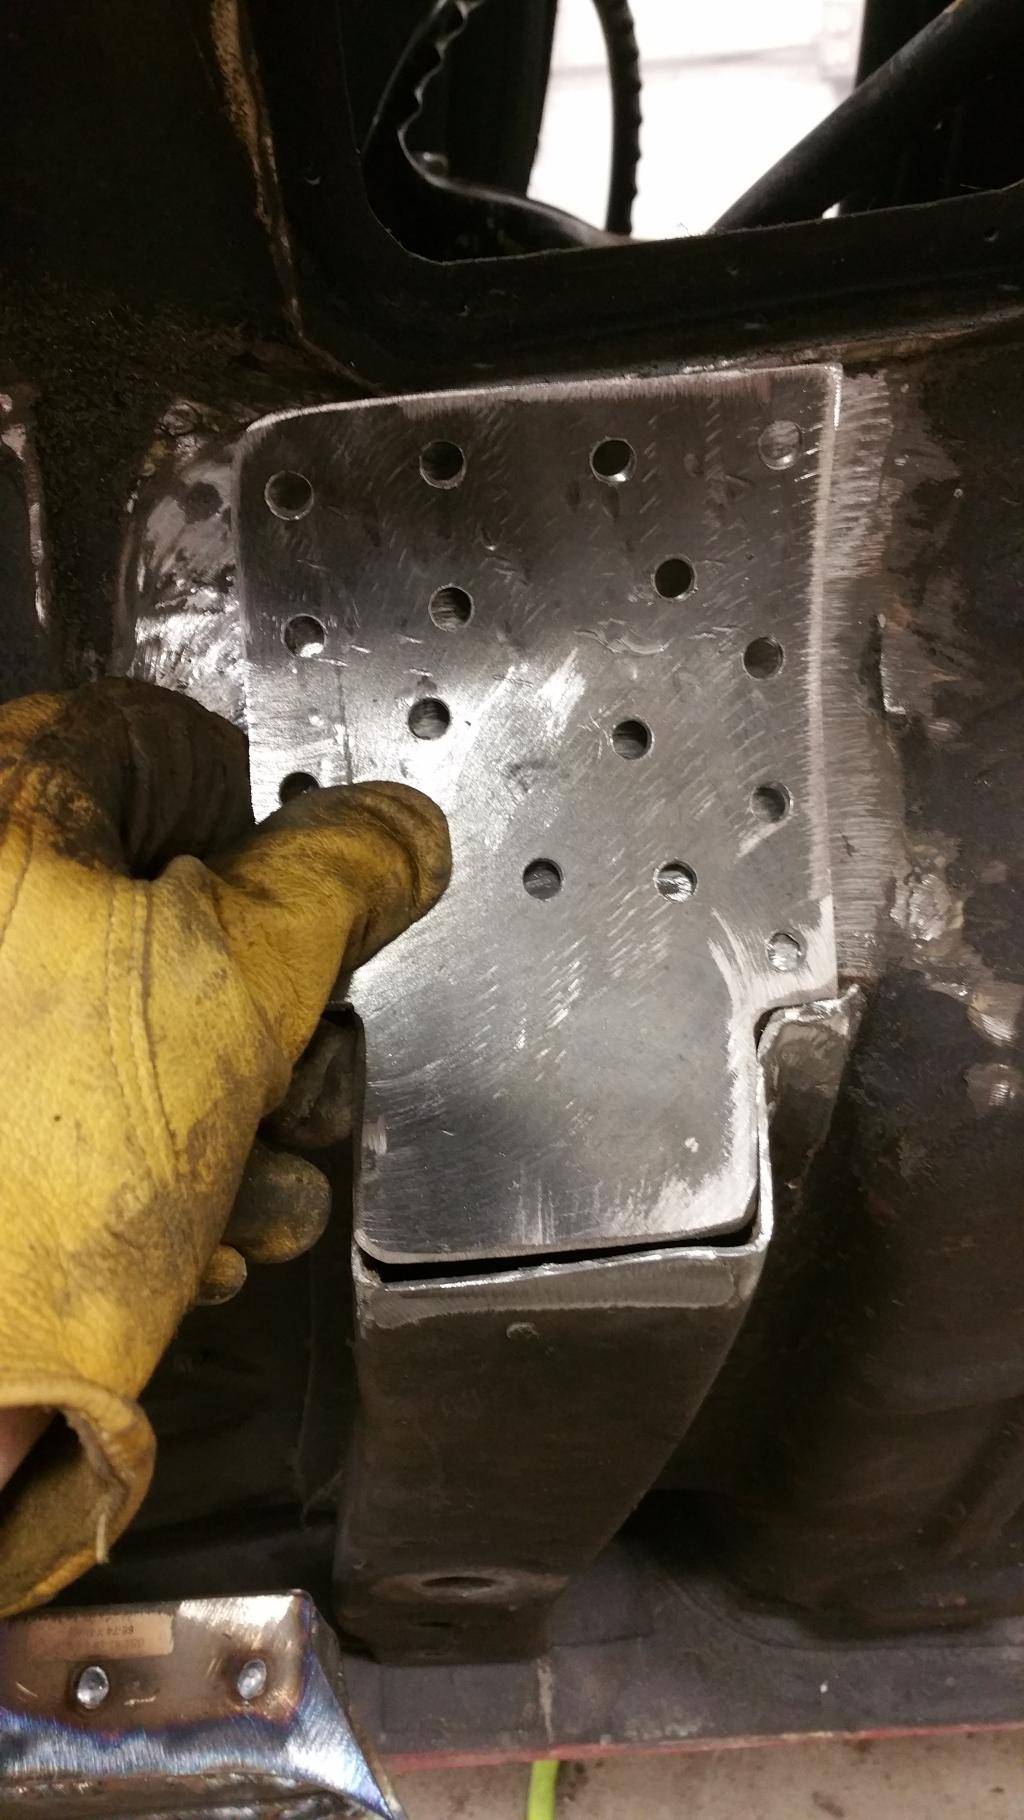
Then anyone that has put a t56 into a nova knows you have to cut the floor crossmember, I never like how it looked so time to fix that
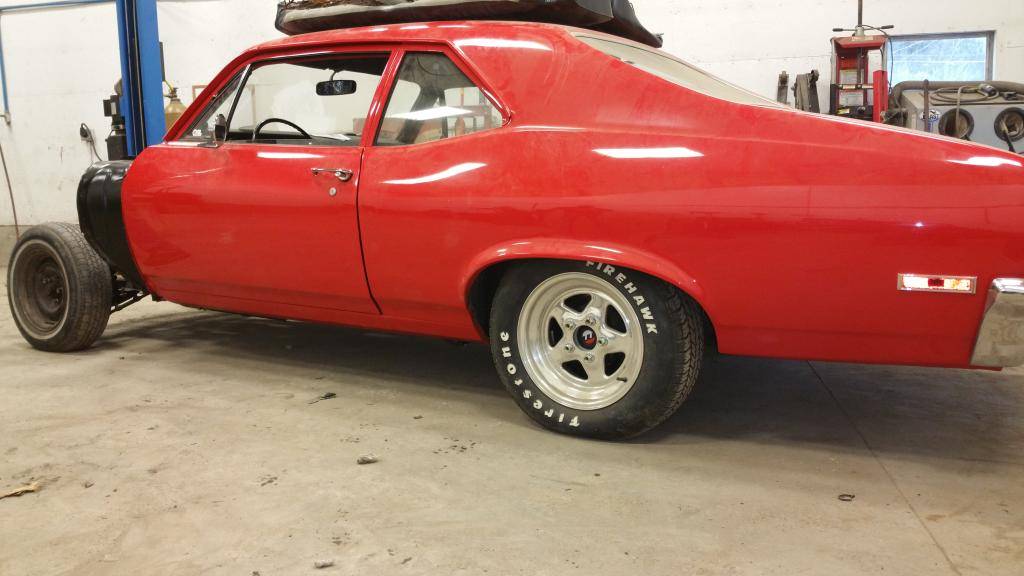
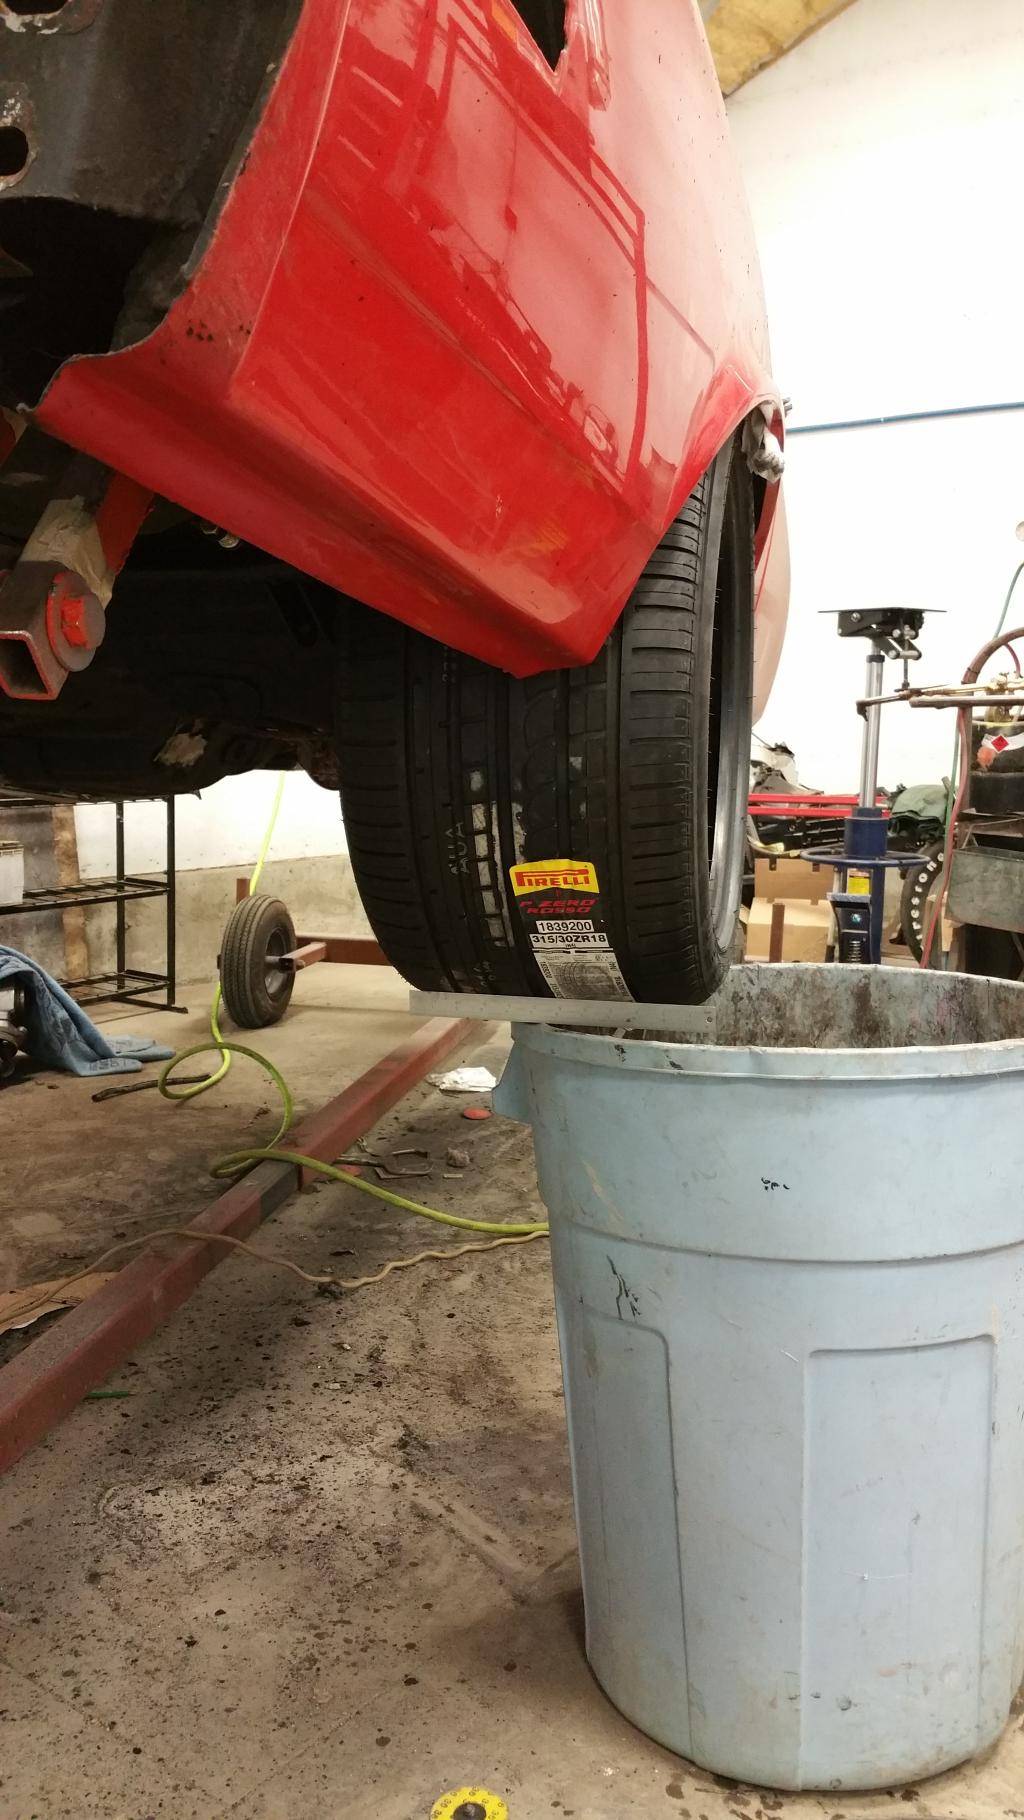
So....I got my tires(wanted to have them on hand for mock up for when I order rims) being that I wanted a 315/30/18 In the back I was pretty limited on choices and I didn't want a full track or drag tire so I went with the pirelli's I stay ed conservative an the front and got 245/40/18's. Here's the money shot
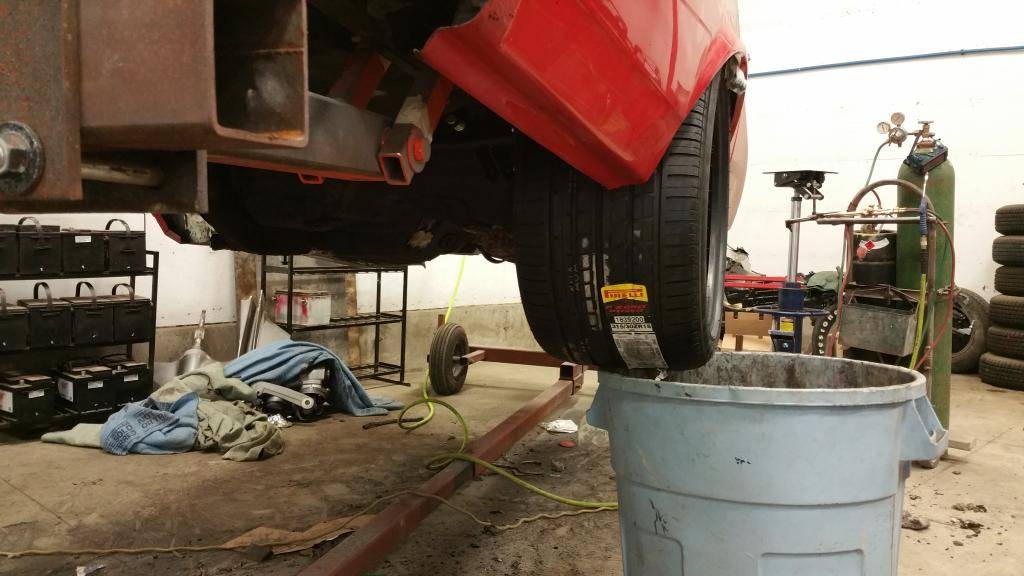
They fit really well I have atleast 1-1.25" on either side of the tire...almost think I could of squeezed a 335 but that mighta been pushing it...
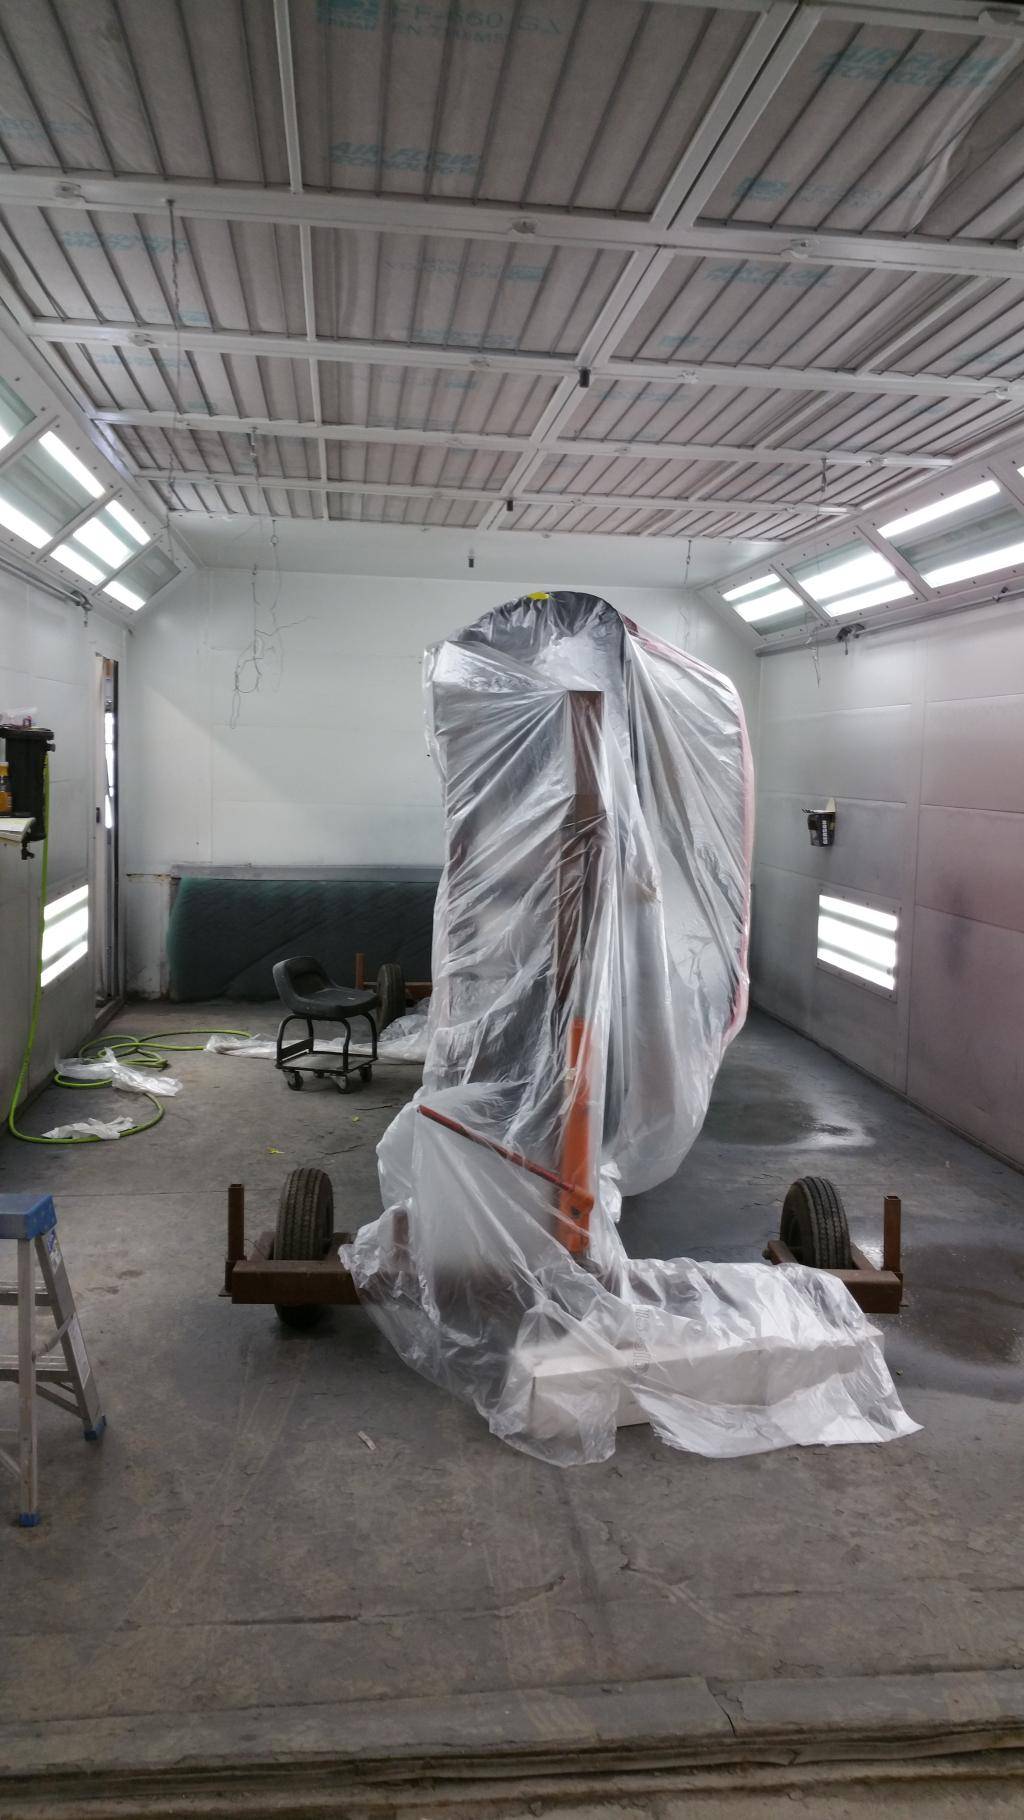
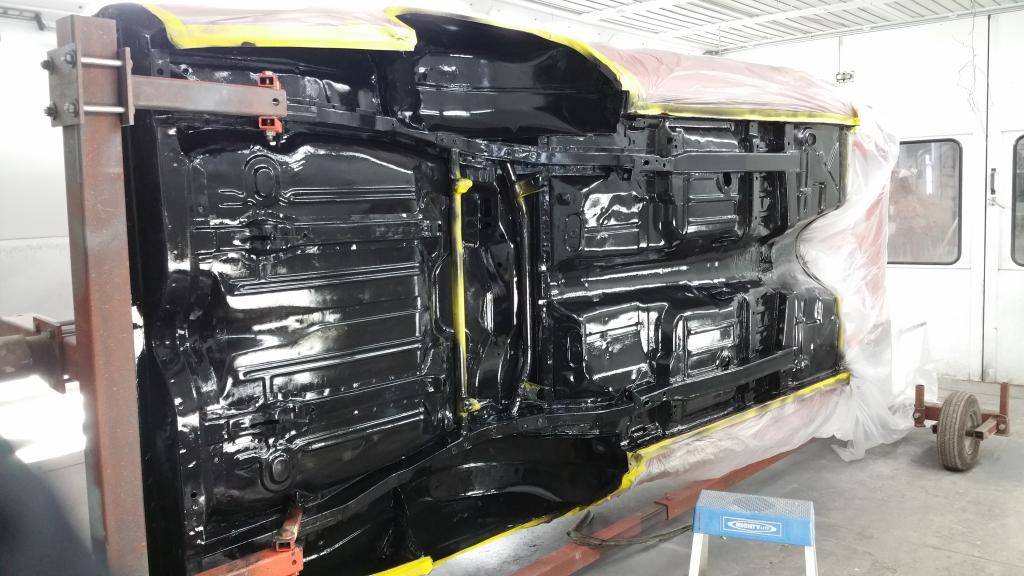
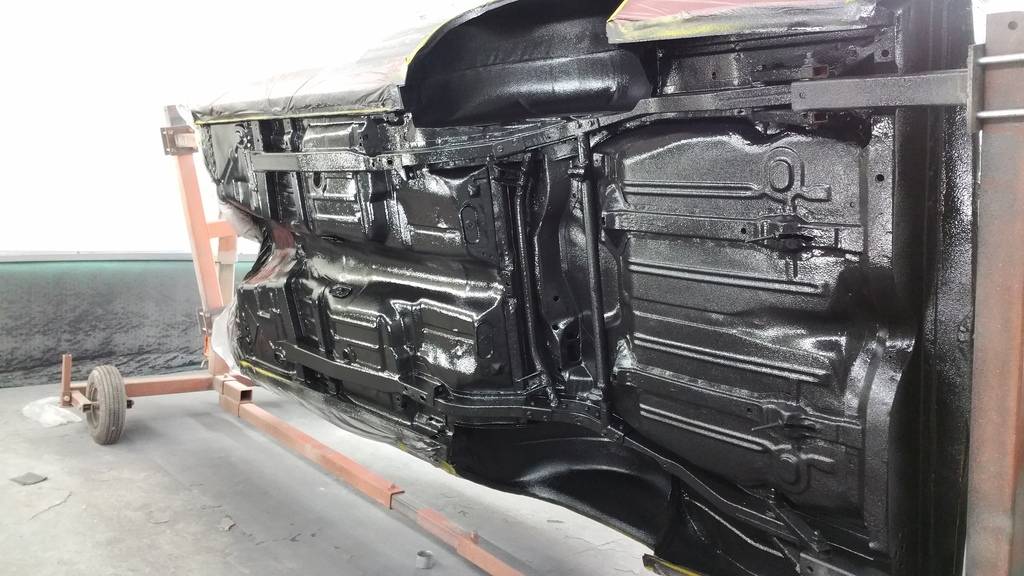
Next into the booth we go...
Next a quick coat of black epoxy primer for adhesion
Next the bedliner
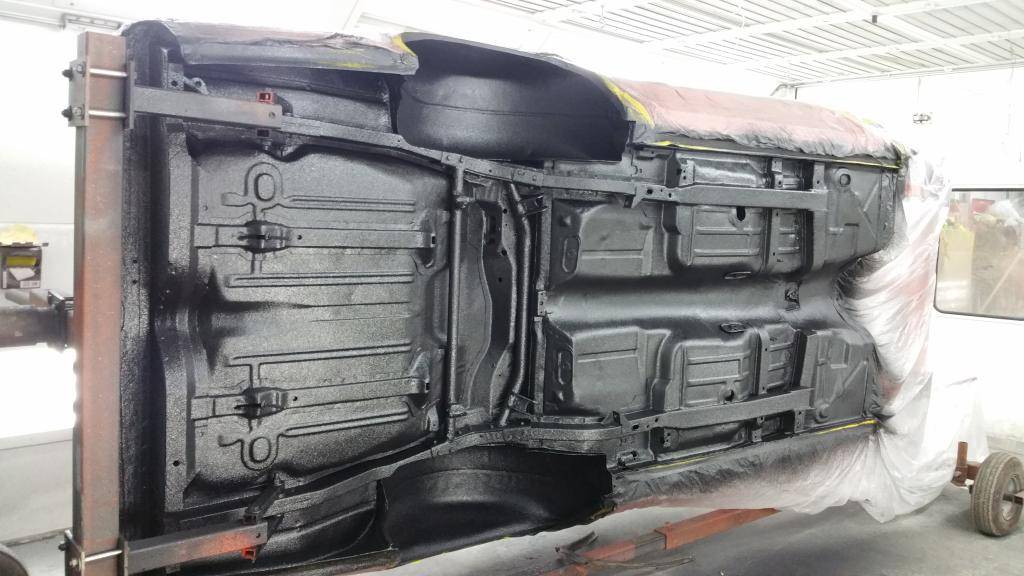
Too bad gm didn't do cars like this back in the day....there would be alot less rusty muscle cars!
Gonna let this cure up till end of weekend then I will liquid mask it to protect it during the rest of the body work ....which should go much quicker....
02-20-2015 #11
Registered User
- Join Date
- Apr 2013
- Location
- TN
- Posts
- 15
Looking Great. We all know that is a lot of work. It will be worth it in the end. Did you decide on a color?
02-20-2015 #12
Registered User
- Join Date
- Dec 2006
- Location
- Petersham ,ma
- Posts
- 522
I think I'm gonna stick with the red...gona black out the center of the hood and thinking of black out on top of door/qtr glass..... atleast that's what I'm thinking now. I'm one of those guys that not many colors get my attention....part of it is I'm partially color blind other is I see so many colors and cars roll though the body shop that after a while they are all just another color lol!
02-21-2015 #13
Registered User
- Join Date
- Dec 2007
- Posts
- 134
You have any pictures / mock ups of how you were thinking about doing the black accents? I've been kicking around blacking out my hood someday as tip of my hat to the old trans-am cars. Always thought the Nova would look amazing done up that way and have that design style in my head as a possible ultimate end goal for mine. Car is looking great!
72 Nova. Just trying to make a modest little driver.
Phil Collins build thread - 6.0 LS / T56 magnum
https://www.pro-touring.com/threads/...or-all-my-life!
02-22-2015 #14
Registered User
- Join Date
- Dec 2006
- Location
- Petersham ,ma
- Posts
- 522
No pics....just a thought. Gonna keep it simple and do t wanna make it all ghetto lol. I'm gonna do a wide stripe up hood at the body lines on the hood on to the cowel then black out door posts and window surrounds
02-26-2015 #15
Registered User
- Join Date
- Dec 2006
- Location
- Petersham ,ma
- Posts
- 522
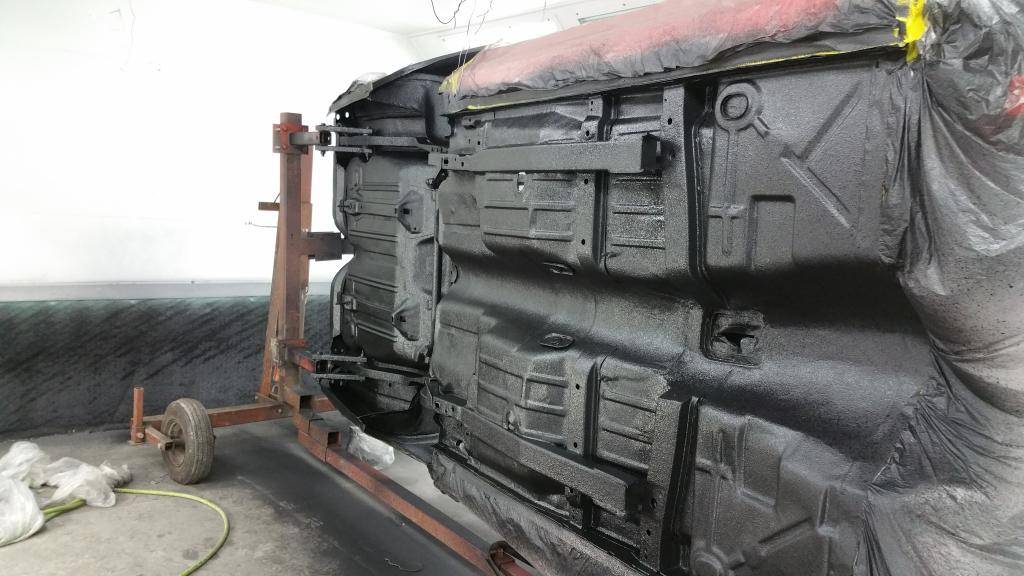
well major setback..... last night I was working on the nova and happened to look down and the bediner on the underside is coming off in sheets..... to say im pissed would be a understatement! I have applied 100's of bedliners on trucks and all sorts of stuff and never seen one delamb this bad /quick! waiting for my paint rep to show up now and for the products company rep. they are gonna pay dearly or its gonna big issues.
probally gonna have to have it sand blasted and completely redone......sucks!
02-26-2015 #16
Registered User
- Join Date
- Sep 2014
- Location
- Rochester, IL
- Posts
- 143
Sorry to hear about the set back but great work so far!! I'm looking forward to watching it come together.. subscribed
MikeMy 66 Chevelle build thread- https://www.pro-touring.com/threads/...elle-P-T-build
02-26-2015 #17 Registered User
- Join Date
- Mar 2000
- Location
- San Diego, CA
- Posts
- 339
Bummer about the set back. Car is looking great. Did you scuff the epoxy primer before spraying the bed liner?
Mike Schwartz aka chevymike
1955 Chevy 210 Wagon
1965 Chevy C10 Panel Truck
1972 Chevy El Camino
02-26-2015 #18 Registered User
- Join Date
- Nov 2005
- Location
- Houston,TX
- Posts
- 1,162
How was the ridetech install overall? Have you mocked up any exhaust/tailpipes at all to check clearance? Car is looking good and you are moving quick even with the undercoating setback.
71' Nova - LY6, T56
02-26-2015 #19
Registered User
- Join Date
- Dec 2006
- Location
- Petersham ,ma
- Posts
- 522
No scuff on the epoxy primer....wait for flash and shoot. We have been doing them like that for years. Epoxy primer stays open/chemical bond for 24-48 hrs.... any way sux huge. Had a jobber rep there today and sandblast company we use came out to look at it today as well.
The ride tech suspension went very well pretty straight forward. I am happy how it came out. I did not get to mock up any exhaust. I have a complete dynatech 3"stainless system for it....obviously I am gonna have to mod the tailpipes to fit around the ridetech suspension
Tonight seeing how I was at a little bit of a hold up on the body I stripped down one of the doors and peeled the skin off it. Gonna send the shells to the blaster before I skin them.
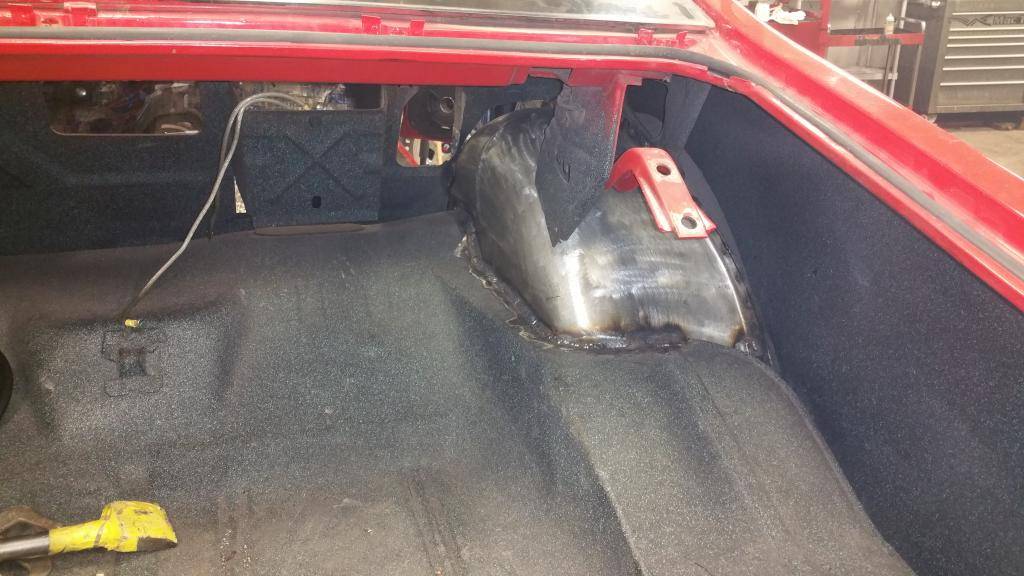
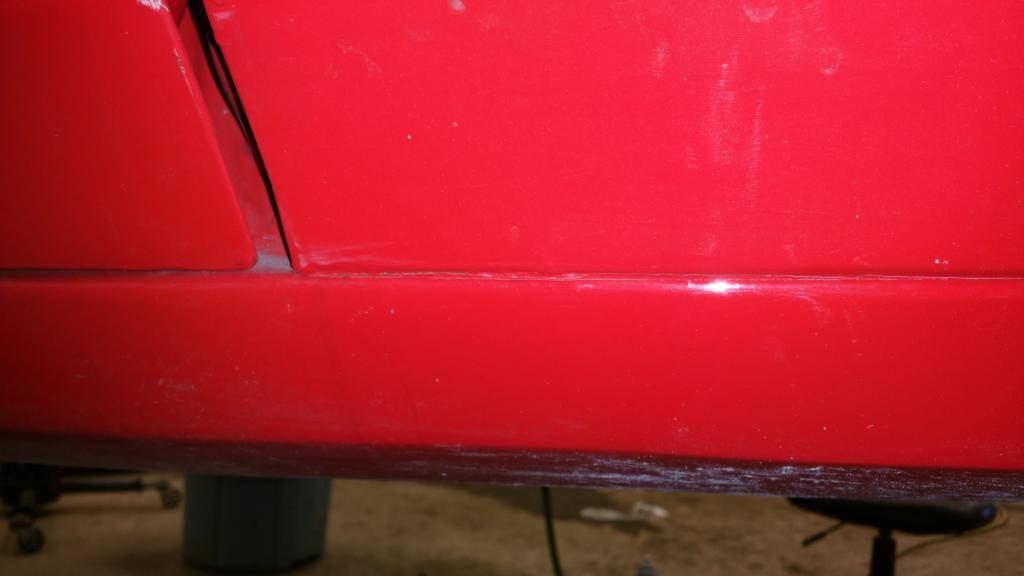
So....before I noticed the mess underneath I was finishing up the repair on the right qtr. Here's a pic of the left qtr (the right was the same.... back in 1992 my dad helped me hang my 1st set of qtrs on this car....they held up very well but apperently I had forgot to seamseal the qtrs at the seam where it meets the rocker. (Stupid 16 year Olds we were all at one time...;)....) anyway they developed some surface rust between the seam and only way to properly repair is to remove it
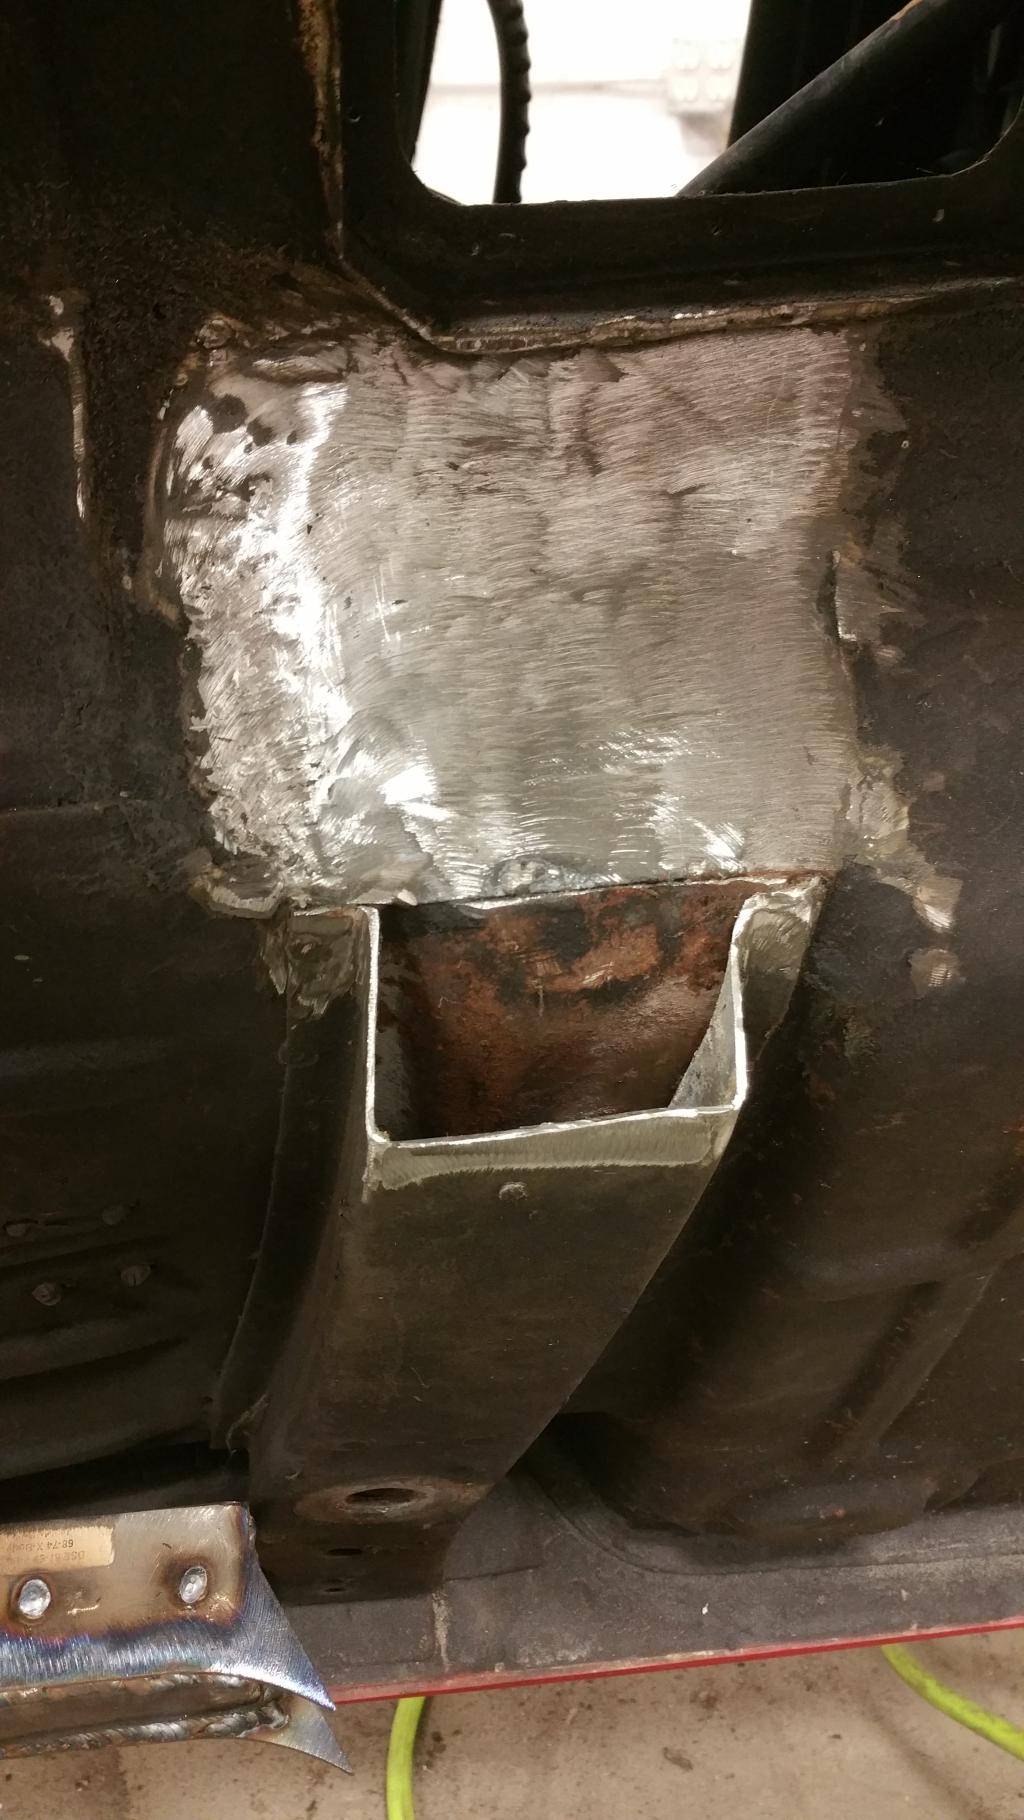
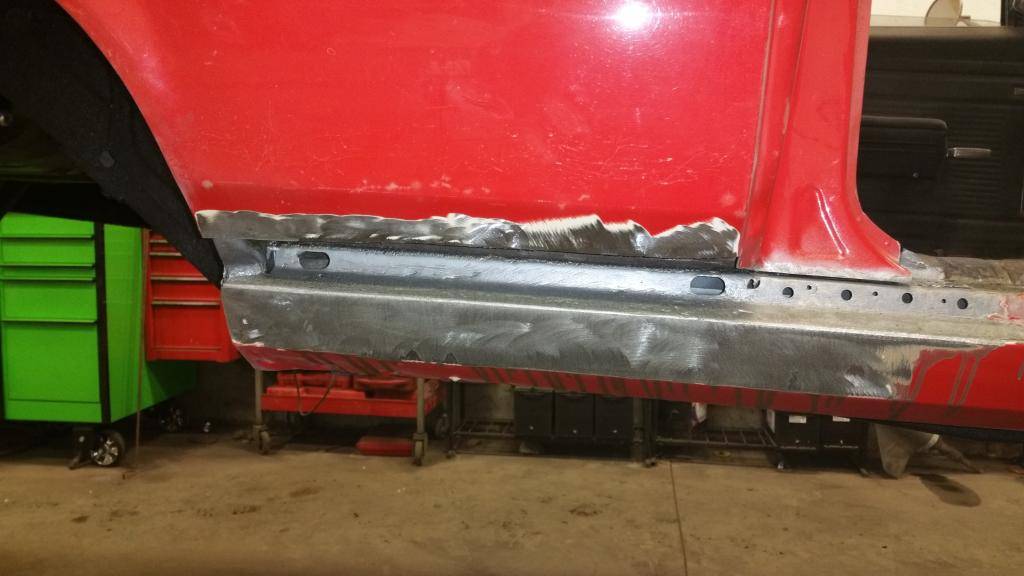
After the cut....all cleaned up sand blasted and coated with weld thu primer....
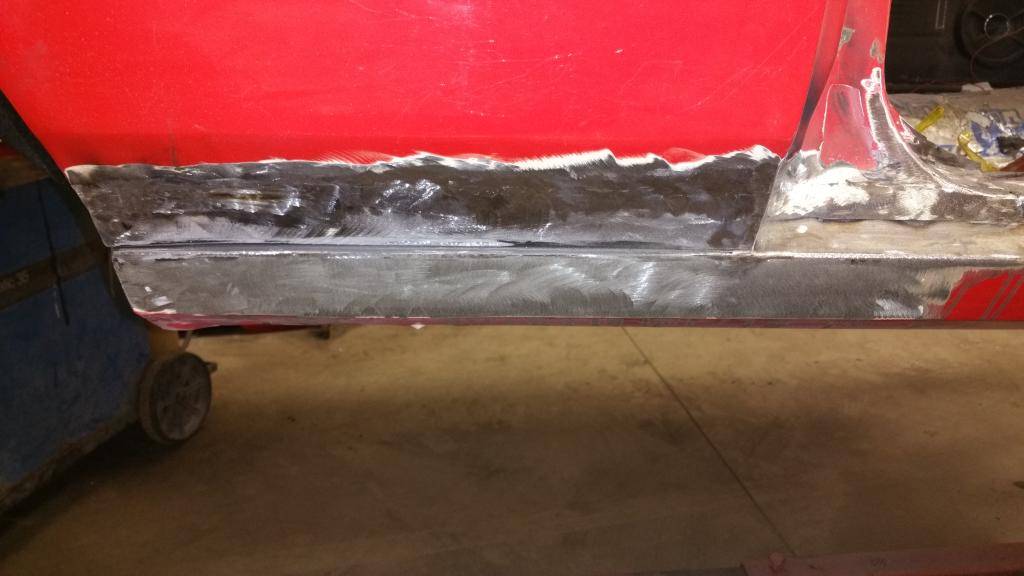
Next all back together ...did it I a more modern collision repair fashion...Seam was bonded with structural adhesive then top corners and sides welded back together...shouldn't ever be a rust issue again...
03-30-2015 #20
Registered User
- Join Date
- Dec 2006
- Location
- Petersham ,ma
- Posts
- 522
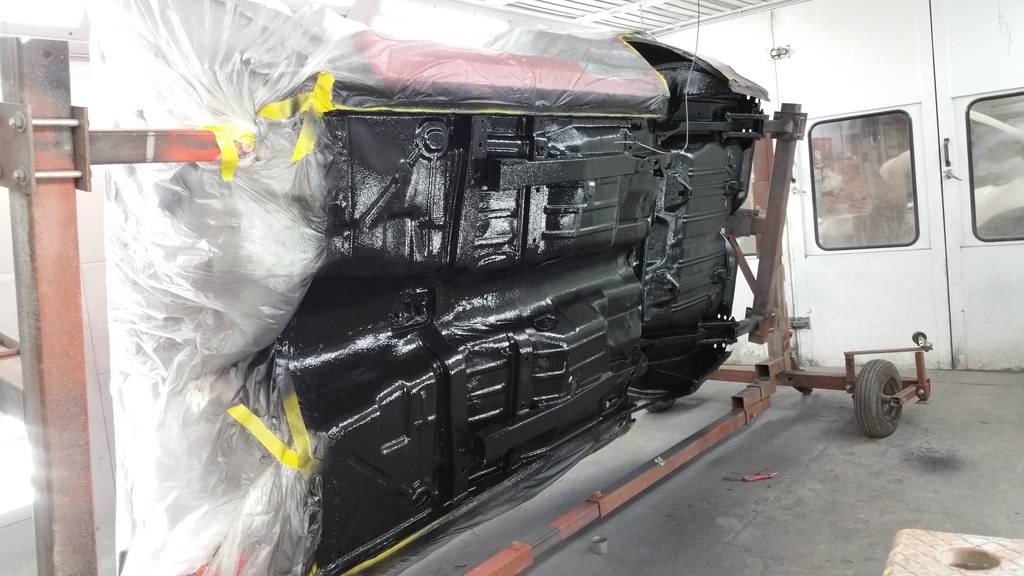
Ok update so after my set back of the problem with the underside peeling I sent it out to be blasted to start over,still waiting on lab results on exactly what caused it .....anyway
Then some epoxy and bedliner.....again (different brands)
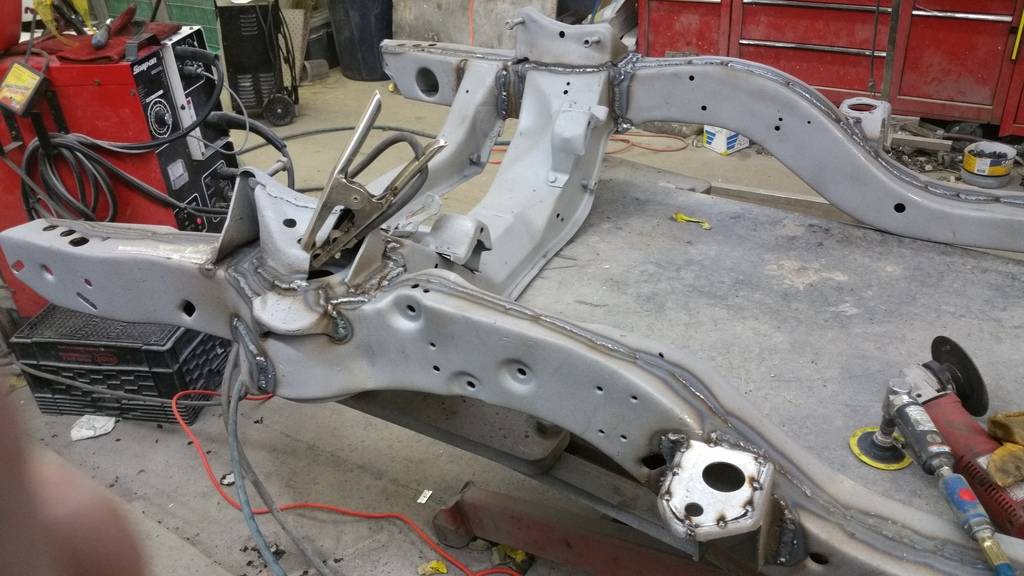
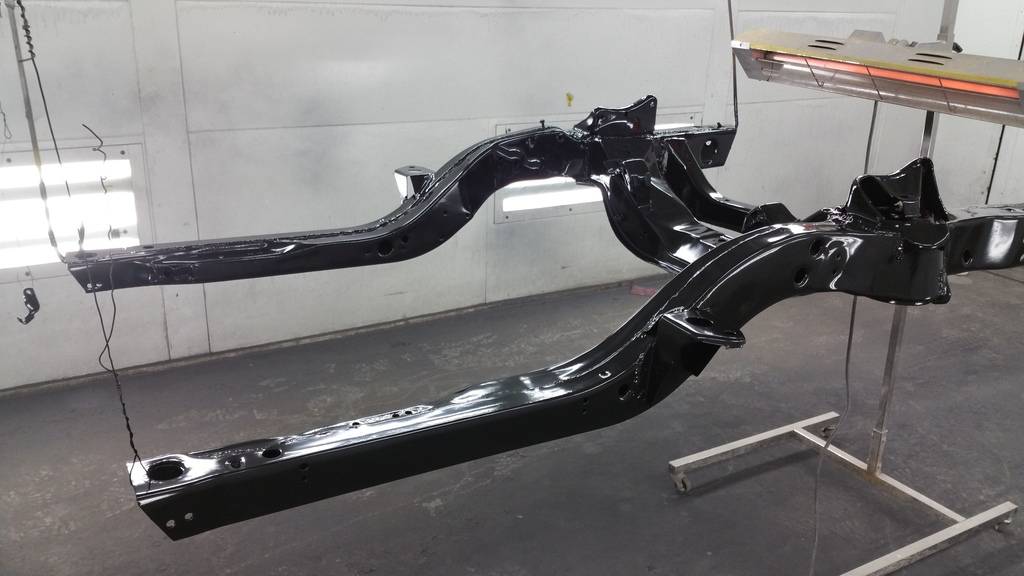
While at the blaster I also had them do the fire wall and sub frame. I then went at the sub with the welder and welded all the seams up solid and replace the top of the frame perches .

Then it was into the booth for a few coats of epoxy prime and fill prime.
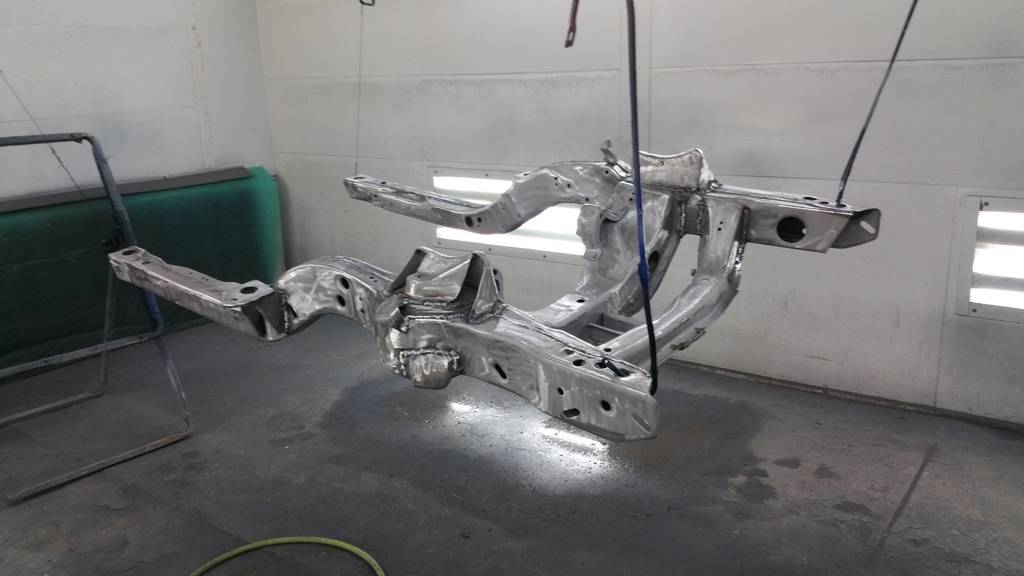
Then 3 coats of reduced gloss imron paint
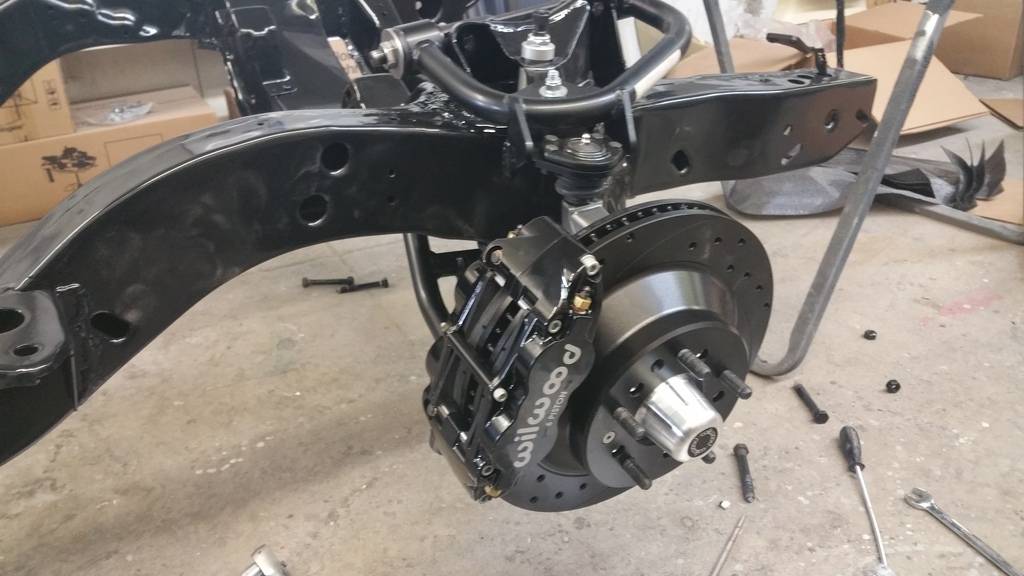
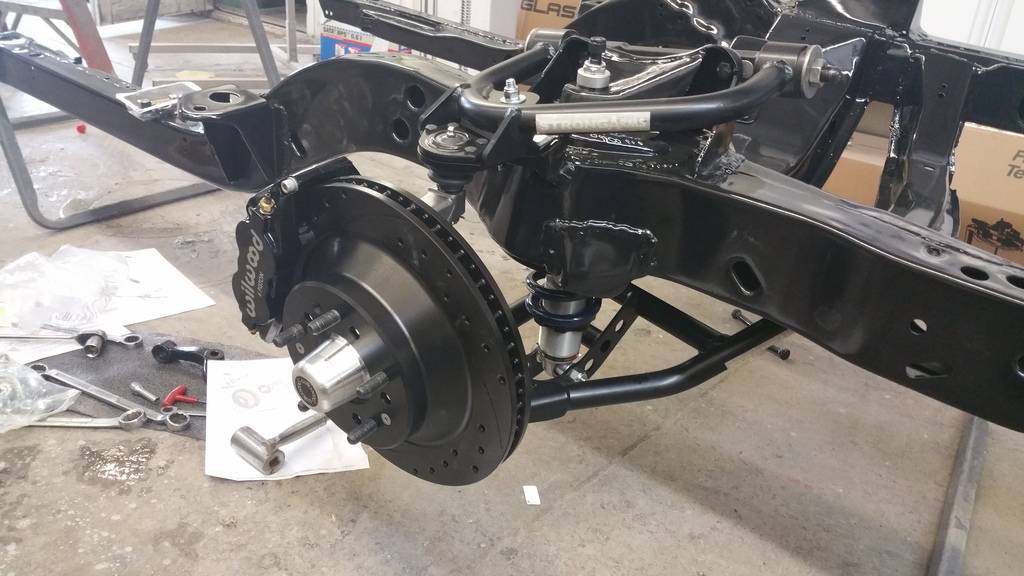
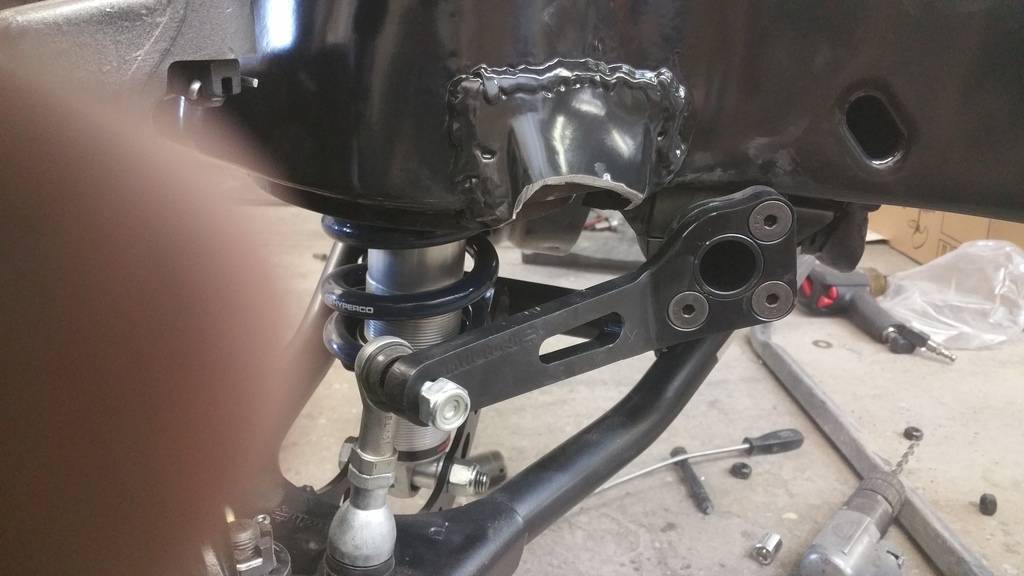
Then Sub assemble time.....ride tech coil over stage 2 and wilwood 13" brakes to match the rears.
Then comes the current snag.....the ridetech muscle bar
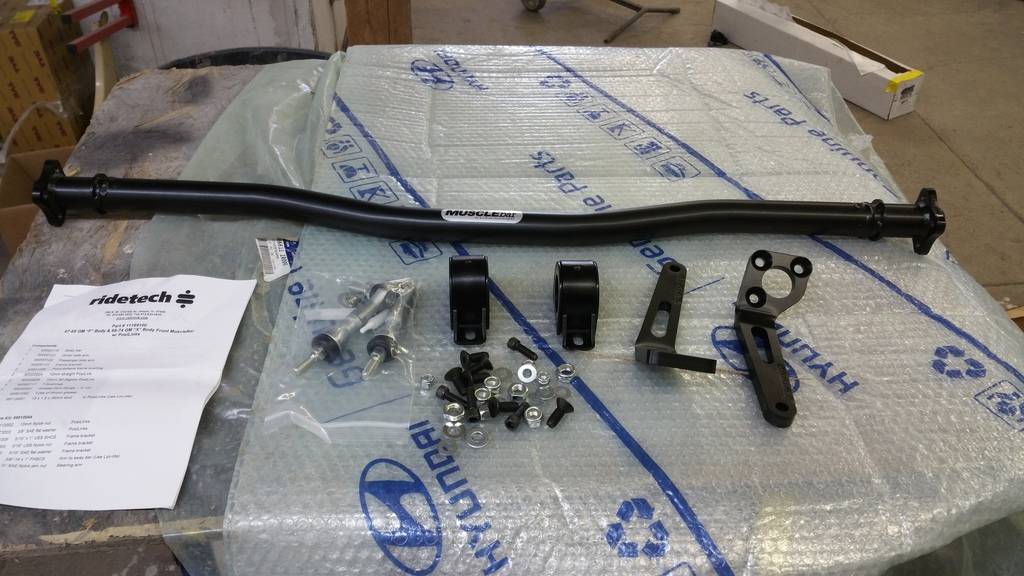
I mocked up everything ...except the muscle bar! Turns out the compression pads needed to be removed....which I failed to do! Any way I cut them off today now doing some repainting.....no pics yet.
I also managed to get the fire wall and the dash completely done in paint....again I'll get some pics later.
I had planned on being alot further along with this project but the whole underside ordeal set me back at least a month.....


 Reply With Quote


