

Results 1 to 20 of 33
-
07-08-2014 #1
 Registered User
- Join Date
- Jun 2014
- Posts
- 76

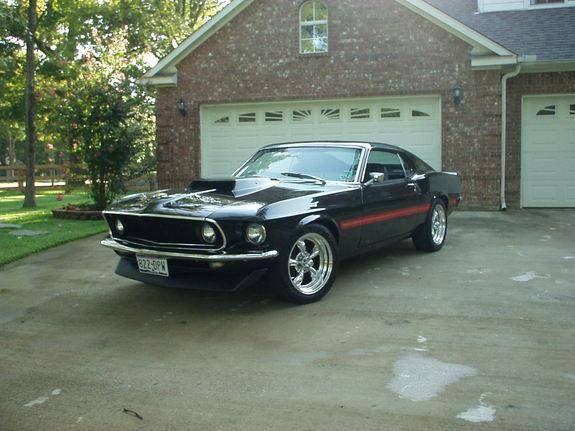
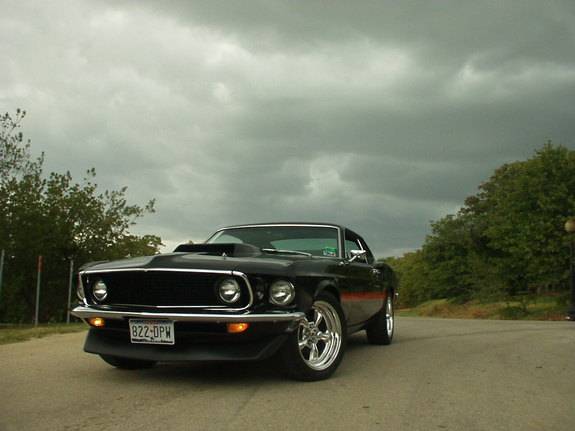
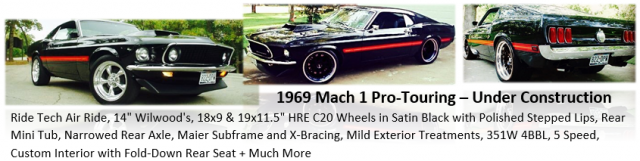
1969 Mustang Mach 1 Pro Touring Build with Air Ride
I have had my 1969 Mach 1 since I was 15 (almost 12 years). My father and I finished restoring the car when I was 17. I drove the car a few thousand miles before parking in to upgrade the suspension and engine. After taking a lot of the car apart, my busy life kicked in and I never got around to finishing the car.
Fast forward to this month, I am finally able to get back to work on the car.
The car has been sitting inside for years, worked on very little here and there. My dad has painted show cars for nearly 30 years and we both did every bit of the work to this car. Most of the floor pans and sheet metal are original except for the typical areas, and every inch of the car has been coated with Eastwood Rust Encapsulator.
I have now decided to go the Pro-Touring route with the car. I now have the means to do the car the way I want. The paint is still nearly flawless from when we originally completed the car except for a few areas that a little touch up and buffing will fix. This build will consist of some wheel well massaging, new wheels and suspension, and a custom interior.
Here is the timeline of the car:
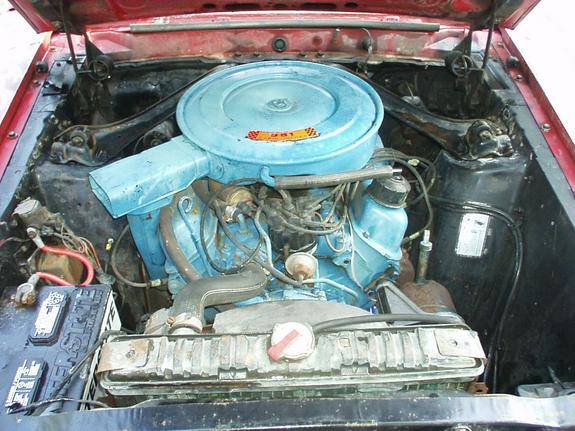
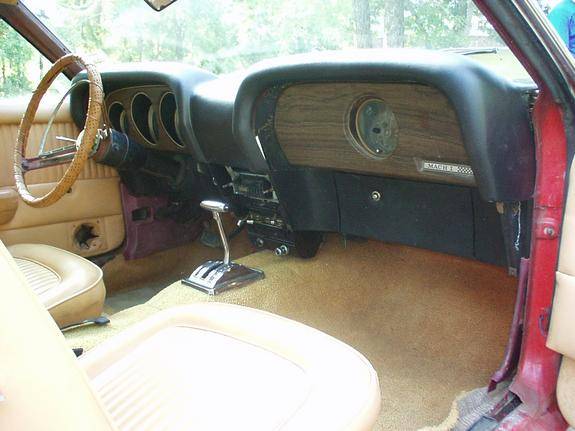
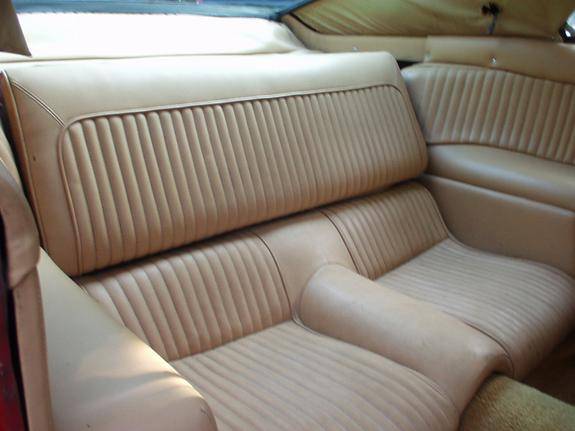
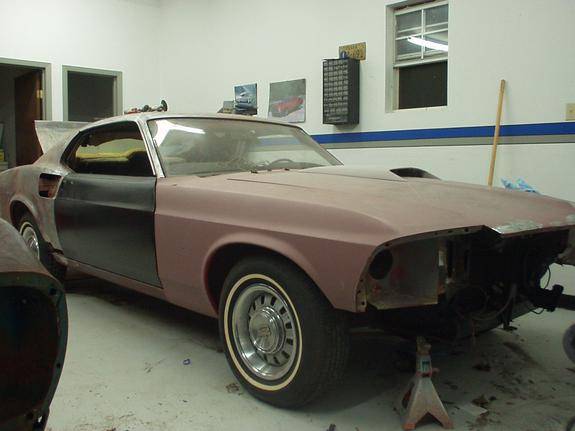
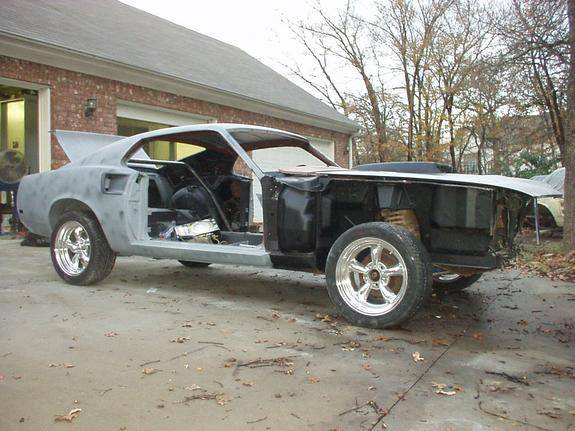
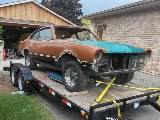
Here is the car when I first got it after I started stripping the paint. Obviously, the previous owner decided to things a little differently with the car. Its originally supposed to be Candle Apple Red, Black Deluxe Interior, 351W 2BBL, FMX.
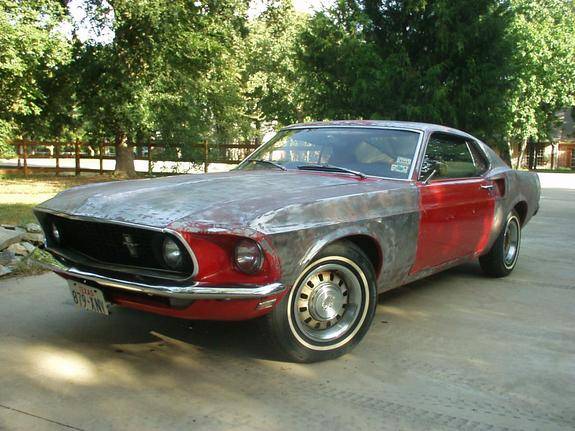
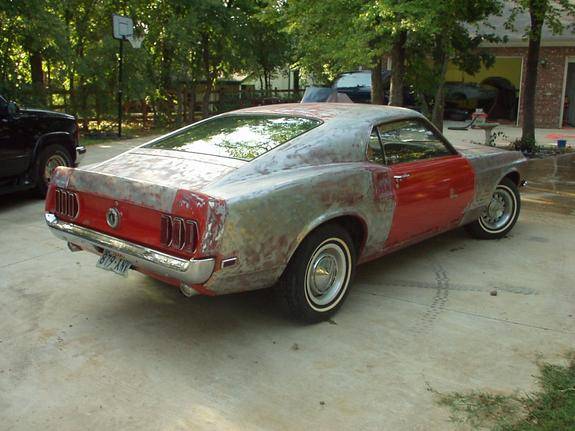
Tan vinyl was stapled over everything and most of the original Mach 1 stuff was gone.
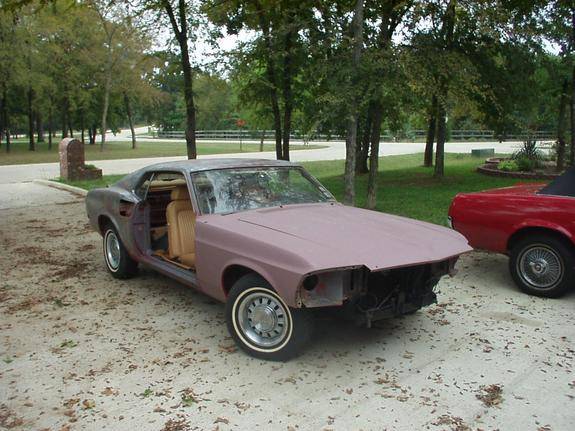
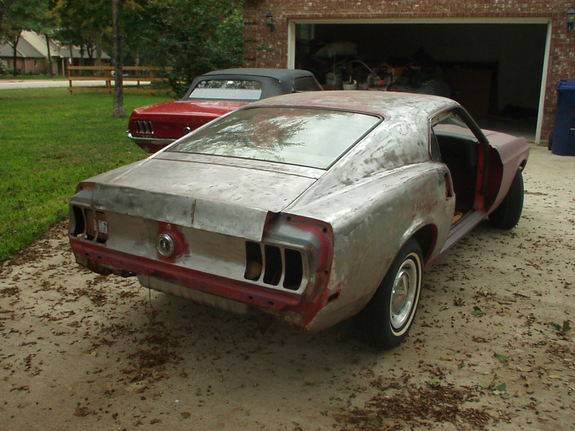
I am missing a lot of pictures during the metal repair due to a crashed hard drive, but here are some progress pictures that I have

Last edited by BlackMachOne; 06-23-2015 at 06:28 AM. Reason: update title
-
07-08-2014 #2
Registered User
- Join Date
- Jun 2014
- Posts
- 76
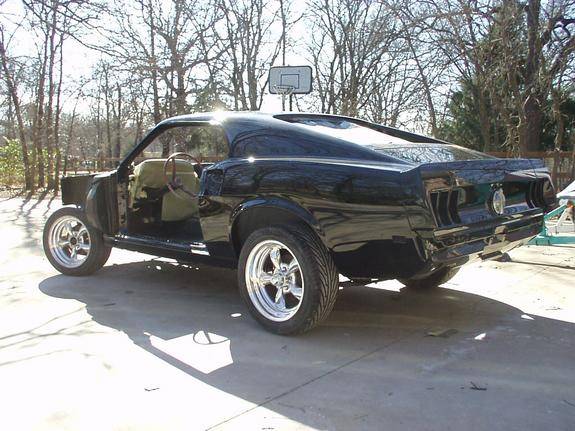
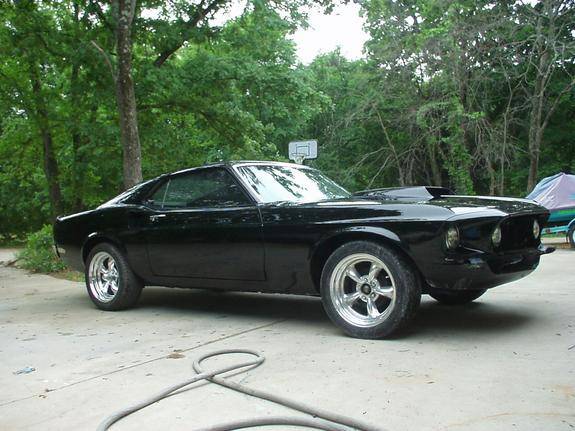
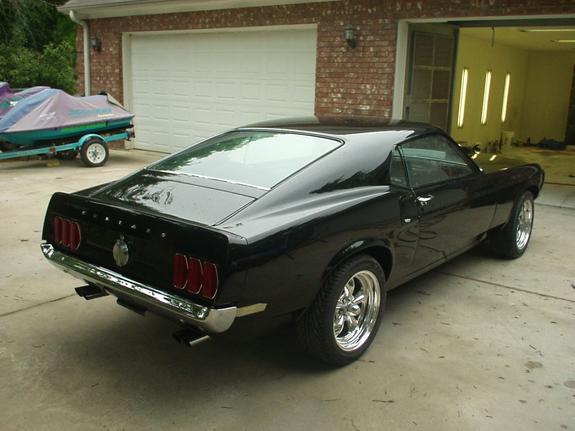
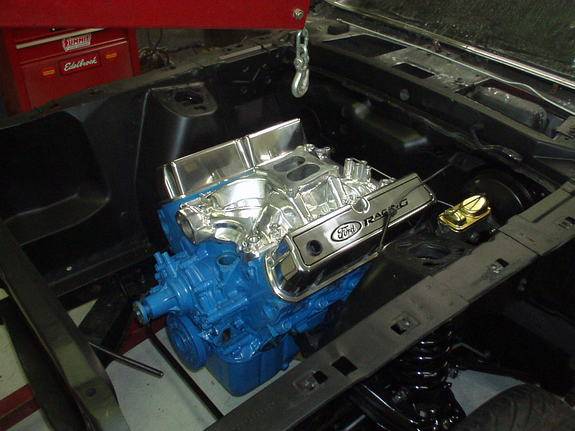
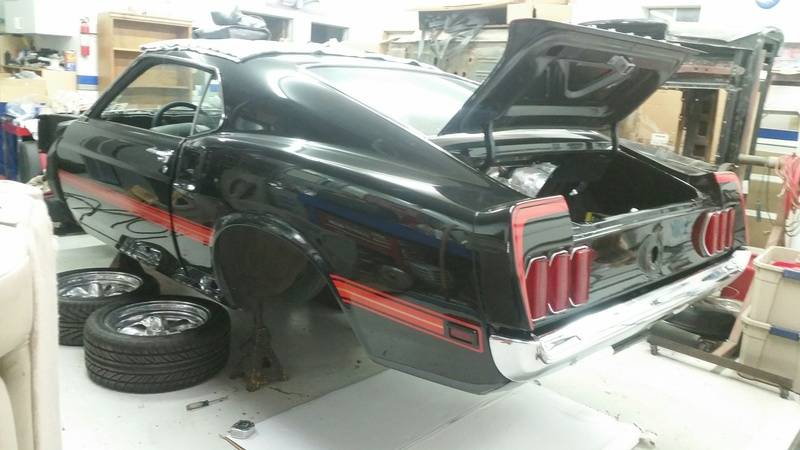
Here is the car right after paint and clear
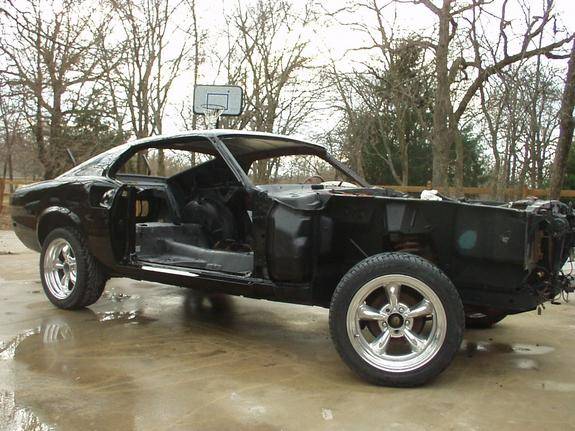
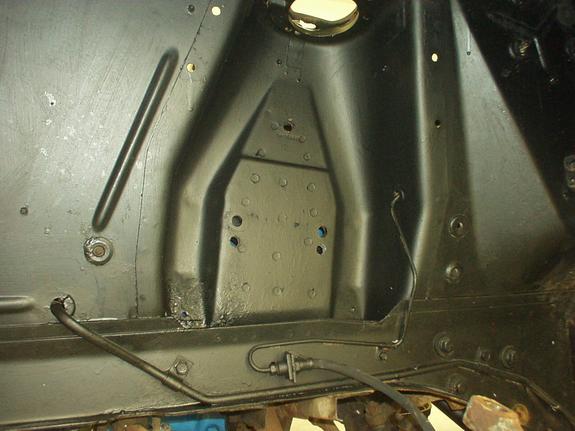
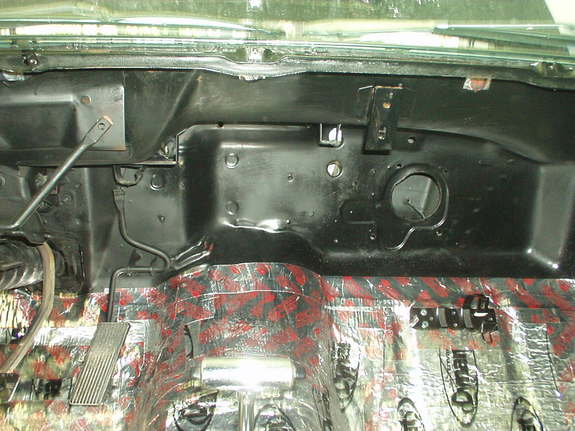
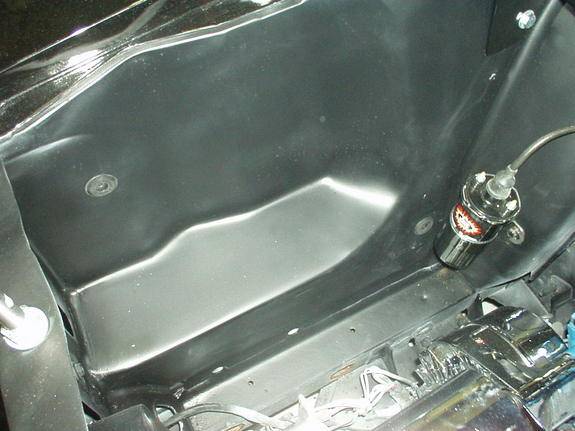
Every square inch of the car is covered in Eastwood Rust Ensapsulator
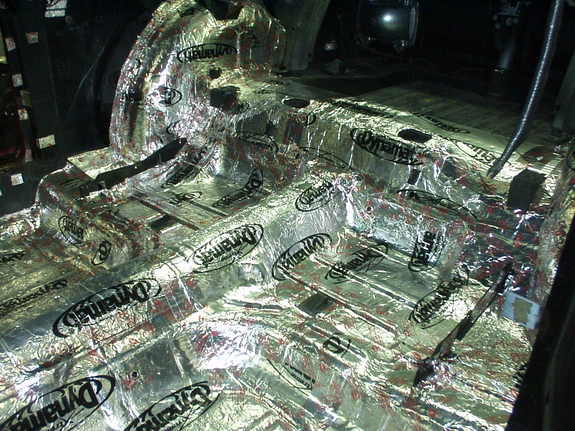
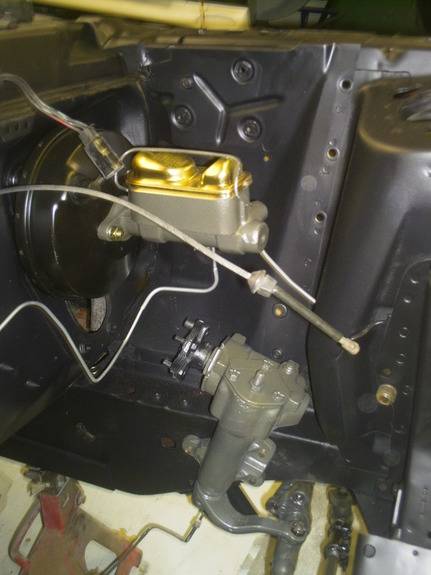
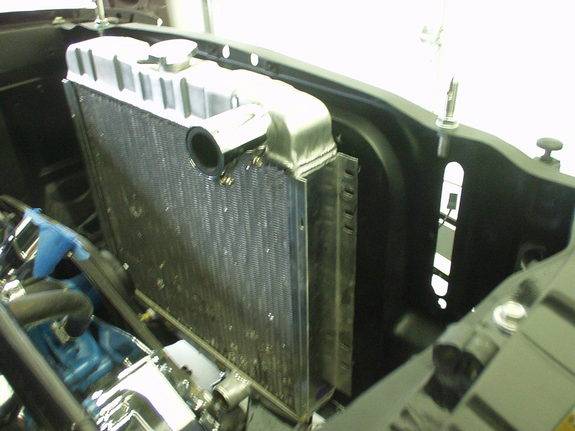
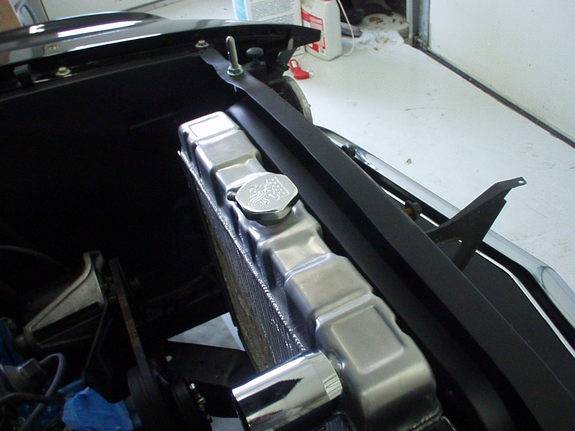
Some assembly completed

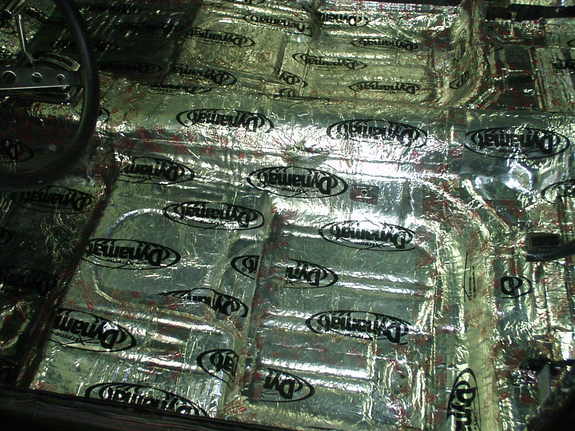
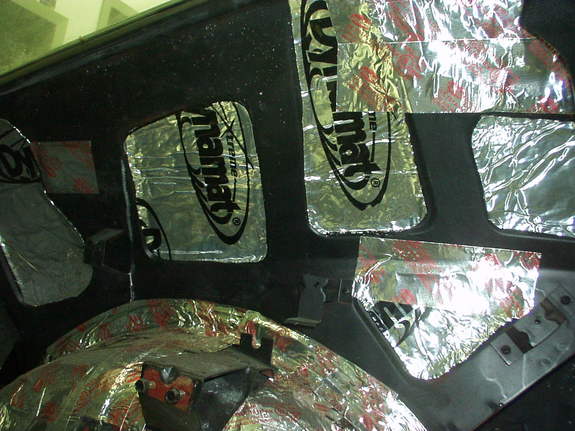
I used Dynamat Xtreme and aluminum ducting tape on the inside of the car


07-08-2014 #3
Registered User
- Join Date
- Jun 2014
- Posts
- 76
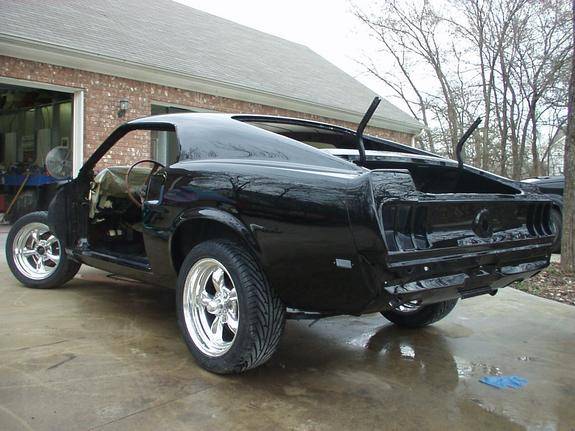
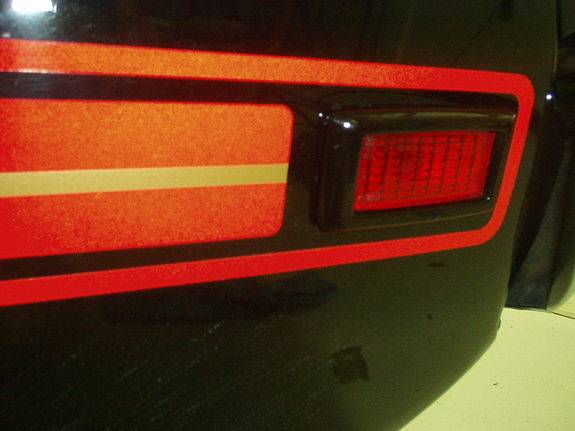
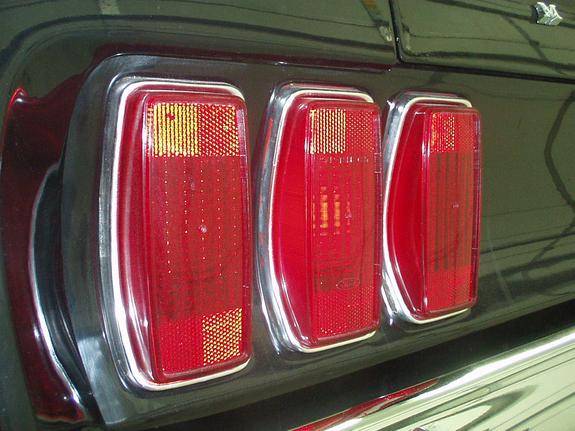
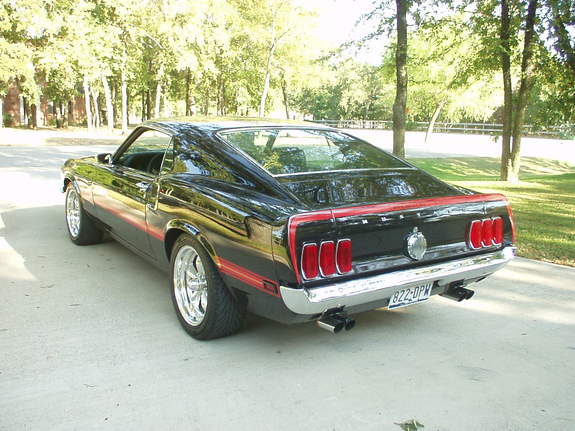
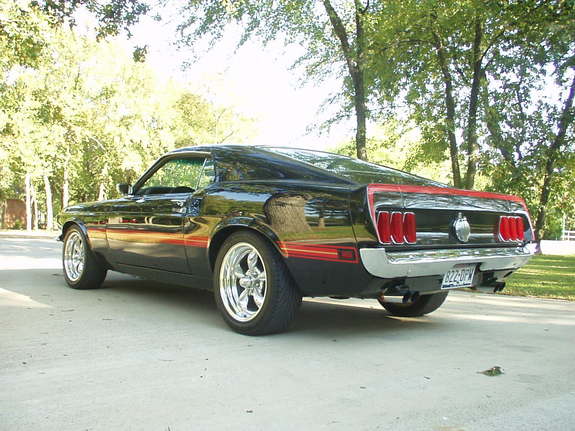
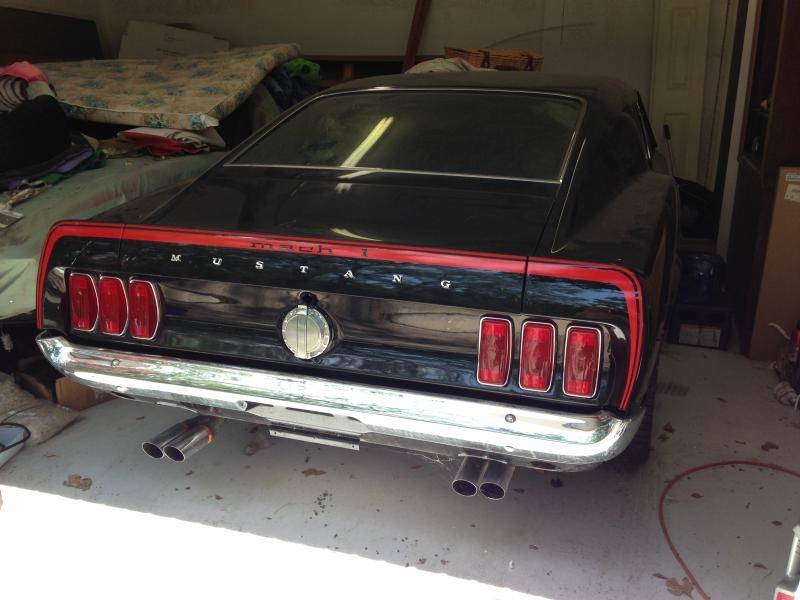
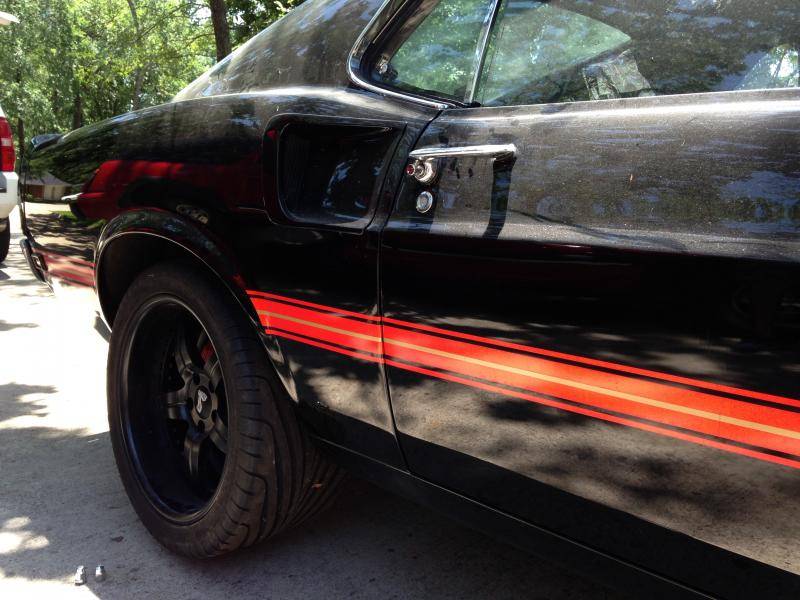
Rear side marker bezels painted gloss black
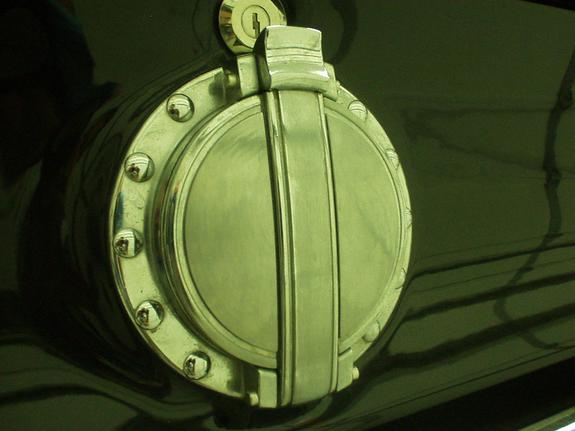
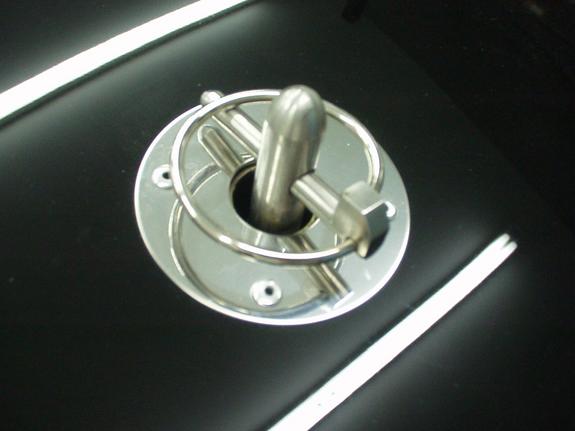
73 Mach 1 flip gas cap
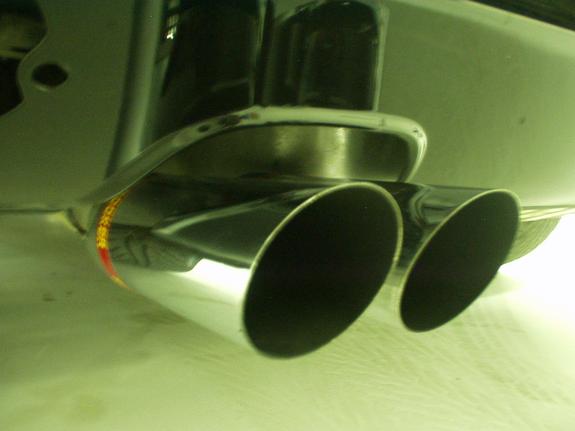
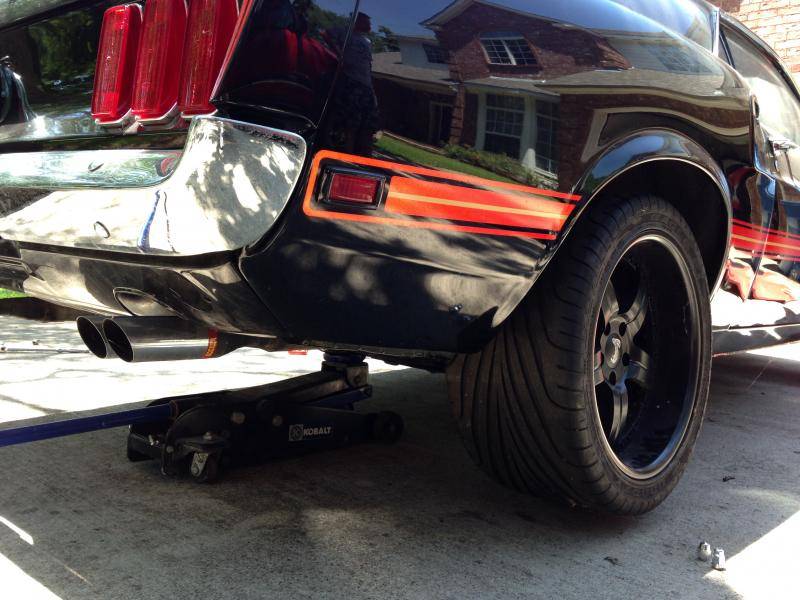
Hooker quad 3" exhaust tips
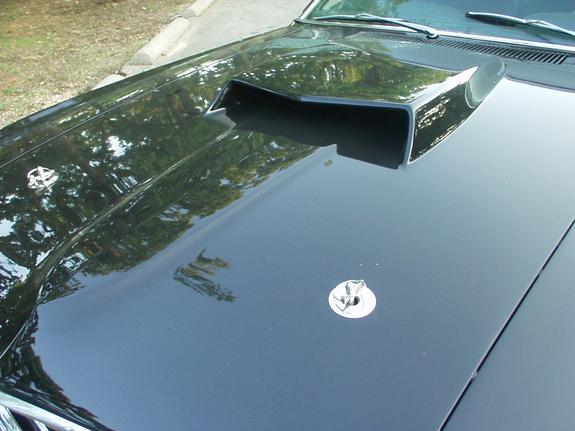
FRPP hood pins
Removed chrome trim rings on tail lights
Shaved antenna
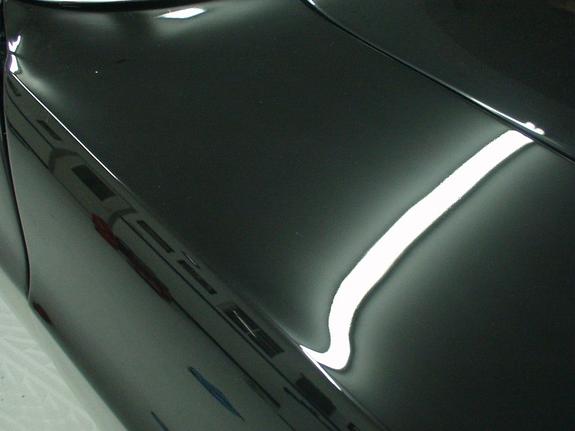
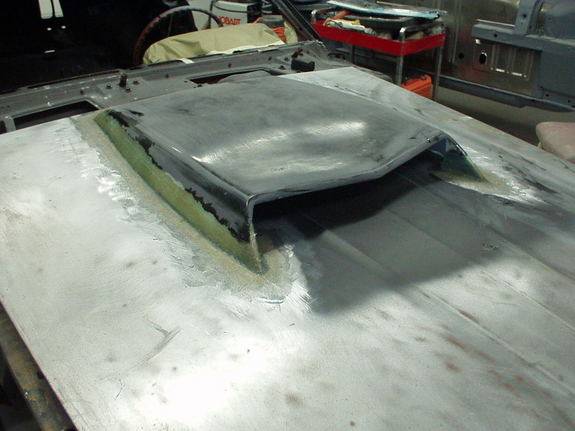
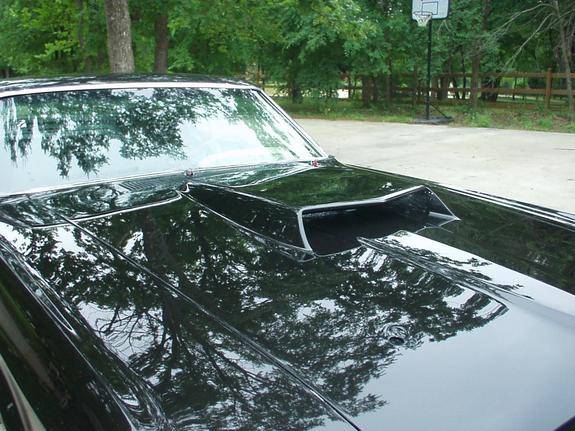
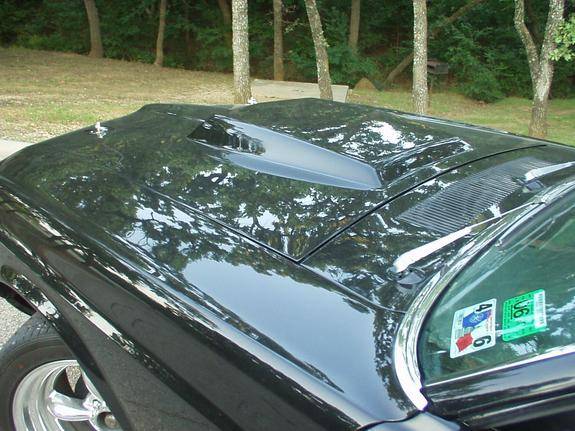
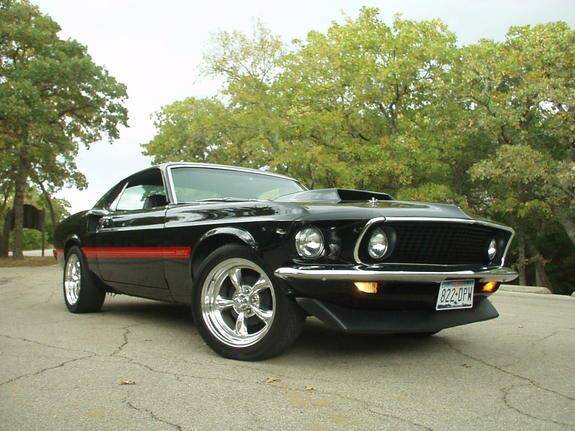
Finished molded Boss 429 hood scoop
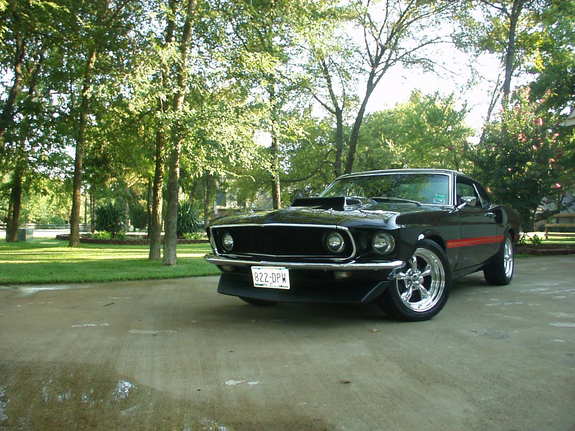
Front spoiler added
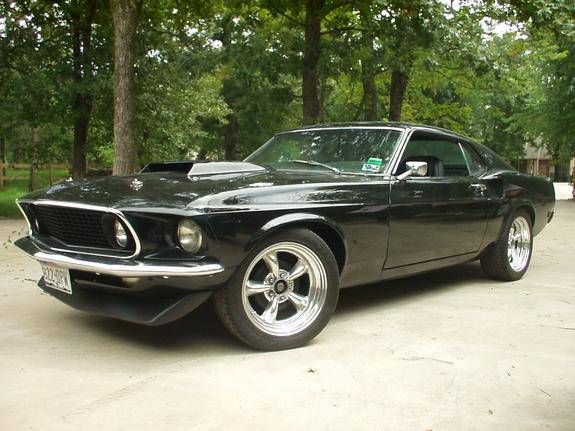
Stripes added
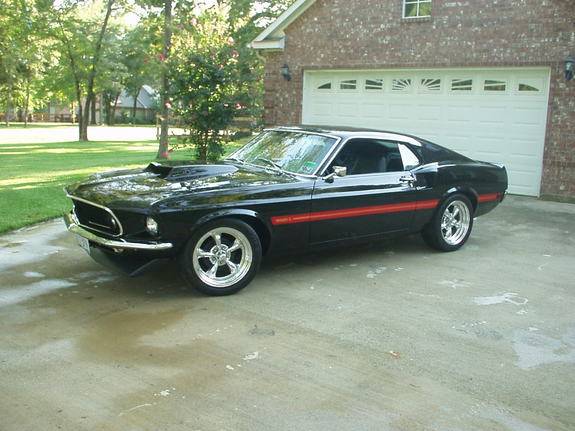
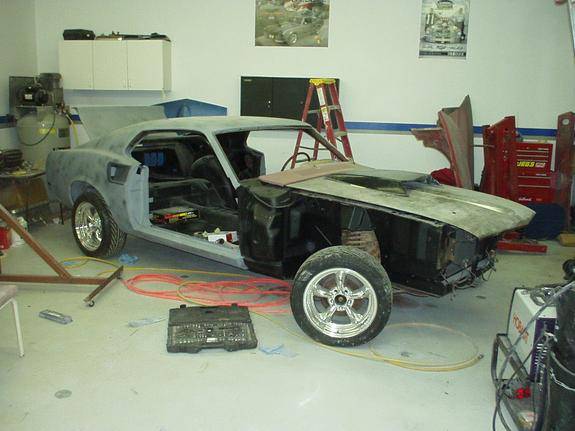
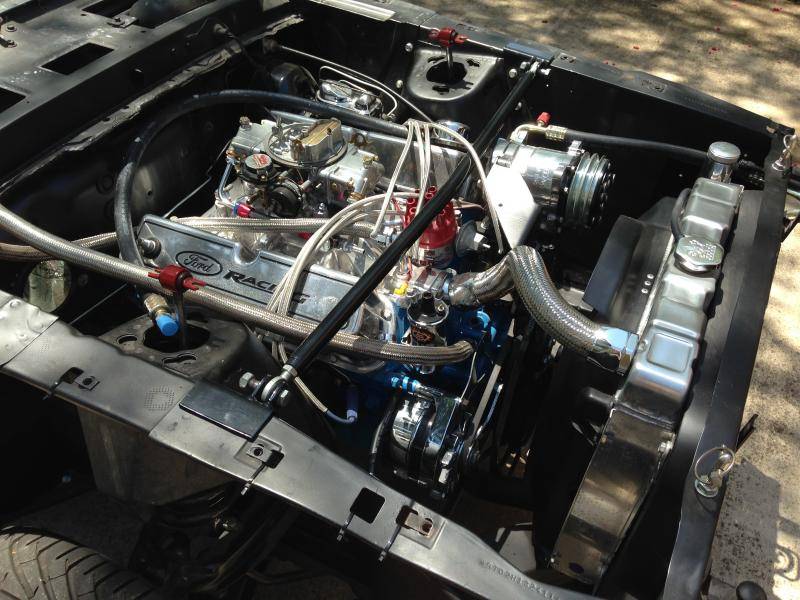
This is when I tore the car back apart to smooth the engine compartment, paint a few things like the Mach 1 mirrors and reverse light, and re-do the suspension, brakes, and finish the interior. It sat for many, many years.
07-08-2014 #4
Registered User
- Join Date
- Jun 2014
- Posts
- 76
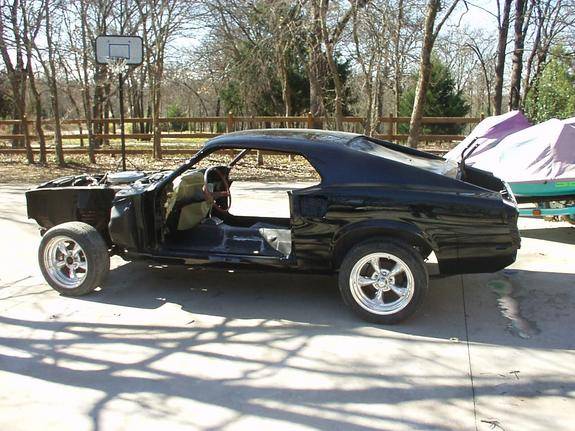
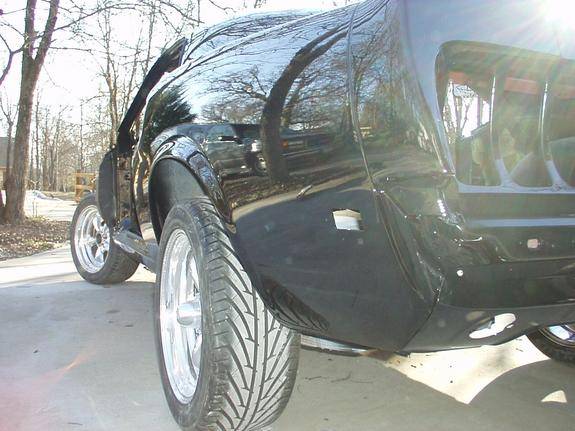
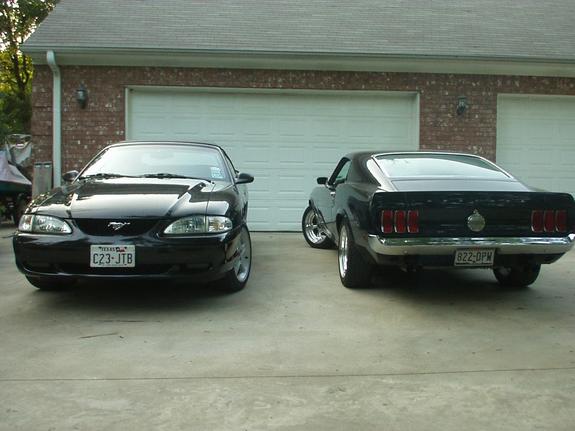
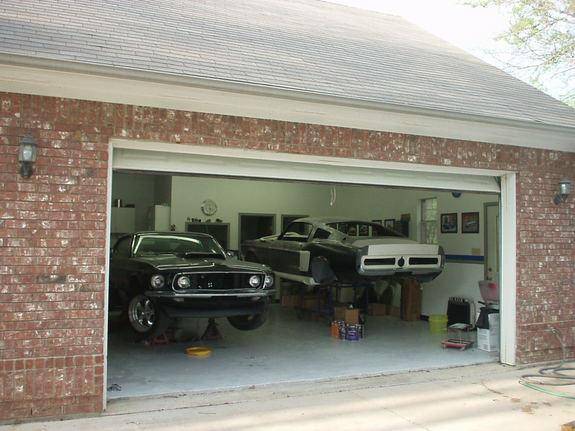
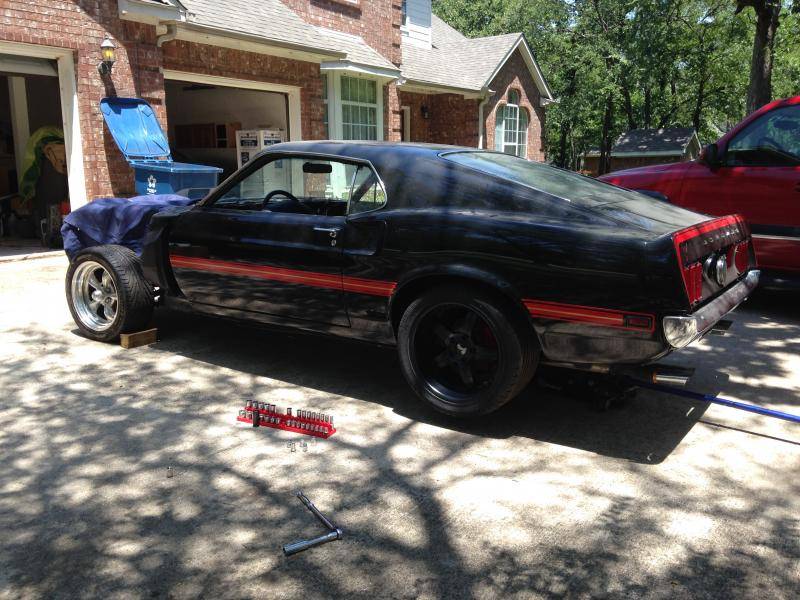
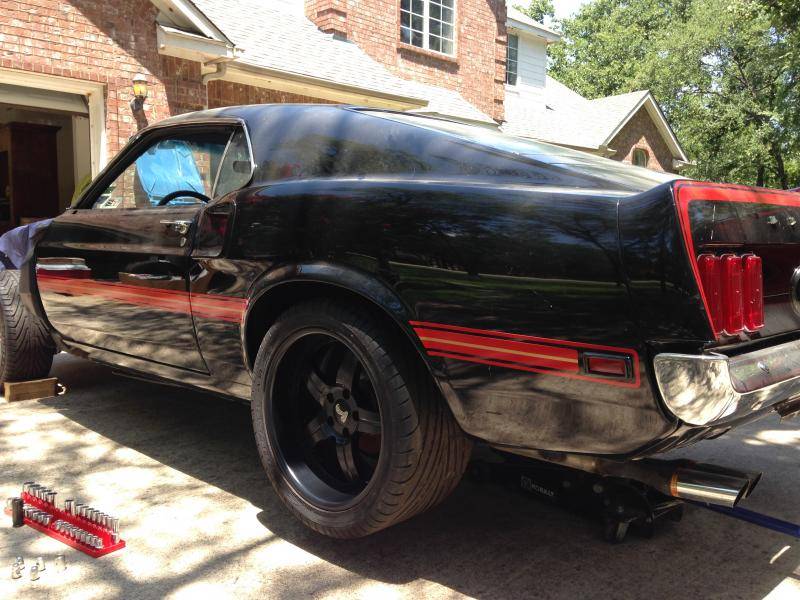
Pulled it out of my Dad's garage for the first time in well over a year yesterday
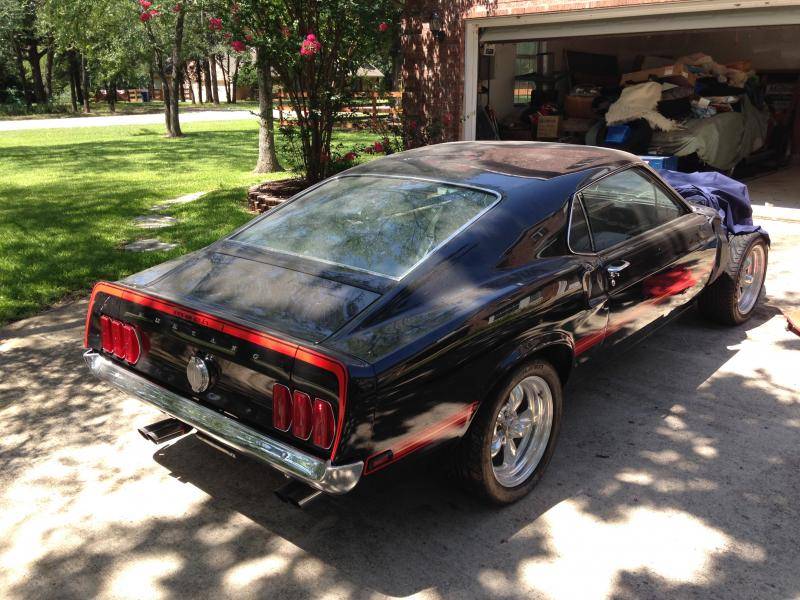
Did some test fitting with my 18x10 Boze Forged wheels with 295/35's from my 94.
I will be doing a 1" mini tub in order to fit 18x11's with a 295-315 tire. There is 1" between the fold-down-rear-seat interior panels and the wheel wells, so I am able to mini-tub 1" and still retain a fully functioning fold down.
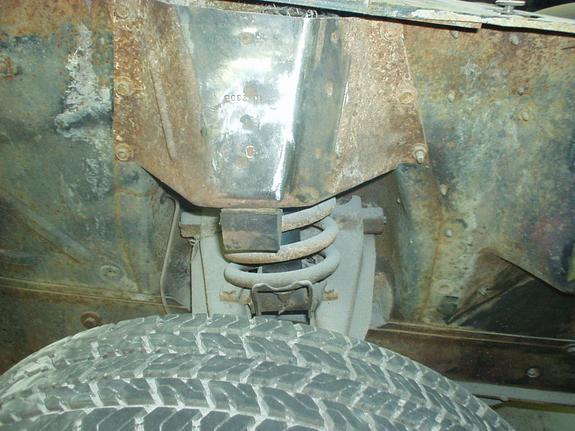
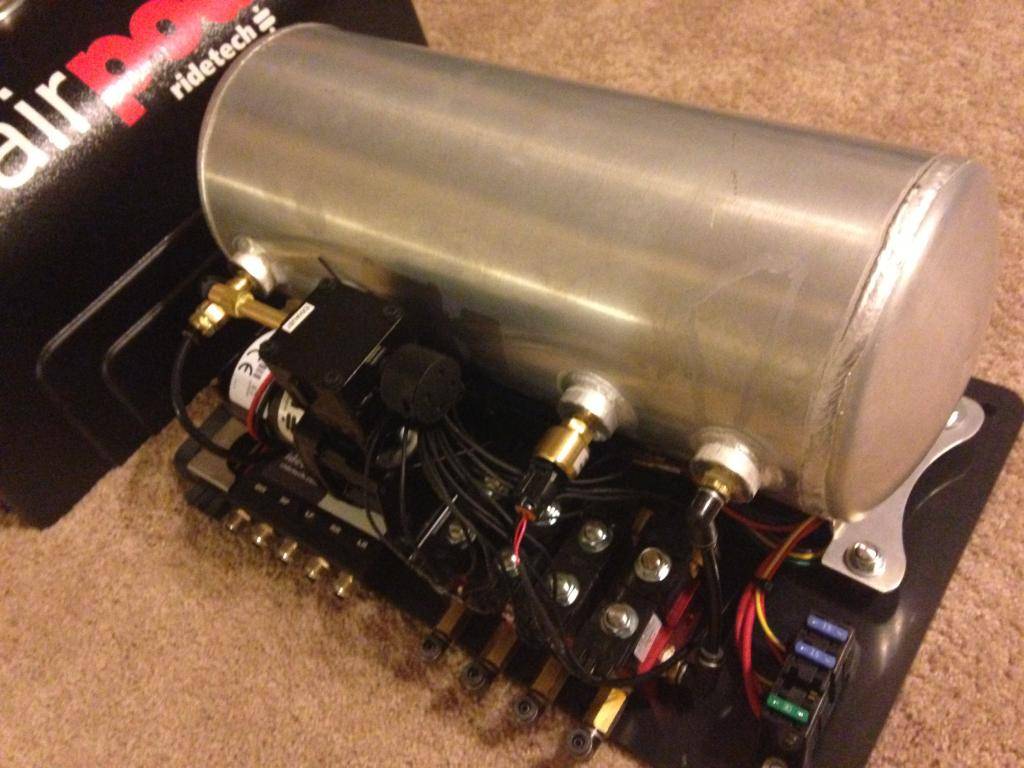
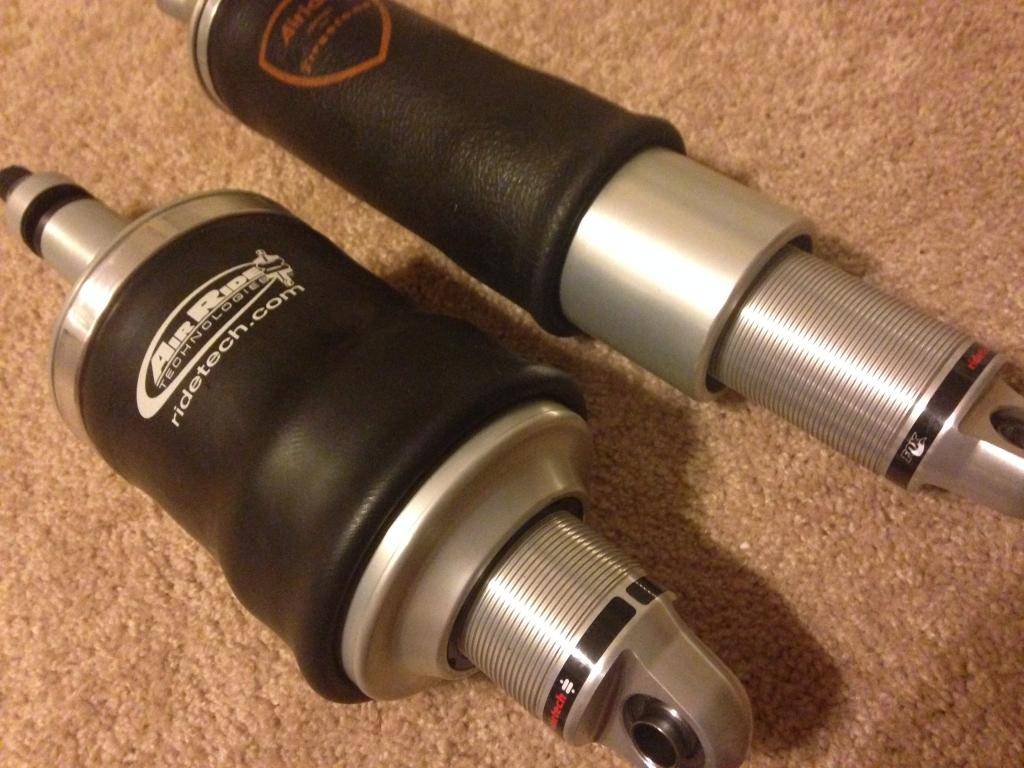
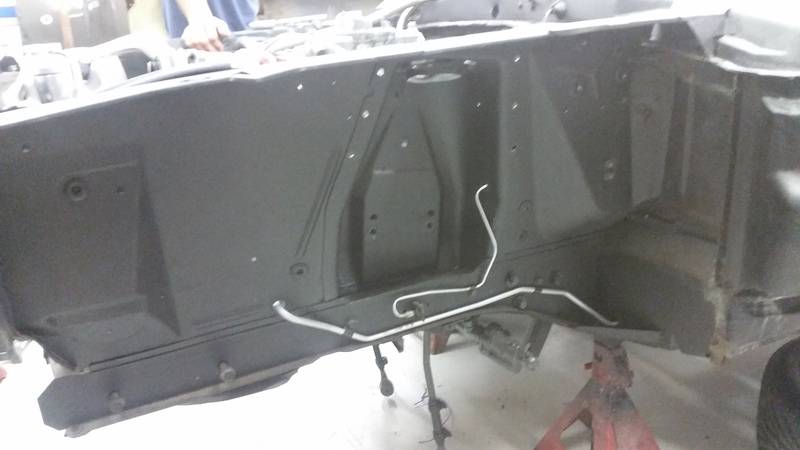
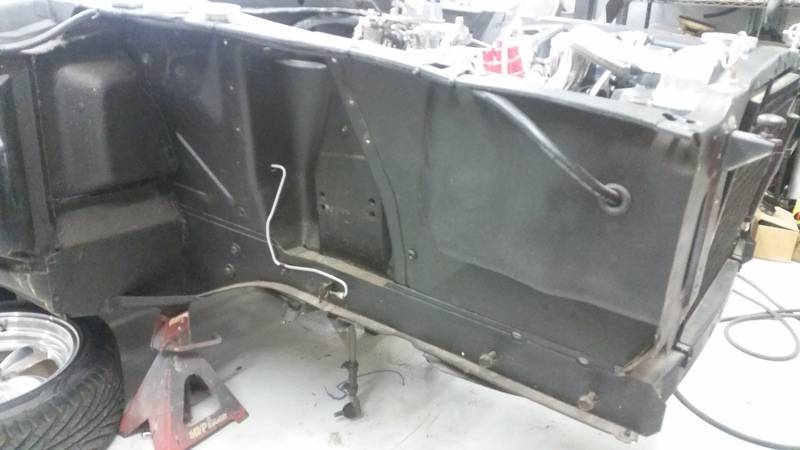
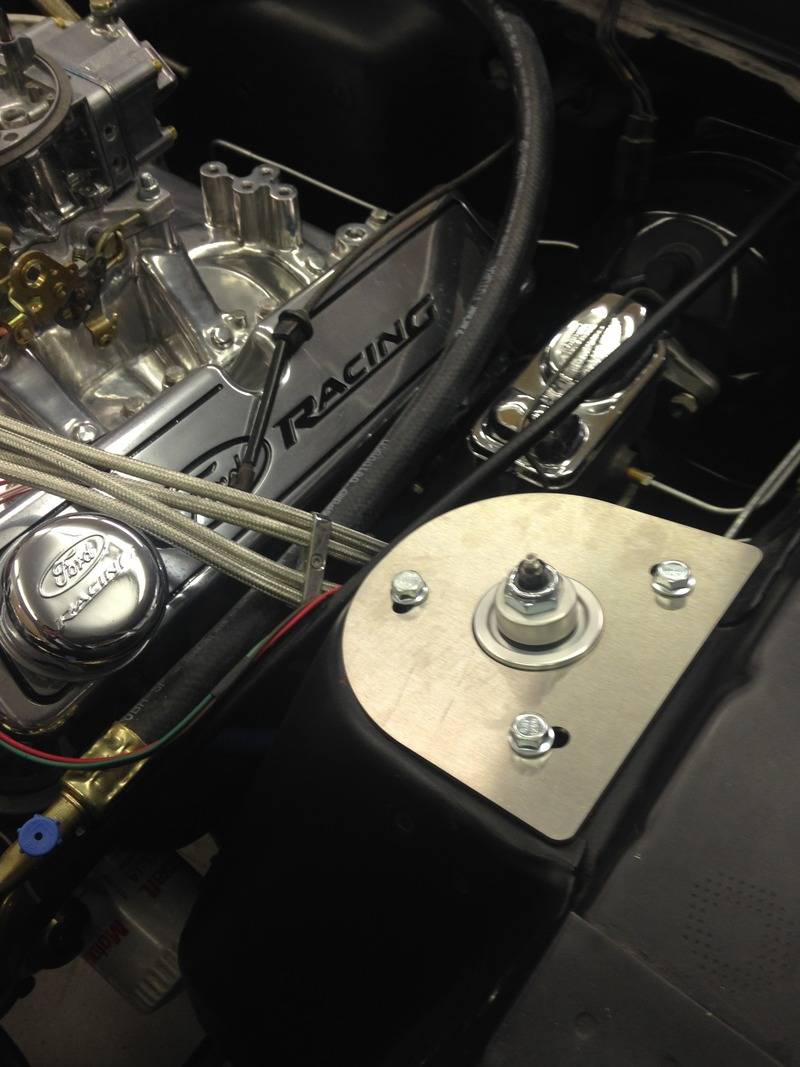
The air ride system mounts in the same position as the original leafs, but the lower arms are offset and allow .75" extra space compared to the leafs.
These didnt fit at all; backspacing was all wrong

07-08-2014 #5 Registered User
- Join Date
- Sep 2012
- Location
- London, Ontario
- Posts
- 293
Looks awesome!
73 Maverick Grabber Project
My never ending project:
https://www.pro-touring.com/threads/...hlight=grabber
07-08-2014 #6 Registered User
- Join Date
- Jan 2014
- Location
- Texas
- Posts
- 10
Nice car, amazes me you would let that beautiful car sit for so long!
07-08-2014 #7
Registered User
- Join Date
- Jun 2014
- Location
- Hickory Creek TX.
- Posts
- 15
Very nice, I to am gearing up to do my 69, it's hard now that.ive see two on here already going
07-09-2014 #8
Registered User
- Join Date
- Jun 2014
- Posts
- 76
Life gets in the way of projects sometimes unfortunately Originally Posted by impala65maniac

Look at that as a good thing; only 2 others. Imagine if the camaro guys felt that way Originally Posted by circle mc
07-25-2014 #9
Registered User
- Join Date
- Jun 2014
- Posts
- 76
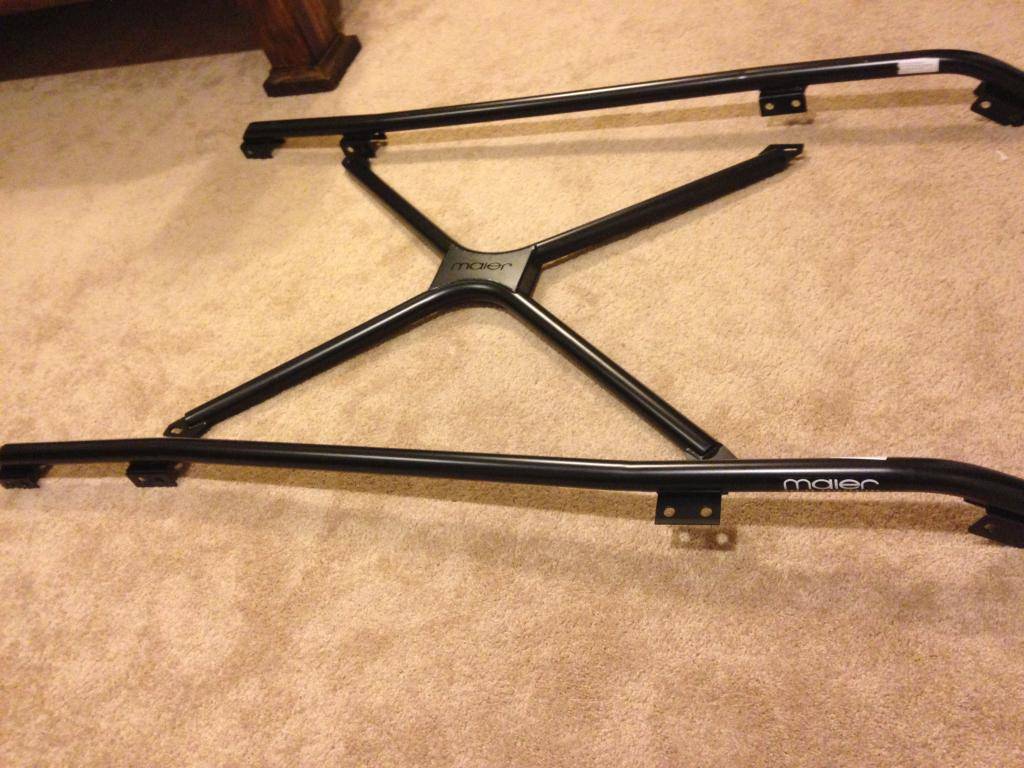
My Maier full length subframes and X-Brace came in today from Mustangs Plus. Very good looking stuff minus the couple of scuffs on the X-Brace.
07-26-2014 #10
Registered User
- Join Date
- Jun 2014
- Posts
- 76
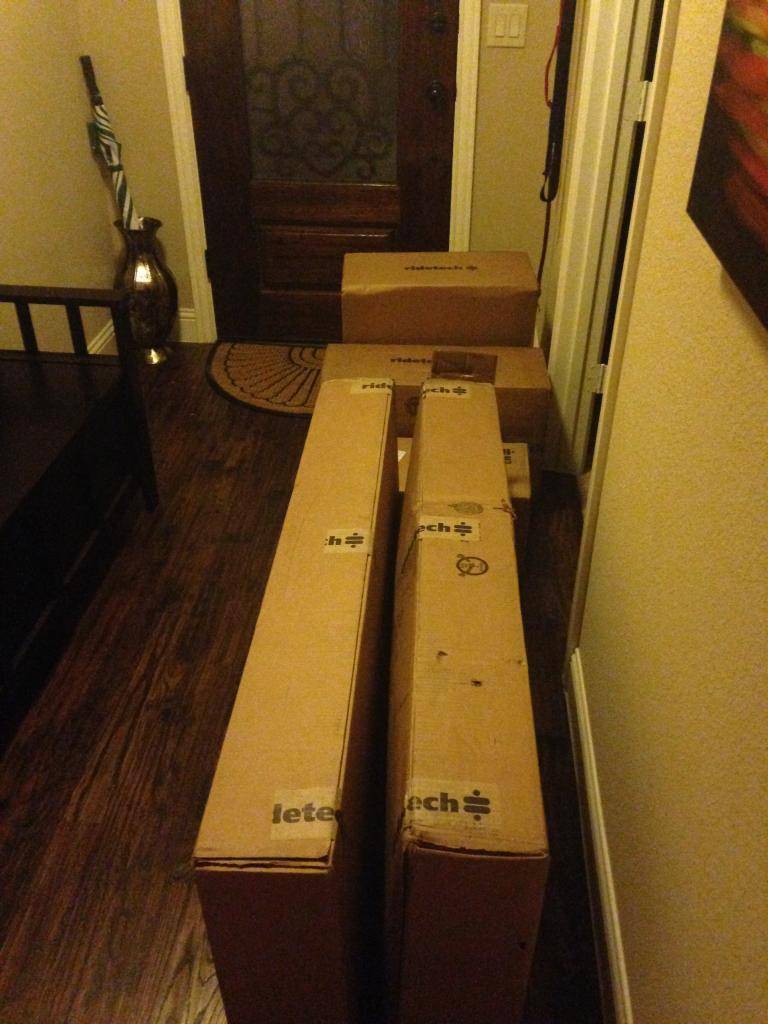
Another good day!

07-27-2014 #11 Registered User
- Join Date
- Mar 2010
- Location
- GR Michigan
- Posts
- 105
That looks like a great project! All the best on the upgrades.
Jeff
73 Mustang Convertible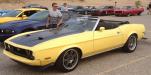
07-27-2014 #12
Registered User
- Join Date
- Jul 2014
- Posts
- 19
Great work. You are inspiring me!
I need to check out Maier's components. I have not done that yet...
06-22-2015 #13
Registered User
- Join Date
- Jun 2014
- Posts
- 76
Its been a slow moving project but here are some updates
06-22-2015 #14
Registered User
- Join Date
- Jun 2014
- Posts
- 76
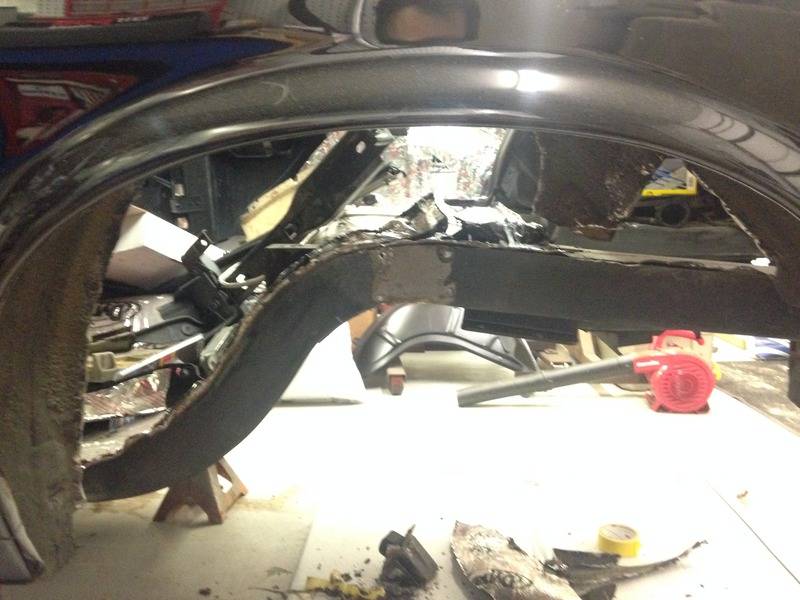
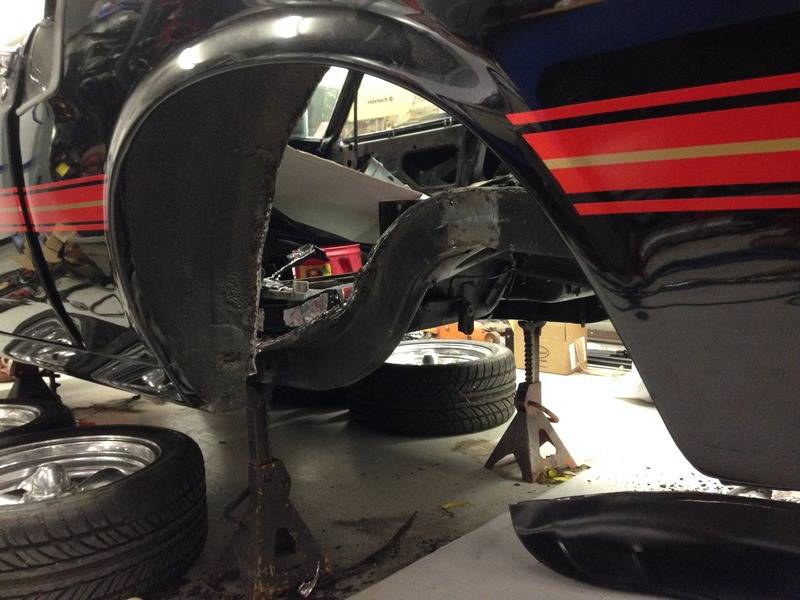
Also started on the mini-tub in the rear. It sucks cutting out nice, rust-free metal
06-23-2015 #15
Registered User
- Join Date
- Jun 2014
- Posts
- 76
06-25-2015 #16
Registered User
- Join Date
- Jun 2014
- Posts
- 76
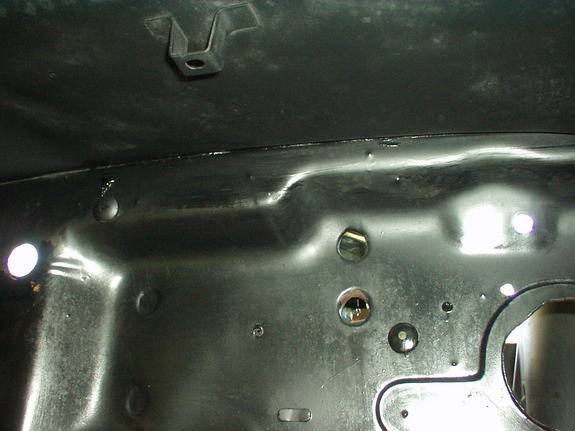
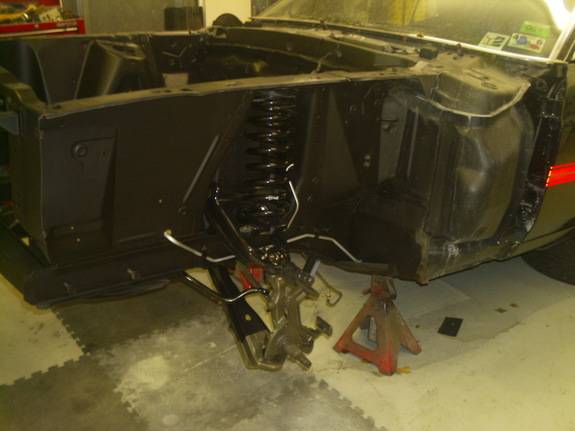
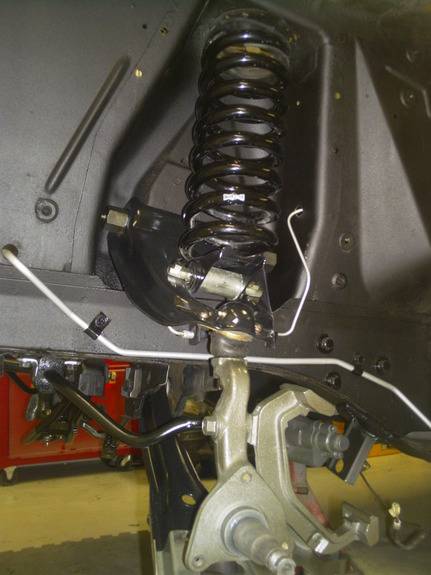
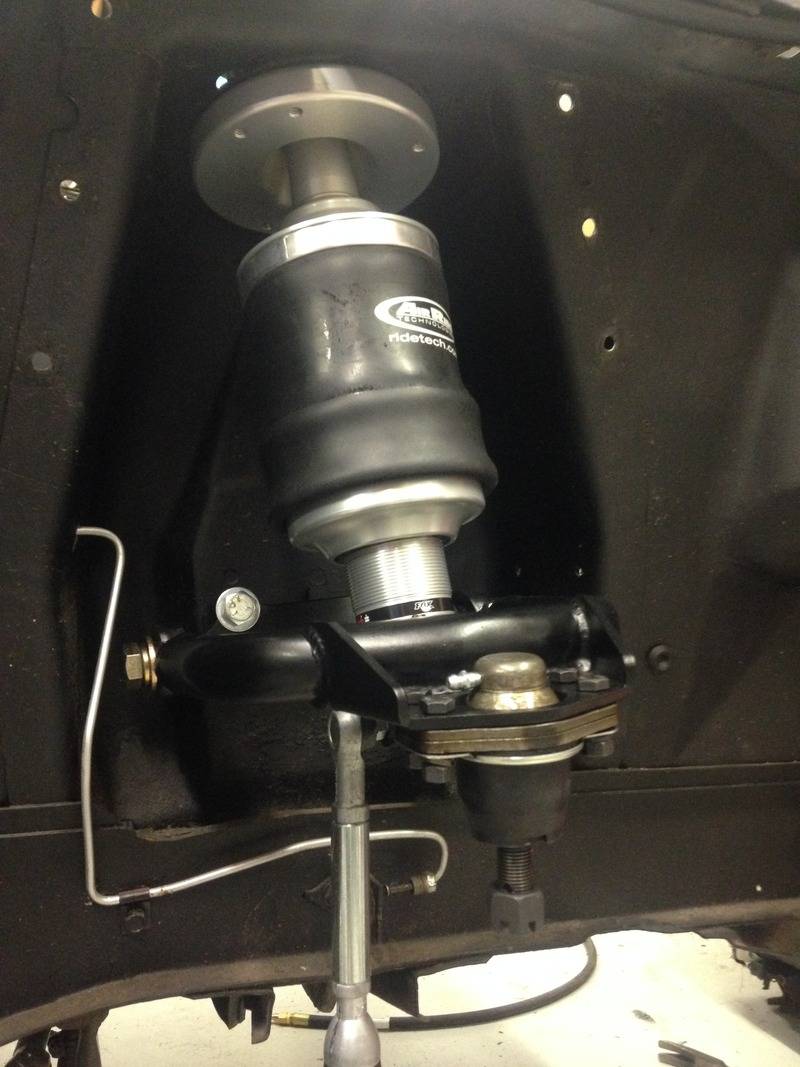
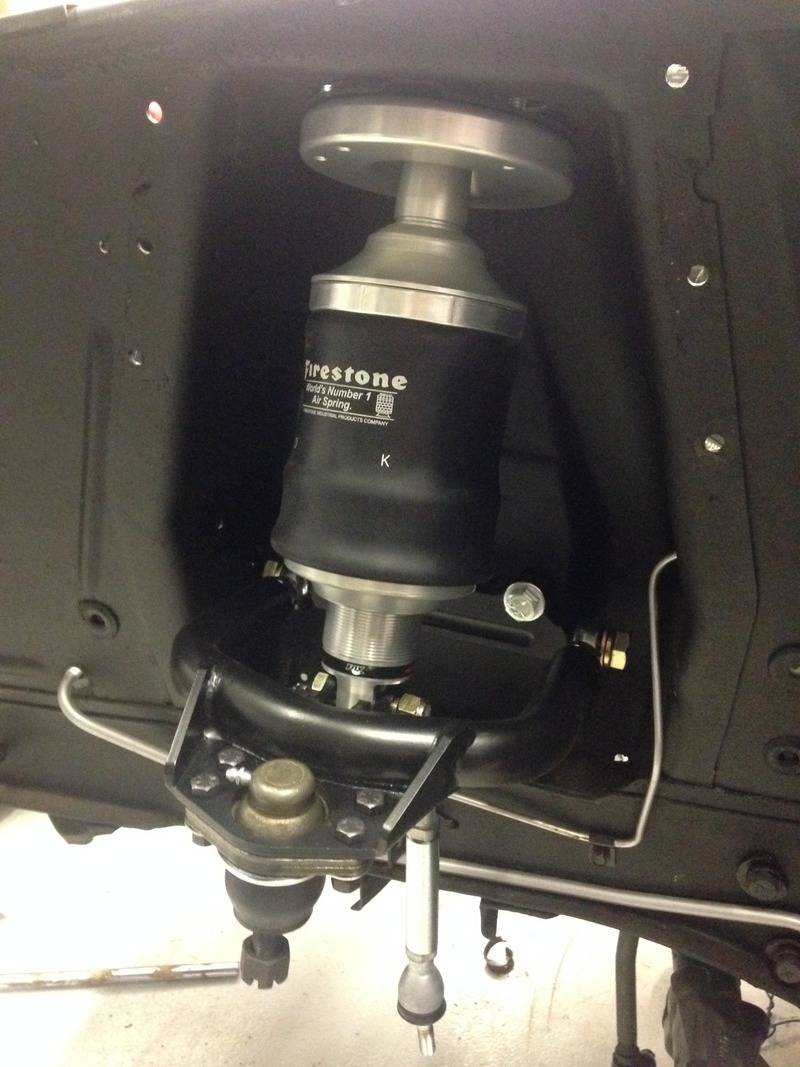
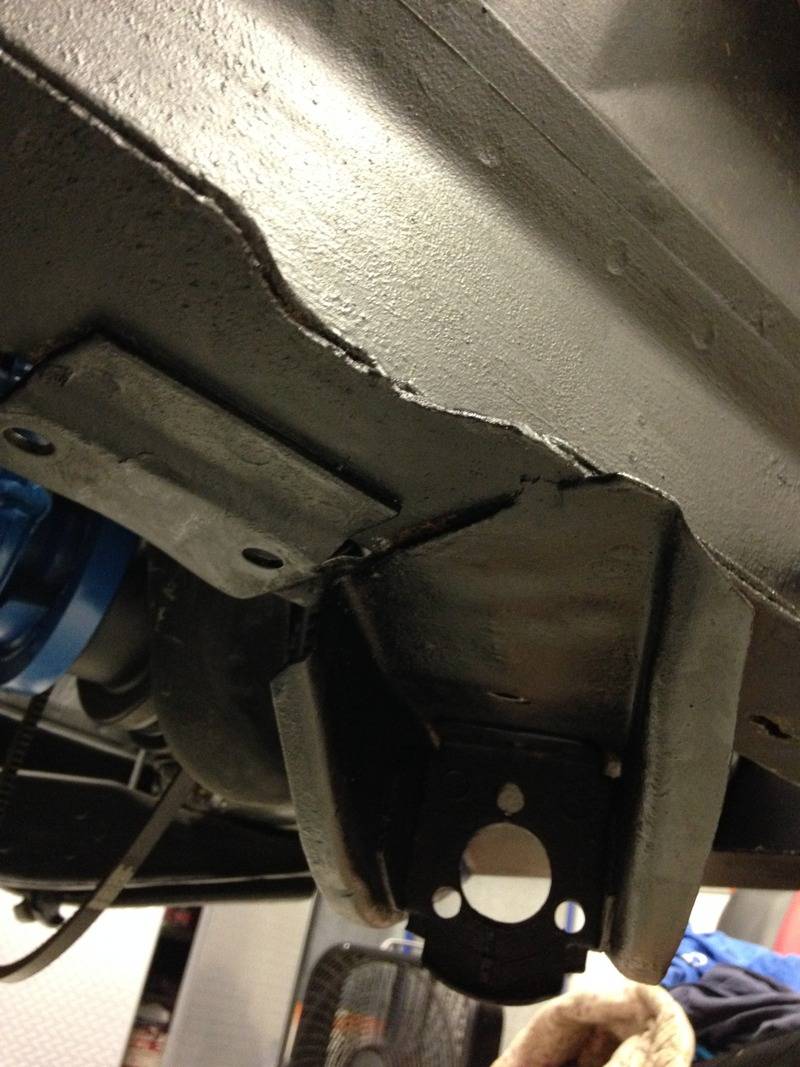
Yesterday I cleaned up the area where the old strut rods and control arms used to be and painted with Eastwood Rust Encapsulator.
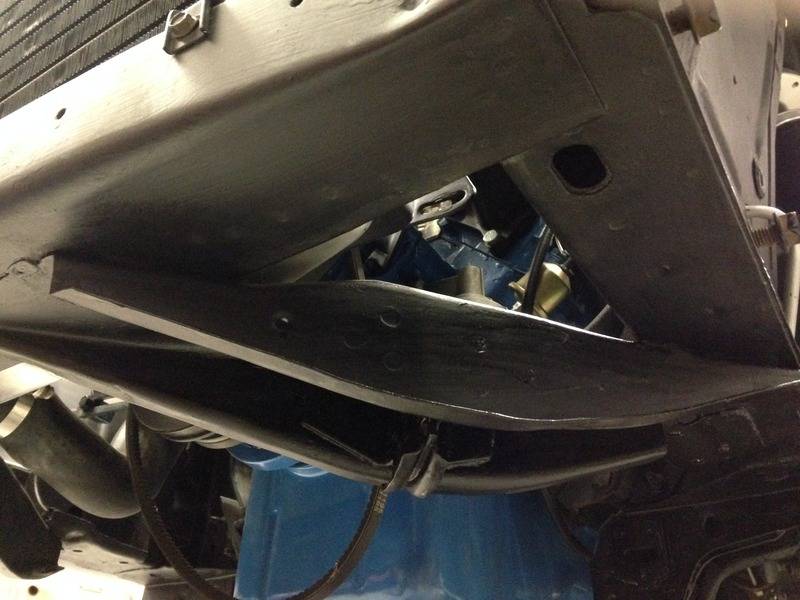
Then drilled these 3 holes in each strut rod housing for the new Strong Arms.
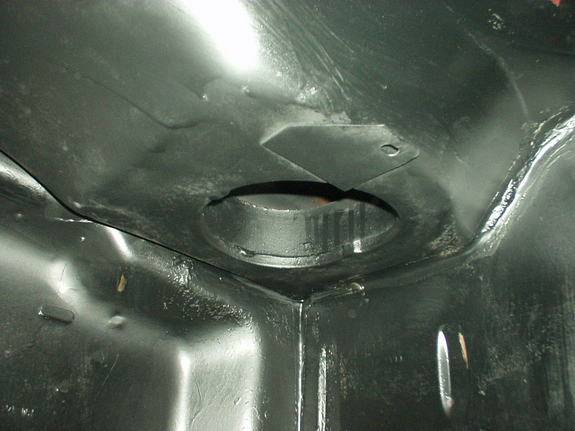
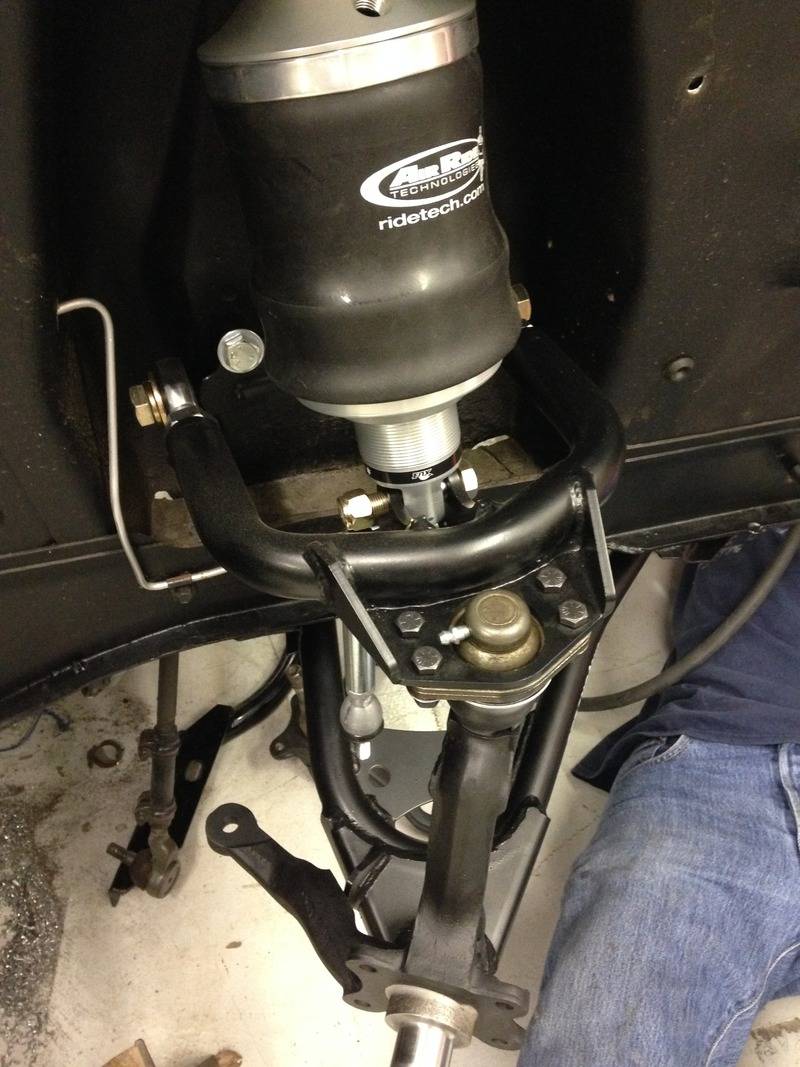
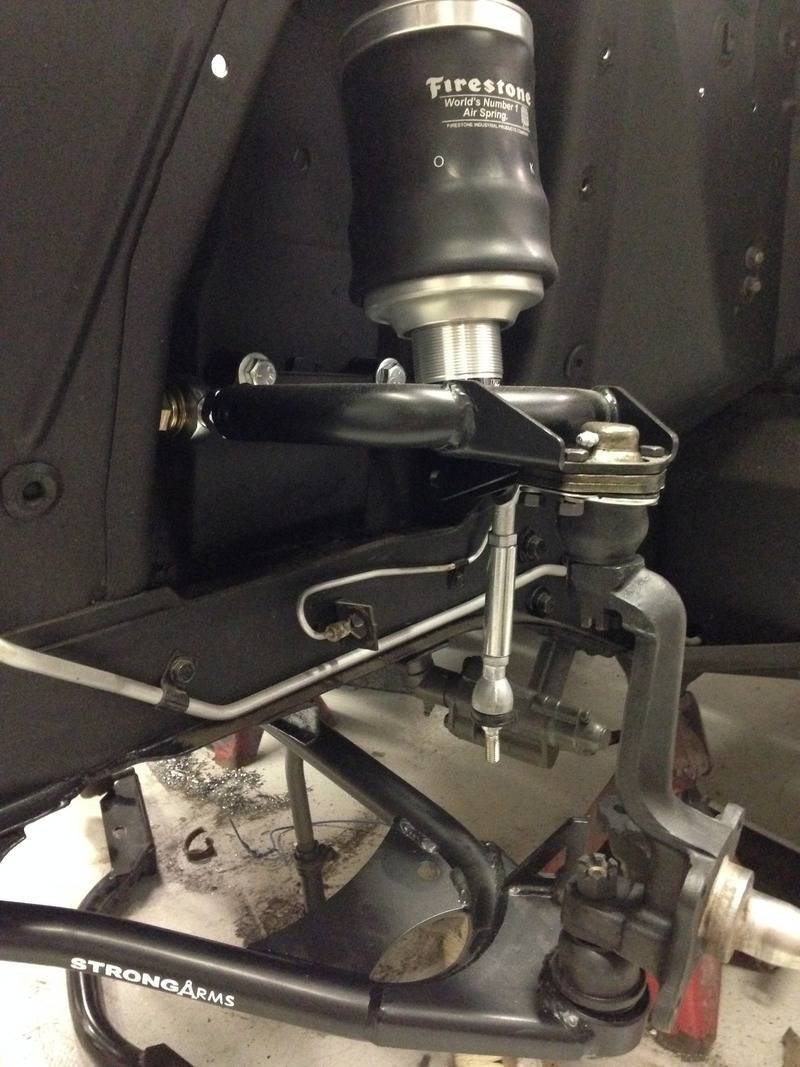
Strong Arms in place. These spindles have too many pits around the bearing seals so I'll be using new spindles.
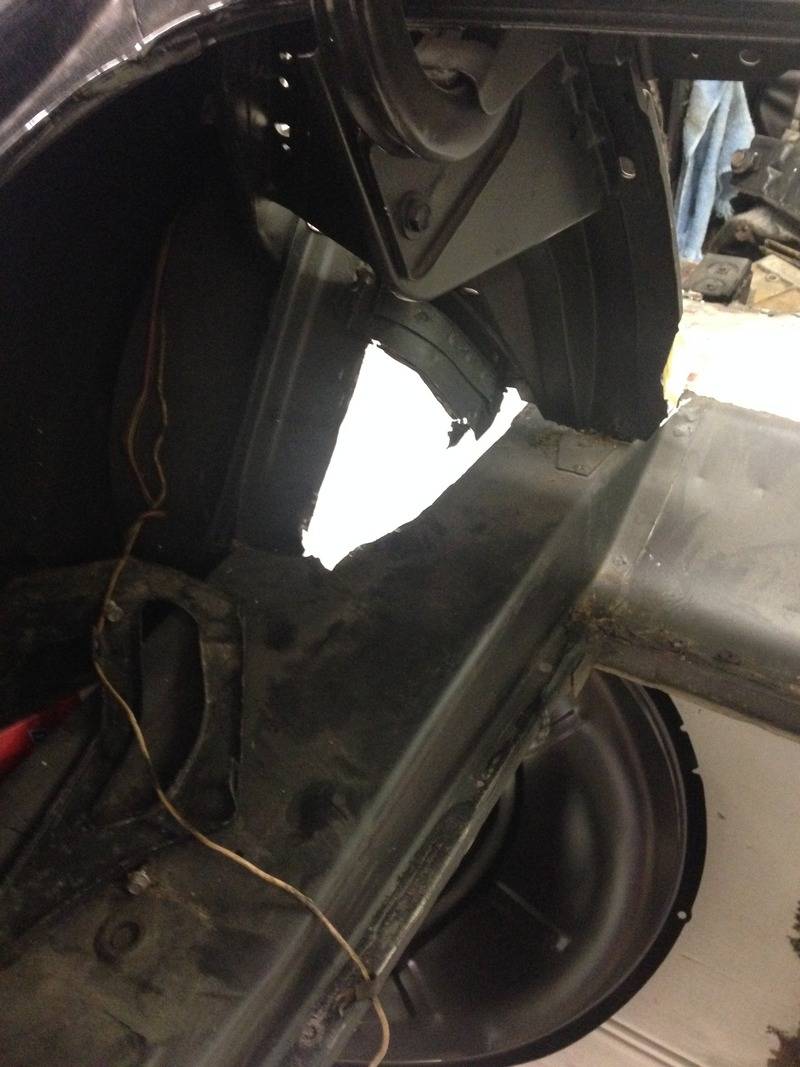
Also got most of the drivers side inner wheel well cut out for the mini-tub.
06-25-2015 #17 Starting The Transformation
- Join Date
- Jan 2015
- Location
- Charlotte, NC
- Posts
- 309
Looks killer man, and I dont normally care for this generation...well done
Justin Novick
Sales/Support
Entropy Radiator / Engineered Cooling Products
"The Sexiest Radiators For The Sexiest Hot Rods"
www.EntropyRad.com www.SpeedCooling.com
773.303.8251
06-25-2015 #18 Registered User
- Join Date
- Nov 2006
- Location
- Ma.
- Posts
- 5,567
Nice Mustang! Those Boze wheels would have looked sweet on there.
Wayne
Car FINALLY home !!!!!! lol
Project FNQUIK https://www.pro-touring.com/showthre...ghlight=FNQUIK
06-25-2015 #19
Registered User
- Join Date
- Jun 2014
- Posts
- 76
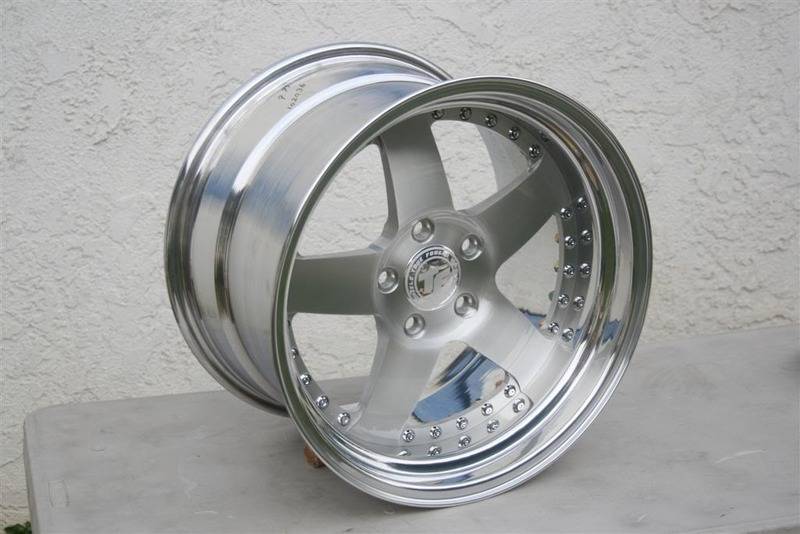
These are the wheels going on the 69, the Boze's are staying on the 94
06-25-2015 #20
Registered User
- Join Date
- Nov 2006
- Location
- Ma.
- Posts
- 5,567
Nice!
Wayne
Car FINALLY home !!!!!! lol
Project FNQUIK https://www.pro-touring.com/showthre...ghlight=FNQUIK


 Reply With Quote


