

Results 21 to 40 of 83
-
01-02-2014 #21
 Starting The Transformation
- Join Date
- Dec 2010
- Location
- Ventura, CA
- Posts
- 173
A good rule of thumb is let it cool as much as you weld. However, on long straight pieces, the cooling time will usually be double that. Originally Posted by wfo guy

-
01-02-2014 #22
Starting The Transformation
- Join Date
- Dec 2010
- Location
- Ventura, CA
- Posts
- 173
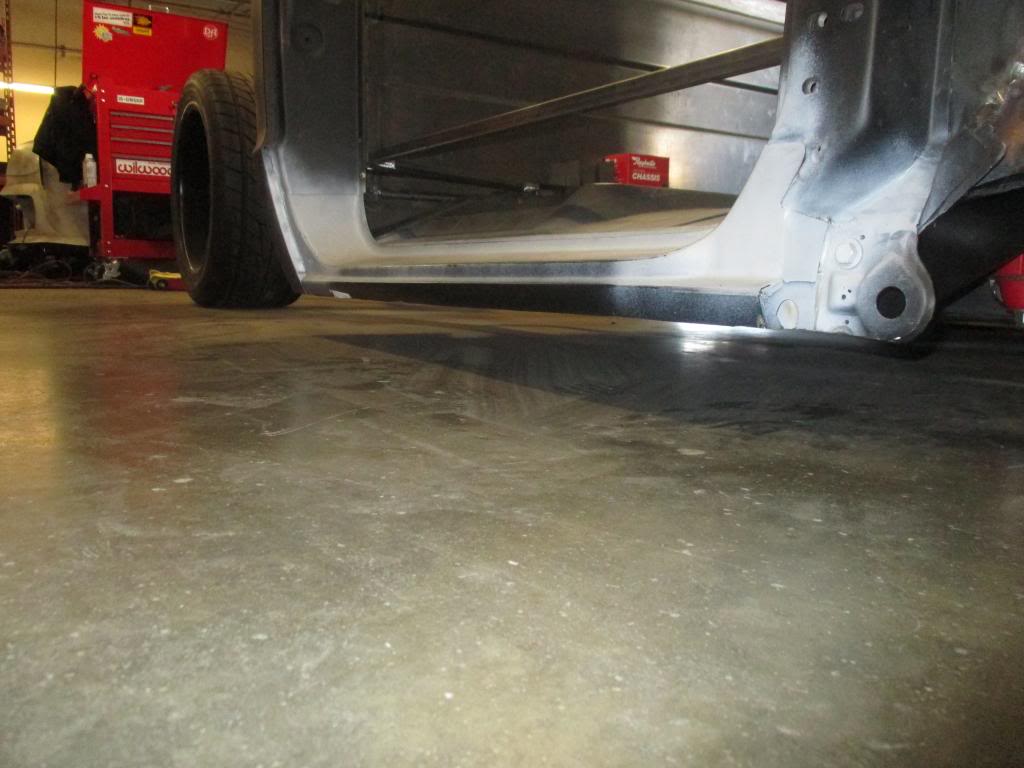
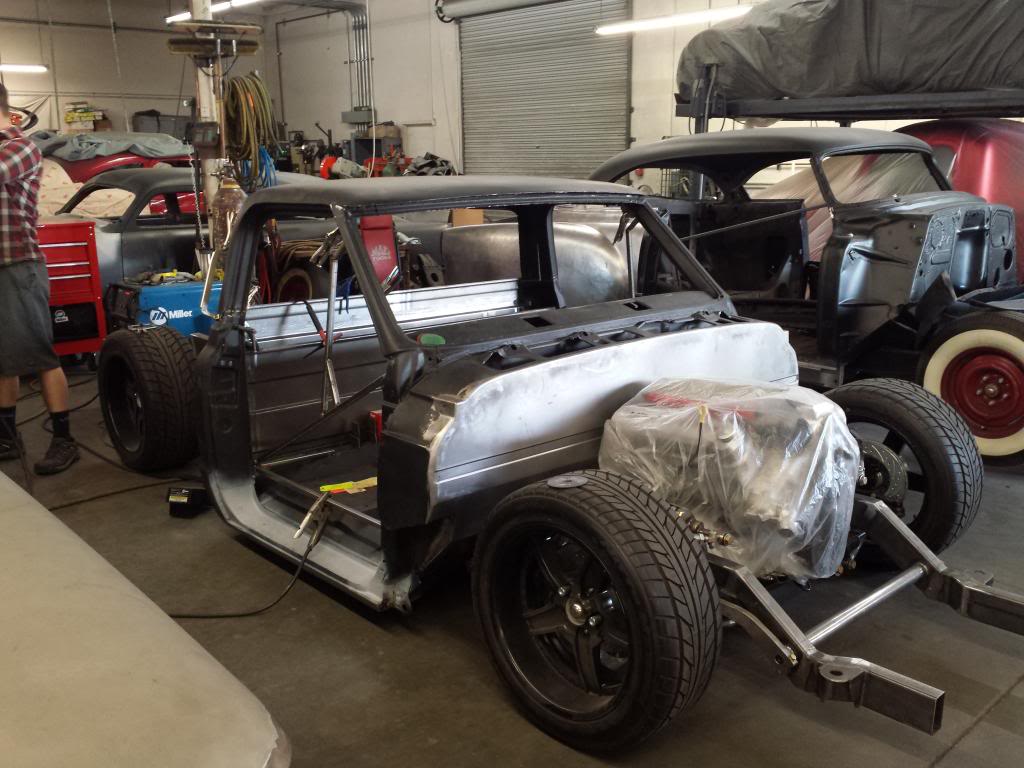
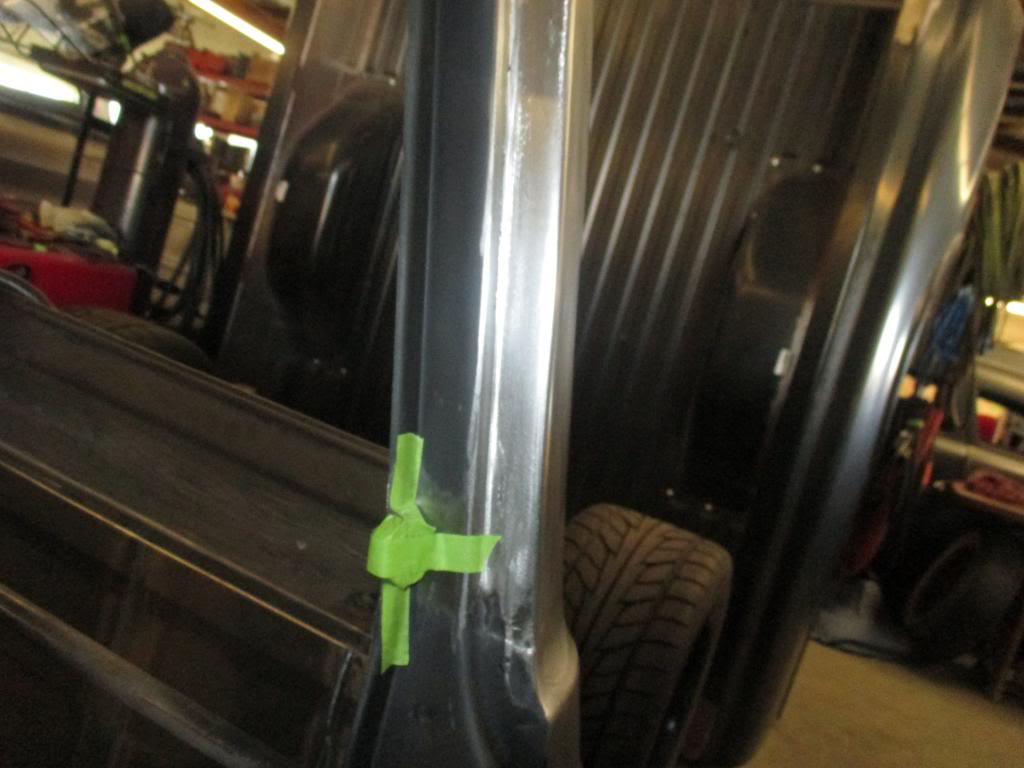
Right now the guys are setting up the ground clearance. The rockers are being trimmed and remade, ad the rear of the cab is being redone too.
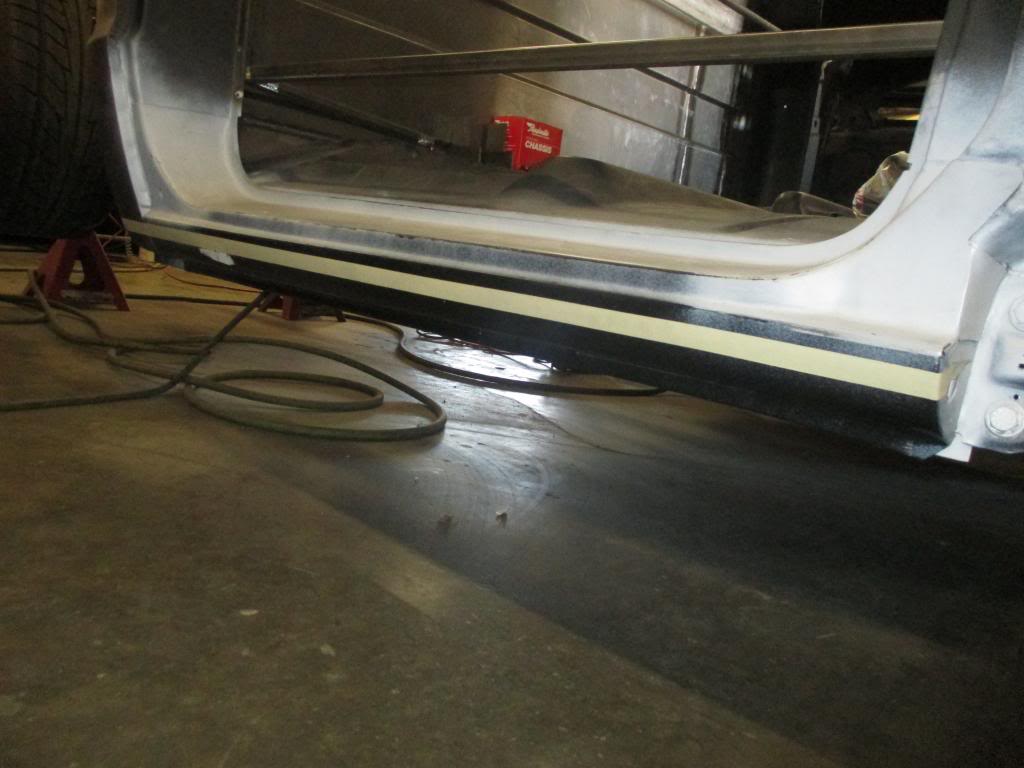
You can see just how much we are taking out of the rocker. Seems like a lot, but it'll really not be noticeable when it's all finished.
01-02-2014 #23
Starting The Transformation
- Join Date
- Dec 2010
- Location
- Ventura, CA
- Posts
- 173
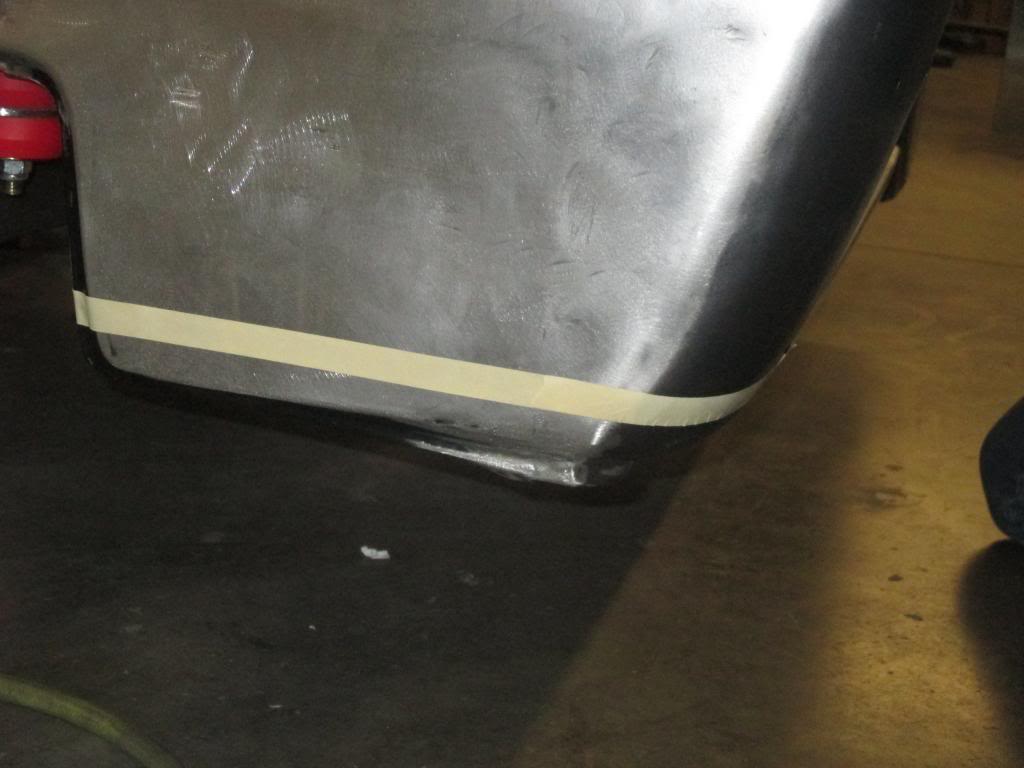
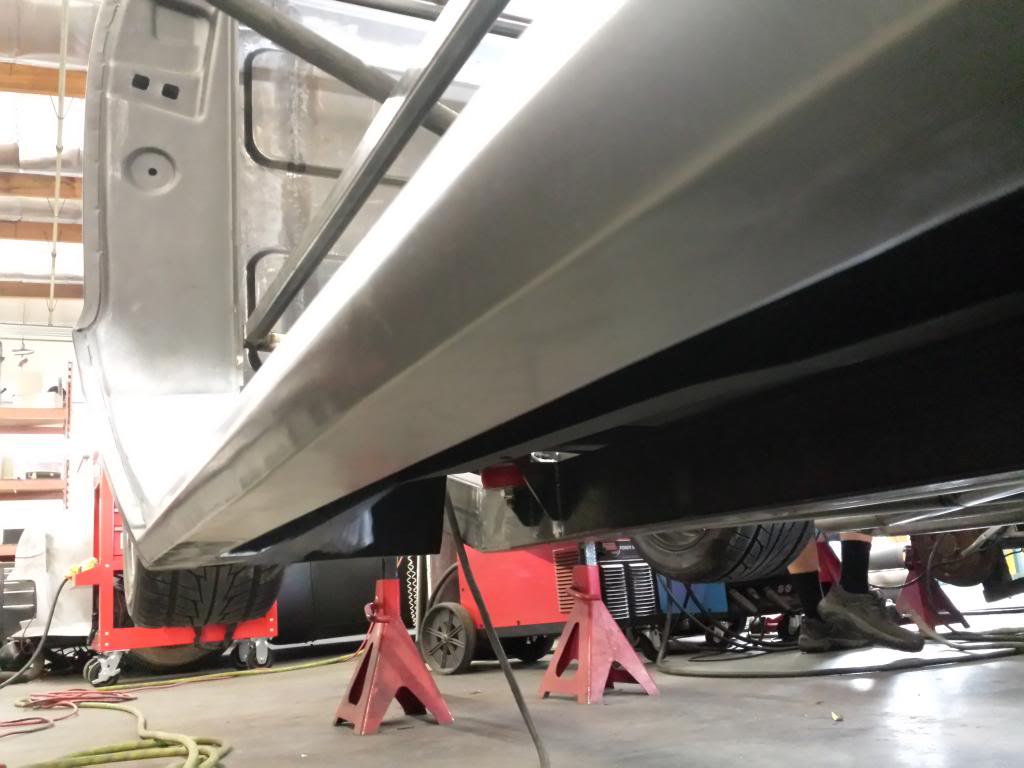
The body will sit level with the frame when it's finished. All said and done, it will give us our 4" of ground clearance that we need.
Here's a better view of the rocker. It'll be finished with a sheet metal cap and shaped correctly.
01-07-2014 #24
Starting The Transformation
- Join Date
- Dec 2010
- Location
- Ventura, CA
- Posts
- 173
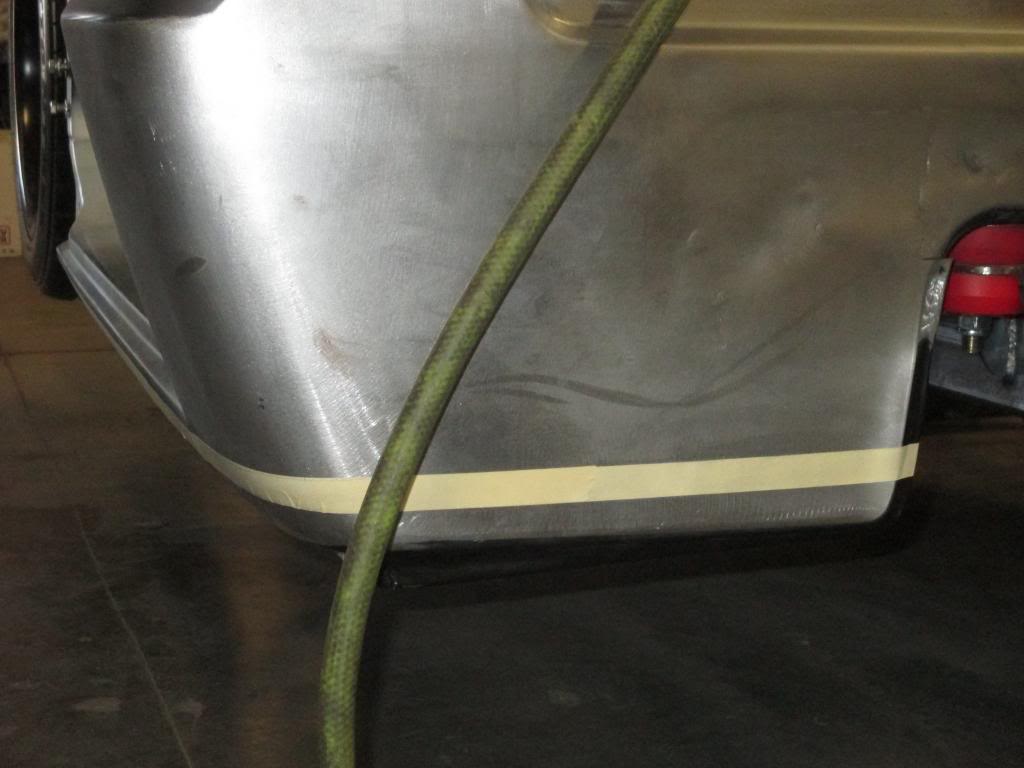
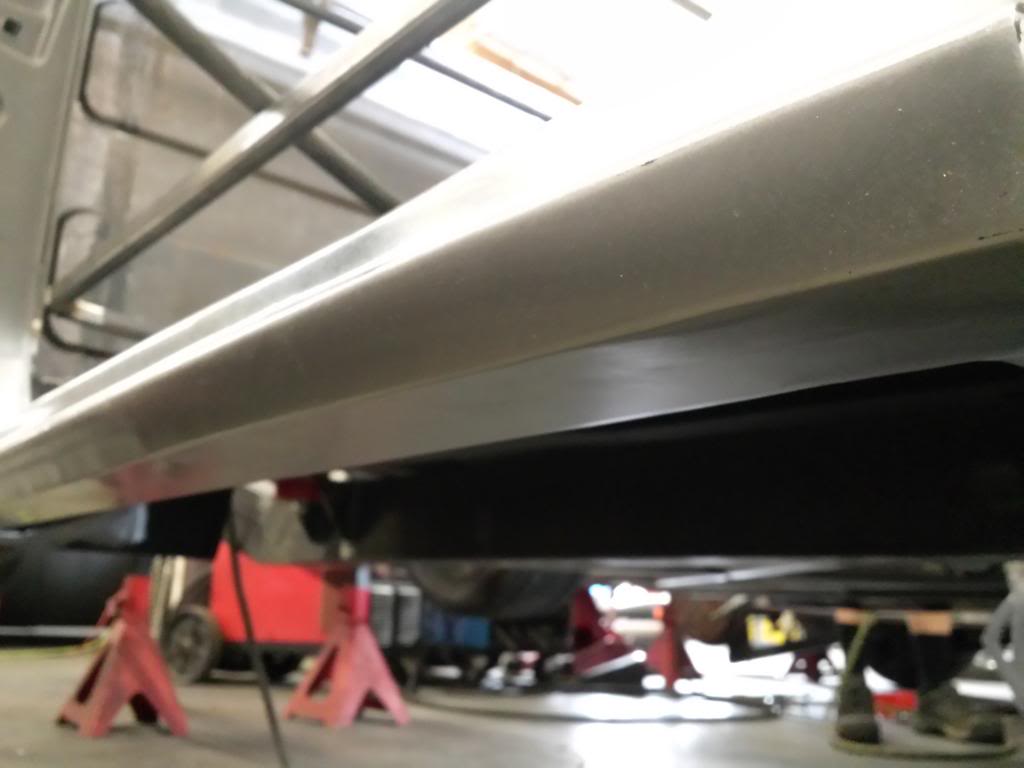
Not the best of pics cause the cars pretty low on the ground, but here's a pretty much finished rocker.
01-07-2014 #25
Starting The Transformation
- Join Date
- Dec 2010
- Location
- Ventura, CA
- Posts
- 173
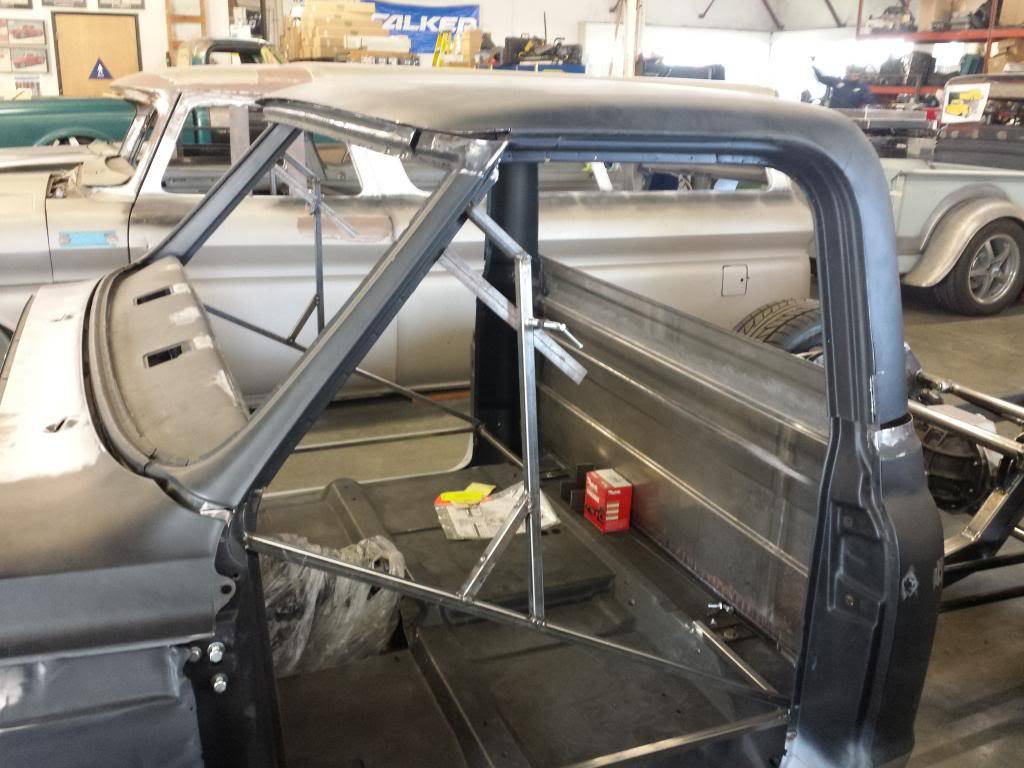
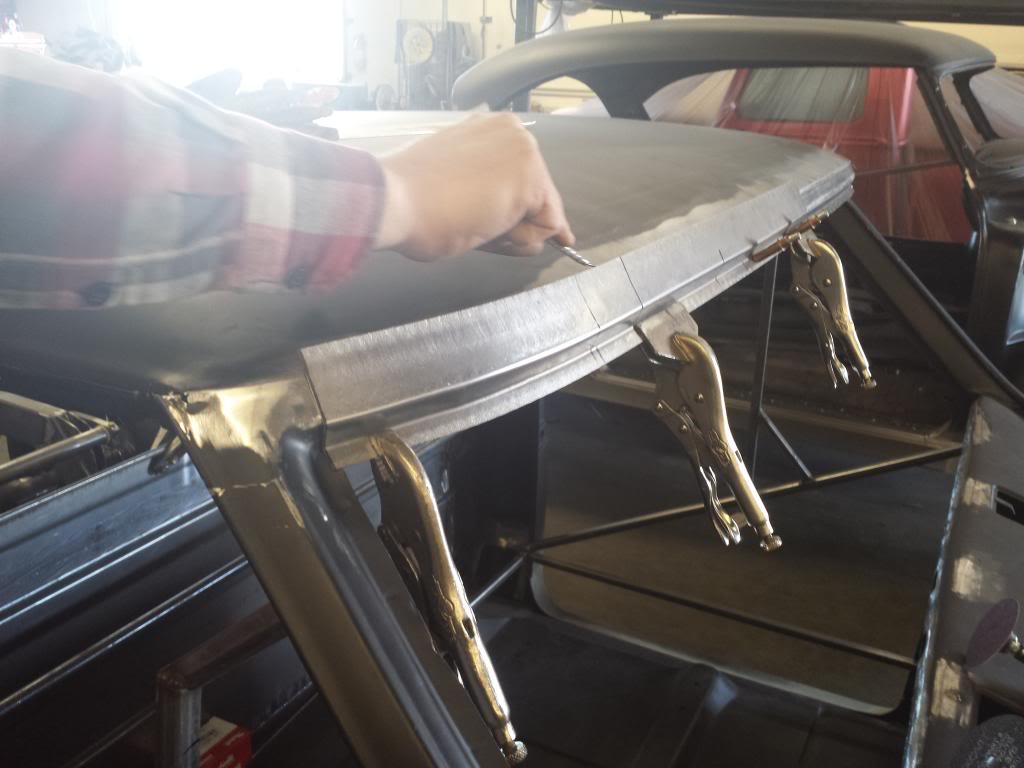
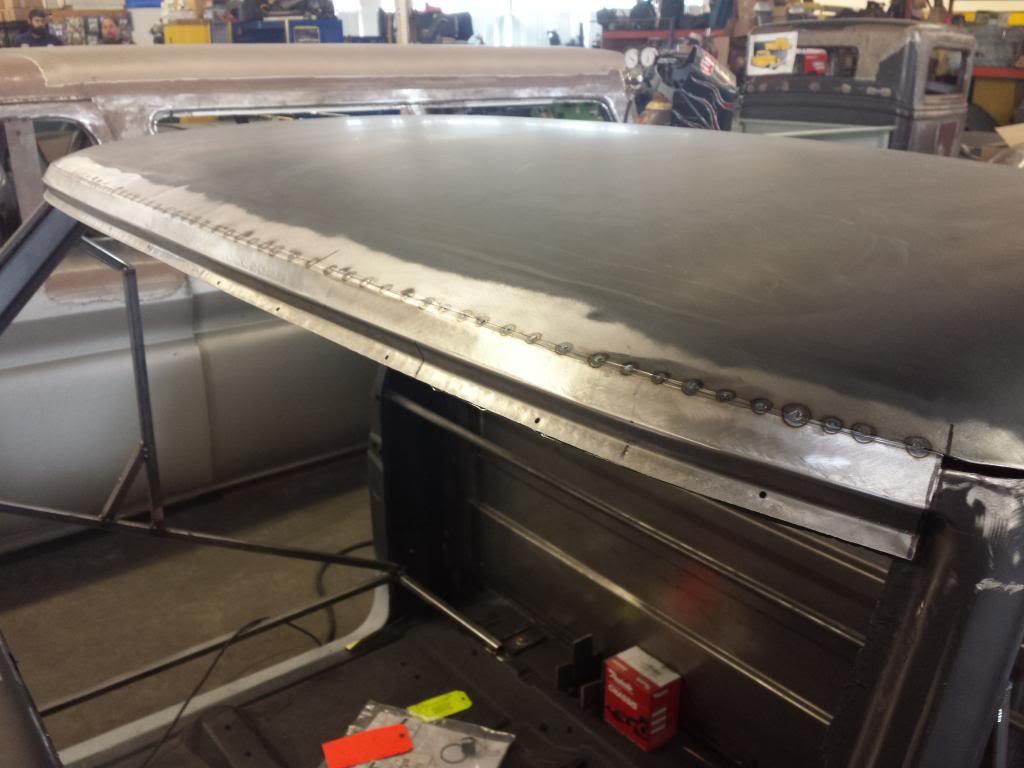
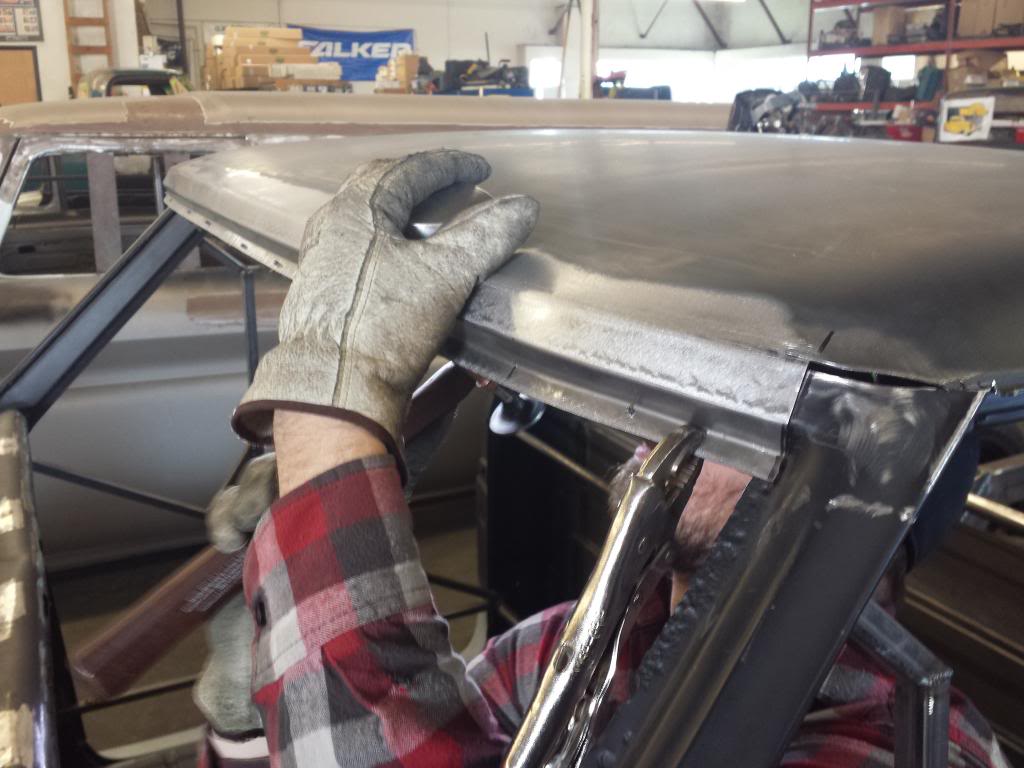
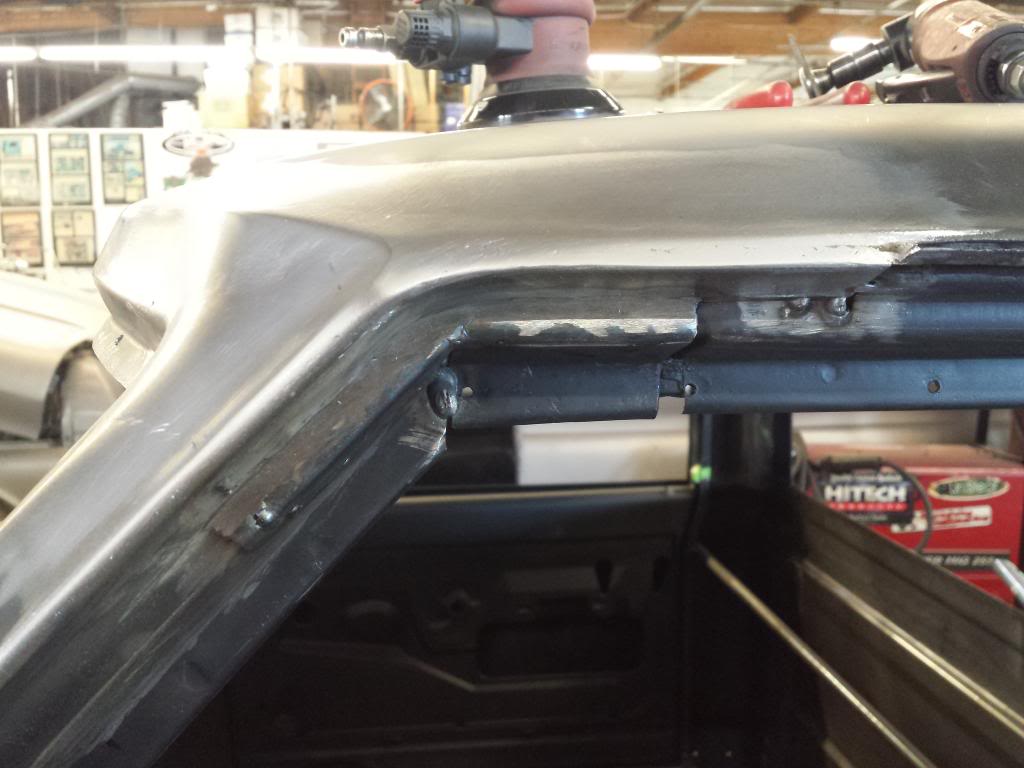
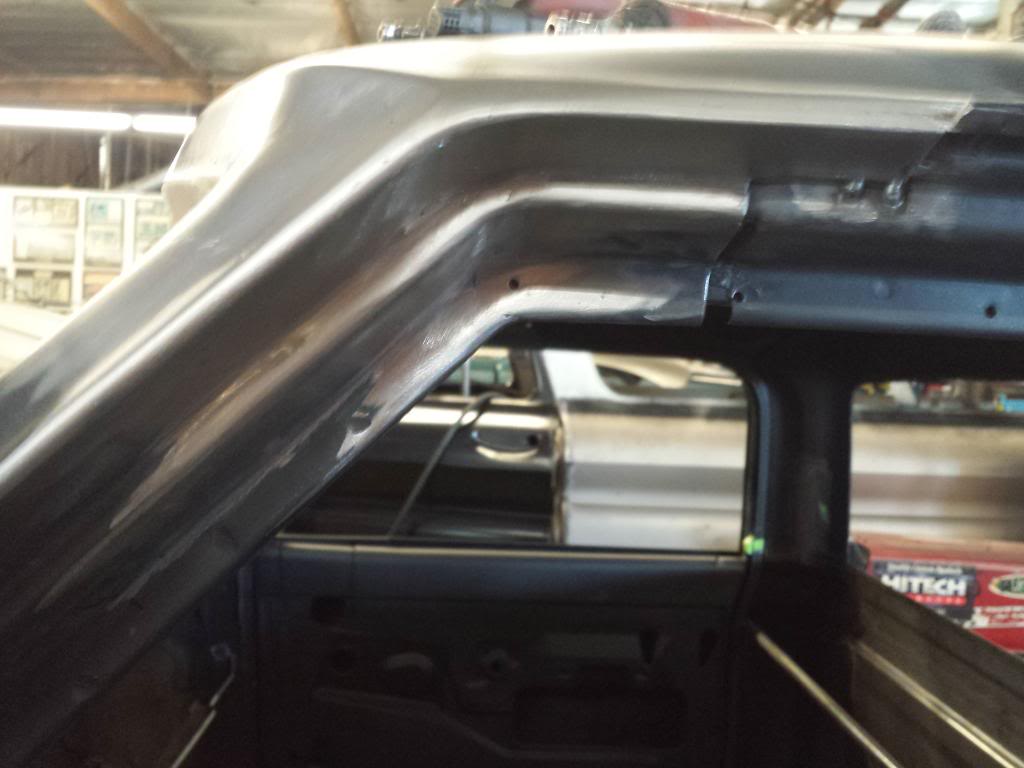
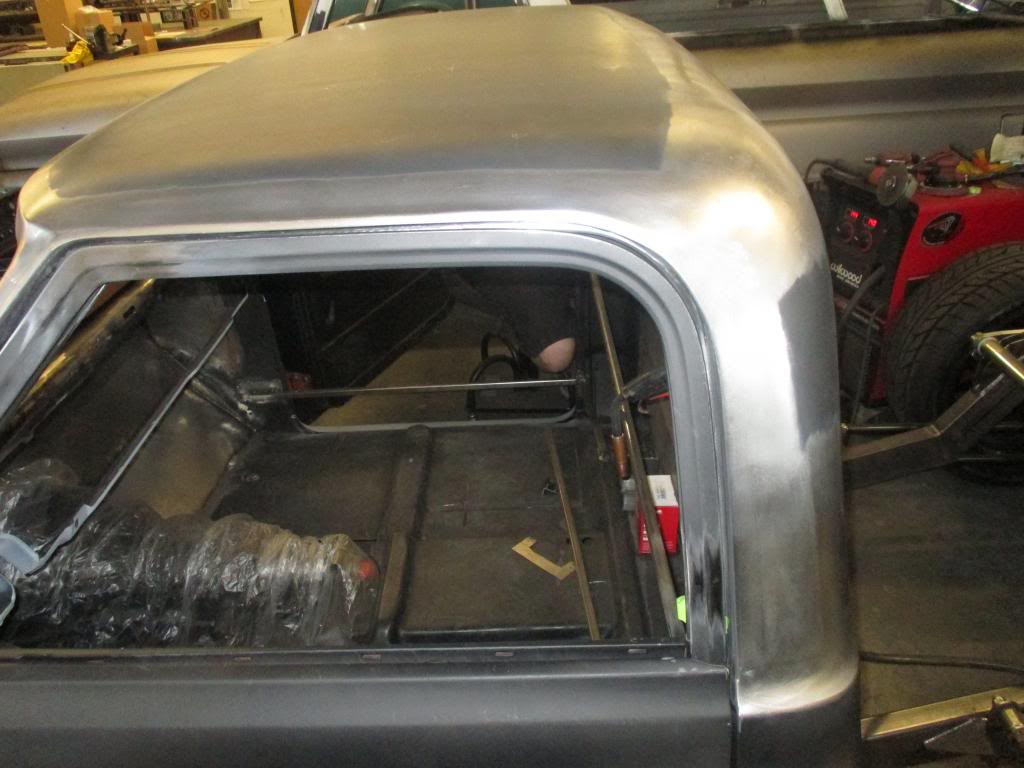
Well, the roof's off


01-07-2014 #26
Starting The Transformation
- Join Date
- Dec 2010
- Location
- Ventura, CA
- Posts
- 173
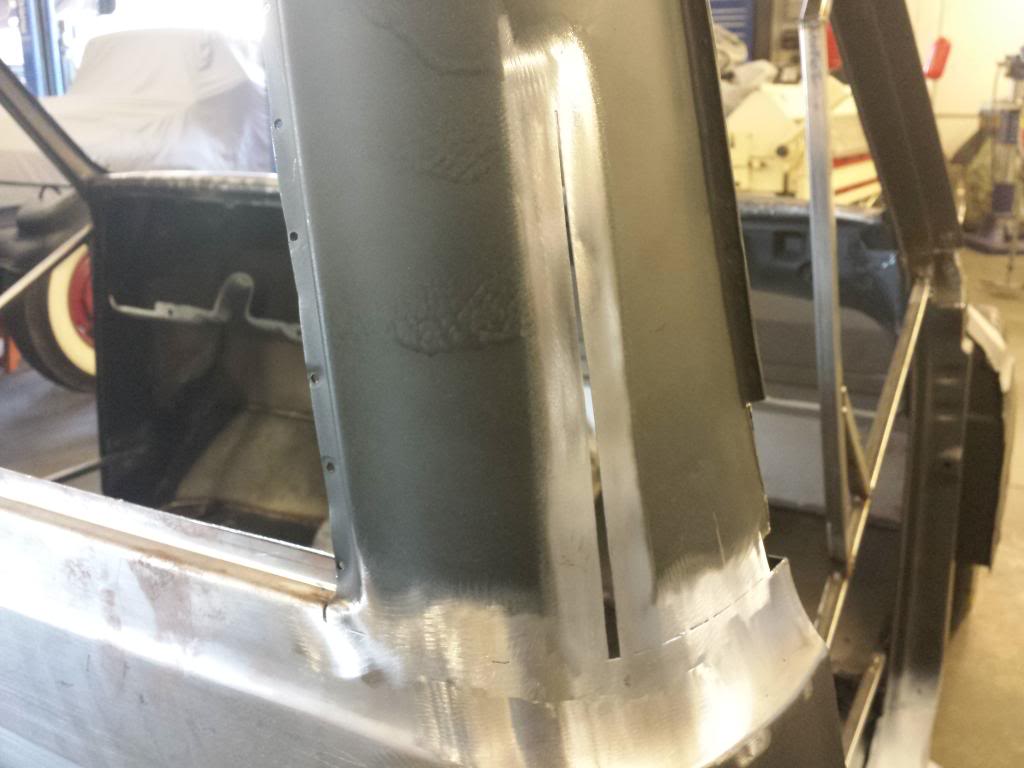
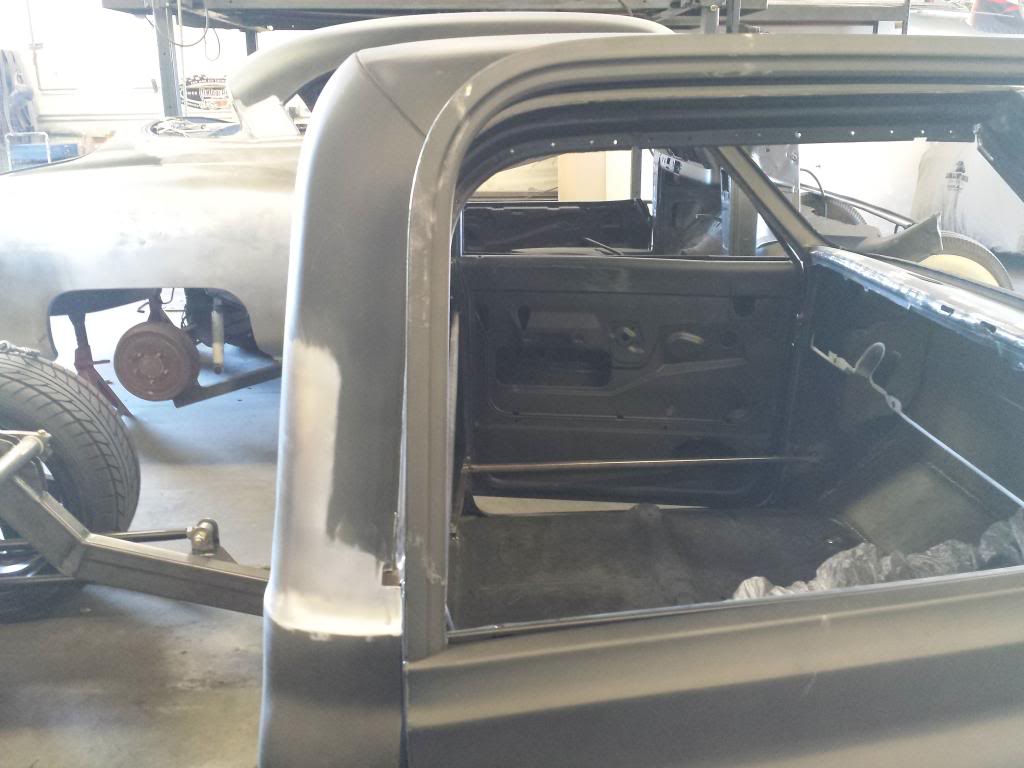
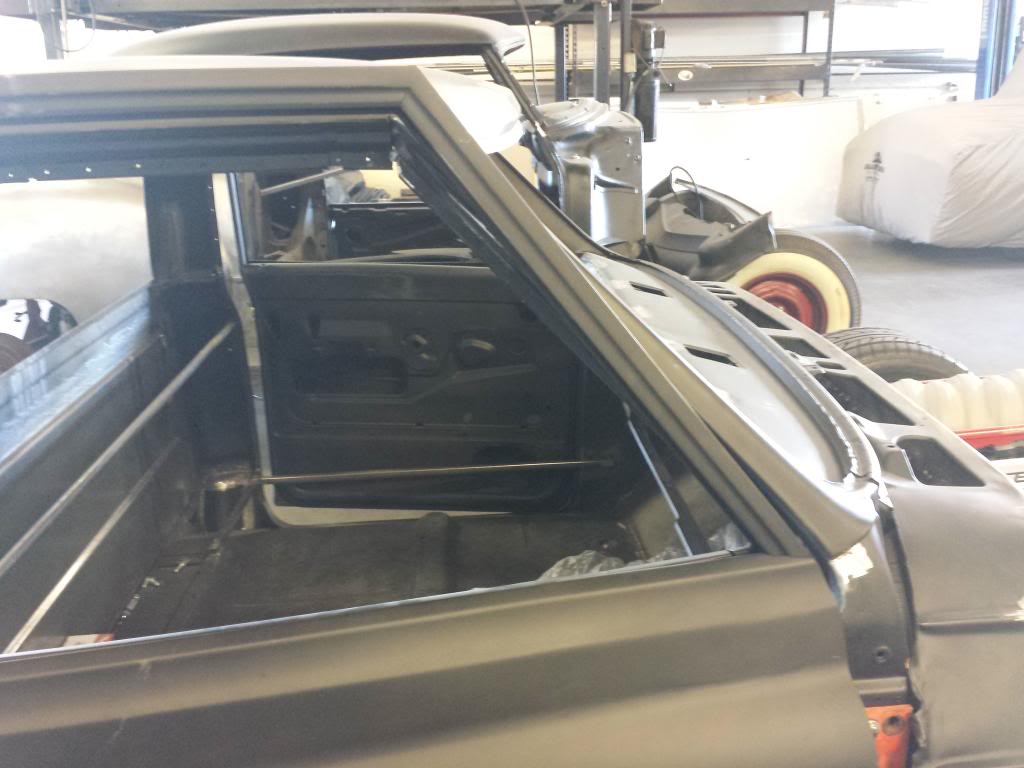
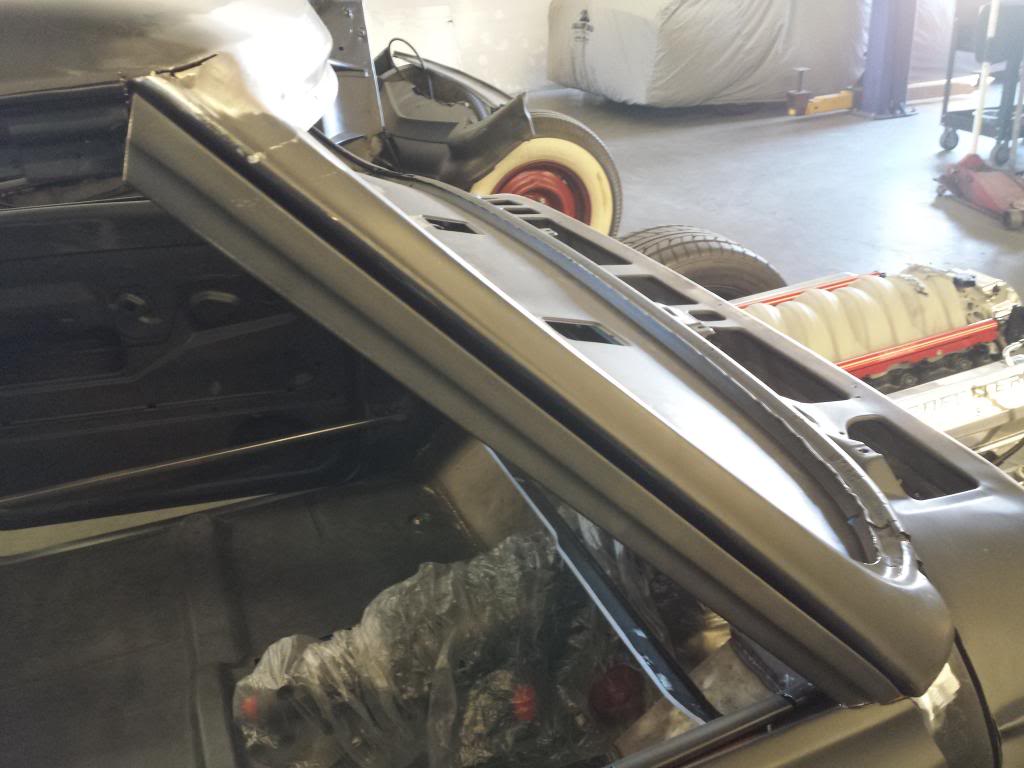
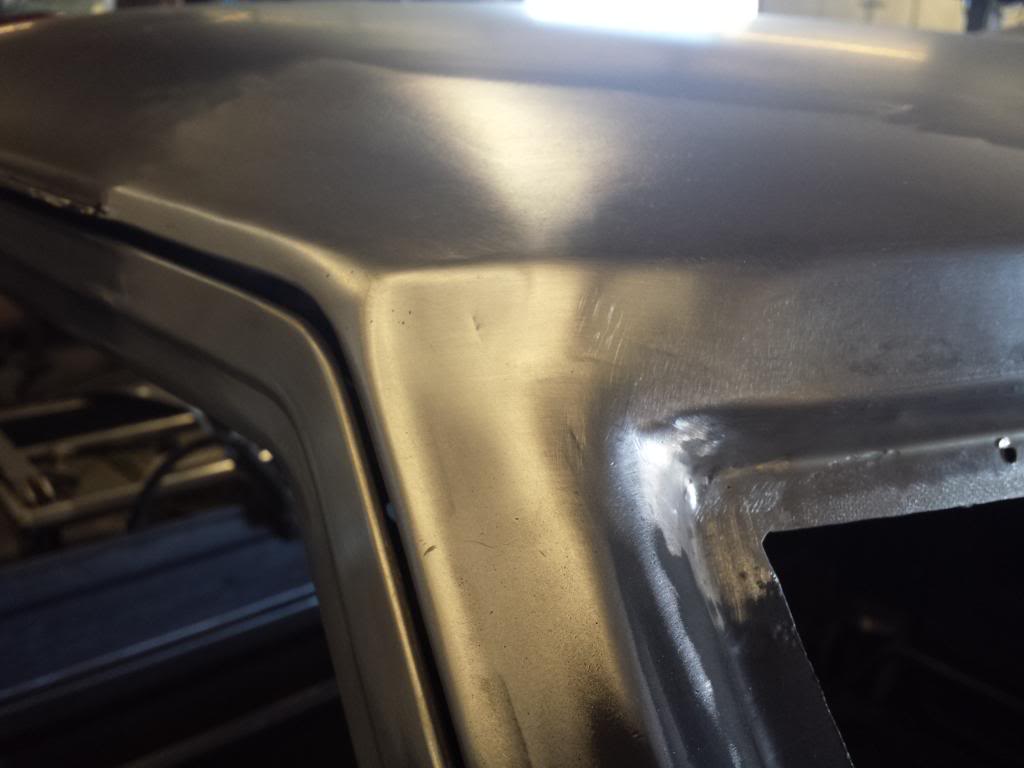
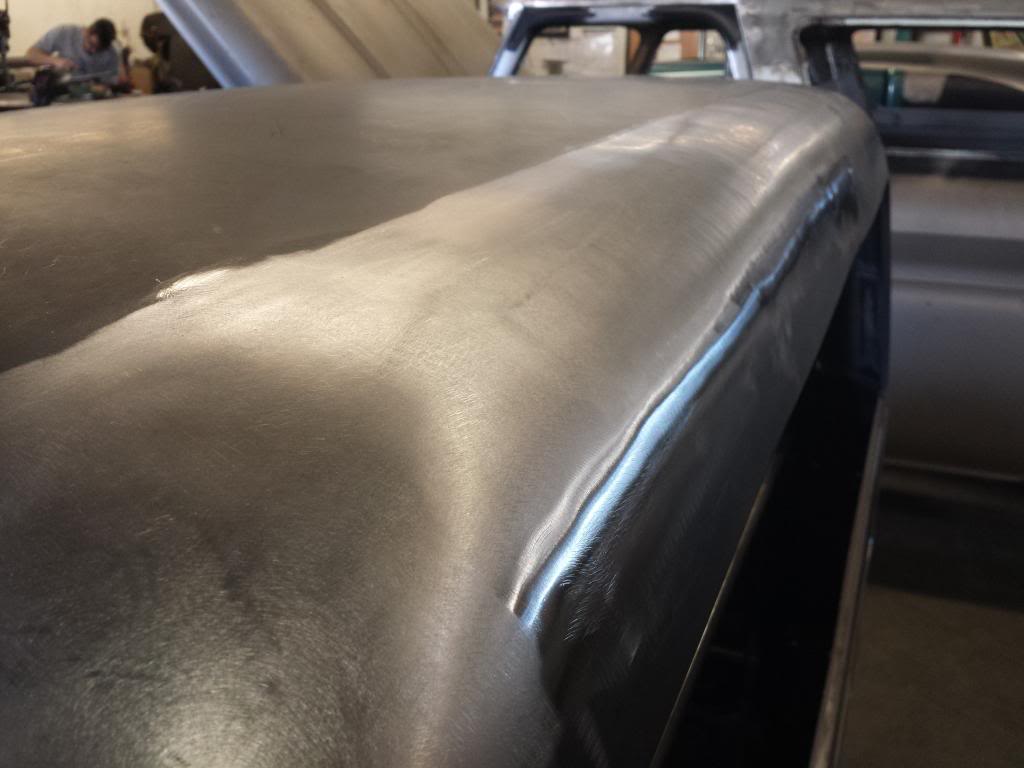
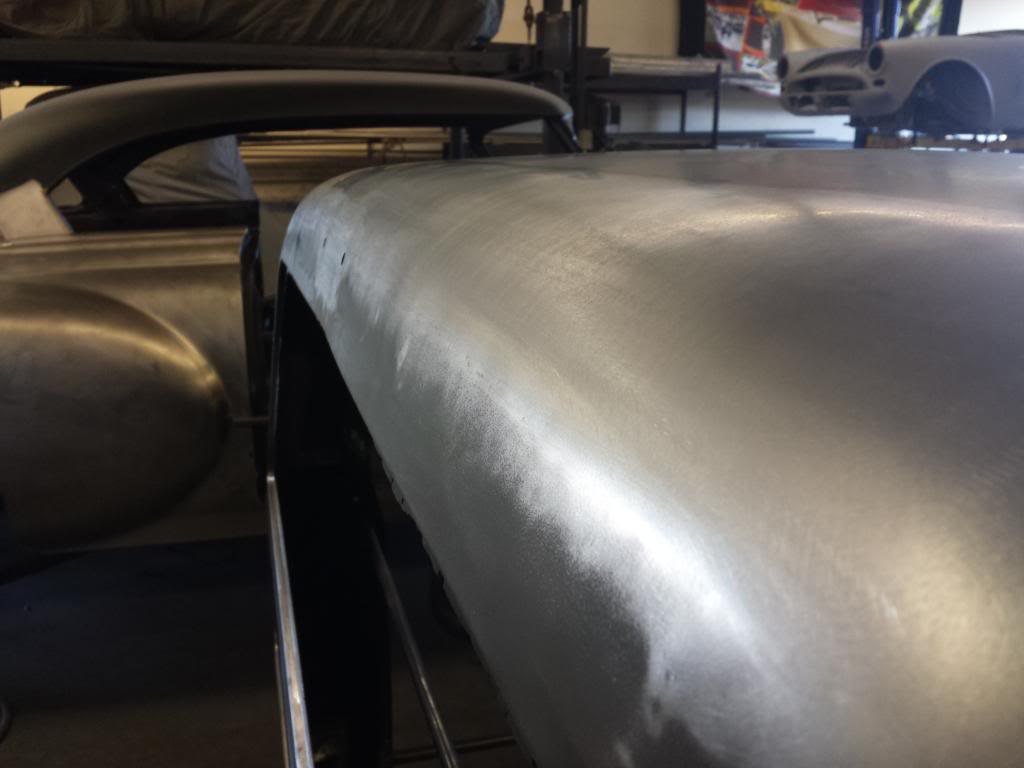
Here's a quick look at it before it's finished. You can see how the rear window stays full size, and how the windshield is leaned back. Like Justin said, the dash isn't affected so long as the pillars are relieved correctly.
01-09-2014 #27
Starting The Transformation
- Join Date
- Dec 2010
- Location
- Ventura, CA
- Posts
- 173
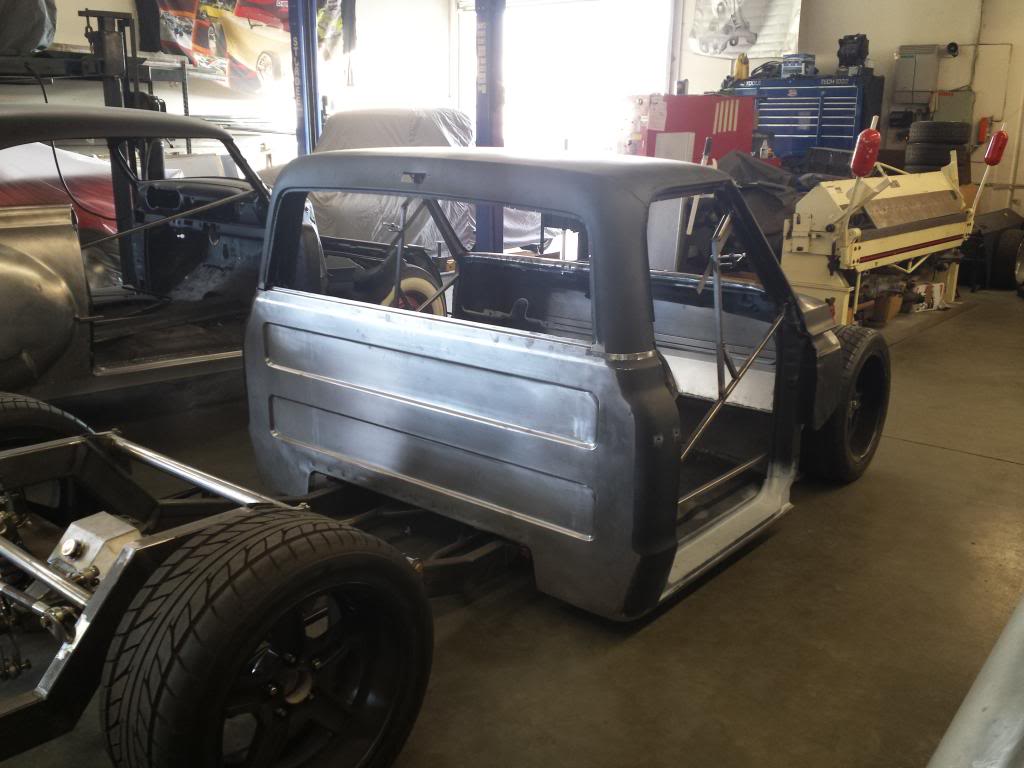
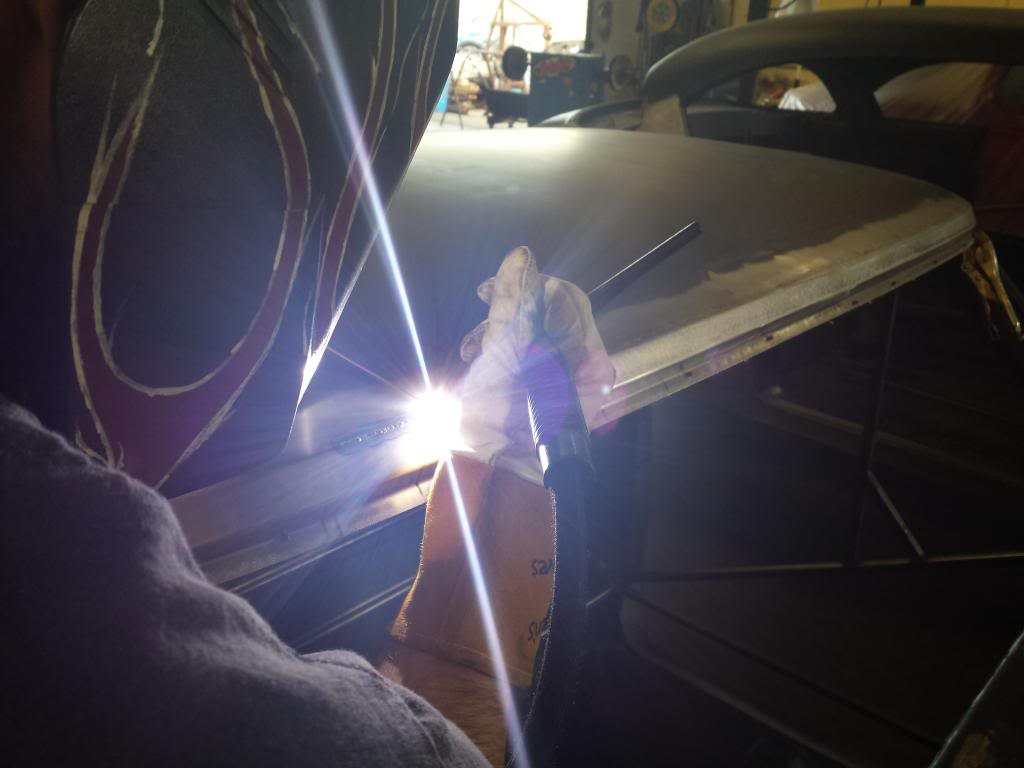
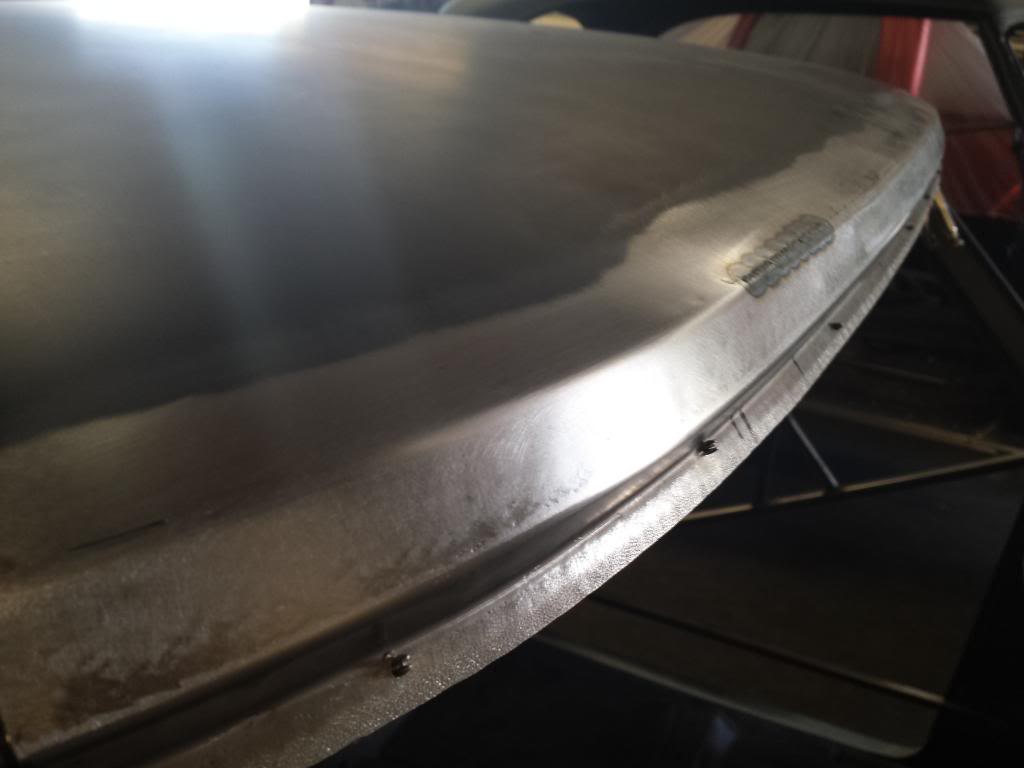
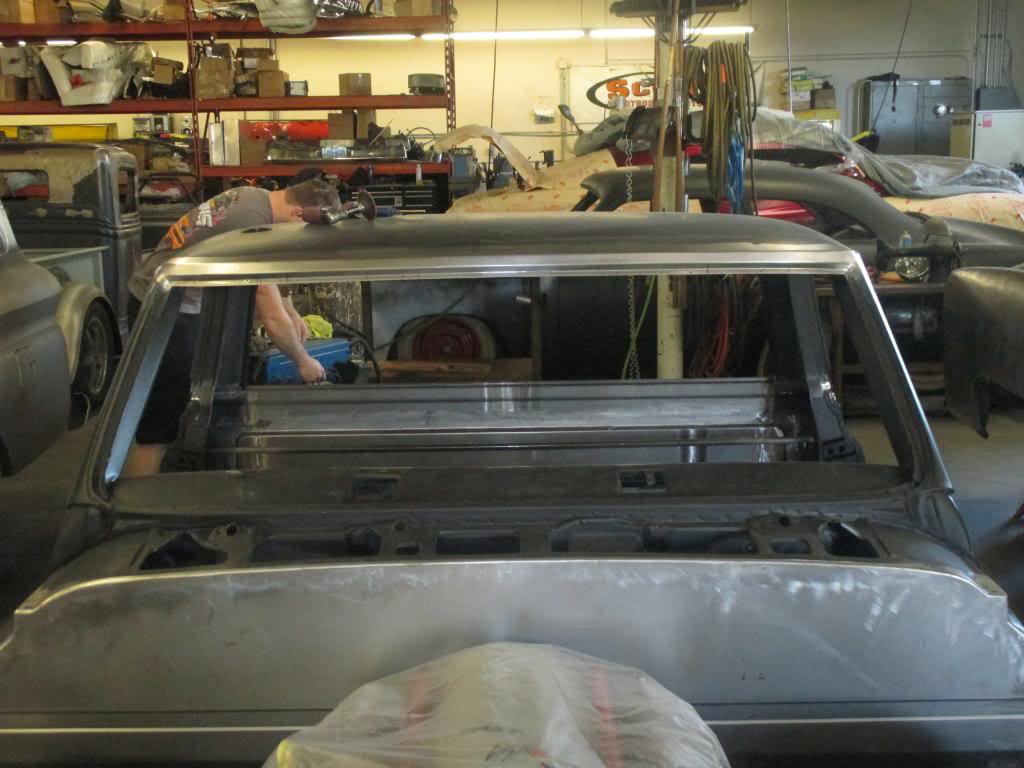
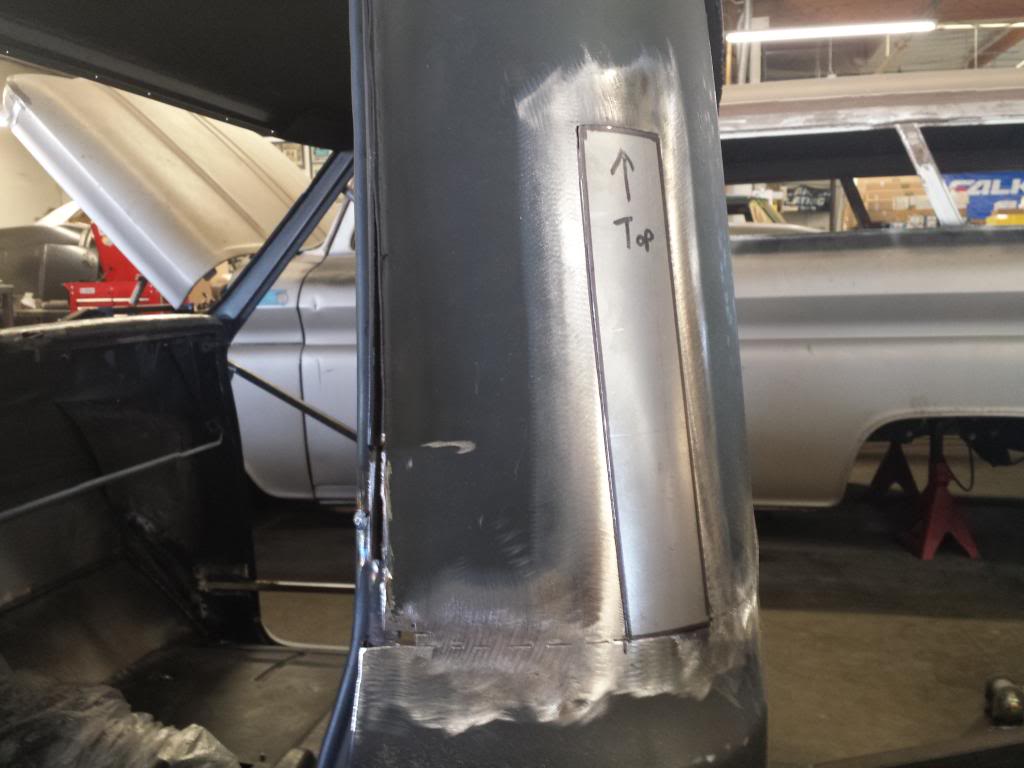
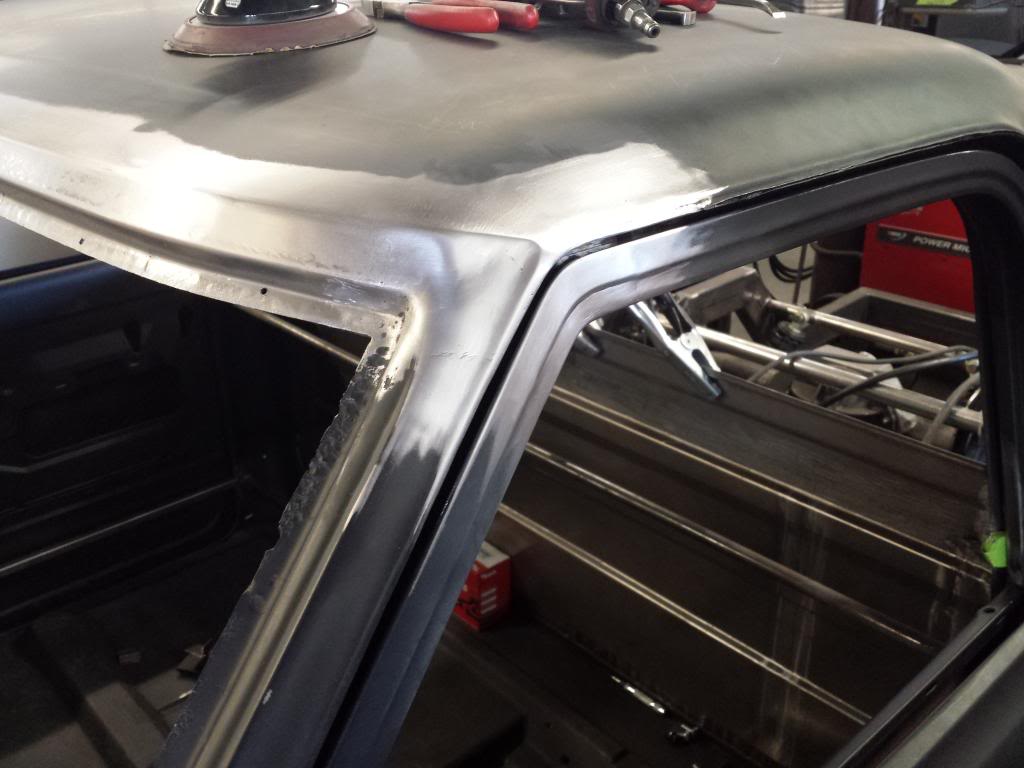
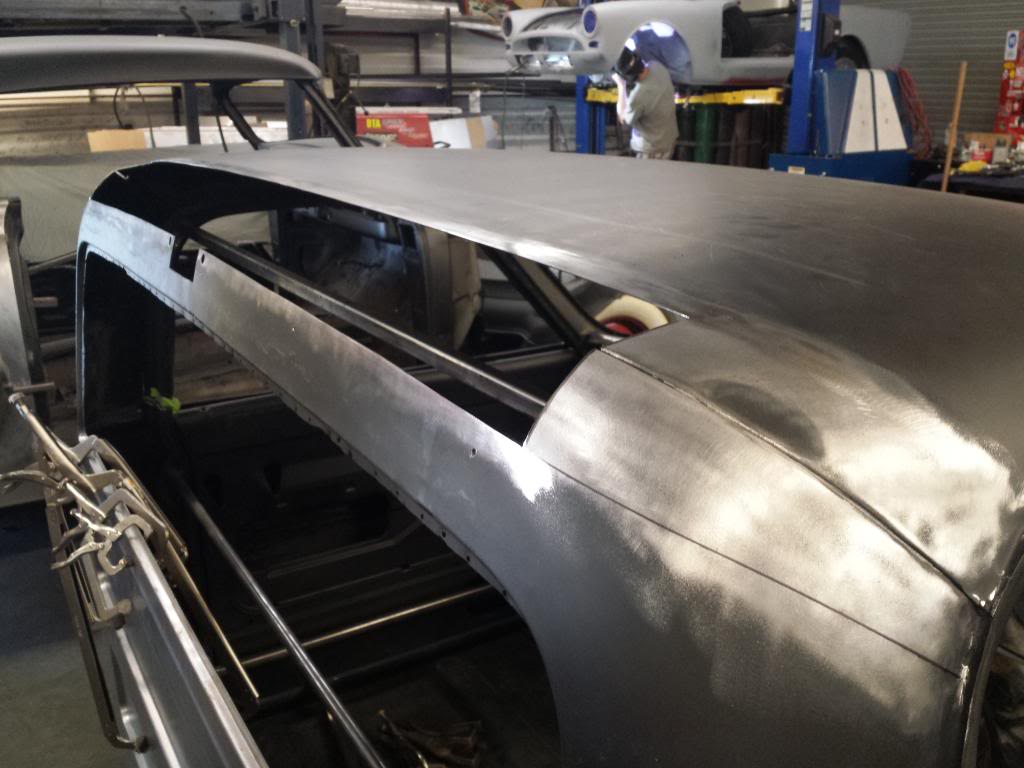
In total, the windshield is laid back 2-3/4" and the total chop is 1-3/4". In the earlier pictures the windshield wasn't fully laid back yet. Here's the final height.
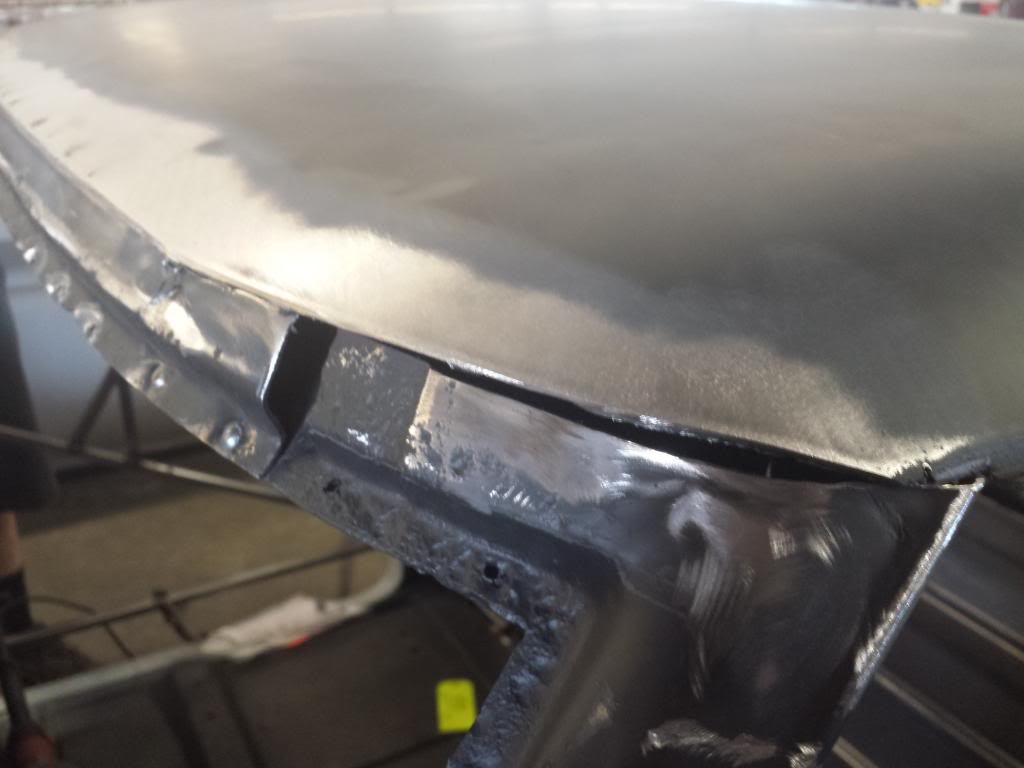
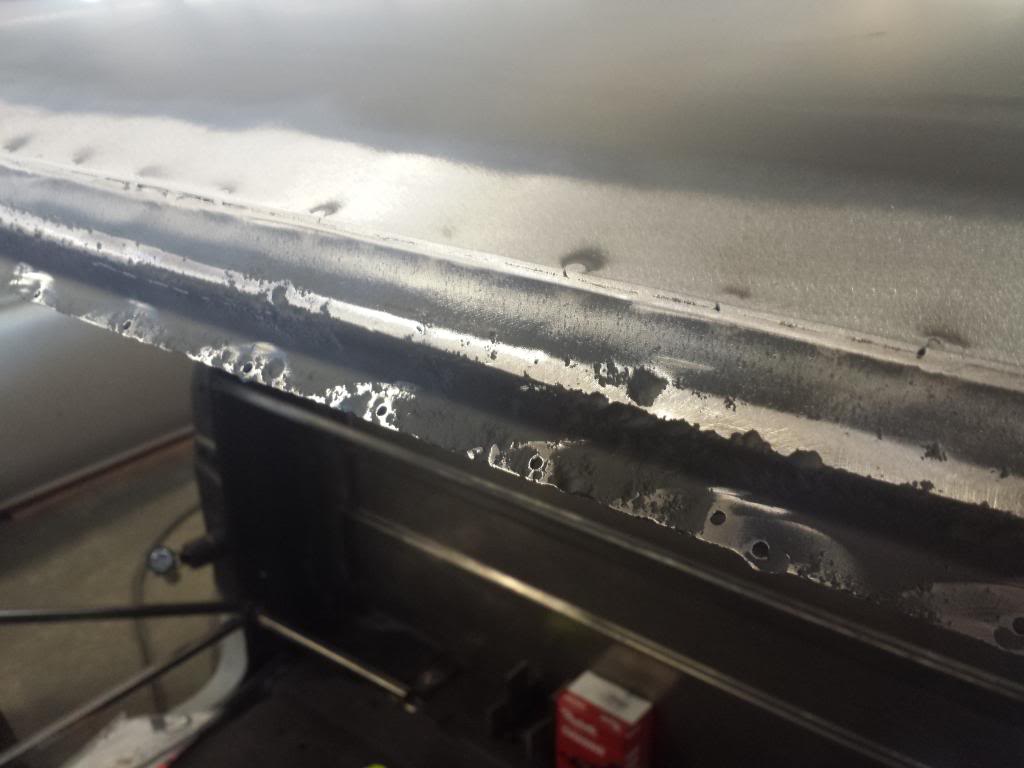
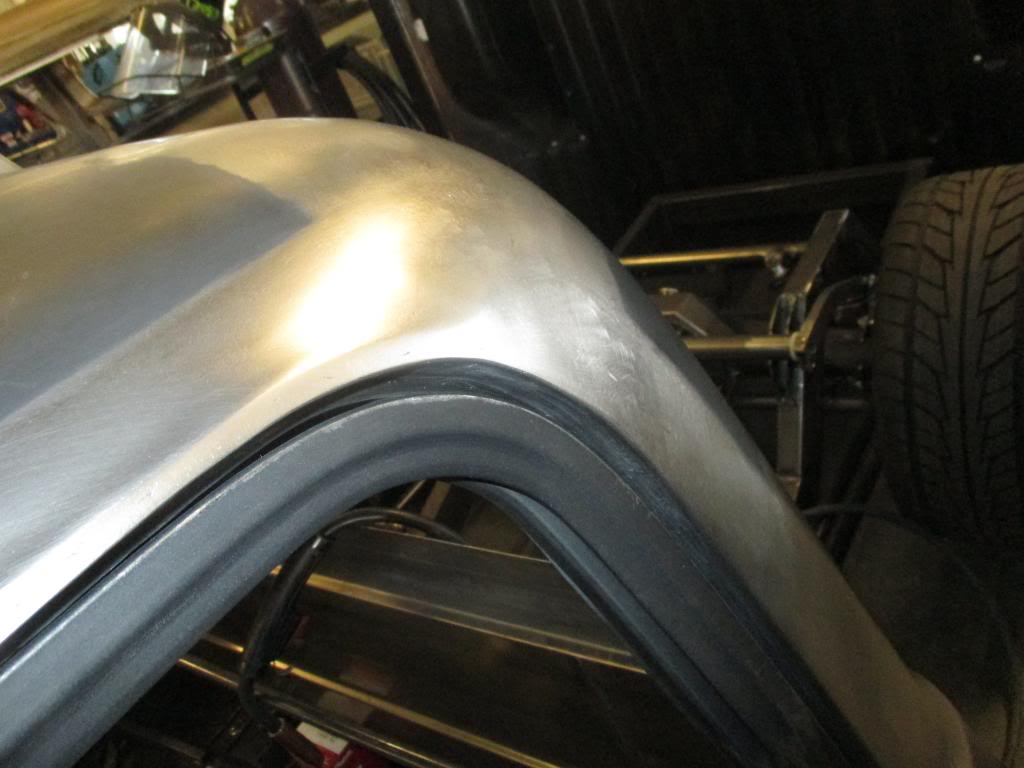
Once the welding and cutting started to happen, it was apparent that some more rust repair needed to be done. Since that was happening anyhow, Justin decided to take out the hard edge and smooth it out a bit.
Here's some more pictures.
01-09-2014 #28
Starting The Transformation
- Join Date
- Dec 2010
- Location
- Ventura, CA
- Posts
- 173
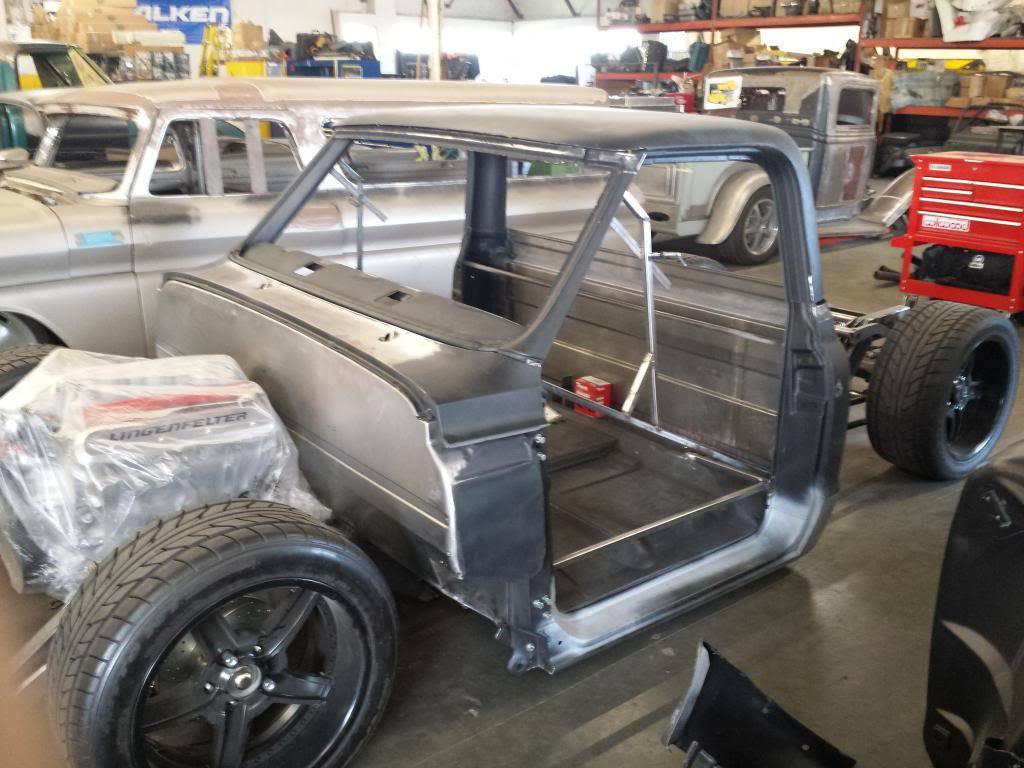
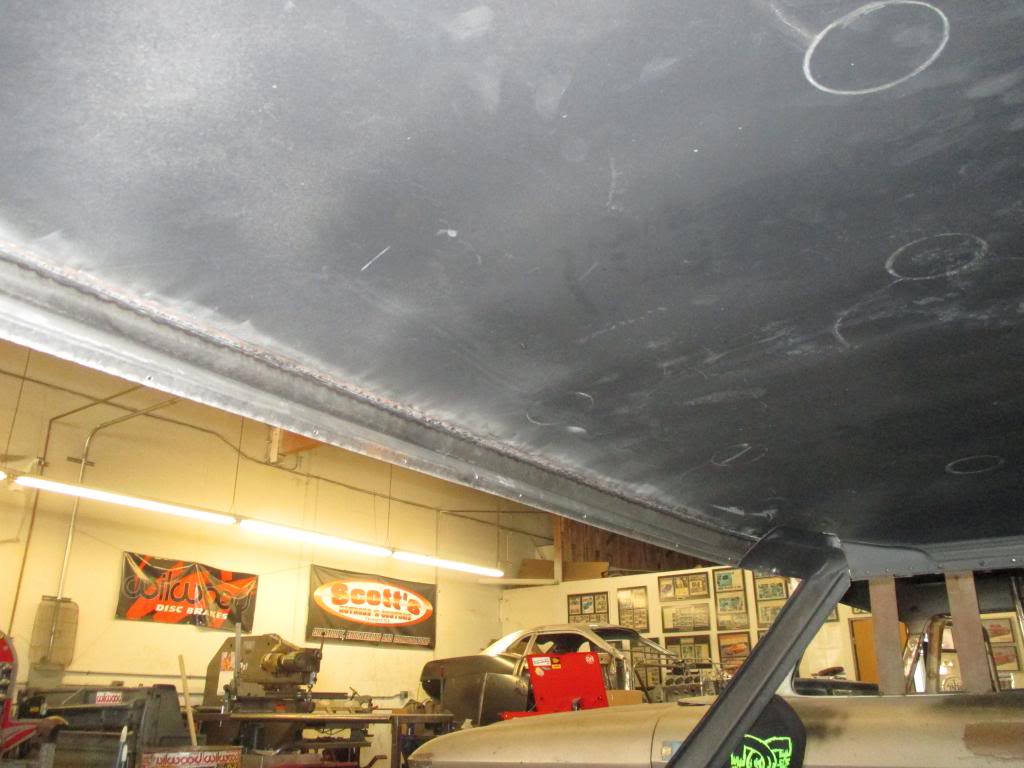
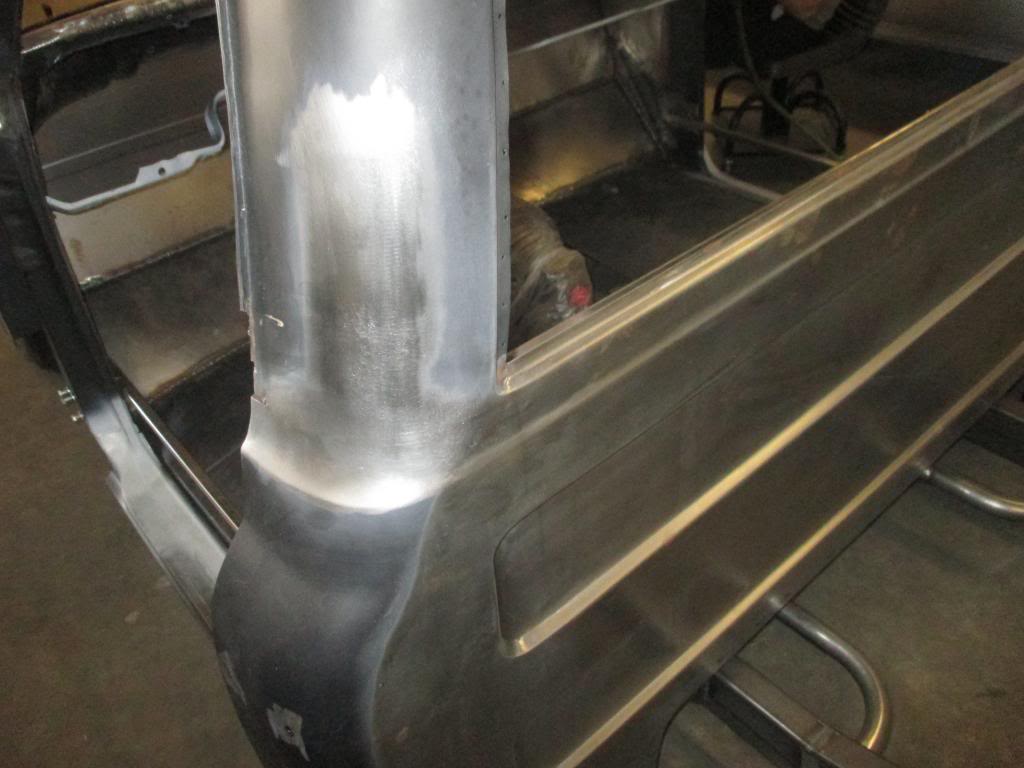
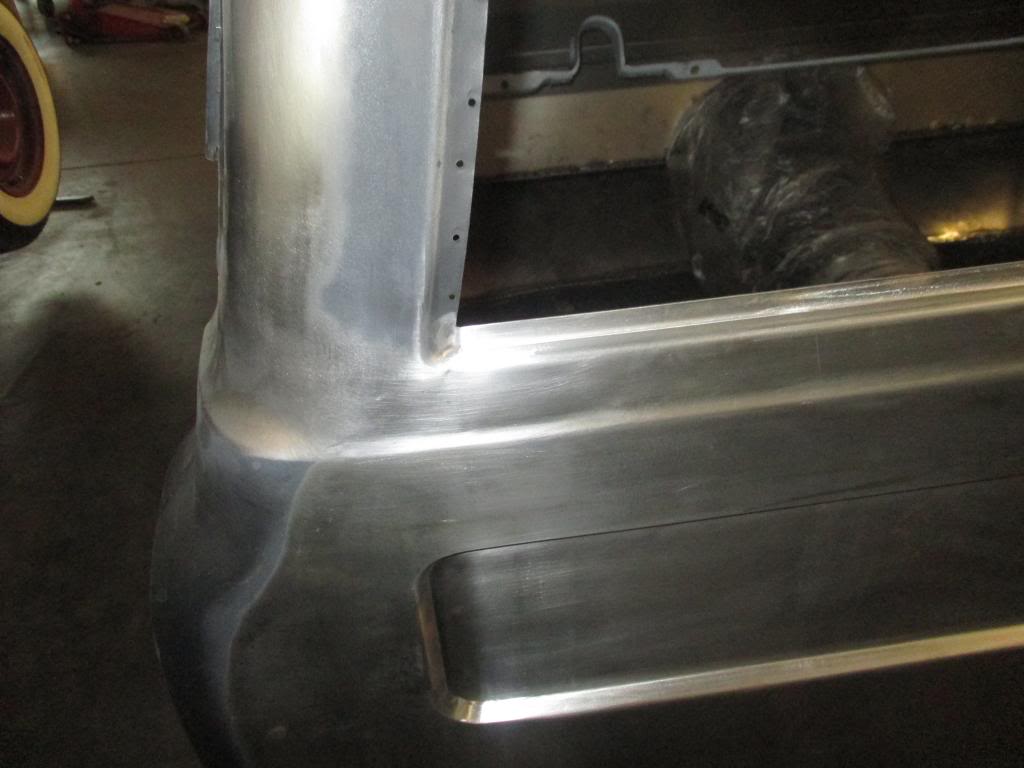
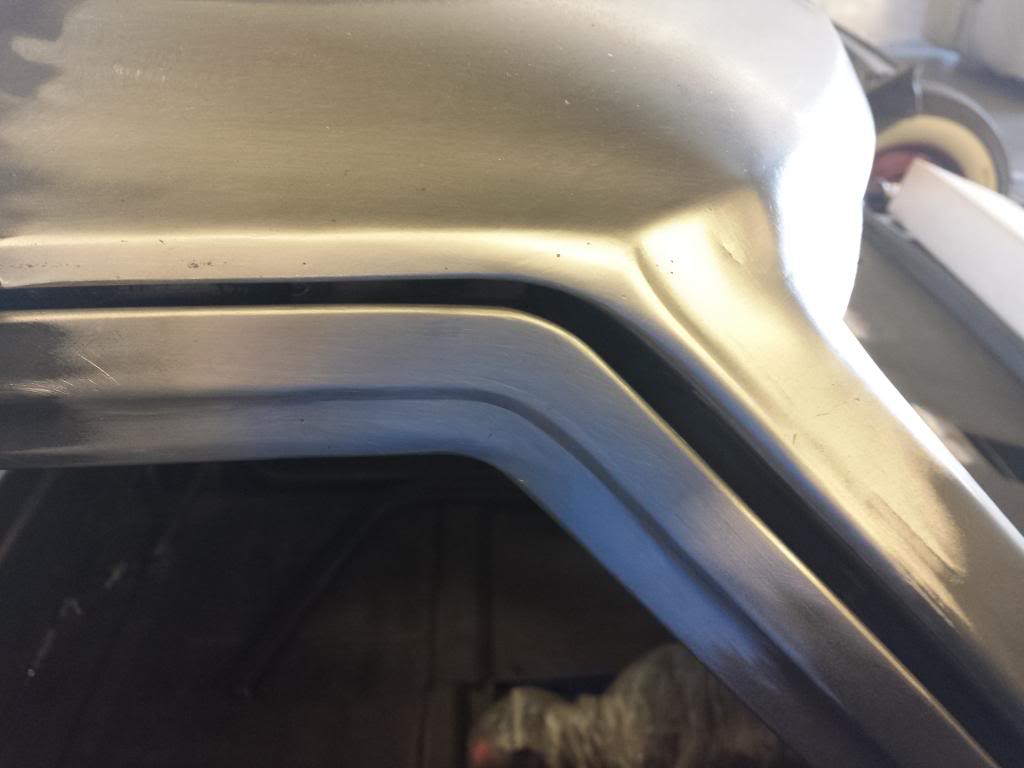
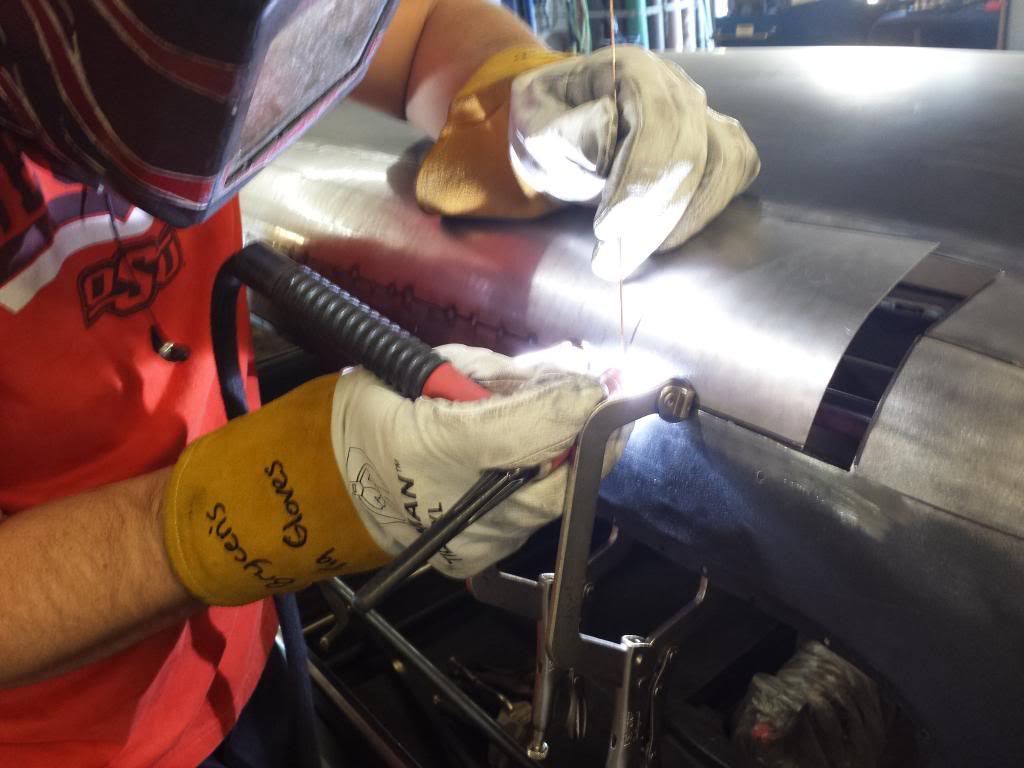
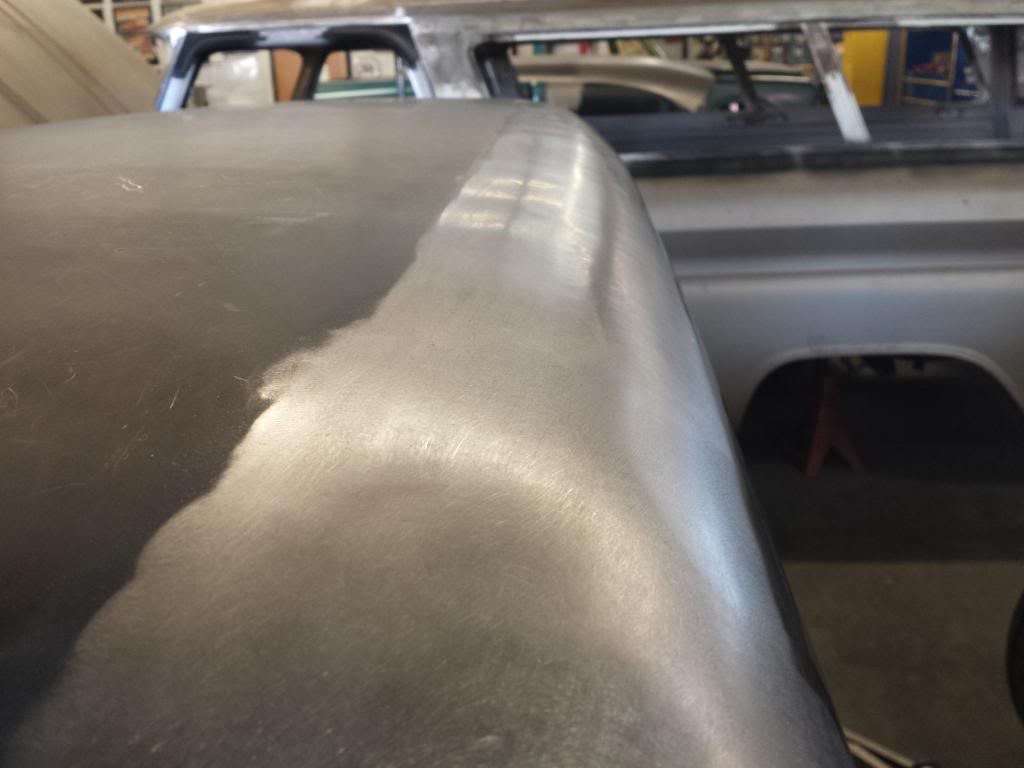
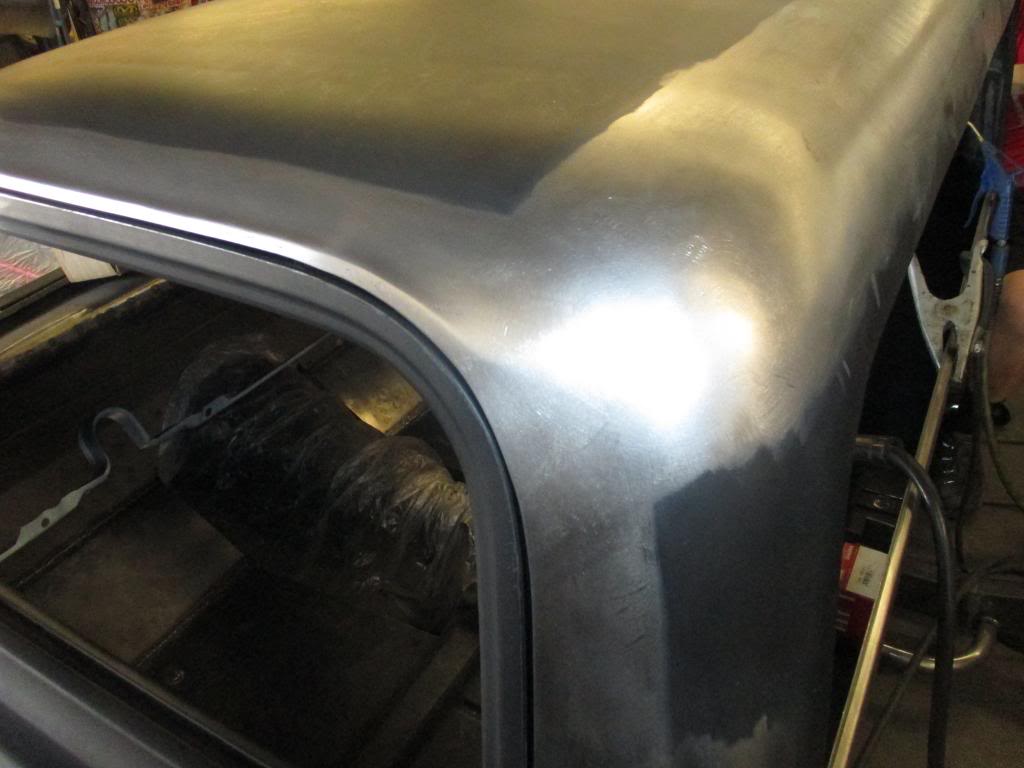
Here's a few good shots of the improved transition. The corners will be reshaped along with the doors to follow the new body line.

01-13-2014 #29
Starting The Transformation
- Join Date
- Dec 2010
- Location
- Ventura, CA
- Posts
- 173
Here's a few more for today.
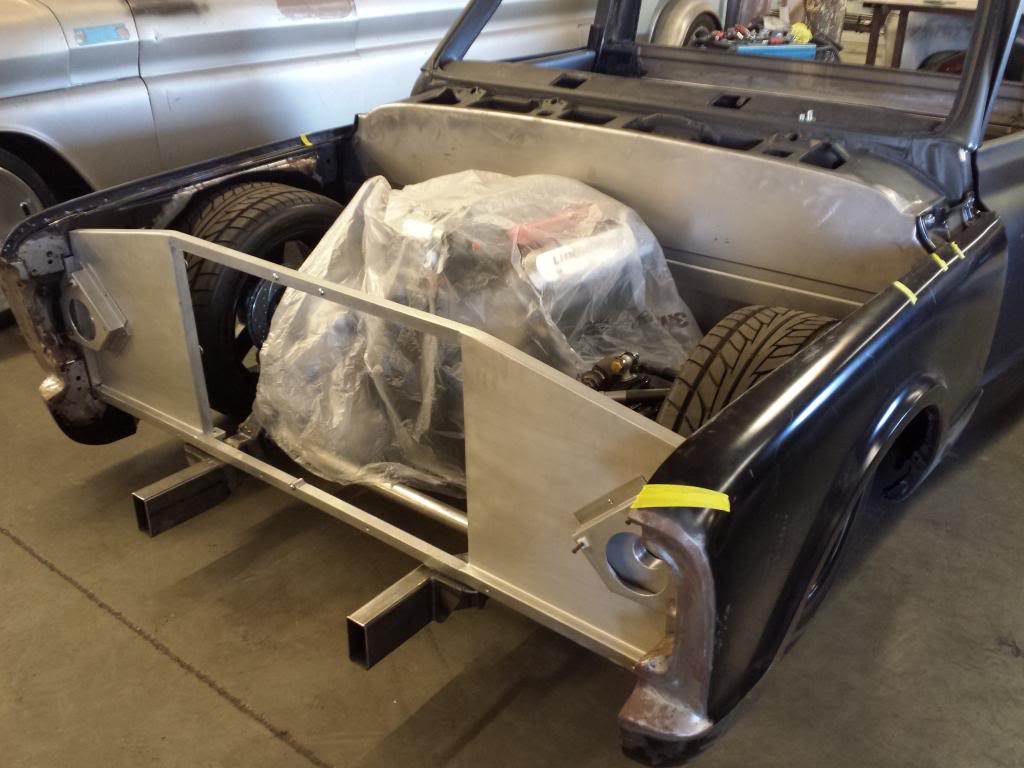
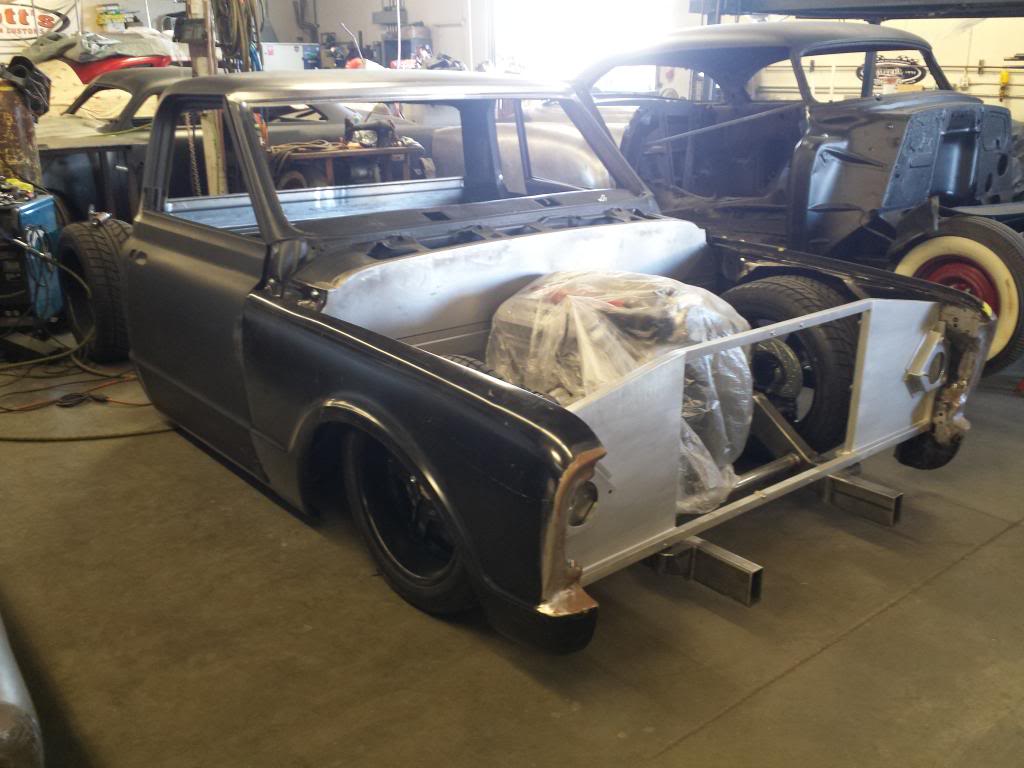
The doors are being fitted as well as a quick mock up of the front sheet metal. The metal work on the fenders placed the core support a little too far back, so we'll fix that and it should be good to start raising the wheel wells a bit.
I really like the core support. It mocked up really nice and will give the truck a clean look.
01-13-2014 #30 Registered User
- Join Date
- Feb 2012
- Location
- compton IL
- Posts
- 159

you guys do incredible work ! this much progress must have taken a long time. i tried tig welding my body panels and it took WAY too long, i did not have enough free time or patience for that, so i just settled on using the mig lmao. very impressed !
1965 mustang fastback. a pro-touring concoction of oem, race & custom fab...build thread here https://www.pro-touring.com/threads/...Racesteed-quot
1975 harley ironhead custom long chopper. home built dream machine. fast, loud & beautiful
01-14-2014 #31
Starting The Transformation
- Join Date
- Dec 2010
- Location
- Ventura, CA
- Posts
- 173
Doors are moving along nicely...
01-14-2014 #32
Registered User
- Join Date
- May 2009
- Posts
- 14
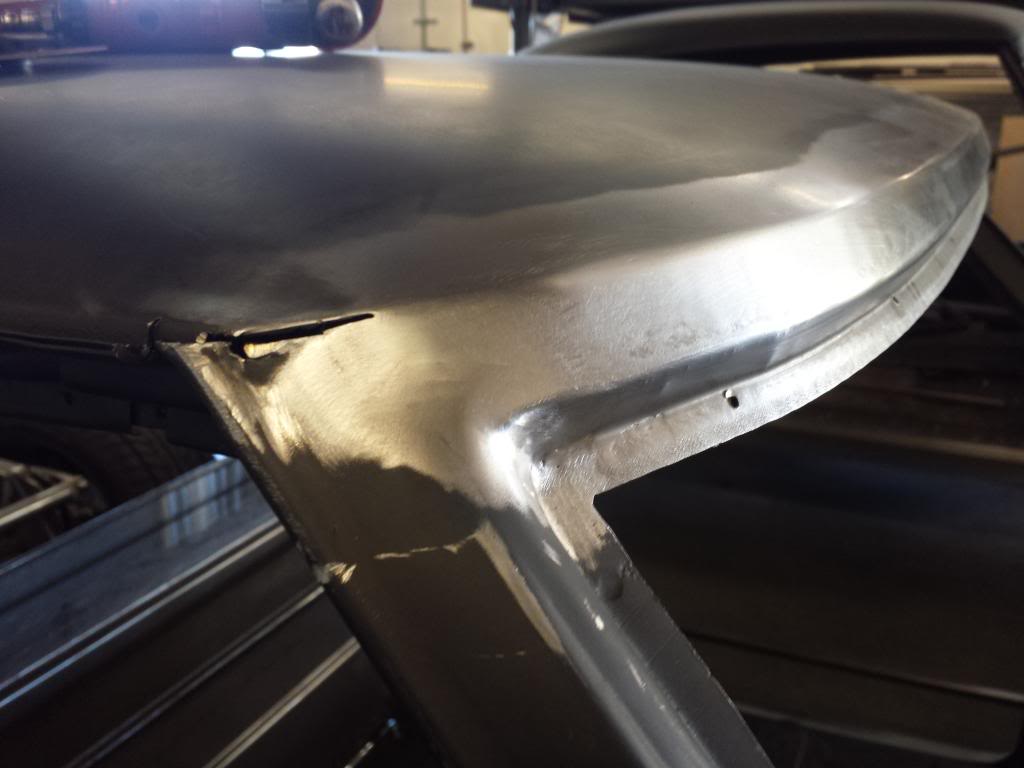
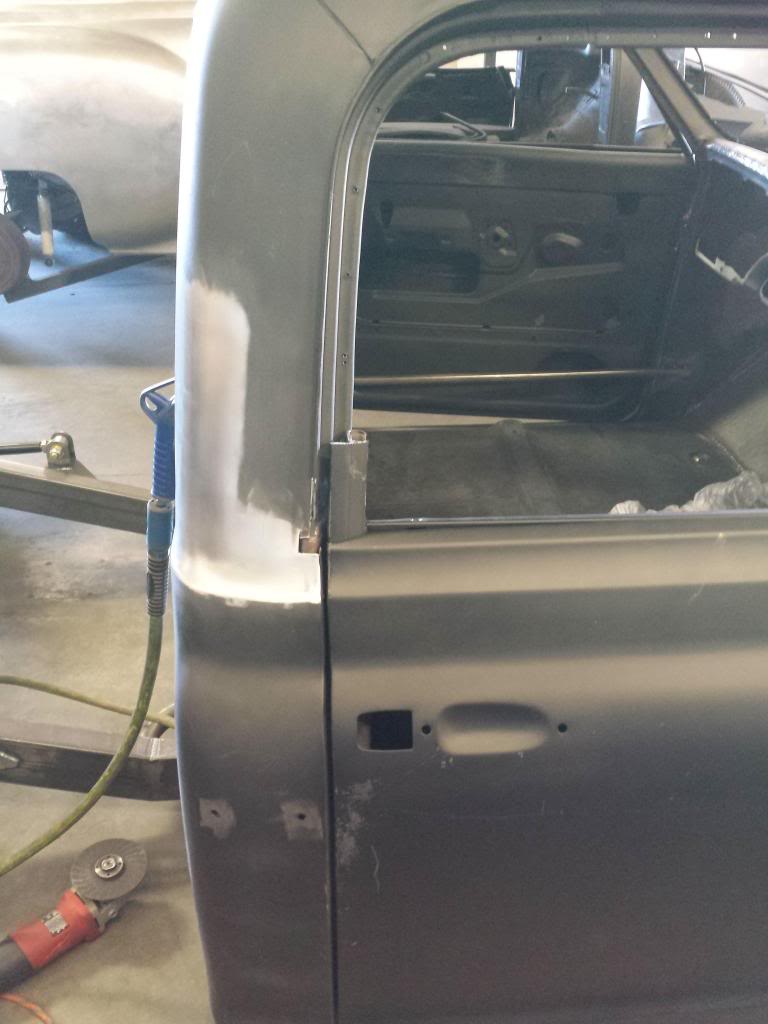
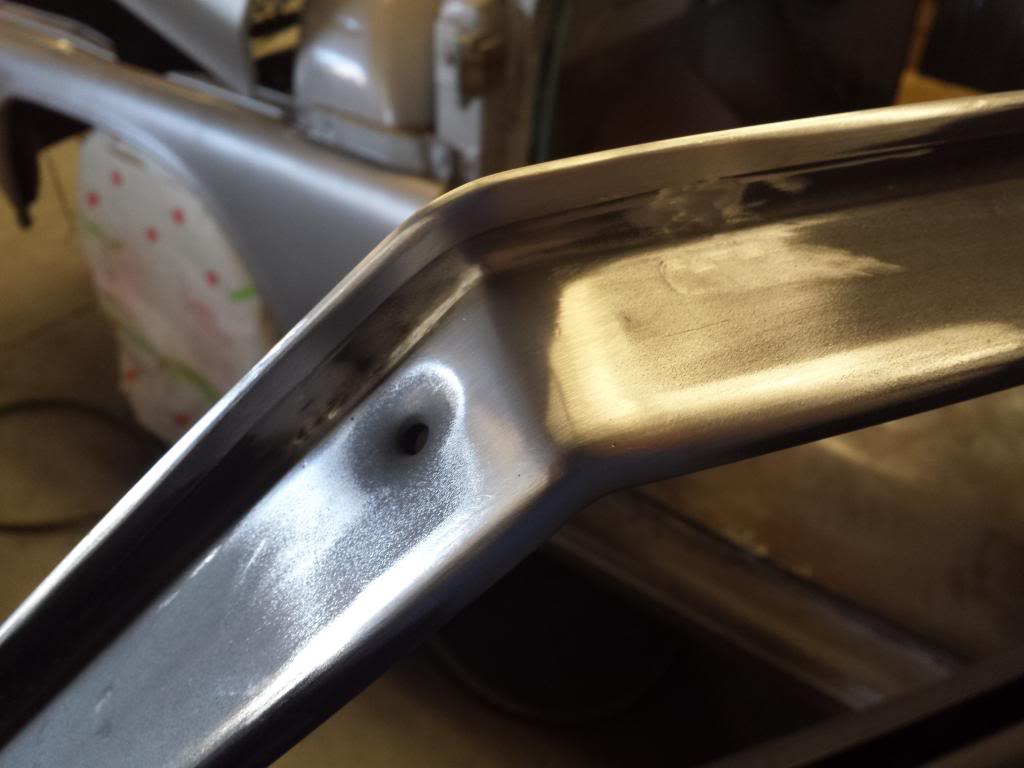
You can see in the pic we have rounded off the top corner on the door.The factory corner is square.This add a nice clean look when the drip rails is shaved off
Justin
01-14-2014 #33 Registered User
- Join Date
- Sep 2013
- Location
- sw Kansas
- Posts
- 1,644
Looking good guys.
01-16-2014 #34
Starting The Transformation
- Join Date
- Dec 2010
- Location
- Ventura, CA
- Posts
- 173
The drivers side is coming along nicely..
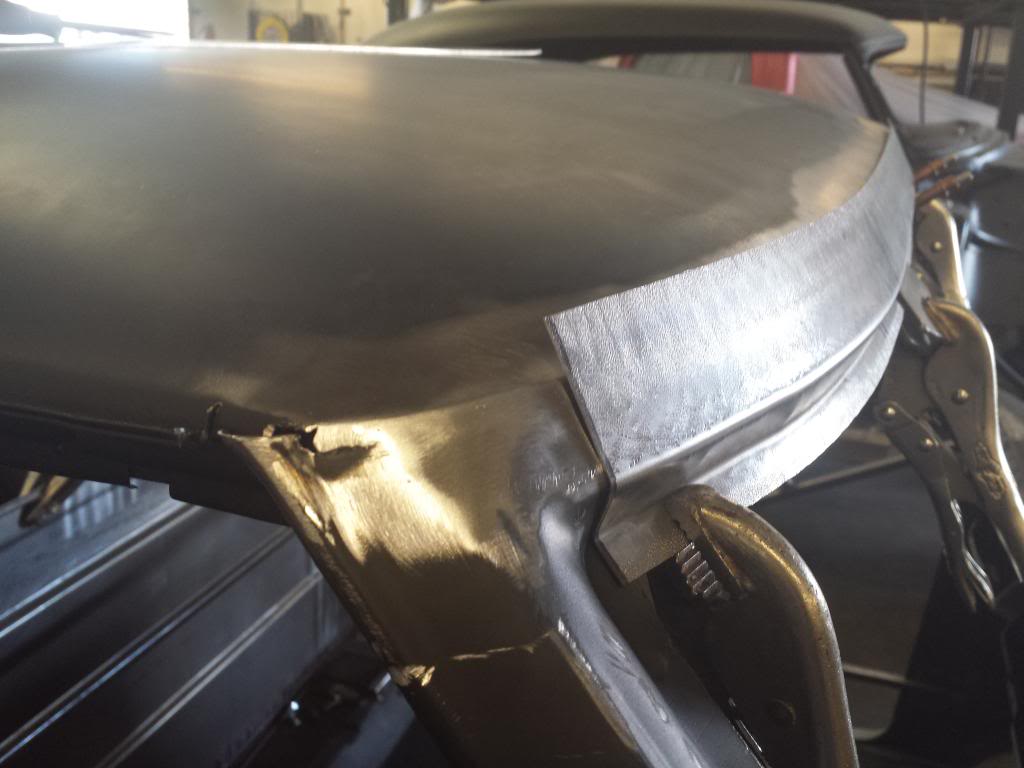
The rear peak is being removed and our roof kit is being installed.
01-16-2014 #35
Starting The Transformation
- Join Date
- Dec 2010
- Location
- Ventura, CA
- Posts
- 173

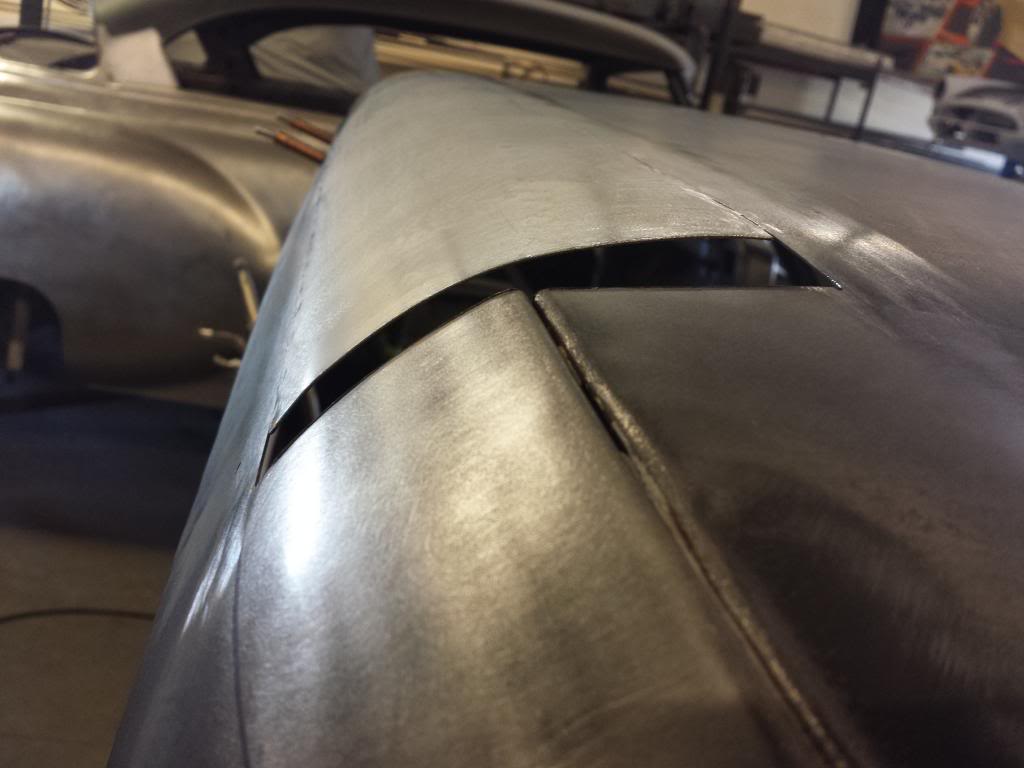
The last picture gives you a good idea of just how much peak get's removed.
01-16-2014 #36
Registered User
- Join Date
- Mar 2011
- Location
- Oxford
- Posts
- 39
One word Awesome !!!!!
01-16-2014 #37 Registered User
- Join Date
- Mar 2013
- Location
- Las Vegas
- Posts
- 175
Awesome truck. So how does the giveaway work? Selling raffle tix?
01-20-2014 #38
Starting The Transformation
- Join Date
- Dec 2010
- Location
- Ventura, CA
- Posts
- 173
From what I gather, it goes like this: Originally Posted by 1nastyZ06
First way is to be a member. 1 member is chosen and entered in to the pot. So if you are already a member then you are entered in.
Second way is to have a car registered at a Goodguys event and show up to the awards ceremony on Sunday. One name is chosen each of those days too.
01-20-2014 #39
Starting The Transformation
- Join Date
- Dec 2010
- Location
- Ventura, CA
- Posts
- 173
01-20-2014 #40
Starting The Transformation
- Join Date
- Dec 2010
- Location
- Ventura, CA
- Posts
- 173
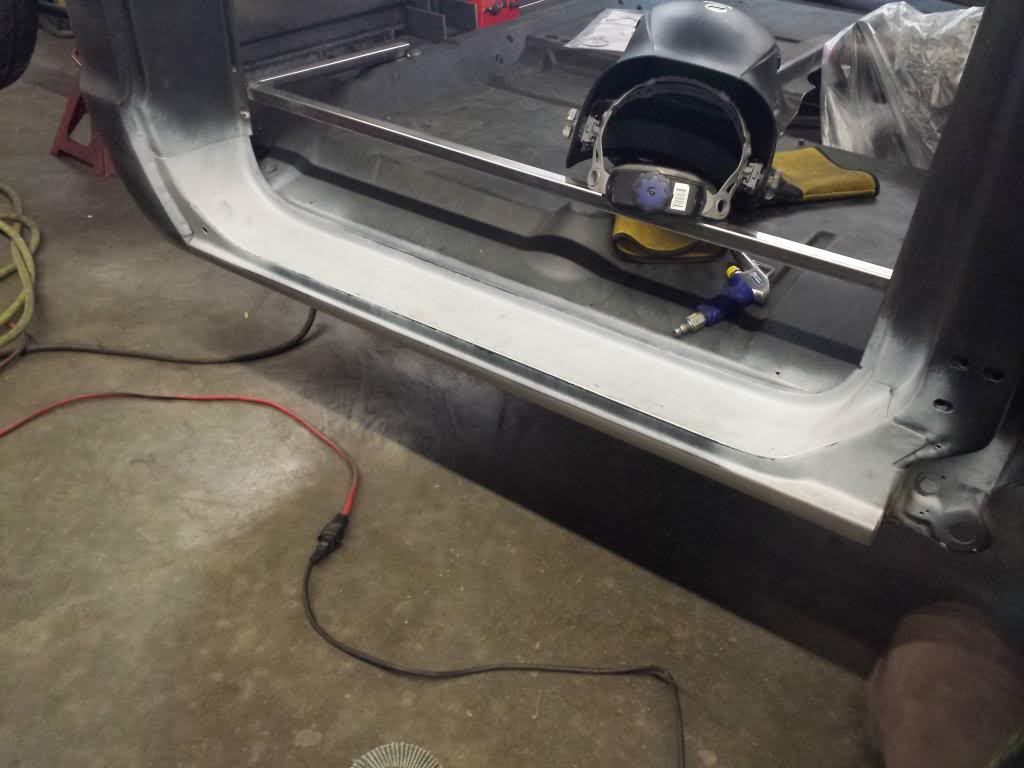
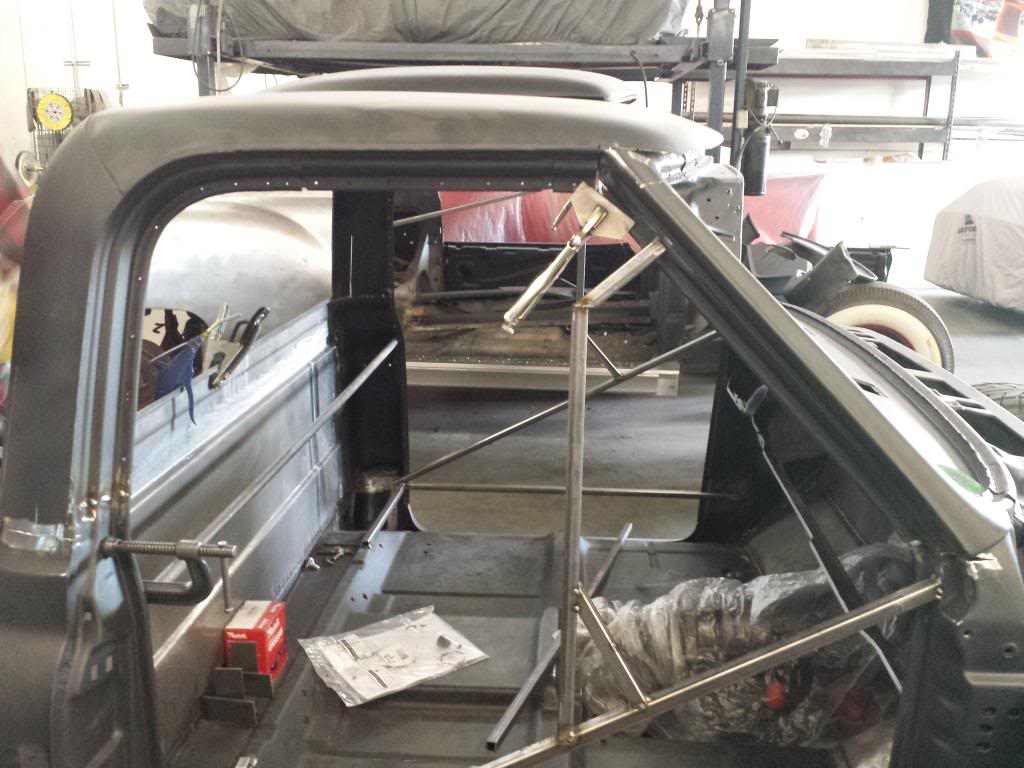
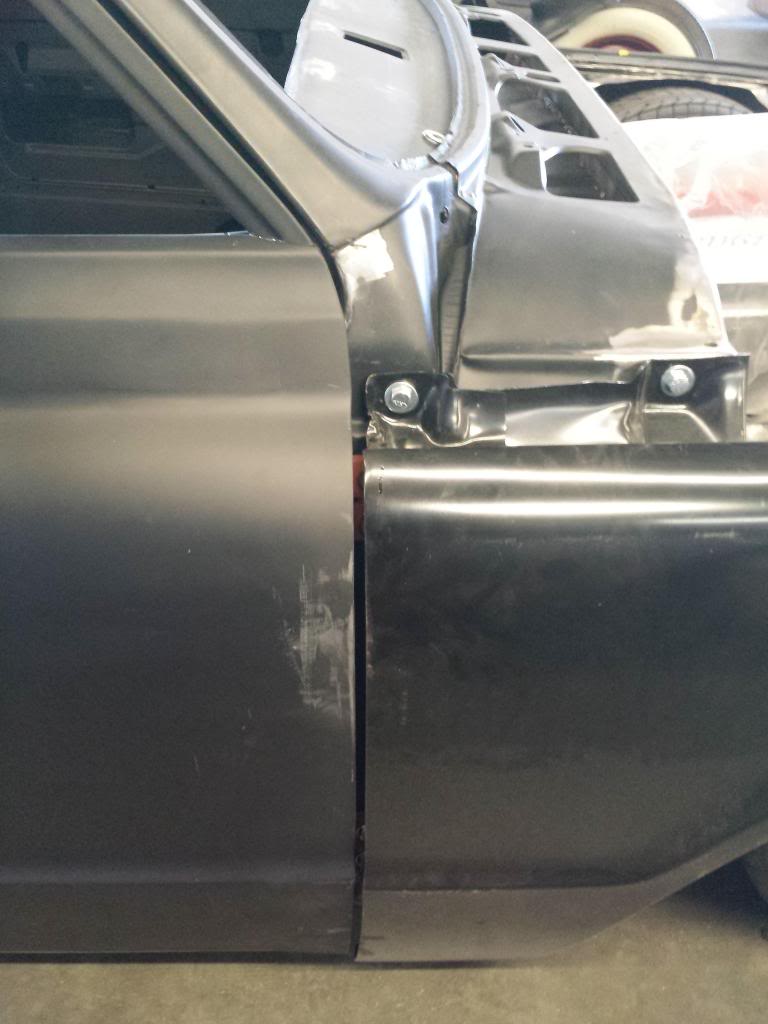
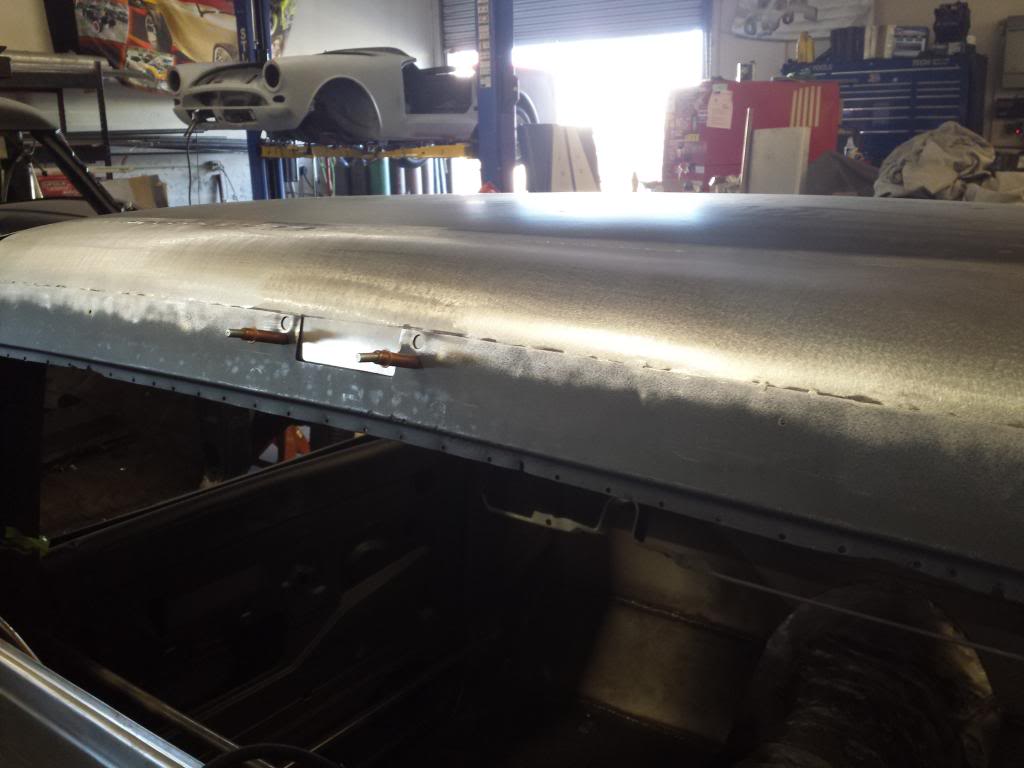
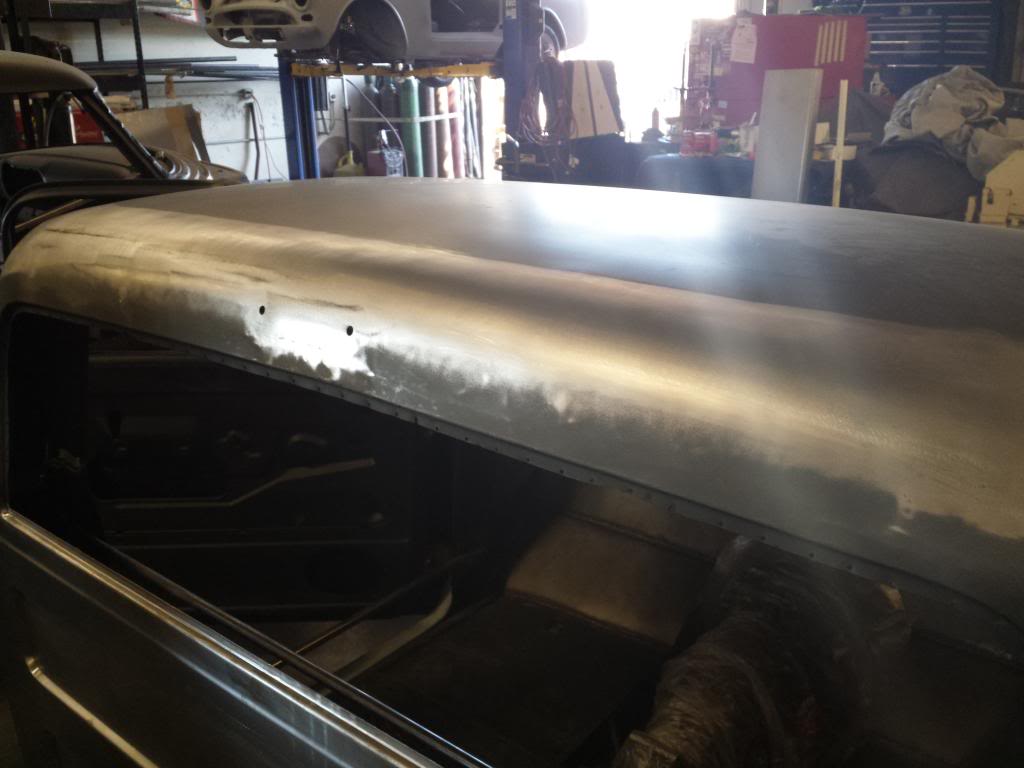
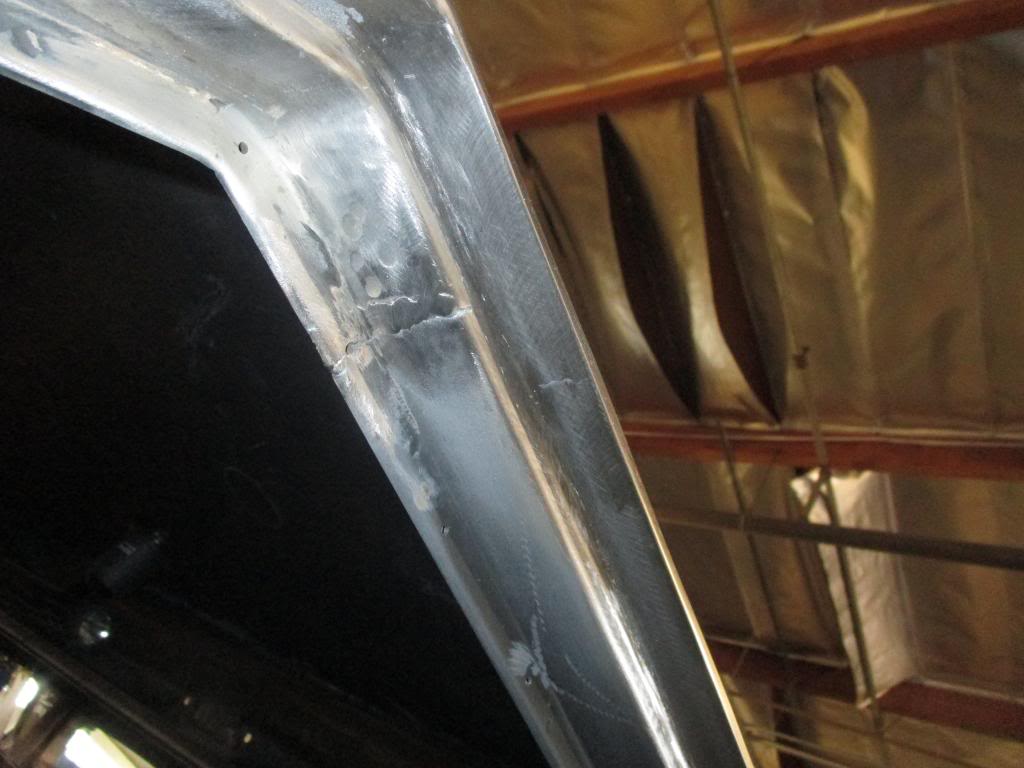
A few more pics for today. You can see how the inside of the door jamb is now finished with the channel being flushed out and smooth now. Gives it a much cleaner look.

 Reply With Quote


